*****English version*****
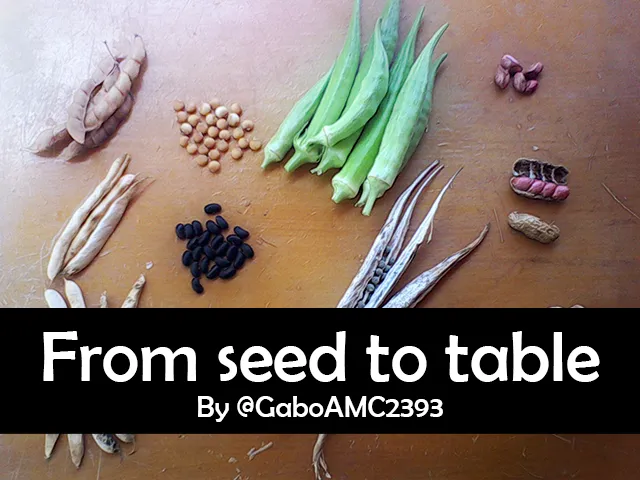
This weekend I had the joy of starting to harvest the fruit of my plantation. Several months ago I managed to sow several types of grains and I am happy that I can finally harvest them and prepare something with the product of the earth.
This is what I will talk about in this post, a recipe I made with what I was able to harvest.
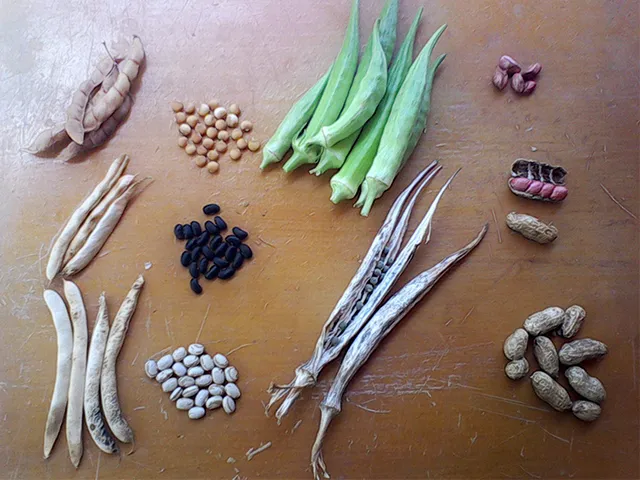
In previous posts I have mentioned that I had some okra plants, a fruit that can be used for different types of recipes. In my case I managed to harvest several fruits, both tender and dried. The tender ones (the green ones), can be used in different types of recipes, such as salads or the one we are talking about today...
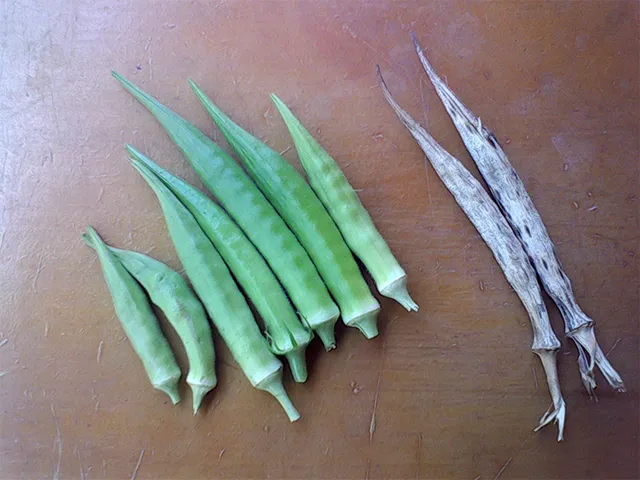
The dried okra, on the other hand, can be used to prepare drinks (I don't know how to do it) and simply to replant it. In my case, I will use this dried okra to save the seeds for the next planting cycle.
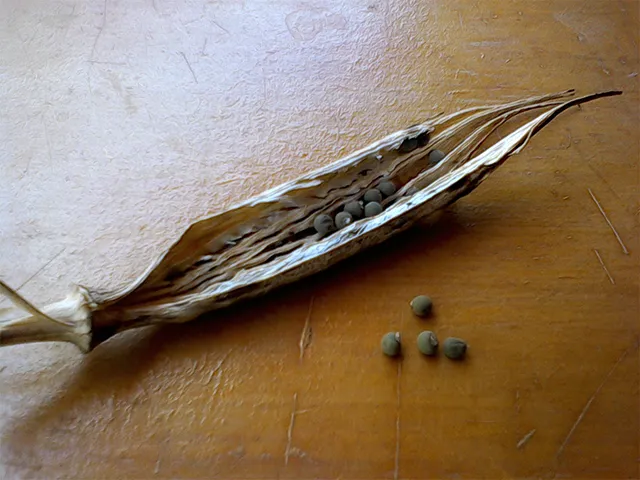
Another thing I managed to harvest this weekend was legumes, as I mentioned in a previous post:
You can see this publication in the following link:
@gaboamc2393/harvest-weekend-fin-de-semana-de-cosecha-engesp
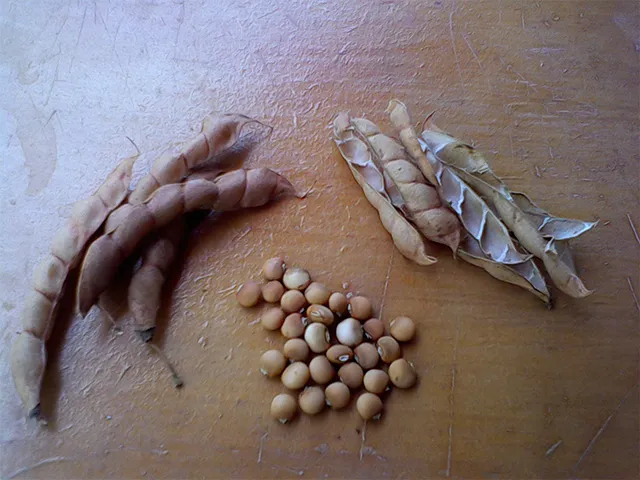
In addition to the quinconcho, which I talked a little about in the publication mentioned above, I also harvested a bean that is known here as frijol cariaco. At least I knew it that way because it was the name on the package, since it came from Brazil. It was a rich tasting bean, so I reserved some seeds and planted it, to have my own bean, since it is not always available in the market.

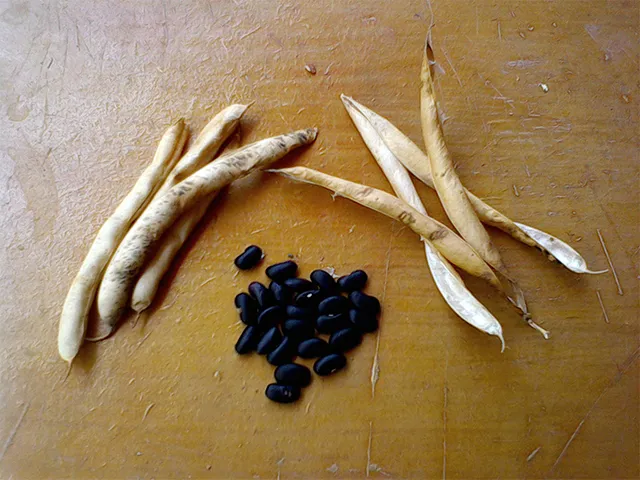
I also managed to harvest some pods of caraotas, or black beans for other countries. Here it is produced during various times of the year, but the ideal month to sow it is from September onwards. So I will soon be sowing the beans again.
This quinchoncho is great because it produced very fast, almost at the same time as normal beans, that is, three or four months, when normally this quinchoncho starts its production process during six months and up. I will certainly set some aside for replanting.
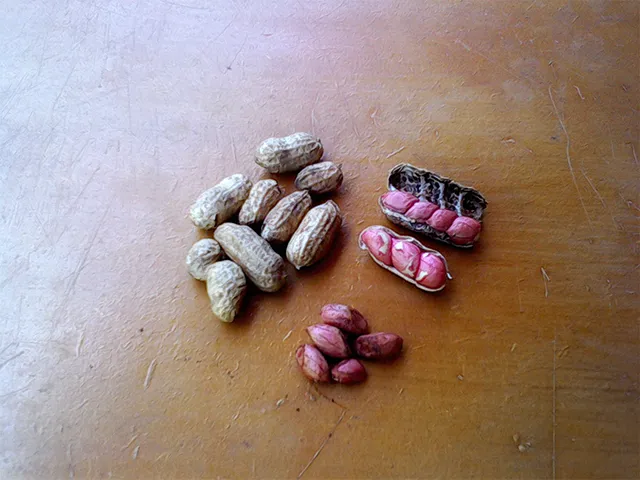
This weekend I managed to harvest a couple of peanut plants that I planted for a germination test. Hopefully next weekend I will manage to harvest many more, as there are a lot of plants planted in the yard, so I hope to have a lot more peanuts than the ones shown in the photo below.
This was practically all I harvested this weekend....
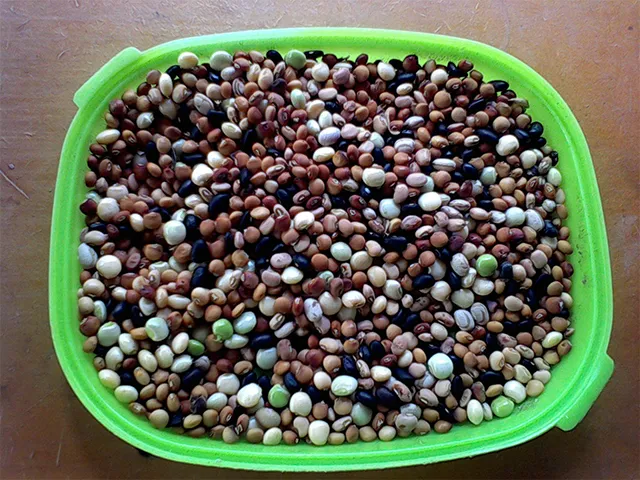
For those who don't know, the beans come in pods and must be extracted from these pods. When I finished extracting all the beans from the pods, I was surprised by the amount of husks that remained compared to the few beans I extracted. Below you can see a photo so that you can understand the difference between what will be used and what will be discarded...

I will simply cook these grains as a soup; that is, with broth and vegetables.
The vegetables, although harvested at another time, were also harvested from my own garden, both the yuccas and this species of green plantain, including okra and chives. The only thing I did not use from my own garden was the carrot.

To prepare all this, I simply cut everything into small pieces, as it is usually done for a vegetable soup.
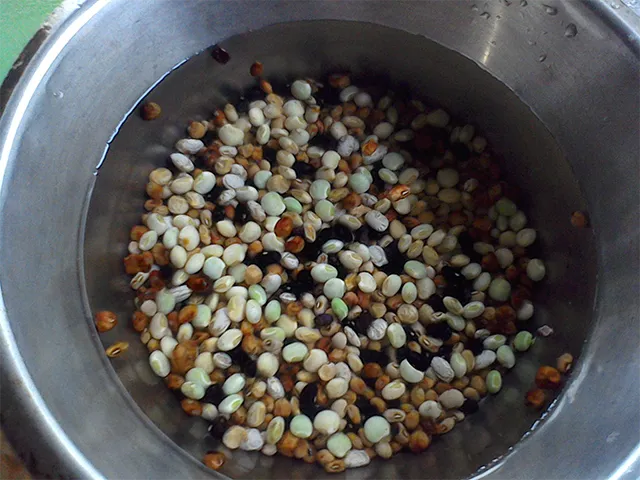
The next step is simply to put the beans in a saucepan and boil them until they are well cooked. As they are different types of beans, I recommend boiling them for a certain amount of time, then discarding the water with which the beans were initially boiled. Then refill the pan with water and continue cooking them.
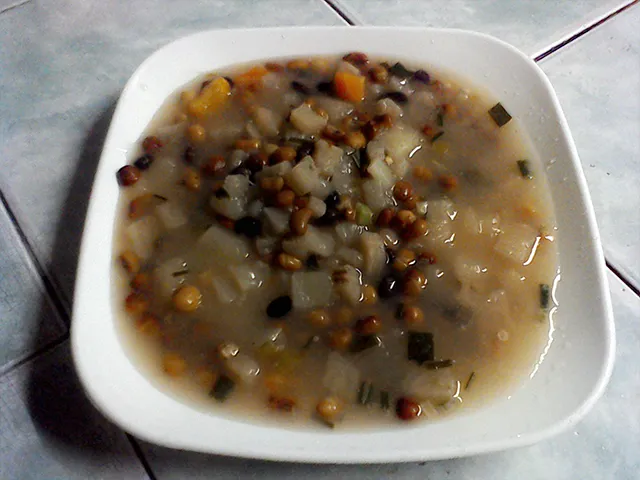
The next thing to do is to add the vegetables, salt to taste, chives, some other seasoning and that's it. This is how my recipe of freshly harvested products turned out...
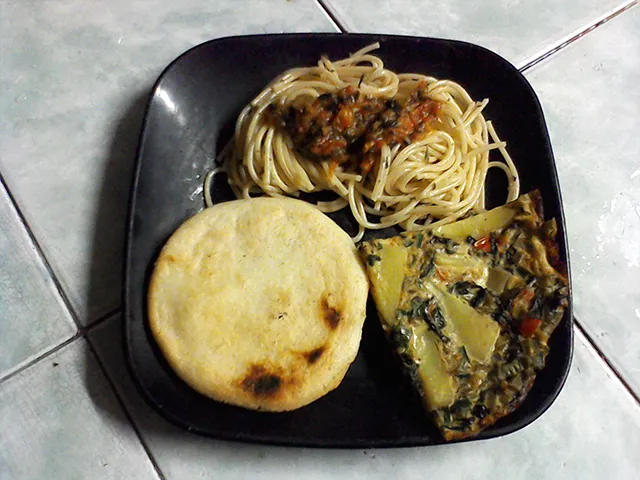
That was certainly my lunch, so I decided to prepare something else to go with it. I used a couple of eggs, half a potato, a couple of tomatoes, spinach and chives. With all this I prepared a very, very tasty omelet:

I also prepared some pasta and, as it should not be missing, an arepa to finish a complete lunch.

I must say that these beans being freshly harvested, they are much more tender and with a much more pleasant flavor than the ones sold in the store. As the title of my post says, a part of my lunch came straight from the ground to the table....
Well friends, this has been all. I hope you liked my publication or at least it has served to distract the mind a little. Remember that he who sows today has food for tomorrow. without more to add, I say goodbye then....
See you next time!
*****Versión en español*****
Este fin de semana tuve la dicha de comenzar a cosechar el fruto de mi plantación. Hace varios meses logré sembrar diversos tipos de granos y me alegra que por fin pueda cosecharlos y preparar algo con el producto de la tierra.
De esto les hablaré en esta publicación, de una receta que hice con lo que logré cosechar.
En publicaciones anteriores he comentado que tenía algunas plantas de quimbombó, un fruto que se puede usar para distintos tipos de recetas. En mi caso logré cosechar varios frutos, tanto tiernos como secos. Los tiernos (los de color verde), se pueden usar en distintos tipos de recetas, como ensaladas o la que nos ocupa hoy...
El quimbombó seco, por otra parte, se puede usar para preparar bebidas (no sé cómo hacerlo) y simplemente para volver a sembrarlo. Yo en mi caso usaré este quimbombó seco para guardar las semillas para el ciclo de siembra que viene.
Otra cosa que logré cosechar este fin de semana fueron leguminosas, como comenté en una publicación anterior:
Pueden ver esa publicación en el siguiente enlace:
@gaboamc2393/harvest-weekend-fin-de-semana-de-cosecha-engesp
Además del quinconcho, del cual hablé un poco en la publicación antes mencionada, también conseché un frijol que aquí se conoce como frijol cariaco. Al menos yo lo conocí así porque era el nombre que tenía el empaque, ya que venía de brasil. Era un frijol de rico sabor, así que reservé unas semillas y lo sembré, para tener mi propio frijol, ya que este no se encuentra siempre en el mercado.
También logré cosechar algunas vainas de caraotas, o frijol negro para otros países. Aquí se produce durante varias épocas del año, pero el mes idóneo para sembrarlo es de septiembre en adelante. Así que dentro de poco volveré a sembrar las caraotas.
Este quinchoncho es genial porque produjo muy rápido, casi al mismo tiempo que los granos normales, es decir, tres o cuatro meses, cuando normalmente este quinchoncho comienza su proceso de producción durante los seis meses en adelante. Sin duda reservaré algunos para volver a sembrarlos.
En este fin de semana logré cosechar un par de plantas de maní que sembré para hacer una prueba de germinación. Espero que el fin de semana que viene logre cosechar muchas más, pues hay un montón de plantas sembradas en el patio, así que espero tener mucho más maní que las que se muestran en la foto a continuación.
Prácticamente esto fue todo lo que coseché este fin de semana...
Para el que no lo sepa, los granos vienen en vainas y deben extraerse de estas vainas. Cuando terminé de extraer todos los granos de las vainas, me quedé sorprendido por la cantidad de cascaras que quedaron en comparación a los pocos granos que extraje. A continuación pueden ver una foto para que entiendan la diferencia entre los que se usará y lo que se desechará...
Estos granos simplemente los cocinaré como una sopa; es decir, con caldo y verduras.
Las verduras, aunque cosechadas en otro momento, también fueron cosechadas de mi propio huerto, tanto las yucas como esta especie de plátano verde, incluyendo el quimbombó y el cebollín. Lo único que no usé de mi sembradío fue la zanahoria.
Para preparar todo esto, simplemente corté todo en trocitos, como habitualmente se hace para una sopa de verduras.
Lo siguiente es simplemente dejar los granos en una cacerola y hervirlos hasta que estén bien cocinados. Como son distintos tipos de granos, yo recomiendo ponerlos a hervir por cierto tiempo, luego desechar el agua con la que se hirvieron los granos inicialmente. Luego volver a llenar la cacerola con agua y continuar cocinándolos.
Lo siguiente es agregar los vegetales, sal a gusto, el cebollín, alguno que otro condimento y listo. Así quedó mi receta de productos recién cosechados...
Ciertamente esa era mi almuerzo, así que decidí preparar algo más para acompañar. Usé un par de huevos, media patata, un par de tomates, espinacas y cebollín. Con todo esto me preparé una tortilla muy, pero muy rica:
También preparé un poco de pasta y como no debería faltar, una arepa para terminar un almuerzo completo.
Debo decir que estos granos al estar recién cosechados, son mucho más tiernos y con un sabor mucho más agradable que los que venden en la tienda. Como dice el título de mi post, una parte de mi almuerzo vino directamente desde el suelo hasta la mesa...
Bien amigos, esto ha sido todo. Espero que mi publicación les haya gustado o cuando menos haya servido para distraer un poco la mente. Recuerden que el que siembra hoy tiene comida para mañana. sin más que agregar, me despido entonces...
¡Hasta la próxima!

Imagenes editadas con Photoshop
Fotos tomadas con tablet HP stream 7
Traducido con DeepL
Photos edited with Photoshop
Photos taken with HP stream 7 tablet
Translated with DeepL
Últimos tres post/Last three posts:
A walk around my plantation / Un paseo por mi plantación
Iron Kitty Sculpture / Escultura de Iron Kitty
Harvest Weekend / Fin de semana de cosecha