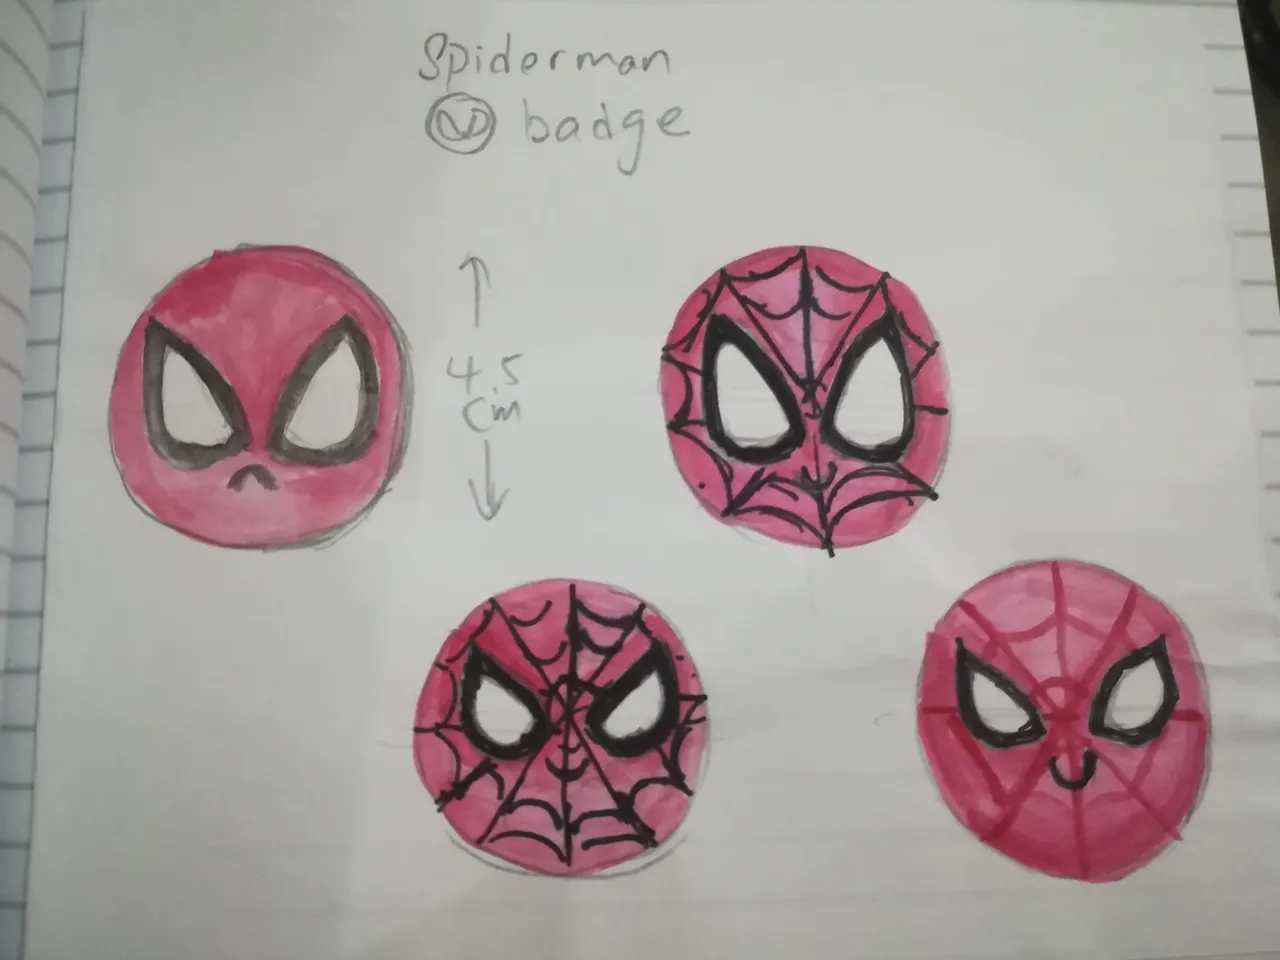
Before I do anything with polymer clay, I will made a draft 1st, just to see which kind of design is nicer. So I gave @zord189 to choose. He picked the bottom row left design but make it angry. hahaha.
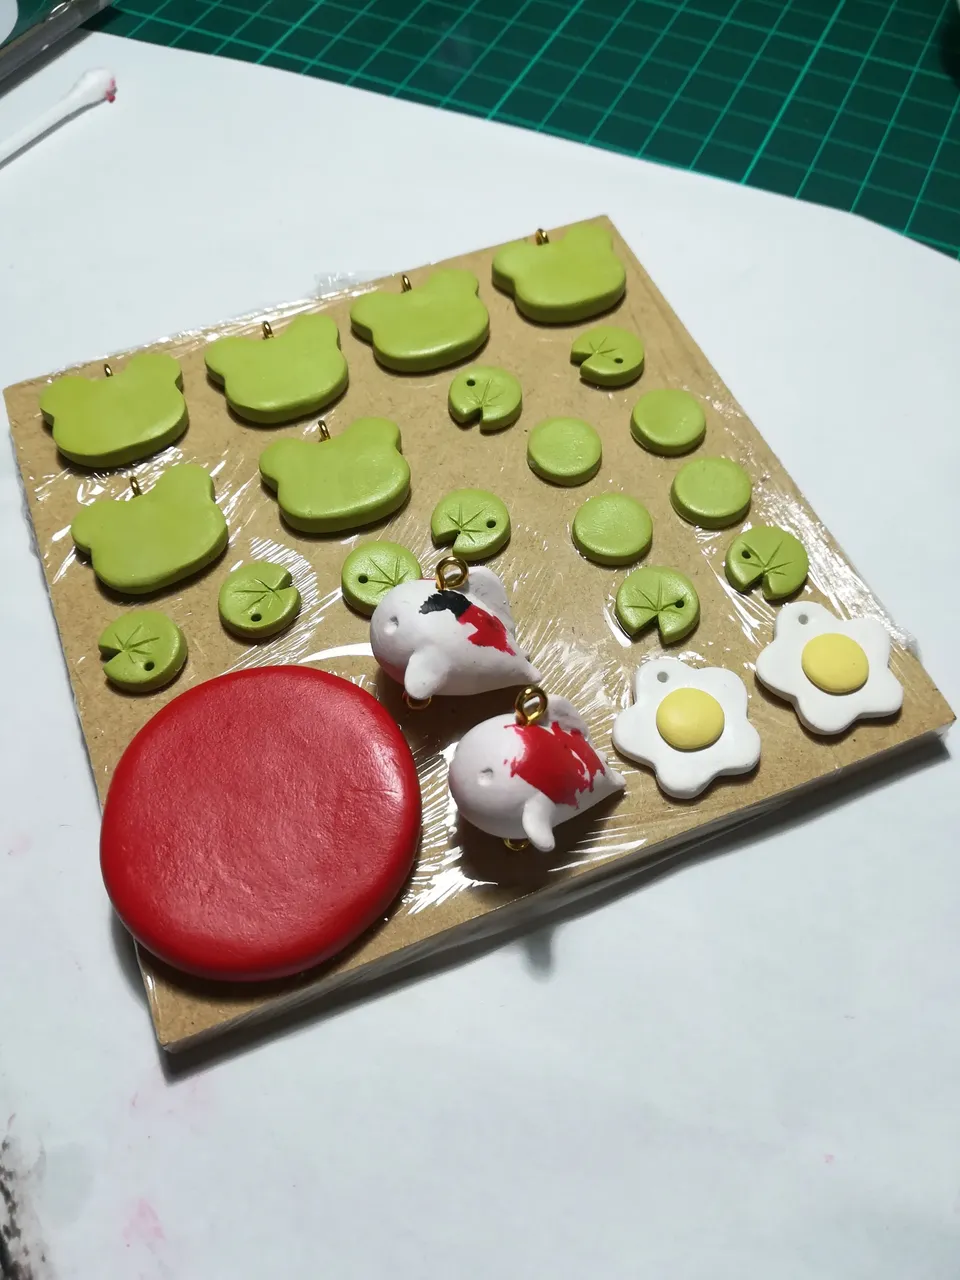
While making the spiderman badge, I also make some of my few other earring creation. So all of them can go to the oven in one go.
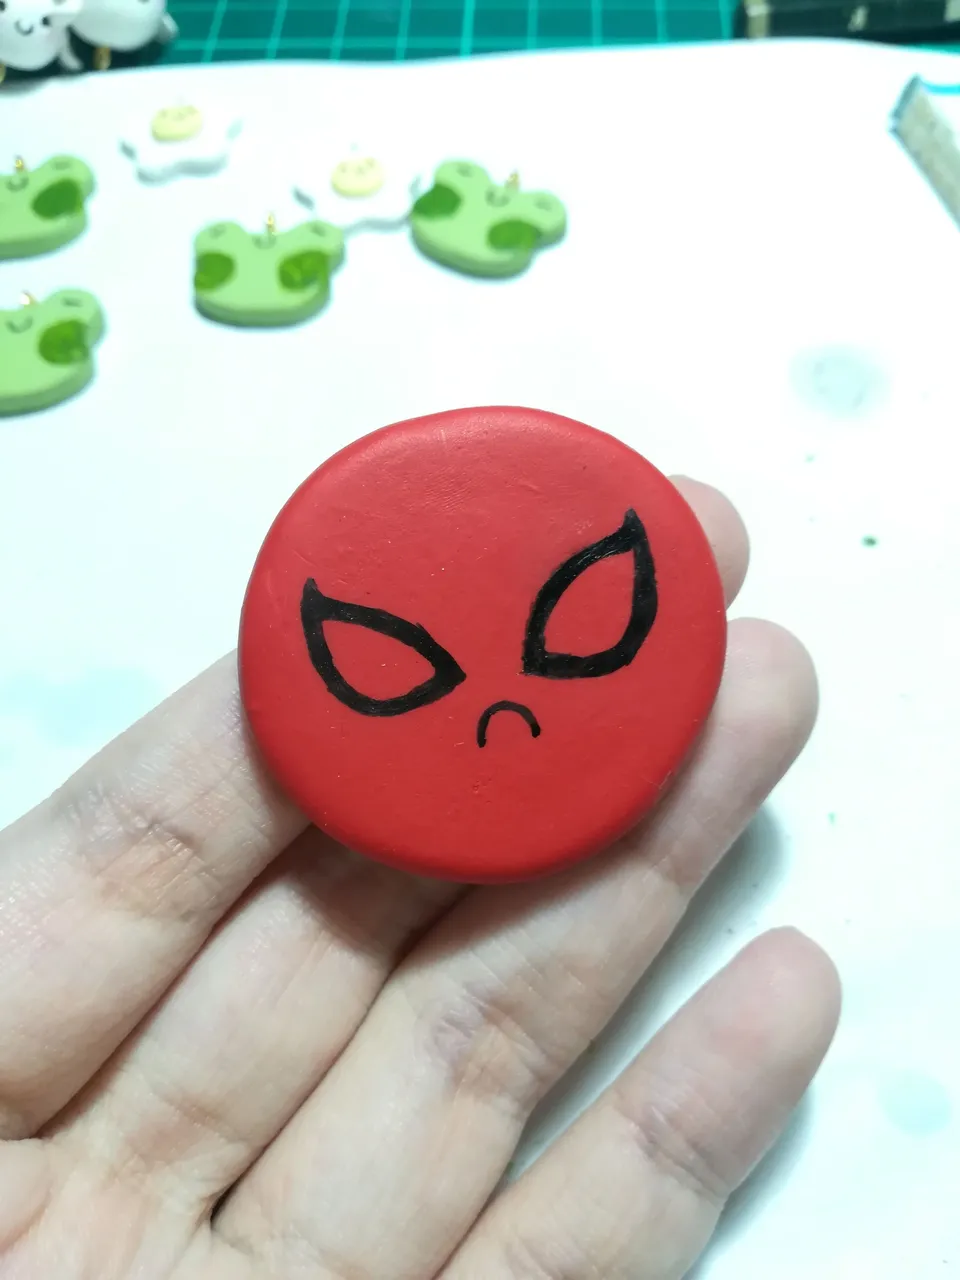
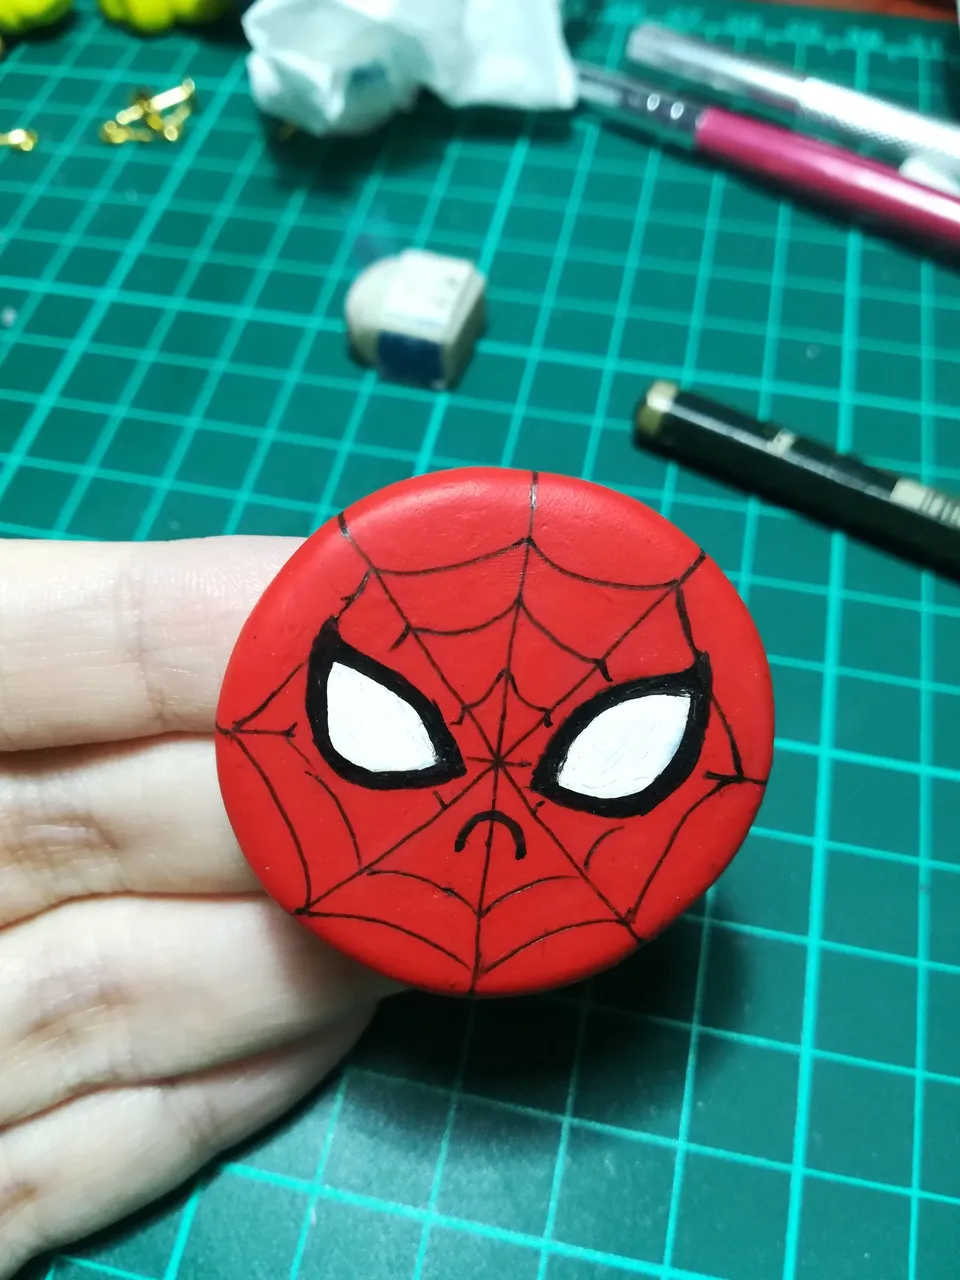
After baking, I drew the outline of the spiderman using waterproof ink.
Then, I add the white colour using acrylic paint.
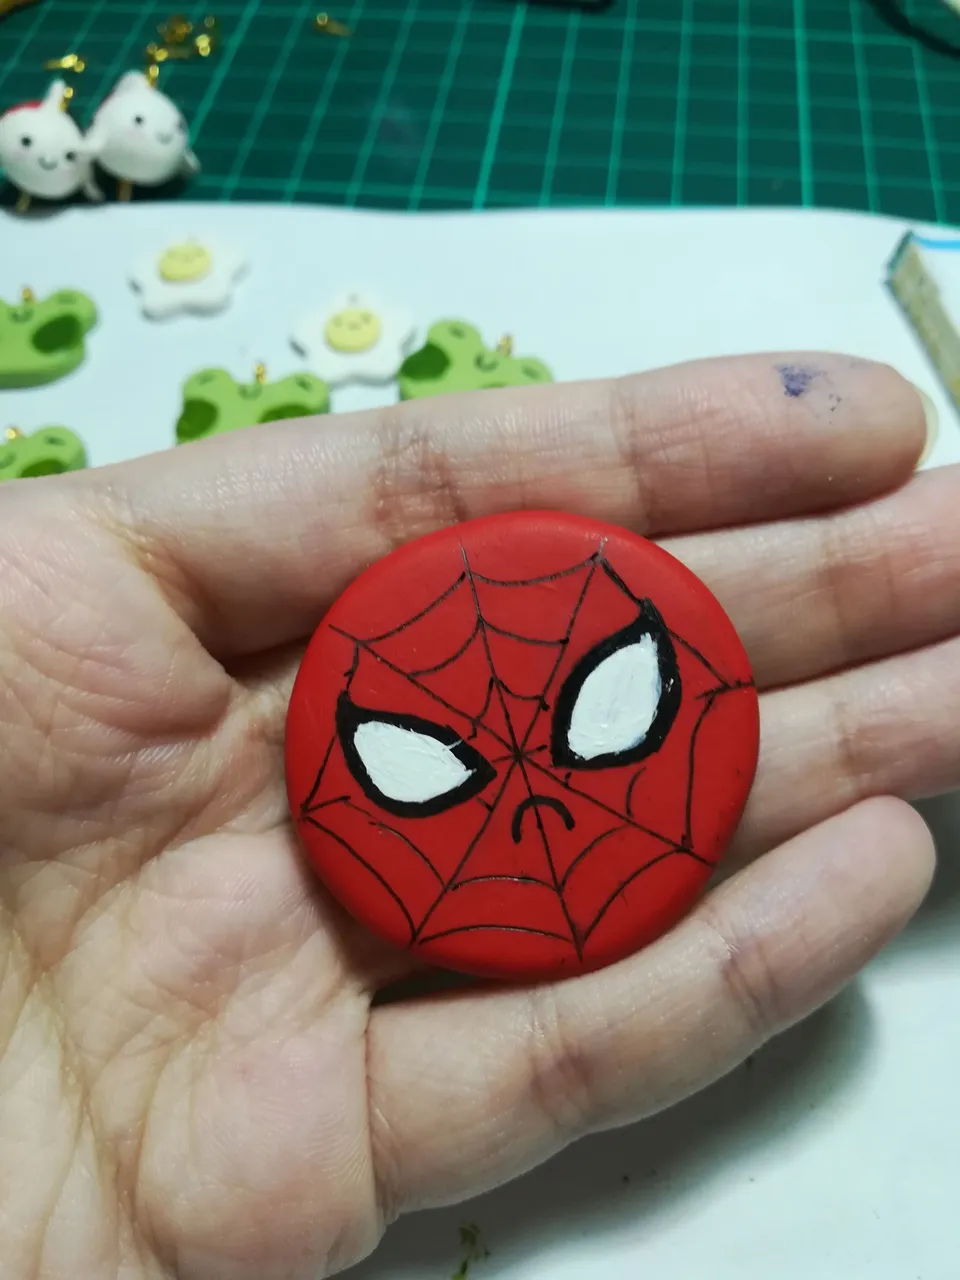
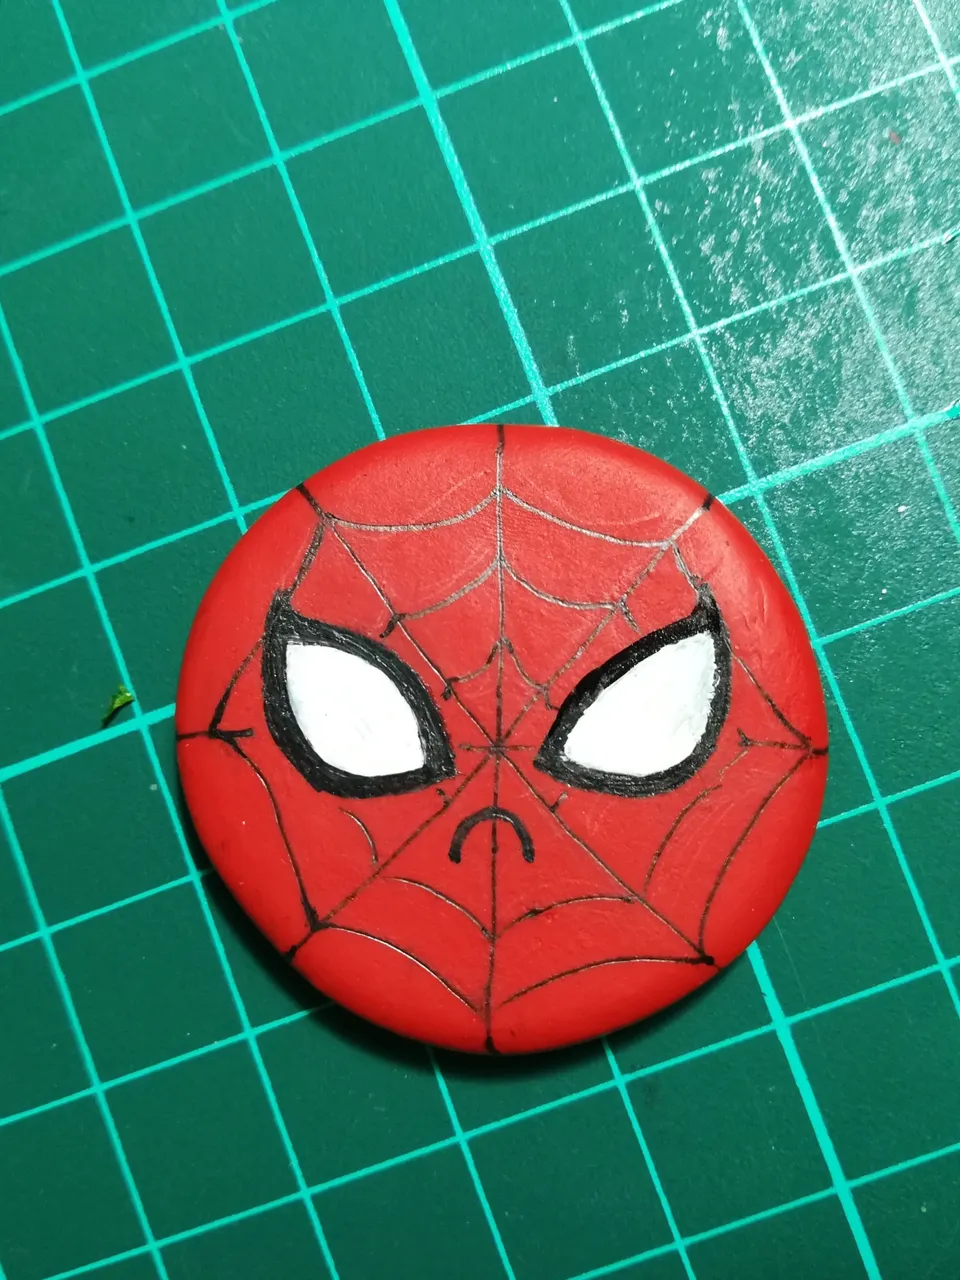
Cover the white part of the eye with black ink. The outcome does not look bad, but its not symmetrical.
I apply the white acrylic to adjust again.
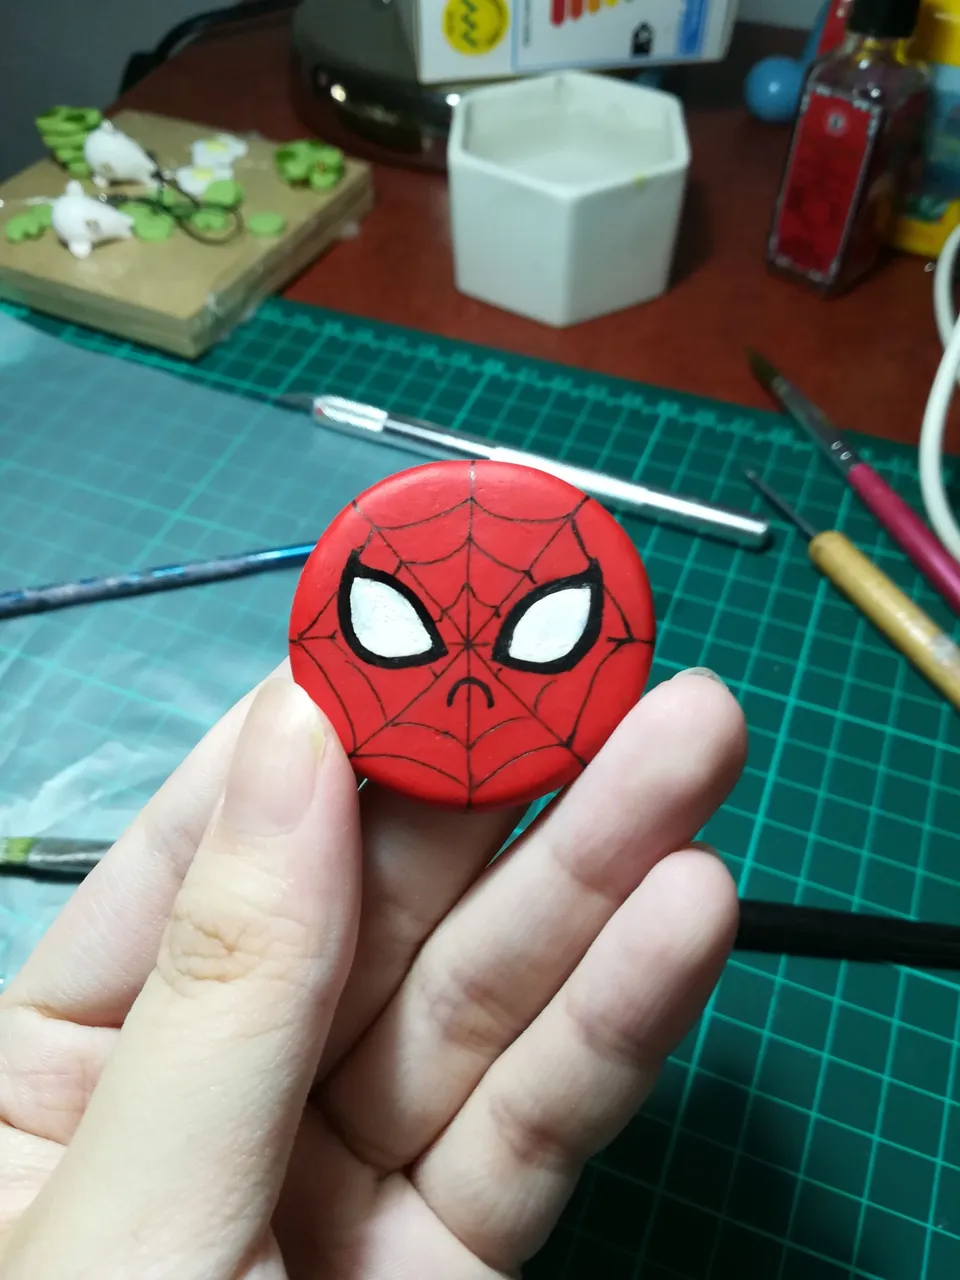
Left eye too

Adjusted both eyes, now it looks better and not as wonky haha.
Cover to protect the badge with some UV resin.
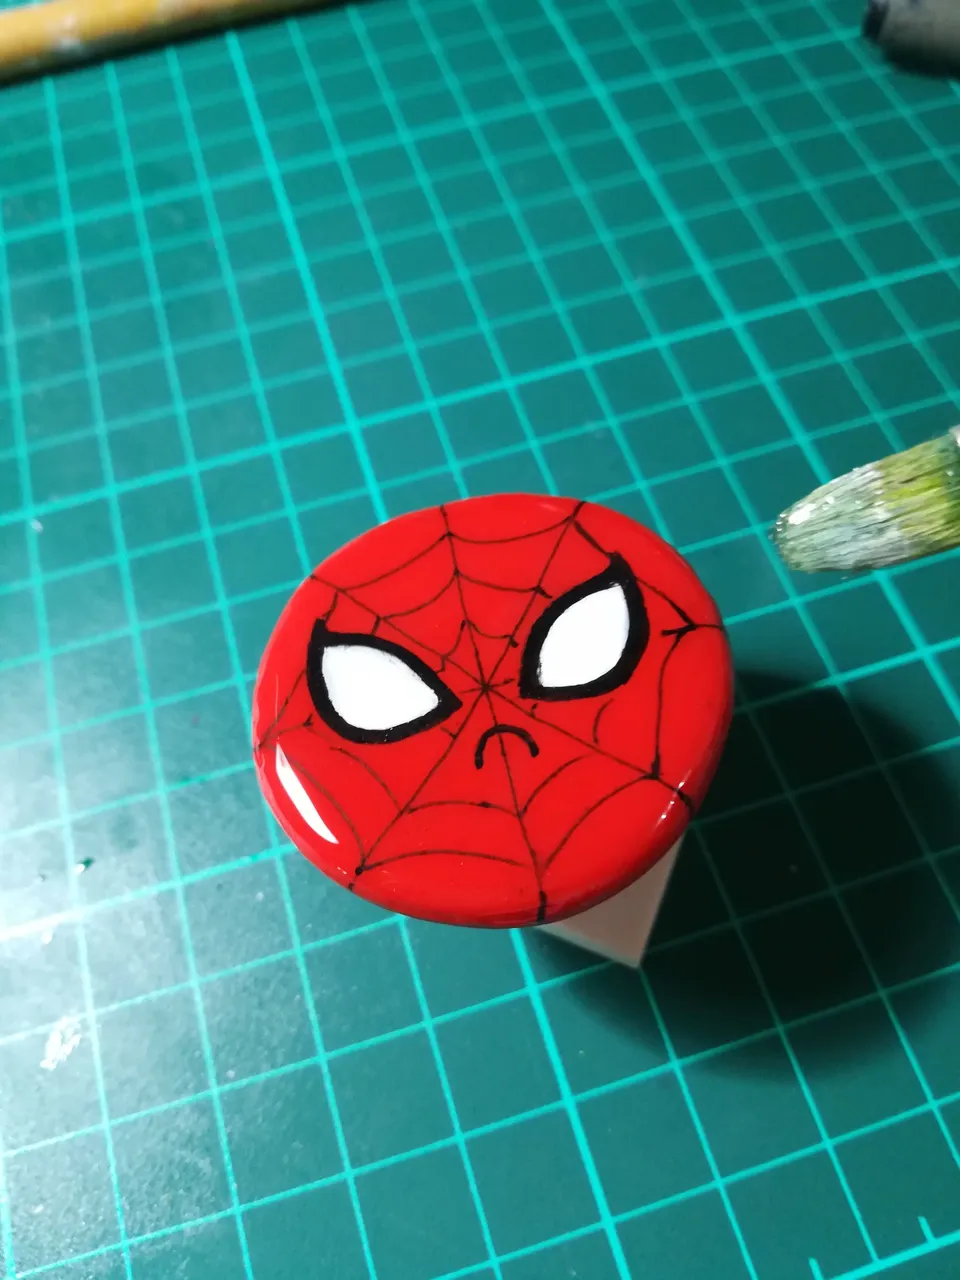
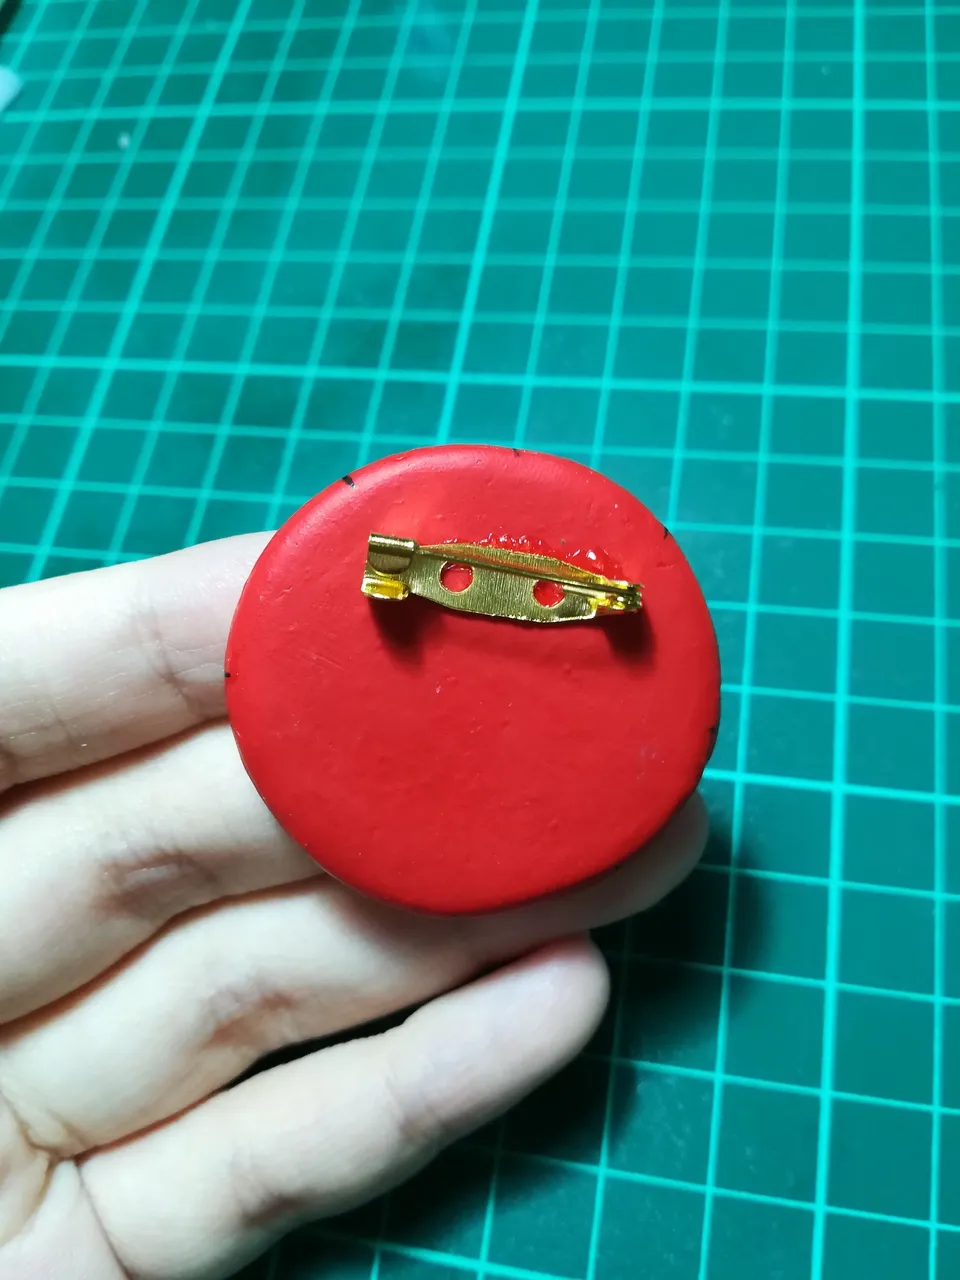
After sunbathing, UV resin is dried. Stick the pin to the back of the badge using strong glue.
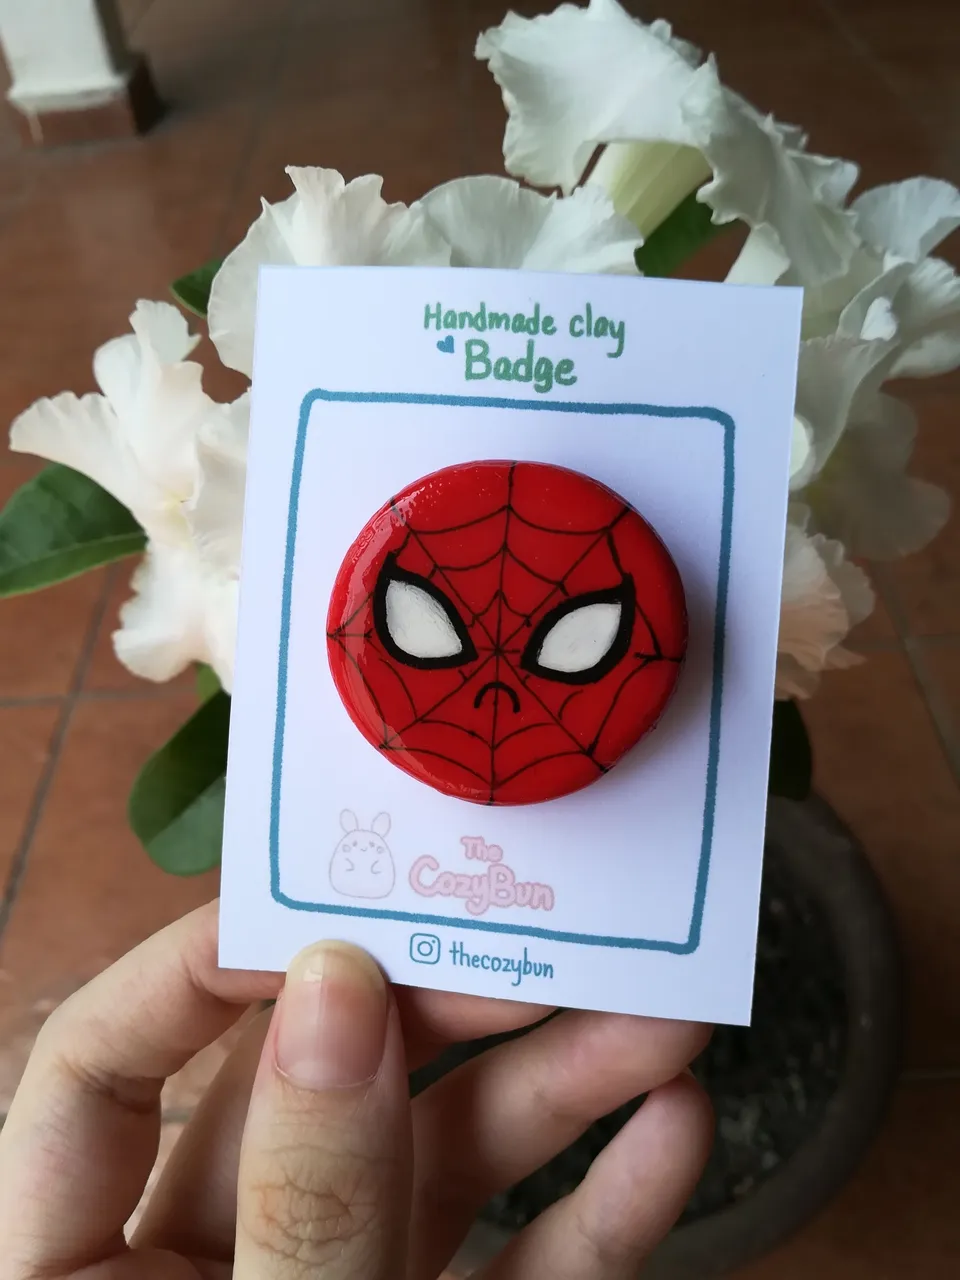
TALAA, its done and ready to deliver to @zord189!
.
.
.
.
.
.
Thank you for reading!
Hope you have a nice day! ❤️
Facebook art page: https://www.facebook.com/Yunasart99
Instagram art page : https://www.instagram.com/yuna_9988/
Youtube Channel: https://www.youtube.com/channel/UCTdm_nMFjLby_7PJNzgoomA
Visit my Redbubble store: http://Yuna99.redbubble.com
NFT Showroom: https://nftshowroom.com/yunayuna/gallery