Greetings creative friends today I join this amazing initiative in this wonderful community @diyhub
Sea Life
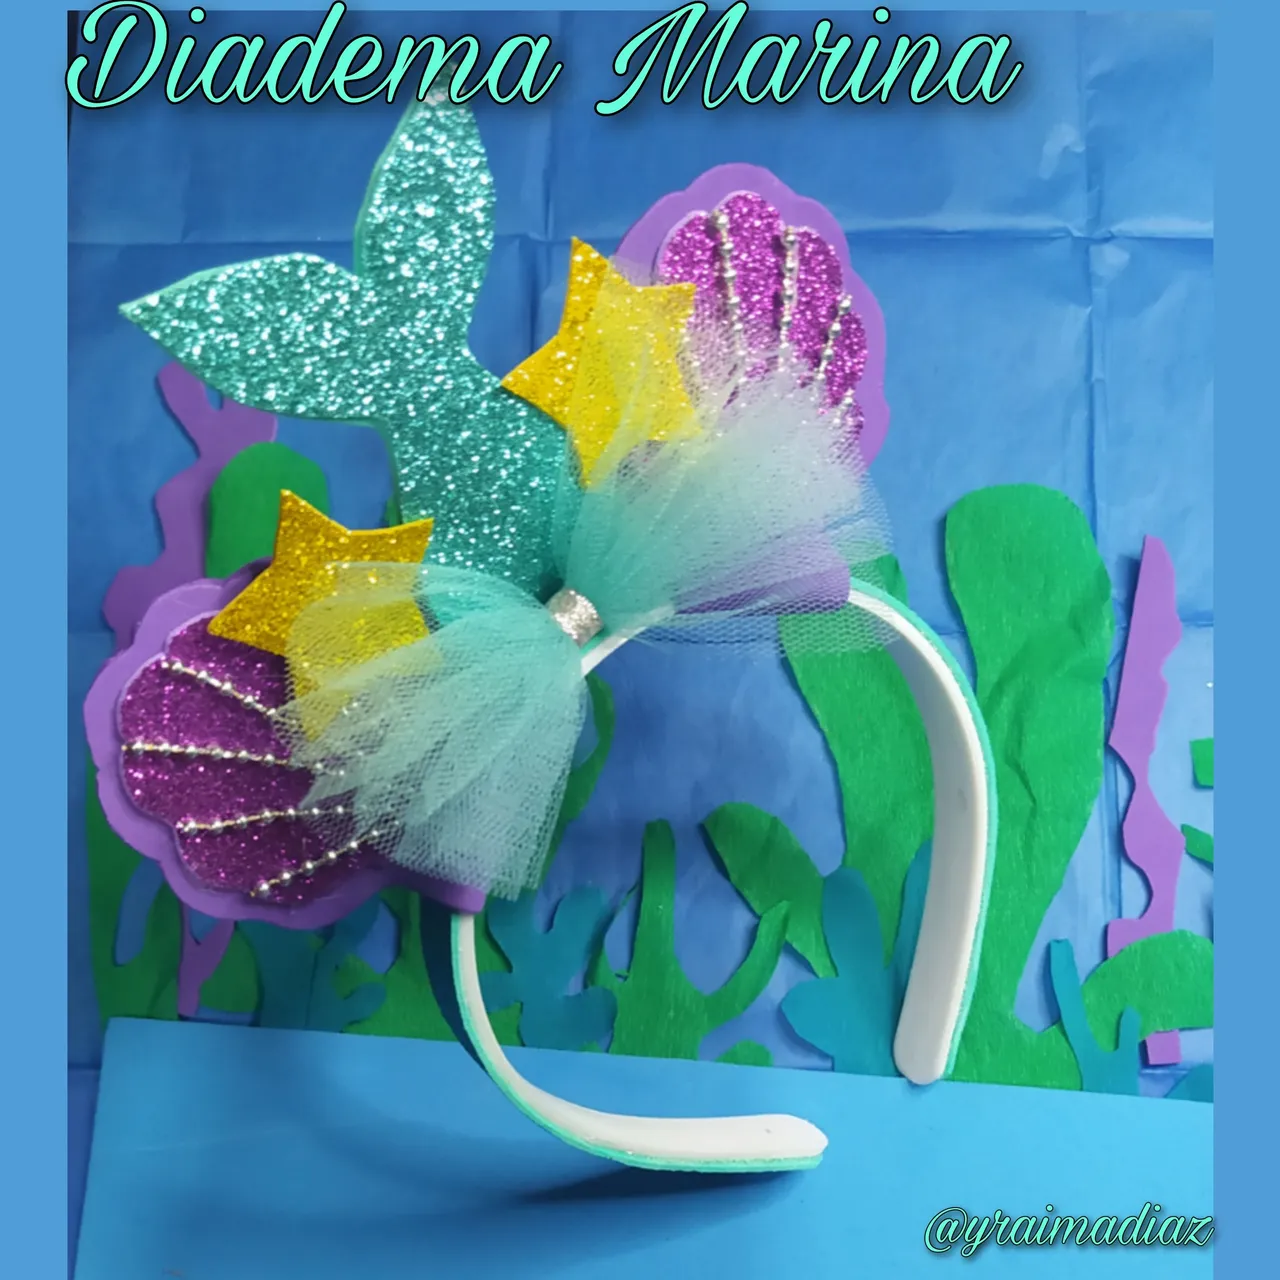
So to participate in this magical initiative I dove into the depths of the sea and have brought you a beautiful Marine Headband.
It will undoubtedly look beautiful on a beautiful little princess and I assure you that it will make her very happy.
I invite you to join me in this magical adventure, let's move on to the list of materials.
Materials.
Saludos amigos creativos el dia de hoy me uno a esta increíble iniciativa en esta maravillosa comunidad @diyhub
Vida Marina
Así que para participar en esta mágica iniciativa me sumergí en las profundidades del mar y les he traído una hermosa Diadema Marina.
Que sin duda alguna lucirá hermosa en una bella princesita y te aseguro que la va hacer muy feliz.
Los invito a que me acompañen en esta mágica aventura, pasemos a la lista de los materiales.Materiales.
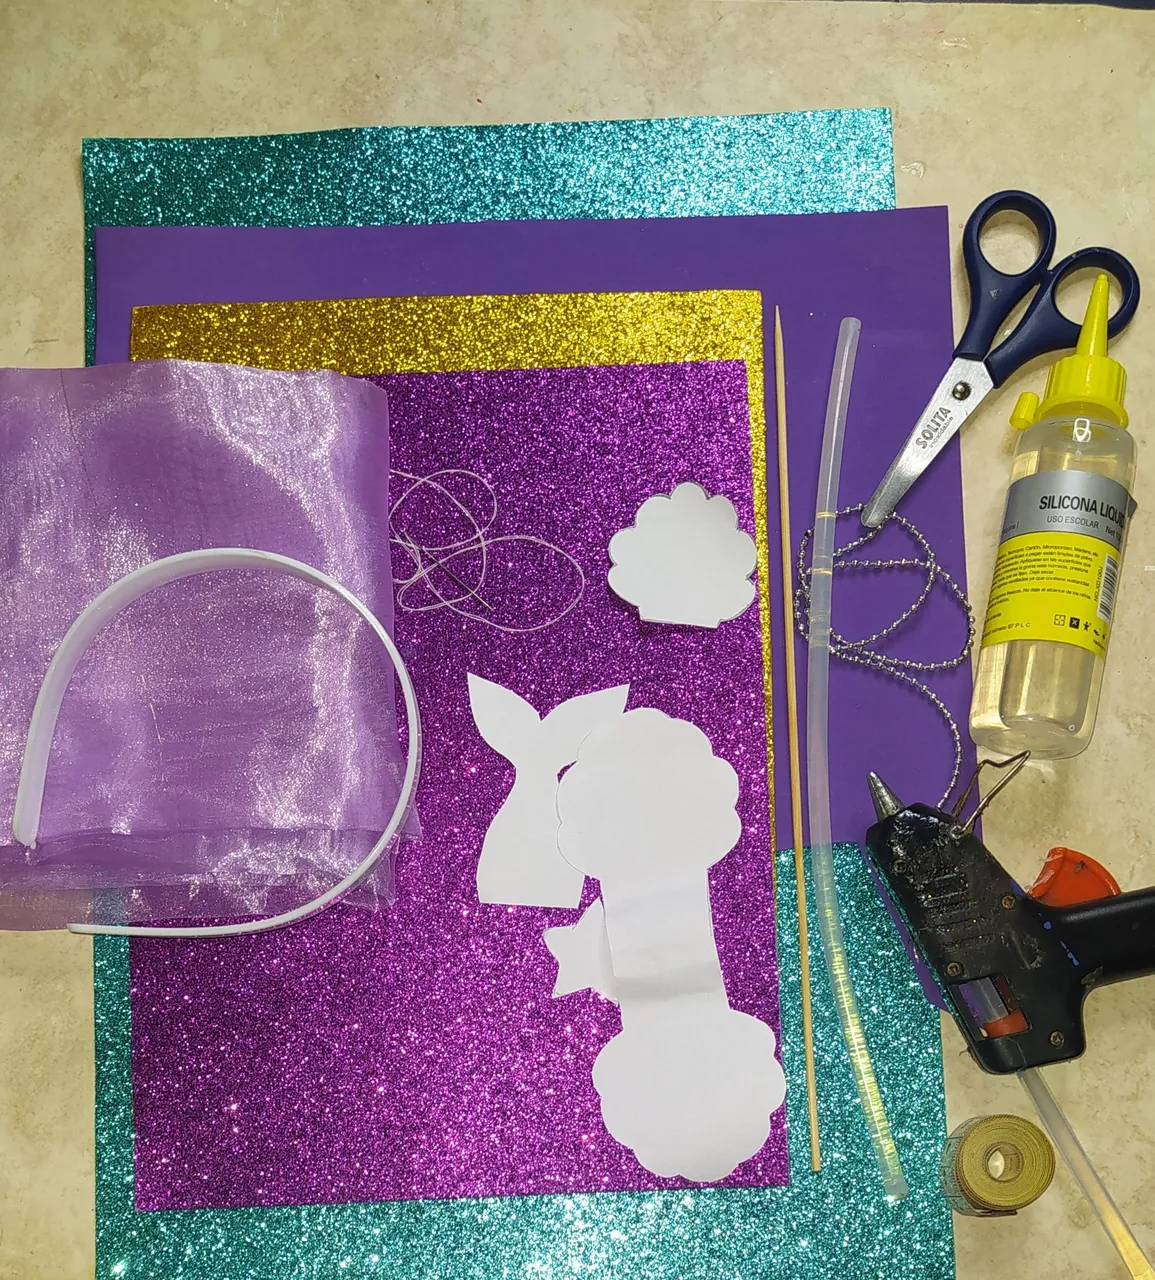
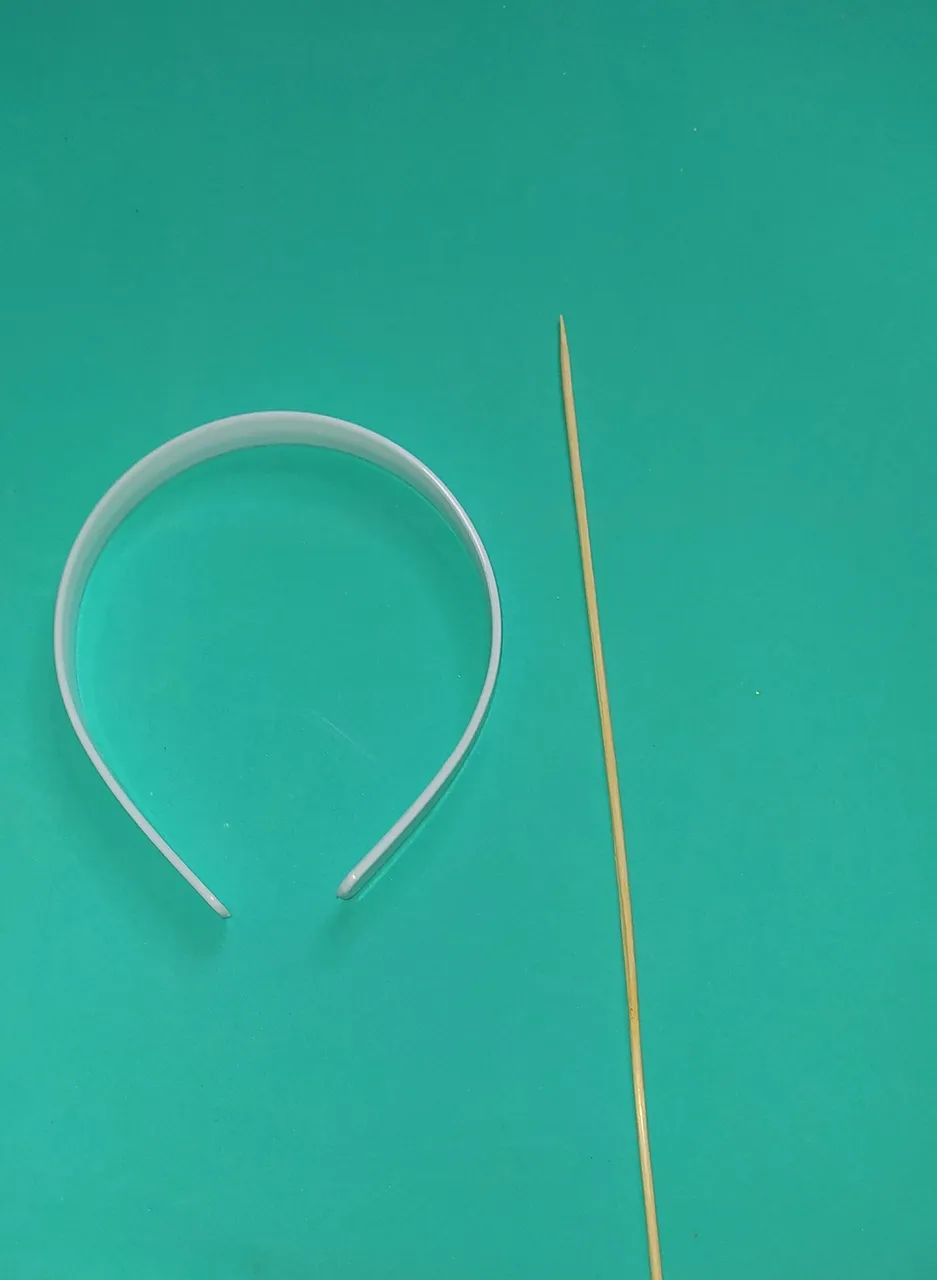
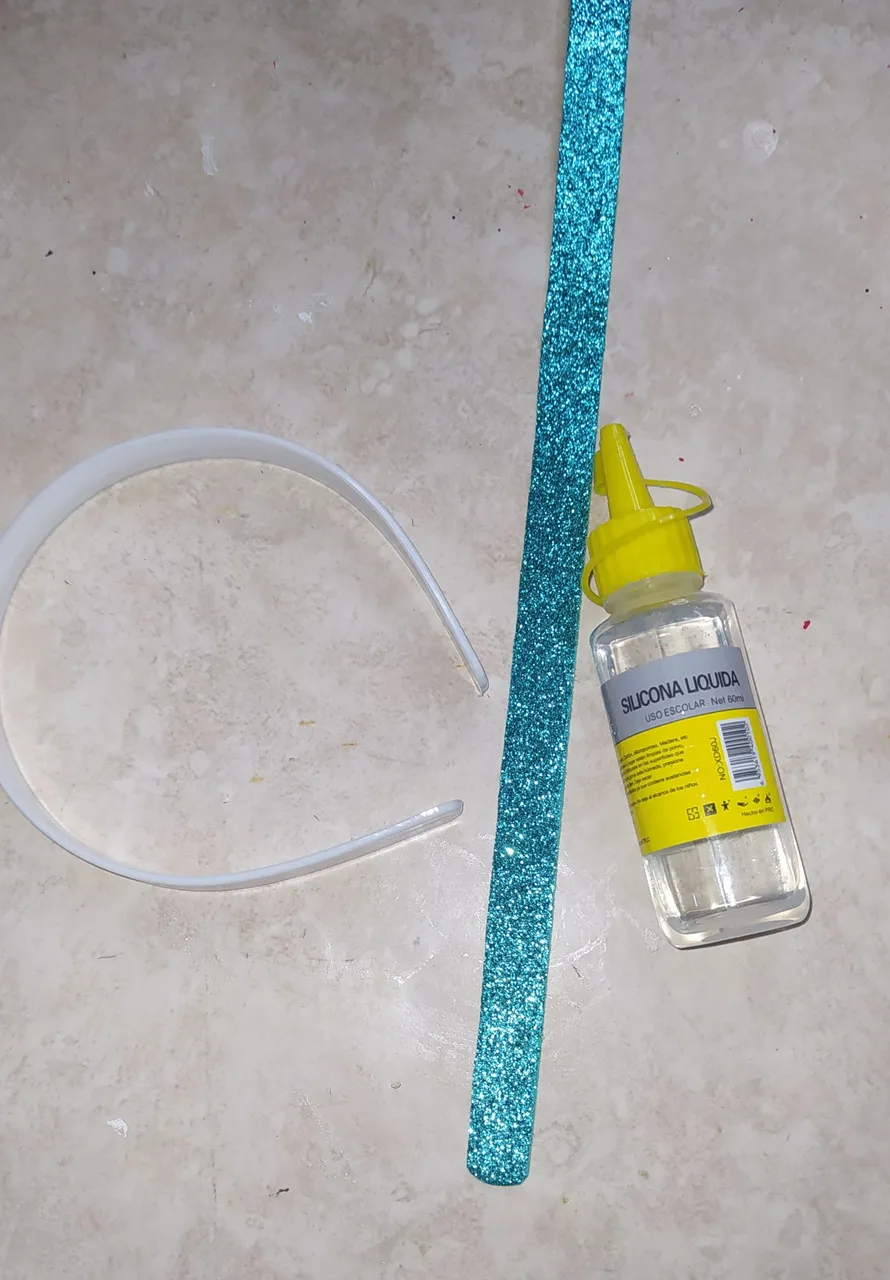
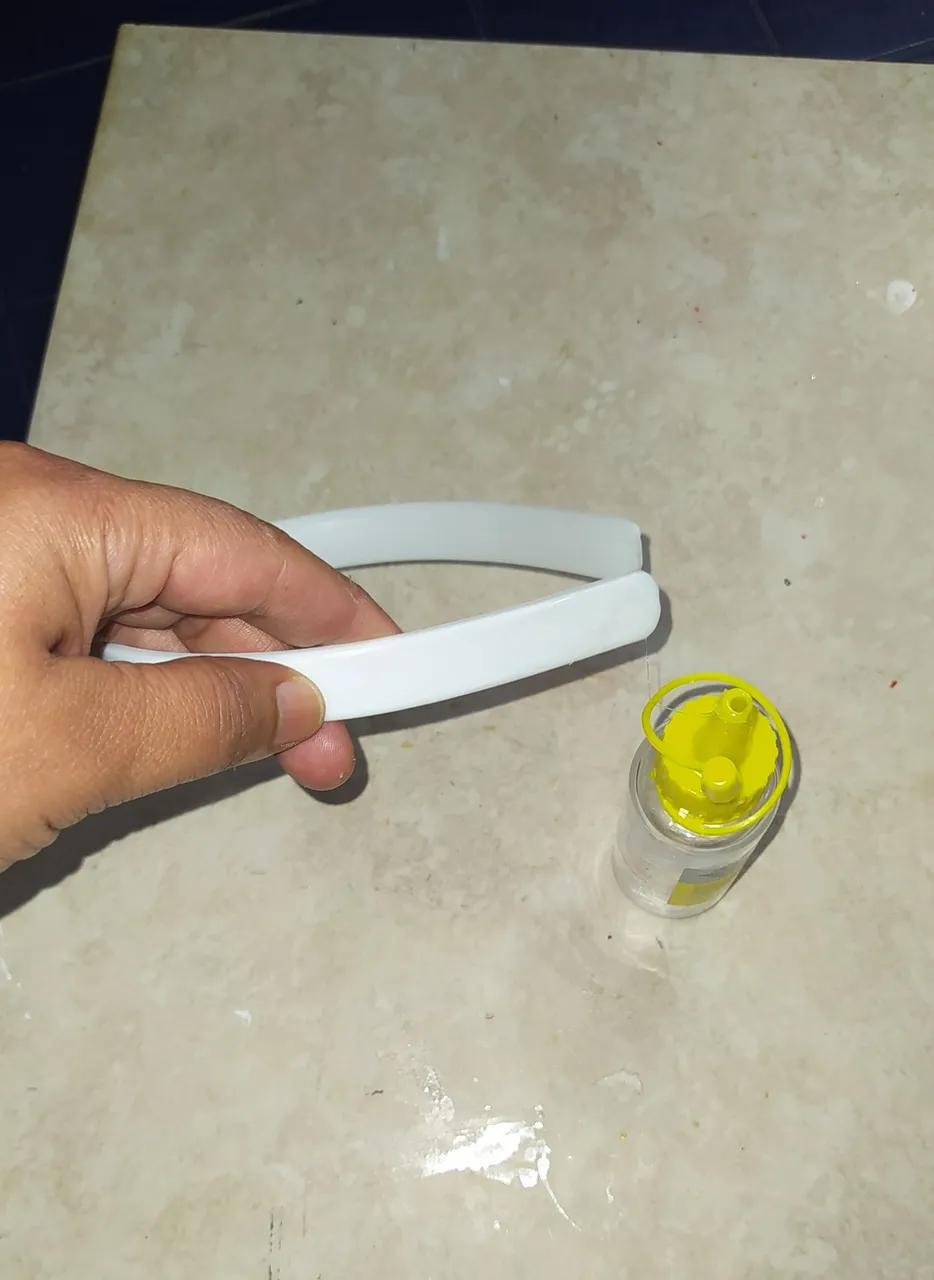
- White flexible headband.
- Light purple Foami.
- Frosted purple foami.
- Gold frosted foami.
- Frosted turquoise green foami.
- Cold silicone.
- Silicone gun.
- Silicone sticks.
- Needle with thread.
- Scissors.
- Tape measure.
- Turquoise tulle.
- Silver ribbon.
- Stick of height.
- Silver beads.
- Molds.
Let's move on to its elaboration.
- Diadema flexible blanca.
- Foami morado Claro.
- Foami morado escarchado.
- Foami dorado escarchado.
- Foami verde turquesa escarchado.
- Silicón frío.
- Pistola de silicón.
- Barras de silicón.
- Aguja con hilo.
- Tijeras.
- Metro.
- Tul turquesa.
- Cinta plateada.
- Palito de altura.
- Perlas corridas plateadas.
- Moldes.
Pasemos a su elaboración.
 |  |
|---|---|
 |  |
| - | - |
 |  |
| - | - |
 |  |
| - | - |
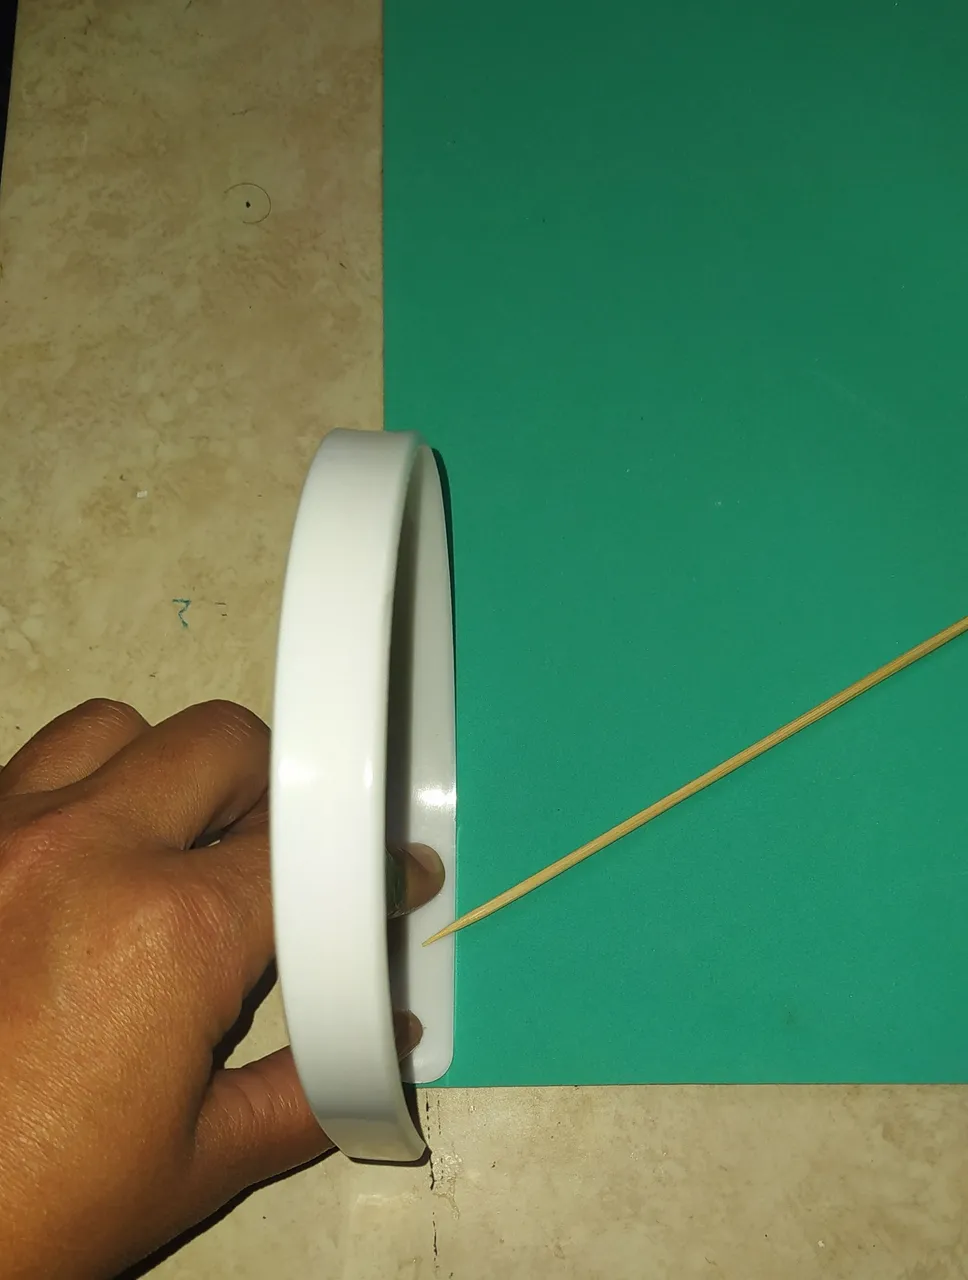
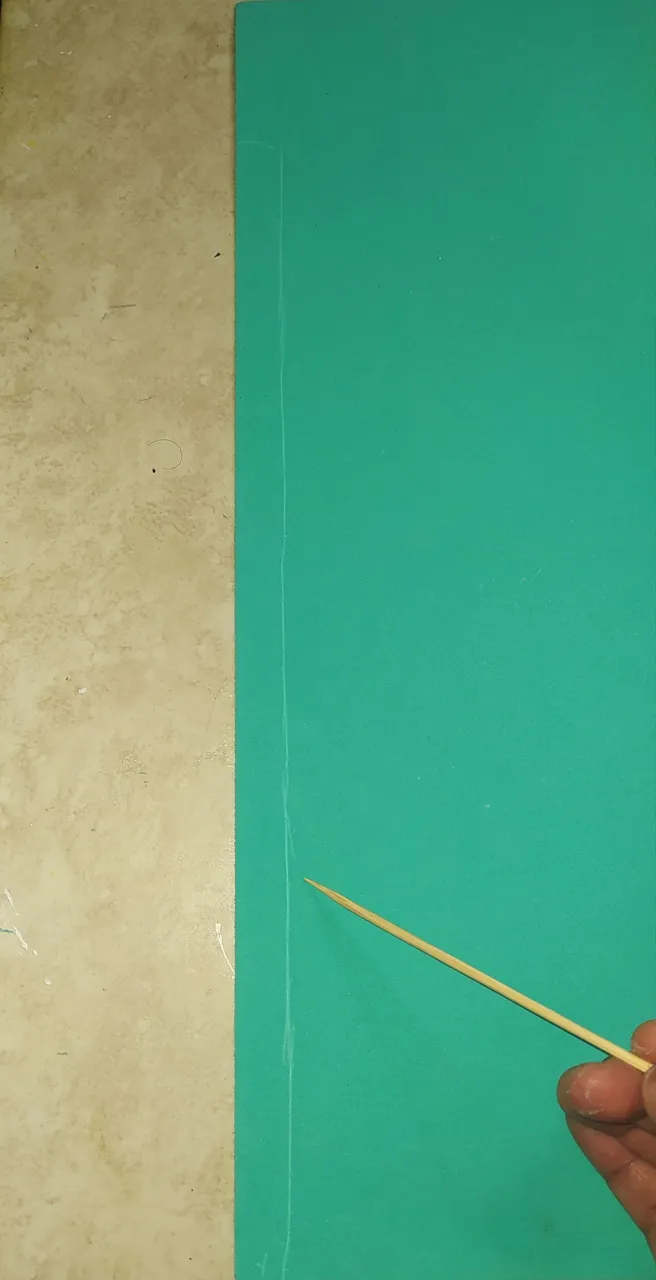
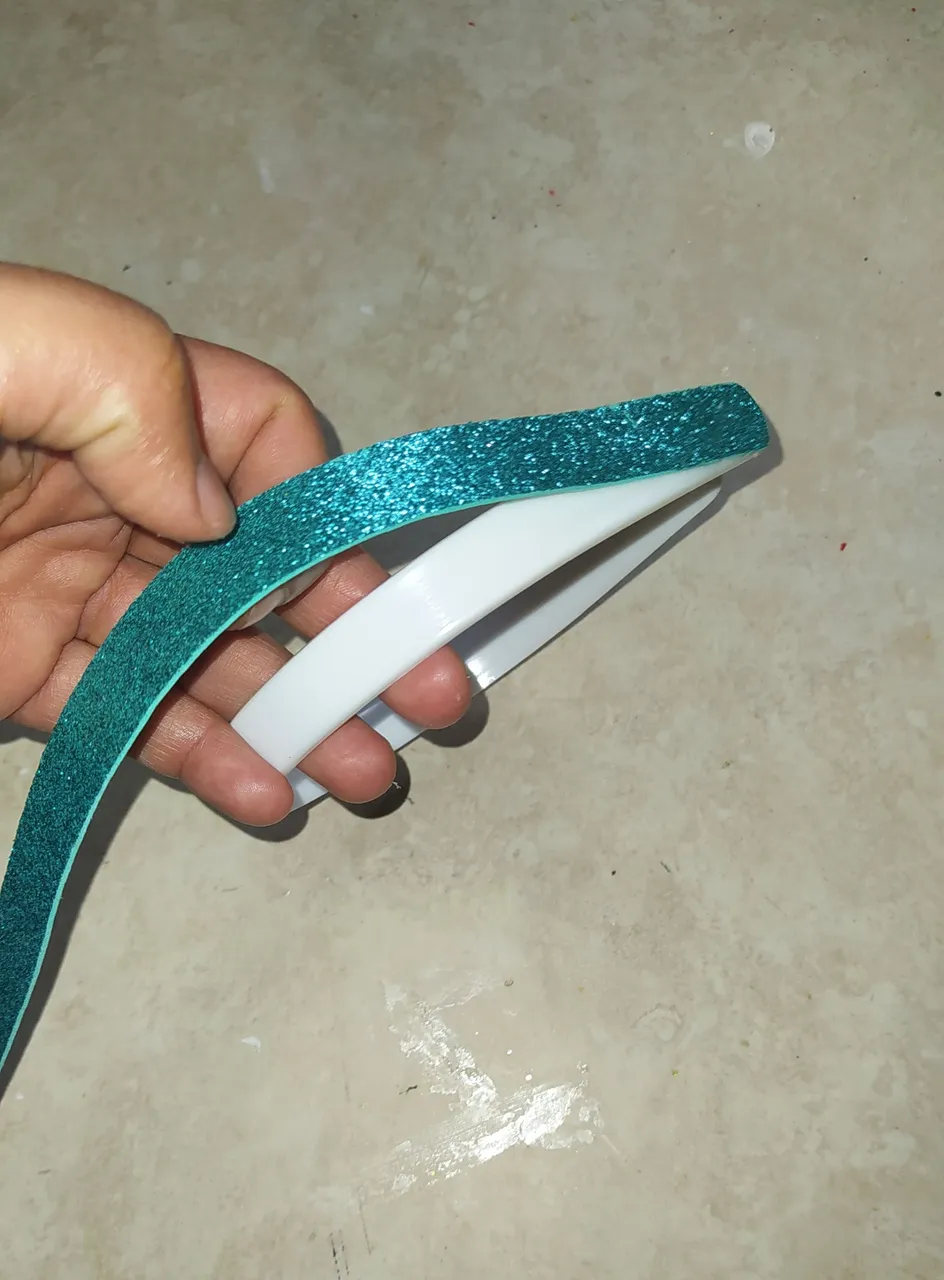
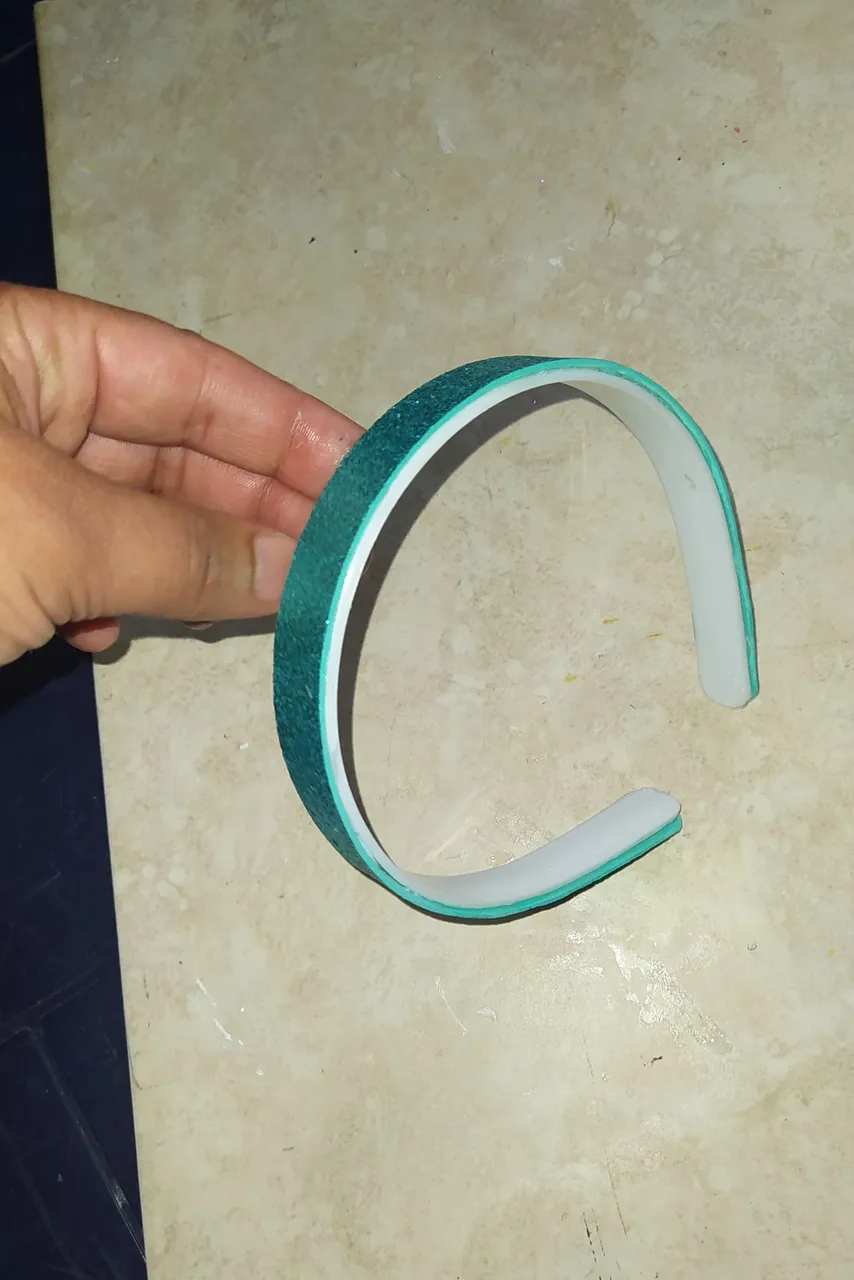
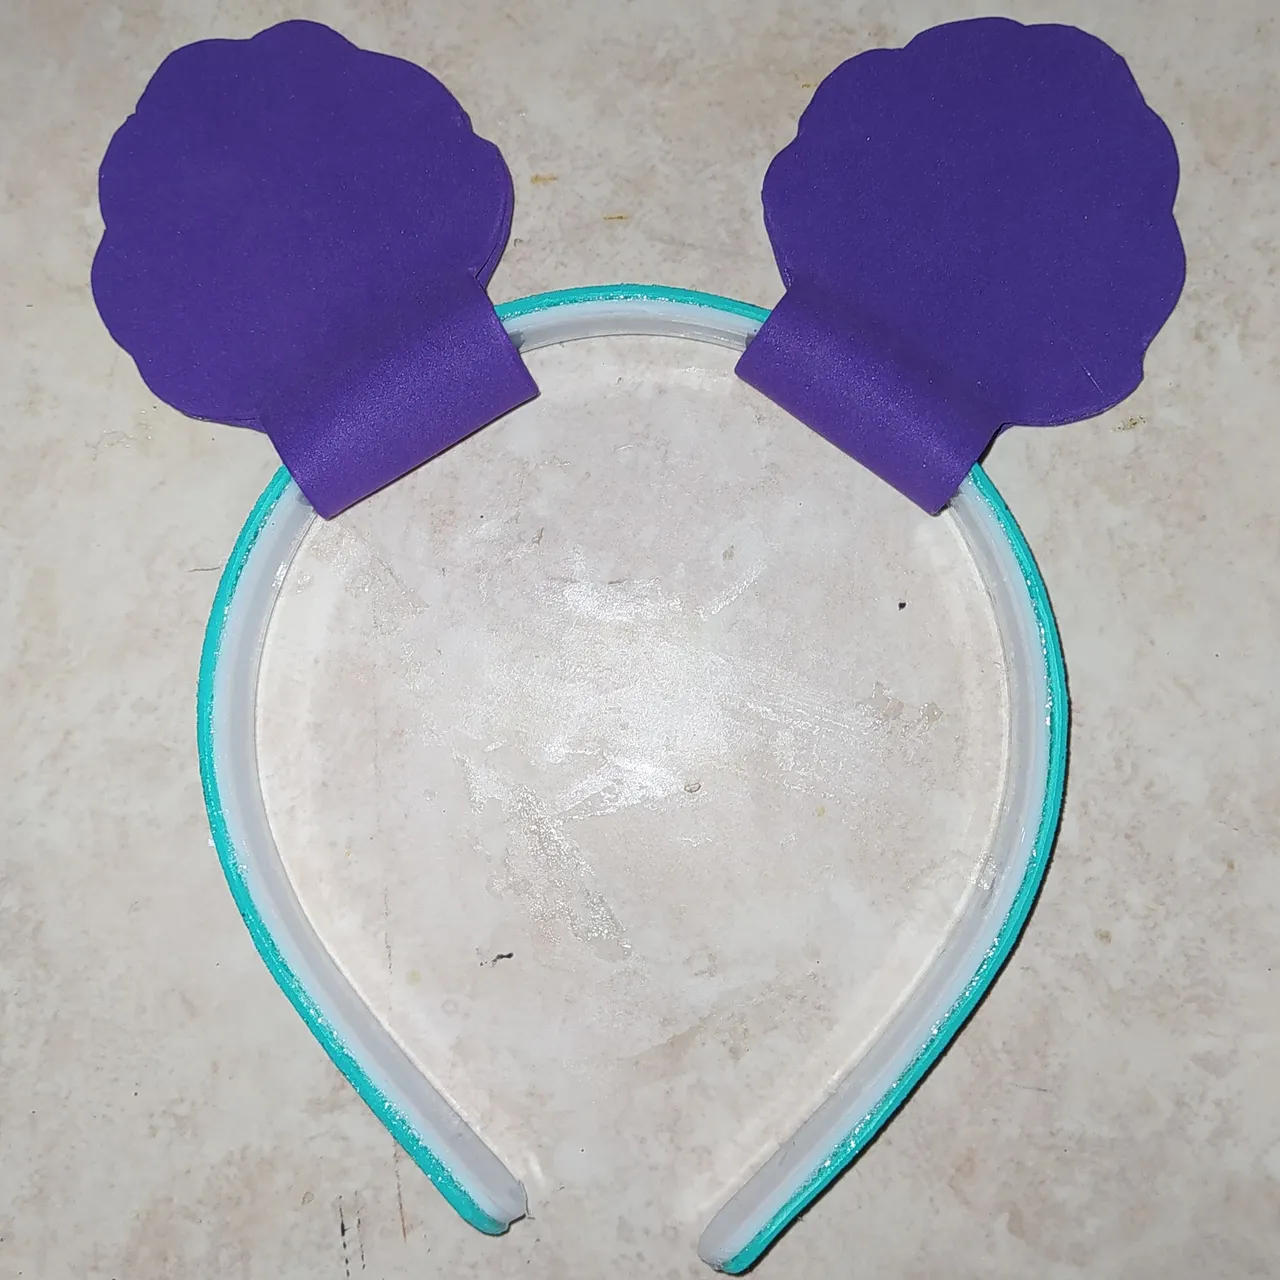
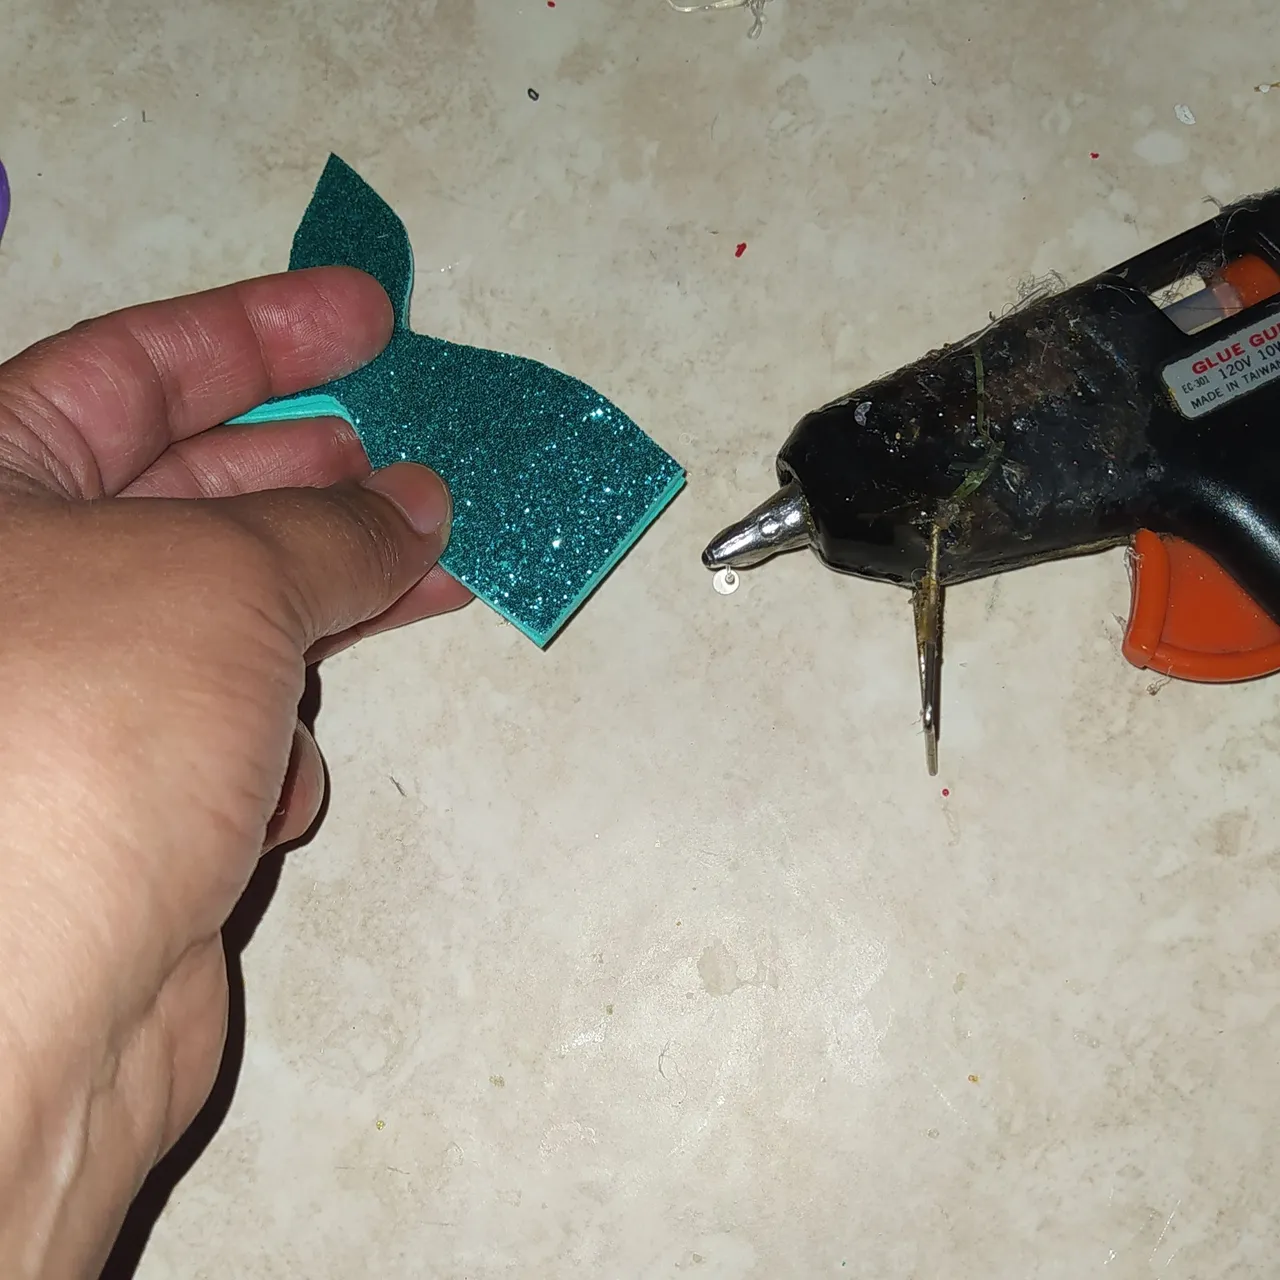
- The first thing I do is to take the headband and mark it on the frosted turquoise foami.
- Then I cut it out and apply cold silicone and glue the foami to the headband, let it dry.
- Lo primero que hago es tomar la diadema y marcarla en el foami turquesa escarchado.
- Luego recortó le aplicó silicón frío y pego el foami a la diadema, dejo secar.
 |  |  |
|---|
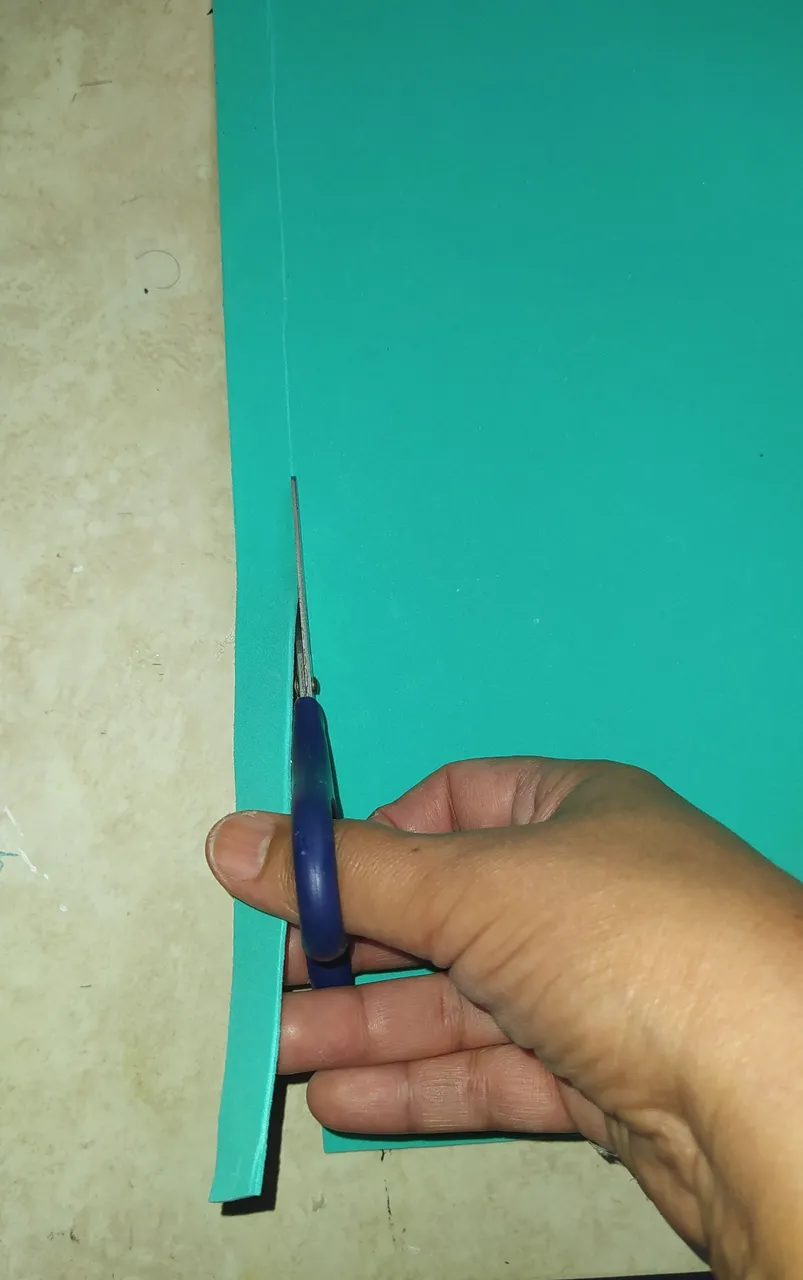
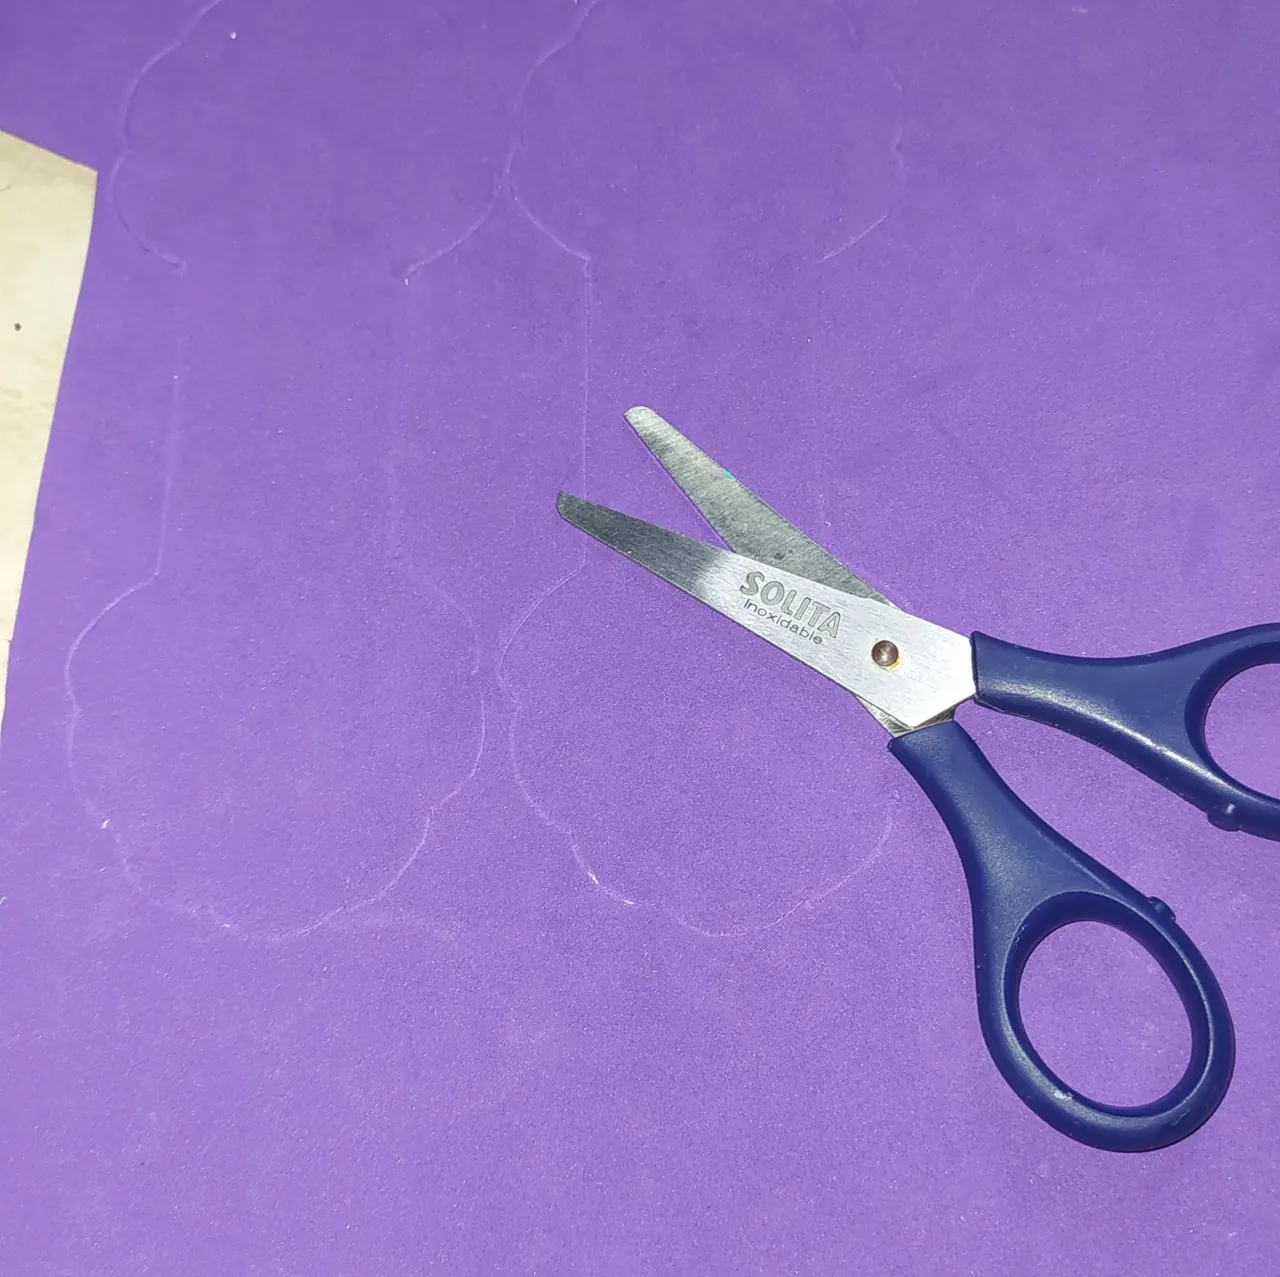
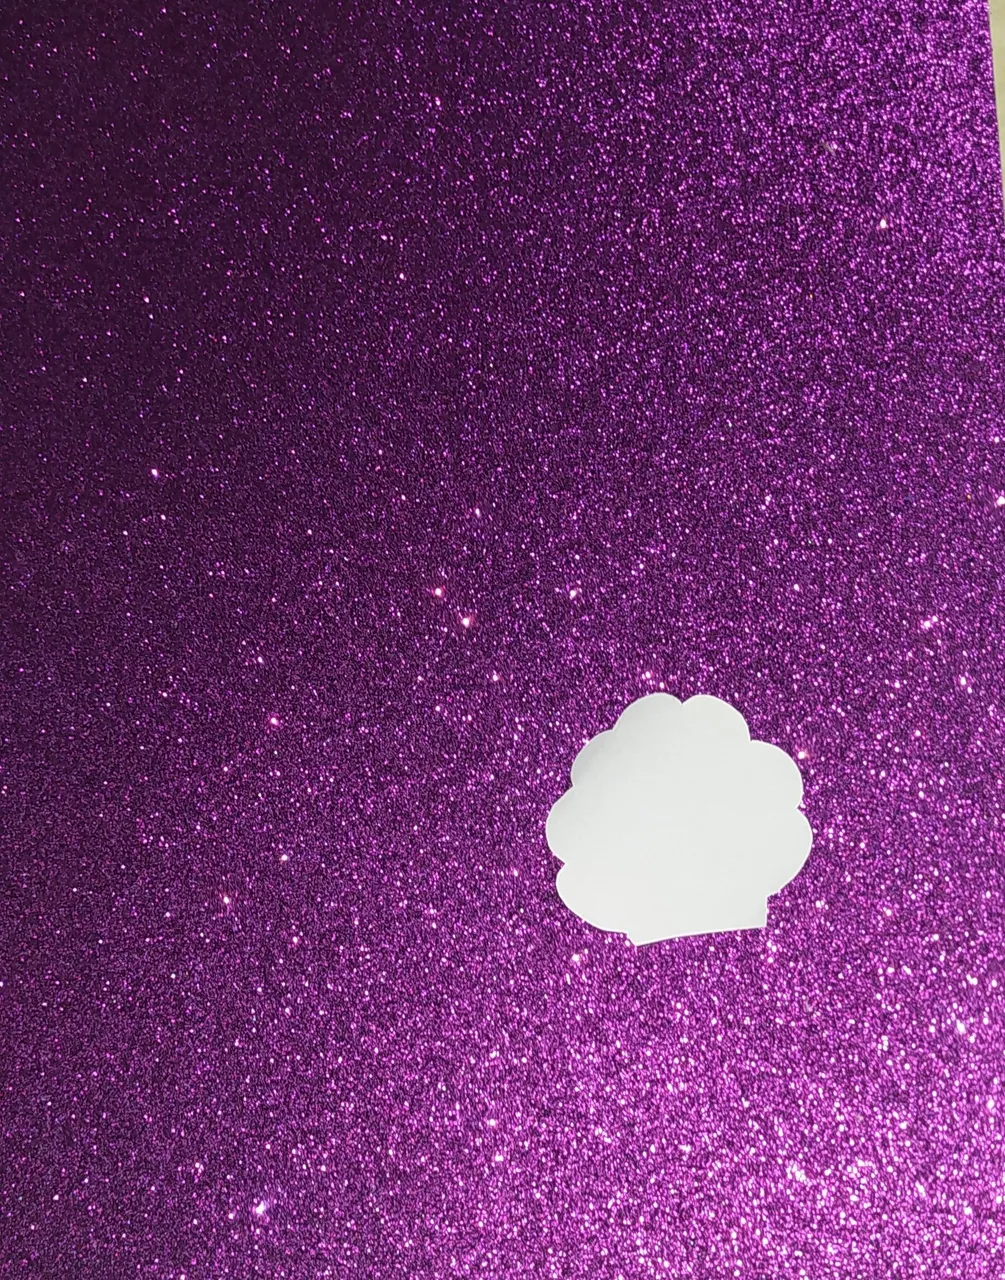
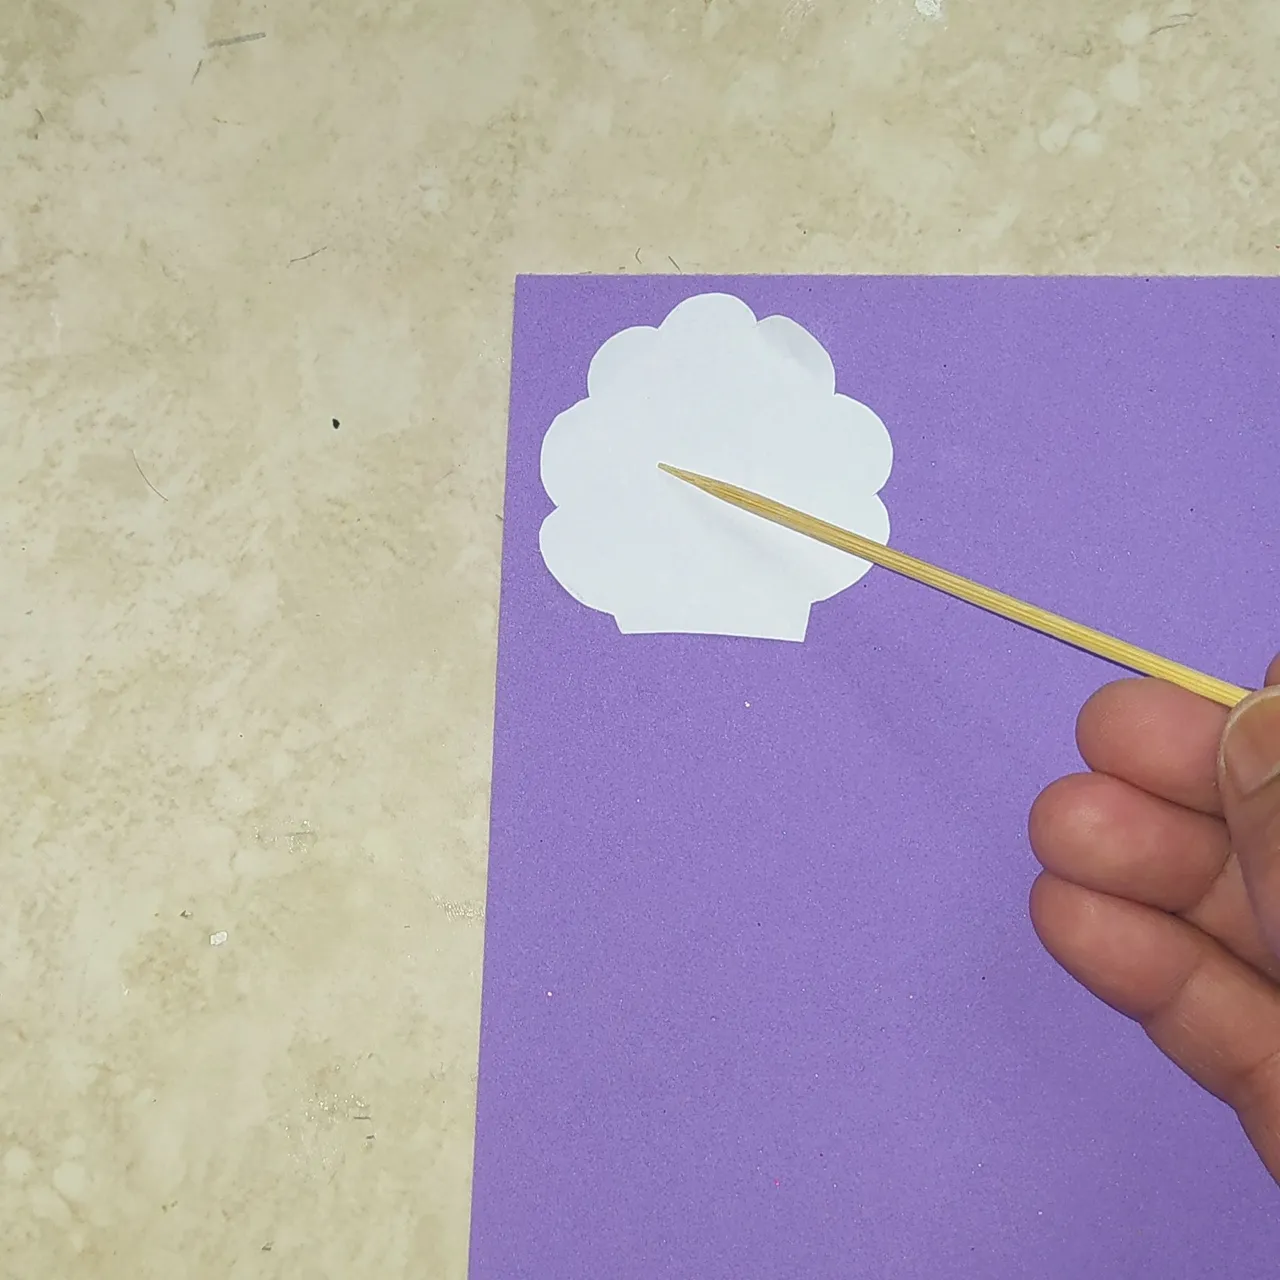
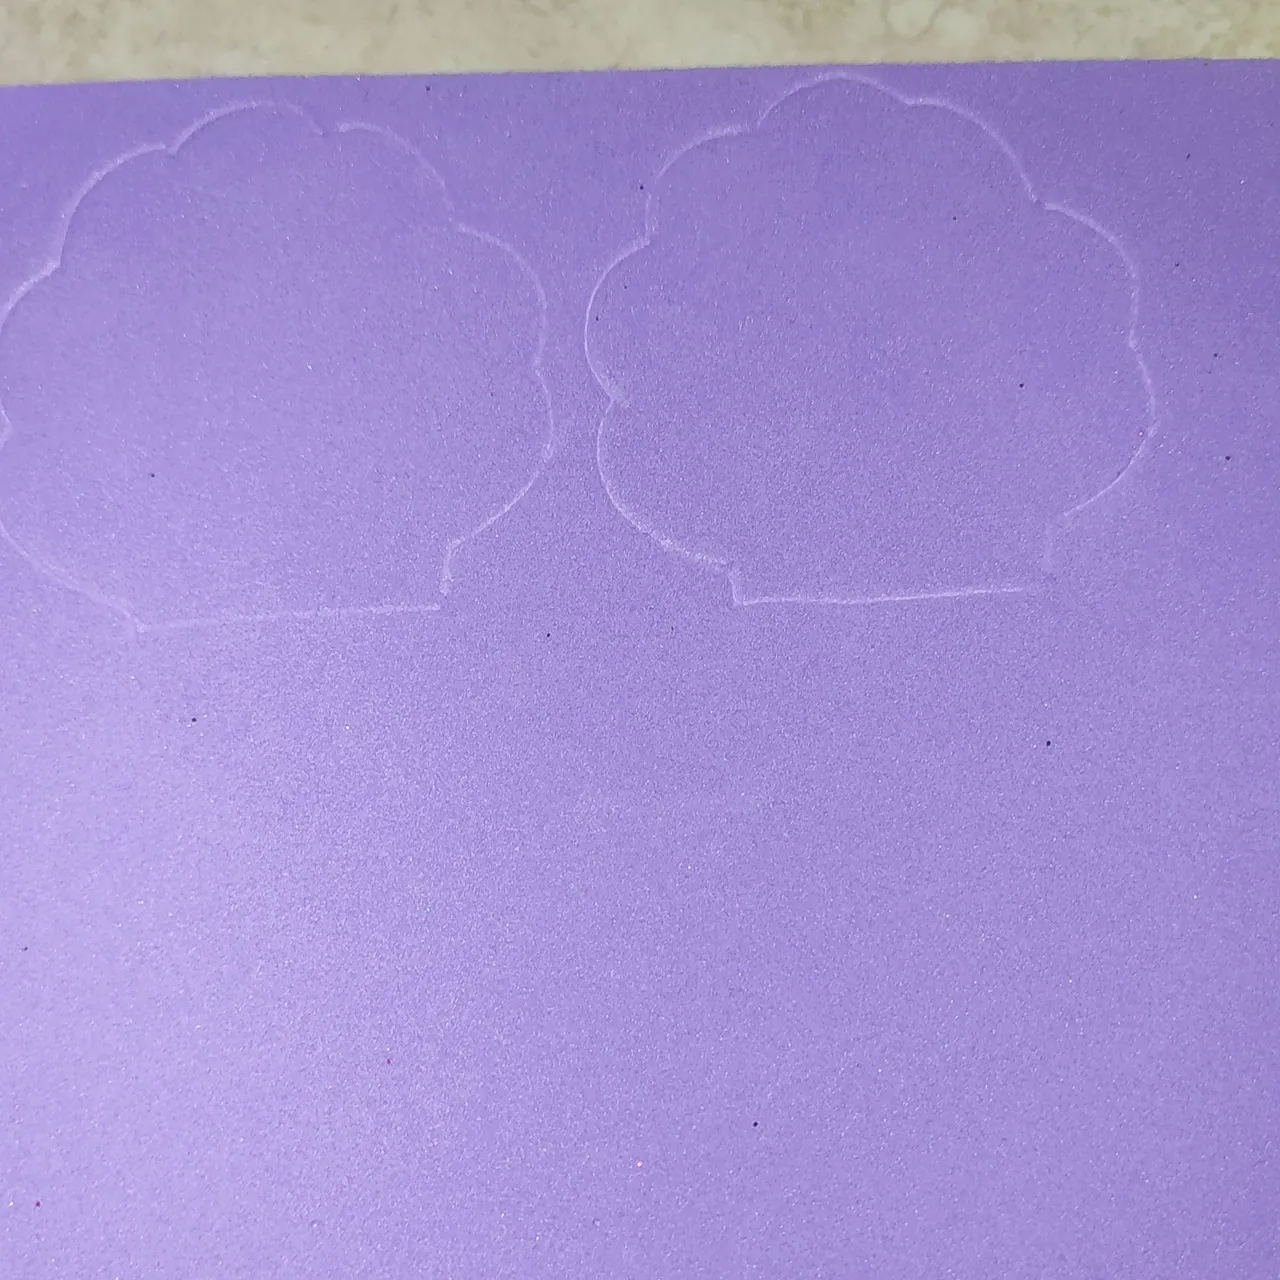
- Now I take the mold of the sea oysters I place it on the foami and mark them with the height stick.
- Then I cut all around the edge with the scissors.
- Ahora tomo el molde de las ostras marinas lo coloco en el foami y las marco con el palito de altura.
- Luego recortó por todo el borde con la tijera.
 |  |  |
|---|
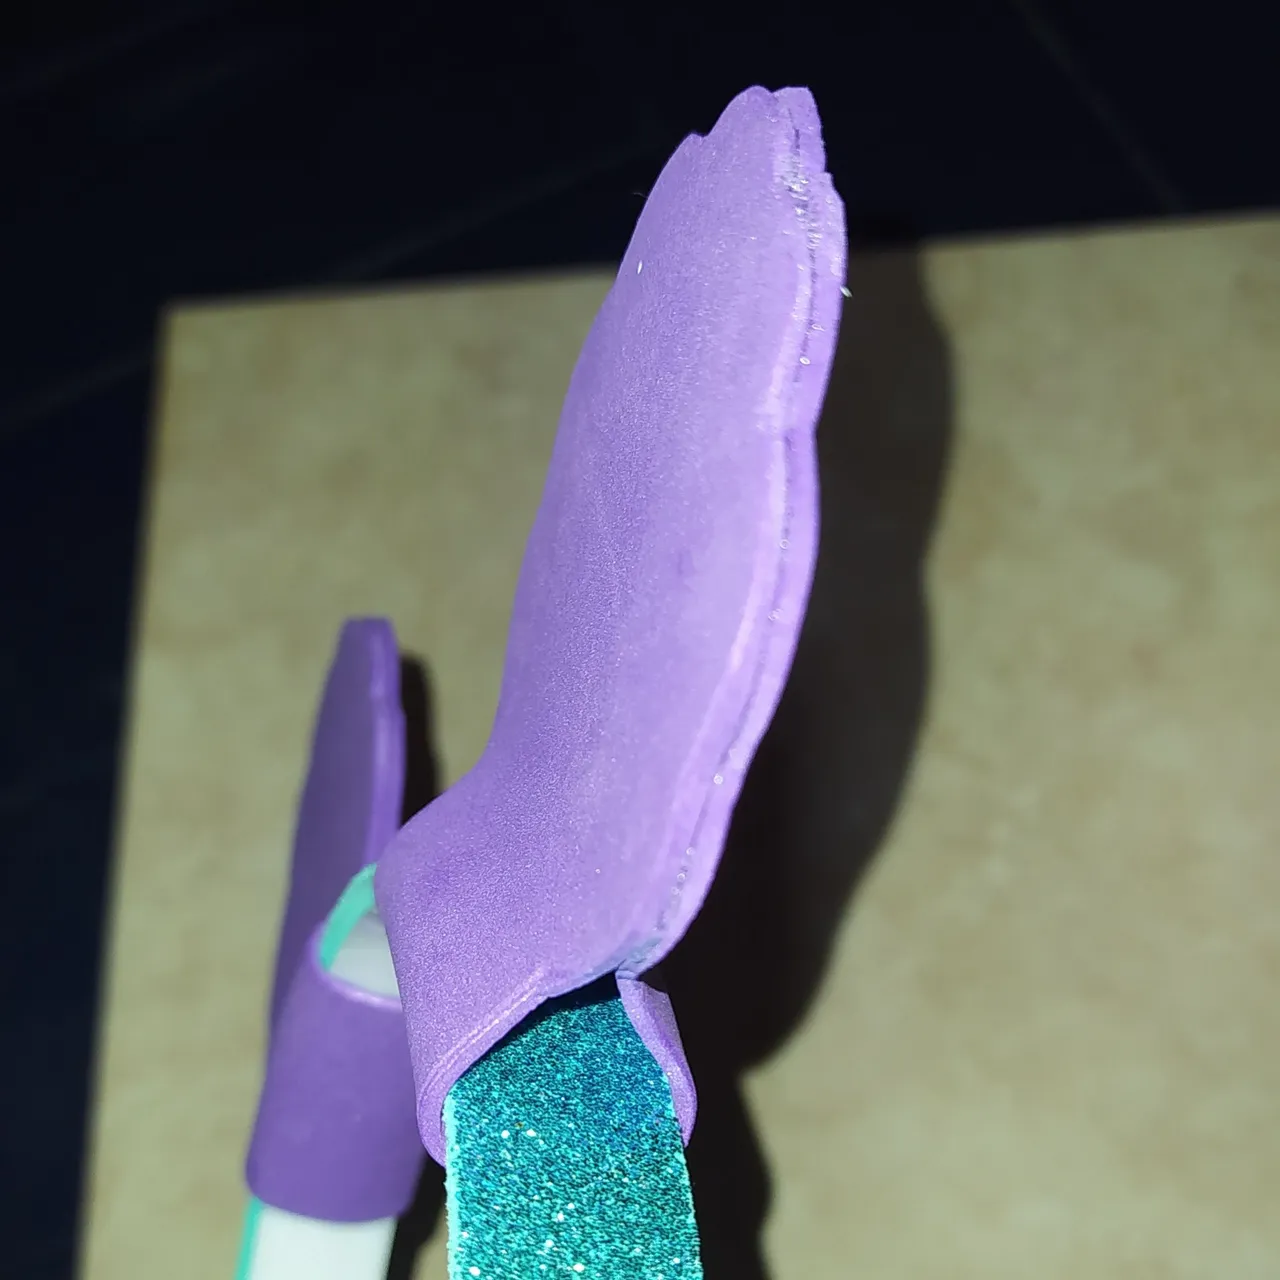
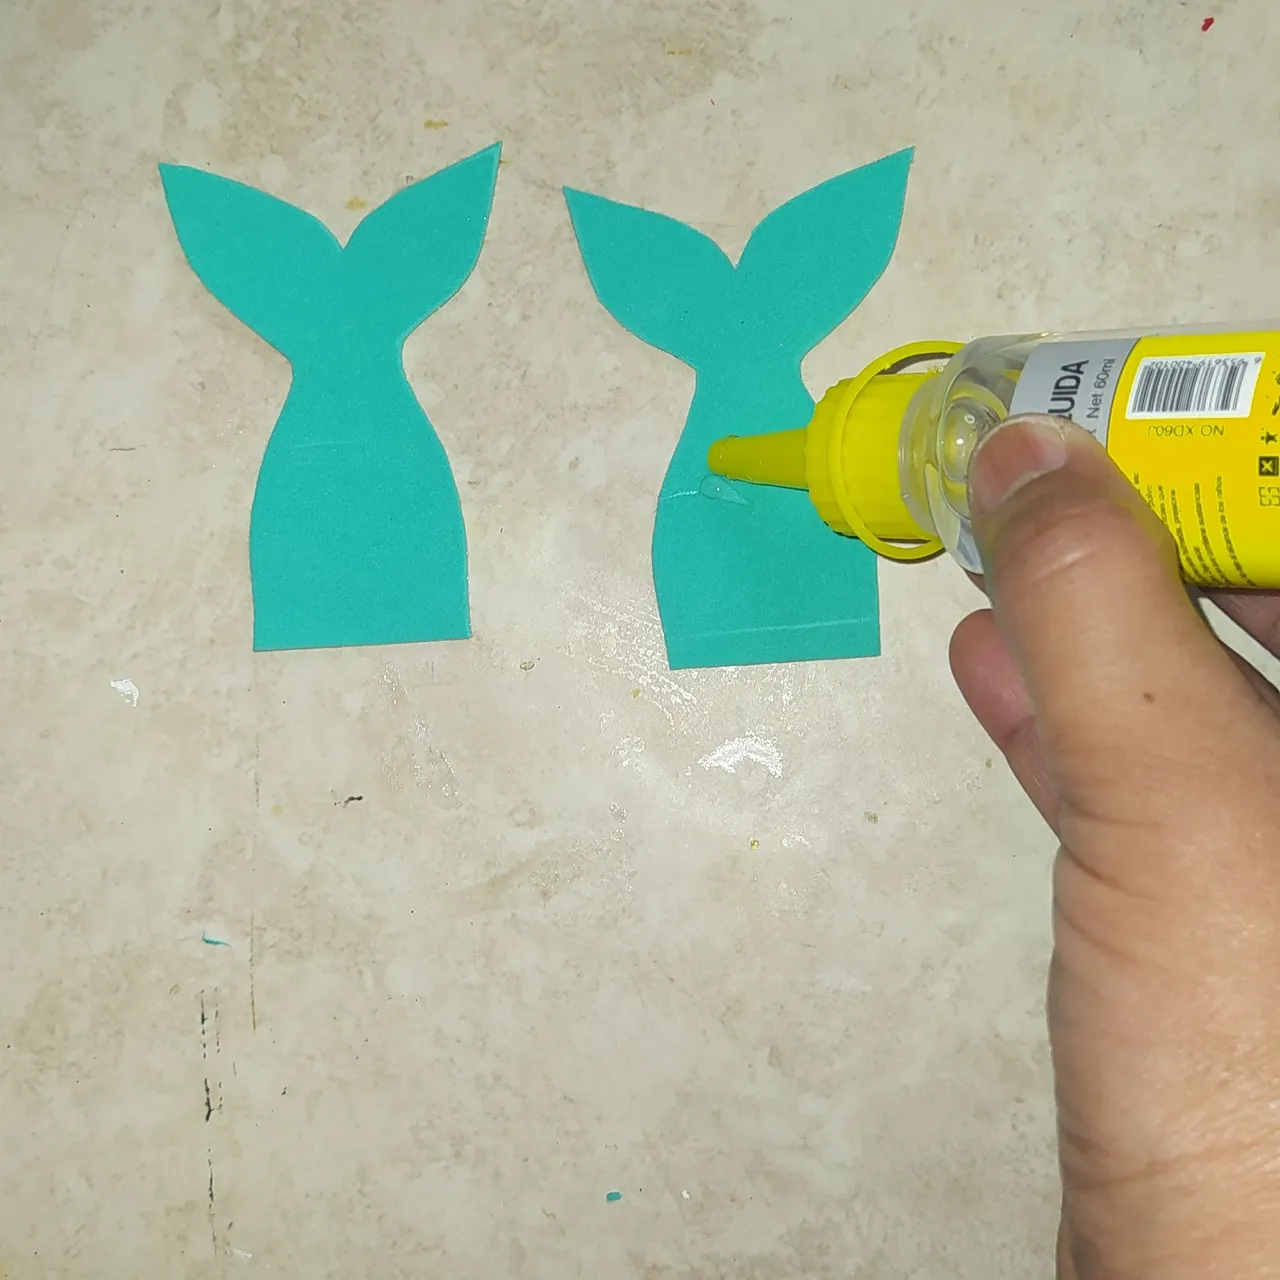
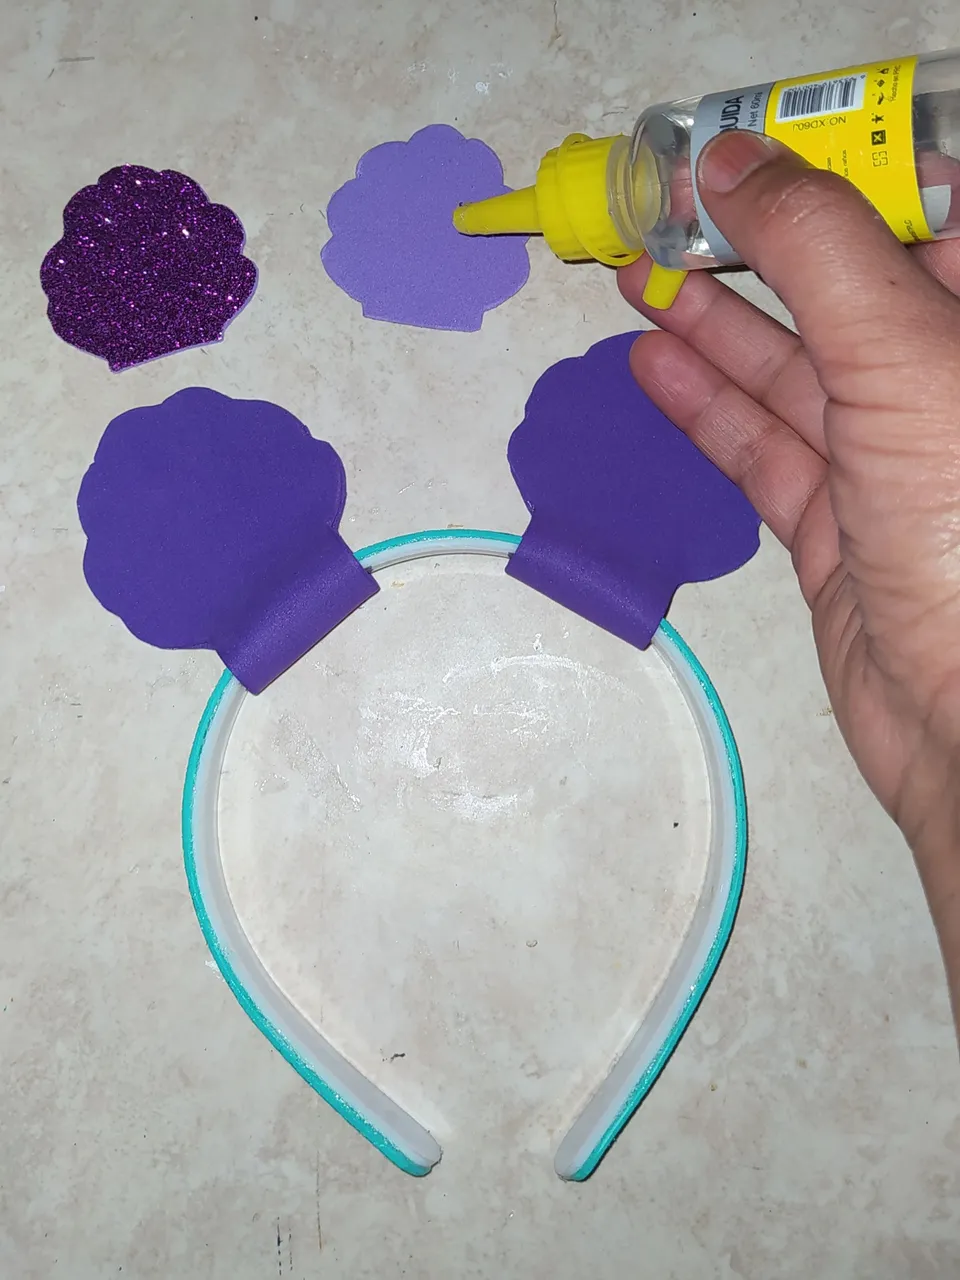
- I take the other navies and place them on the headband, put cold silicone and join both sides to glue them together, without putting glue on the base so that it will be easier to measure the center to place the glue.
- Tomo las otras marinas y las coloco en la diadema, le coloco silicón frío y uno ambas caras para pegarlas, sin colocarle pega en la base para que se me haga luego más fácil medir el centro para colocar la cola.
 |  |
|---|---|
 |  |
| - | - |
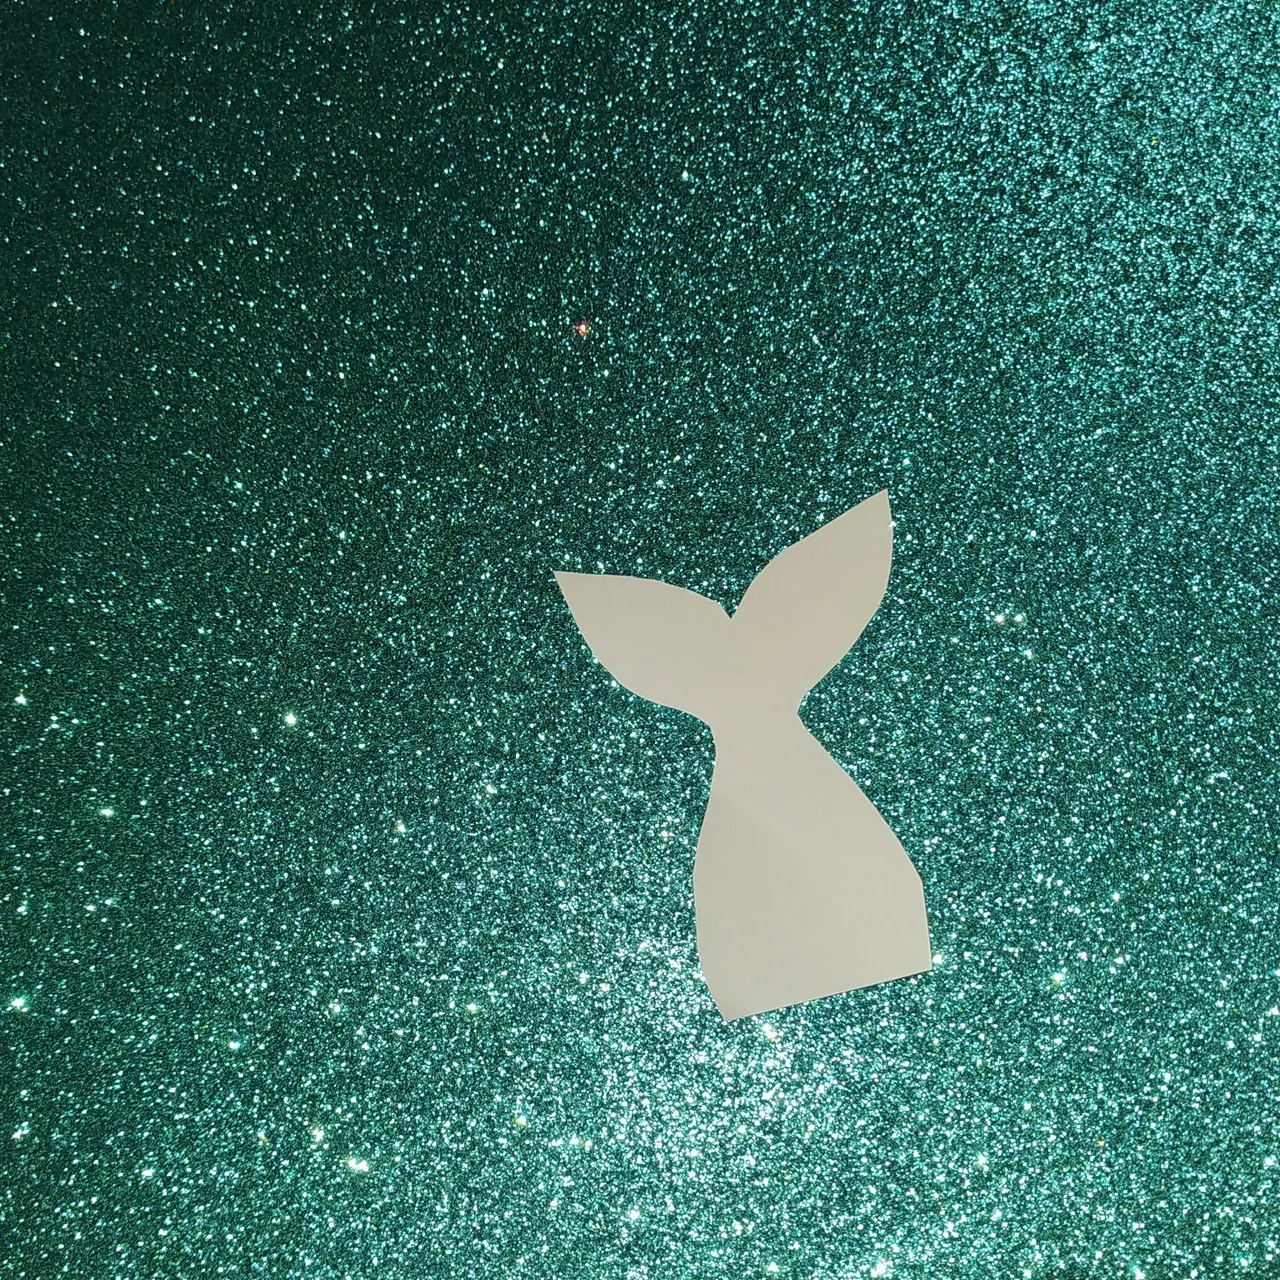
- I place the mold of the front part of the sea oysters on the frosted purple foami, then I turn the foami over and mark the mold with the height stick.
- Cut out and set aside.
- Coloco el molde de la parte del frente de las ostras marinas sobre el foami morado escarchado, luego volteo el foami y marco con el palito de altura el molde.
- Recortó y reservo.
 |  | |
|---|---|---|
 |  |  |
| - | - | - |
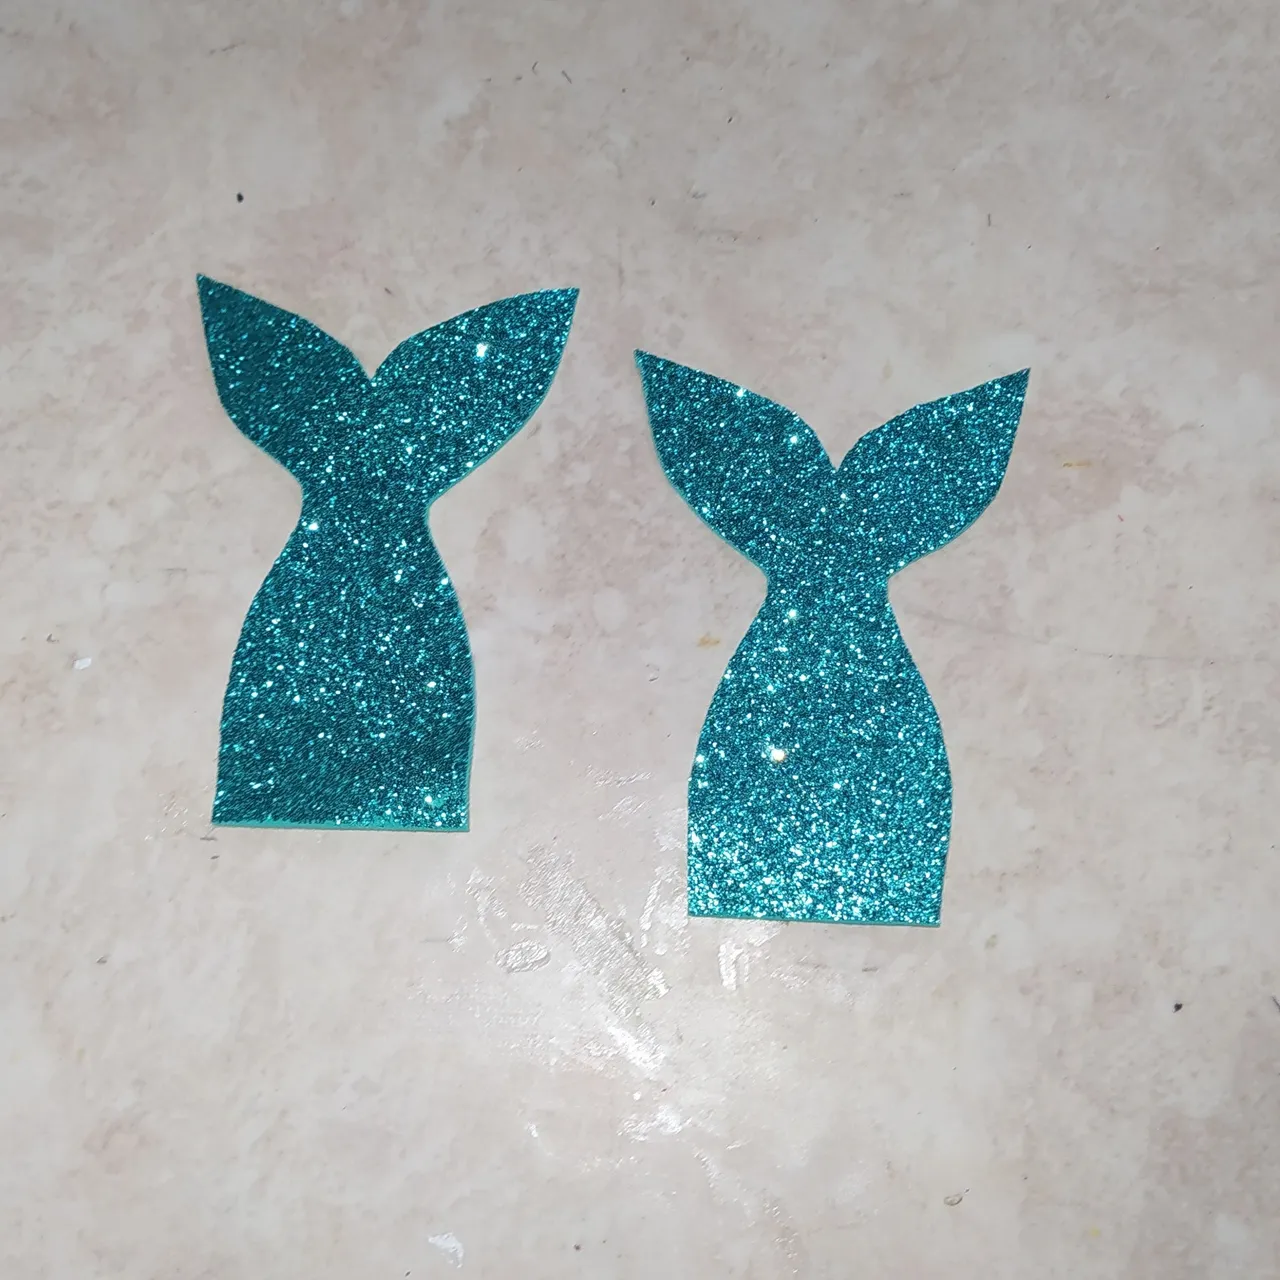
- I repeat the same procedure with the glue, and cut out two then apply cold silicone and let them dry.
- Repito el mismo pricedimiento con la cola, y recortó dos luego les aplicó silicón frío y dejo secar.
 |  |  |
|---|
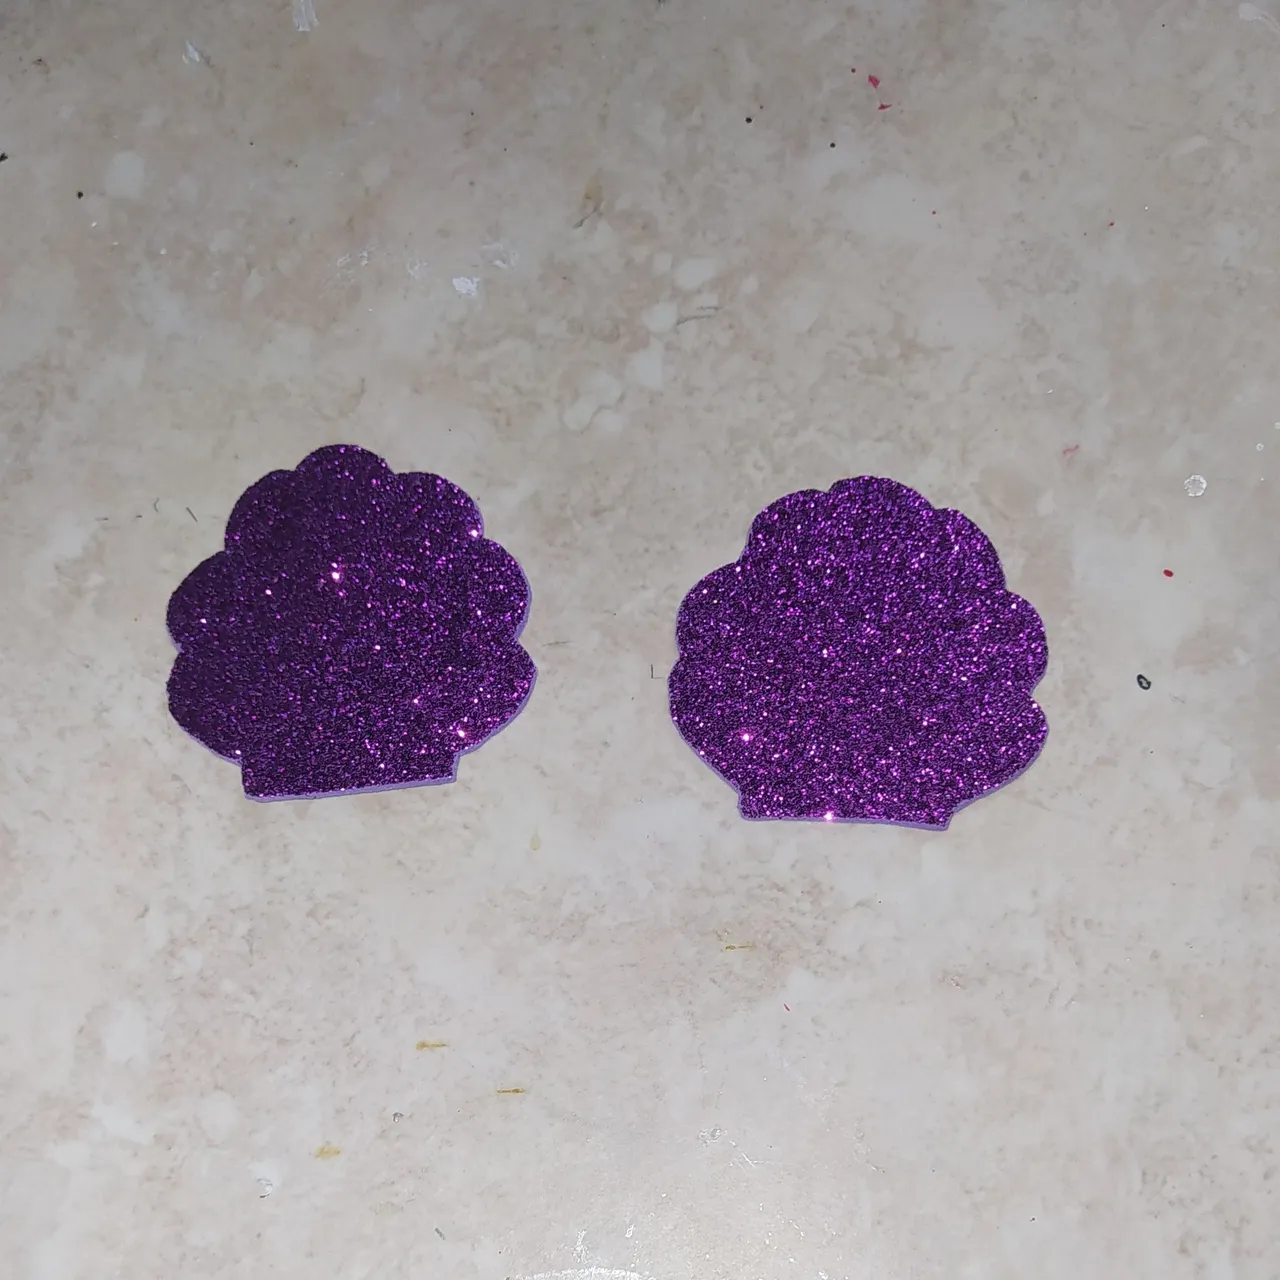
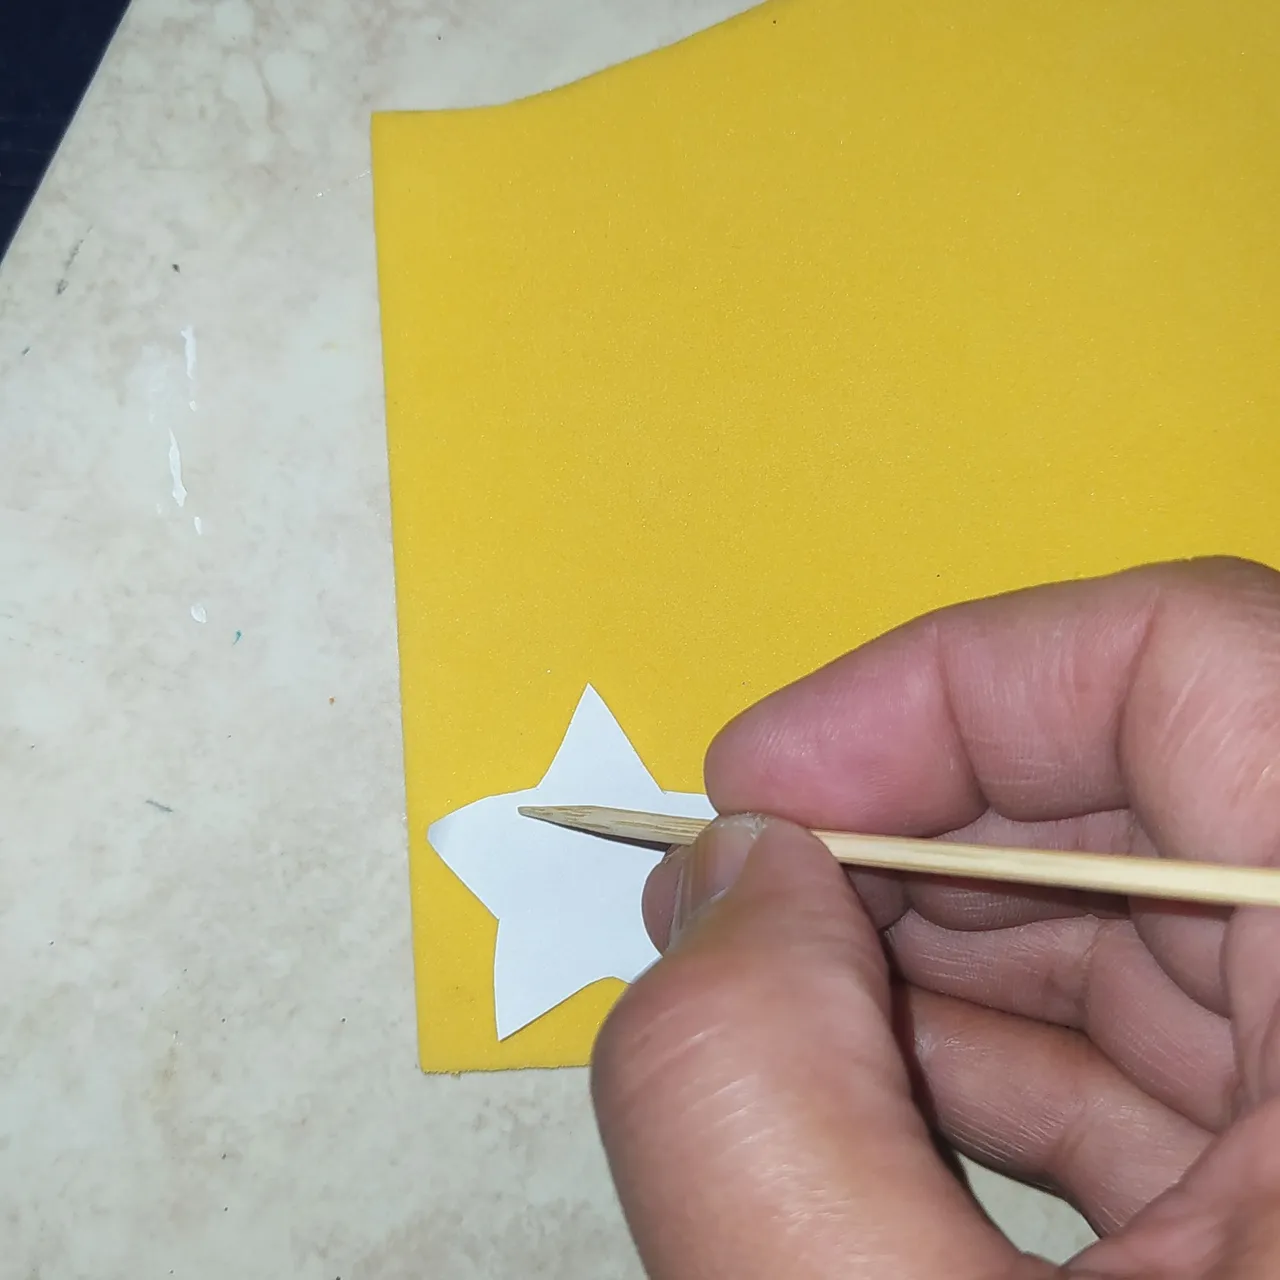
- I take the star mold and mark two of them on the gold frosted foami.
- Tomo el molde de la estrellita y marco dos en el foami dorado escarchado
 |  |  |
|---|
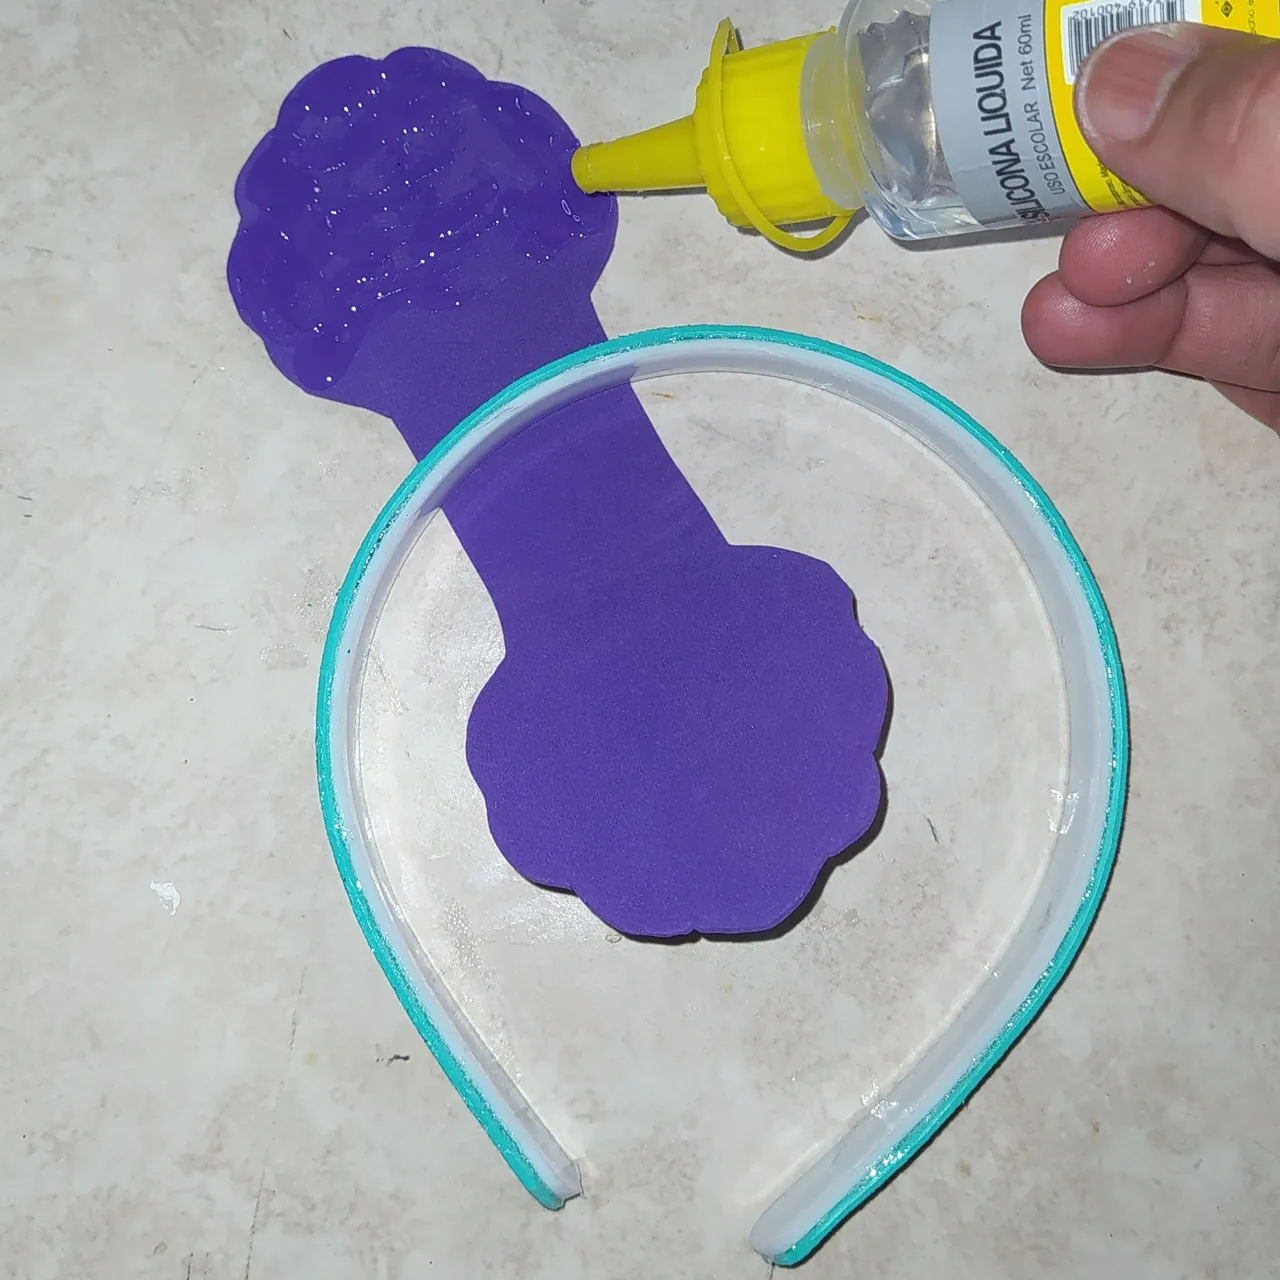
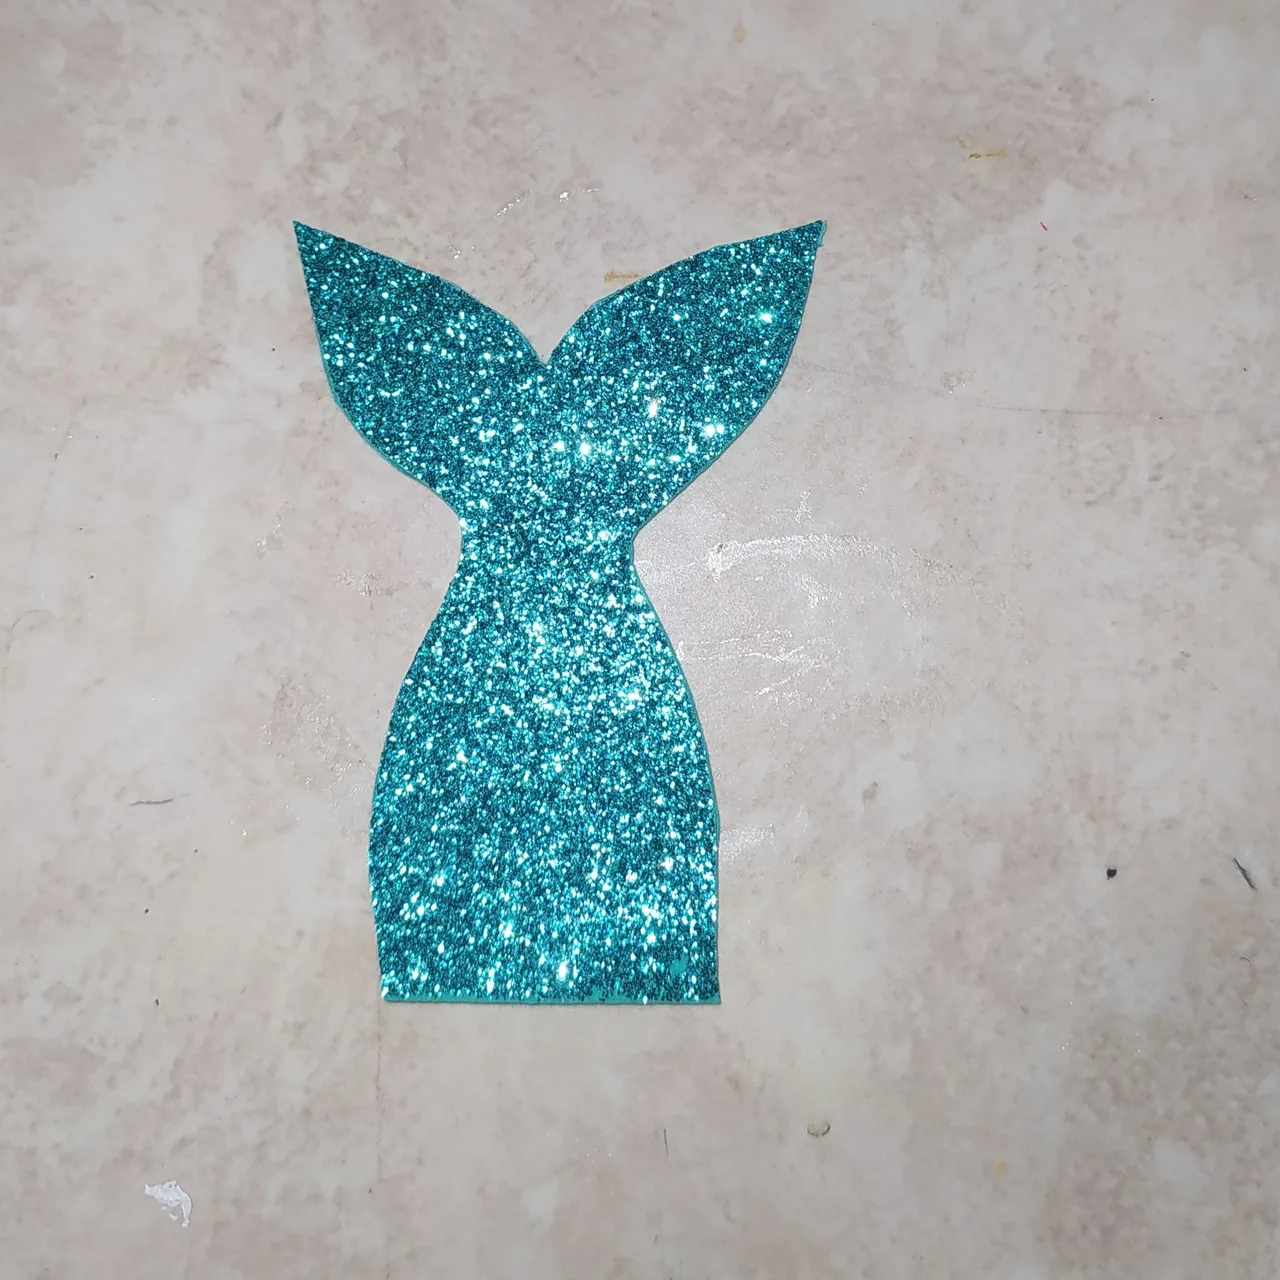
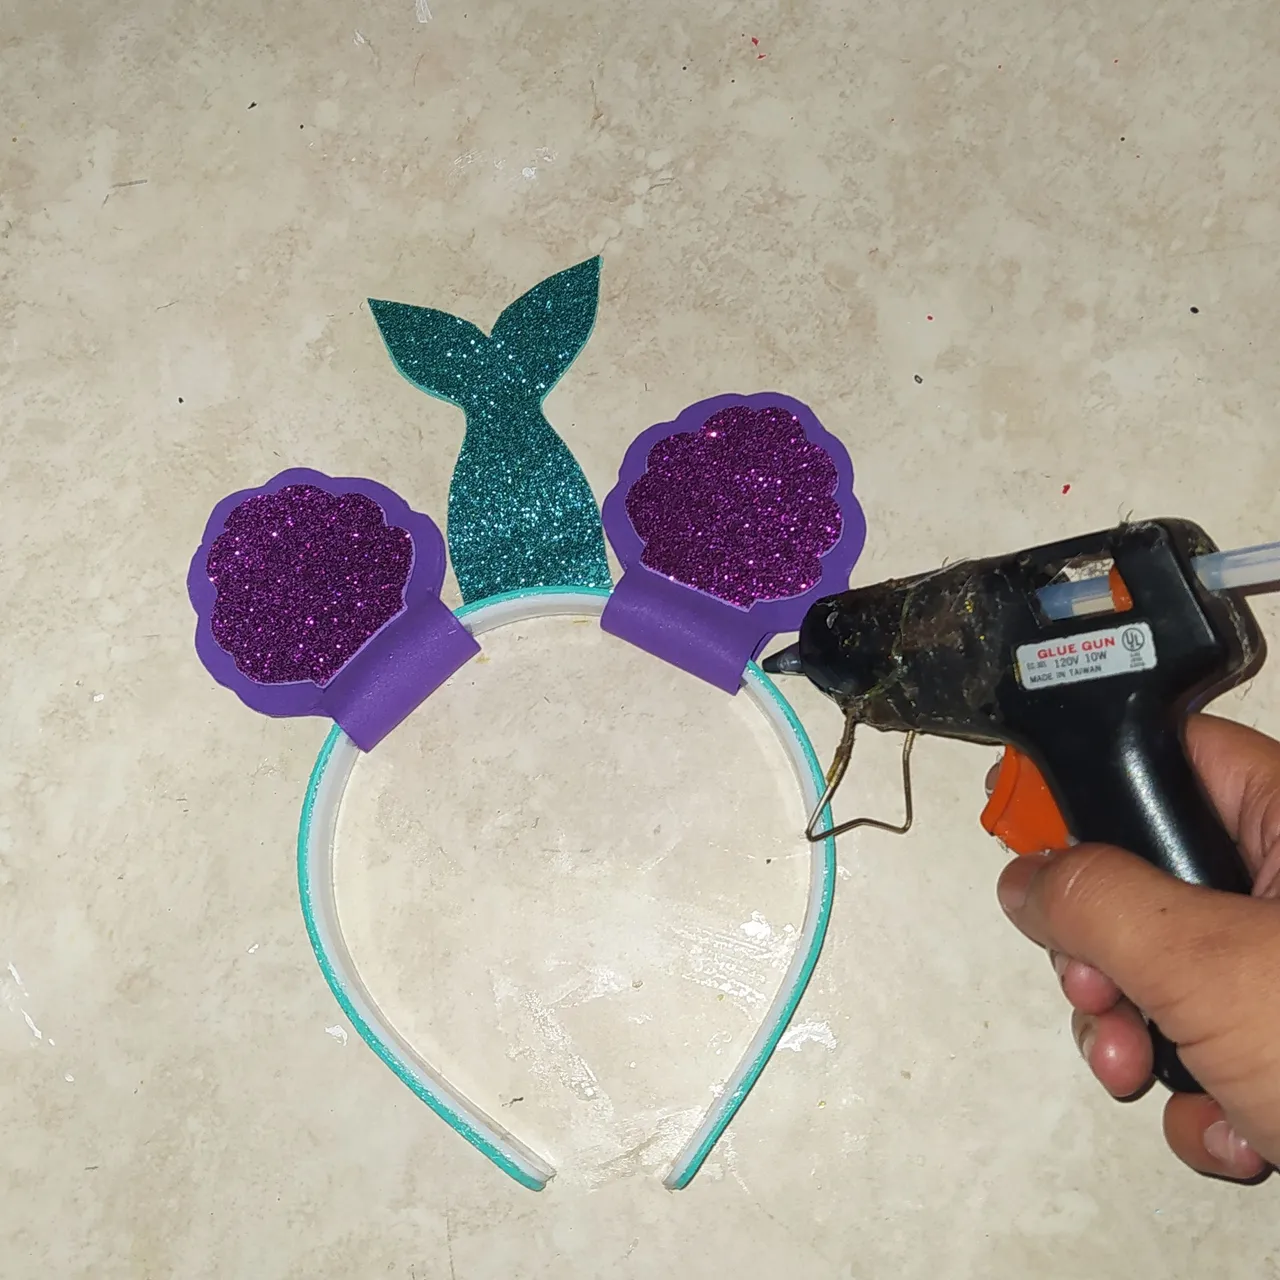
- Now I take the other frosted ones and put silicone on them and glue on top of the other light purple ones.
- I put silicone on the tail and glue it in the center of the headband.
- To fix the others to the headband and prevent them from rolling off, I put hot silicone on the base and glue them on top.
- Ahora tomo las otras escarchadas y les coloco silicón y pego encima de las otras morado claro.
- Le coloco silicón a la cola y la pego en el centro de la diadema.
- Para fijar las otras a la diadema y evitar que se rueden, les coloco silicón caliente en la base y las pego.
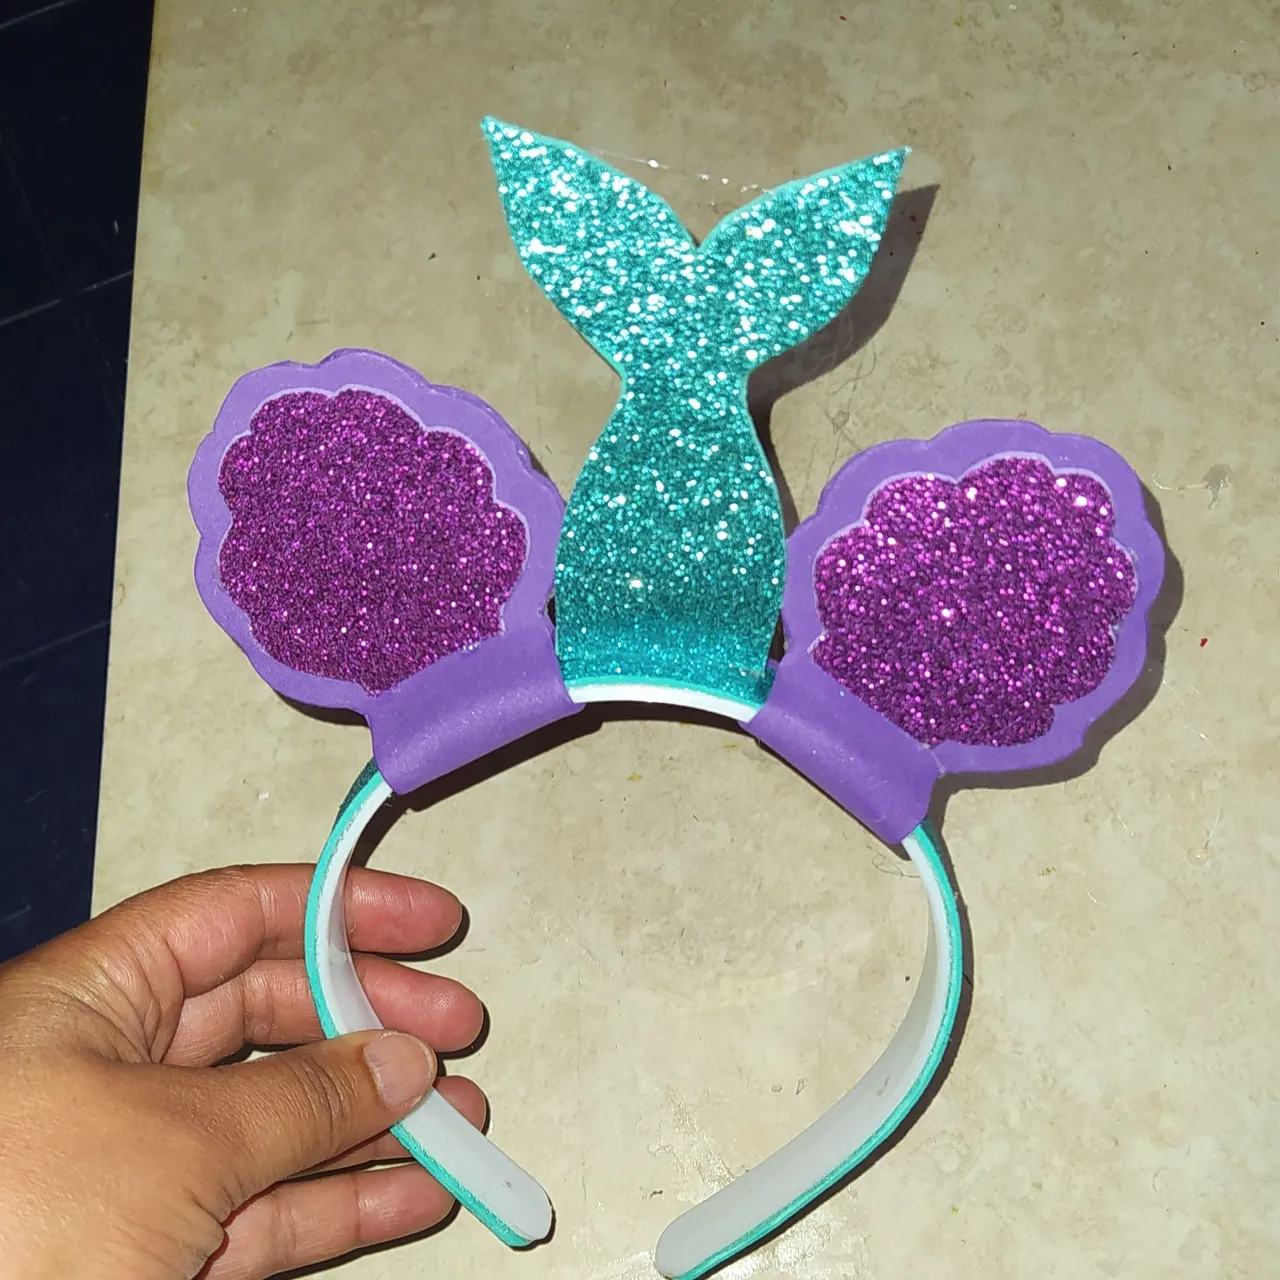
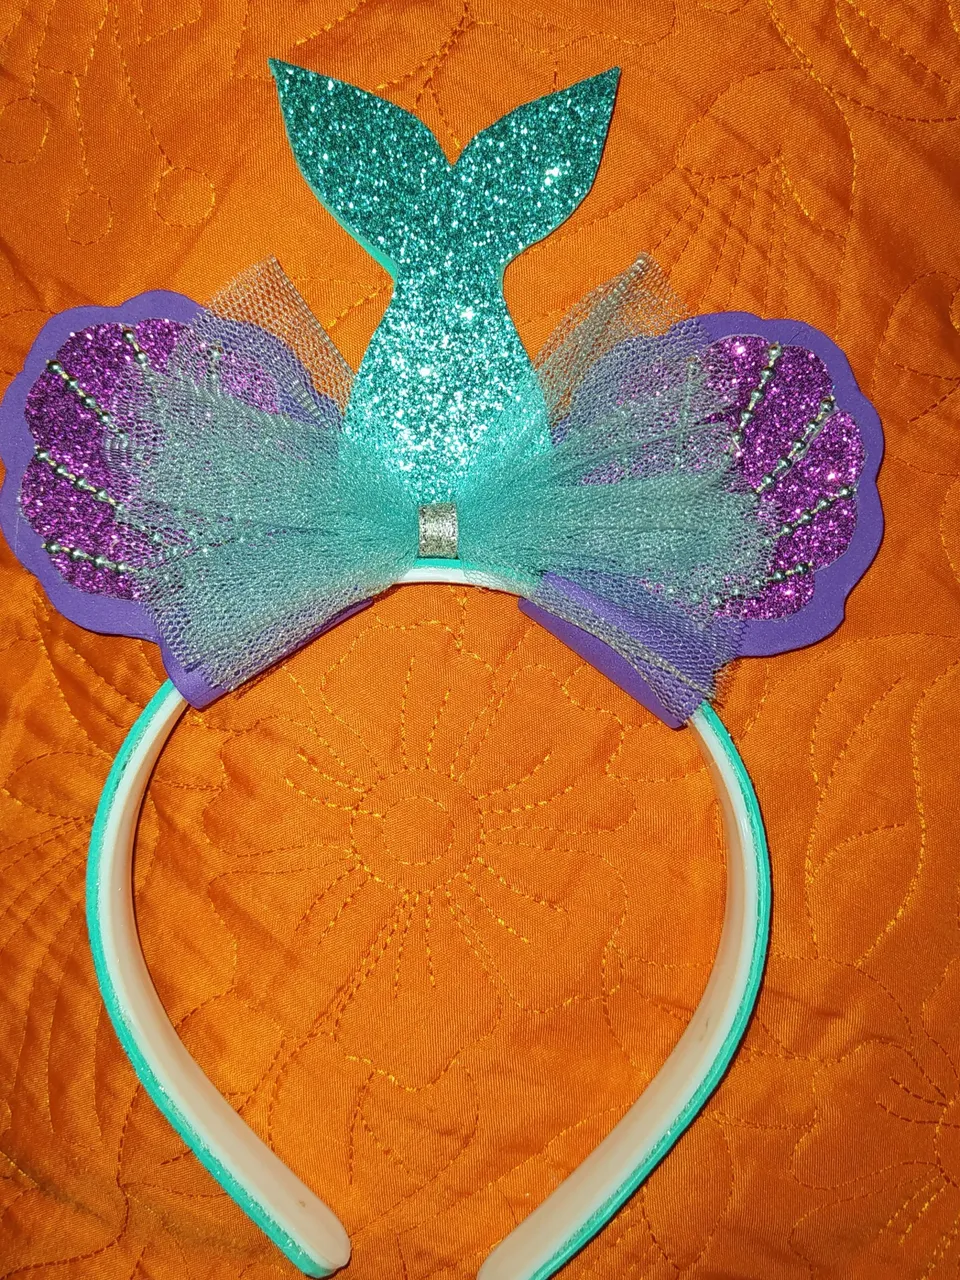
- Here the oysters and tail are already attached.
- Aquí ya están fijas las ostras y la cola .
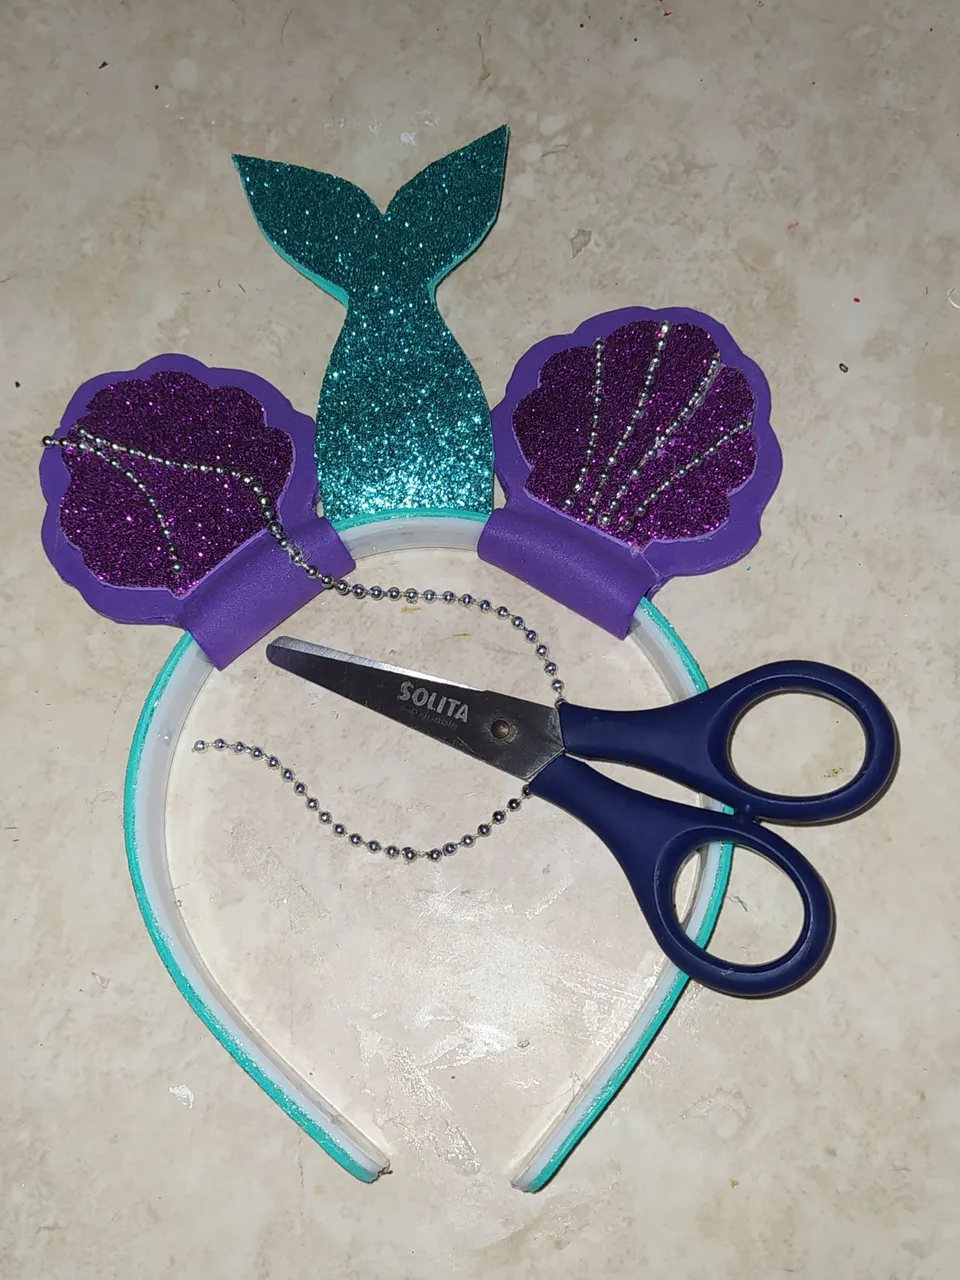
- To make the oysters look more beautiful, I place the silver-plated pearls on them.
- Para hacer lucir las ostras más hermosas les coloco las perlas corridas plateadas.
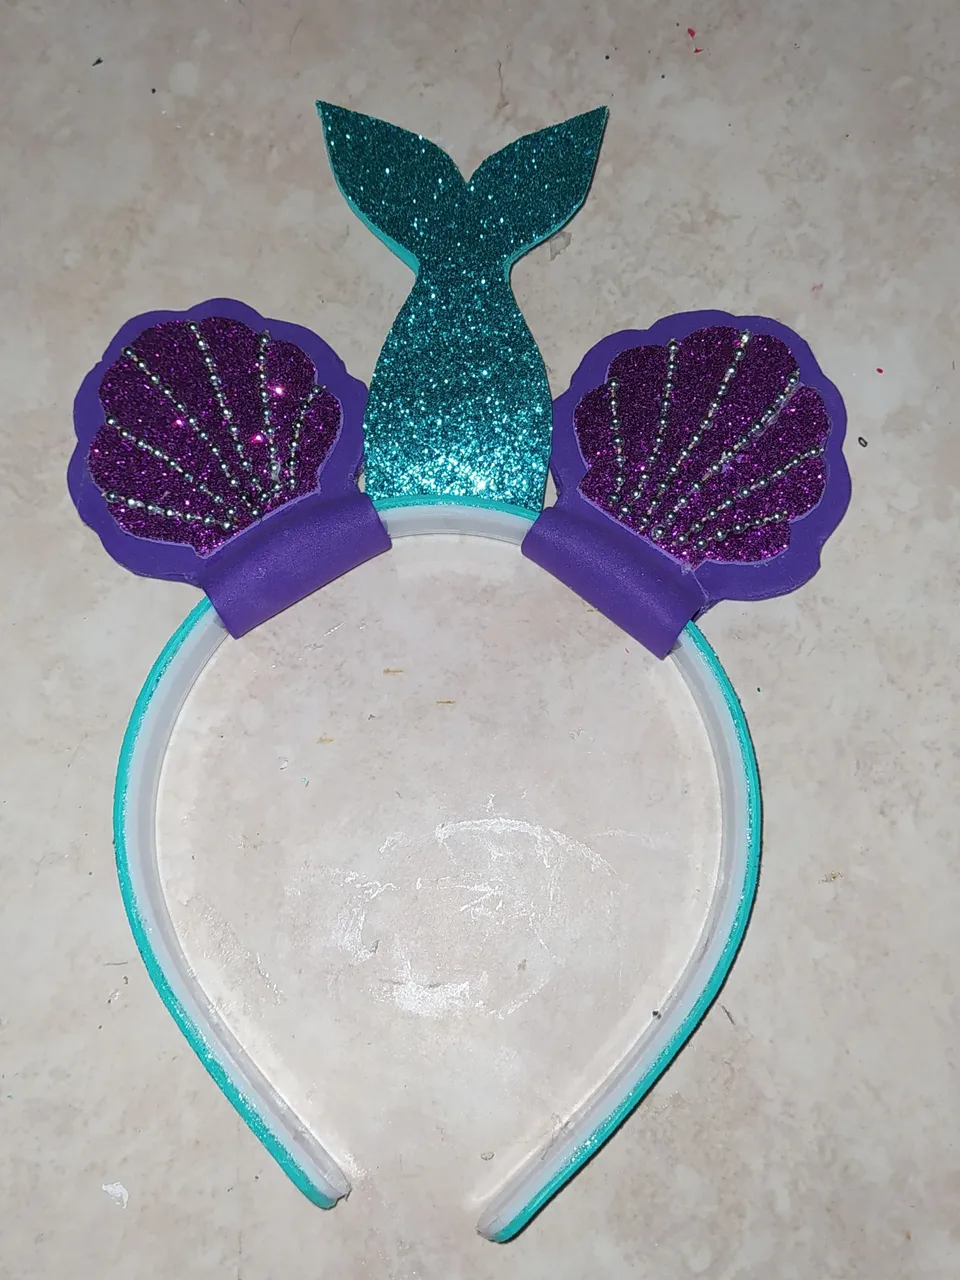
- And you will forgive me, but just like that, without the other details, this tiara looks very beautiful.
- Y ustedes me perdonan pero tan solo así sin colocarles los otros detalles ya esta diadema se ve muy bella.
 |  |
|---|
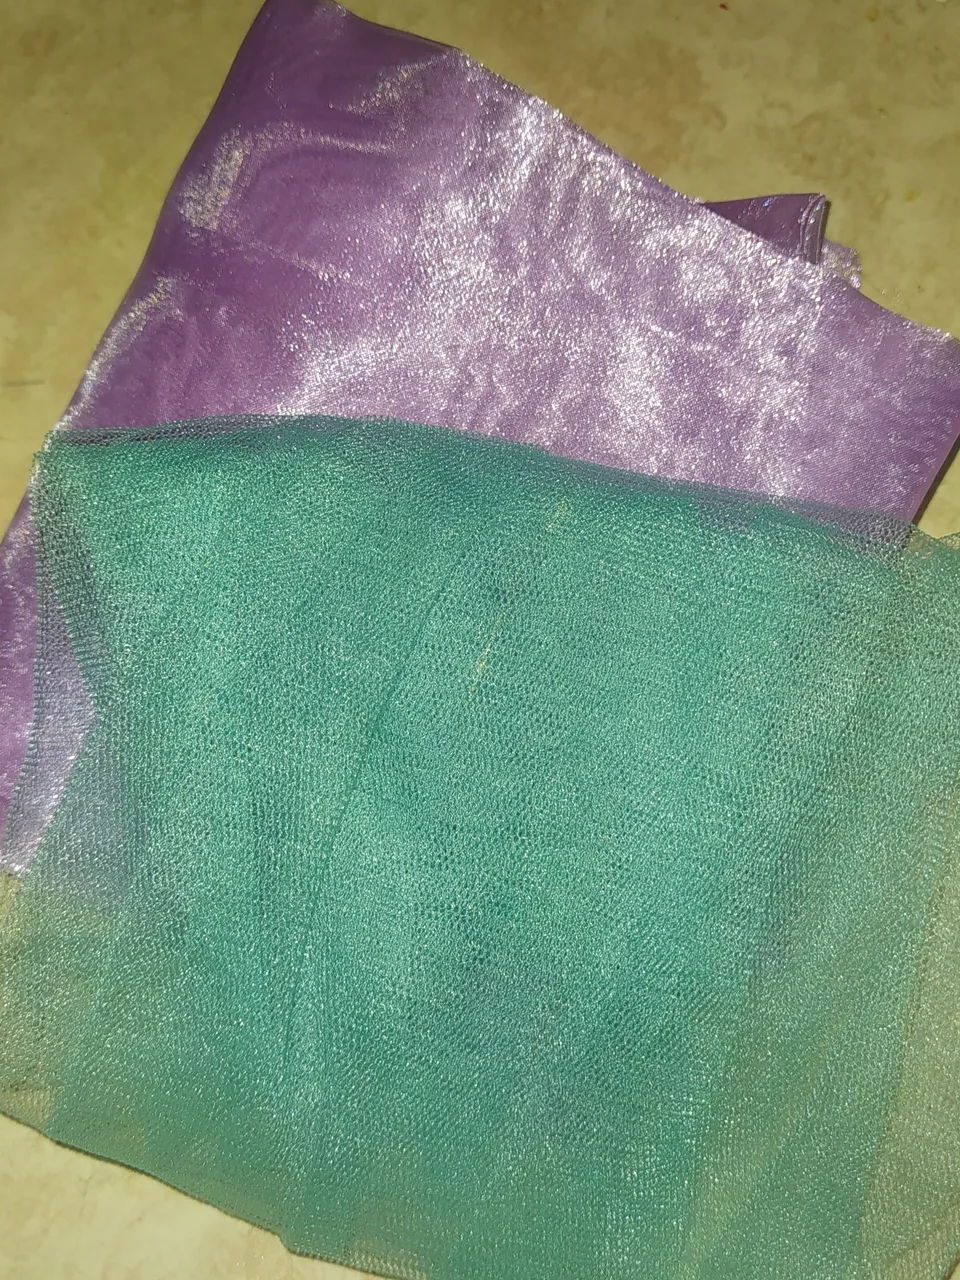
- I tell you that when I decided to make the headband I thought about putting a lilac bow on it, but as I was progressing with the headband and at the moment of making the bow I realized that the lilac color did not stand out very much, so I decided to make a turquoise green tulle bow.
- Les comento que cuando me decidí hacer la diadema pensé en ponerle un moño color lila pero a medida que iba avanzando con la diadema y al momento de realizar el moño me di cuenta que el color lila no le resaltaba mucho, así que me decidí por hacerle un moño del tul verde turquesa.
 |  |  |
|---|
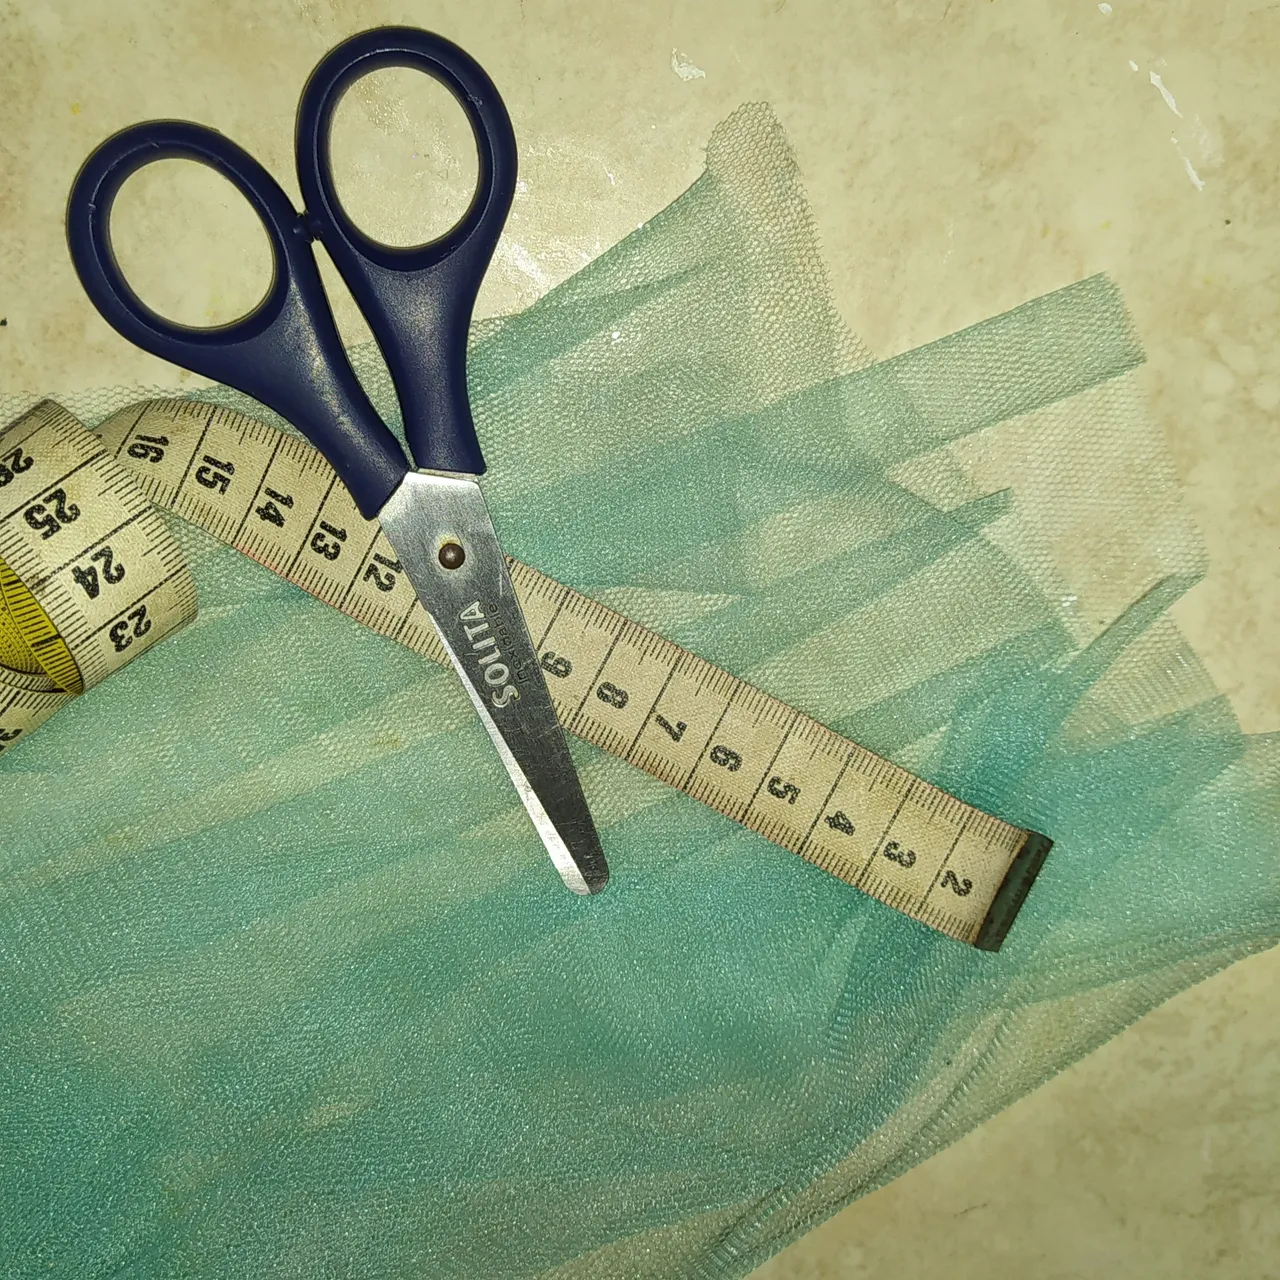
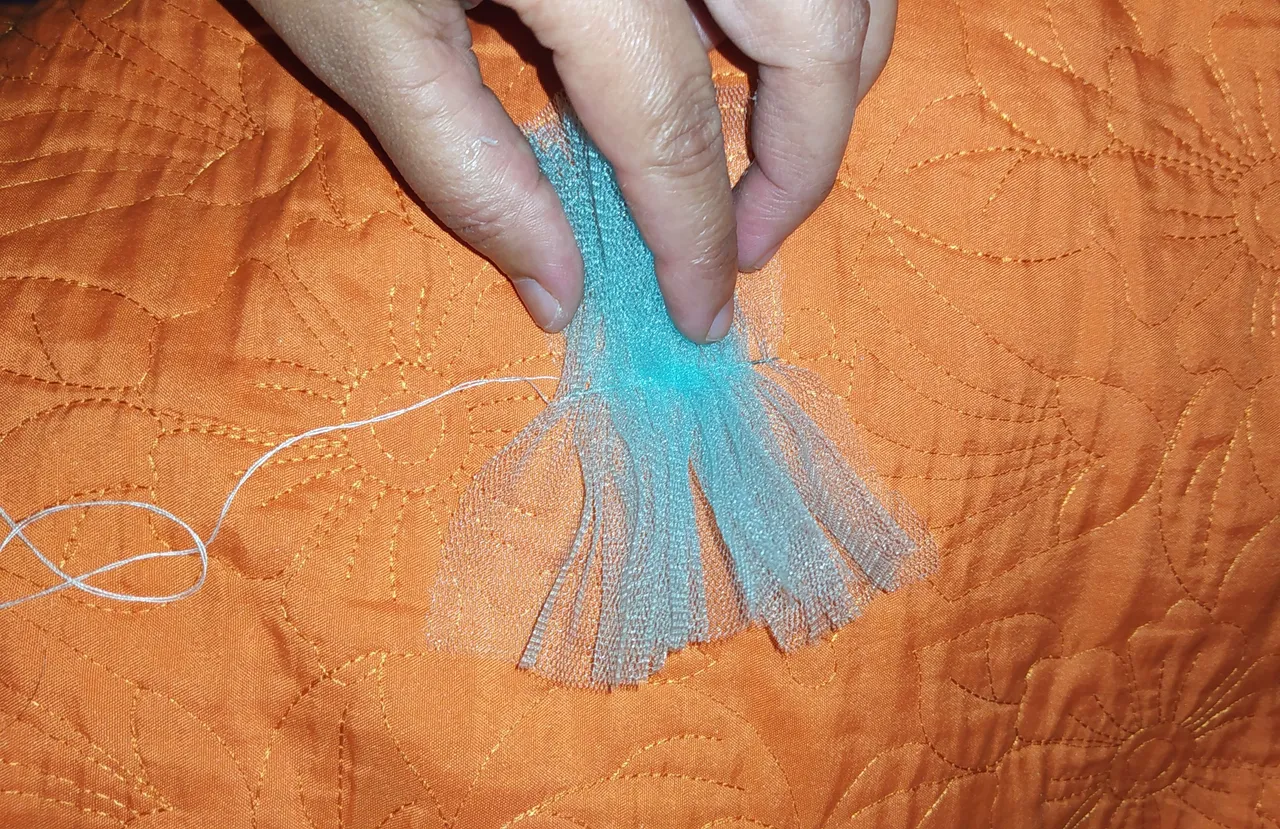
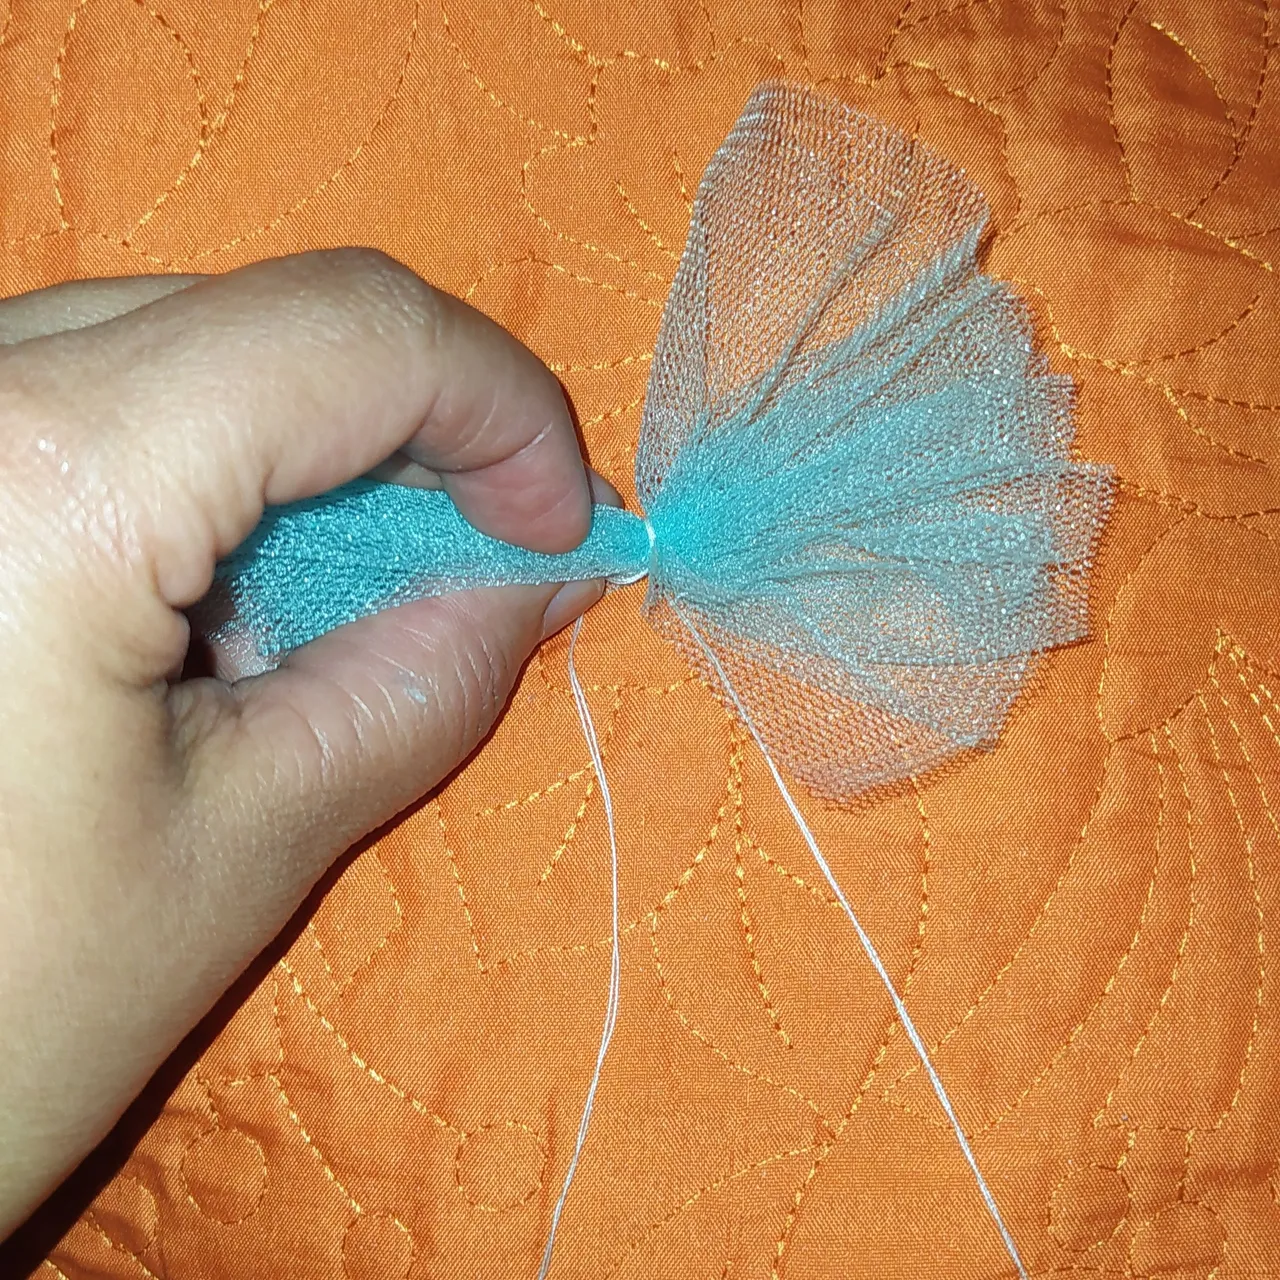
- To make this bow I measured a rectangle of 12 cm x 45cm.
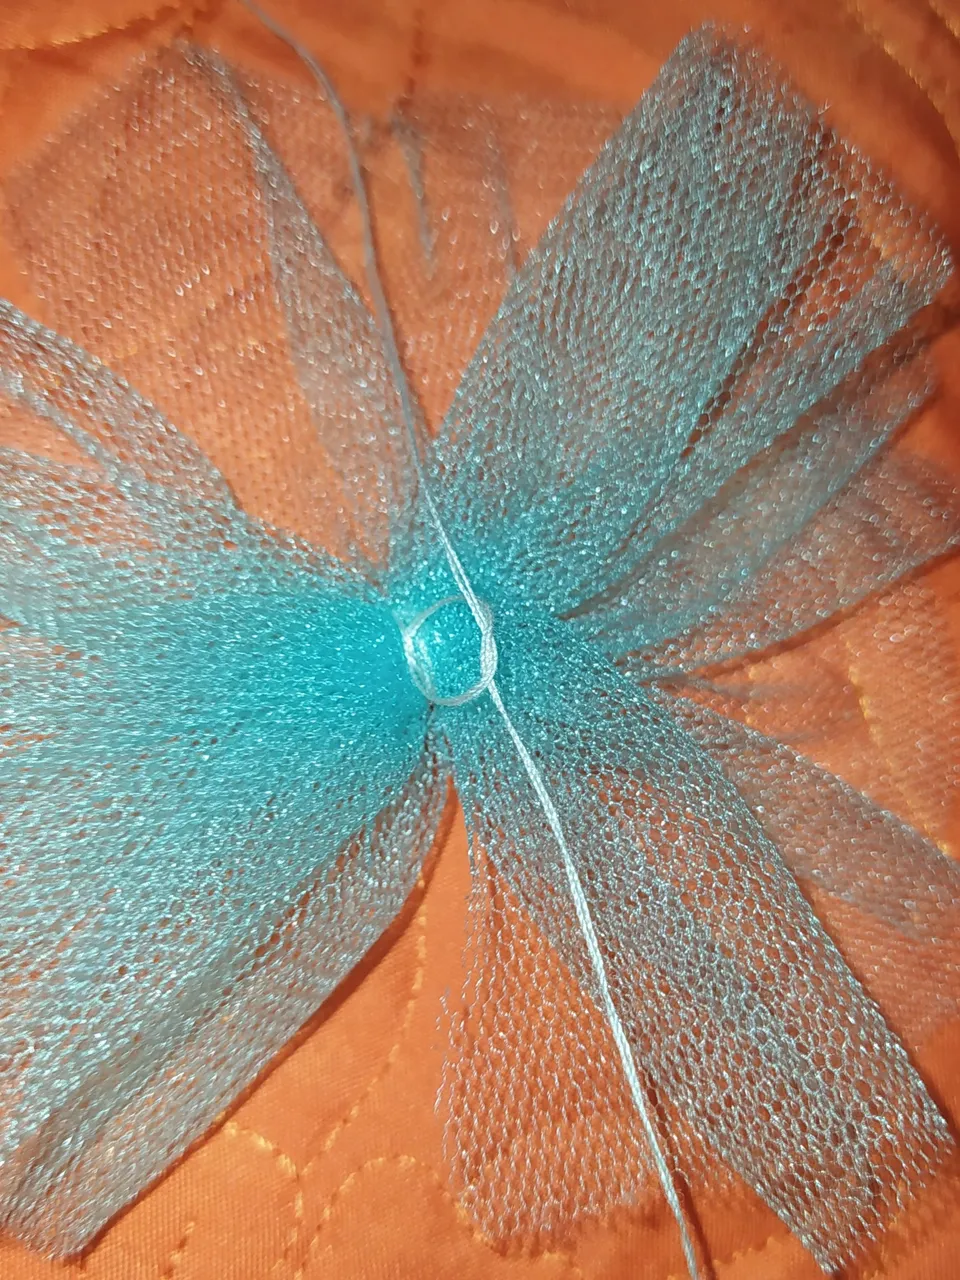
- I put the needle with the thread through the center of the rectangle and then I pulled out the needle through the other end of the tulle and made a knot to secure it.
- Para hacer este moño medi un rectángulo de 12 cm x 45cm.
- Por todo el centro introduje la aguja con el hilo y lo fui frunciendo luego al sacar ja aguja por el otro extremo del tul di varas vueltas con el hilo y le hice un nudo para asegurarlo.
 |  |
|---|
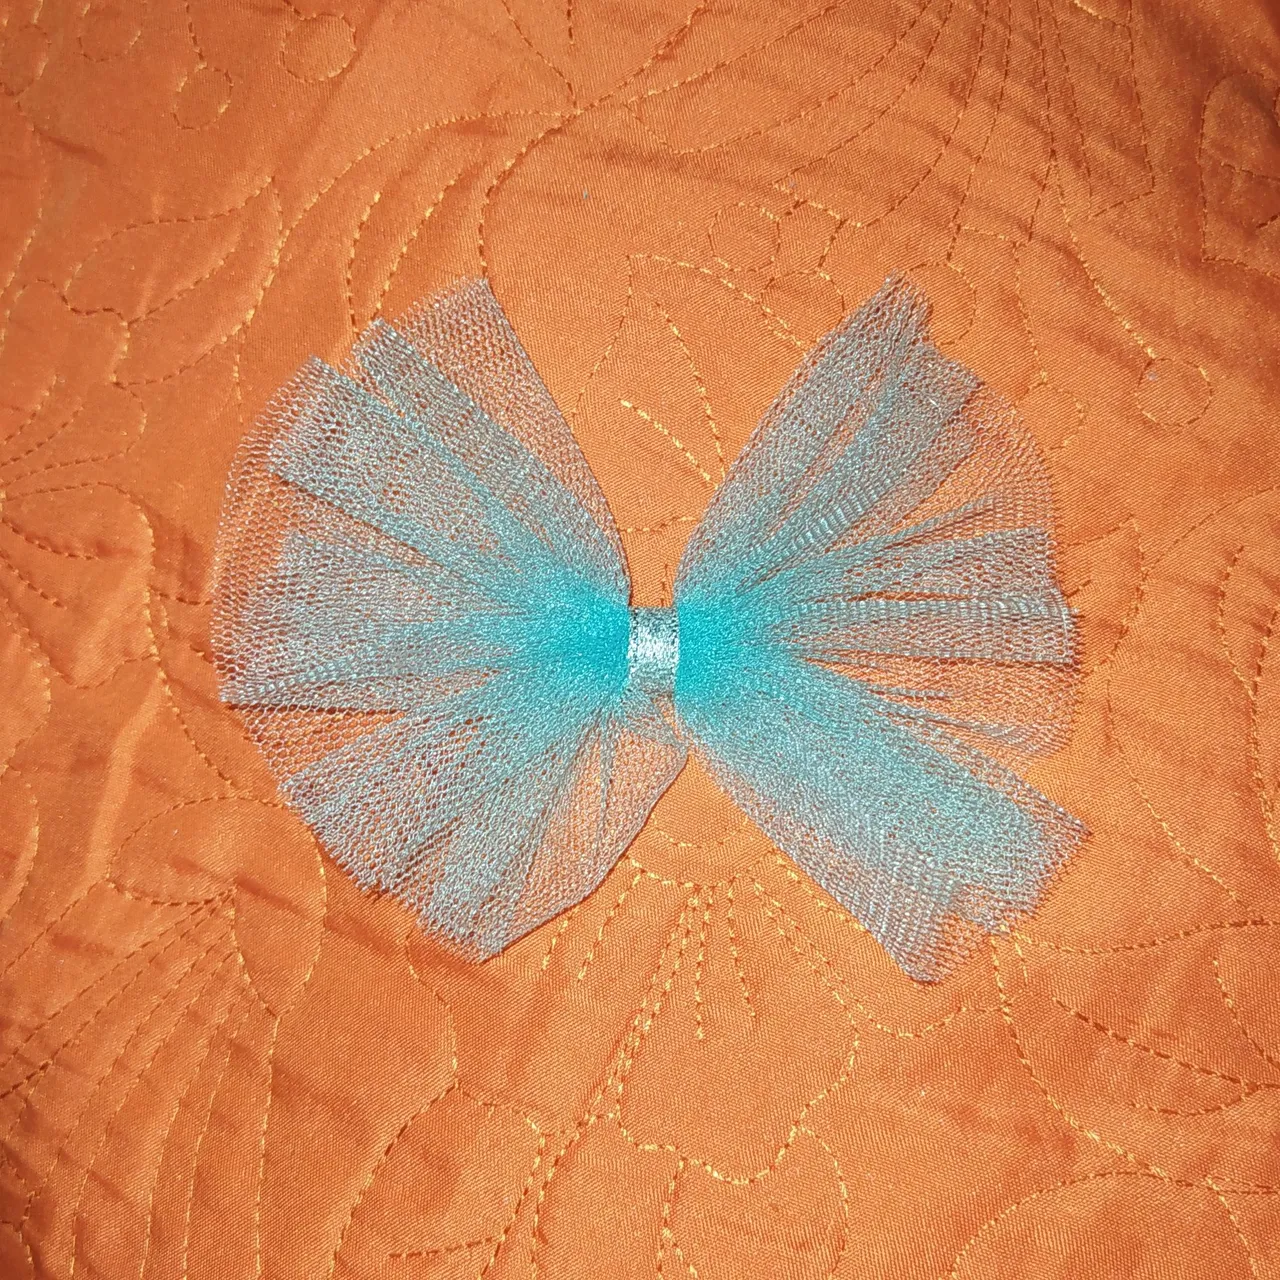
- Then take a piece of silver ribbon and glue in the center.
- Luego tome un trozo de cinta plateada y pegue en el centro.
- Place hot silicone on the bow and glue in the center, in front of the tail to give a touch of elegance and distinction to the headband.
- Le coloque silicón caliente al moño y pegue en el centro, en frente de la cola para darle un toque de elegancia y distinción a la diadema.

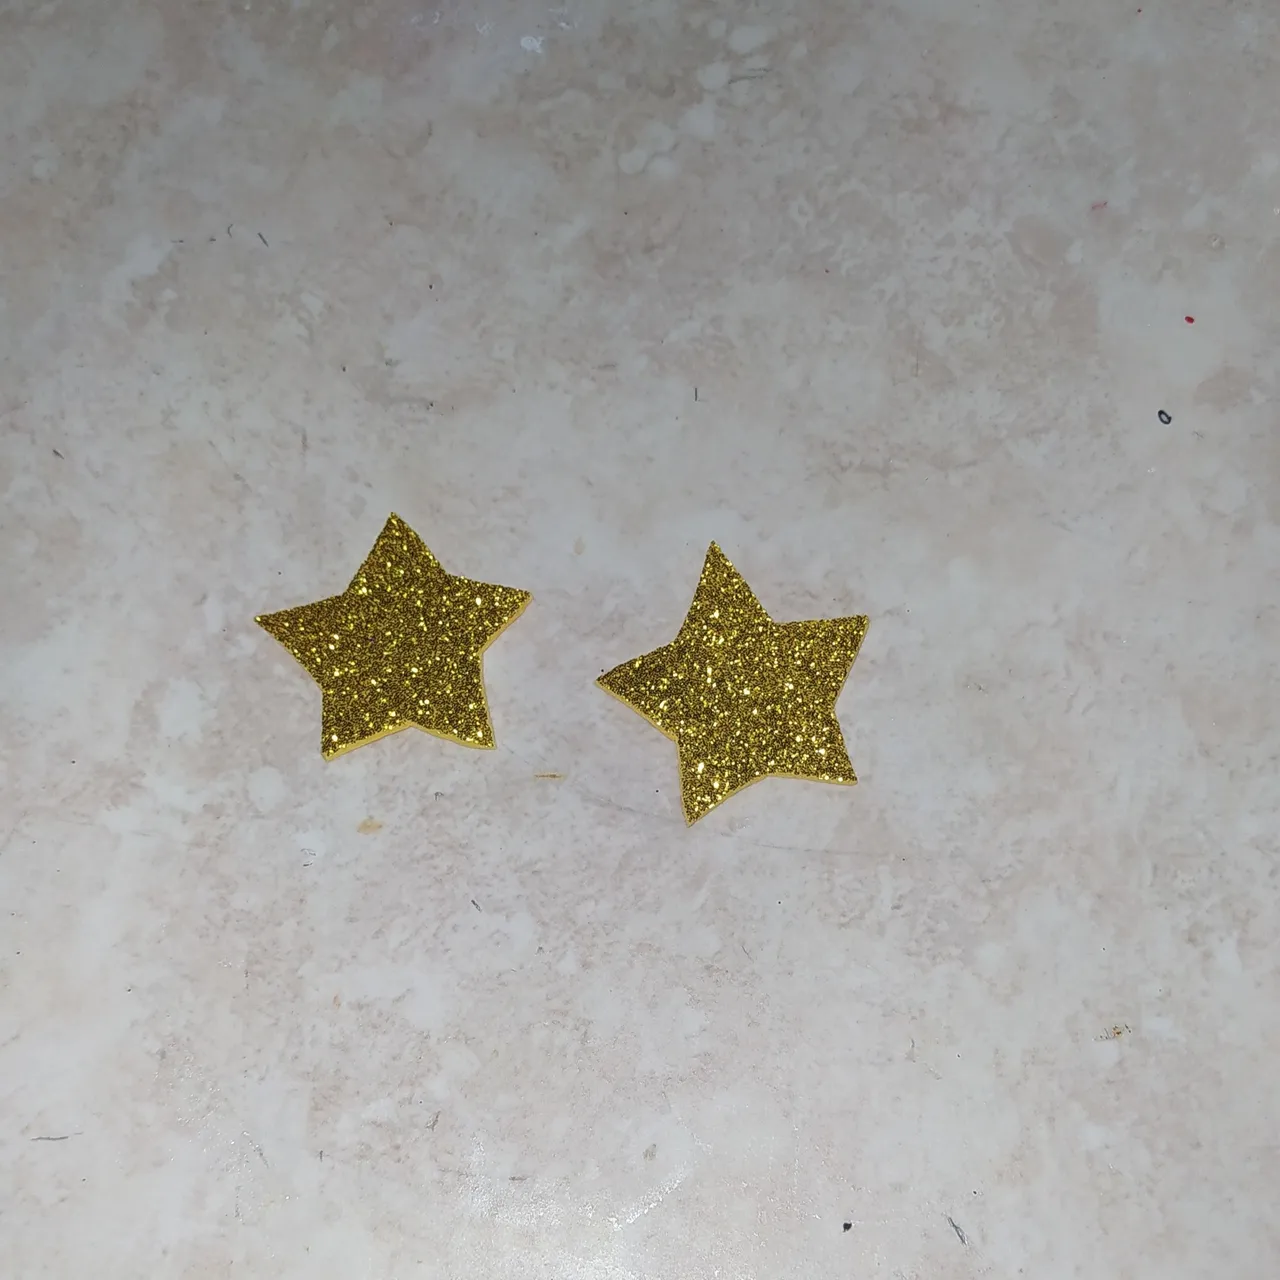
- And to give it a touch more chip and more charm I placed on each side of the tail some cute little sea stars.
- Y para darle un toque más chip y de más encantó le coloque a cada lado de la cola unas lindas estrellita marina.
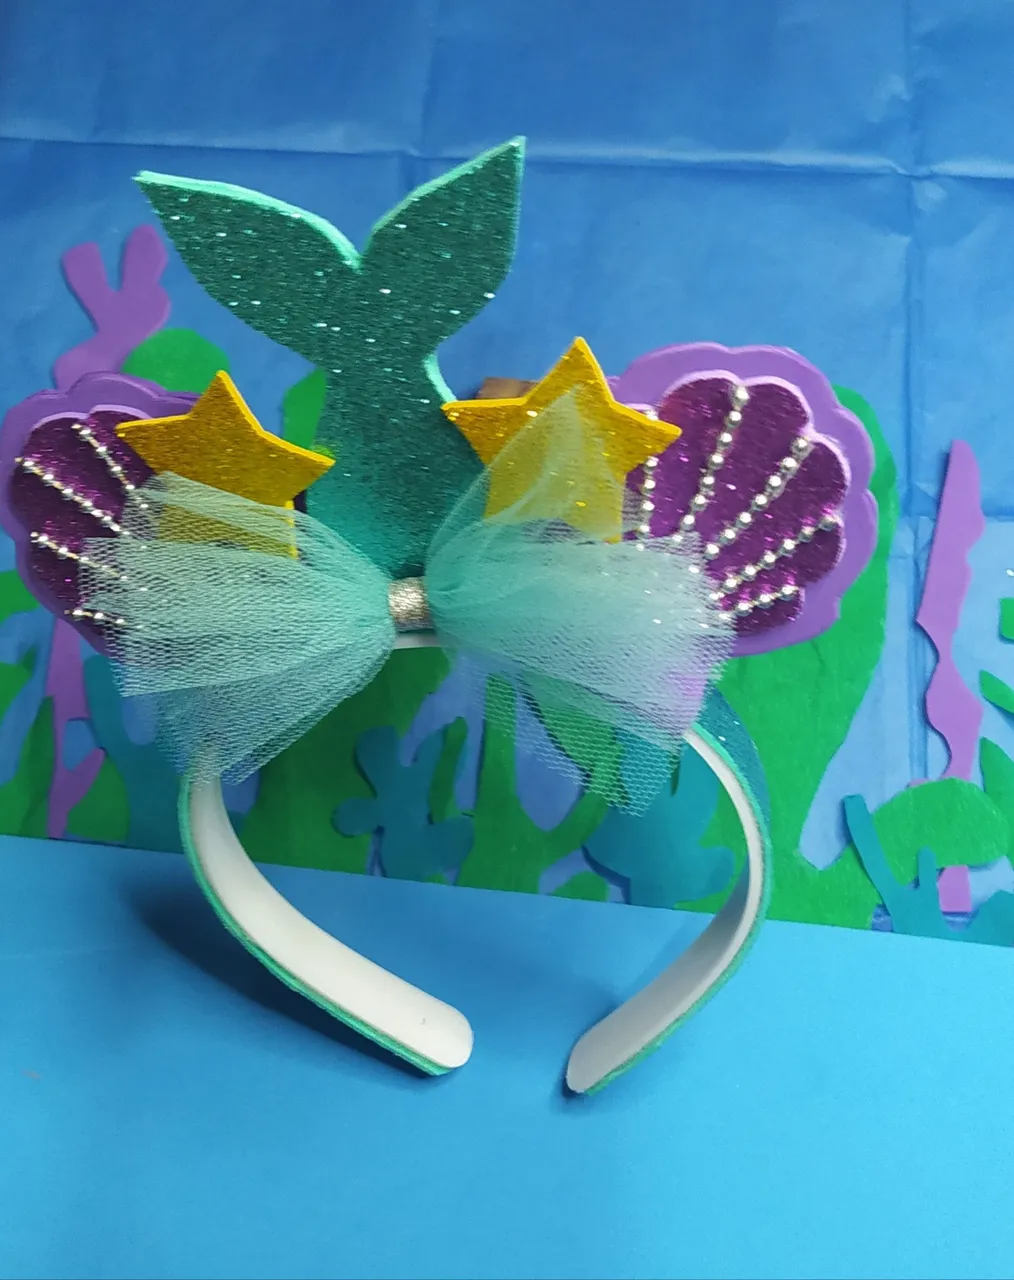
And for the presentation of this beautiful marine diadem I dived into the ocean to take the photo in these beautiful marine corals.
Thank you for joining me, I hope you like it as much as I do.
Y para la presentación de esta Hermosa Diadema Marina me sumergí en el océano para tomarle la foto en estos bellos corales marinos.
Gracias por haberme acompañado espero te guste tanto como a mi.

- Photos of my authorship taken with Xiaomi redmi note 8 phone.
- Editor used PicsArt.
- Translator DeepL.
- Fotos de mi autoría tomadas con teléfono Xiaomi redmi note 8.
- Editor utilizado PicsArt.
- Traductor DeepL.