Hello Hello Hello!
It is really an honour to be sharing my diy project with all diy lovers here-in. Sometime last year, I made it a point of duty to gather bottle caps for recycling. I had a diy project in mind when I started gathering the caps but due to certain unfortunate circumstances, I couldn't follow through with the project so I gathered my bottle caps in a paper bag and stashed them somewhere.
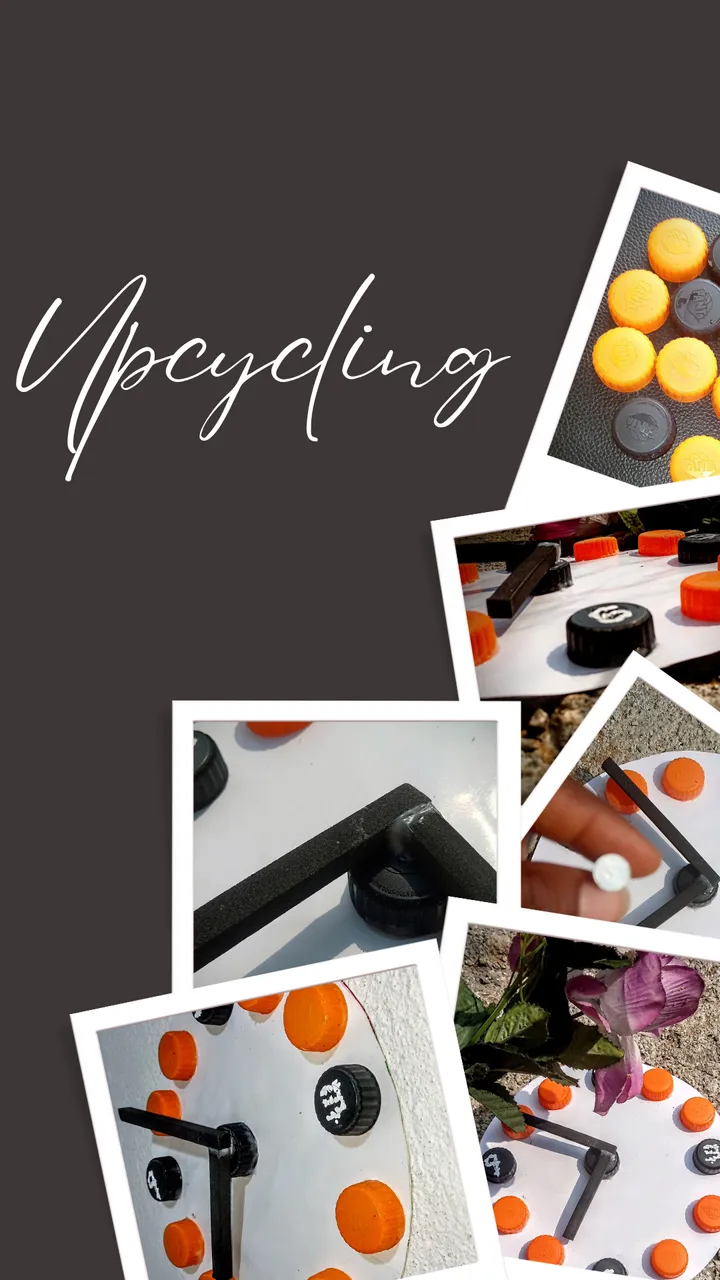
Two days ago, I was vigorously searching for a missing item and during the search, I got reunited with the bottle caps that I had totally forgotten about. I brought them to my work table as I tried to decide what I was going to do with them. Thankfully, an idea came to mind and I'm going to be sharing that idea with you.

Materials Used.
- Plastic bottle caps
- Old calendar
- Gum
- A pair of scissors
- Pencil
- Black foam
- Colour pen
Procedure.
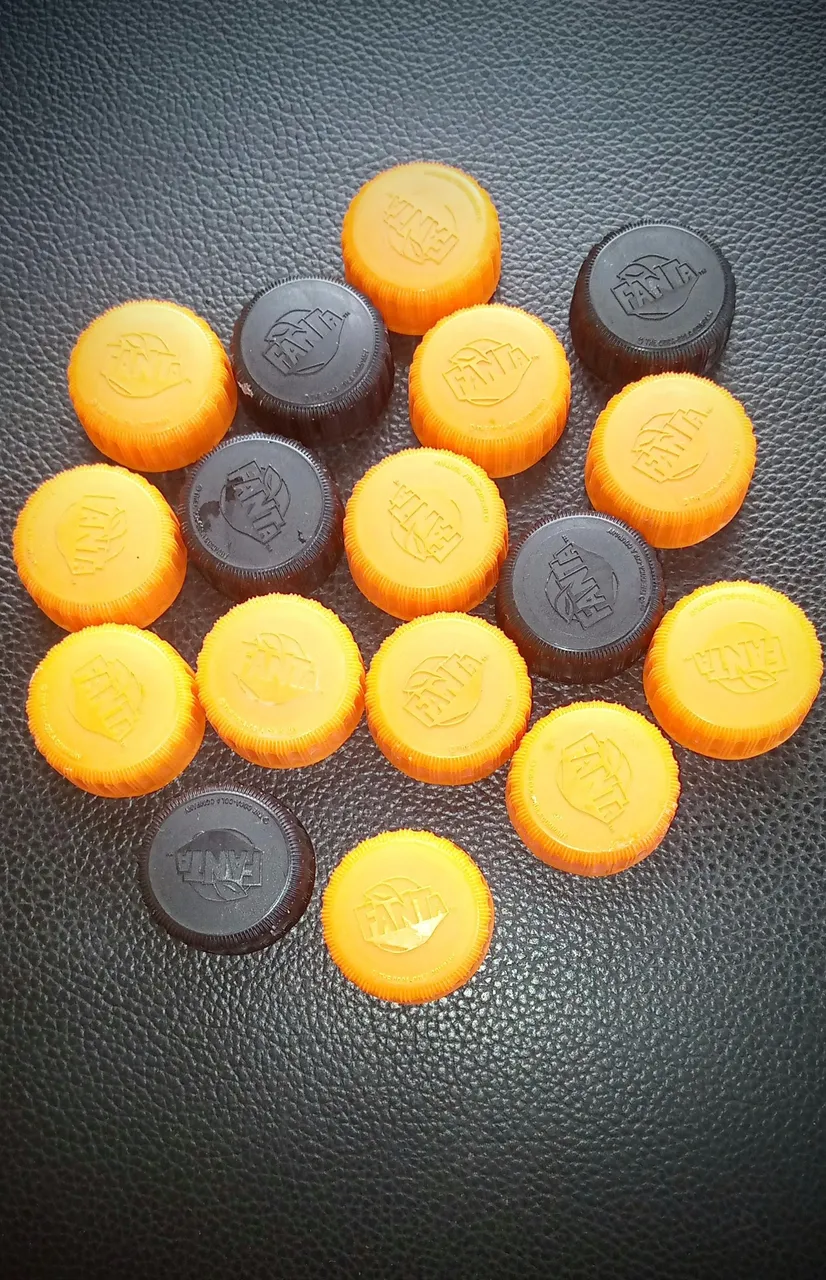
I began making this project immediately after I got back from lectures because I was already fantasising about it all day. I started by gathering all the materials I was going to be using to prevent any setbacks or time loss.
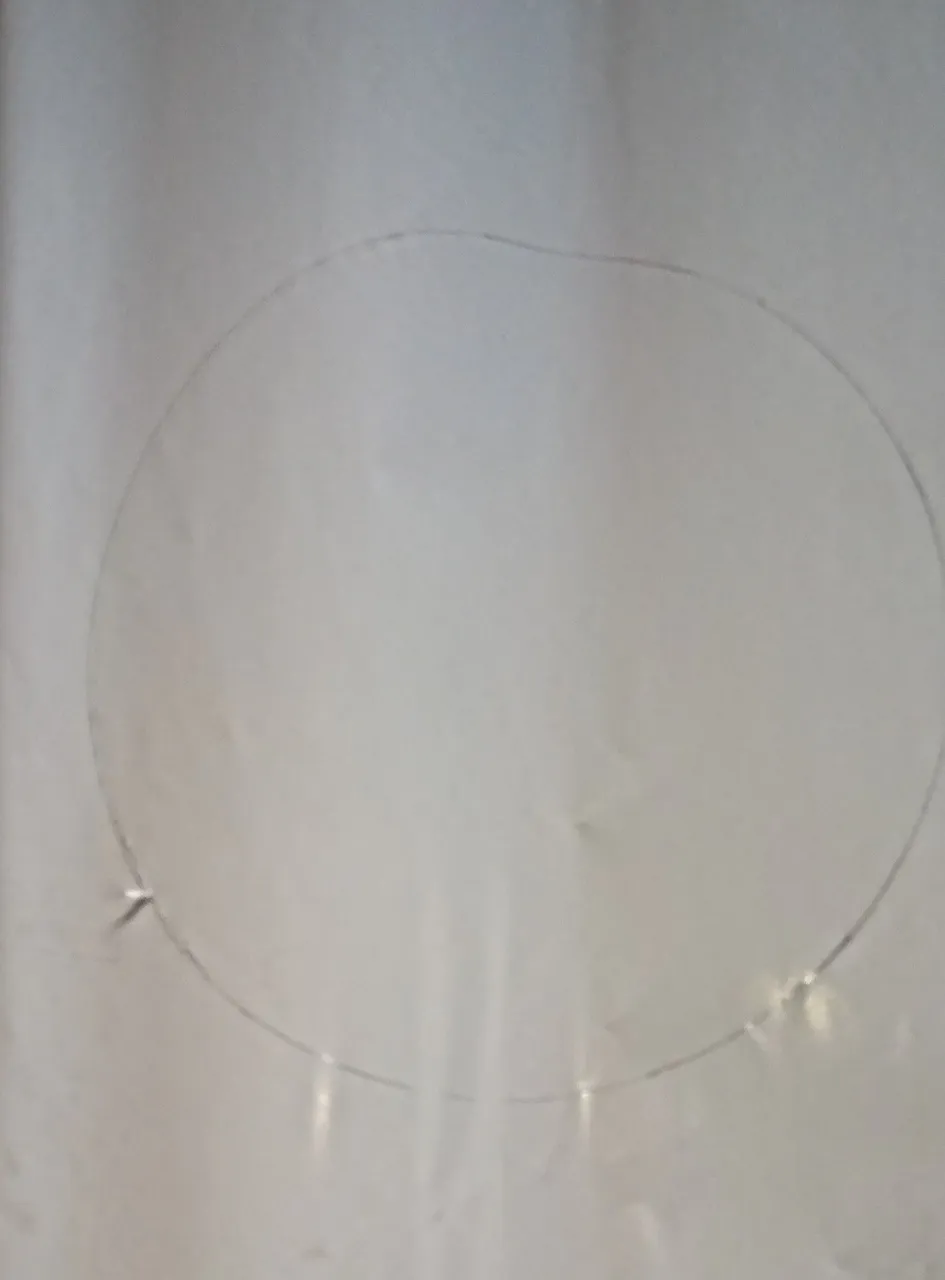
Using a pencil and a flat plate, I drew a circle on my old calendar. The first thing I thought when I saw this old calendar was 'who uses calendars in these times'.
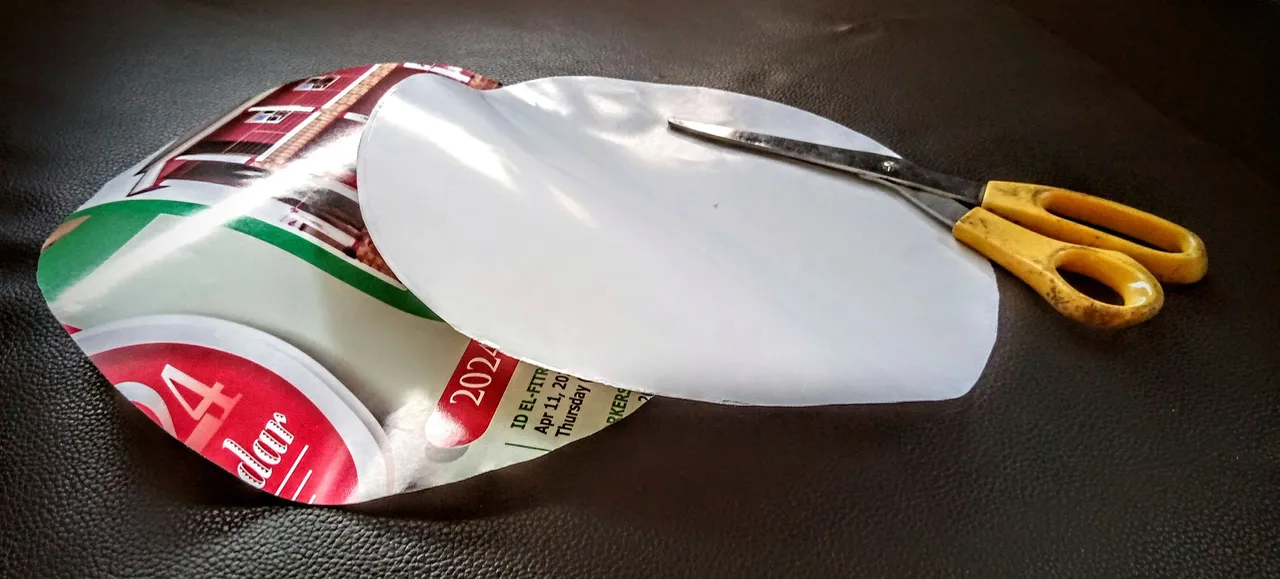
After drawing a circle on the doubled calendar, I went ahead to cut out the circle with a pair of scissors. Carving out circles can be really fun but requires focus. To make the base more firm, I glued both parts of the calendar together.
After making the base for the project, I went ahead to make a layout. I placed the plastic caps on the base just to see how well they fit. After this little exercise, I went ahead to start glueing the plastic caps to the base.
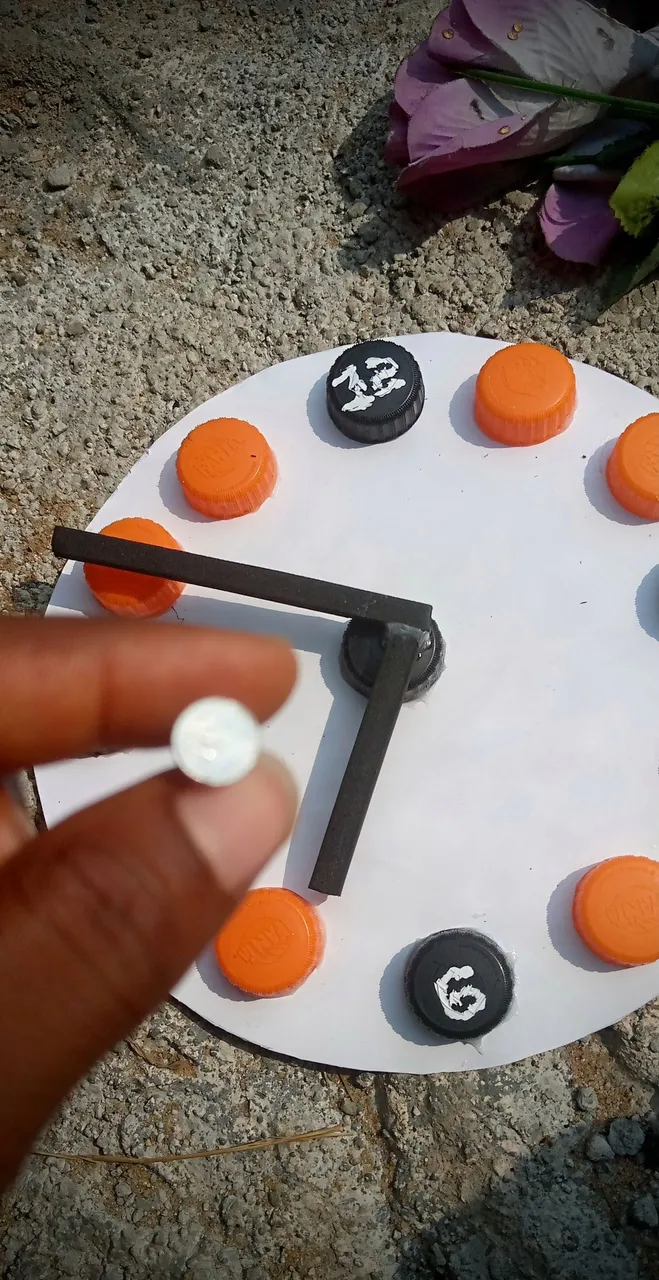
I started with the black caps. For a clock, the four parts are always really important. If they are improperly aligned, then the whole clock becomes a mess; whether it tells time or not.
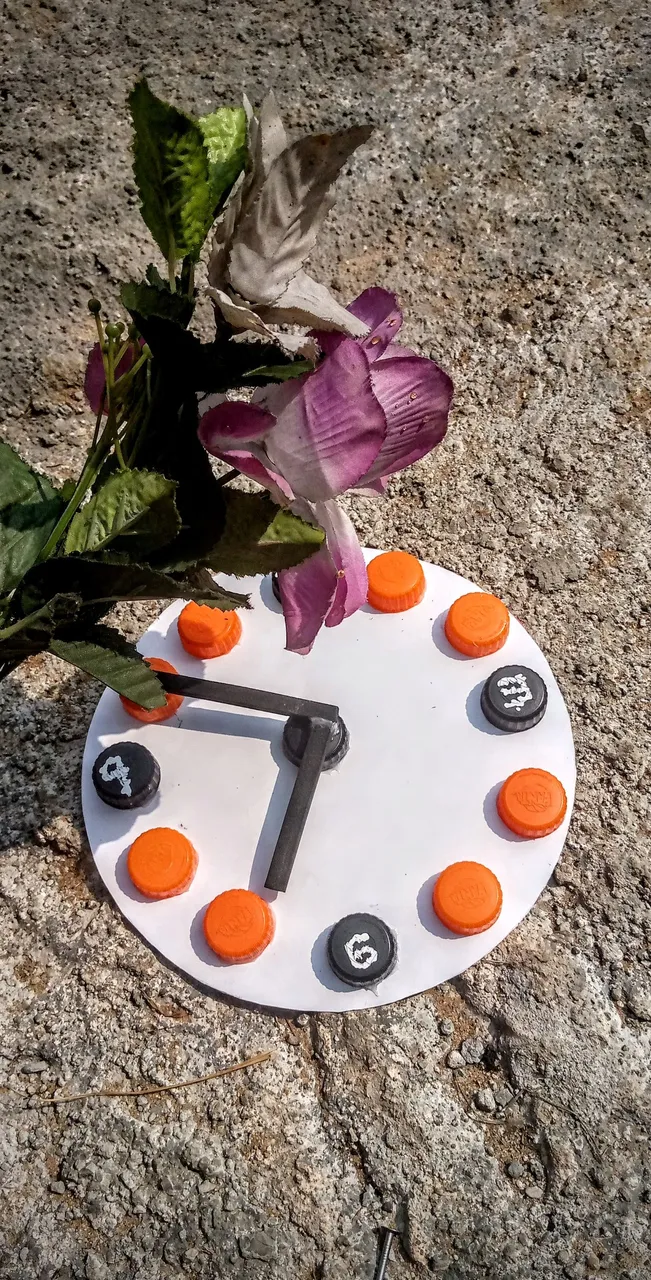
After placing the black caps, I went ahead to place the orange ones carefully. I left it to dry for a few minutes after which I used my colour pen to write out the numbers on the black caps only. Personally, I think that writing out all the required numbers on each cap would have taken away the beauty.
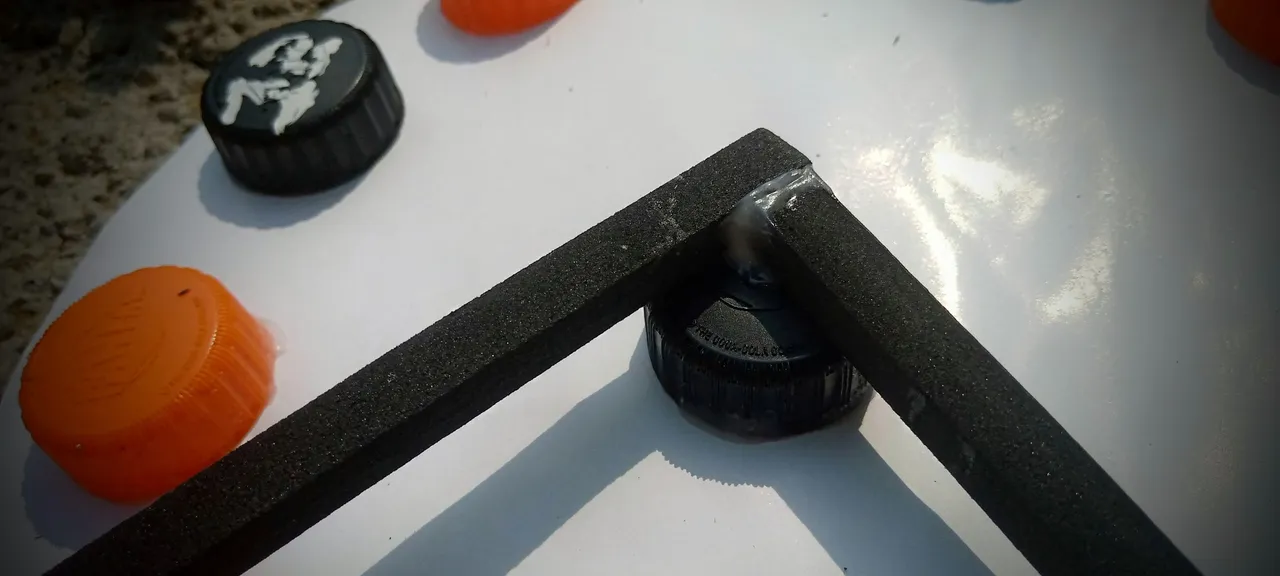
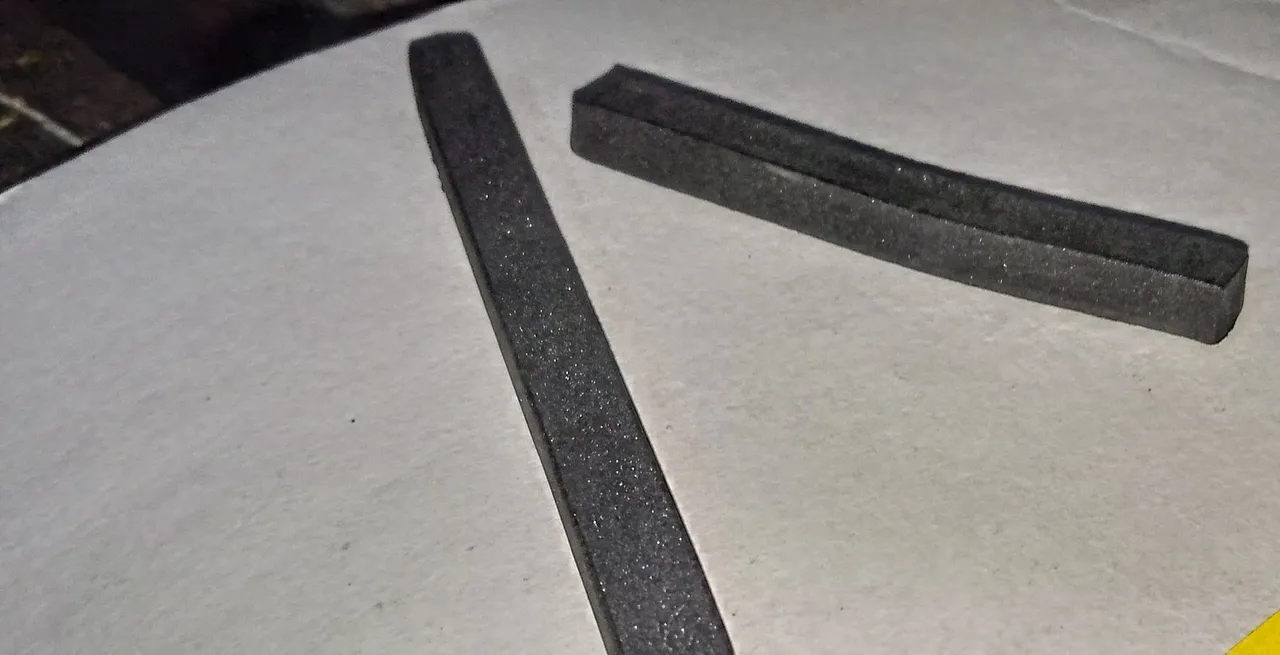
The last thing I did was place the long and short hands of the decorative clock on top of the black cap at the centre of the project.
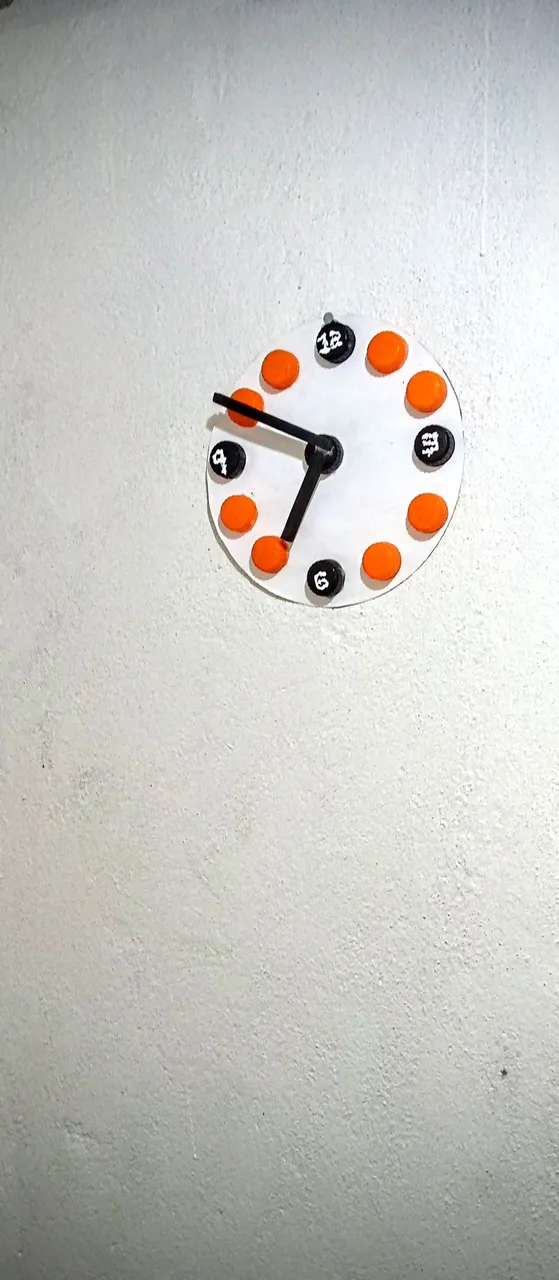
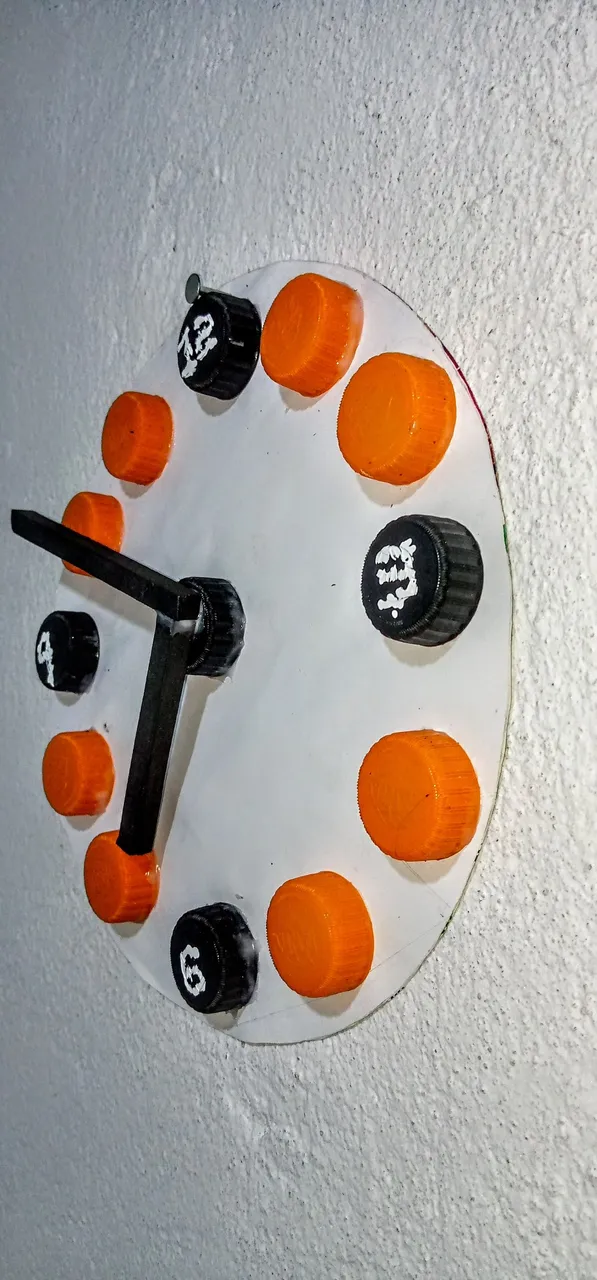
With this, I concluded the project. Because of how fragile the project is when wet, I allowed every part of it to dry up before taking pictures. The photography part is always one of my favourite parts after the completion of a project. This way, I get to capture the beauty of the project from different angles. What do you think of this?
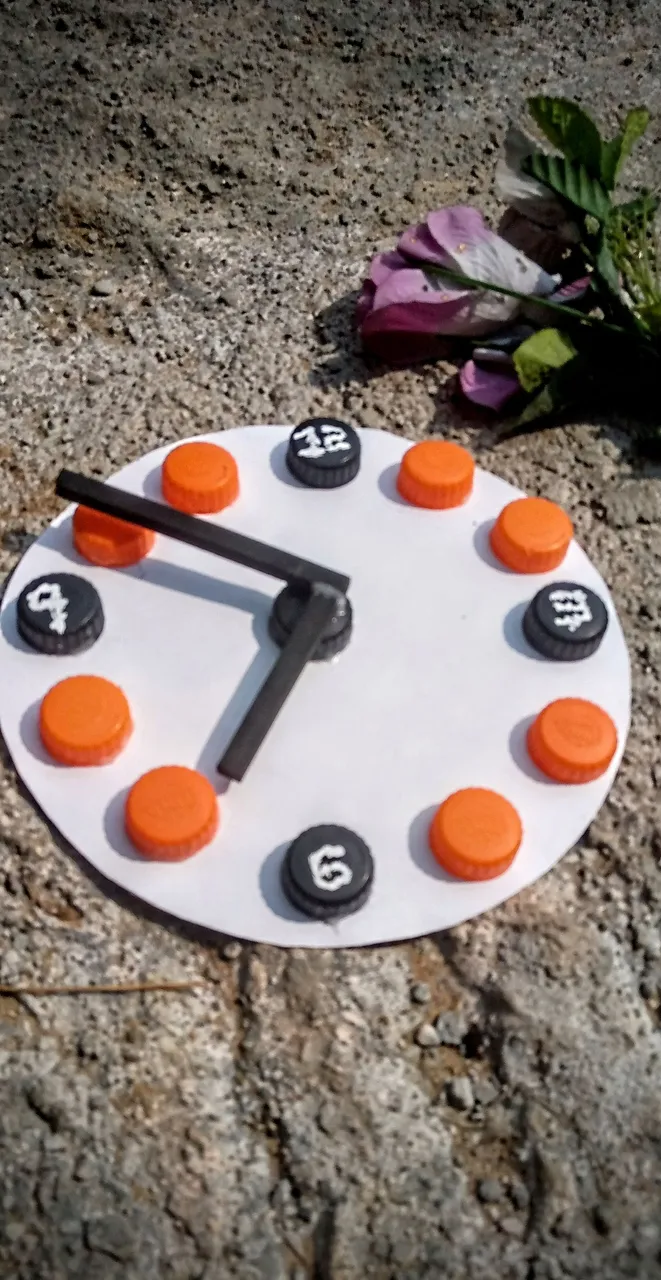
This is a really lovely way to recycle your plastic bottle caps. We complain about how much plastic we have in the sea but we still go ahead to dump plastics. You could definitely try making this decorative wall hanging if you have waste plastic laying around.
All images used belong to me and were taken with my mobile device except stated otherwise.
Love🤍
