Today, I decided to arrange my stationary. When I was cleaning, I thought to make some sort of craft for my pencils. So, I decided to make a pencil box.

Without wasting much time, I will share with you the whole procedure how I made this.
- Round Box
- A4 Pages
- Scissors
- Pencil
- Scale
- UHU
- Ice-cream Sticks
- Glue Stick
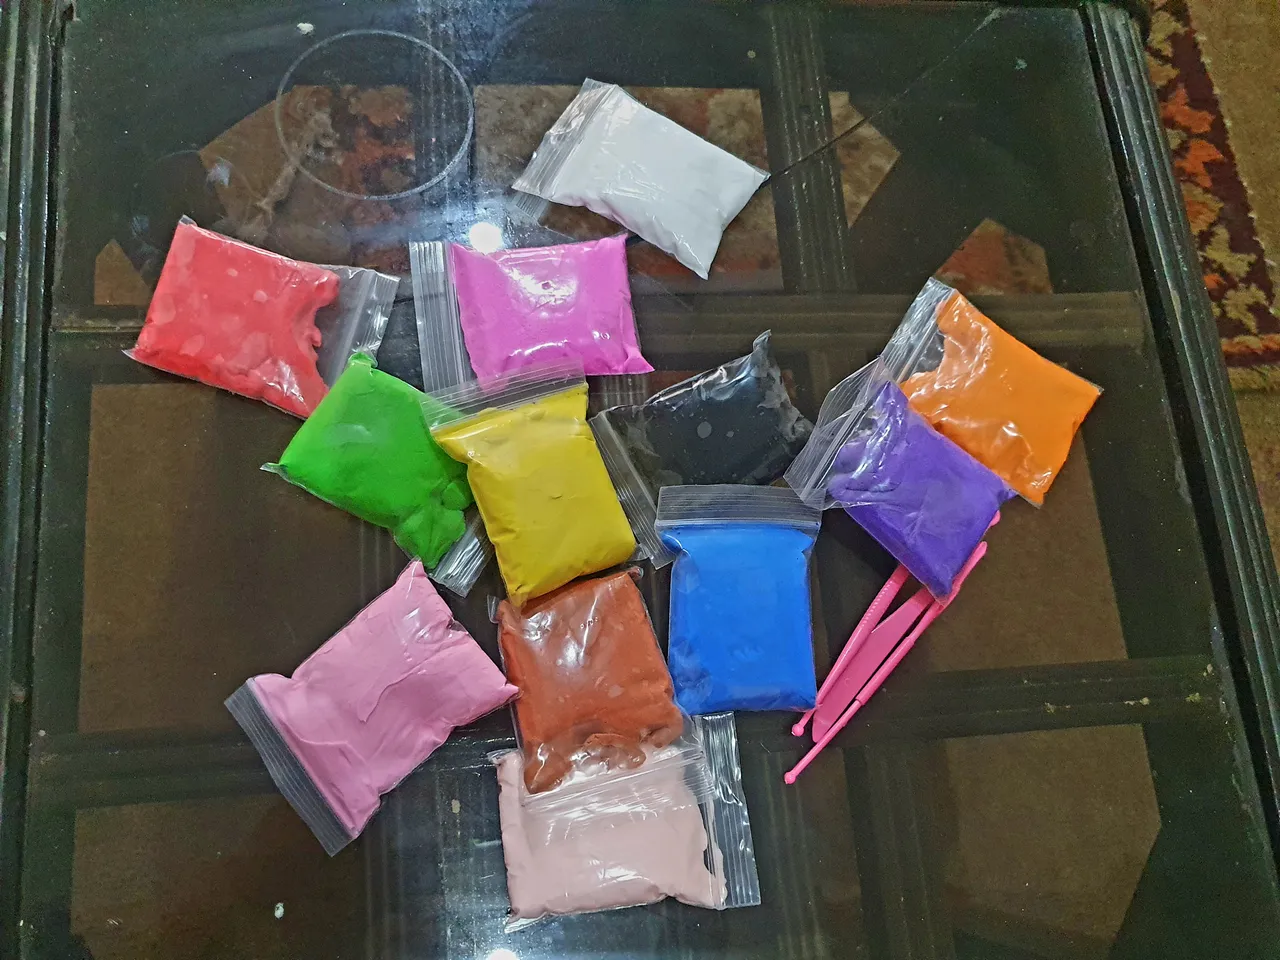
- Super Clay
- Eyes (craft)
- Bugs (craft)
- Rope

Yellow colour fascinate me. So, I took yellow colour A4 pages and yellow and red colour ice-cream sticks.

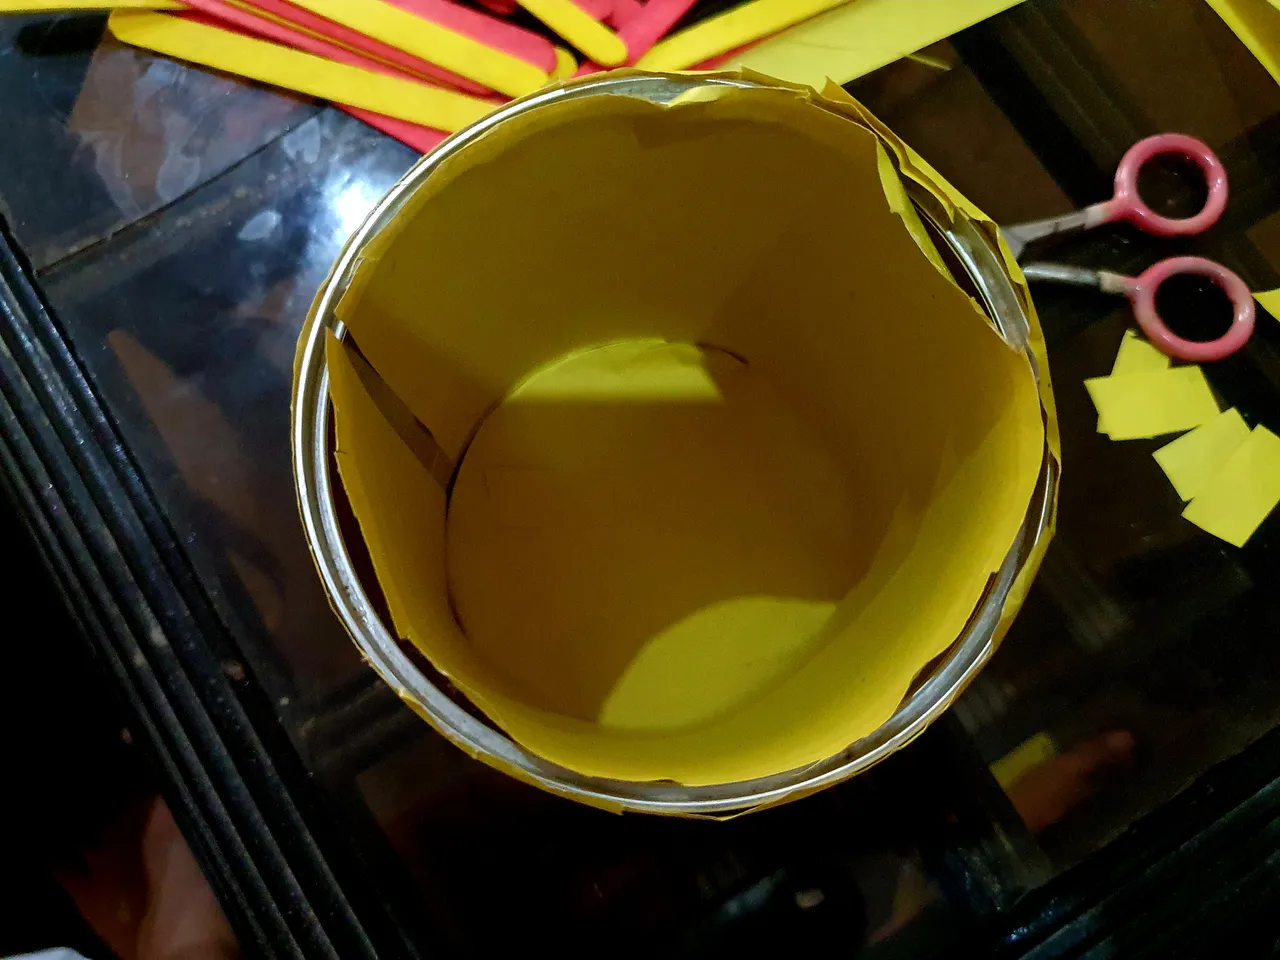
On yellow A4 paper, I put the round box and measure the diameter to cut the circle.


Then, I fold the A4 paper around the box.

Extra page cut by using scissors.


For inner covering, I repeat the same process.

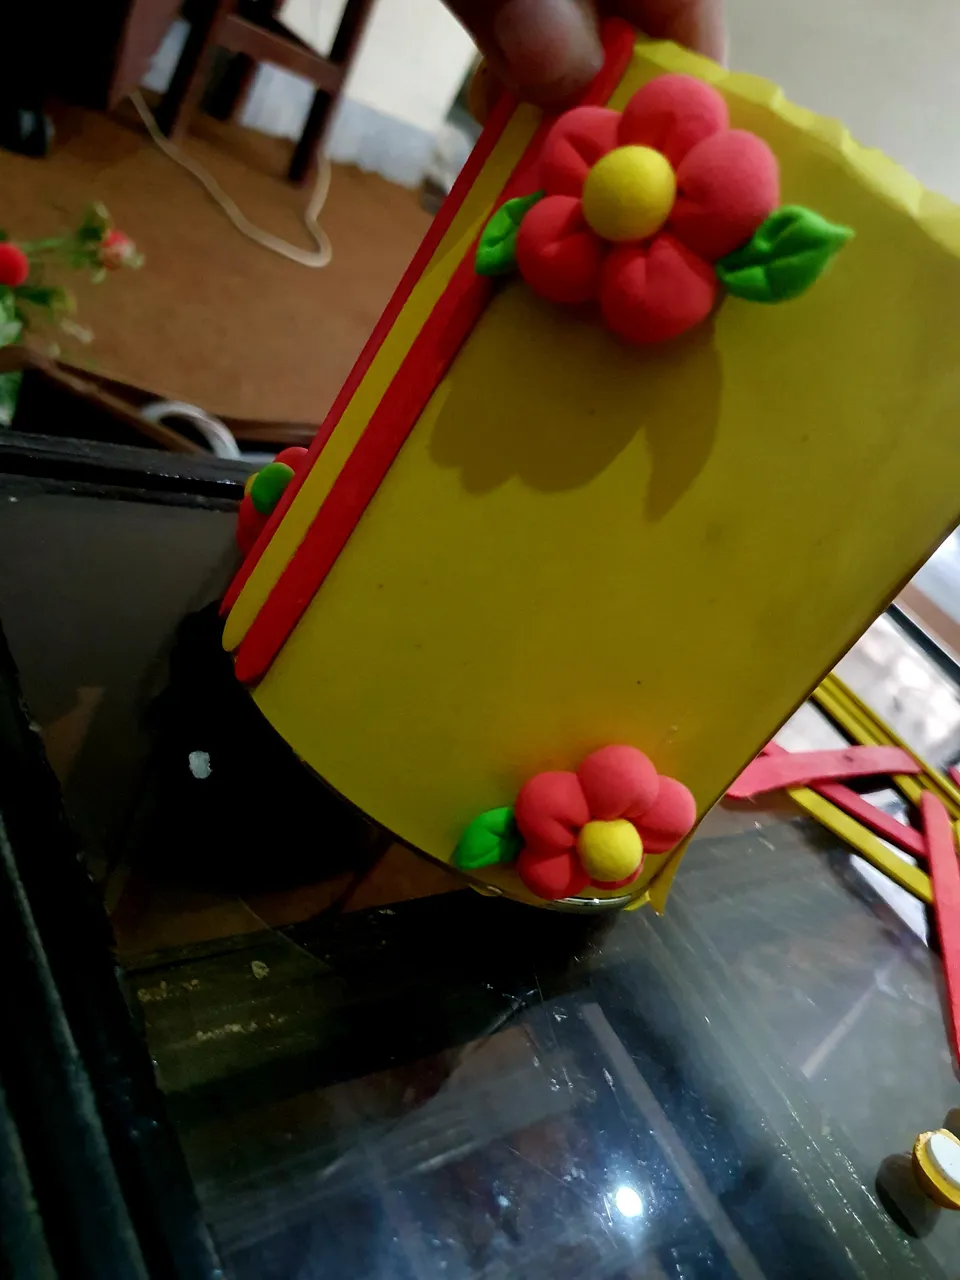
Afterwards, with the help of UHU, I paste the ice-cream sticks on it.


To enhance my work, an idea flashed up in my mind to make flowers by using clay. I choose red, yellow and green colours.

I took small amount of clay, made a little ball of it.


I joined these balls, and placed the yellow colour ball on the top of it. I also give them a little cut so that they give natural look.

By using green colour, I made leafs and attached it with flowers.


With the help of UHU, I past these flowers on my box.

I have a craft eyes and bugs. By using glue stick, I paste the craft eyes in the middle and the bugs in the corners.


I repeat the same process on the whole box. Pasting three sticks, then two flowers, eyes in the middle and the bugs in the corners. Then, I used a small rope on the top of it.


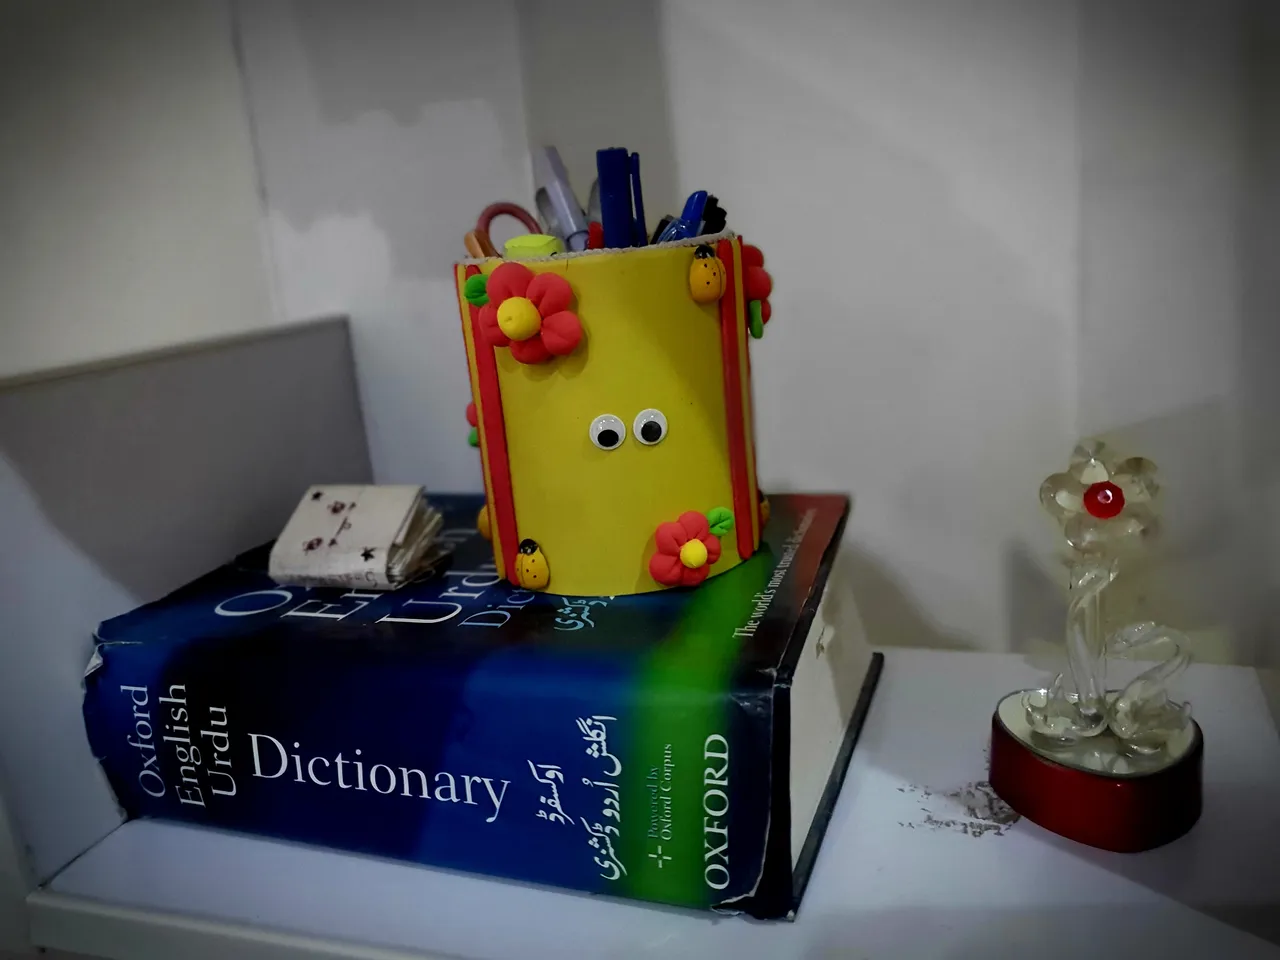
My pencil box was ready. Have a look:

I put this pencil box in my study corner with my pencils in it.
Finally, I made it guys.
For a complete view of my pencil box, watch the video.
Now, tell me in comments about your views.
Images and Videos are made through Samsung Galaxy S10+.