Ginger ale is one of my favorite drinks. I like the taste, it settles my stomach, and the real stuff helps clear my sinuses. There are a lot of health benefits to ginger ale when you make it yourself with real ginger.
The ingredients are simple...
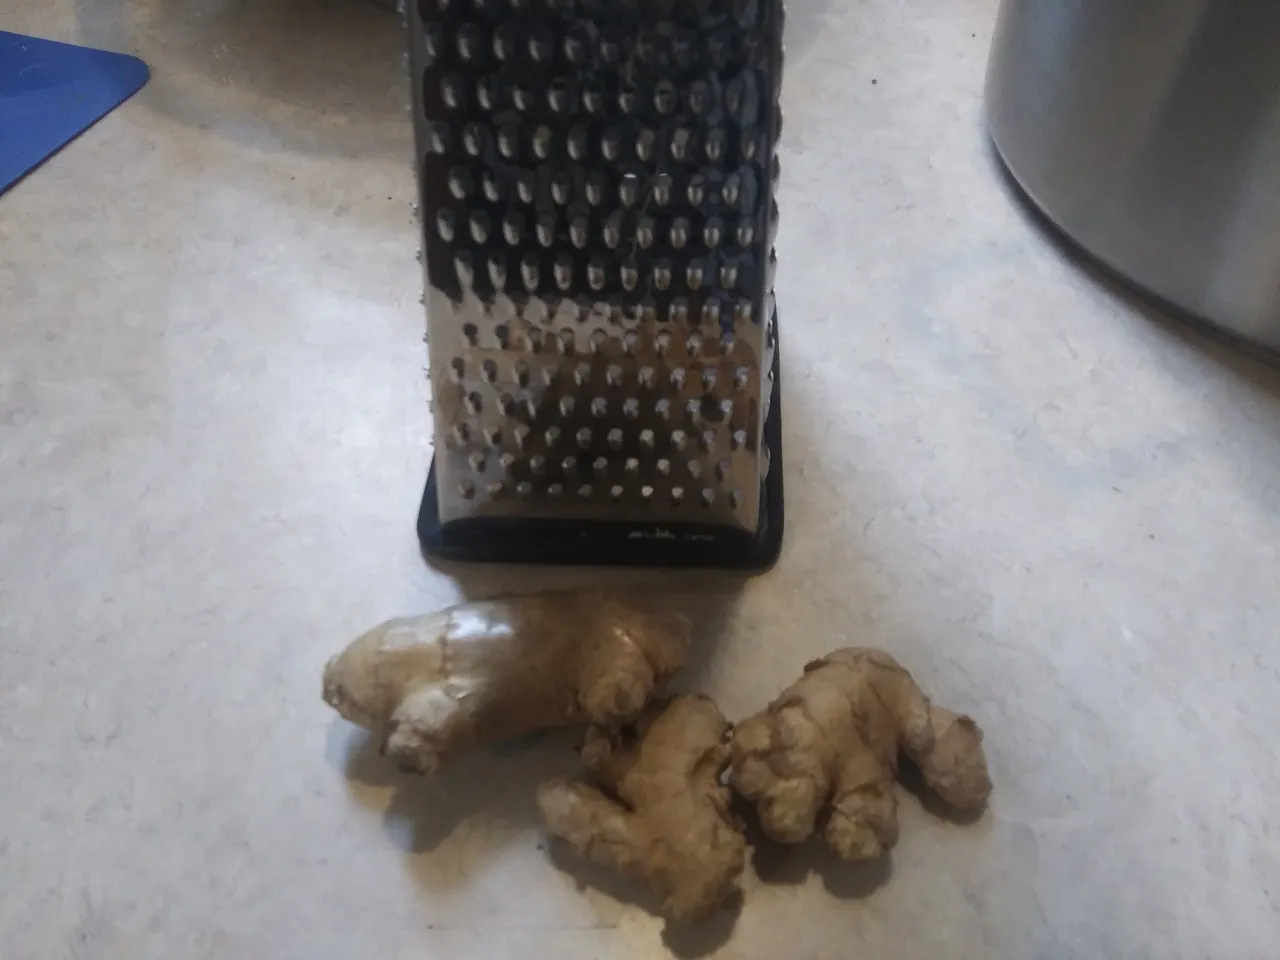
Ginger
Sugar
Water
How much of each thing isn't very tricky, either. However much ginger ale you want to make, use that much water. When I make a batch, I fill all the containers I have for storing my finished product with water, and pour it into the pot. This way I know I'm making just enough to fill my containers. As soon as you have your water in the pot, start heating it to a simmer.
The real work starts with the ginger. It doesn't take very much to add the fresh ginger flavor. I like to use a minimum of about 1 Tbs of fresh ground ginger per gallon of water, but that is my bare minimum. Most often I use closer to 1/4 cup per gallon. The great thing about making your own, is you get to make it to taste! I like to put mine through a fine grater, but you can shred it up any way you want, or even just cut it into small squares.
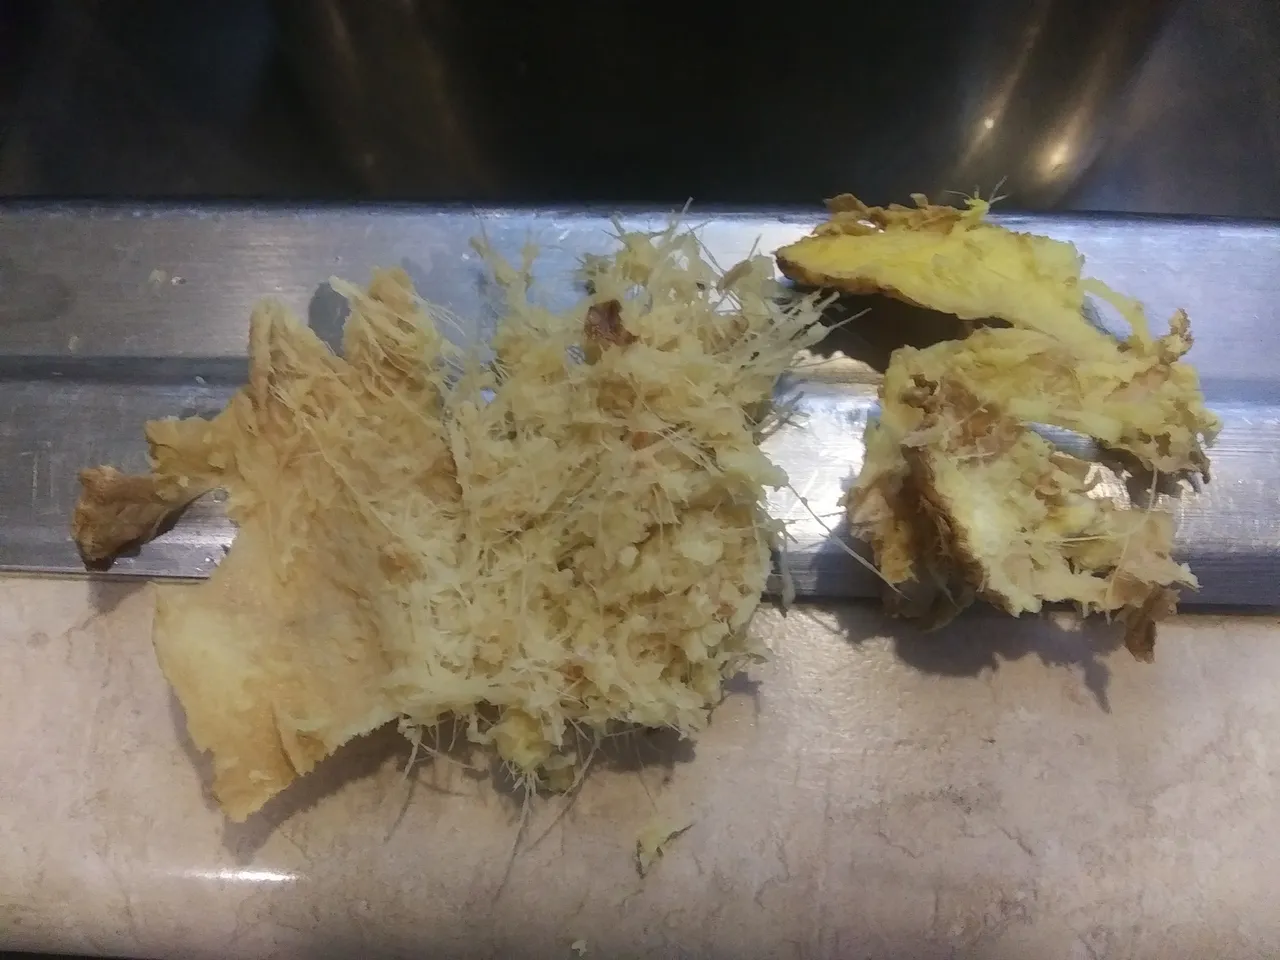
As you finish grating your ginger, you'll be left with some woody pulp hanging on to the last bit of 'skin' on the root. Save this for later, it contains the yeast that will make your ginger ale ferment and fizz! If you cut you ginger into squares, peel off a little skin to save before throwing all your ginger into the pot.
Some people will insist on boiling your mix, but I do not. Ginger is not prone to carrying any harmful bacteria or viruses that I'm aware of, and boiling just means you have to wait longer for things to cool down. I wouldn't heat it all, except it makes the next step much easier.
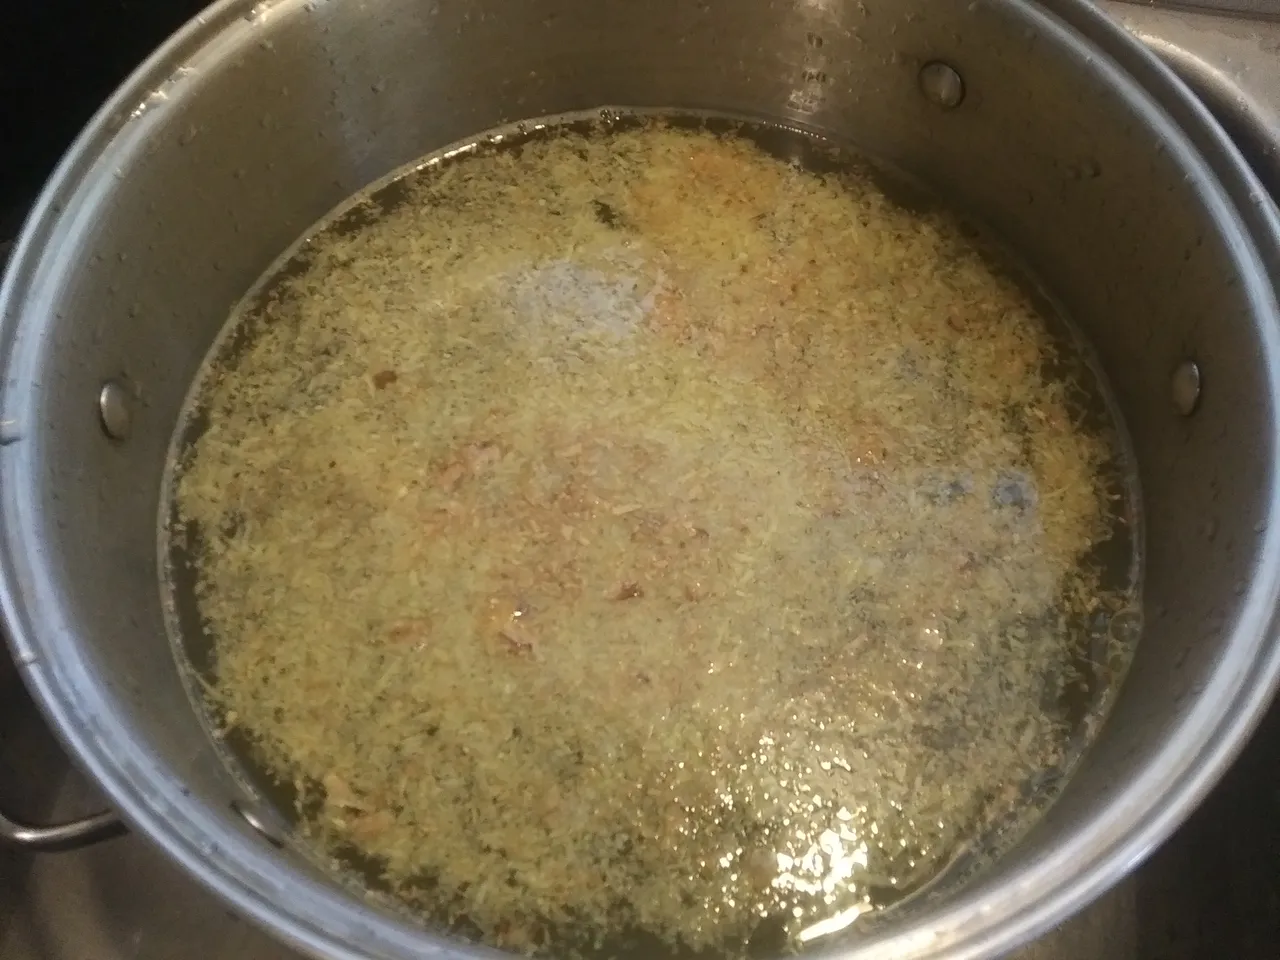
The next step is to add the sugar. I like to use whatever I have a surplus of, which is usually some honey that crystallized and has been sitting in the pantry. For this batch, I had some corn syrup that was developing some solids, so I used that. There isn't usually enough honey (or corn syrup) to sweeten a 2 gallon batch to my taste, so I add regular sugar until it's just right. My signature touch is a at least a few tablespoons of dark molasses in the mix at the end, it gives everything a nice dark color and adds a flavor that gets folks asking 'Mmmm... what IS that?'
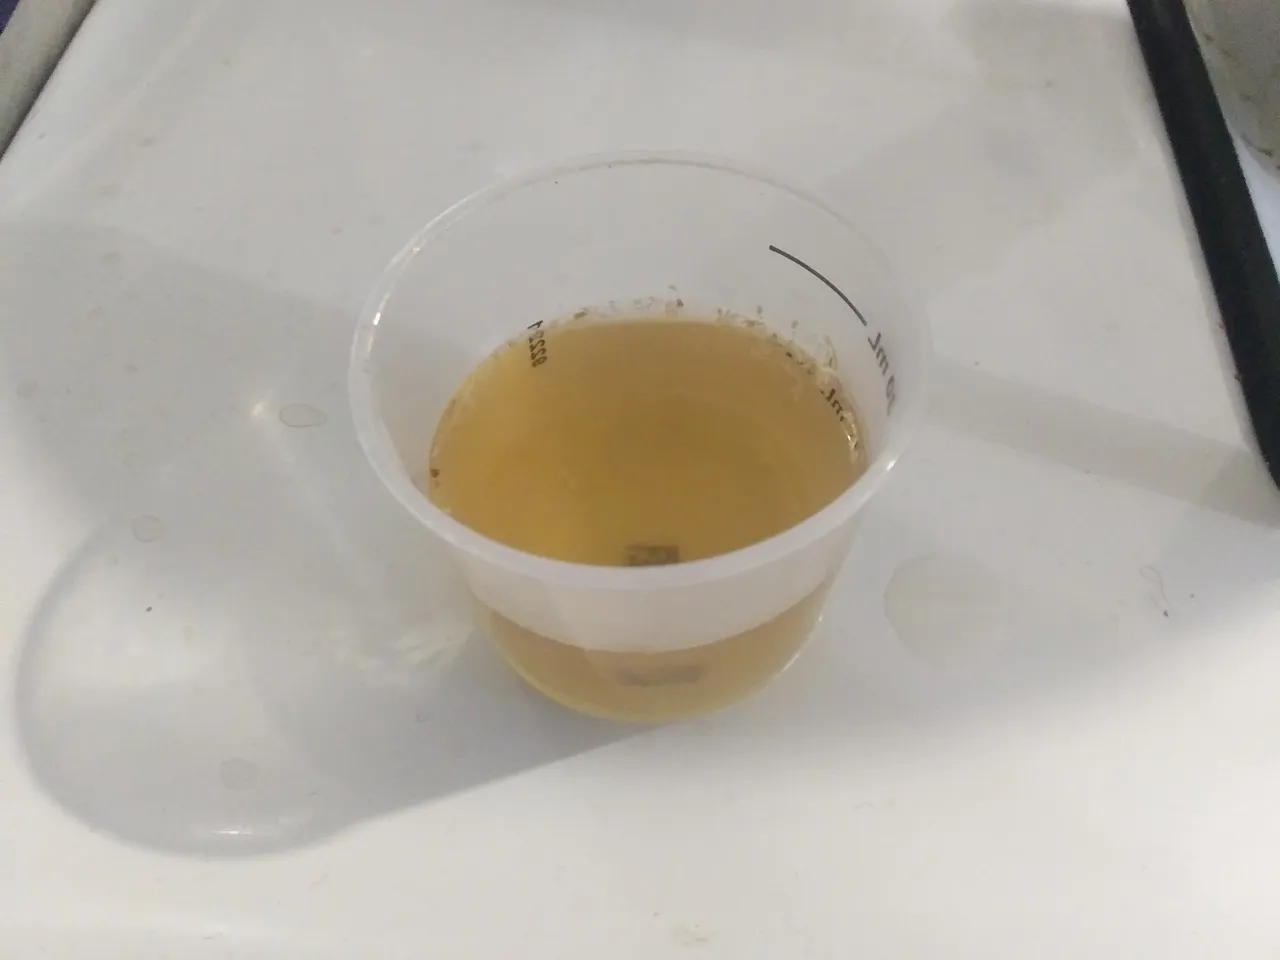
To get a taste without eating a mouthful of shredded ginger, stick a seive down into the mix, and use a small cup to scoop some out of the seive.
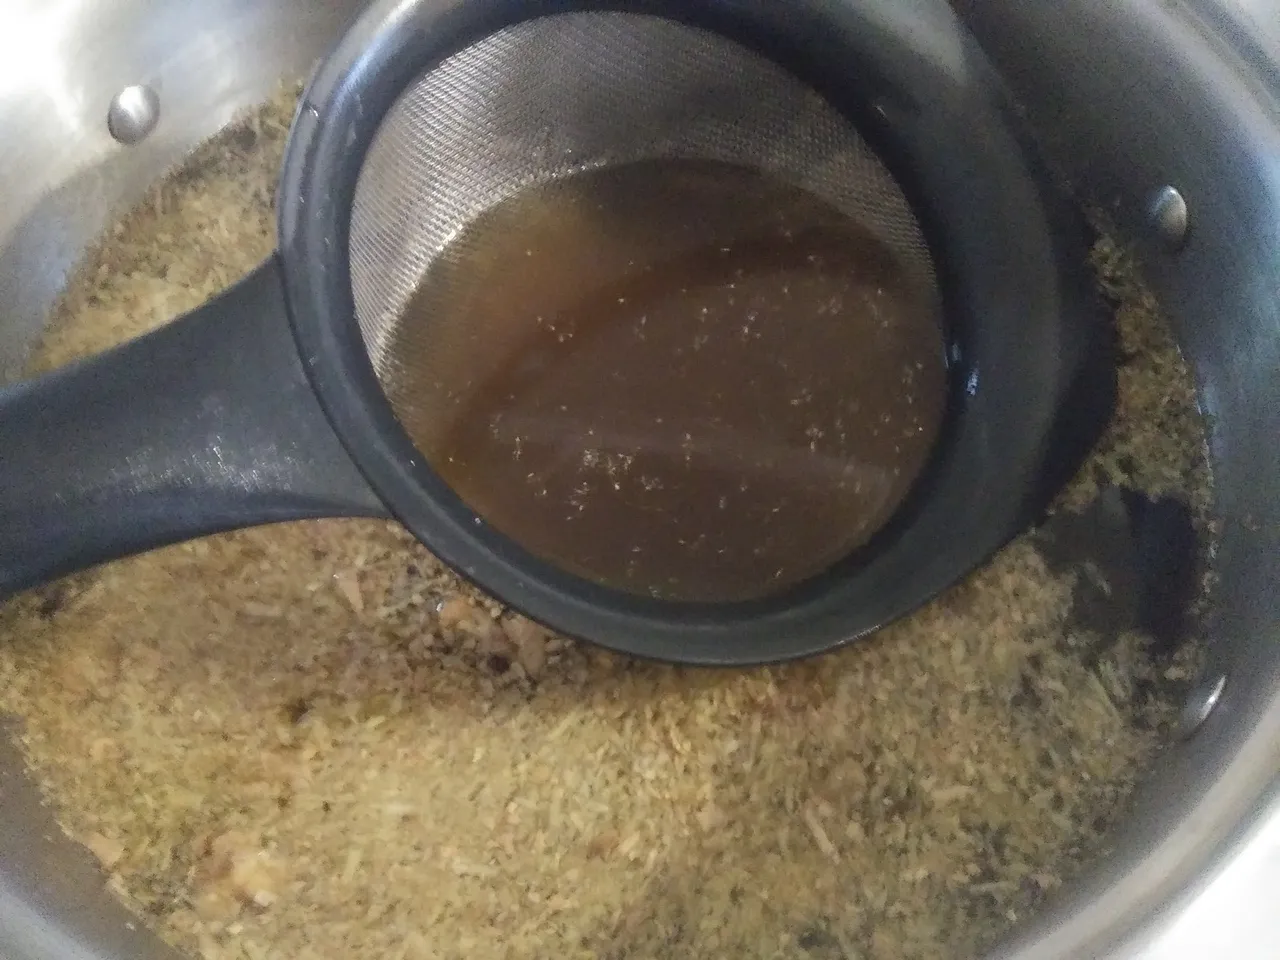
Just looking at it will make my mouth water. Even like this, before it has any fizz at all, this is a tasty and refreshing beverage. You will want to make your mix just a little bit sweeter than you want the finished product to be, because it will lose some sweetness as the sugars are used in the fermentation process.
Once you have it sweetened to taste, cut the heat and let it cool. Once it gets below 120°F, you can add the ginger you saved aside from later. If the mix hasn't cooled to at least 120, you may kill the yeast and it will not ferment (or at least it will take a LOT longer).
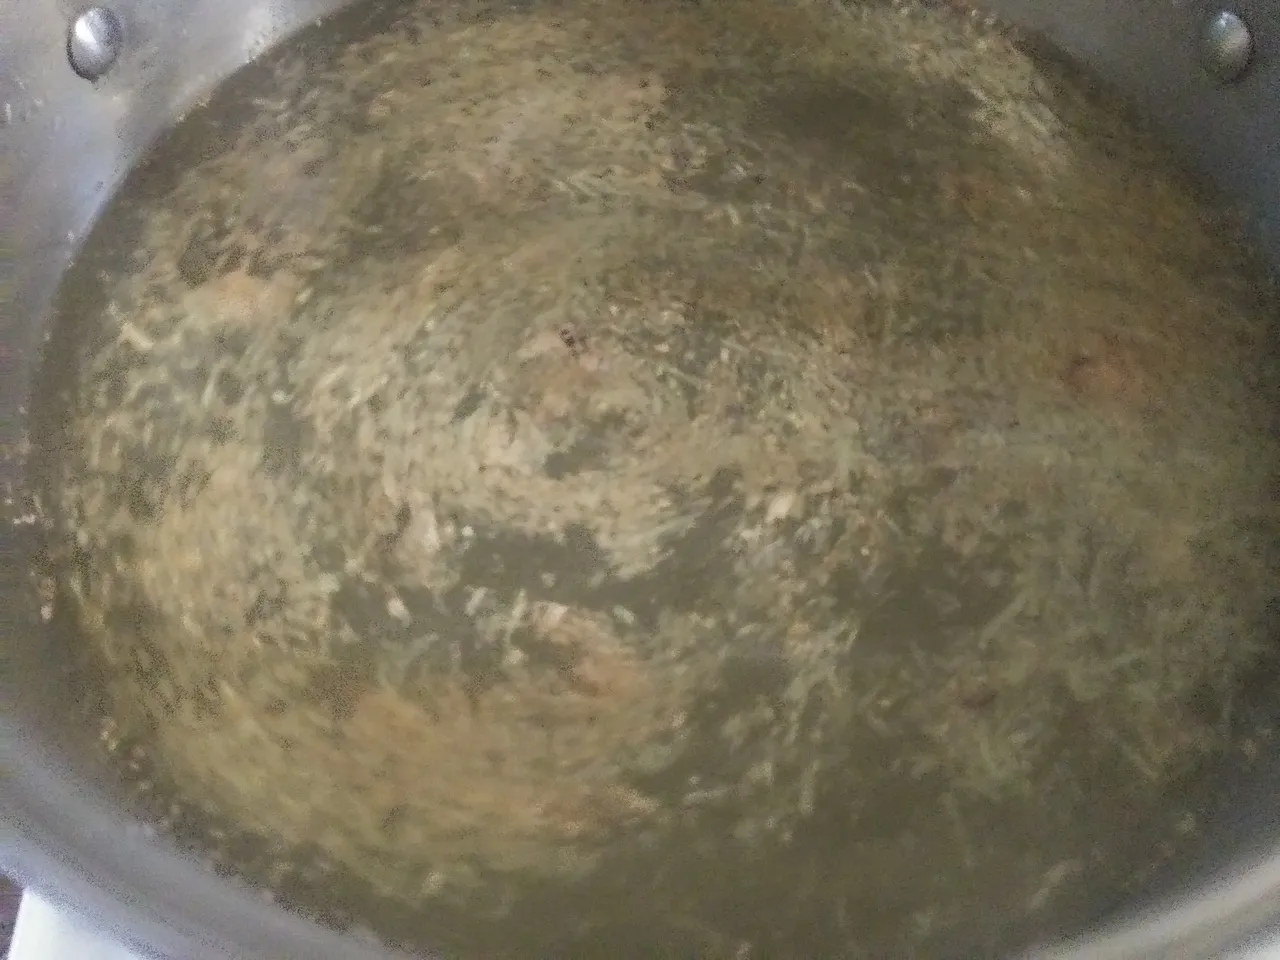
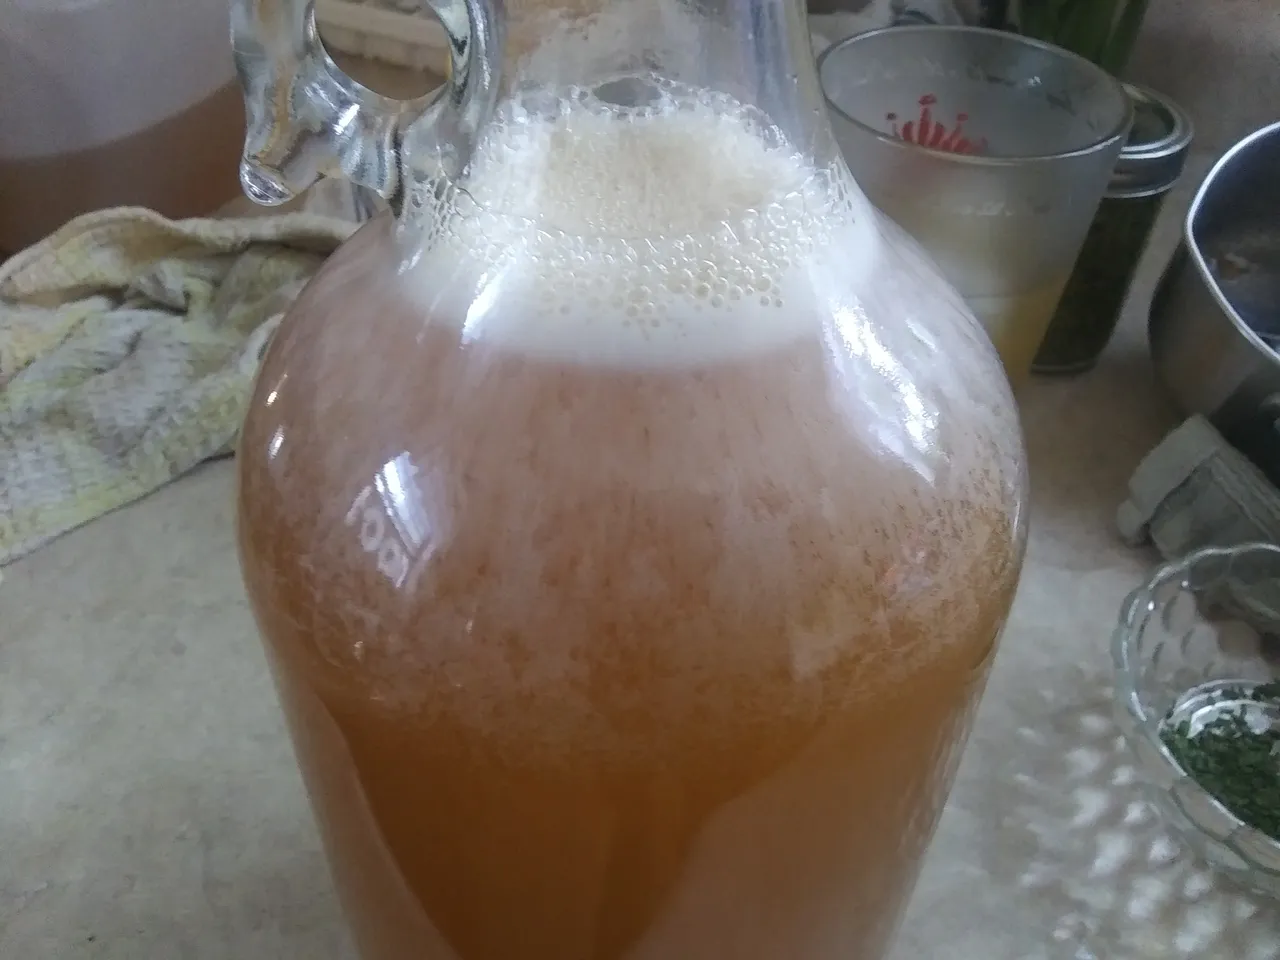
Once it has cooled all the way to room temperature, put it into containers with loose-fitting lids to sit and ferment. How long this takes will depend on a lot of different factors... how warm it is, how much active yeast is in your mix, how much and what kind of sugars you use... so trying to accurately guess how long a particular batch will take to ferment is fool's errand. Usually between 3 and 14 days. Again, this part is also subjective. As soon as you see bubbles forming, it's ready. The longer you wait, the bubblier (and more alcoholic!) it will become, until the yeast either eats all the sugar, or the alcohol concentration becomes enough to kill the yeast. It will also become less sweet the longer it goes, as more sugar is converted to alcohol. I like stop mine as soon as I can see it starting to get a 'head' on top from the bubbles. During this process, the mix is releasing a good deal of CO2 (carbon dioxide, it's what the bubbles are), which is why you want a loose fitting cap. If this is left to ferment in a sealed container, that container will either blow its top or explode.

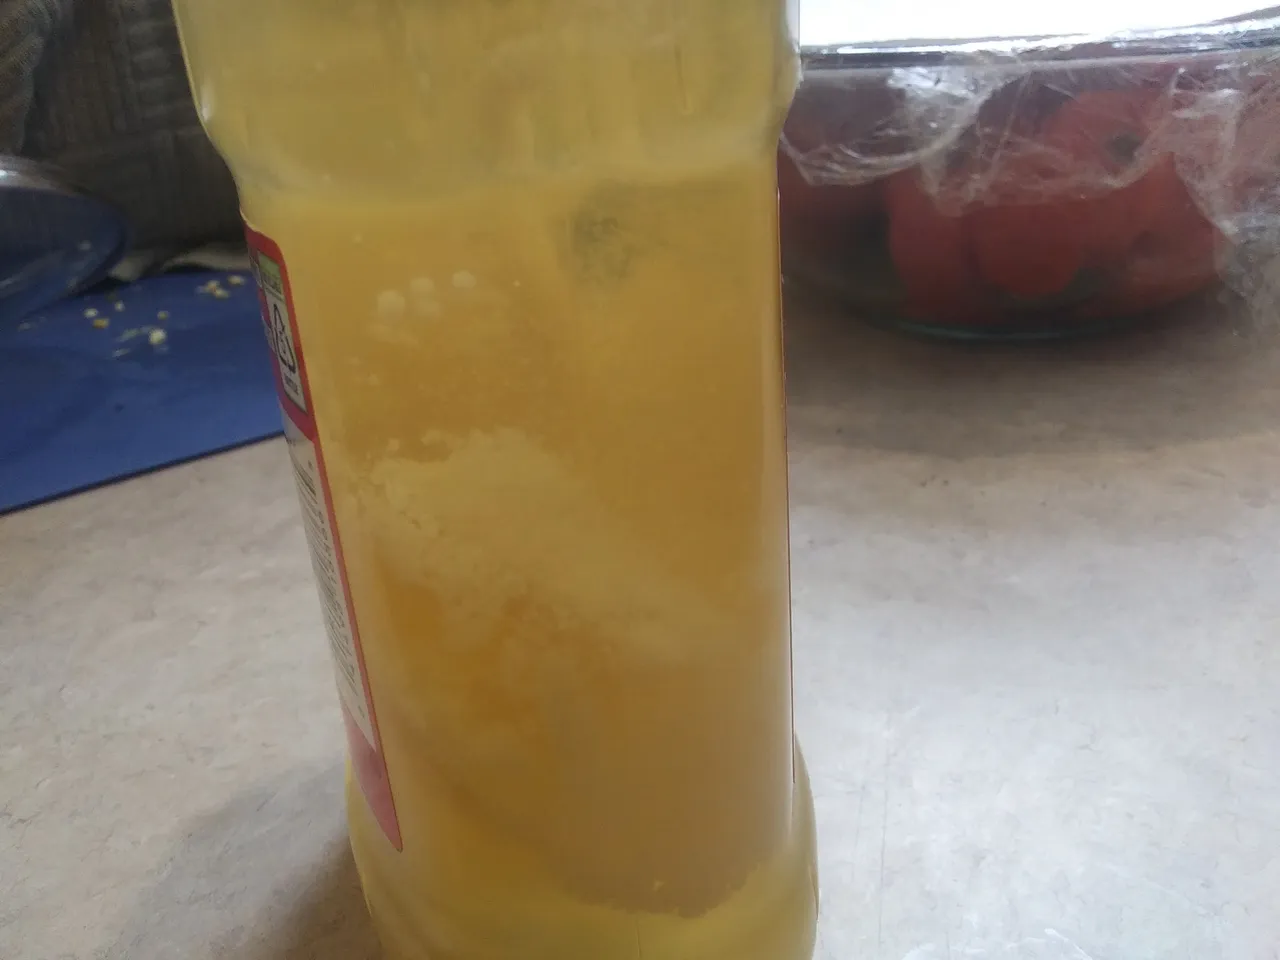
Because of that pressure, when it's done you want to make sure that you keep it in a container that will hold a good deal of pressure. I always re-use bottles that previously had carbonated drinks in them. It used be old 2 liter soda bottles, but now I have these fancy glass 'growlers' that are usually used for craft beer.
It is indeed just that simple! The first time you get a batch that comes out just right, you'll never go back to that canned sugar water they sell in stores.
I hope you enjoyed this post, I'm trying to mix in some 'lighter', more day to day DIY stuff, lest people start to see my feed as all gardening, carpentry, and crazy furnace builds! As winter moves forward, I also hope to dazzle with cooking, crafts, and cleaning tips. If that sounds like a good time to you, give me a follow, or at least keep an eye on DIYHub and Build-It Communities, where I'll be posting them. Hope to see you there!