Hi beautiful people, hope you had a lovely day.....
Today, I completed a wig I started making last week, this wig was made with my used attachment.
For some reason, I don't like throwing away used attachments, I feel they can be used for something else especially with the current price of attachments these days, it won't sit right with me if I decide to waste something I paid heavily for, so I decided to make a wig, at first, I wanted to perfect a wig I made earlier this year but changed my mind and decided to try something different.
For days when we don't feel like doing too much, days when you don't have enough time or funds to make your hair, this comes in handy. This wig can be worn out to school, market, casual outing, running errands or just sitting at home.

REQUIREMENTS
- Wig cap
- Crochet pin
- Attachments (used or new)
- Wig stand (or bucket like me 😅)
- Hair rollers/Bendable dollars
- scissors
- Hair Conditioner
THE PROCESS
- Step 1.
The first thing to do is cream and comb but if it's an unused attachment, the first thing is cutting, creaming and drawing before combing.
- Step 2.
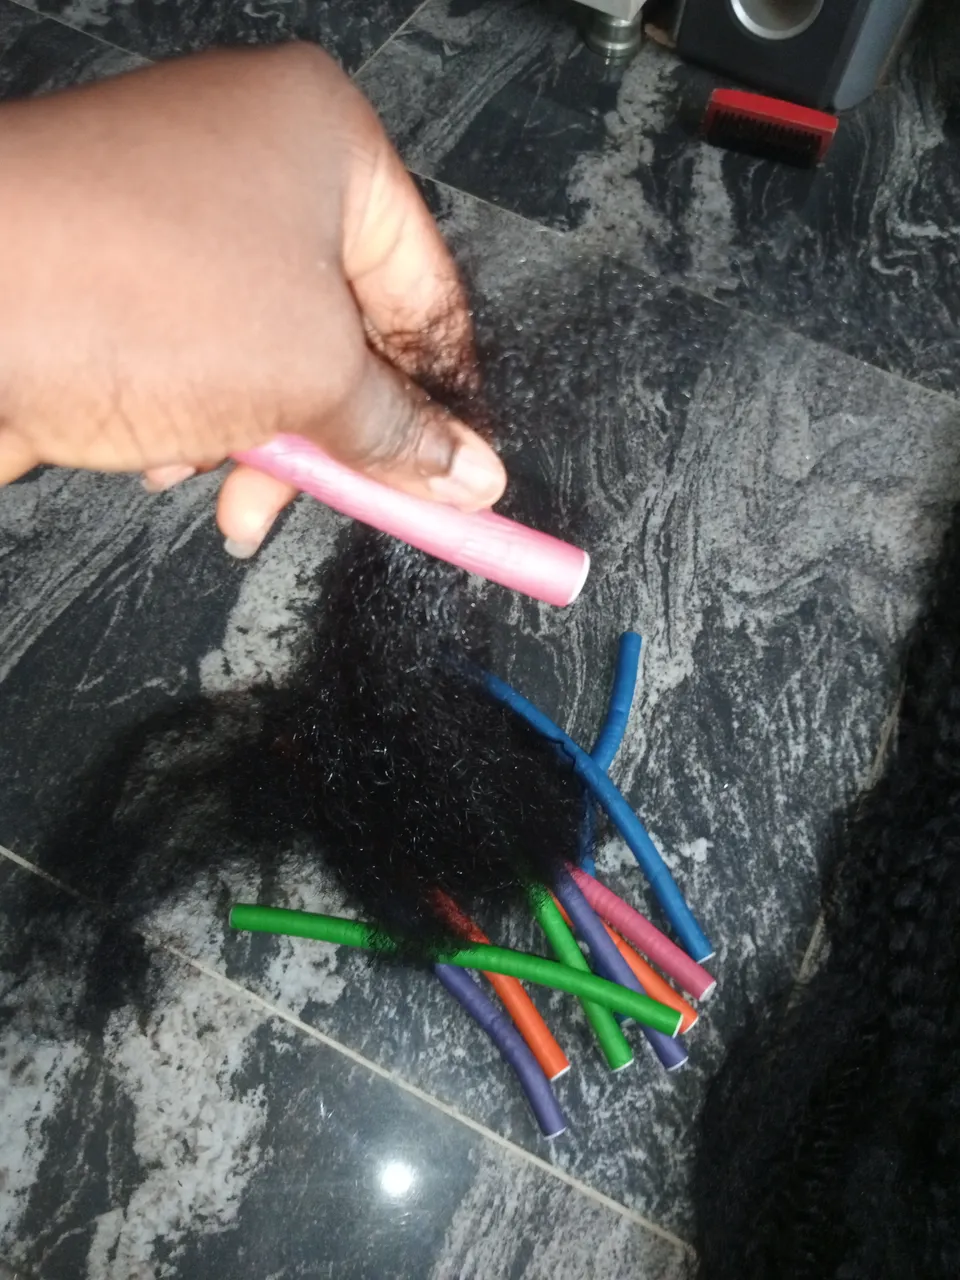
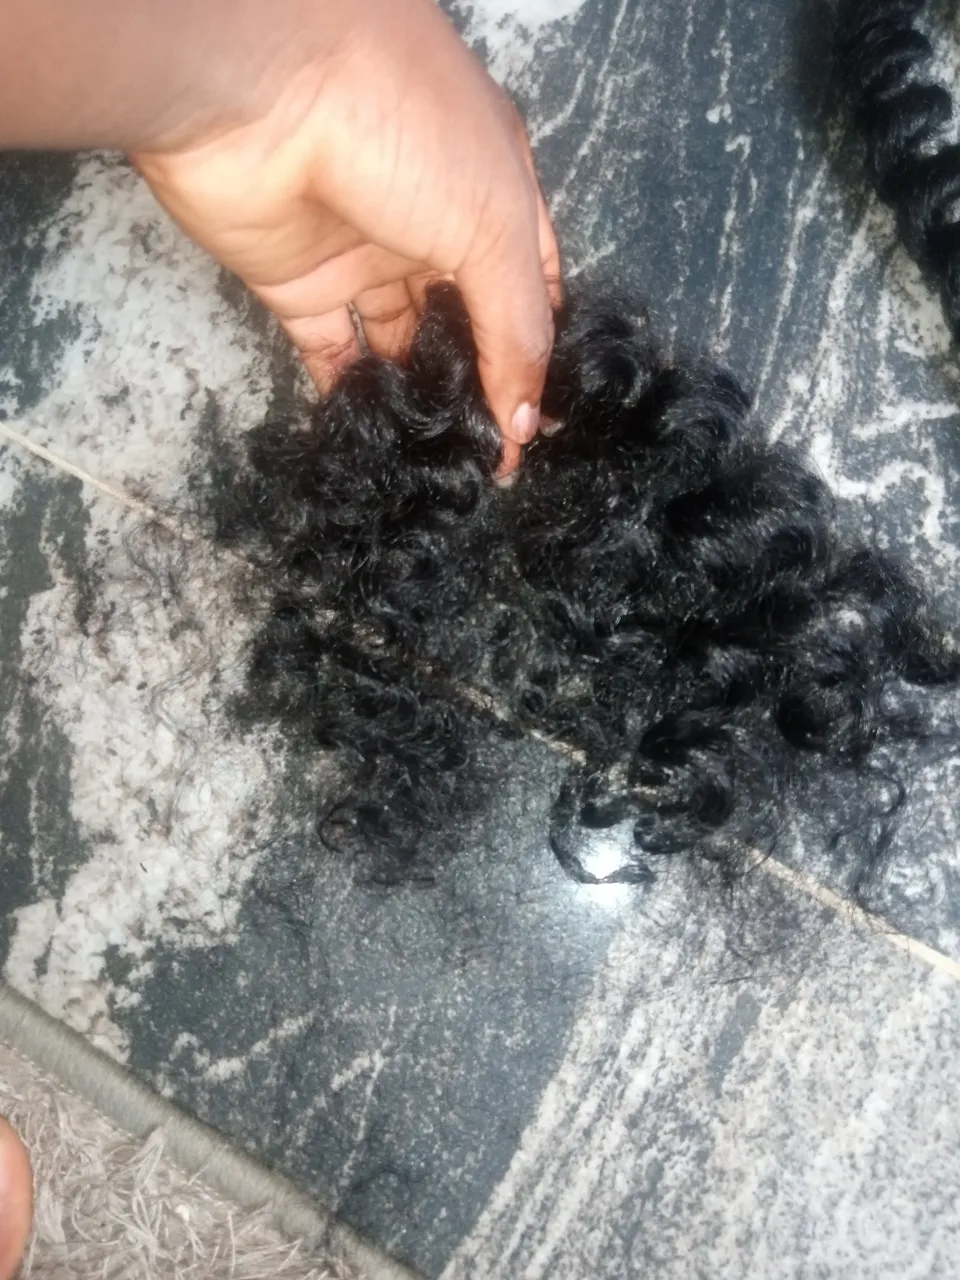
After combing, I started rolling it in small bits on the bendable rollers, I twisted it to the left because twisting to the right doesn't hold.
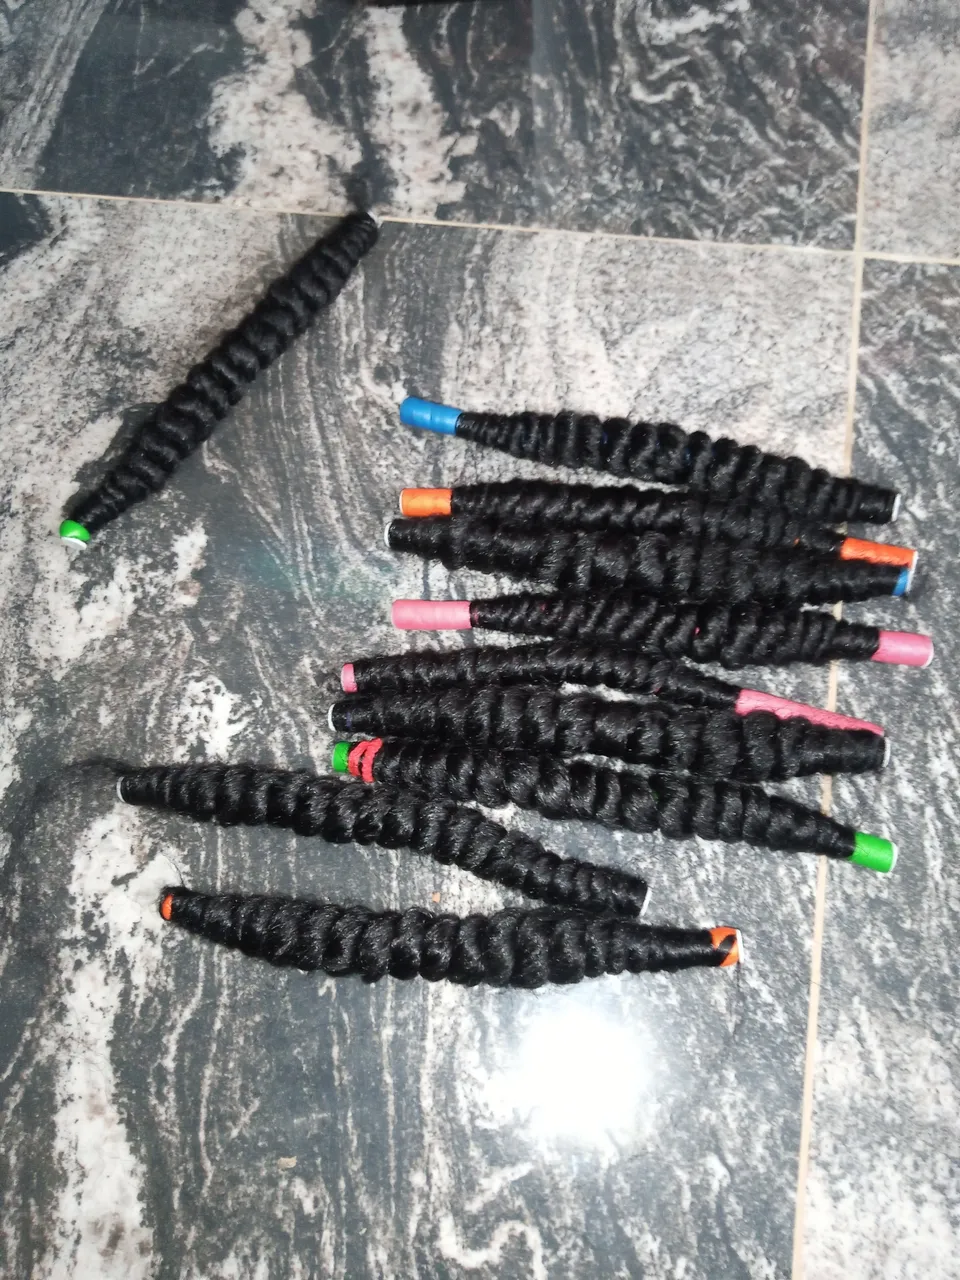
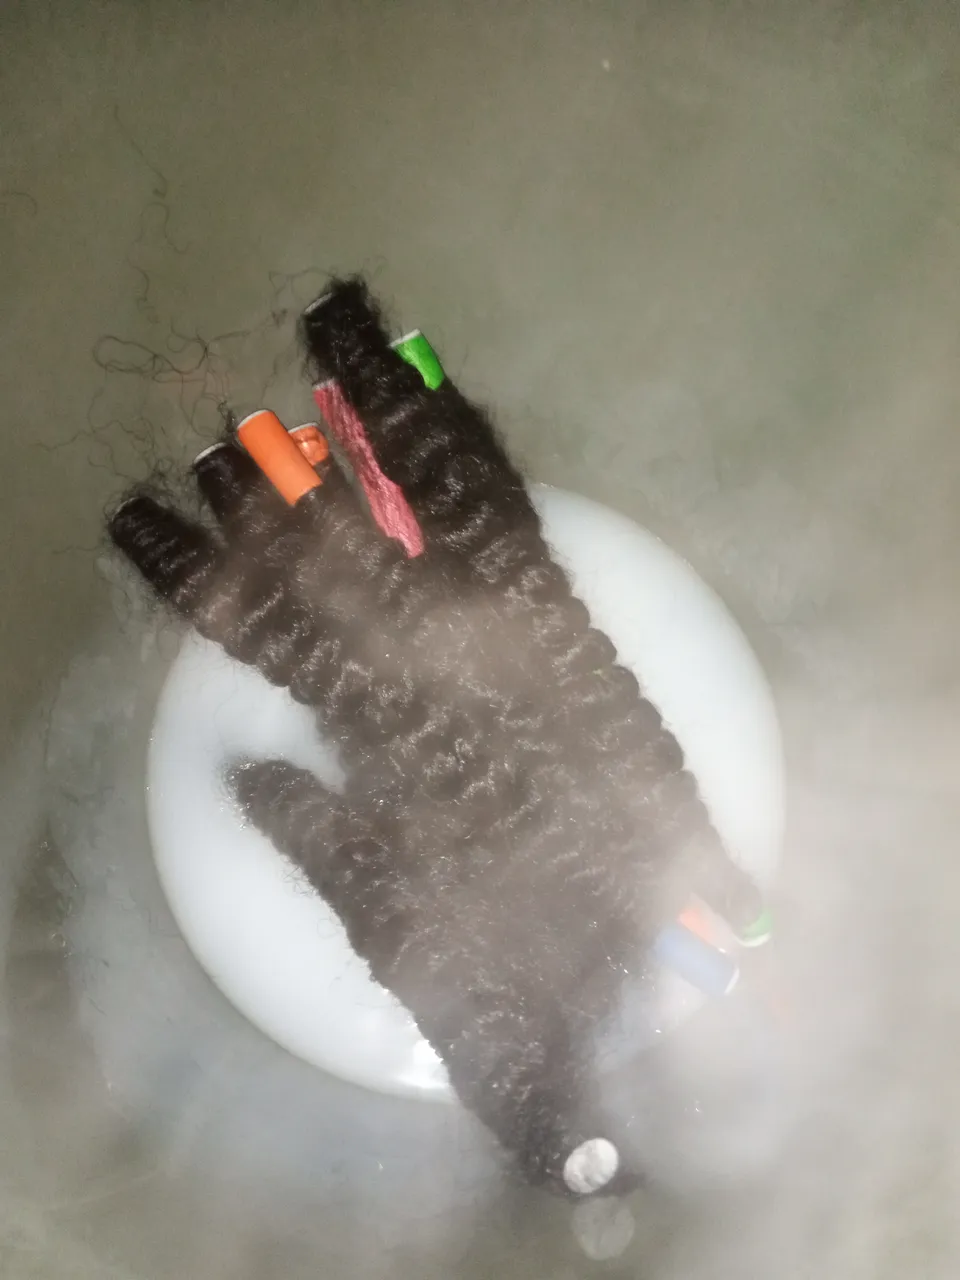
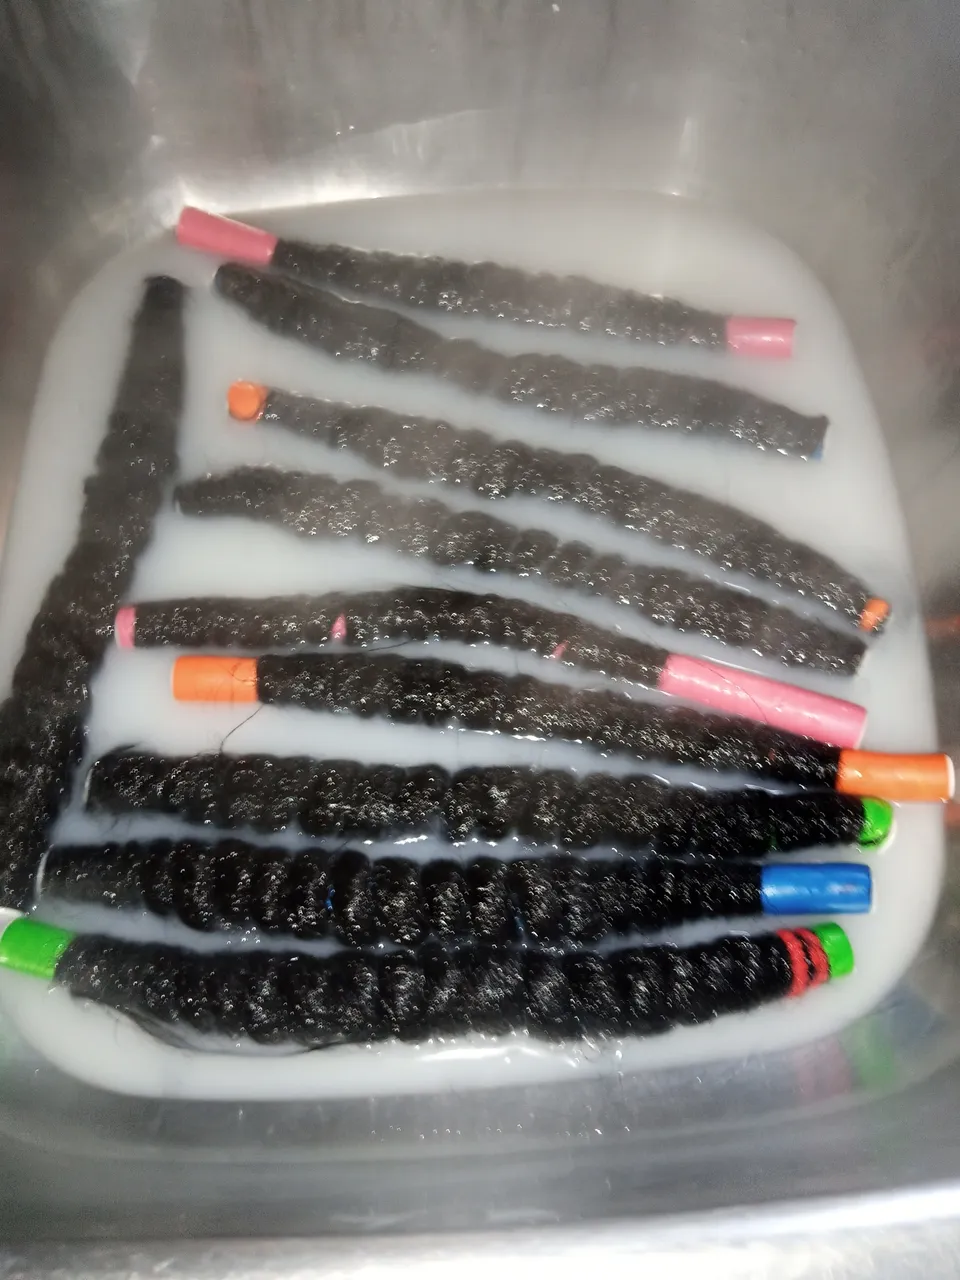
- Step 3.
After twisting, I boiled water, added hair conditioner to it and put the rolled attachment inside, I let it sit inside for a while before pouring out the water and letting the attachment dry.

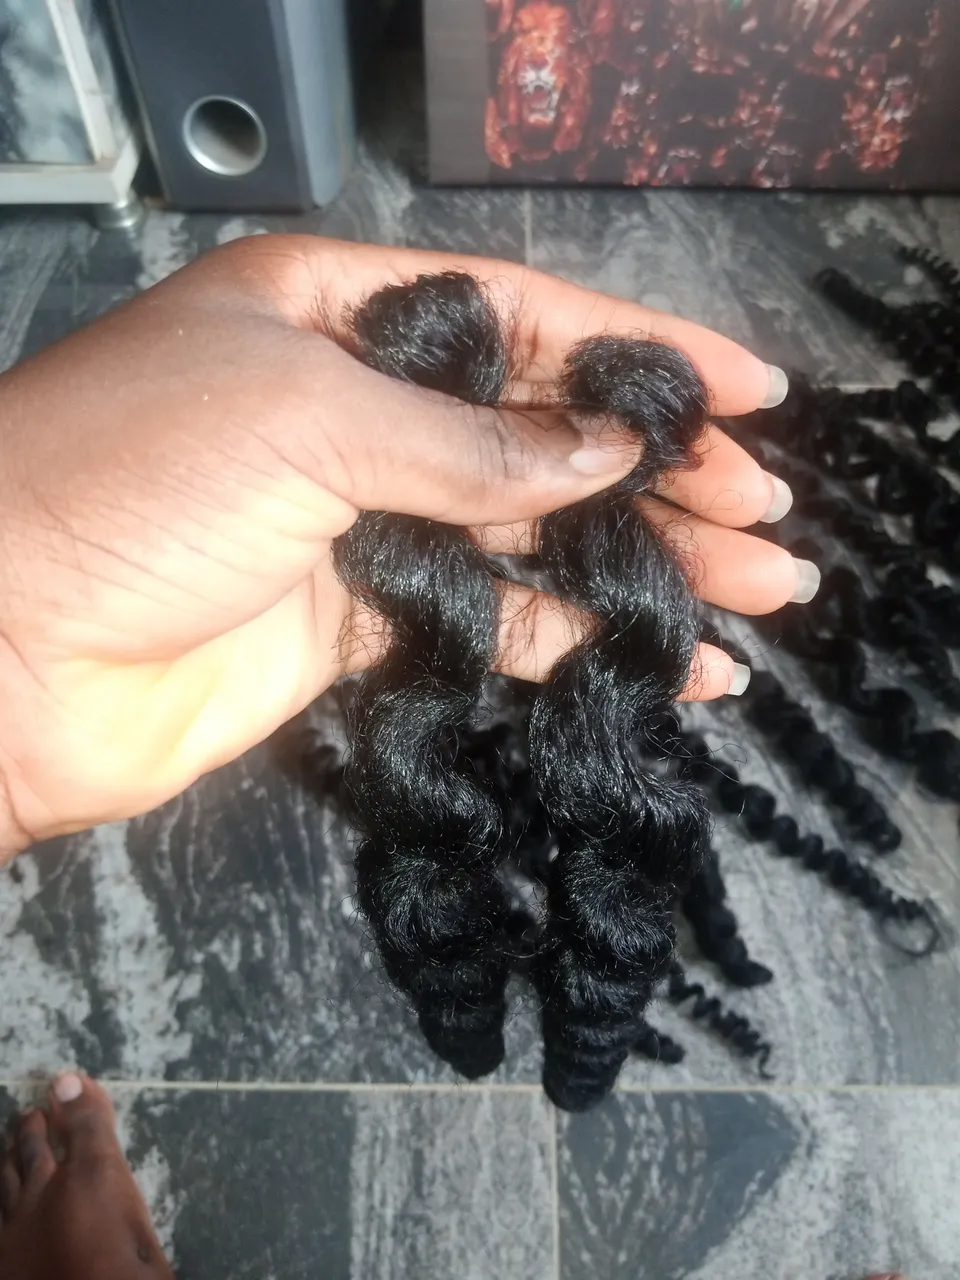
- Step 4.
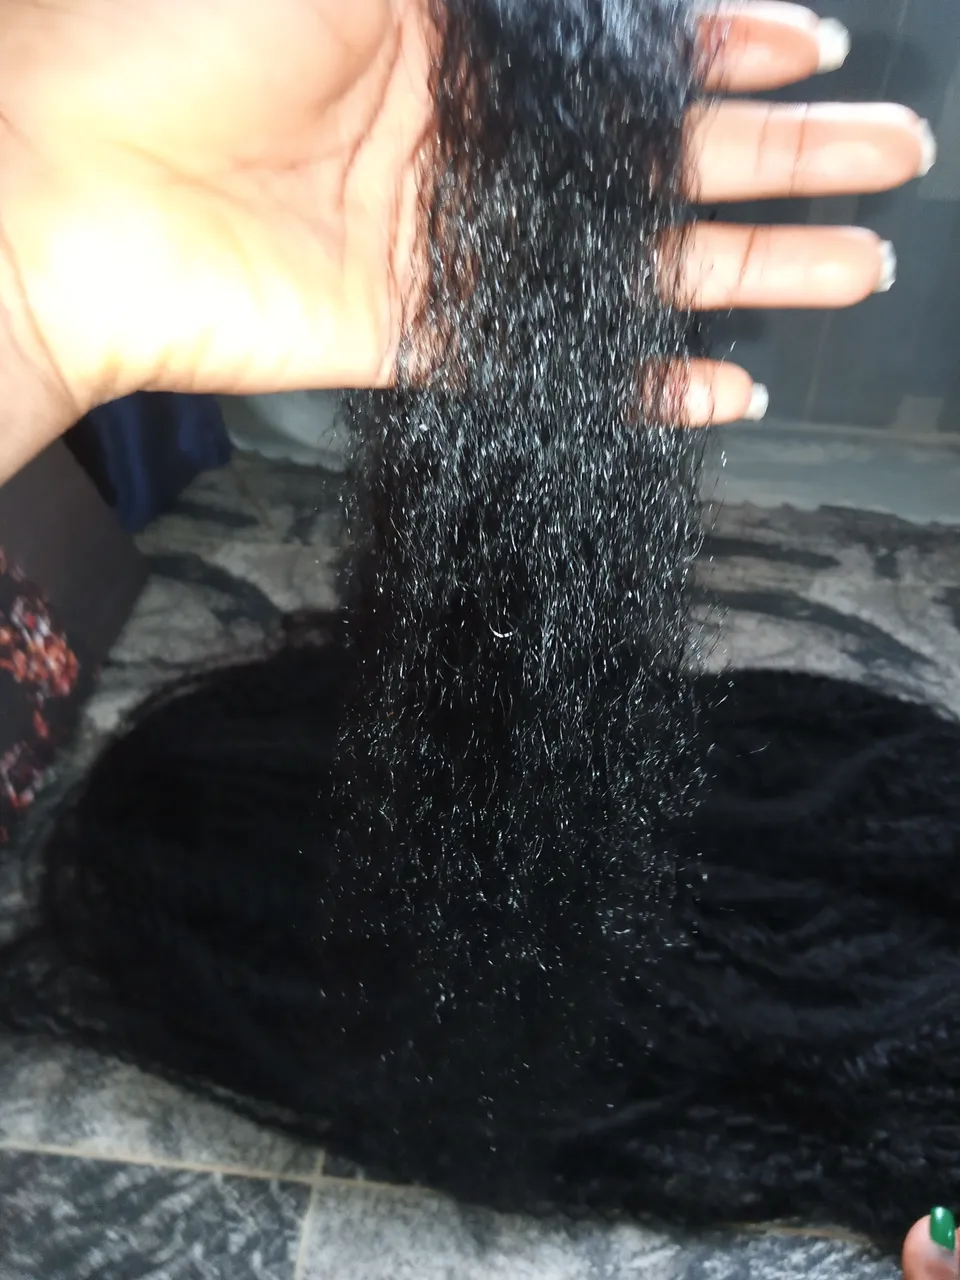
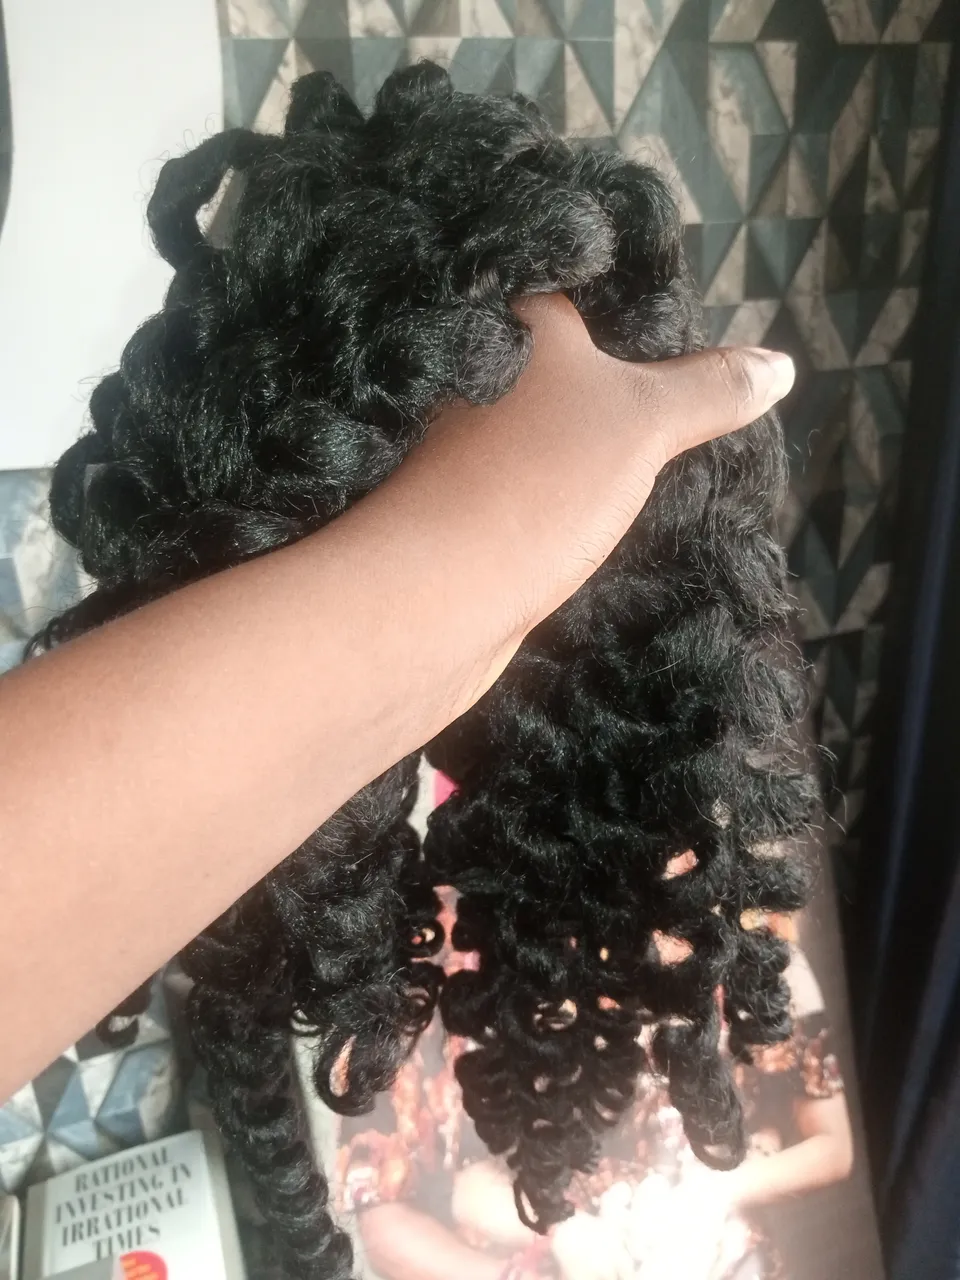
After the attachment has dried completely, I removed them from the rollers. Moving on, I cut them into two equal parts and started 'knitting'.
- Step 5.
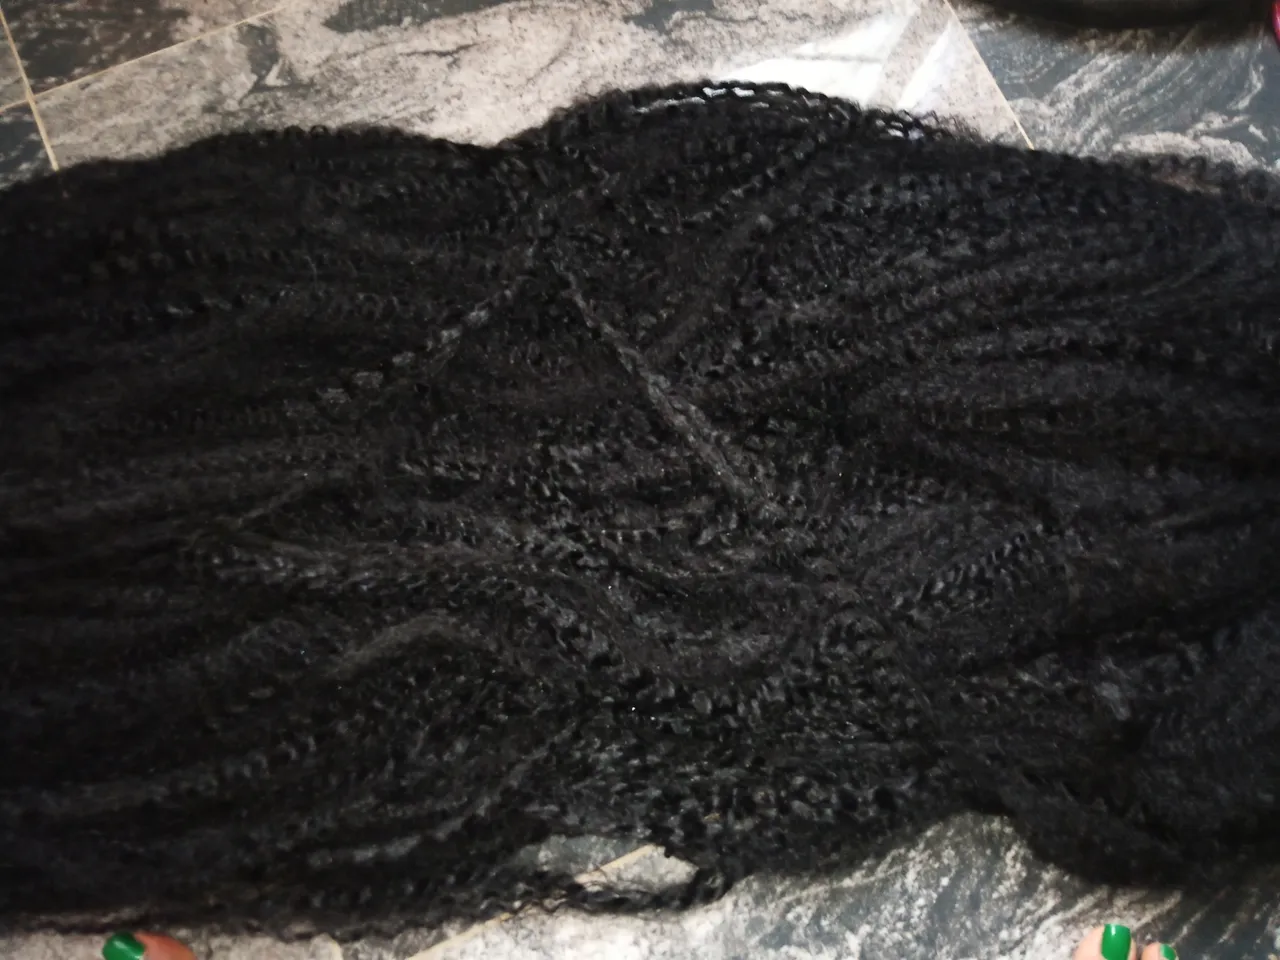
After cutting the curled attachment, I fixed my wig cap on the wig stand (in my case, bucket because the wig stand I got was useless 🤦, it kept falling off and had no weight to hold the wig cap). After fixing the wig cap, I started going in with the crochet pin and attachment, I passed the crochet pin between two (or more) holes on the net, use the pin to pass the attachment and bring them out through the hole (as if I was knitting) and I made sure the knot is tight.
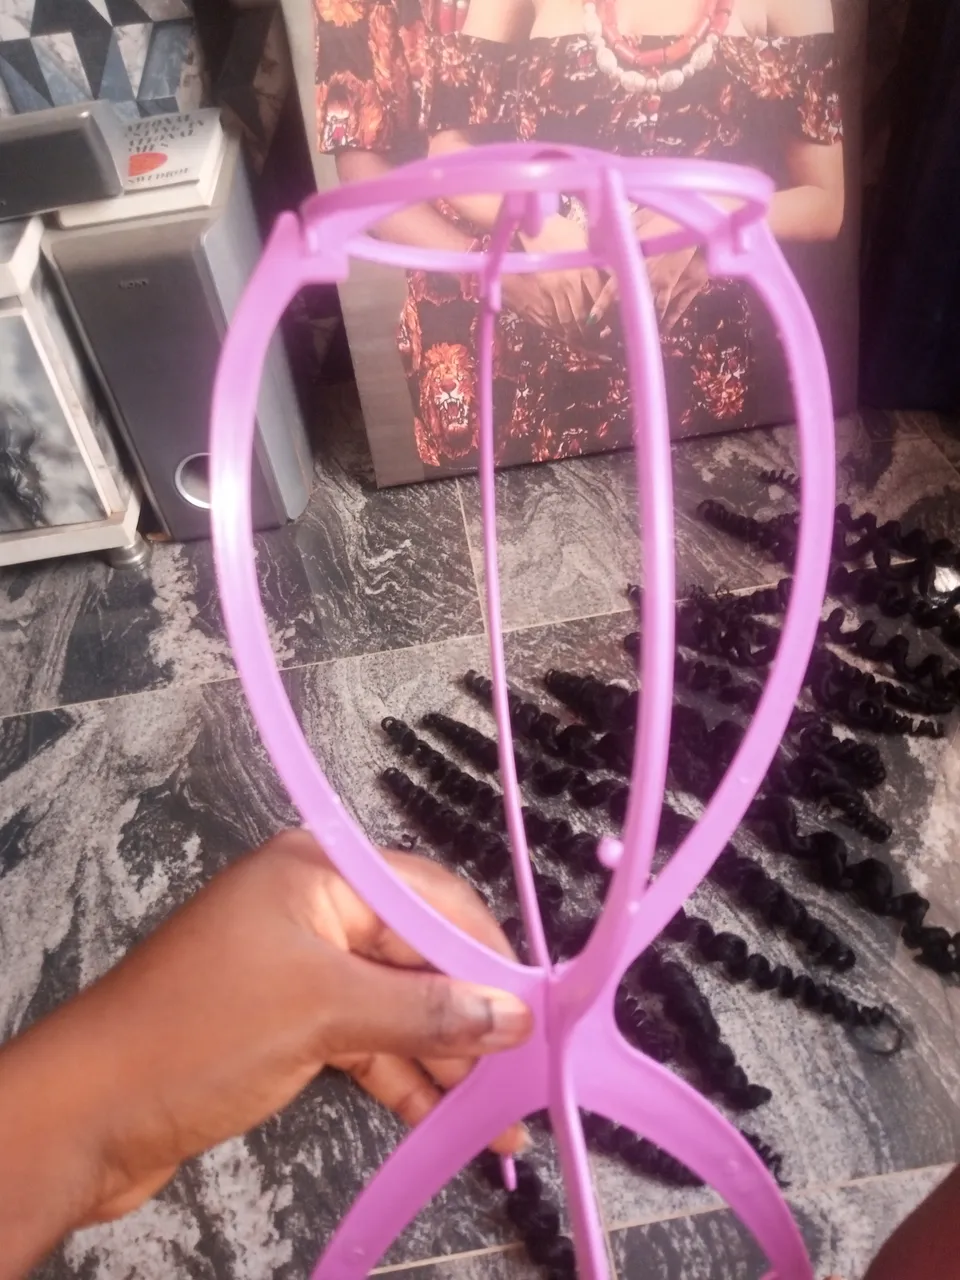
[Wig stand that didn't work]
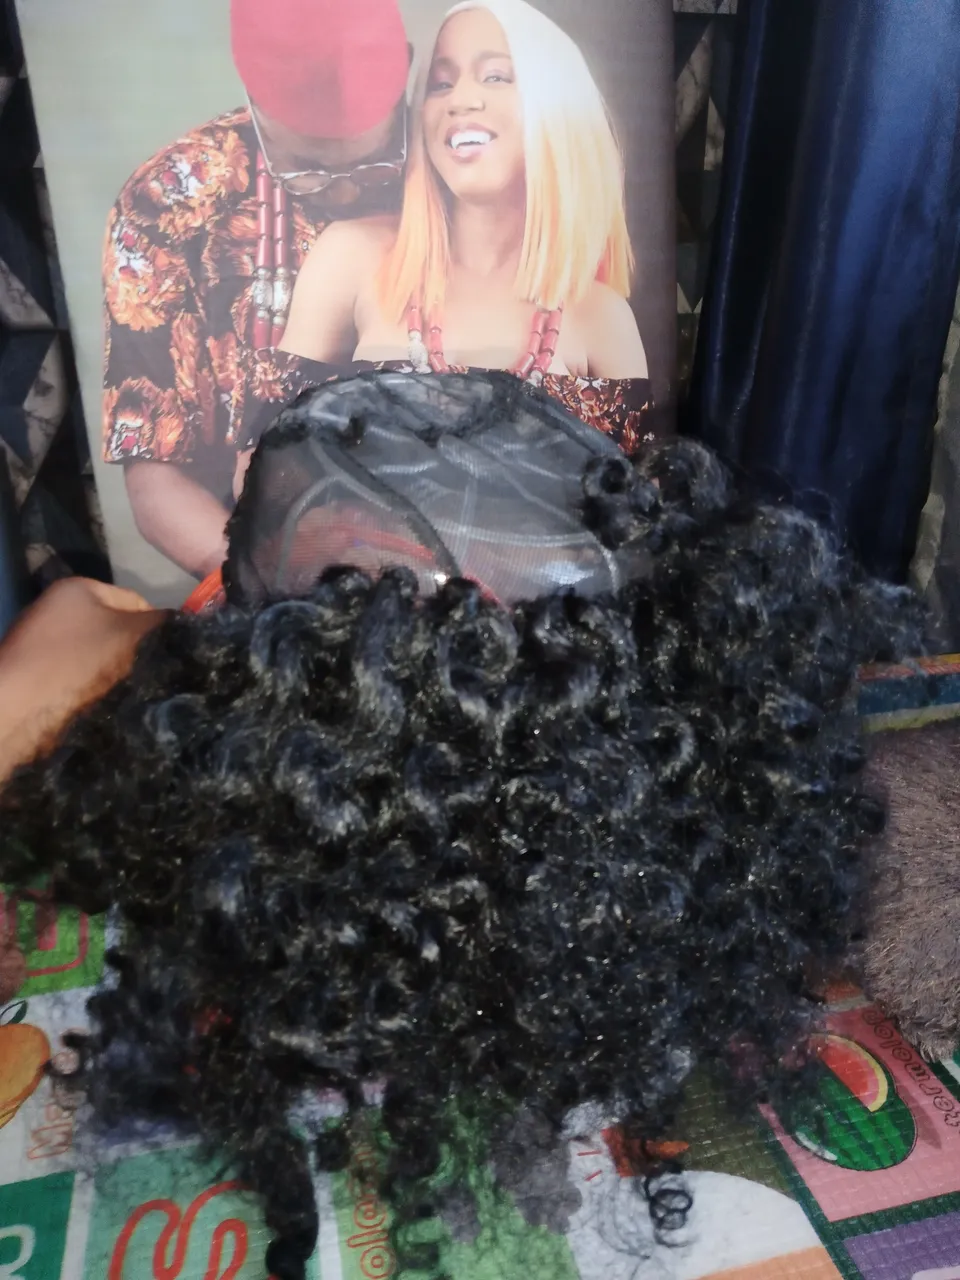
-Step 6.
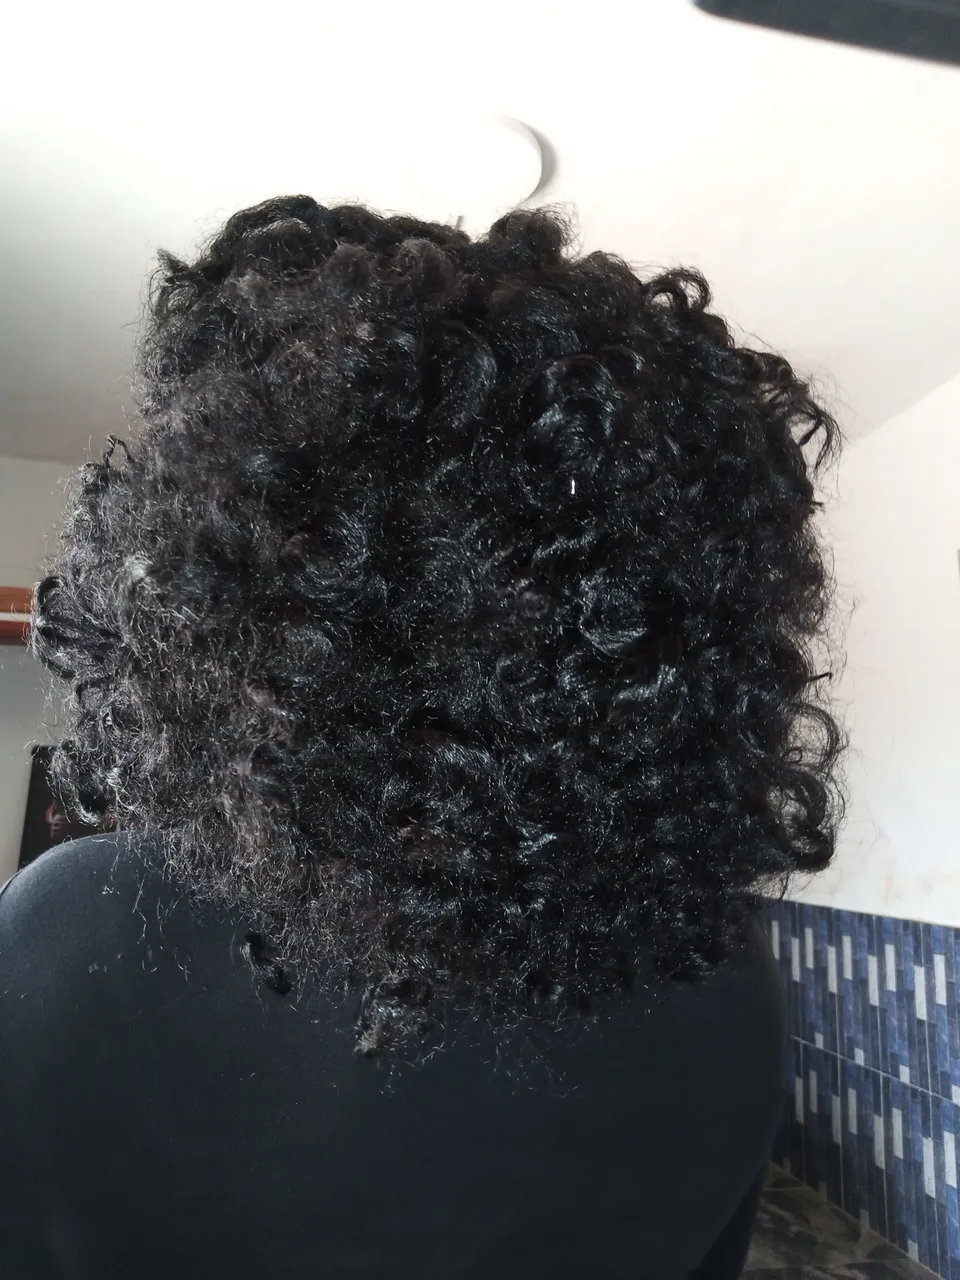
After filing the hair net with attachment to my satisfaction, I
Cut the long attachments covering my face.

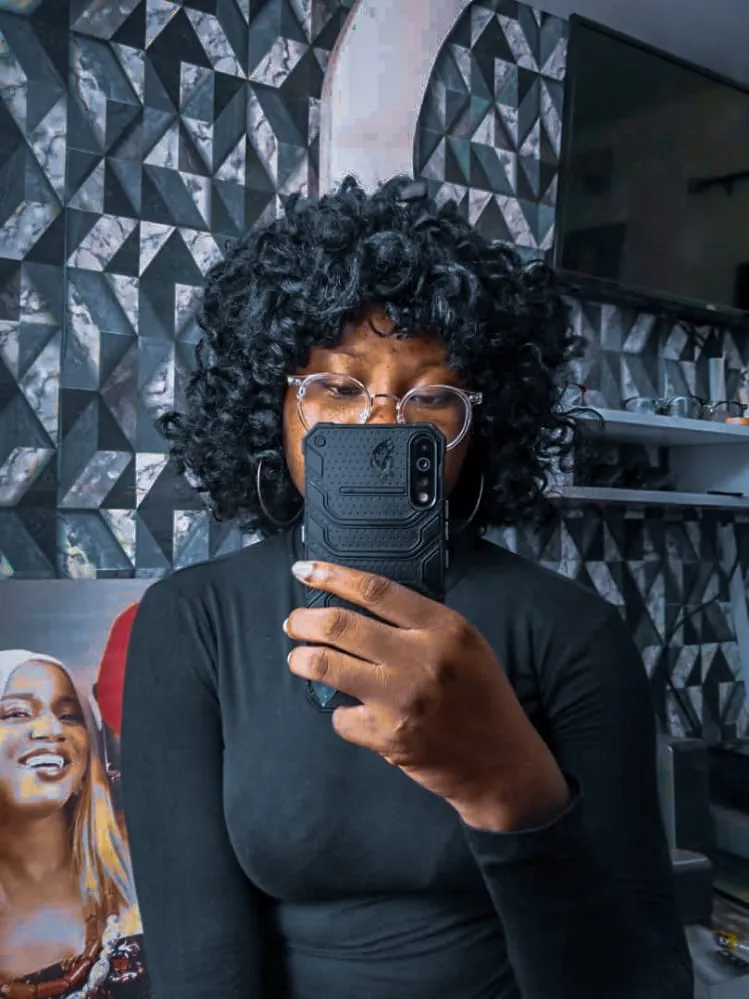
This looked so big and scattered so I went on to trim and add attachment to certain places I felt wasn't well covered and this is the final result.


[I'm not a hairstylist and have little knowledge about hair].
Thanks for stopping by 🤗
❤️&🕯️