Today I want to share making another tutorial about origami, and an easy way for me to share with friends, origami is a medium that I often use to create content because origami is very There are lots of creative things we can do.
This time I share how to make miniature toy glasses from origami paper, here are the steps I will share.
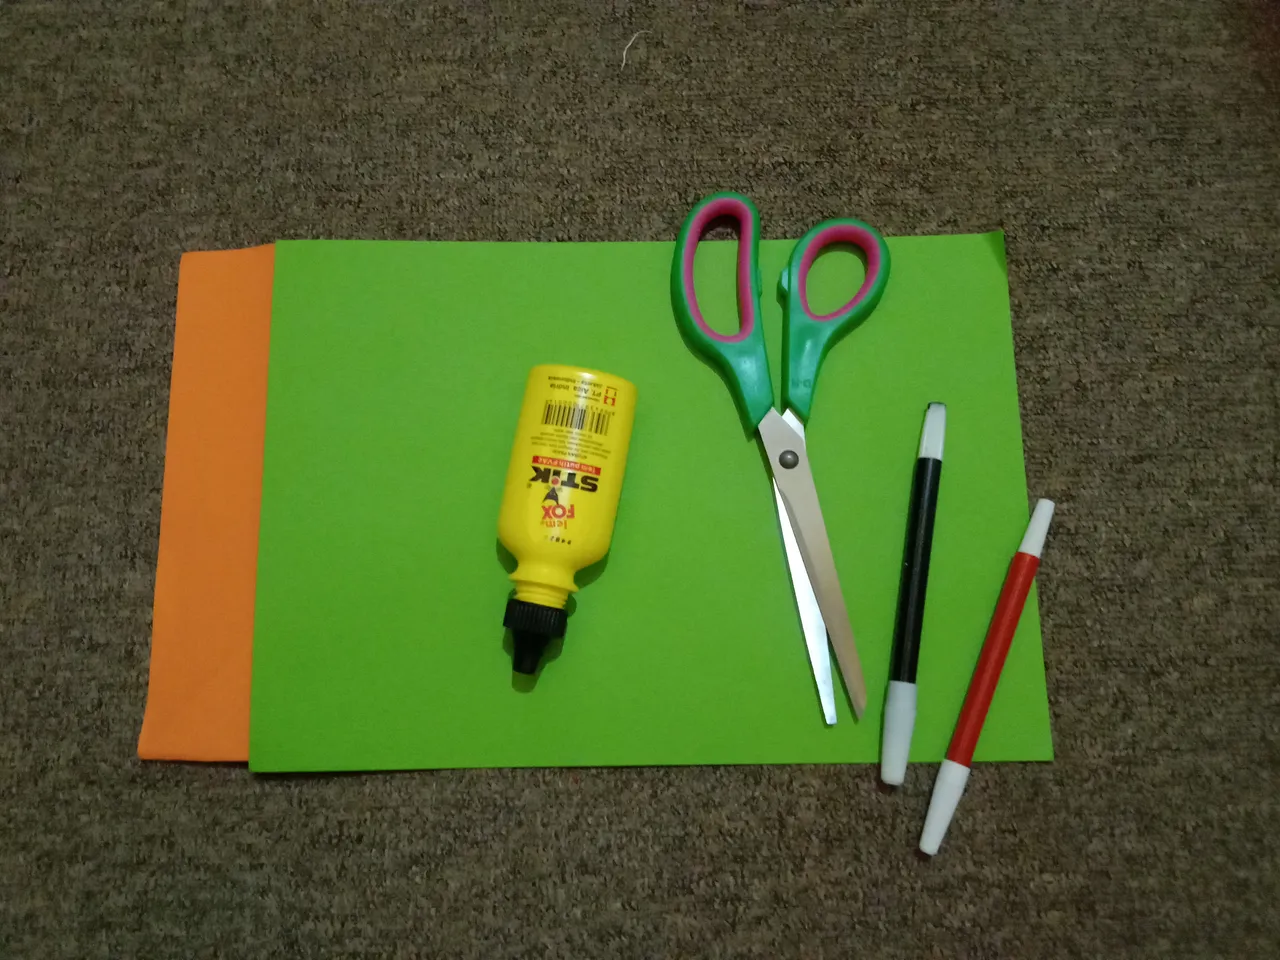
- orange and green origami paper
- Glue
- scissors
- colored pencils
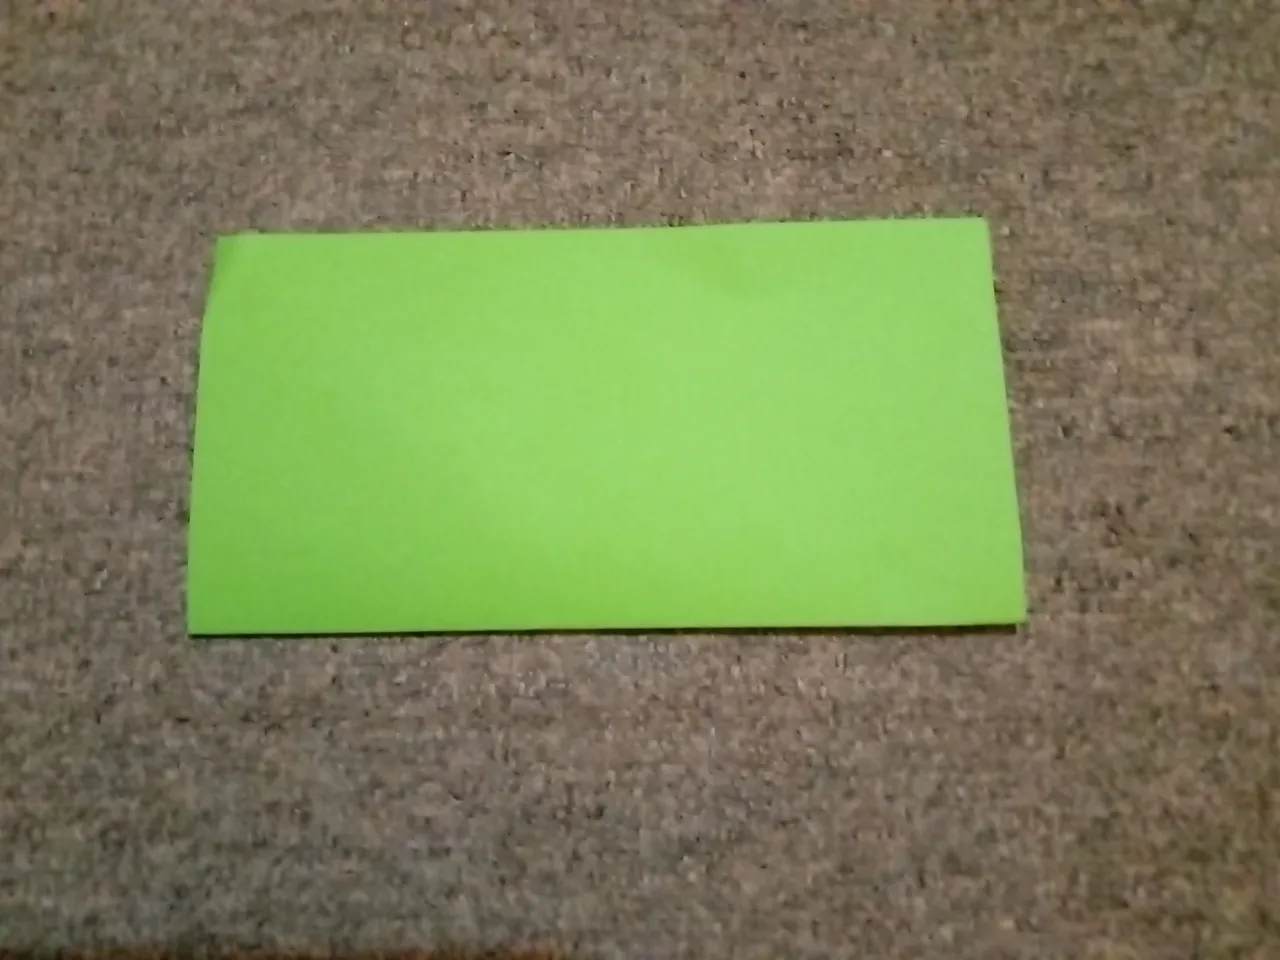
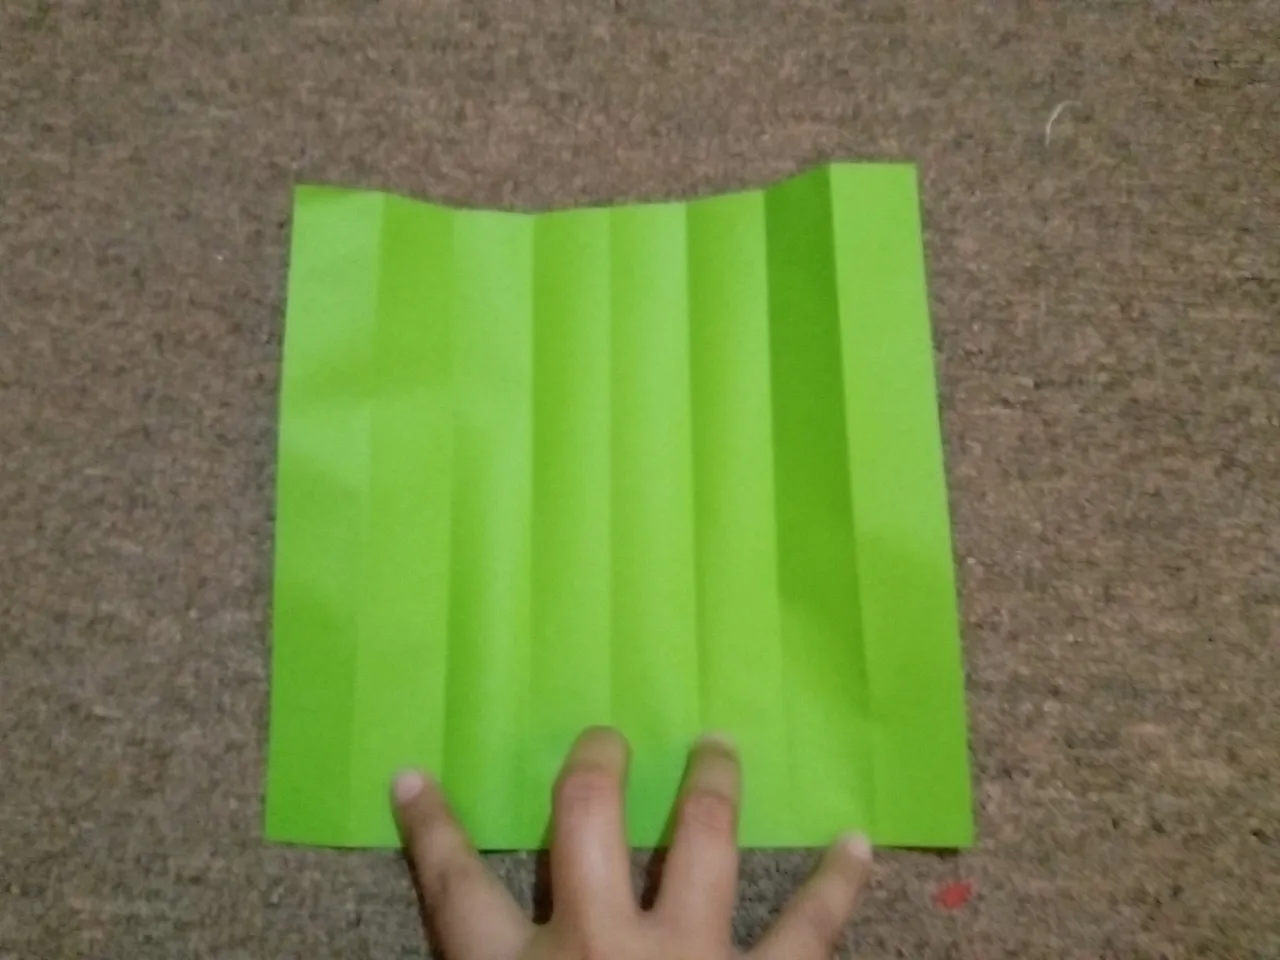
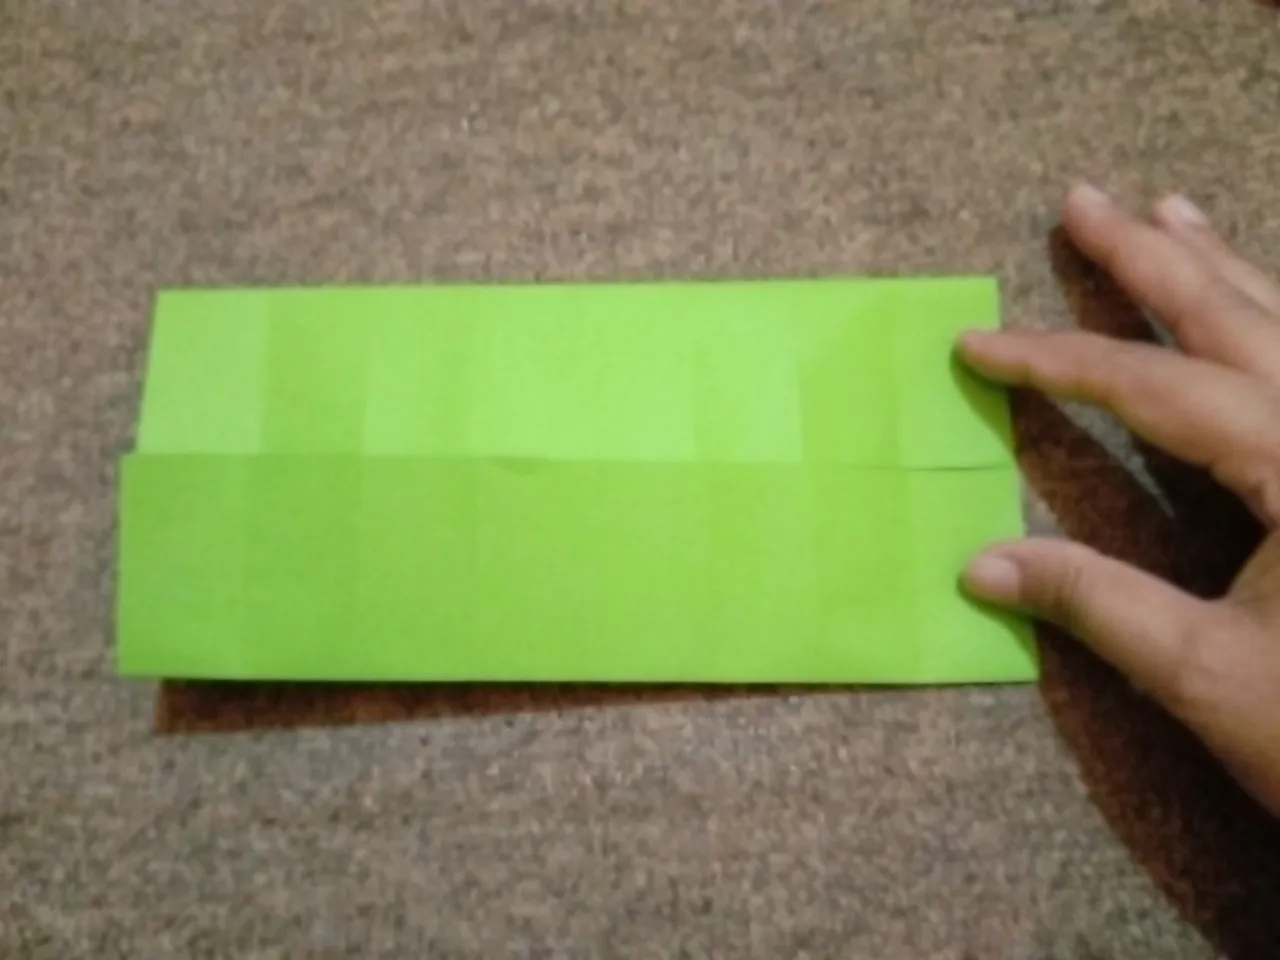
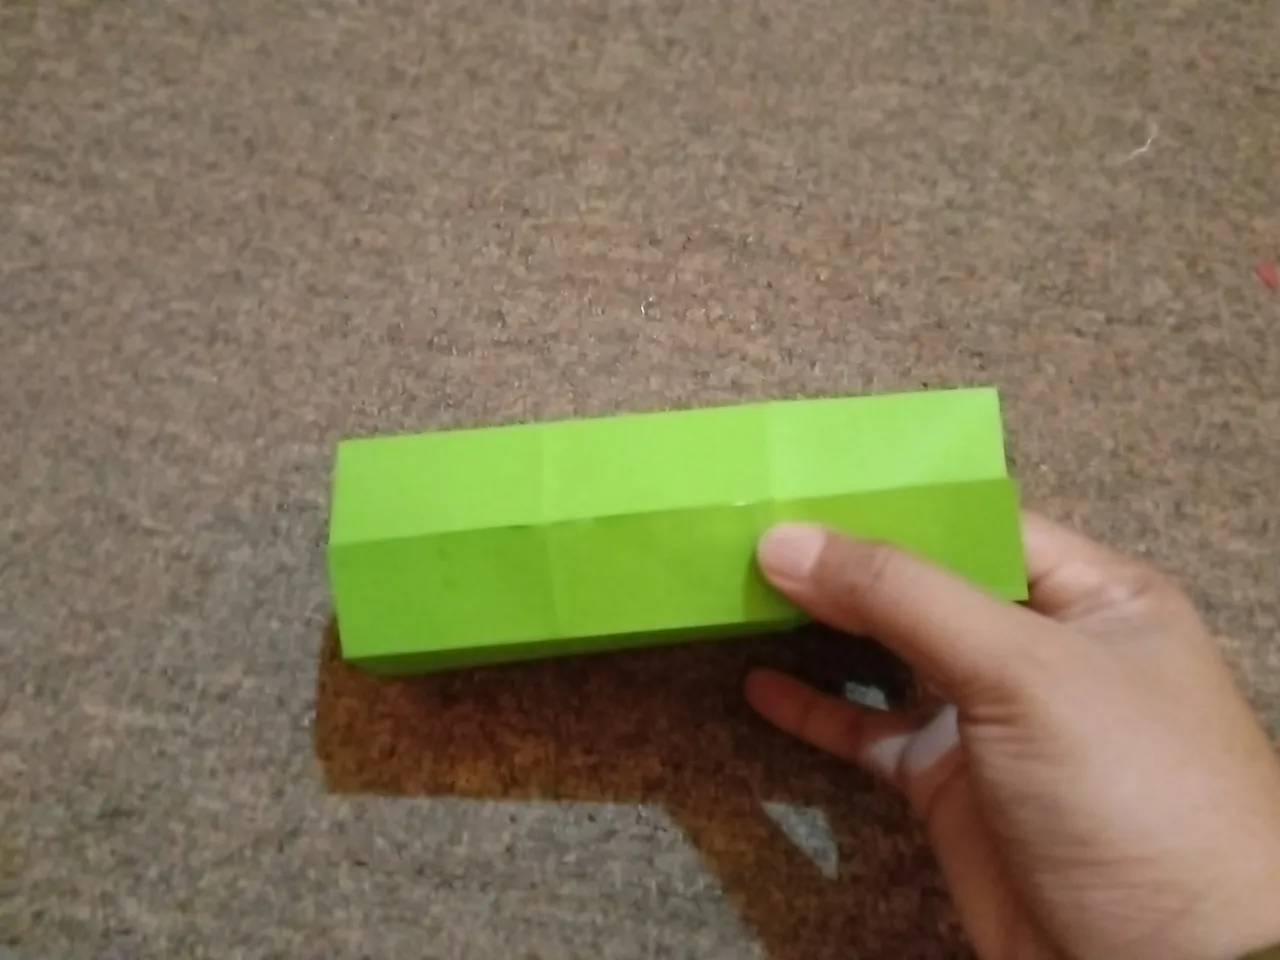
- First, cut out paper measuring 21x21cm, then fold it in half and open it again, then we take the bottom and the top we fold to the center fold point,After that, we fold it again in the middle, top and bottom, after folding we open all the folds of the paper.

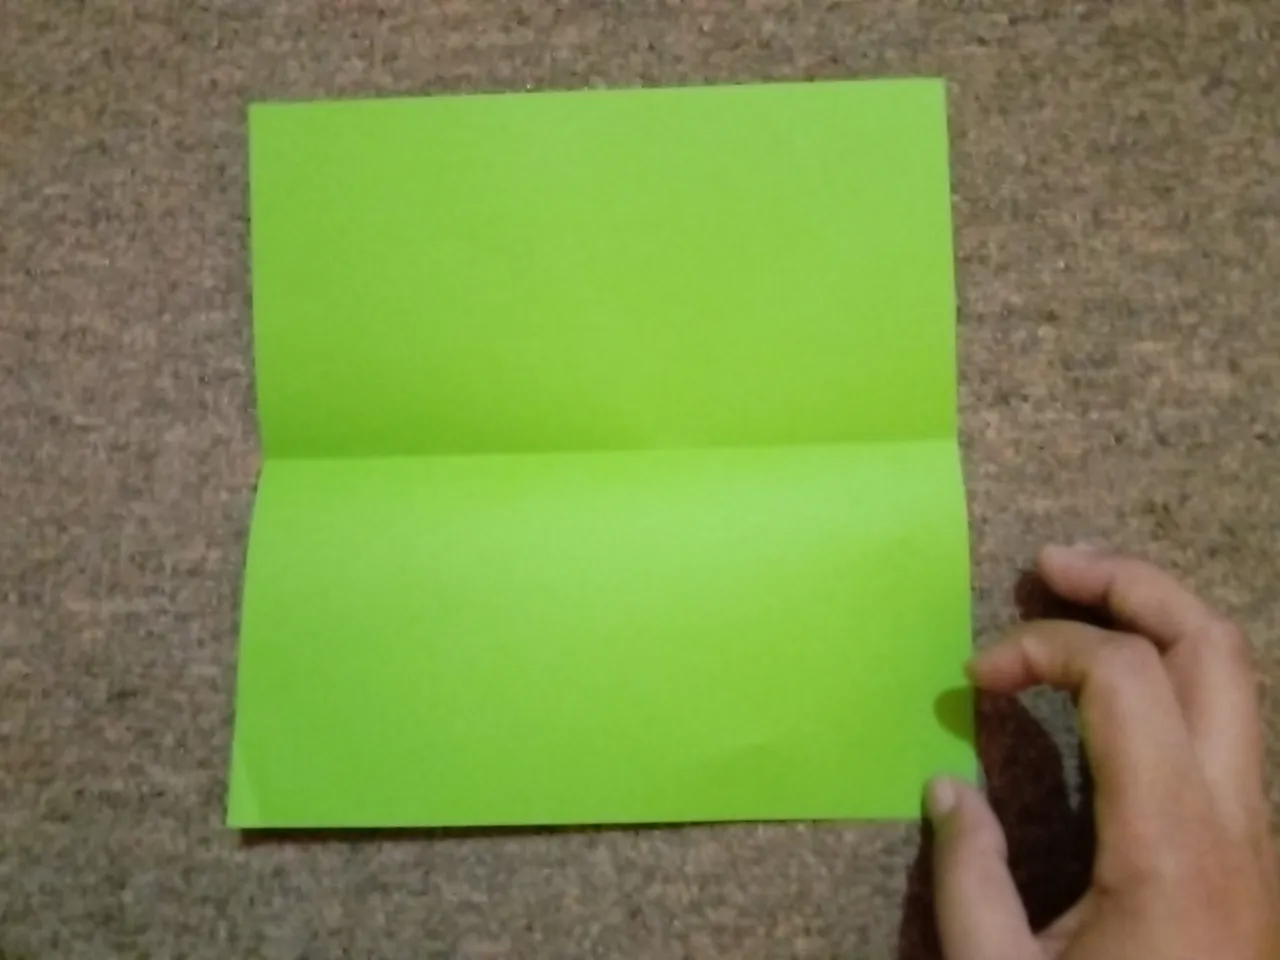
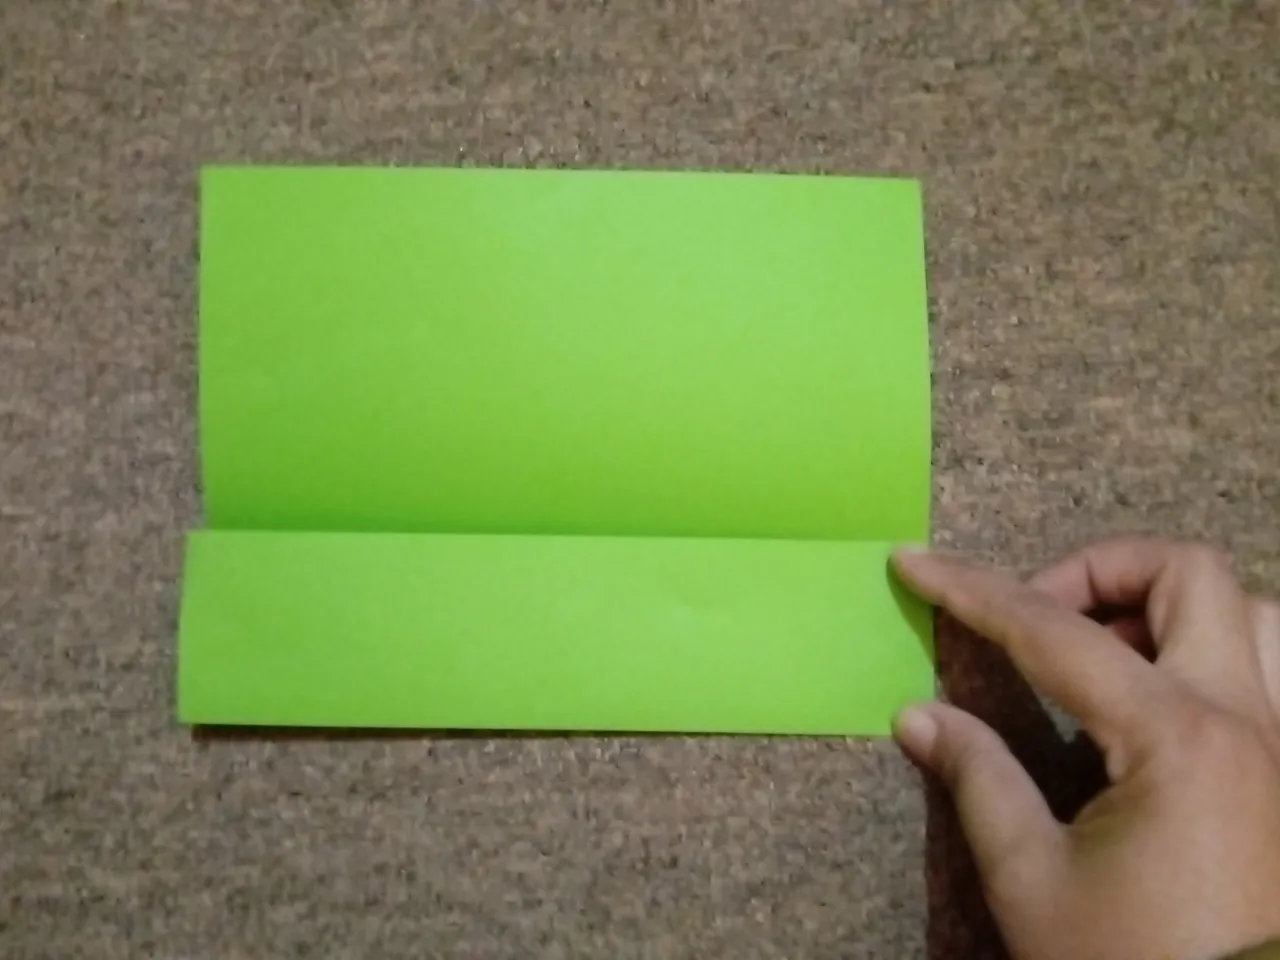
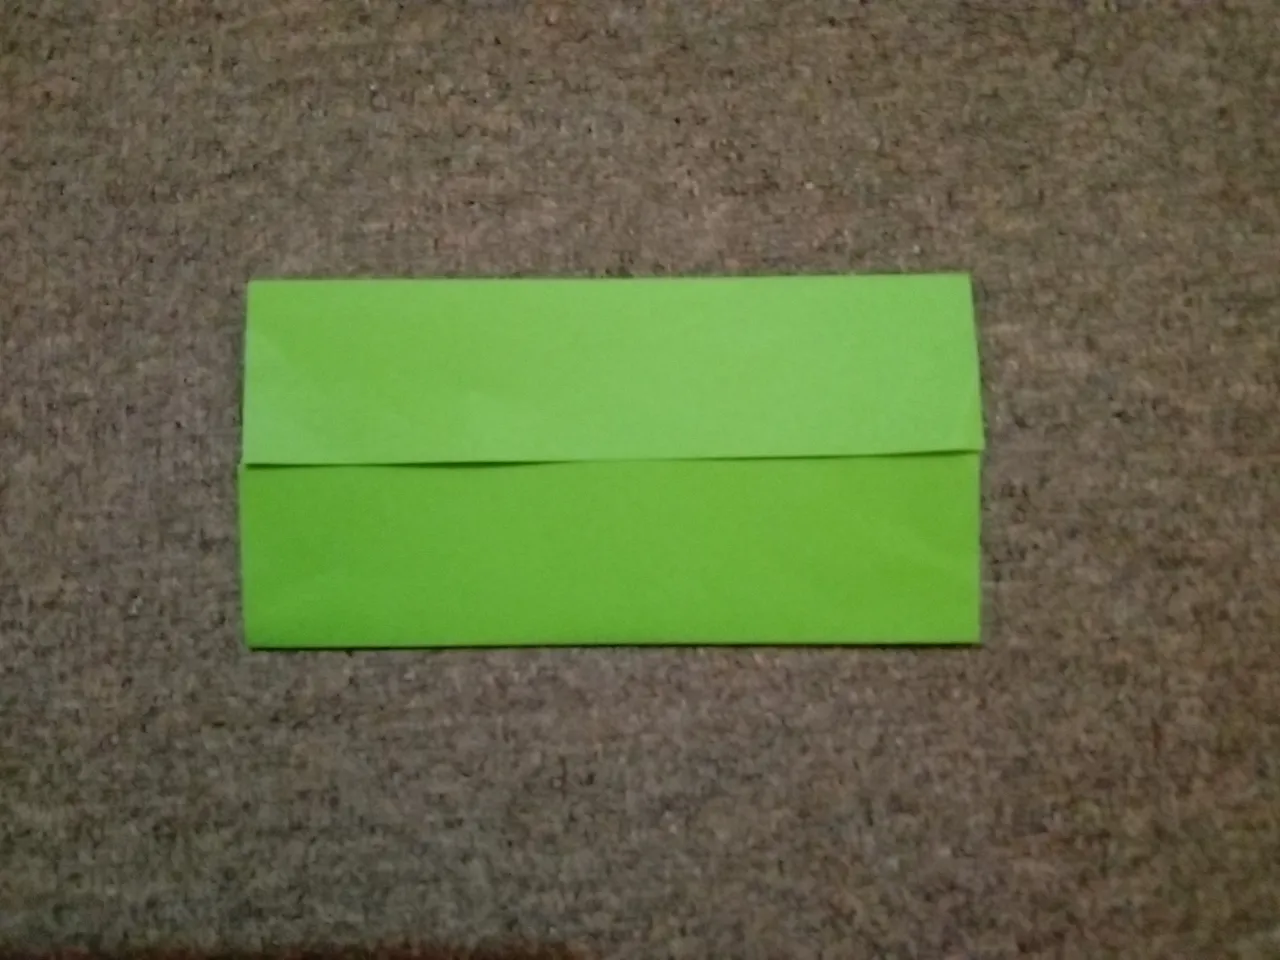
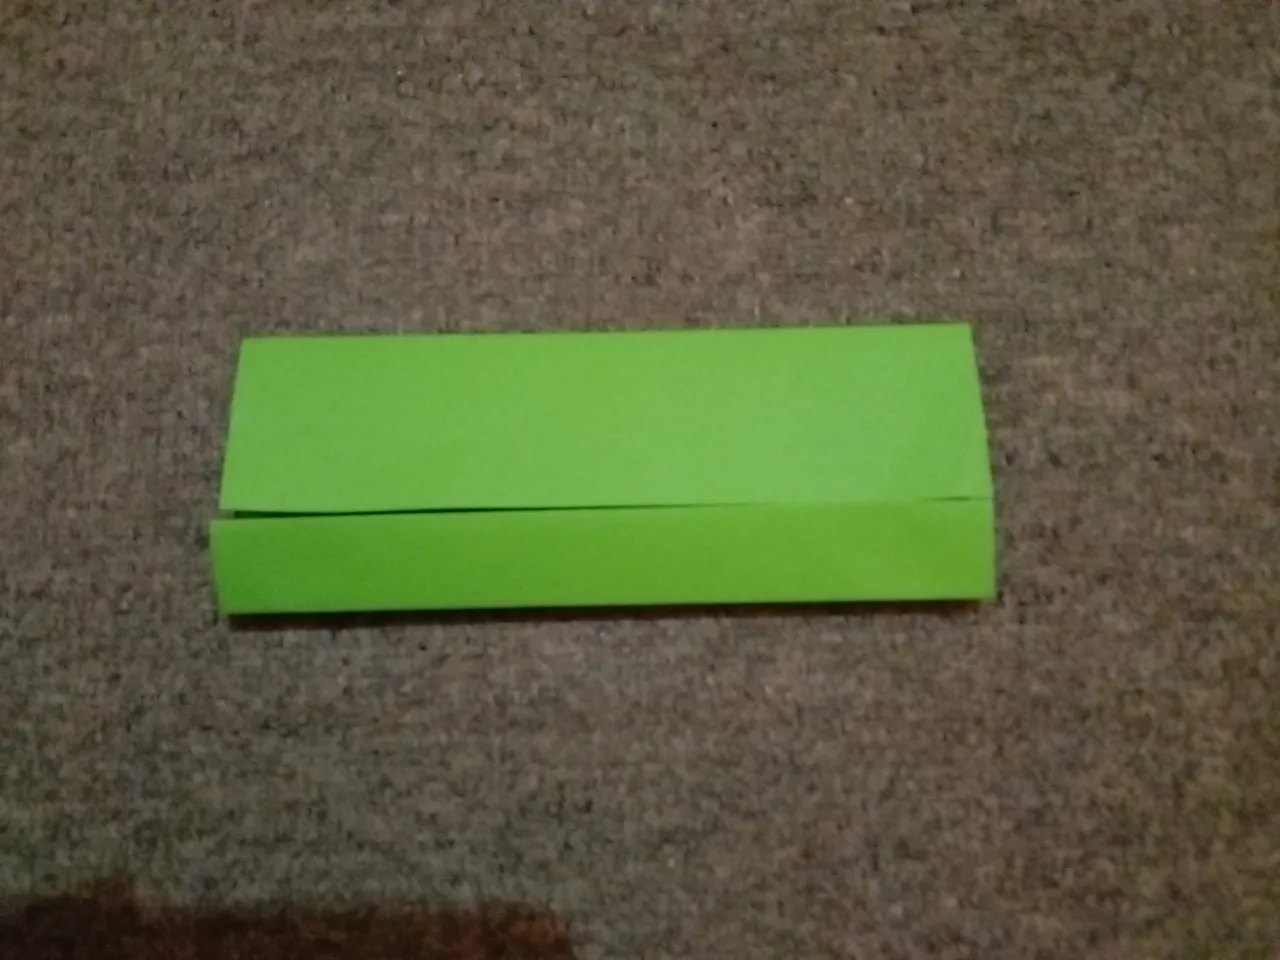
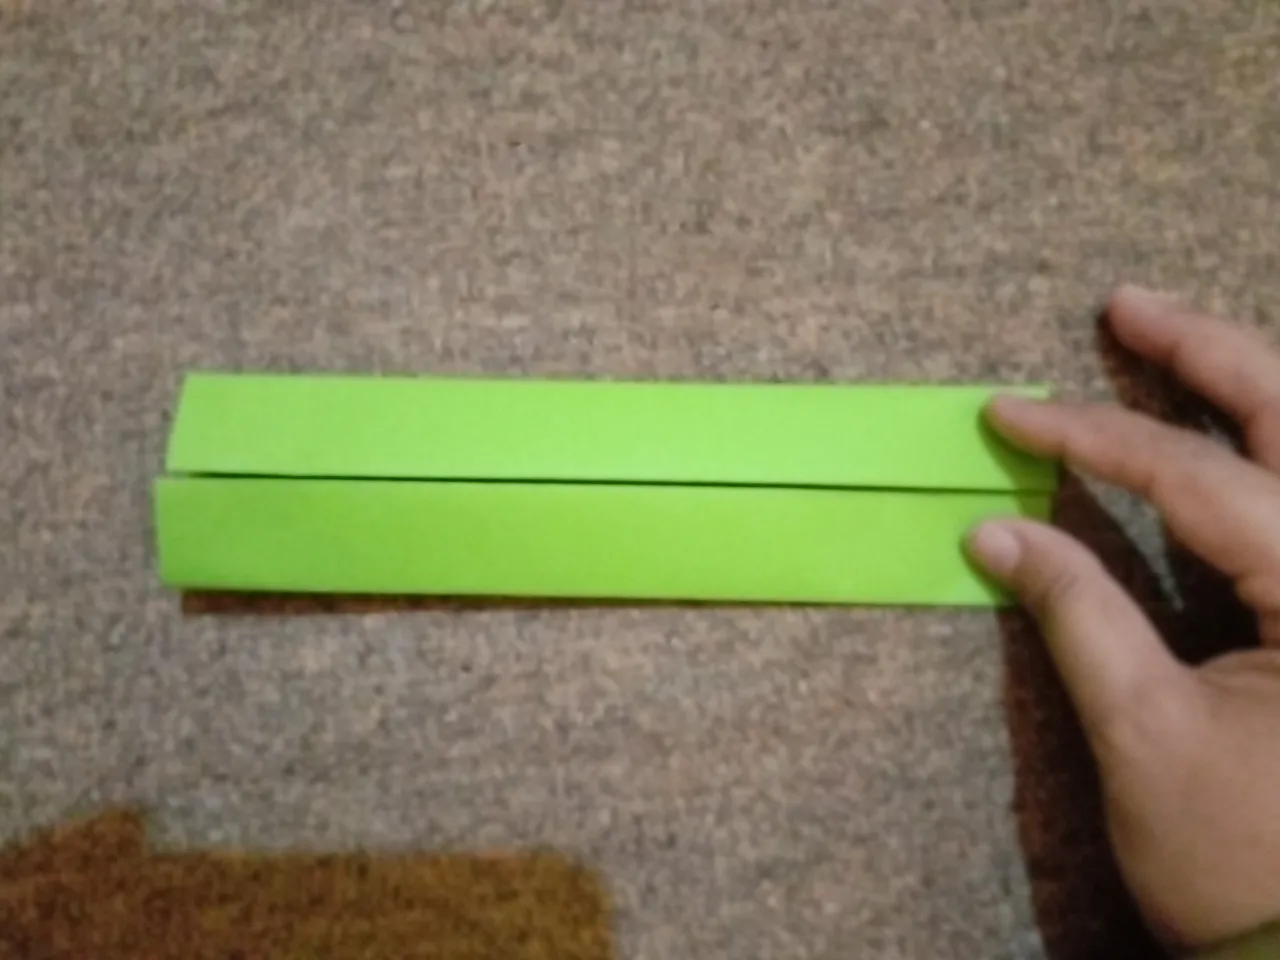

- then fold the paper in half and open it again, then take the bottom and top and fold it to the middle point and do it again.

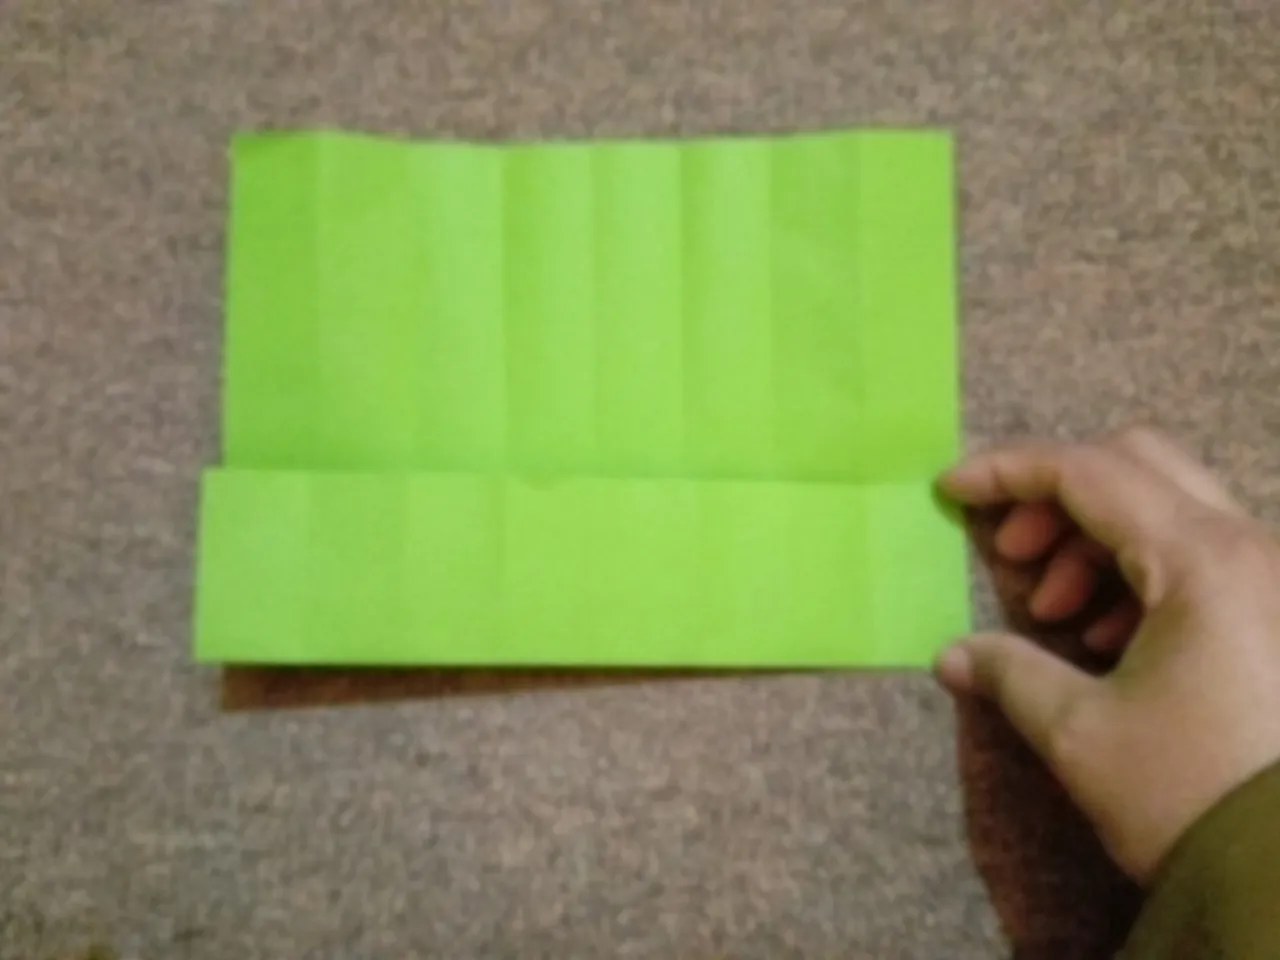
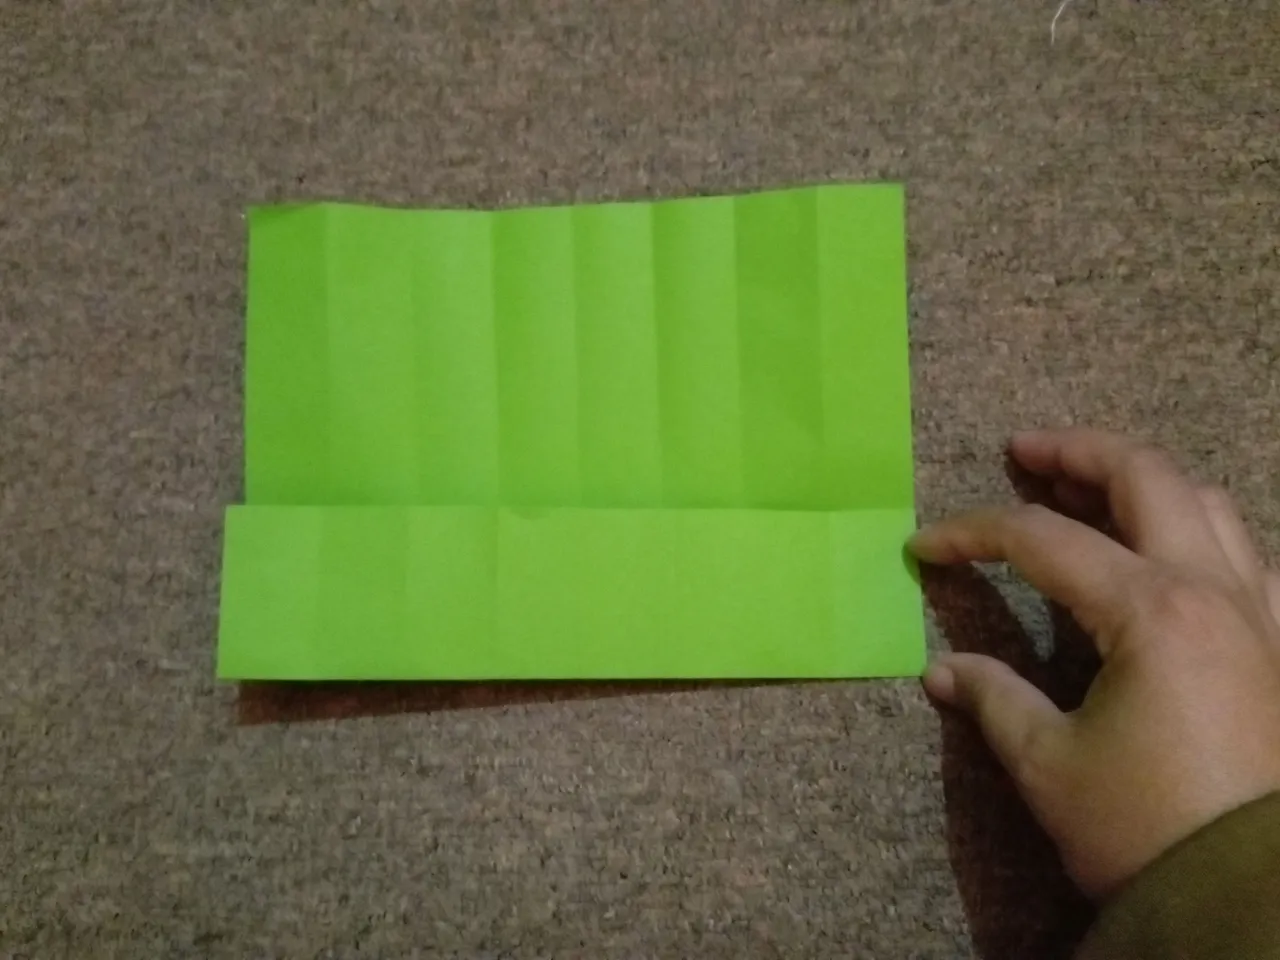
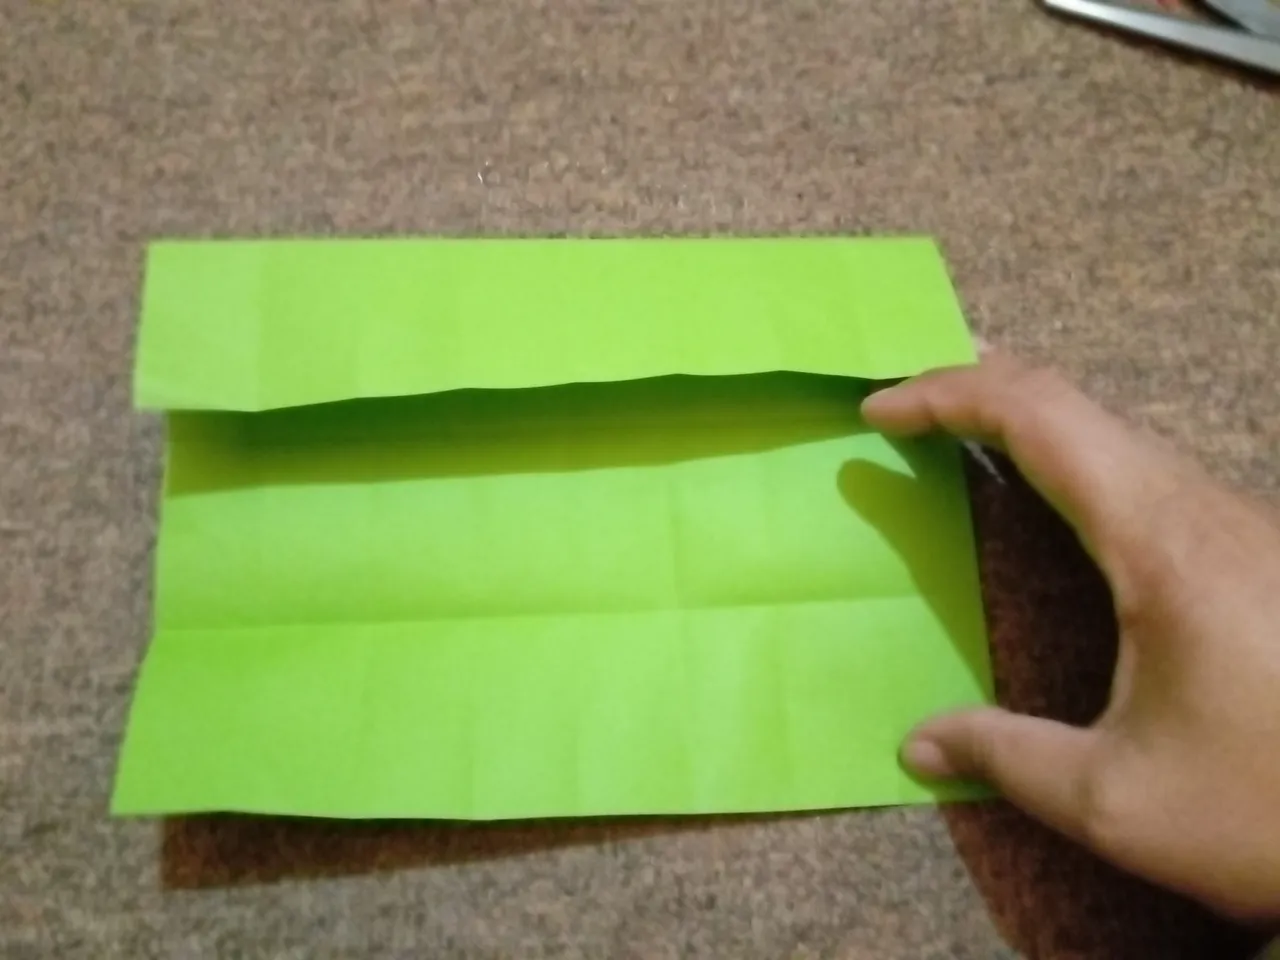
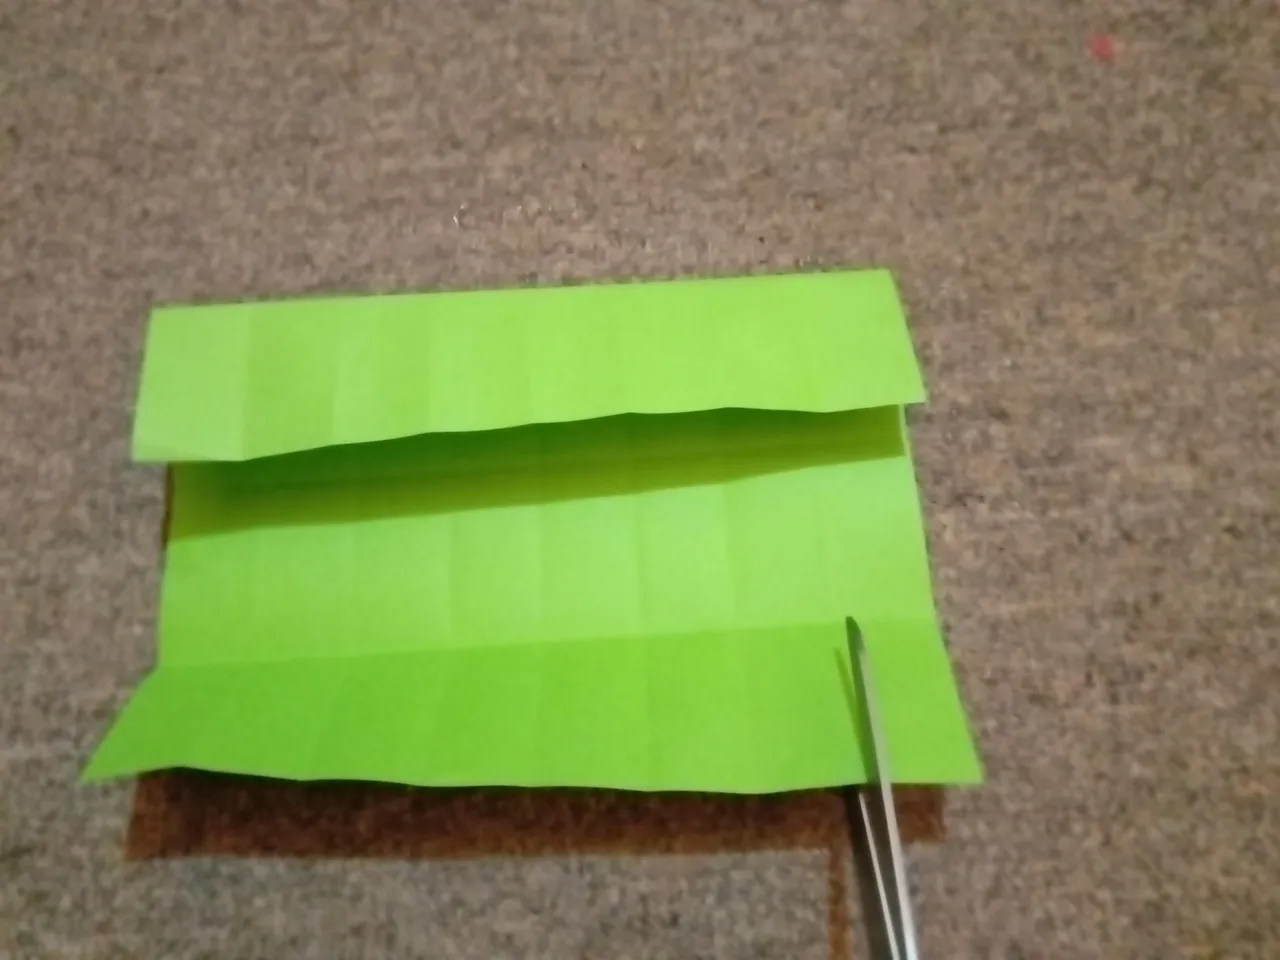
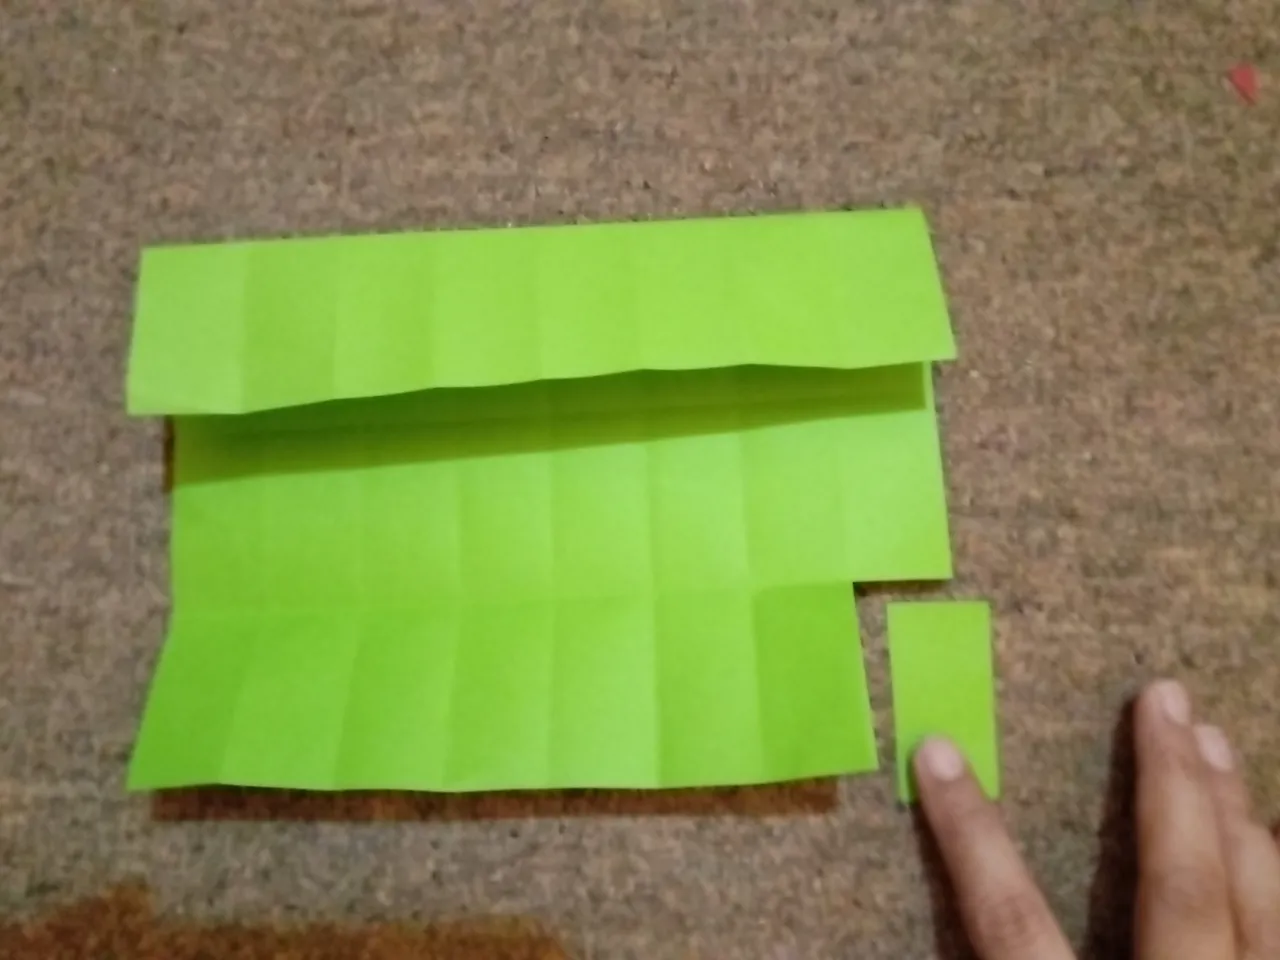
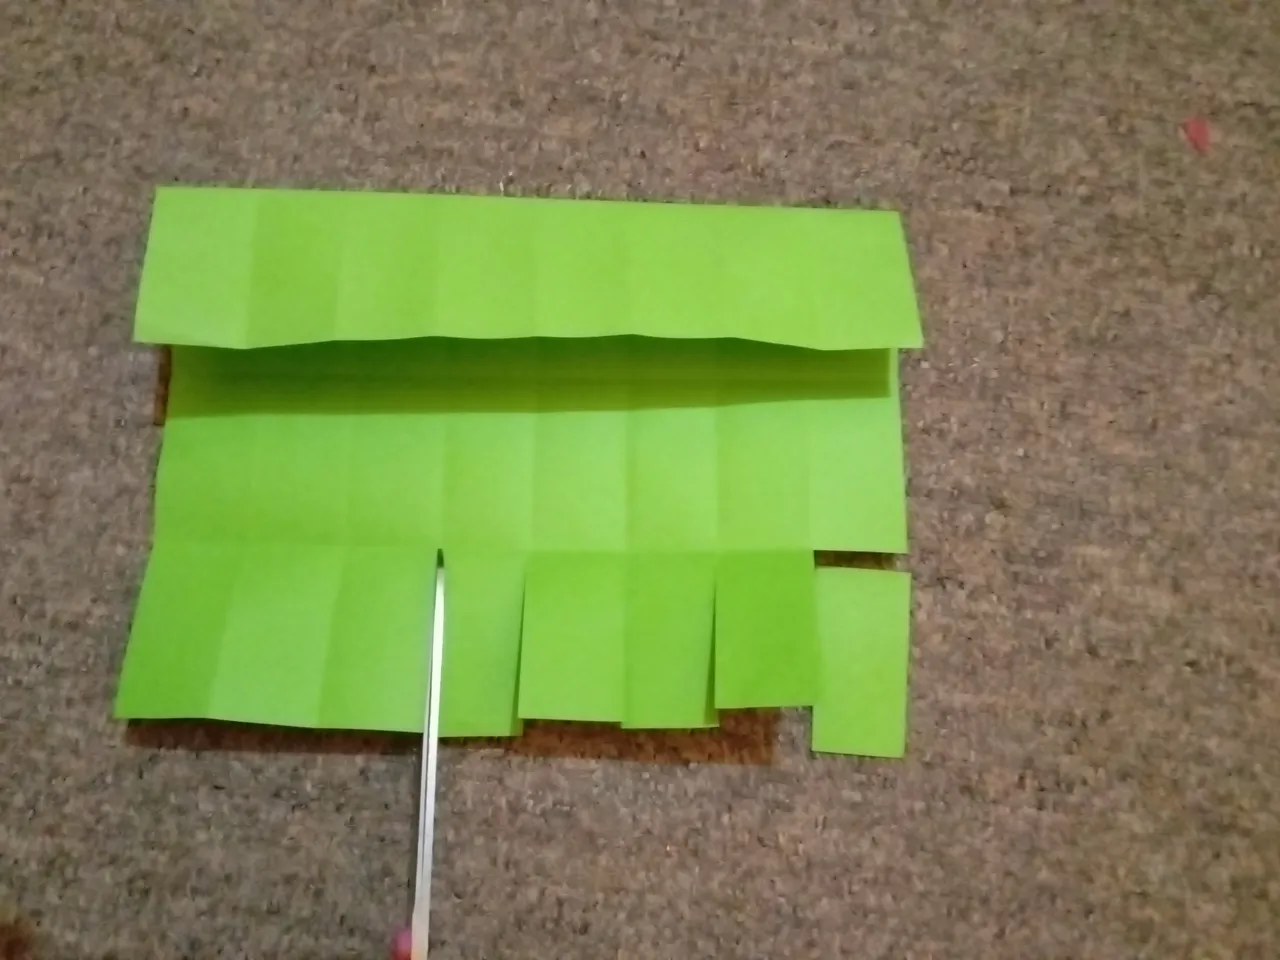
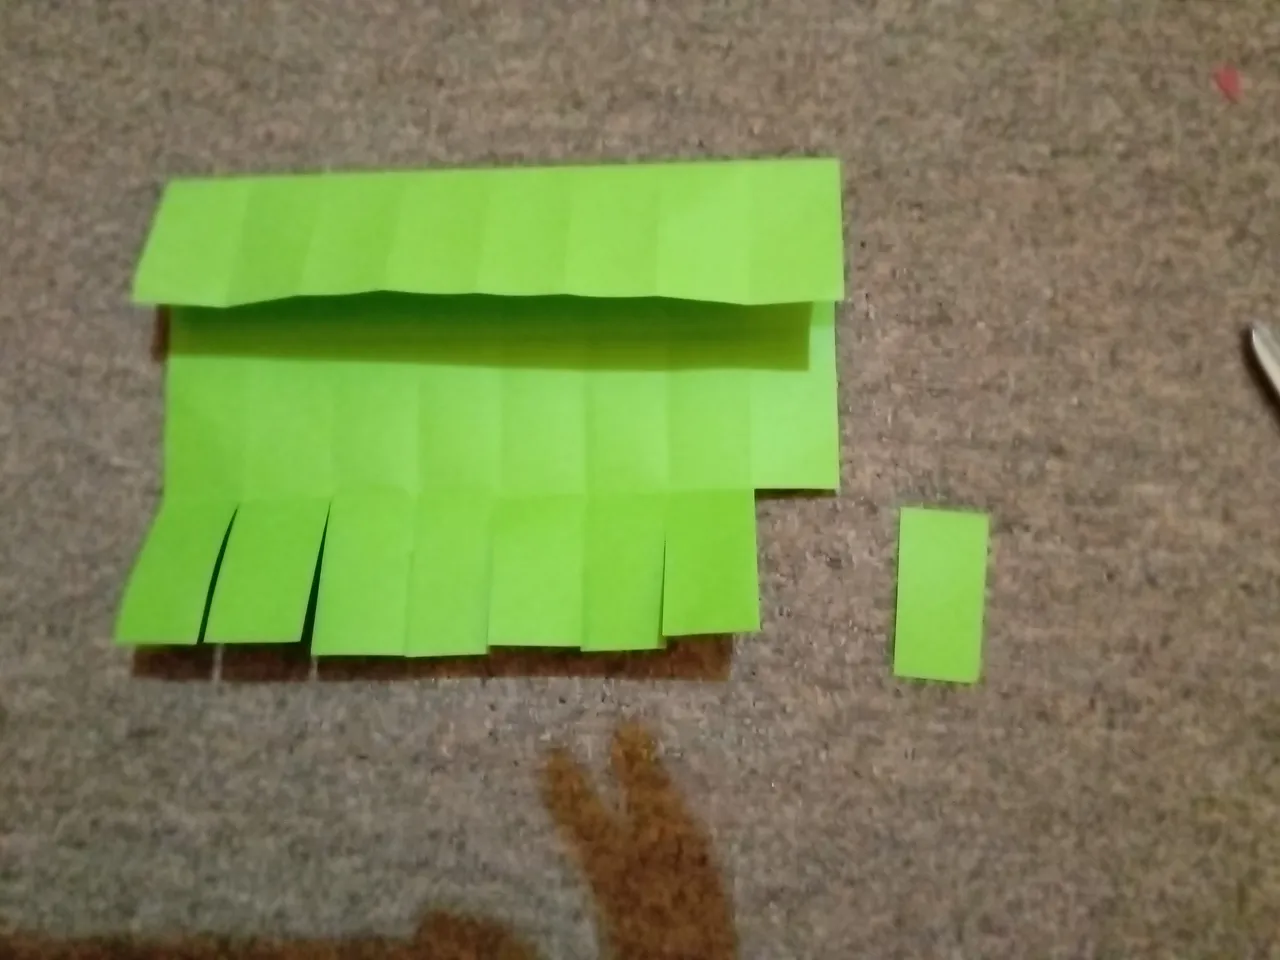
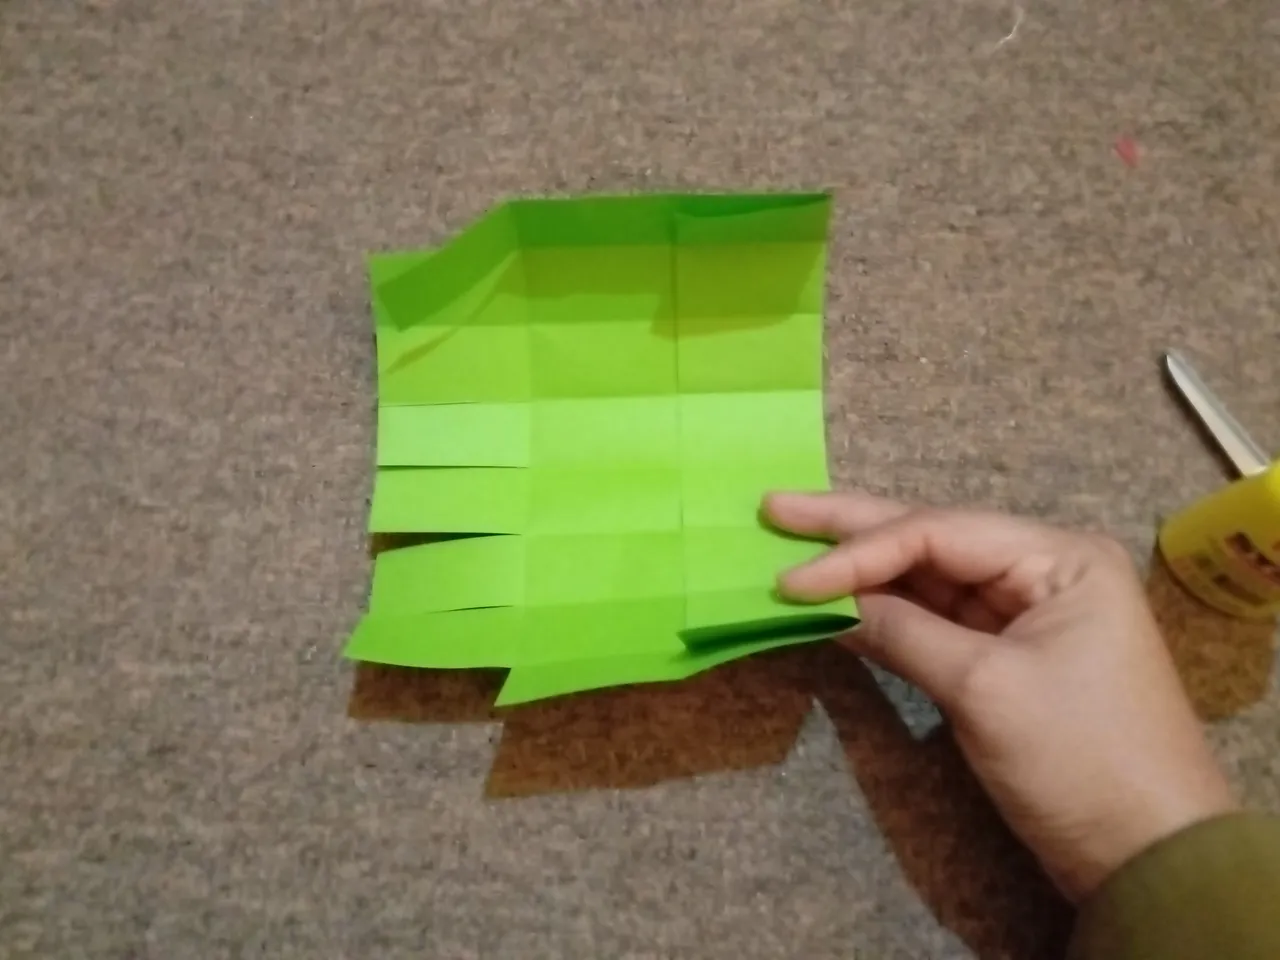
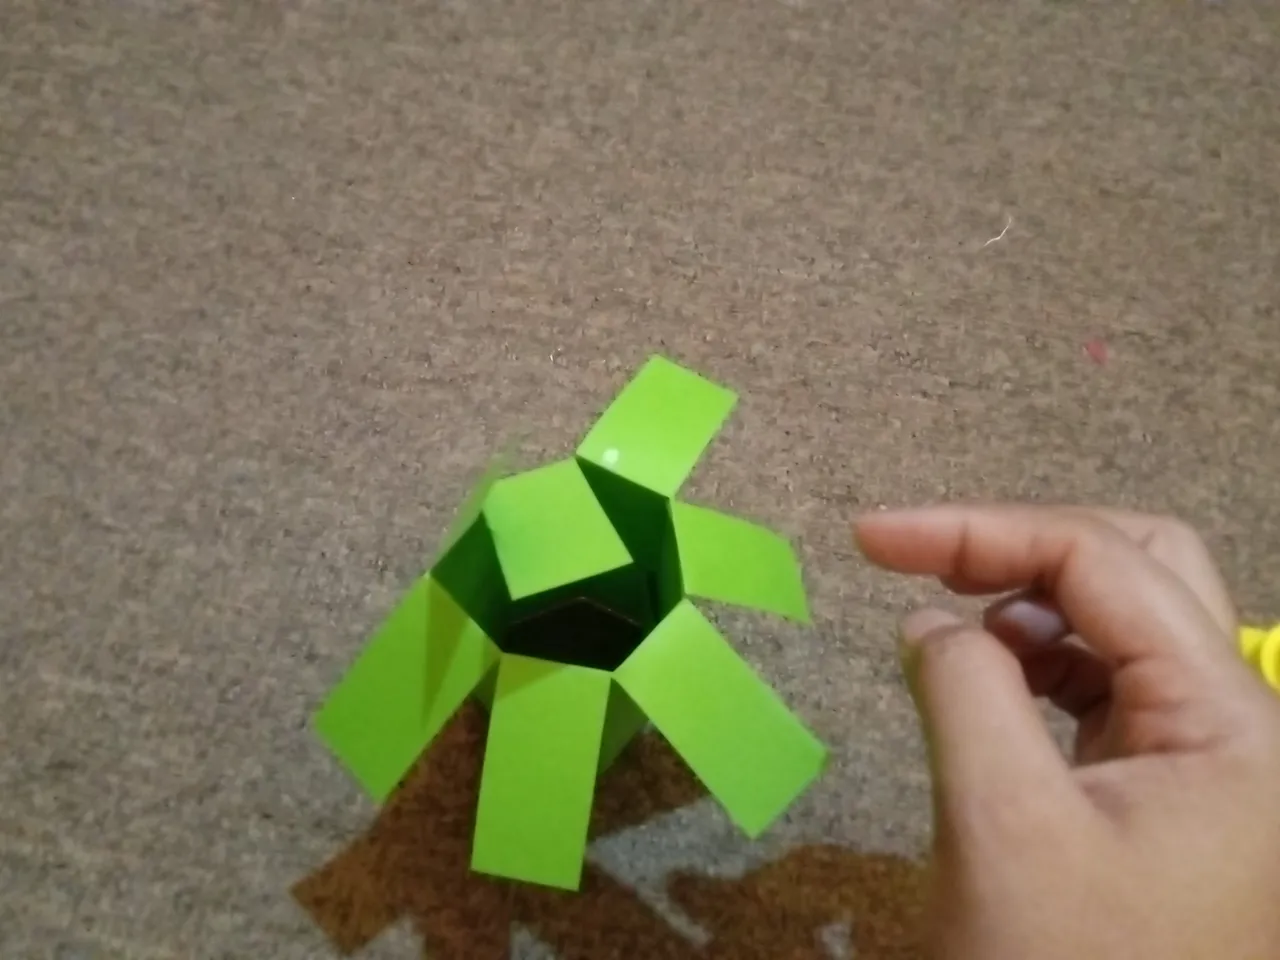
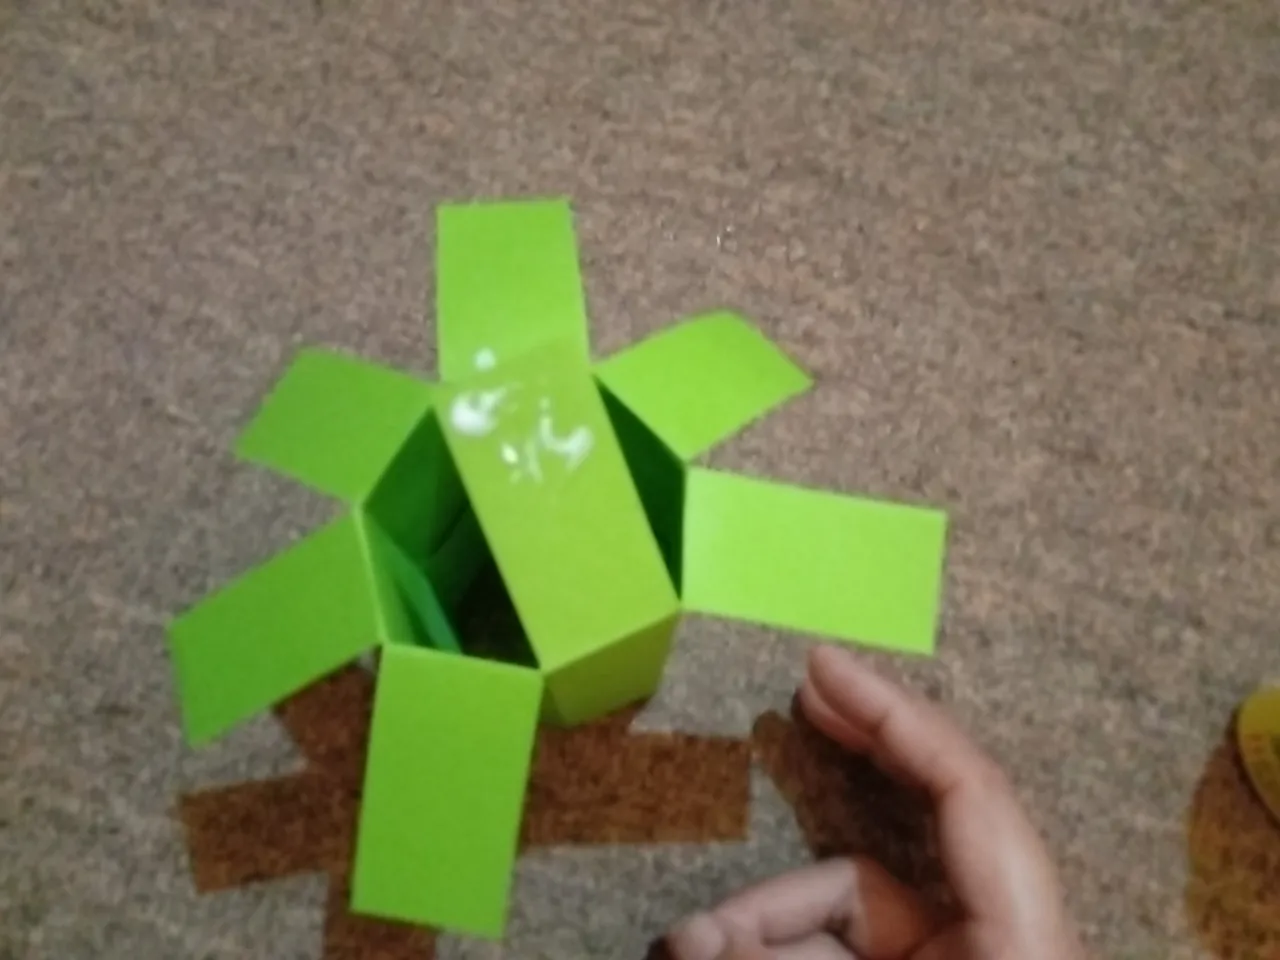
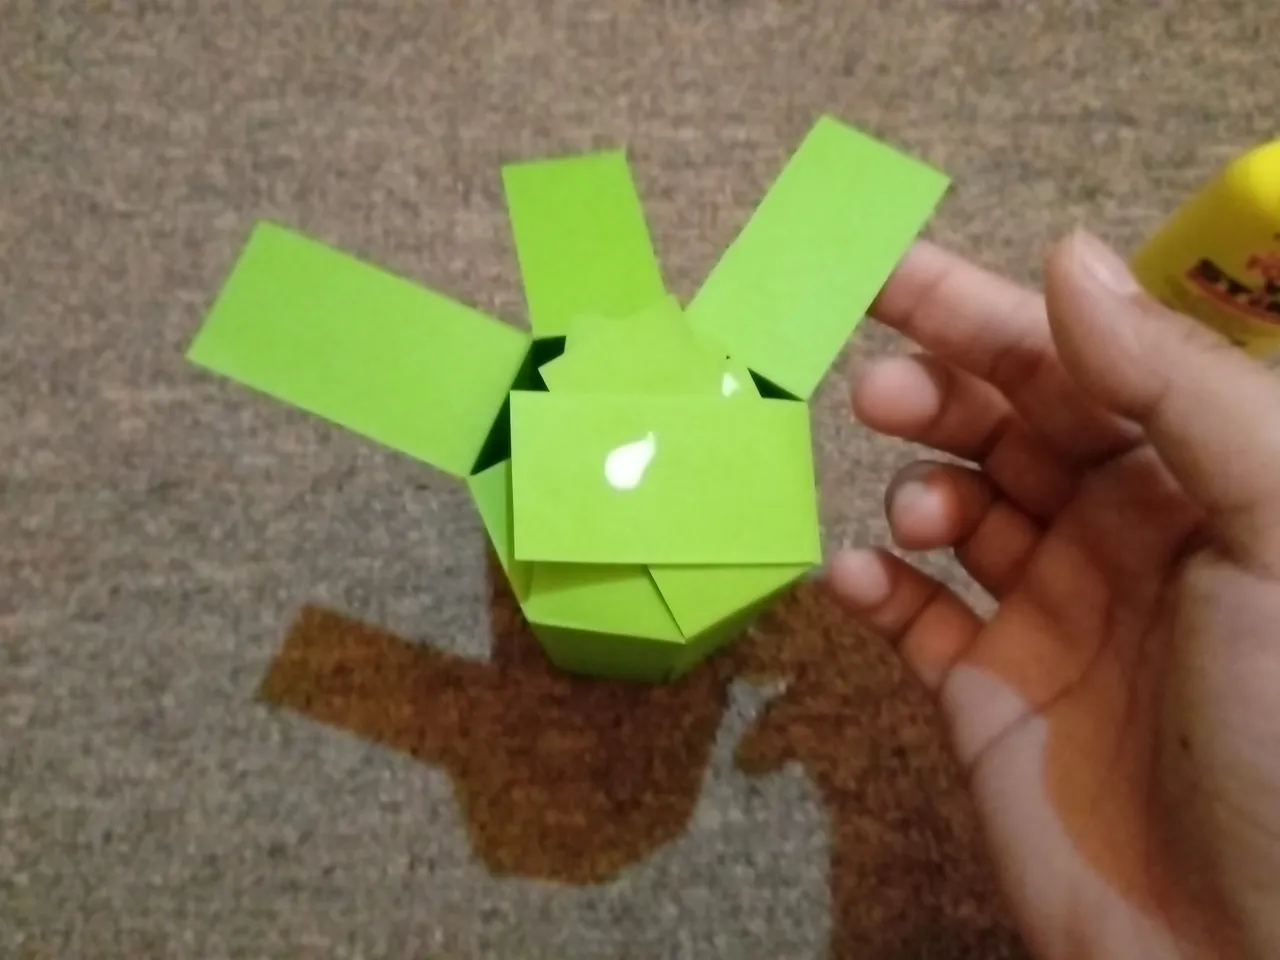
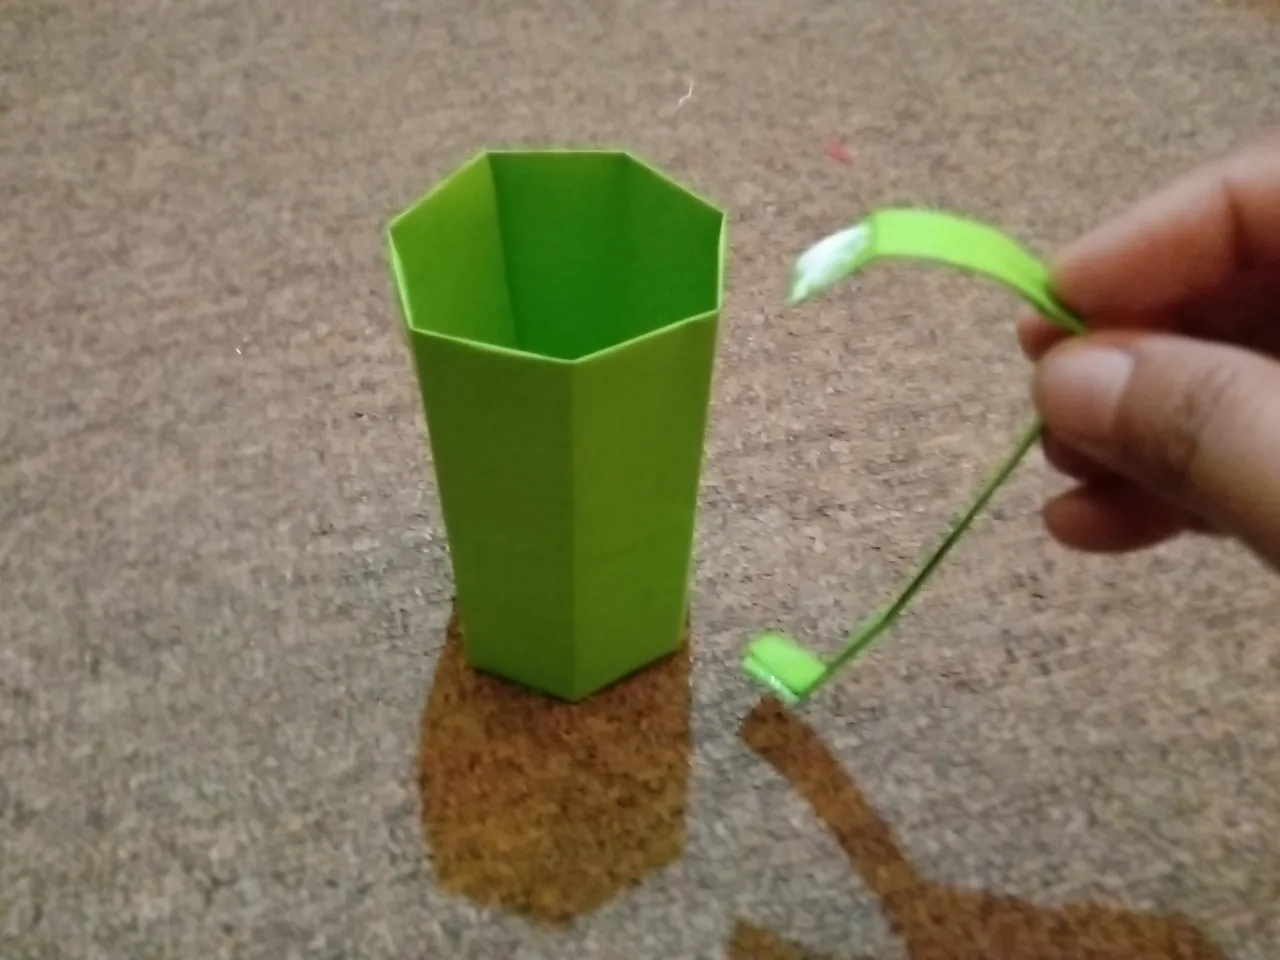
- Then just open one fold, then cut the last right edge until it breaks at the boundary of the fold line, and cut the other part up to the fold point, then we roll it slowly in a circle and glue it, and then we glue the bottom part of the paper one by one.
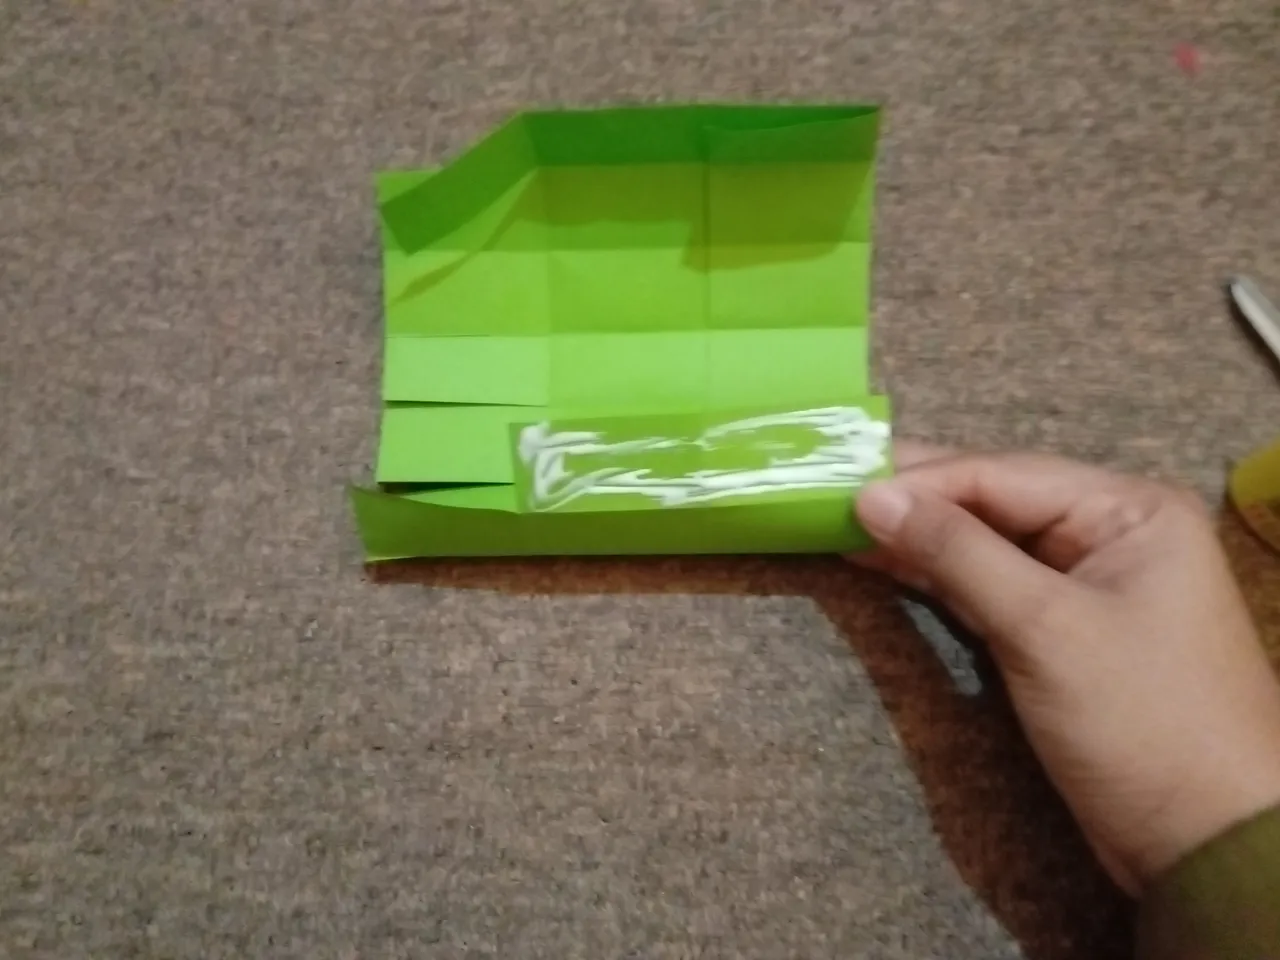
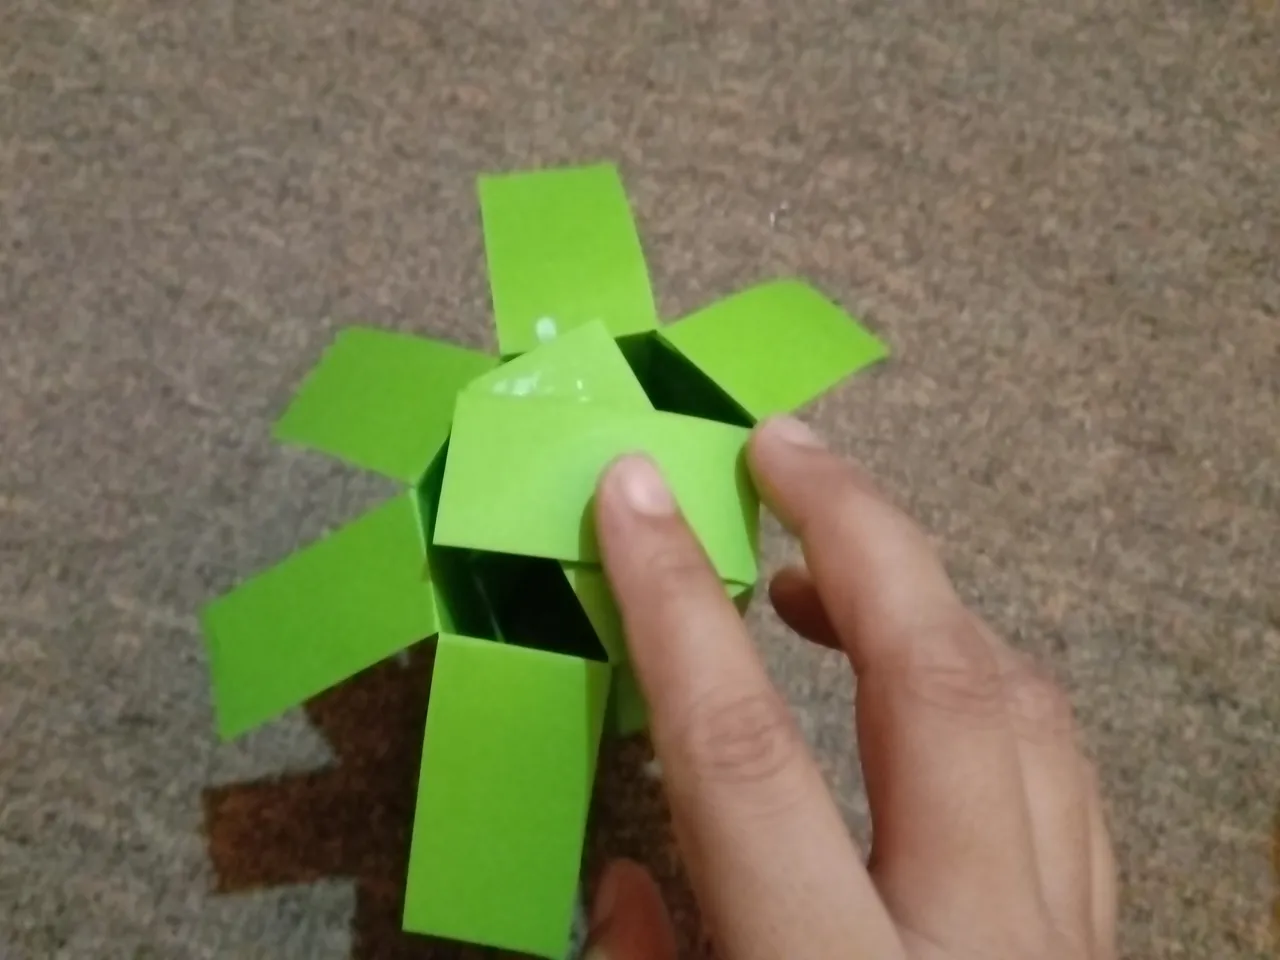

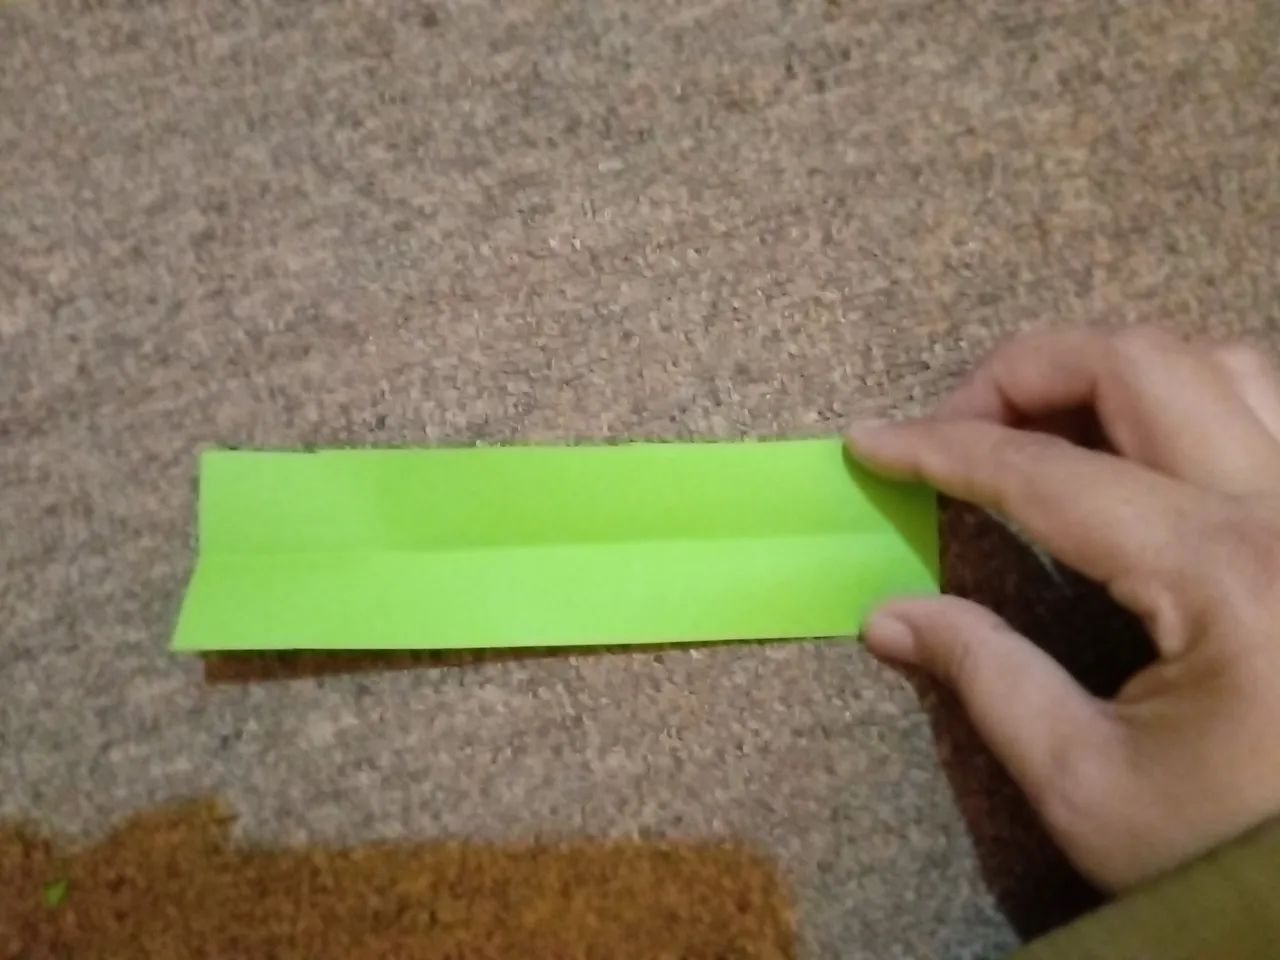
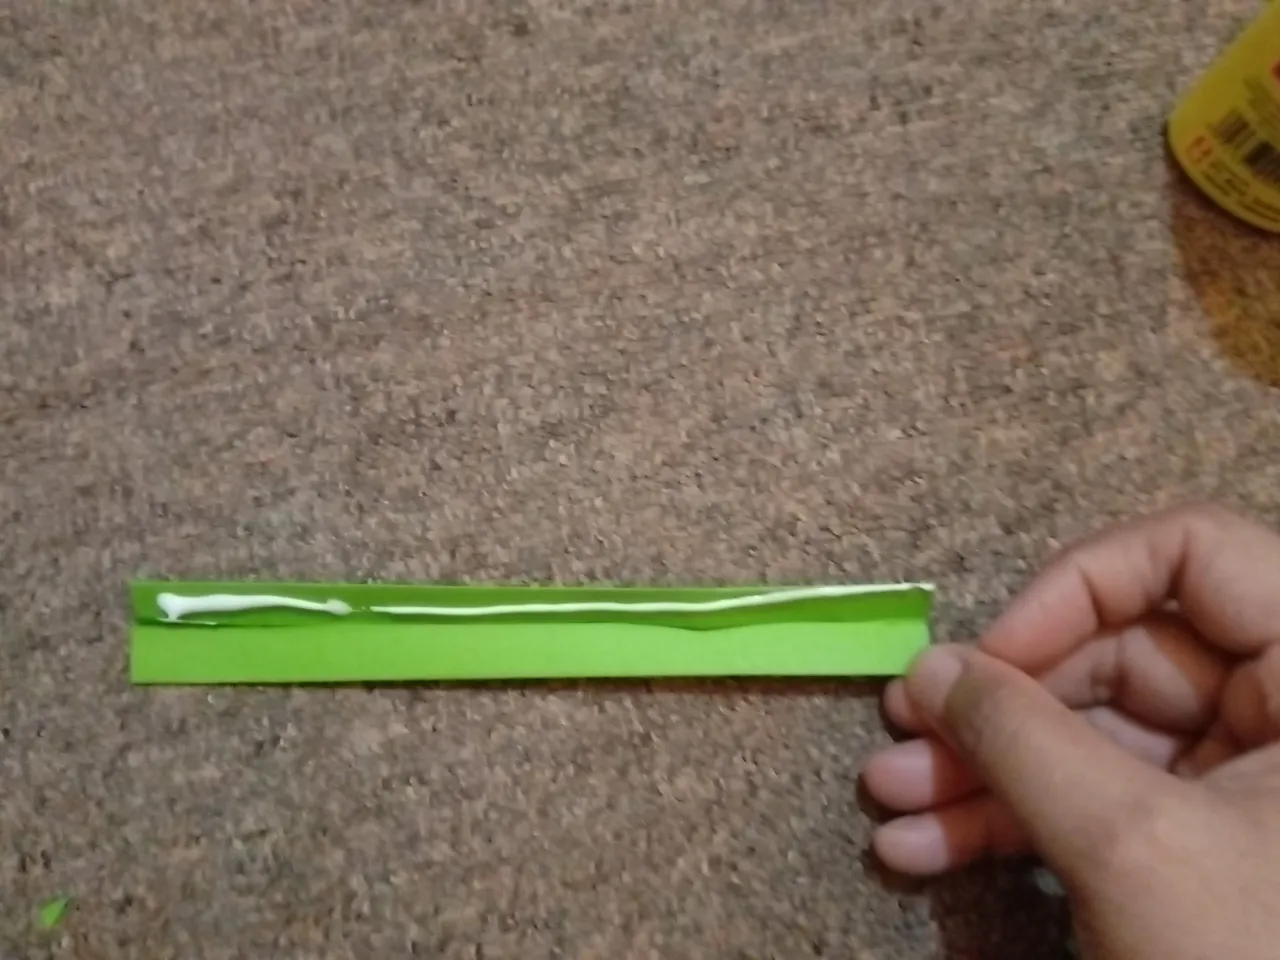
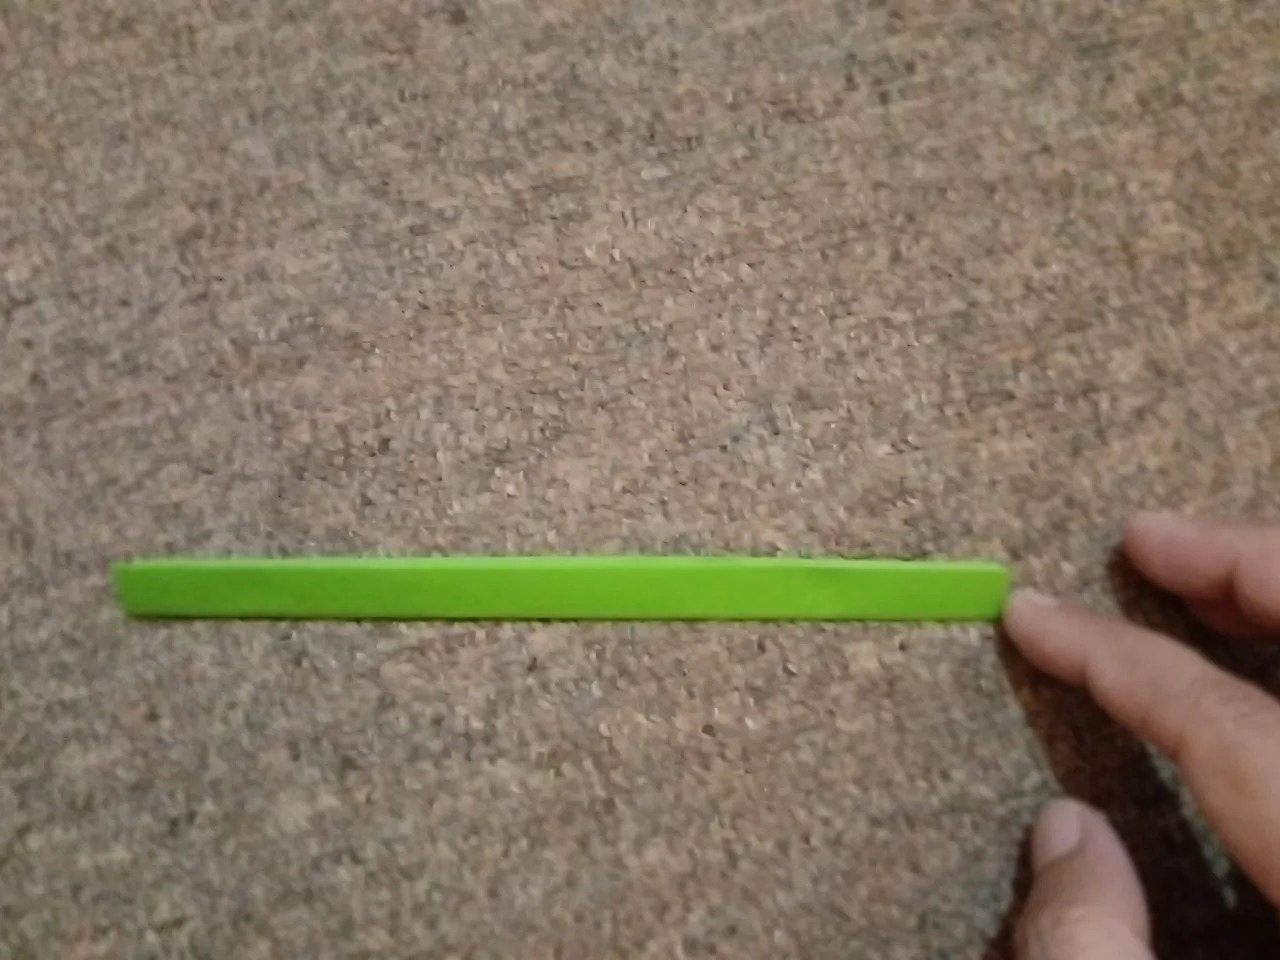
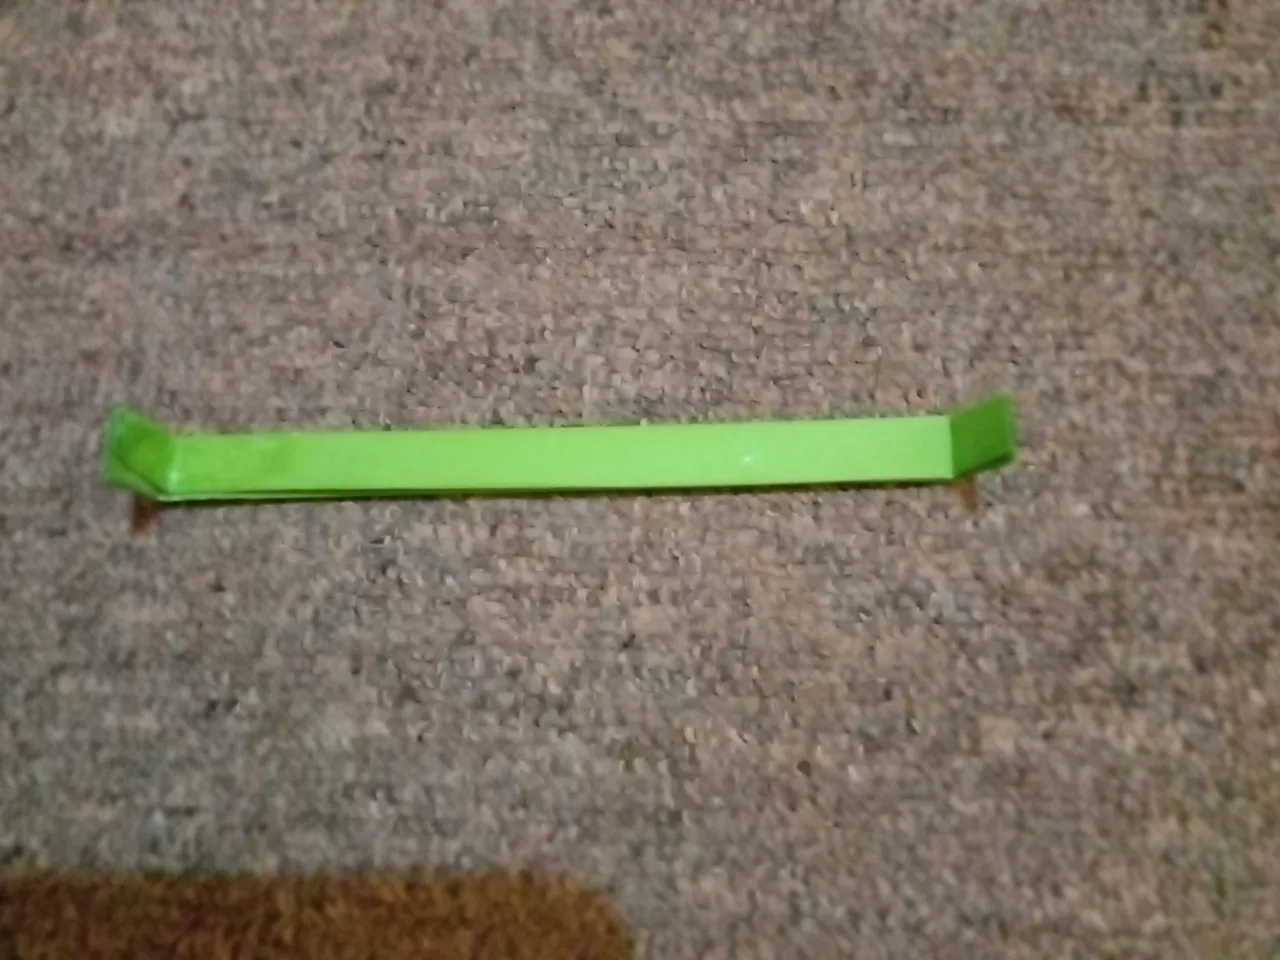
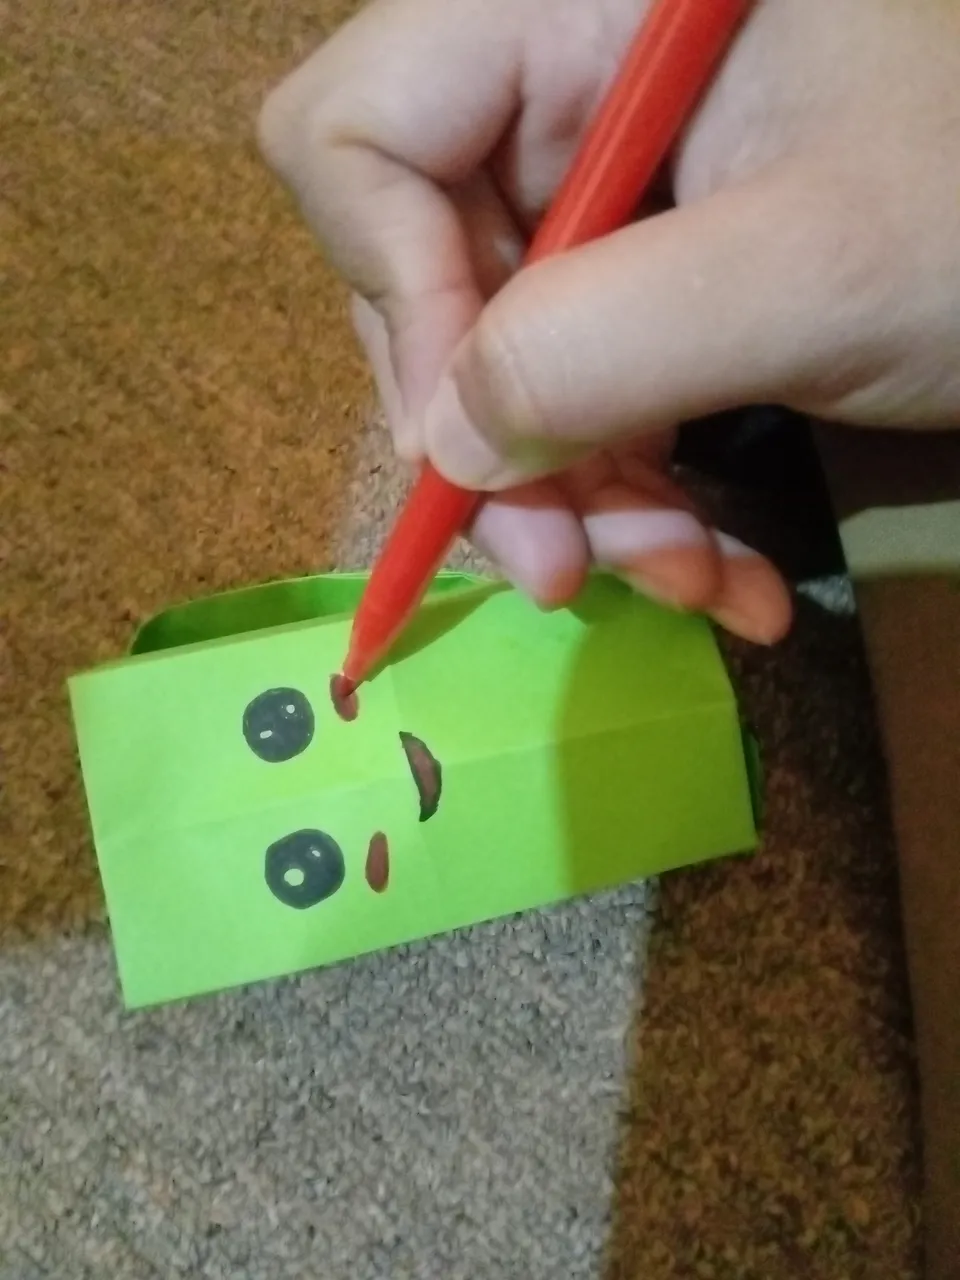
- We make a holder for geoas, the size of the paper is 4x15cm, then we fold it in half and fold it again and glue it, and we bend the edge a little 1cm so we put glue on it and stick it on the glass, and finally draw the emoji according to what you want.
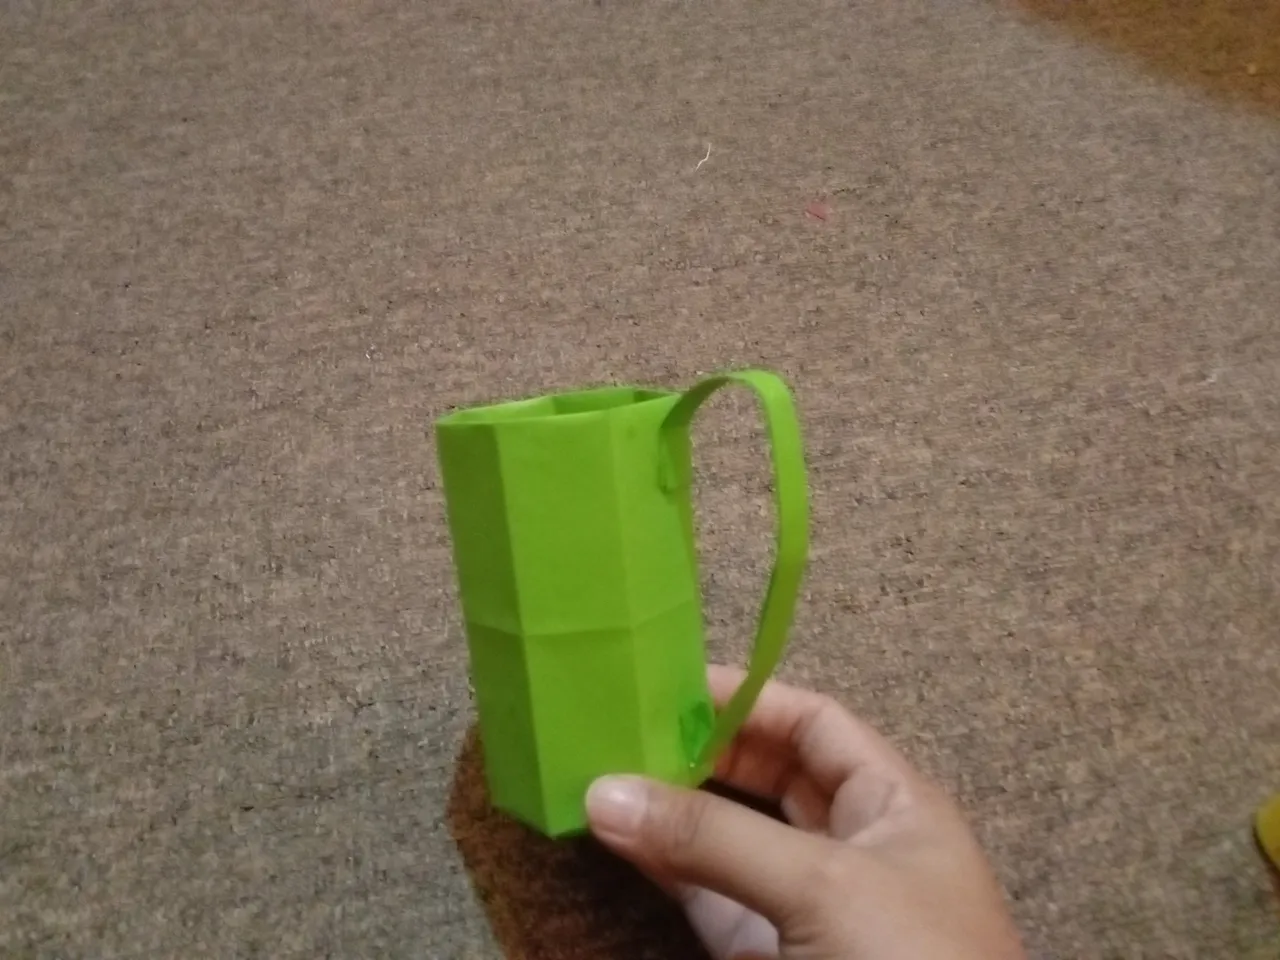
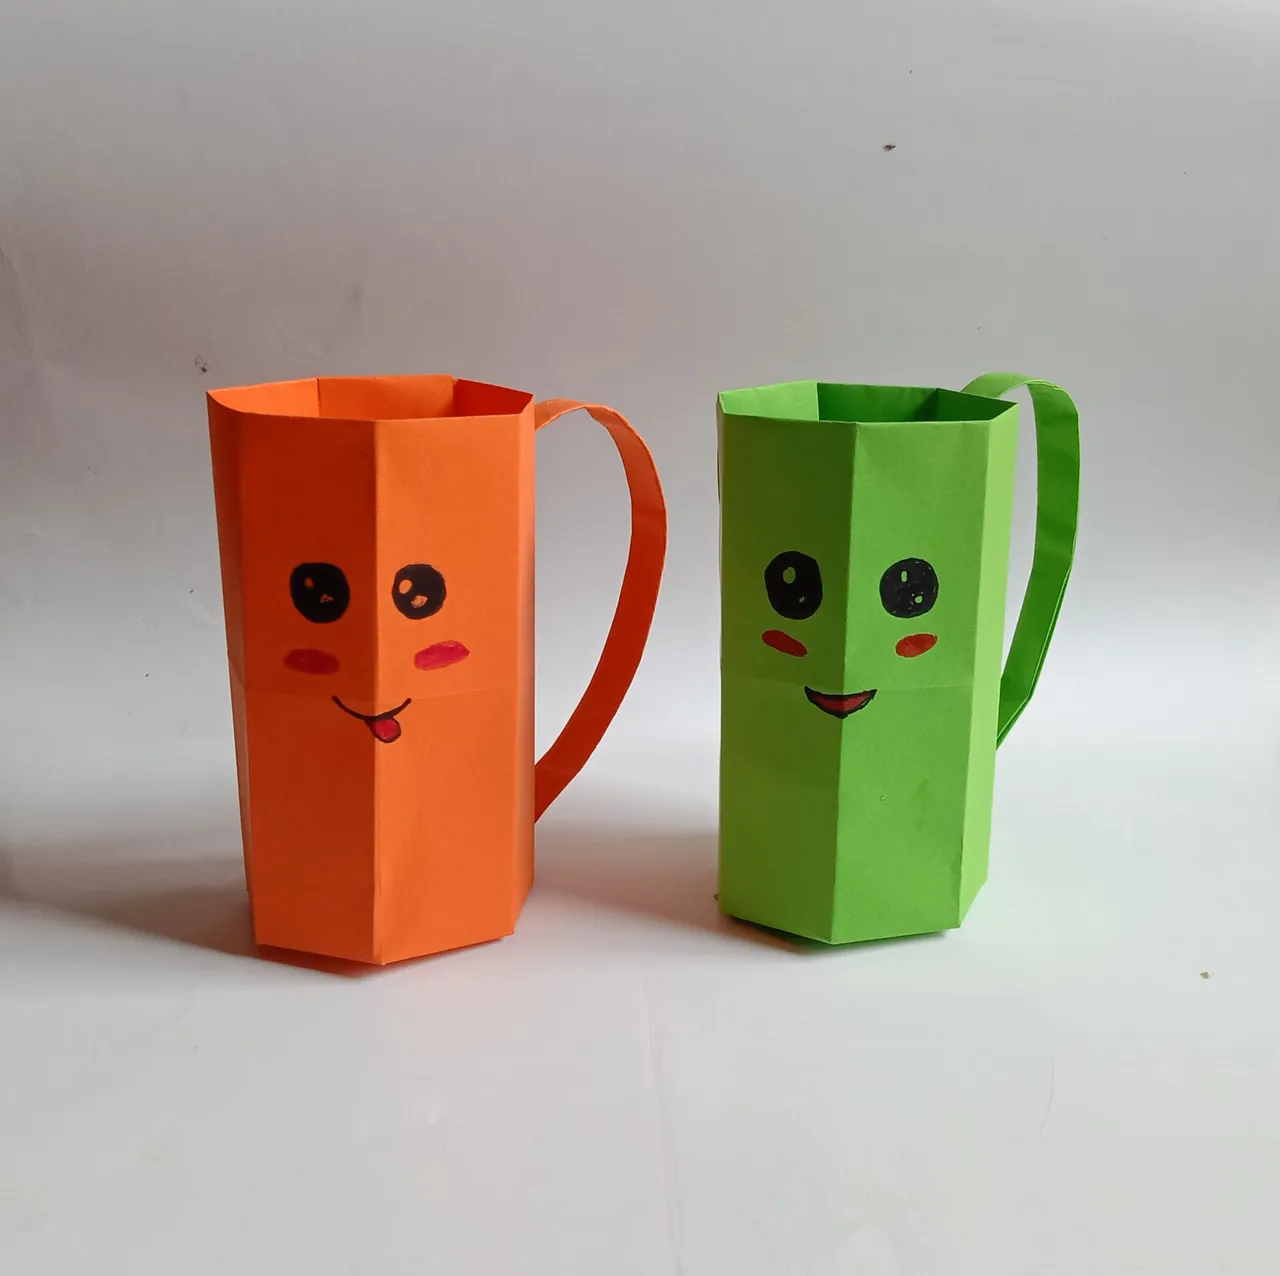
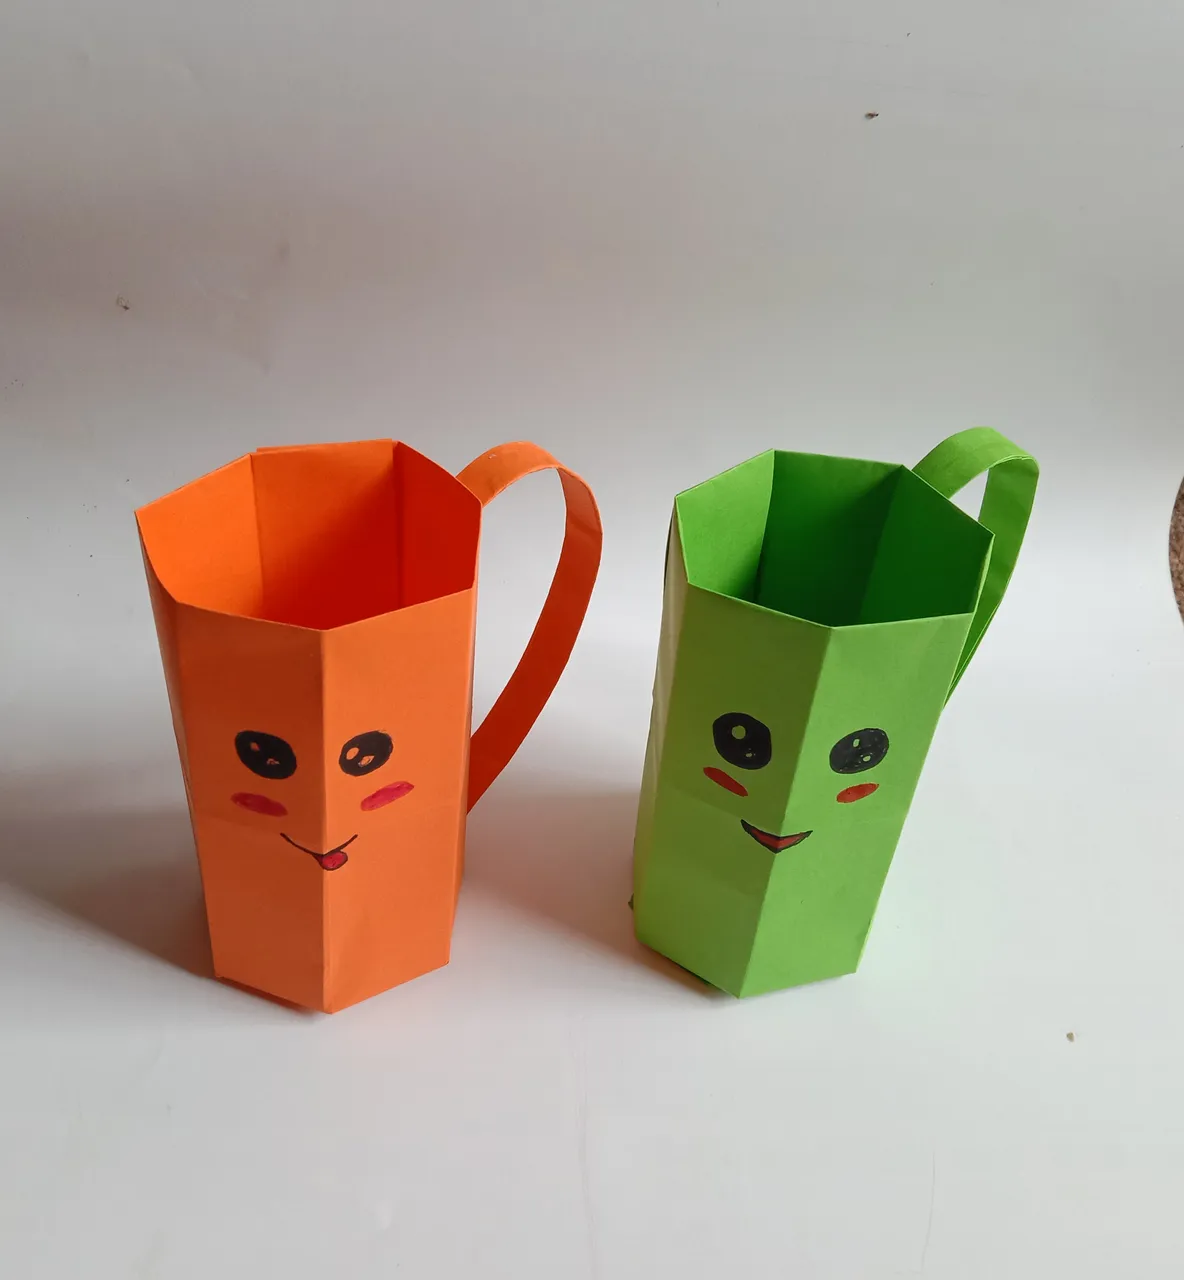
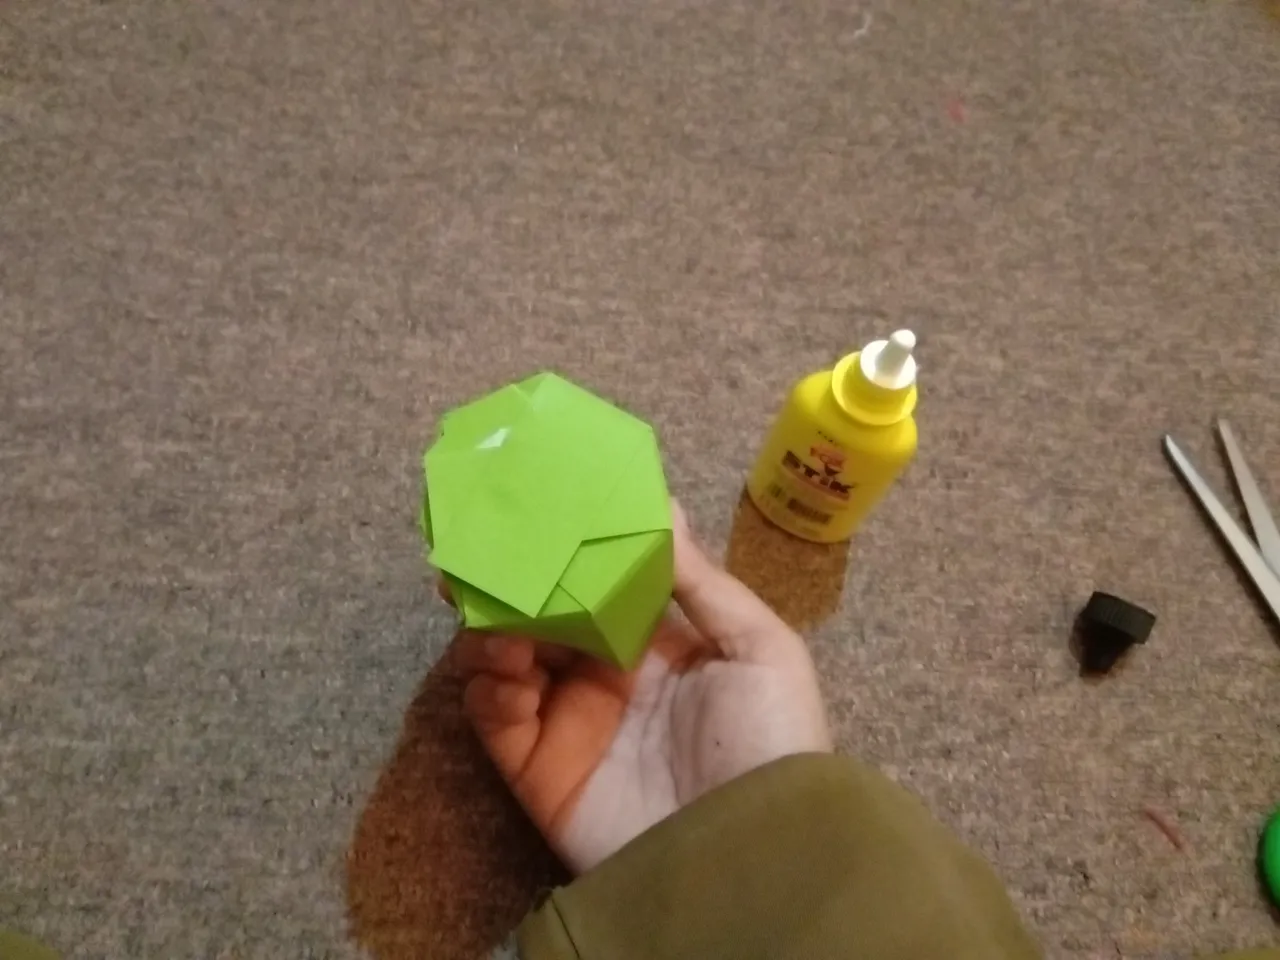
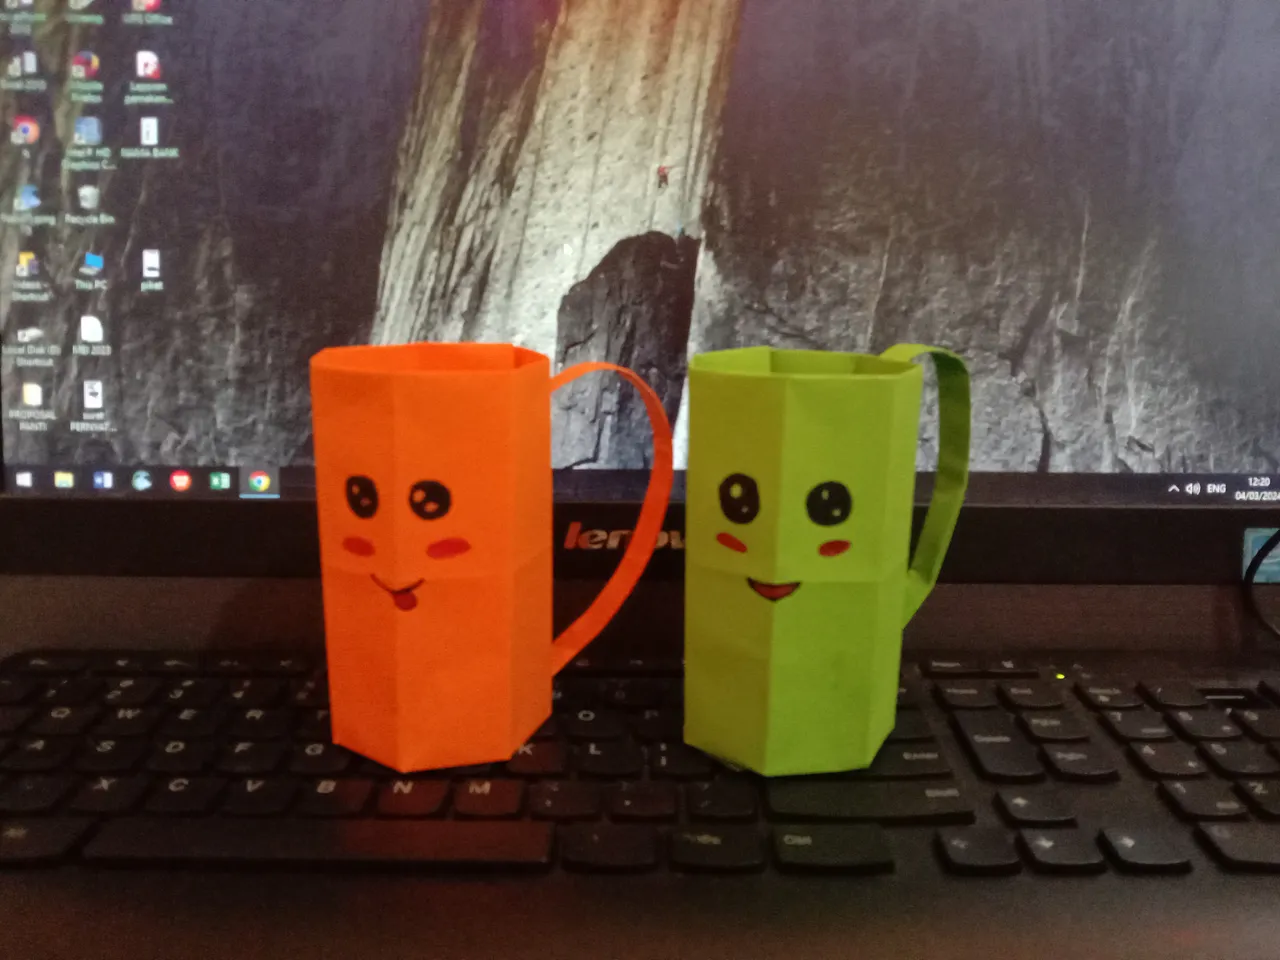
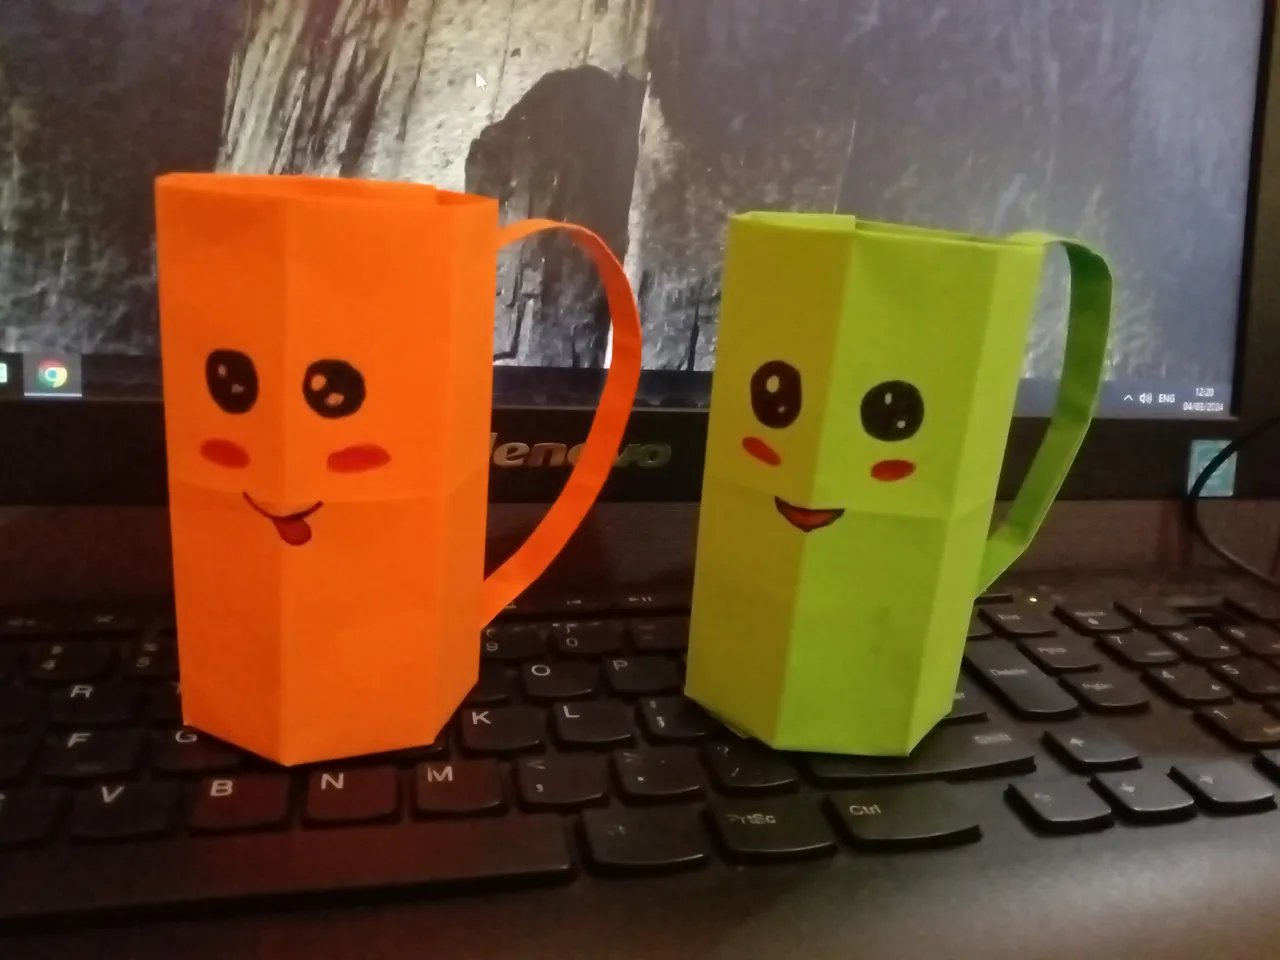
This is the final result of the origami paper toy cup. I hope you like it, with cute and beautiful results for us to give to the children to play with.
See you next post.....