Feliz lunes amigos de Diy Hub, esta es la primera publicación que realizo en esta comunidad y quise participar en el concurso “DIYHUB MONTHLY CONTEST - TEAPOT ", espero tengan una excelente semana
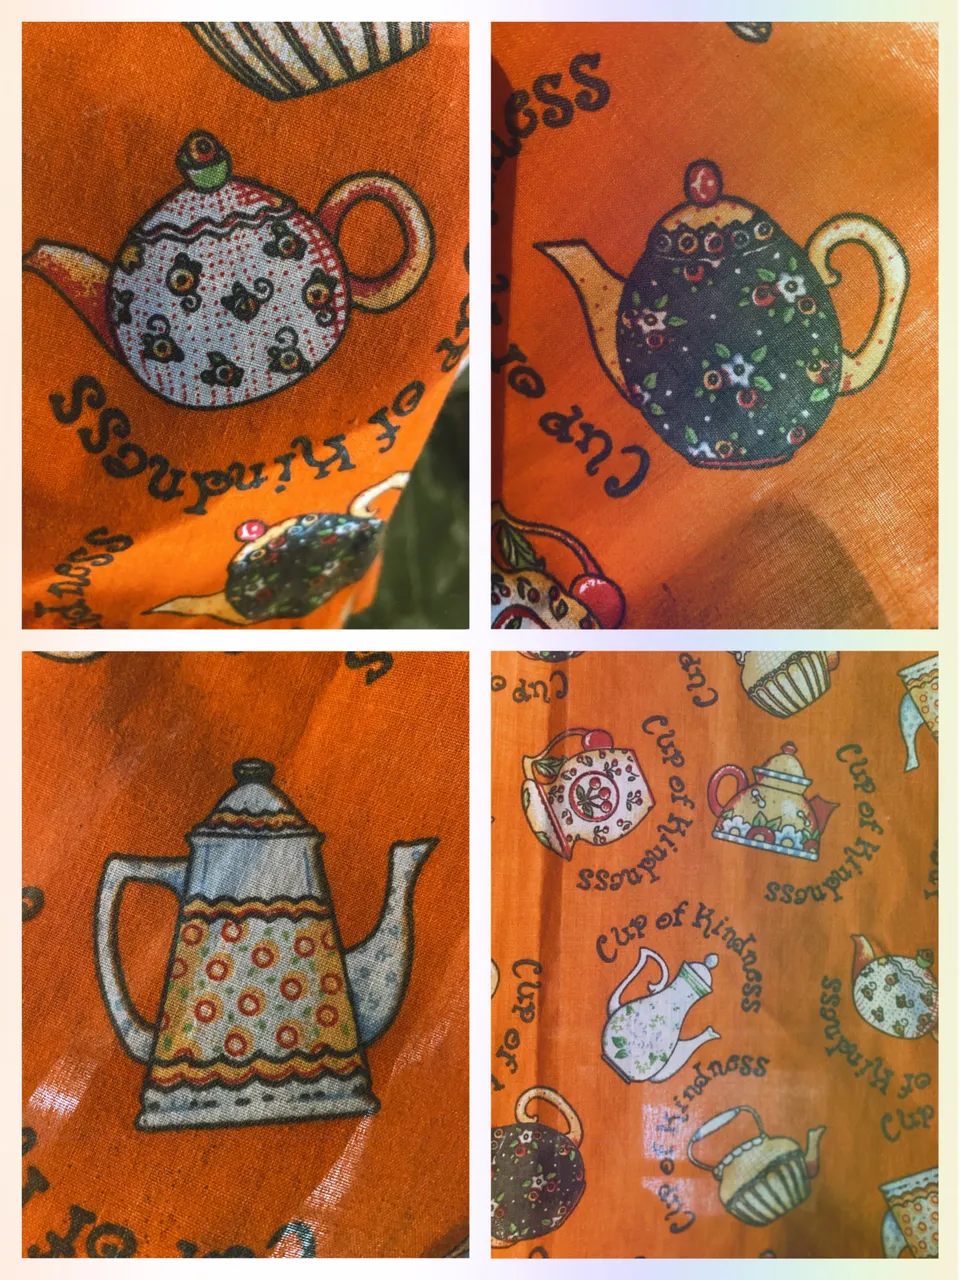
Desde que leí las pautas del concurso comencé a pensar qué podía hacer para participar y para mi sorpresa pueden creer que la decoración de mi cocina es de teteras y de verdad no había caído en cuenta sobre esto 😂 , mire a mi alrededor y resulta que en mi cocina estoy rodeada de teteras, los forros de mis artefactos, la cortina, mis agarra ollas y hasta un delantal hecho por mi, todo en tela con motivos de teteras 🫖 .
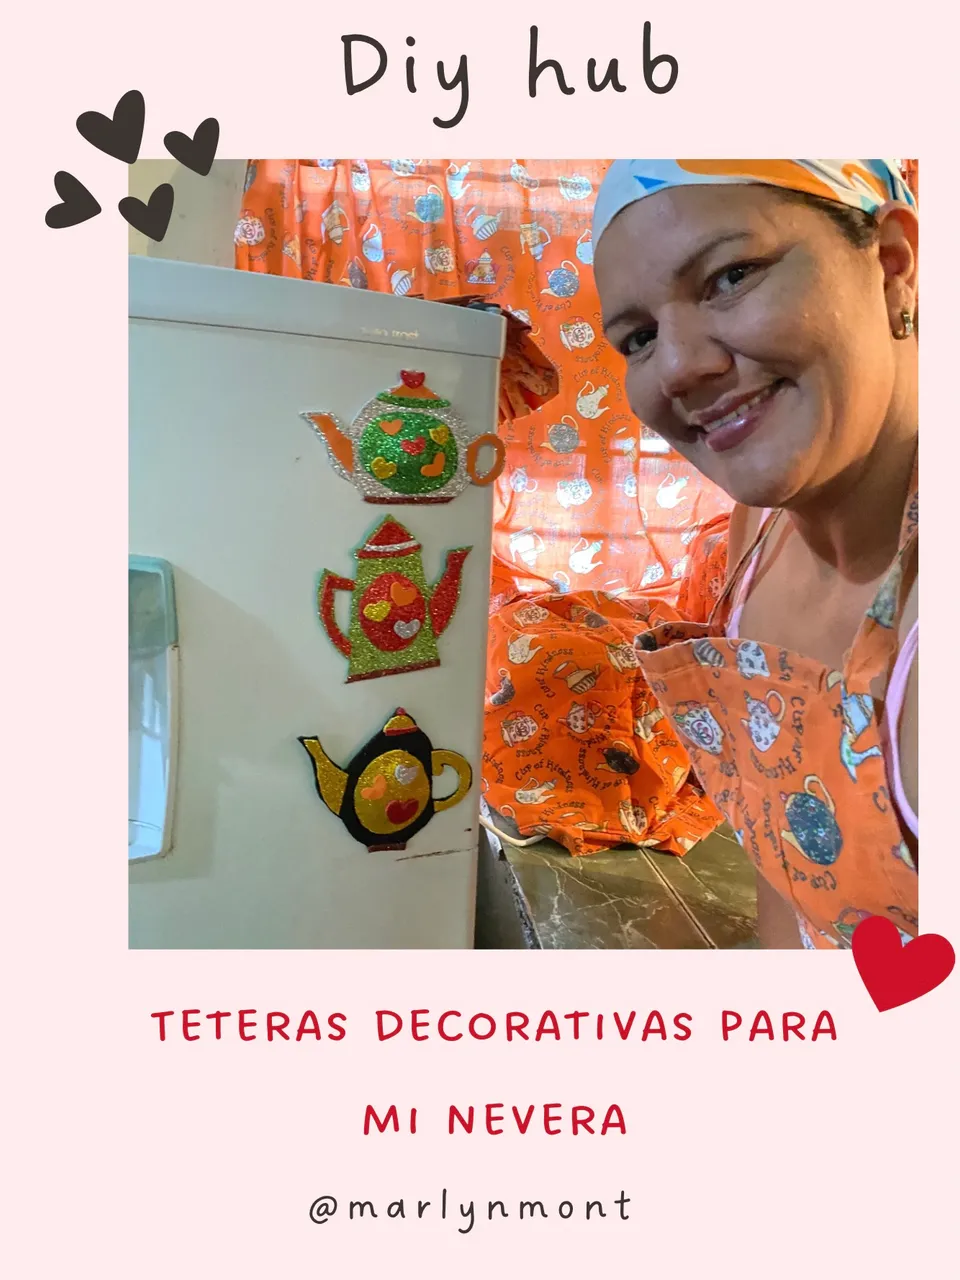
Entonces pensé, que puedo hacer para que combine con mi decoración? Mire a mi alrededor y vi que mi nevera está un poco triste ya que sus adornos están deteriorados, entonces me dije: porque no hacer unos lindos adornos para mi nevera? Y lograr que se vea feliz 🙂.
Happy Monday Diy Hub friends, this is the first post I've made in this community and I wanted to participate in the "DIYHUB MONTHLY CONTEST - TEAPOT" contest, I hope you have a great week
Since I read the contest guidelines I began to think about what I could do to participate and to my surprise you may believe that the decoration of my kitchen is made of teapots and I really had not realized about this 😂, I looked around and it turned out that in I am surrounded by teapots in my kitchen, the linings of my appliances, the curtain, my pot holders and even an apron made by me, all in fabric with teapot motifs 🫖 .
So I thought, what can I do to match my decor? I looked around and saw that my fridge is a bit sad since its decorations are deteriorated, so I said to myself: why not make some nice decorations for my fridge? And make him look happy 🙂.
Siempre me ha gustado colocarles adornos a mi nevera y me pareció perfecto hacer unos con motivos de teteras y lograr una decoración más bonita, aquí les dejo mi paso a paso y unos tips para sus decoraciones en foami.
I have always liked to place decorations on my fridge and it seemed perfect to make one with teapot motifs and achieve a more beautiful decoration, here I leave you my step by step and some tips for your decorations in foami.
♦️➖➖➖➖♦️➖➖➖➖♦️
MATERIALS
MATERIALES
- Foami de variados colores
- Silicone
- lapiz y papel reciclado
- tijeras
- Plancha
- imanes
- Foami Of varied colors
-silicone- pencil and recycled paper
- scissors
- Iron
- Magnets
♦️➖➖➖➖♦️➖➖➖➖♦️
PASO A PASO
STEP BY STEP
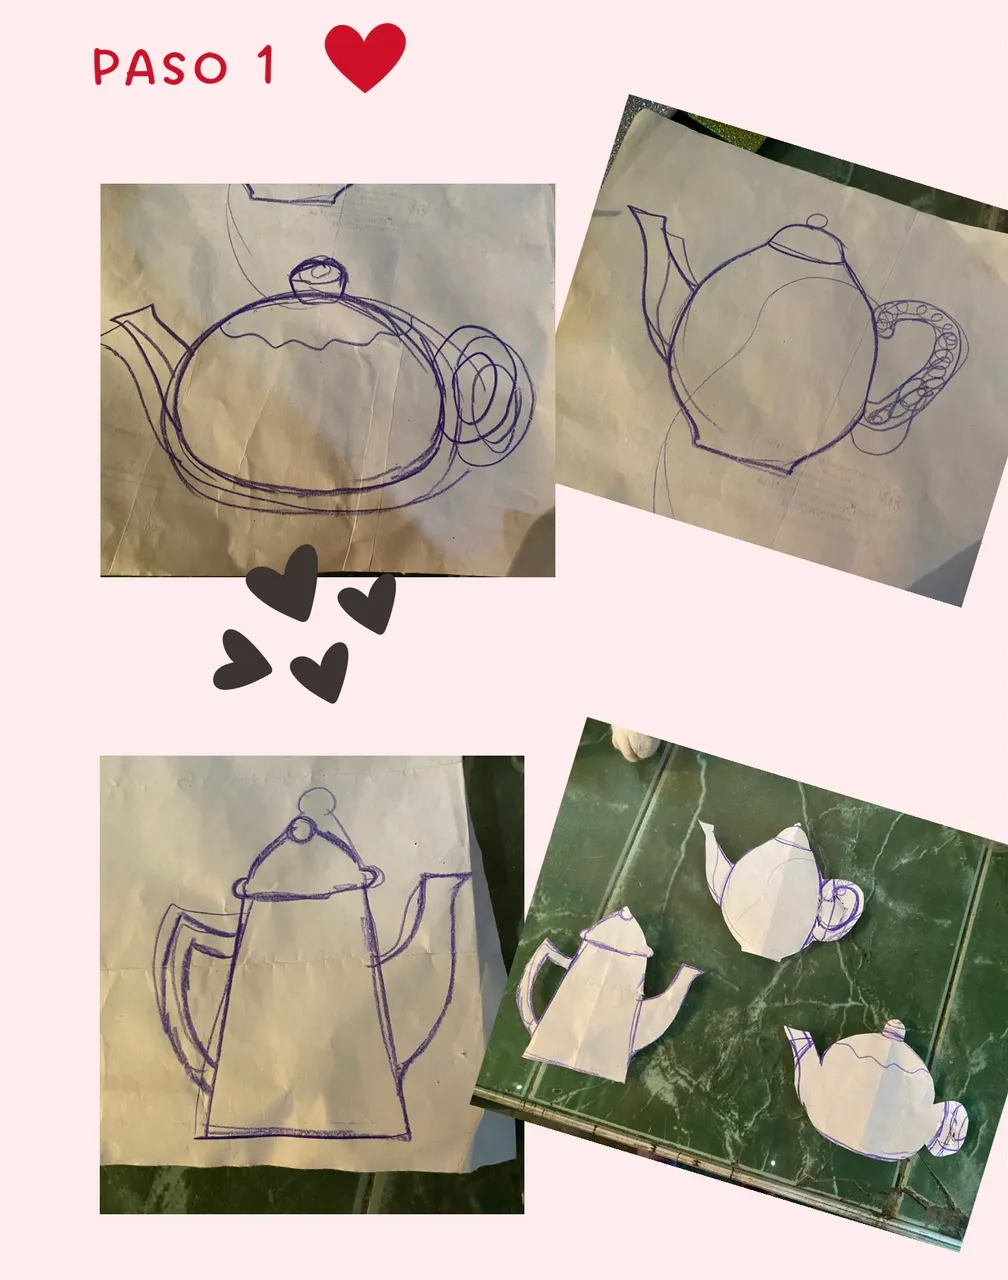
1- Lo primero que vamos a hacer es el patrón, dibujamos el modelo de nuestras teteras, dibuje sobre un papel reciclado, en total hice 3, me guié por los modelos que tiene mi tela, me gustó ya que esta tiene variados modelos, hice 1 ovalada, 1 redonda y una recta, hice cada modelo adaptando los tamaños para mi nevera y recorté
1- The first thing we are going to do is the pattern, we draw the model of our teapots, I drew on a recycled paper, I made 3 in total, I was guided by the models that my fabric has, I liked it since it has various models, I made 1 oval, 1 round and one straight, I made each model adapting the sizes for my fridge and I cut
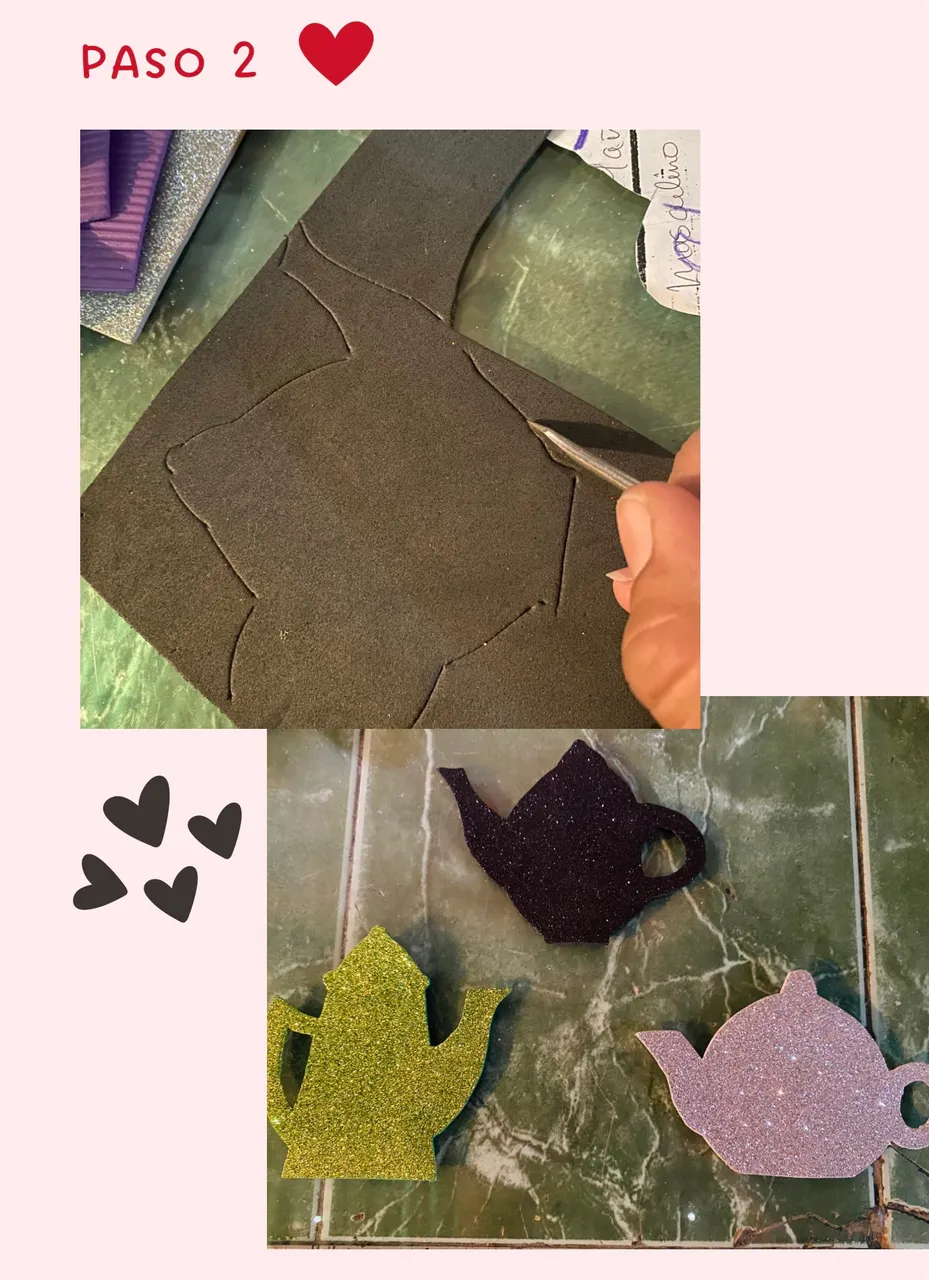
2- Al tener listos los modelos busque 3 colores diferentes de foami pasta cortar cada una de mis teteras, en este paso podemos utilizar cualquier cosa afilada para marcar nuestro foami.
Yo utilizo un pequeño destornillador de pala , también te puede servir un lapicero sin tinta para no manchar el foami, luego de marcar procedo a cortar mis figuras de teteras
2- When the models are ready, look for 3 different colors of foami to cut each of my teapots, in this step we can use anything sharp to mark our foami.
I use a small flathead screwdriver, you can also use a pen without ink so as not to stain the foami, after marking I proceed to cut my teapot figures
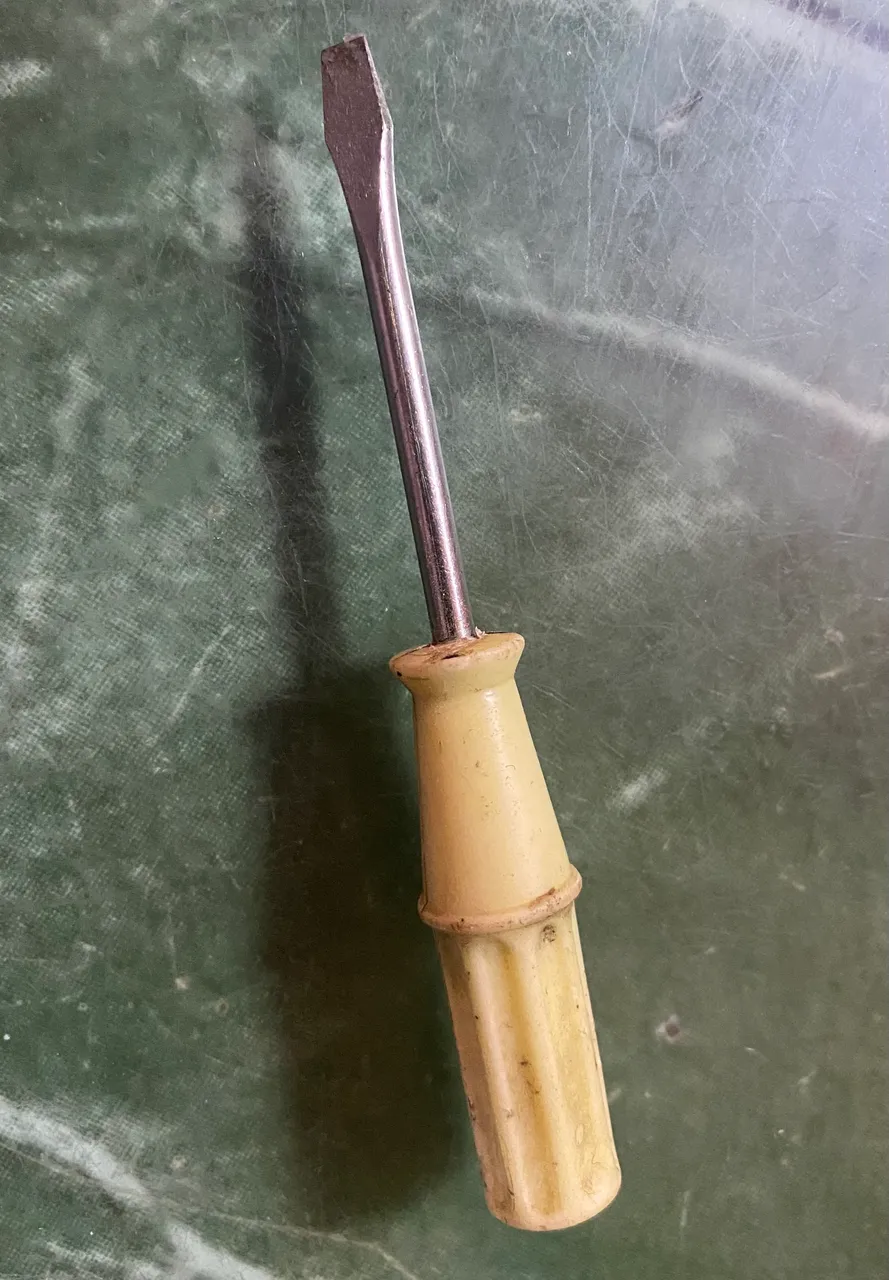 para marcar mi foami uso la punta de este destornillador
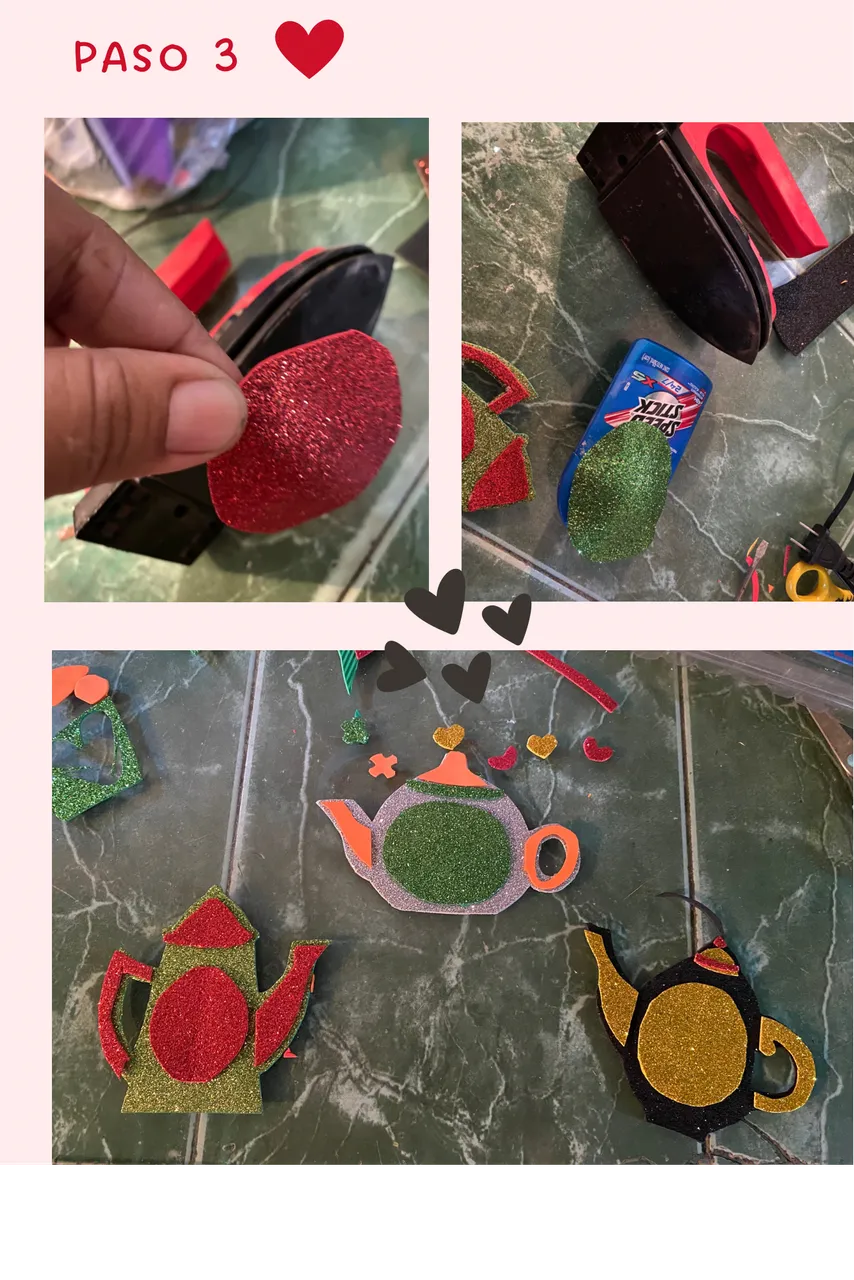
3- Luego continuó con la decoración, para cada una corte una pequeña rueda de color diferente y le di forma con una plancha.
- para moldear el foami basta con pasarlo por una plancha previamente caliente y este se podrá moldear fácilmente, buscas un objeto con la forma que quieres dar, presionas sobre este objeto por unos segundos mientras está caliente el foami y poco a poco agarrará la forma deseada.
Yo utilice un envase de desodorante, este tiene una forma redondeada tal cual la quería para mi adorno
También le hice pequeños corazones de variados colores para cada tetera, me gusta mucho la variedad de colores para este tipo de adorno ya que los hace más llamativos y bonitos ♥️
3- Then he continued with the decoration, for each one I cut a small wheel of a different color and shaped it with an iron.
- to shape the foami, just pass it through a previously hot iron and it can be easily shaped, look for an object with the shape you want to give, press on this object for a few seconds while the foami is hot and little by little it will take the desired shape .
I used a deodorant container, this one has a rounded shape just as I wanted it for my ornament
I also made small hearts of various colors for each teapot, I really like the variety of colors for this type of ornament as it makes them more striking and beautiful ♥️
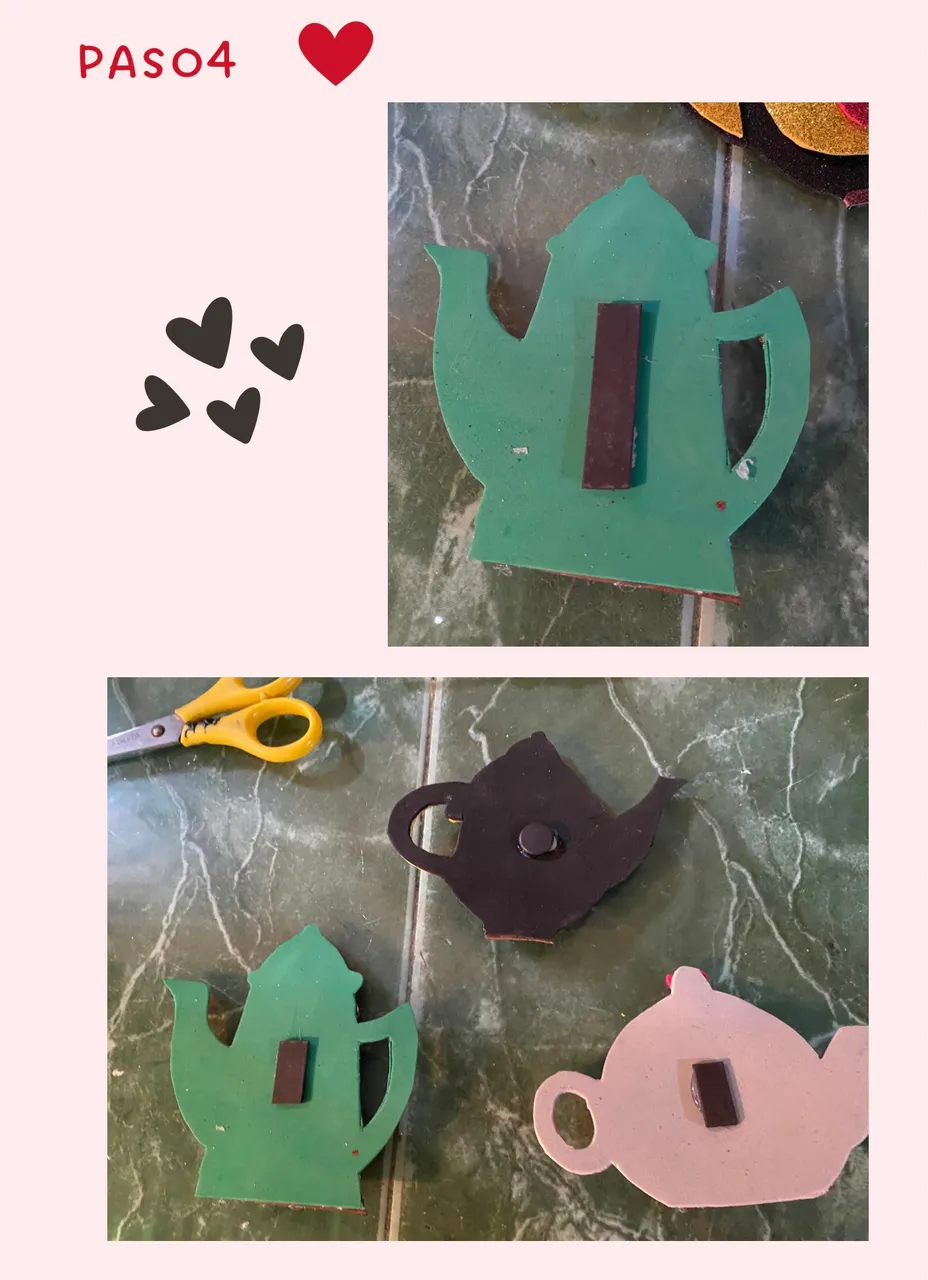
4- Encendi mi pistola de silicone, comencé a pegar cada parte de mis teteras, tapa, asa, pico y luego la ruedita en relieve en el centro de cada una, seguido de los corazones.
Al terminar de pegar los detalles le di la vuelta por detrás y le pegué un trozo de imán para cada una, este tipo de imanes los venden por metro en las tiendas y los puedes recortar acorde al tamaño que deseas
4- I turned on my silicone gun, I began to glue each part of my teapots, lid, handle, spout and then the embossed wheel in the center of each one, followed by the hearts.
When I finished gluing the details, I turned it around on the back and glued a piece of magnet for each one. These types of magnets are sold by the meter in stores and you can cut them according to the size you want.
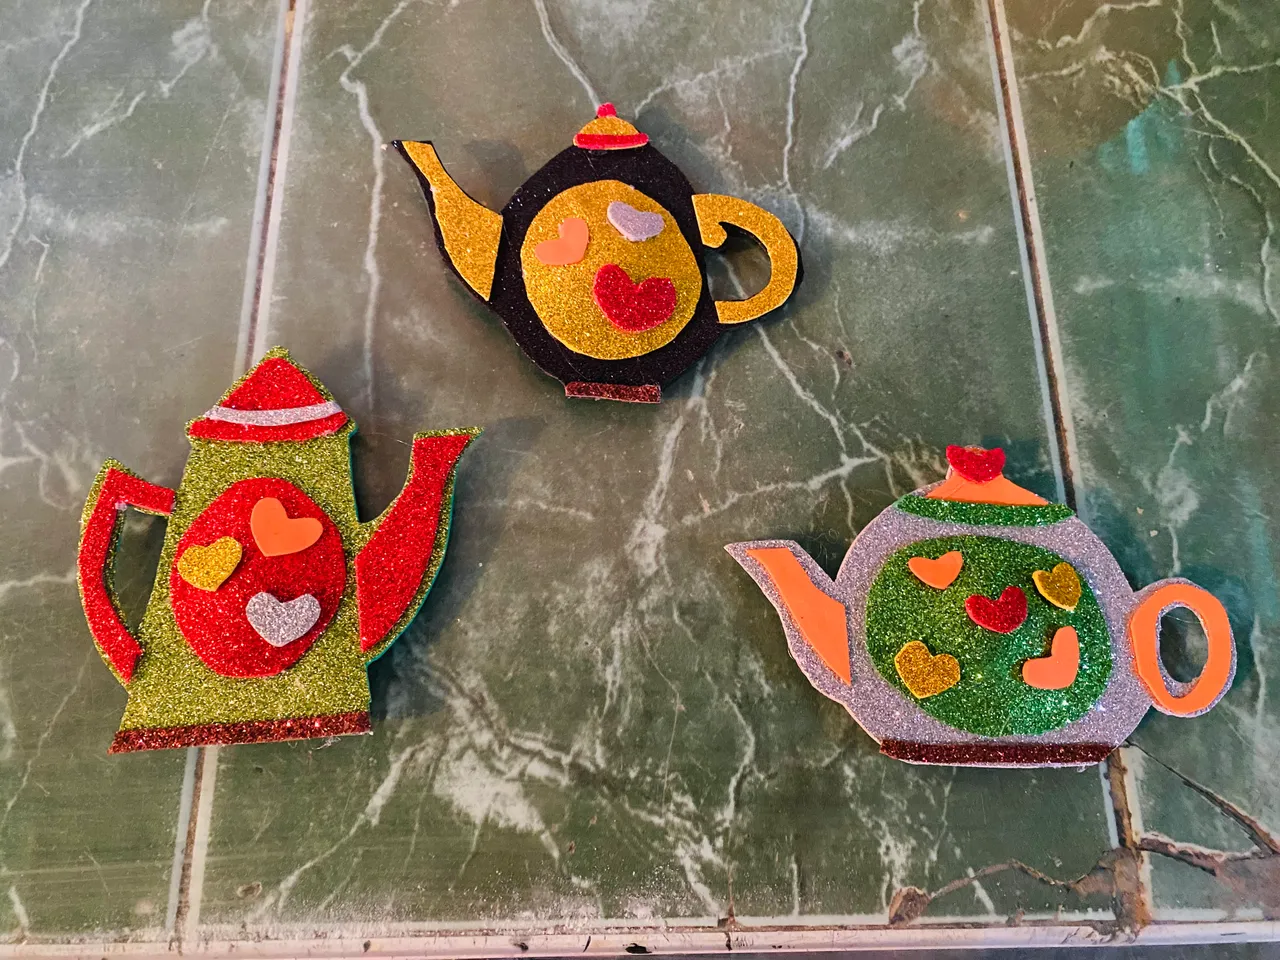
Y aquí les muestro mi resultado final, asi quedaron mis teteras con imán para decorar mi nevera 🫖🥰
And here I show you my final result, this is how my magnet Teapots with magnet to decorate my fridge 🫖🥰

♦️➖➖➖➖♦️➖➖➖➖♦️
En mi hogar soy multi facetas, puedes verme realizando manualidades, cosiendo, cocinando y hasta construyendo, todo lo que me propongo hago el intento en lograrlo y espero que esta sea mi primera participación y espero poder compartir muchos mas de mis proyectos, gracias por visitar mi post, hasta otra oportunidad
In my home I am multifaceted, you can see me doing crafts, sewing, cooking and even building, everything I set out to do I try to achieve it and I hope this is my first participation and I hope to share many more of my projects, thanks for visiting my post, until another opportunity
Las Fotos aquí compartidas son de mi propiedad, las tomé con mi teléfono iPhone 11 y edité con Canva
The photos shared here are my property, I took them with my iPhone 11 phone and edited with Canva