Hola querida familia de Hive. Es un gusto saludarles y desearles mucha paz y felicidad. En esta época de noviembre ya se asoman cada una de nuestras tradiciones y culturas navideñas. Ya comienzan a sonar las gaitas en Venezuela, adornar y decorar las casas con los pesebres y arbolitos.
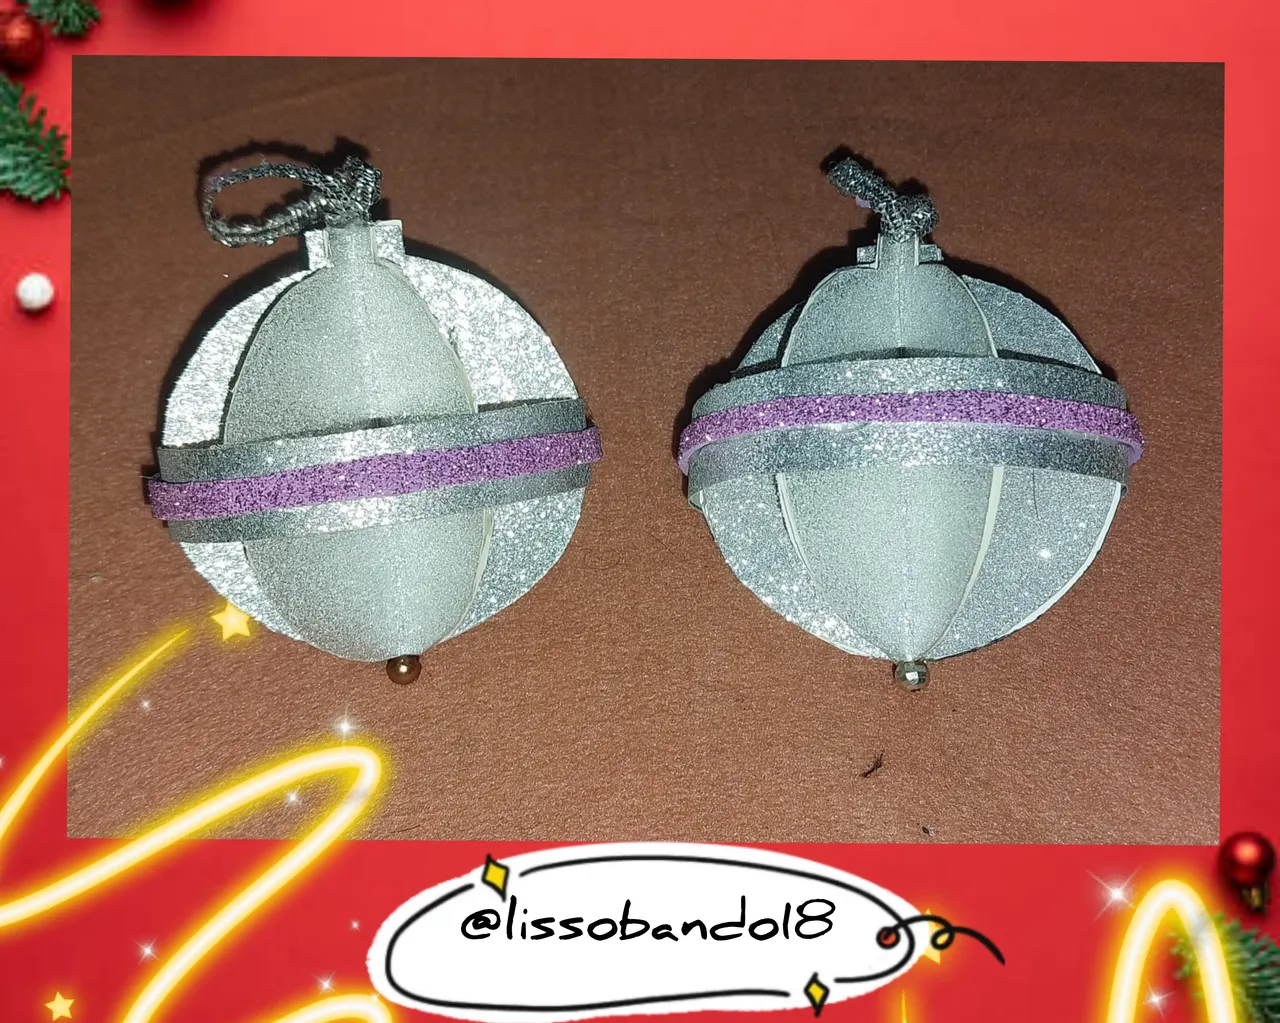
Es por ello que les traigo una propuesta para diseñar las bolas de sus arbolitos de una forma económica, fácil y rápida de elaborar, partiendo de pocos materiales pero con un resultado muy elegante y navideño para nuestros arbolitos.
Espero les guste.
1
Debemos tomar la cartulina y realizar un rectángulo de 5 cm X 40 cm de largo. A su vez se debe dividir las láminas de cartulina a la mitad.
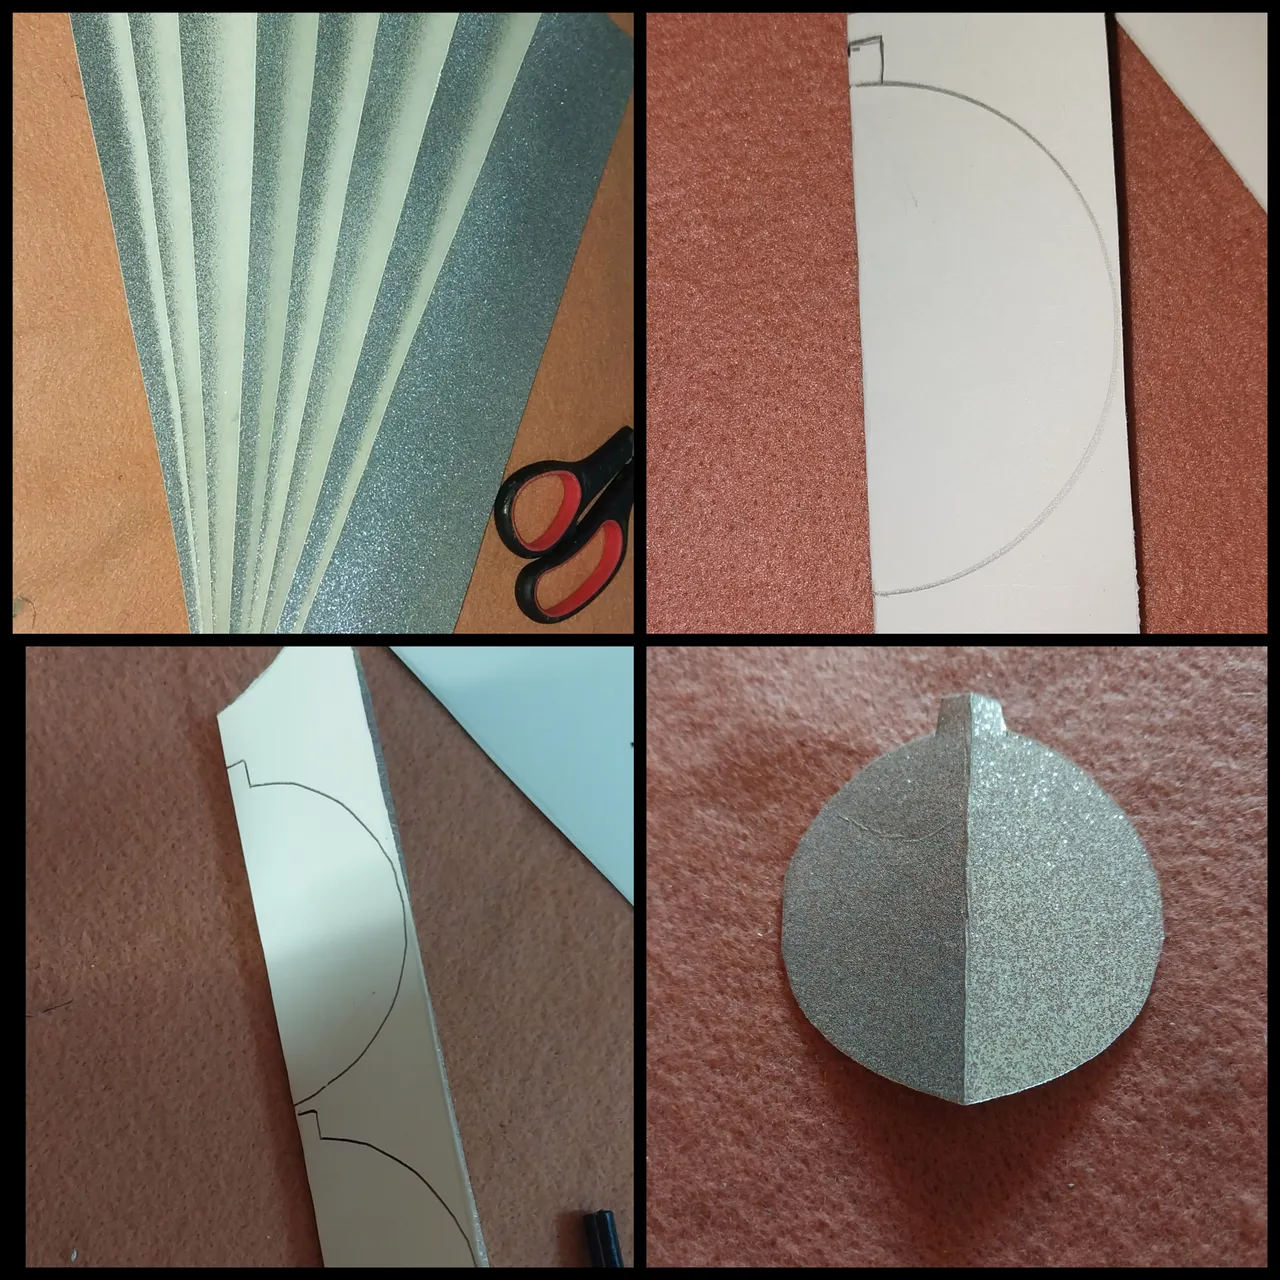
Luego se debe dibujar sobre la cartulina doblada a la mitad la mitad de una bola y hacer la mitad de su guindadero. De esa misma forma se va a realizar esto a lo largo de cada una de las cartulinas. Luego se recortan!
2
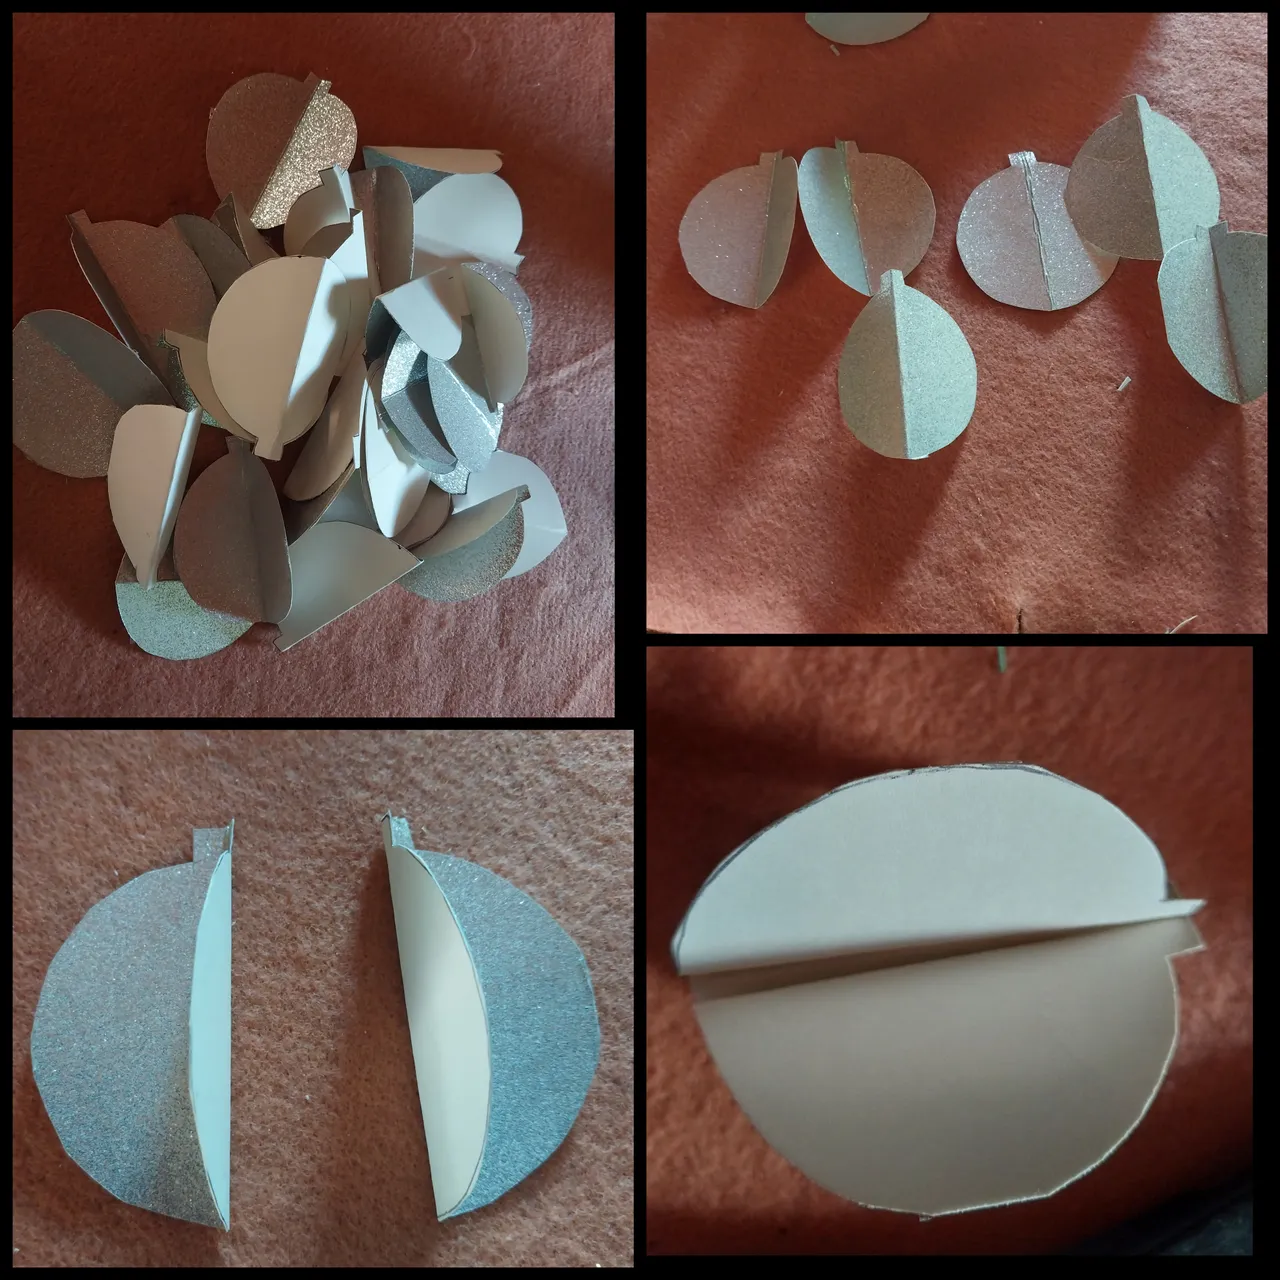
Se recortan varias formas de estas bolas. Para cada bola se necesitan 6 figuras.
La formación de estas bolas se da de la unión de sus caras, de esta forma se van a pegar uniendo a la mitad.
4
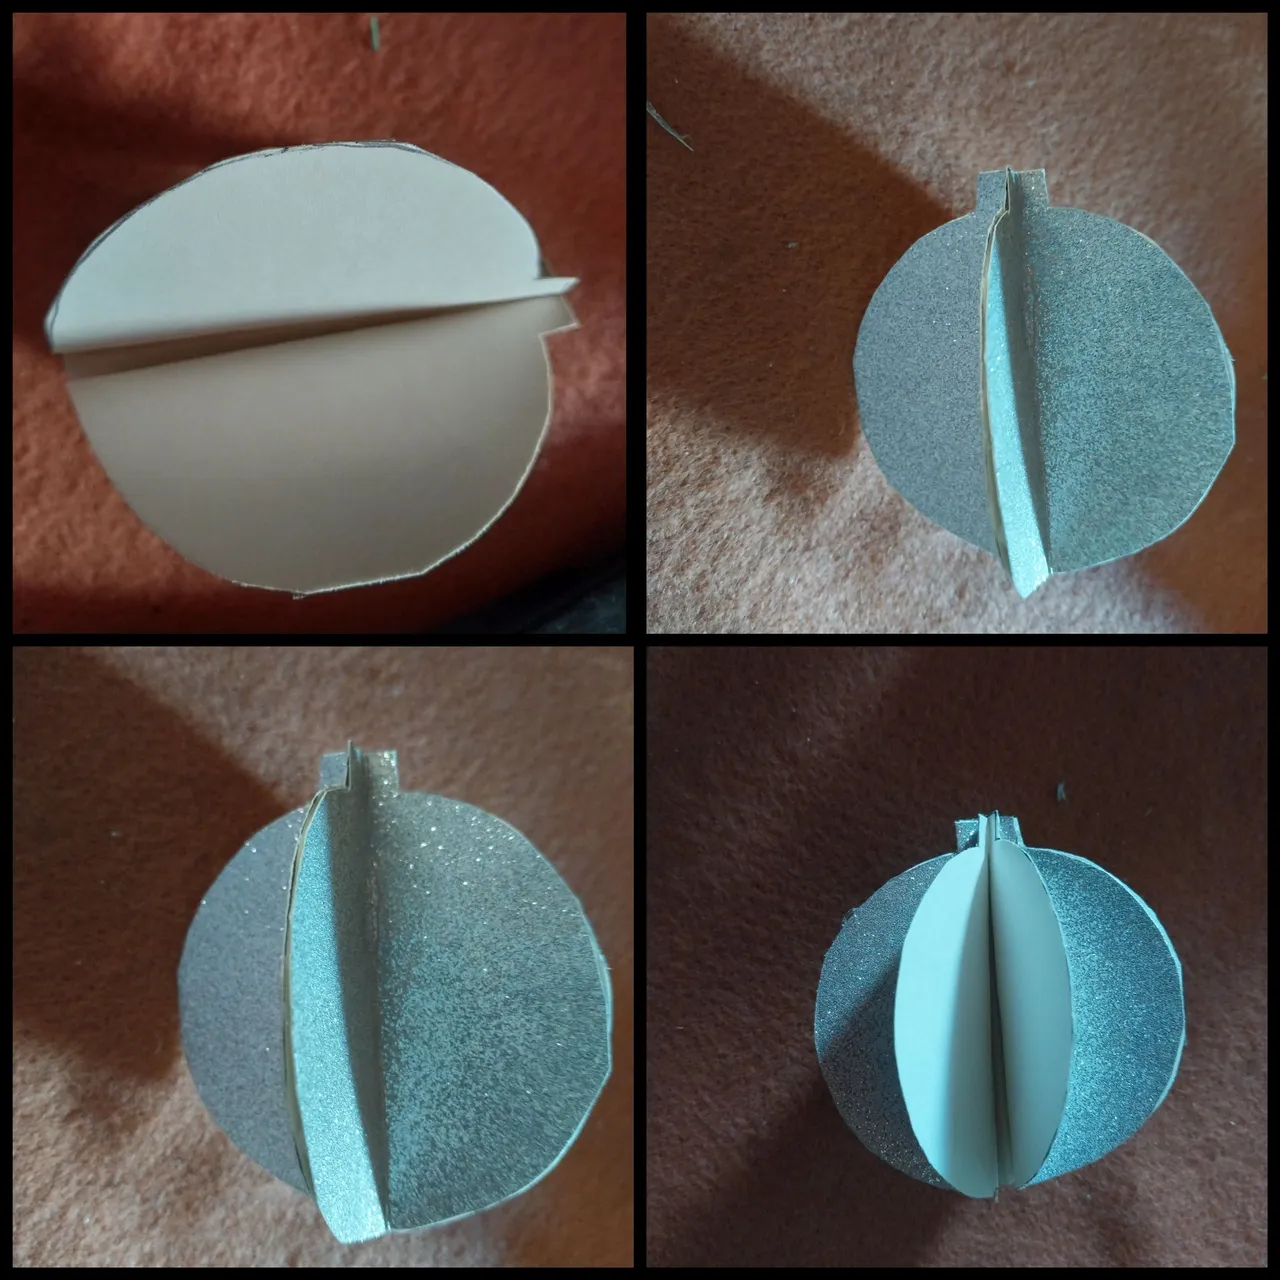
De esta manera se van a ir formando las formas cruzadas que van a ir conformando las bolas.
5
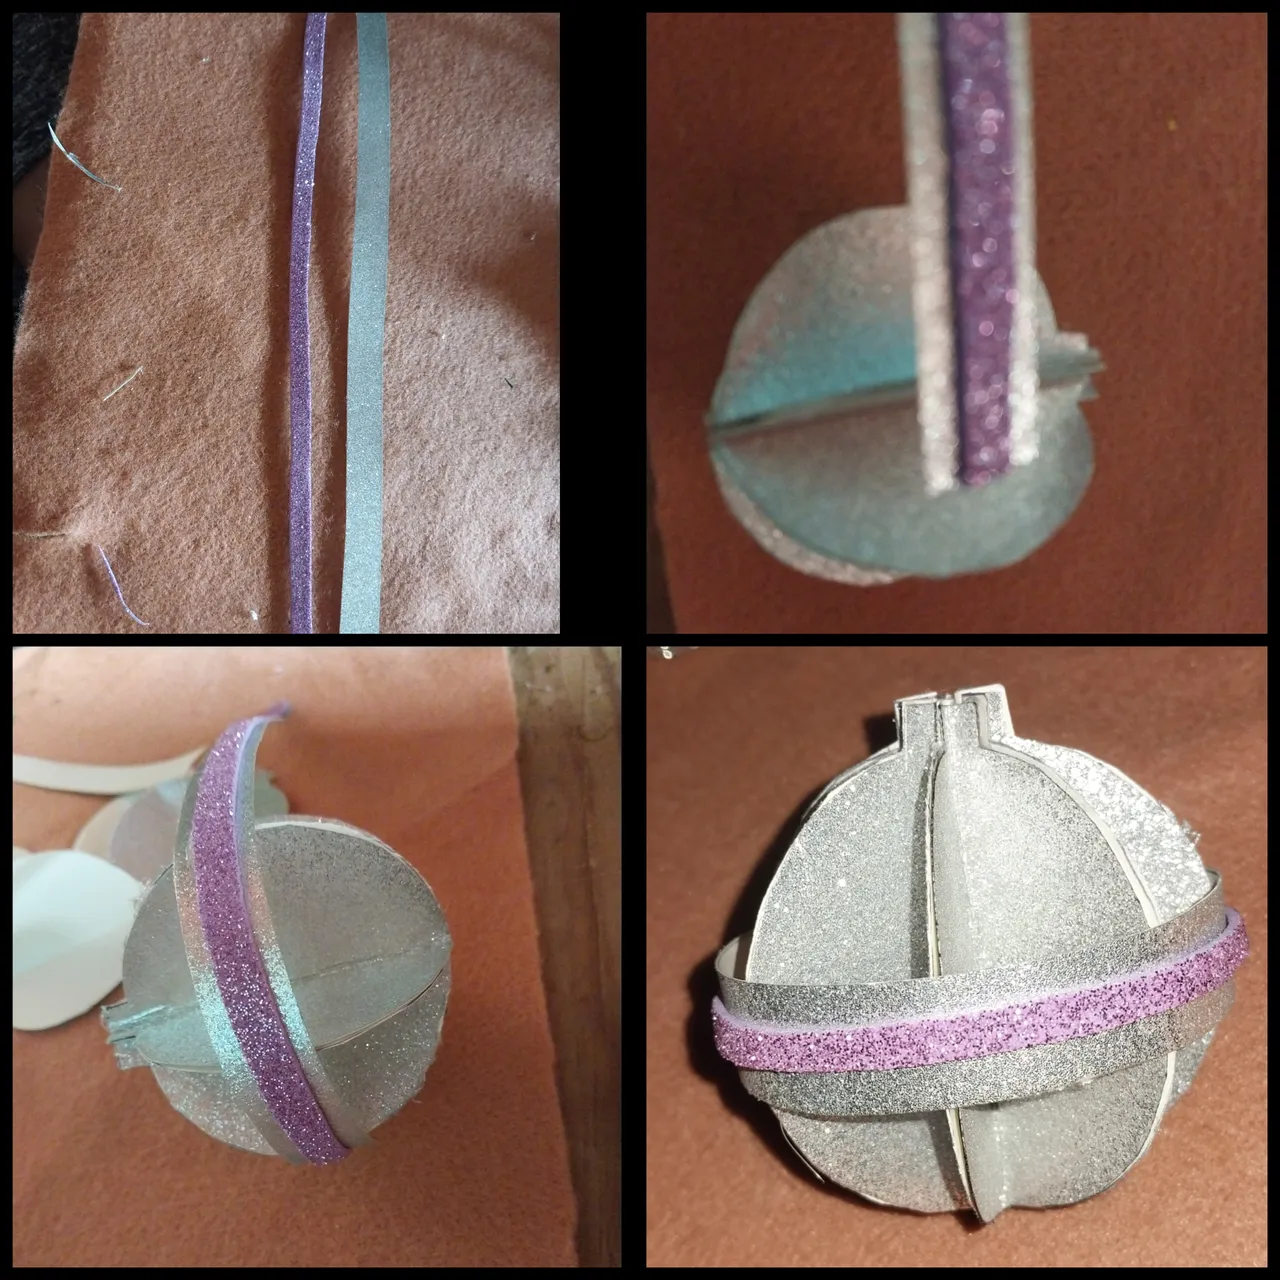
Seguidamente se debe recortar unos listones morados y plateados. Luego el listón morado se pega sobre el listón plateado con el silicon.
6
De esta manera se debe pegar el listón plateado con morado sobre las pelotas en la parte central de este.
7
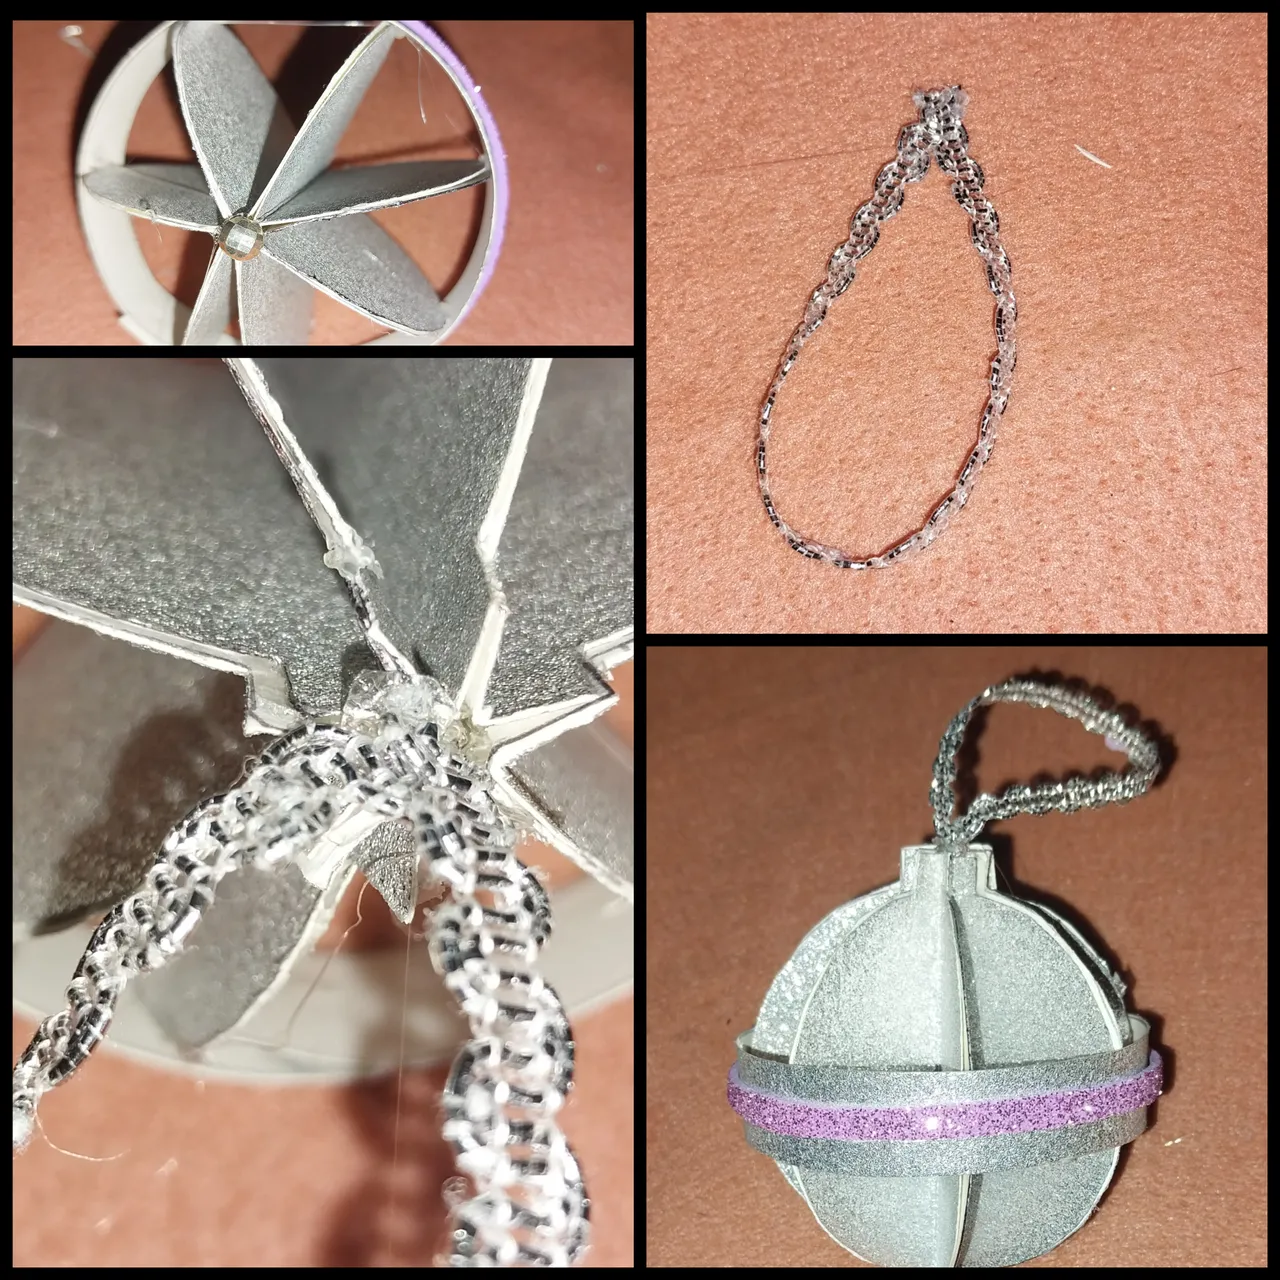
Luego la cinta de 12 cm se pega en la parte superior de la boleta con la ayuda del silicon.
Y también añadir una pelotica en la parte inferior de esta.
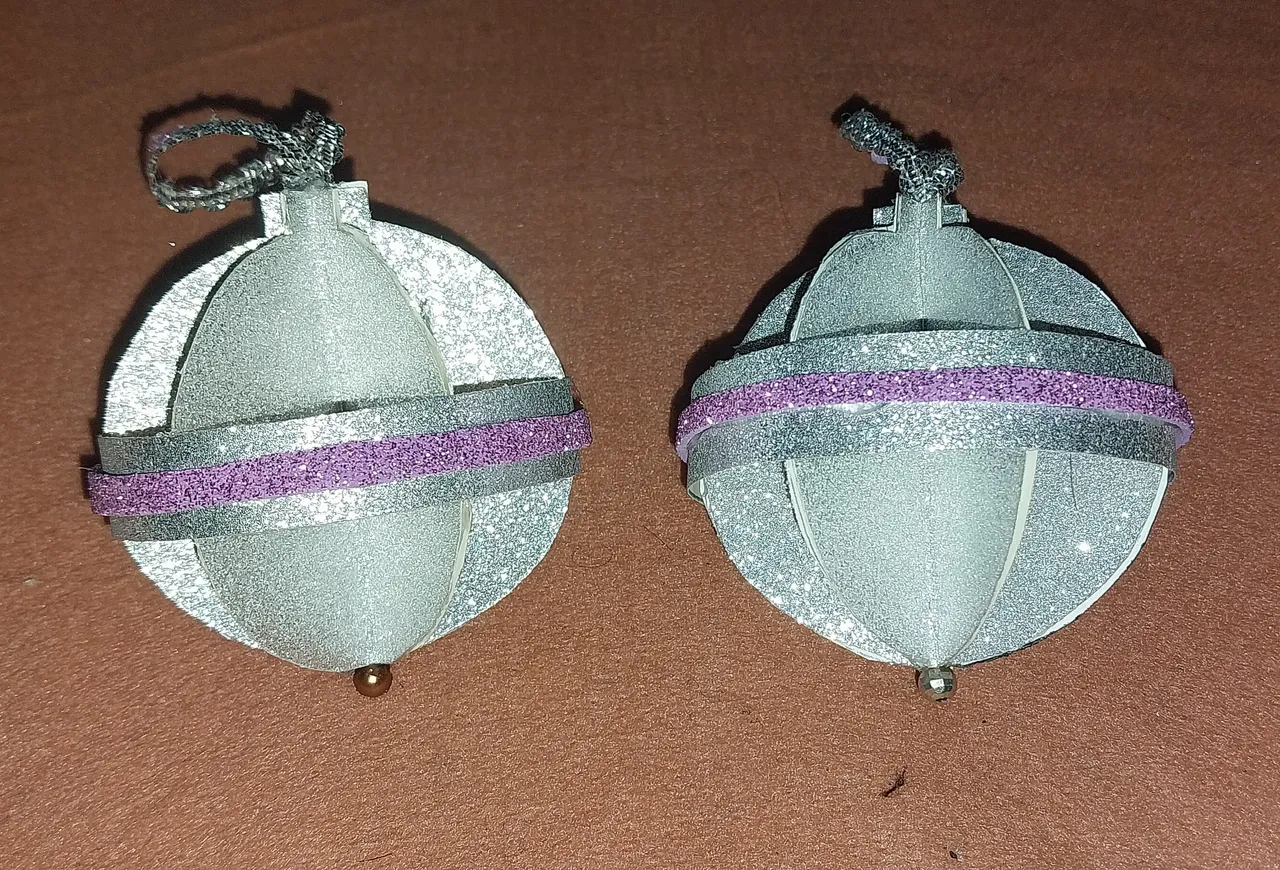
Muchas gracias! Espero que tengan una feliz navidad! Y que puedan poner en práctica estas pelotas de navidad.
**Hello dear Hive family. It is a pleasure to greet you and wish you much peace and happiness. In this time of November, each of our Christmas traditions and cultures are already showing up. We are already starting to play the bagpipes in Venezuela, decorate and decorate the houses with nativity scenes and trees.
That is why I bring you a proposal to design the balls of your trees in an economical, easy and quick to develop, starting with few materials but with a very elegant and Christmasy result for our trees.
I hope you like it.
1
We must take the cardboard and make a rectangle of 5 cm X 40 cm long. At the same time, the cardboard sheets must be divided in half.
Then draw on the cardboard folded in half the half of a ball and make half of its holder. In the same way you are going to do this along the length of each of the cards. Then cut them out!
2
Various shapes are cut out of these balls. For each ball 6 shapes are needed.
The formation of these balls is given from the union of their faces, in this way they will be glued together by joining them in half.
4
In this way the cross shapes that will form the balls are going to be formed.
5
Next, cut out some purple and silver ribbons. Then the purple ribbon is glued over the silver ribbon with the silicon.
6
In this way the silver ribbon should be glued with purple on the balls in the central part of it.
7
Then the 12 cm tape is glued to the top of the ballot with the help of the silicon.
And also add a small ball at the bottom of the ballot.
Thank you very much! I hope you have a Merry Christmas! And that you can put these Christmas balls into practice!