Hi everyone! Happy weekend to you all. I am grateful to be alive and would love to share a simple DIY I made yesterday. It's okay to call this a simple wall bracket, and it can be used for different things in the house.
I prefer to use it for a small picture frame or other things that aren't heavy. I love the wall bracket because it's a fancy one and would suit anywhere in the house.
Materials I used are:
- Carton
- Wallpaper
- Brown gum
How to Make the Wall Bracket:
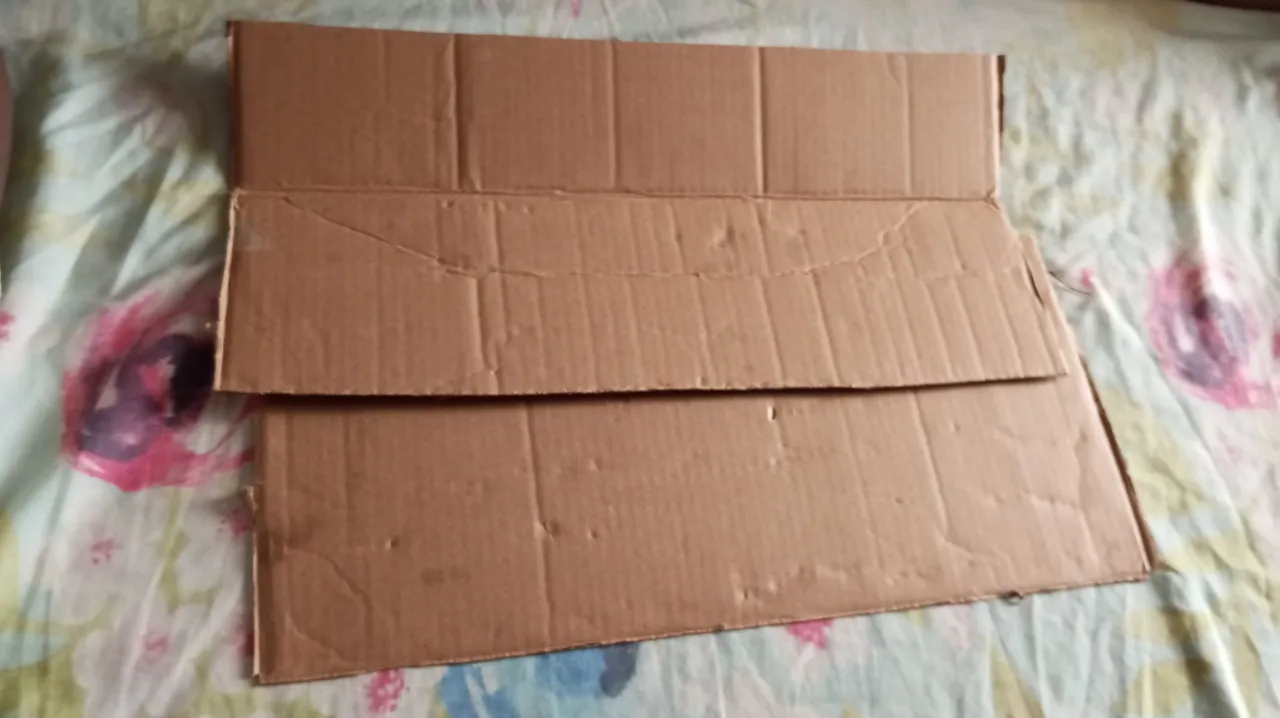
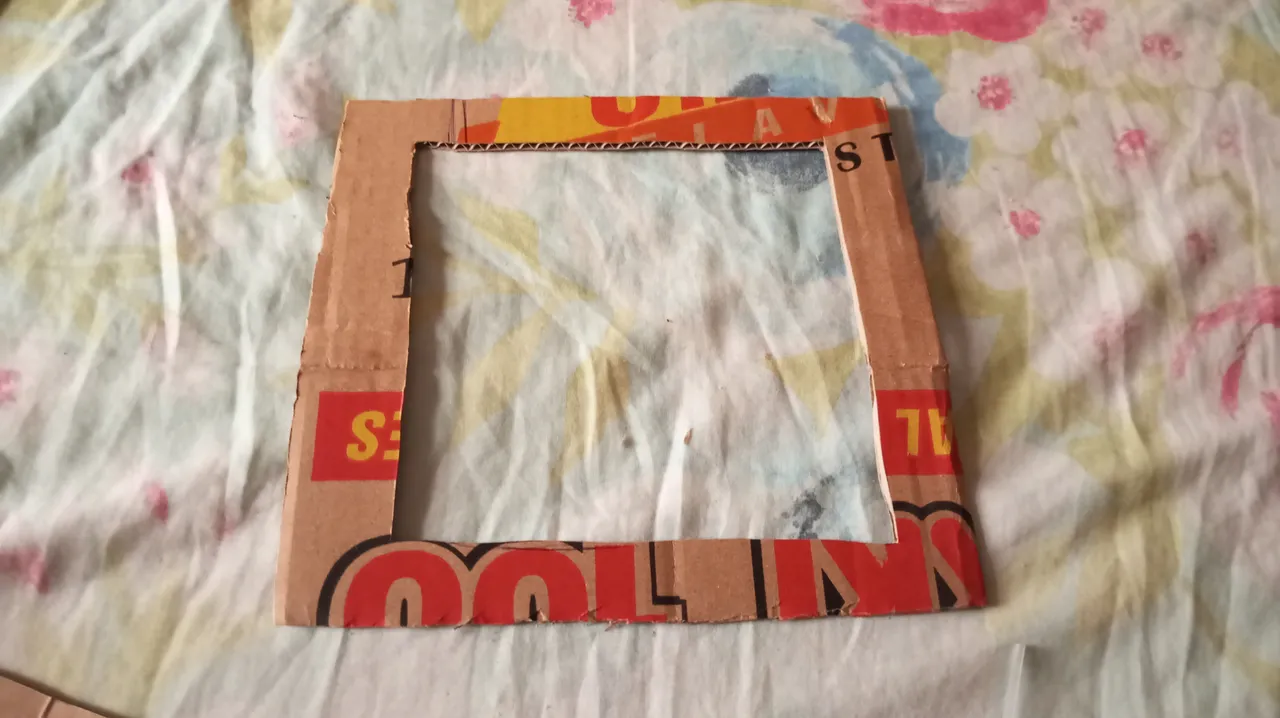
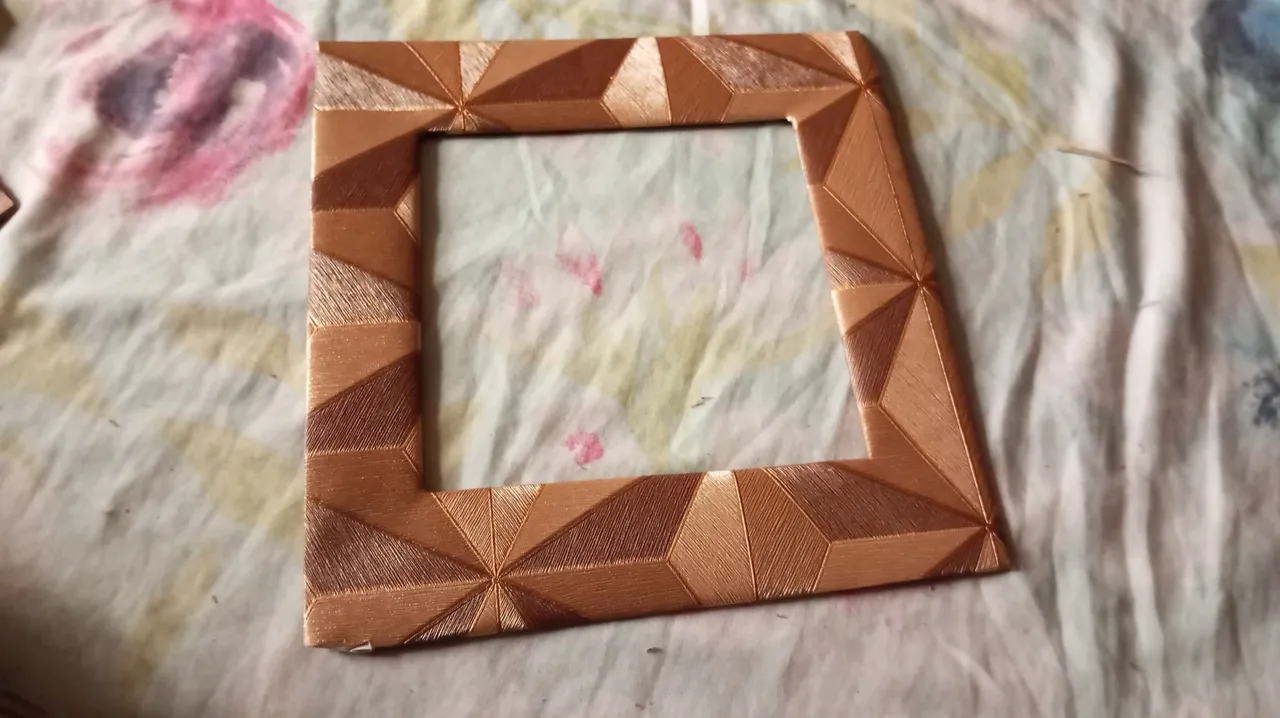
I cut out four square shapes from the carton and trimmed them to the exact sizes.
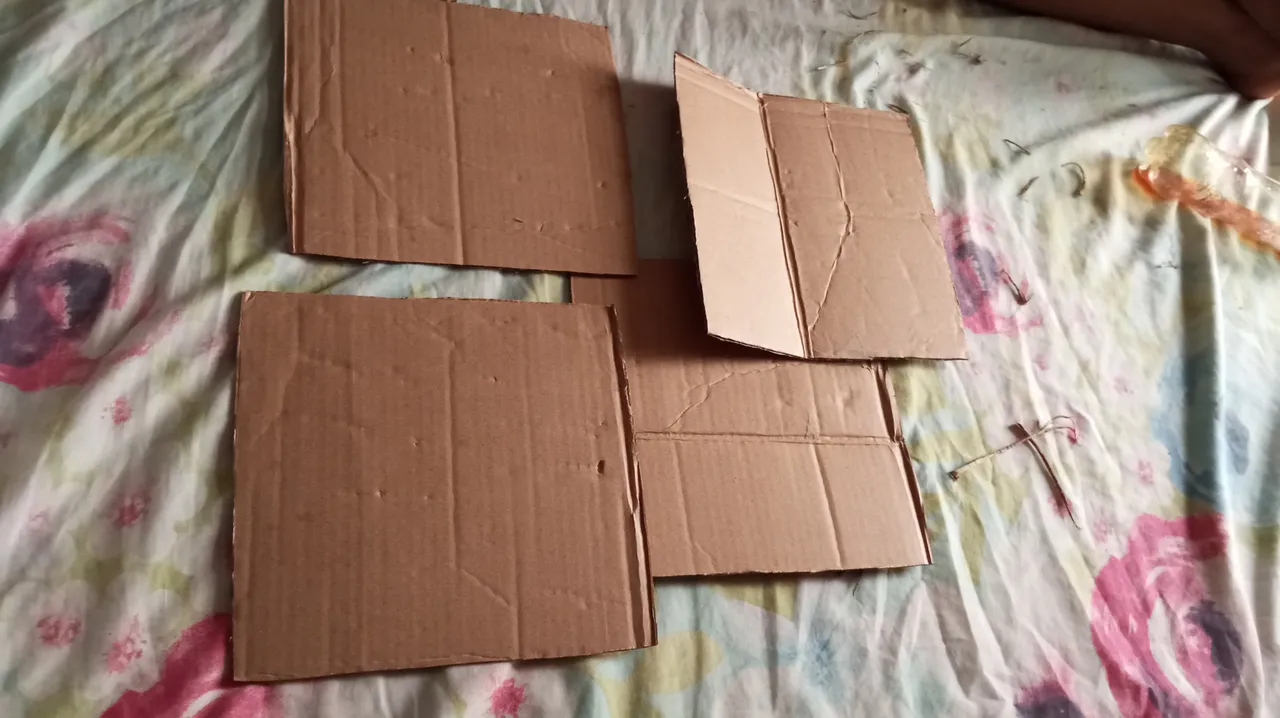
I cut another square out of each square to make a space in the square. It has to be square if you want the wall bracket to be perfect.
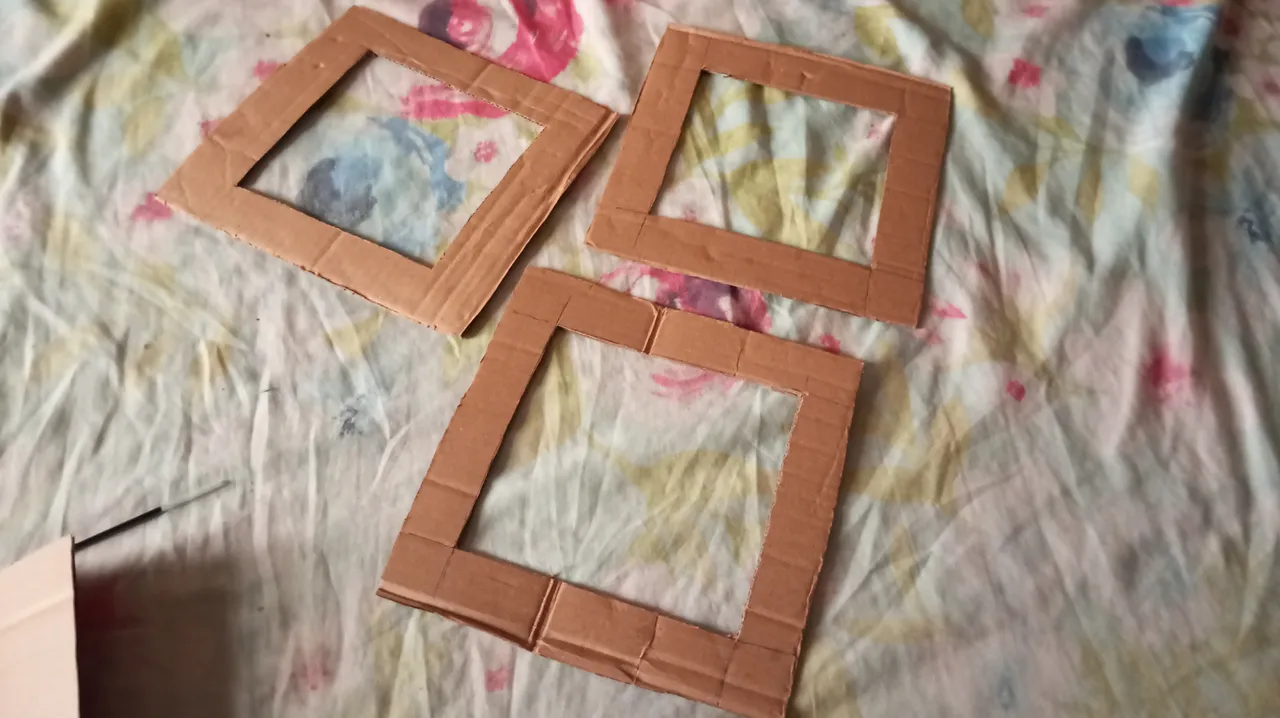
I realized that the material I have won't be enough to make four wall brackets, so I kept two and will complete them later.
I cut the wallpaper a bit bigger than the square shape and applied gum to the carton surface.


I then covered the square with wallpaper.
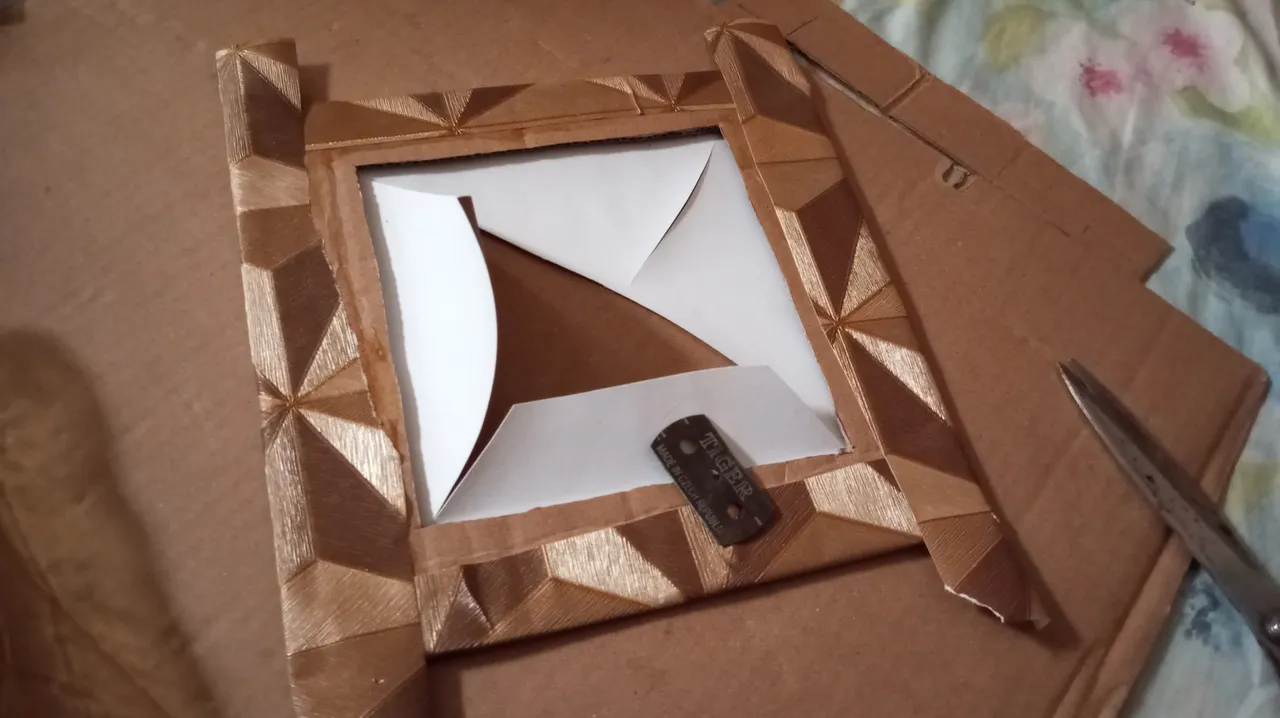
I needed the opening, so I cut the wallpaper open since the square has a space in it.
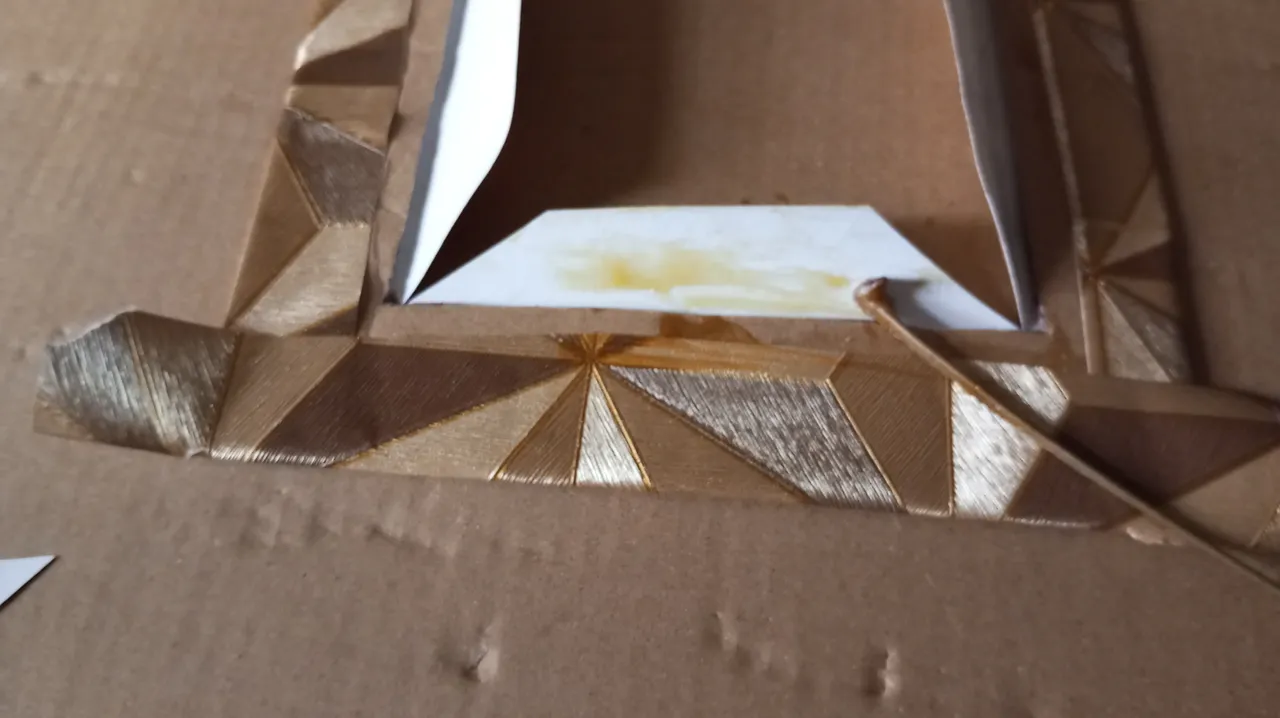
I applied gum behind the carton and folded it backwards.
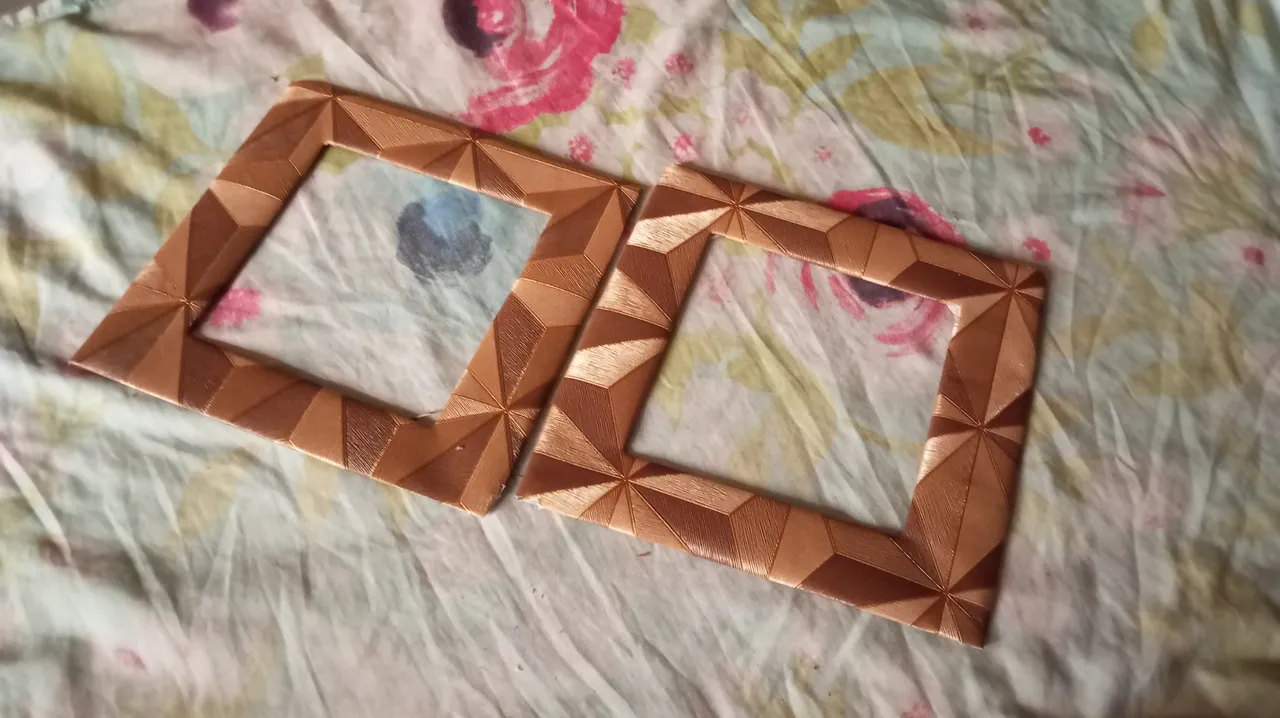
I repeated the process for the second square, and it was nice.
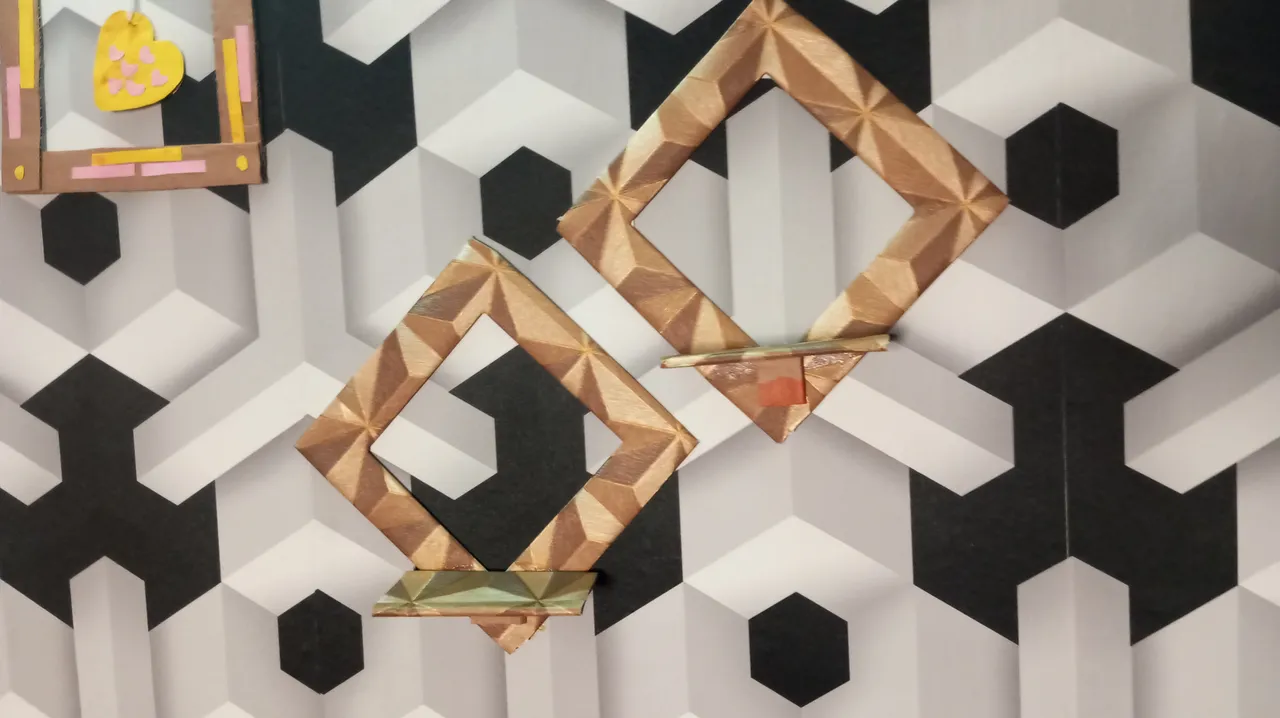
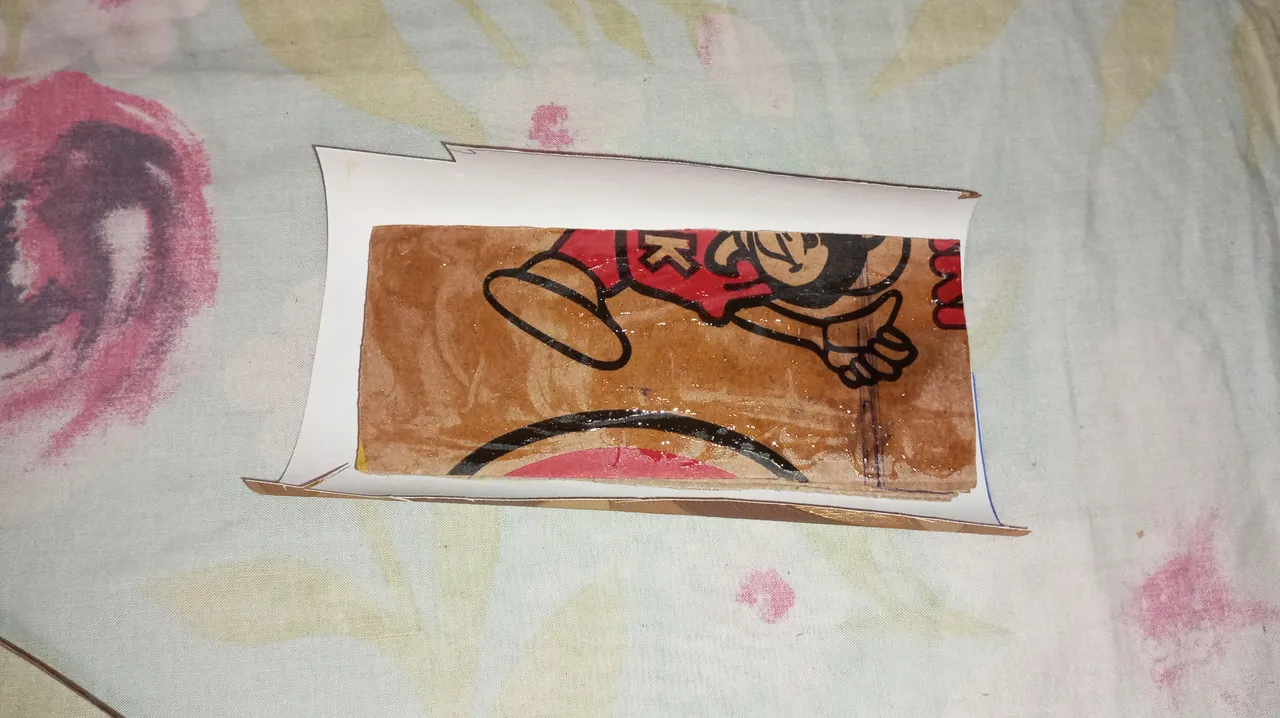
I cut two rectangular shapes that can stretch from one end of the wall bracket to the other when placed like a kite.

I covered the rectangle with the wallpaper as well and kept them aside to dry.
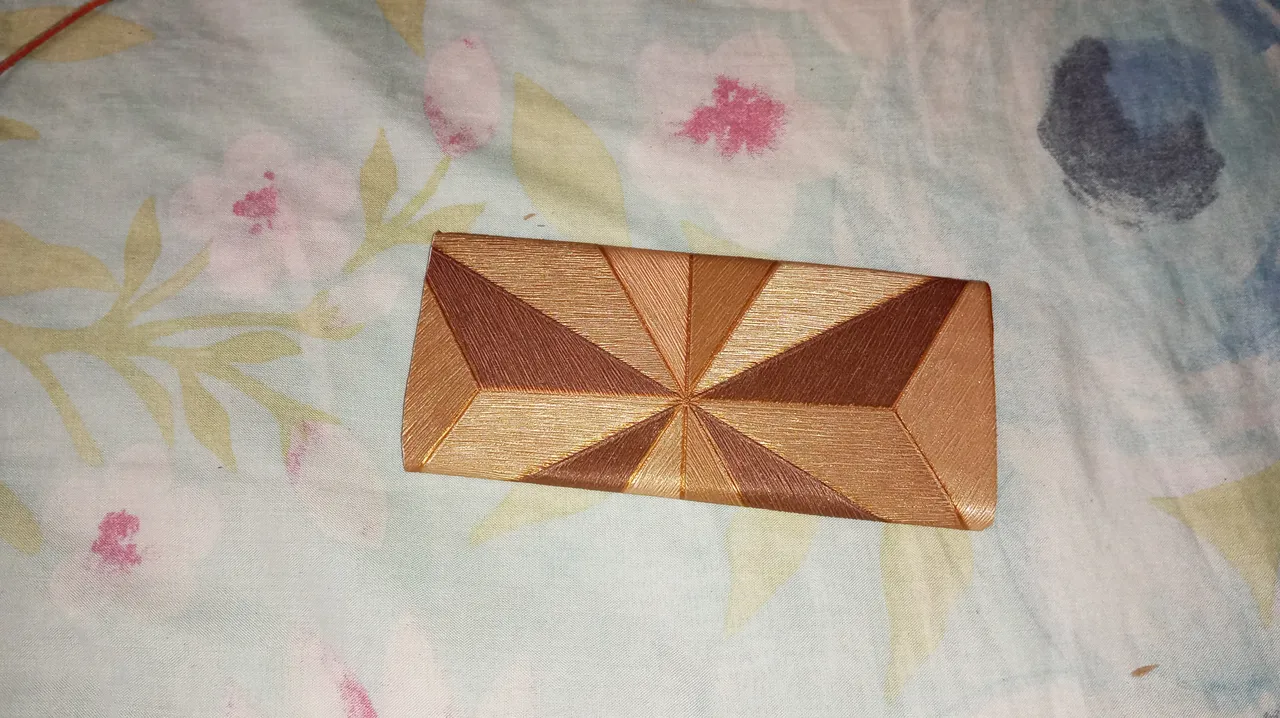
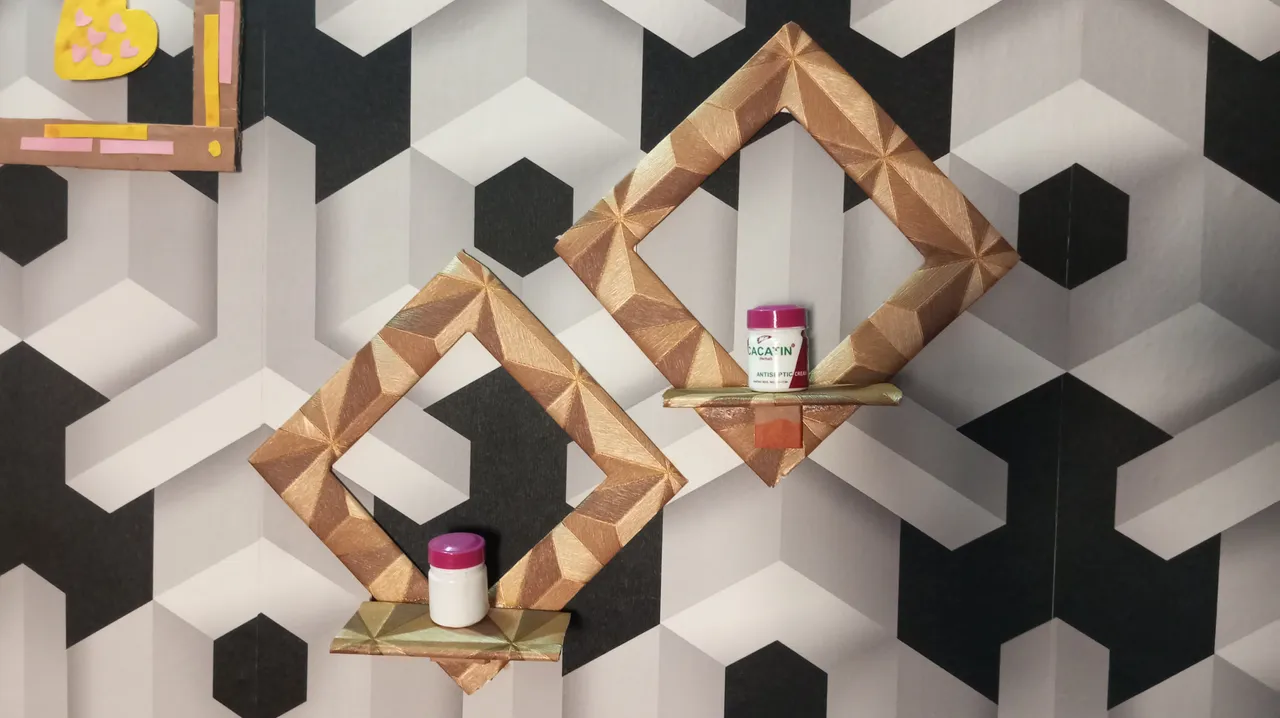
I attached the rectangle to the squares placed in kite shape with gum, and they will serve as seats for any object placed on the wall bracket.
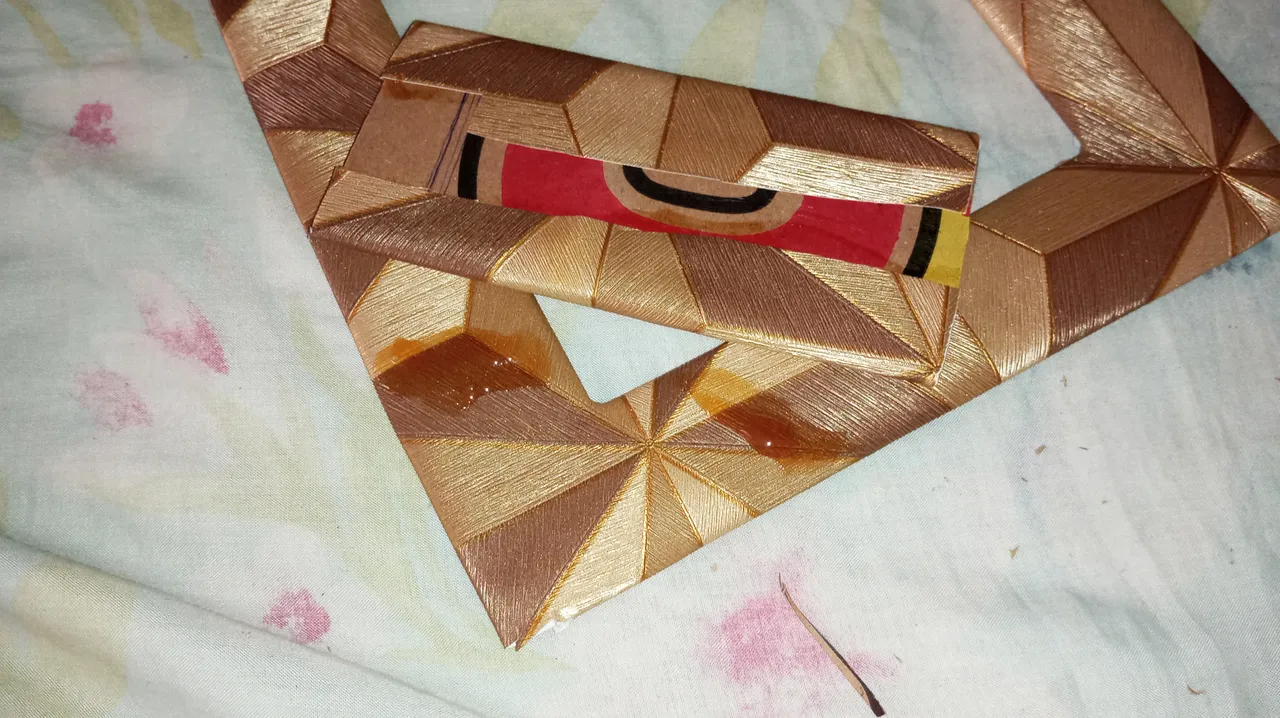
I cut two small cartons and gummed them beneath the rectangle just to give them some support.
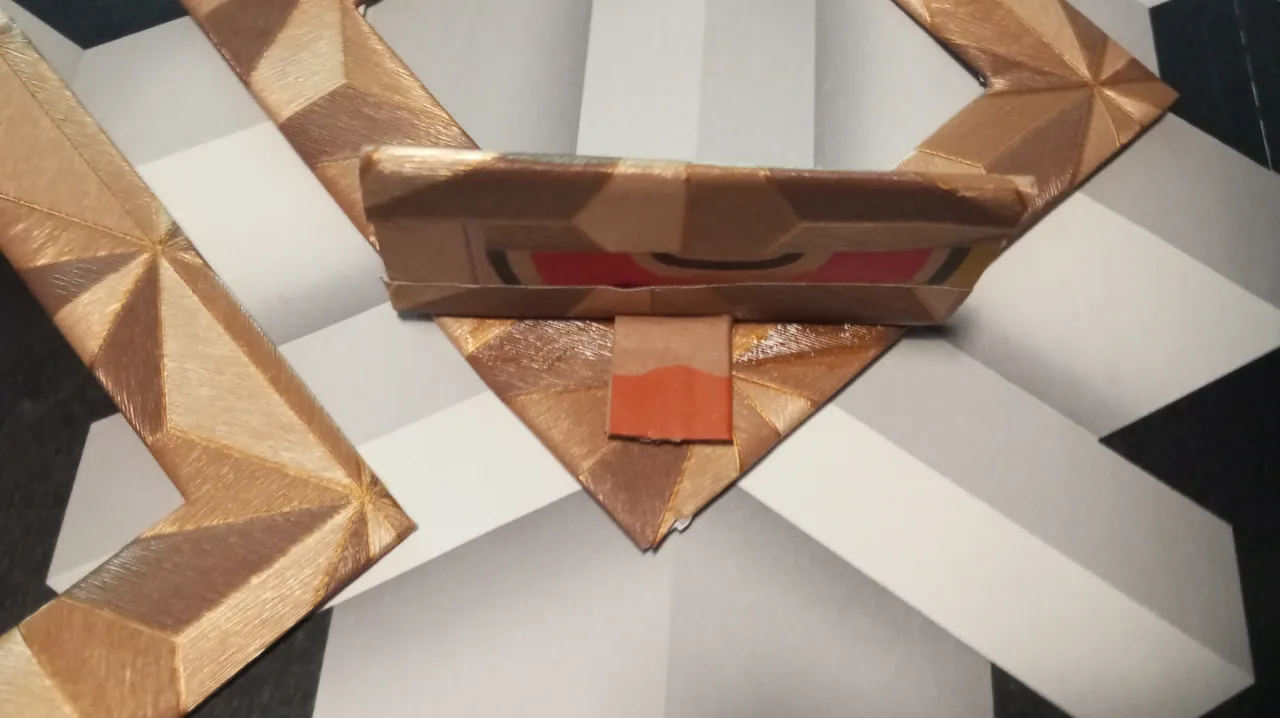
I allowed the rectangles to dry because they can fall off if not dried properly.
After the gym had dried properly, I applied gum behind the wall bracket and placed it on the wall.