Hello DIY community, I'm Yleana from Venezuela and I decided to participate in the bee month in the community 🐝.
As I have a small child I found it an excellent opportunity to see some crafts and explain what bees are, where they live and their importance.
He was very entertained and we shared a lot, at the end he made a presentation to his dad, with what he liked the most:
🐝 The little house of the bees.
🐝 Number of eyes
🐝 The queen
🐝 And the honey
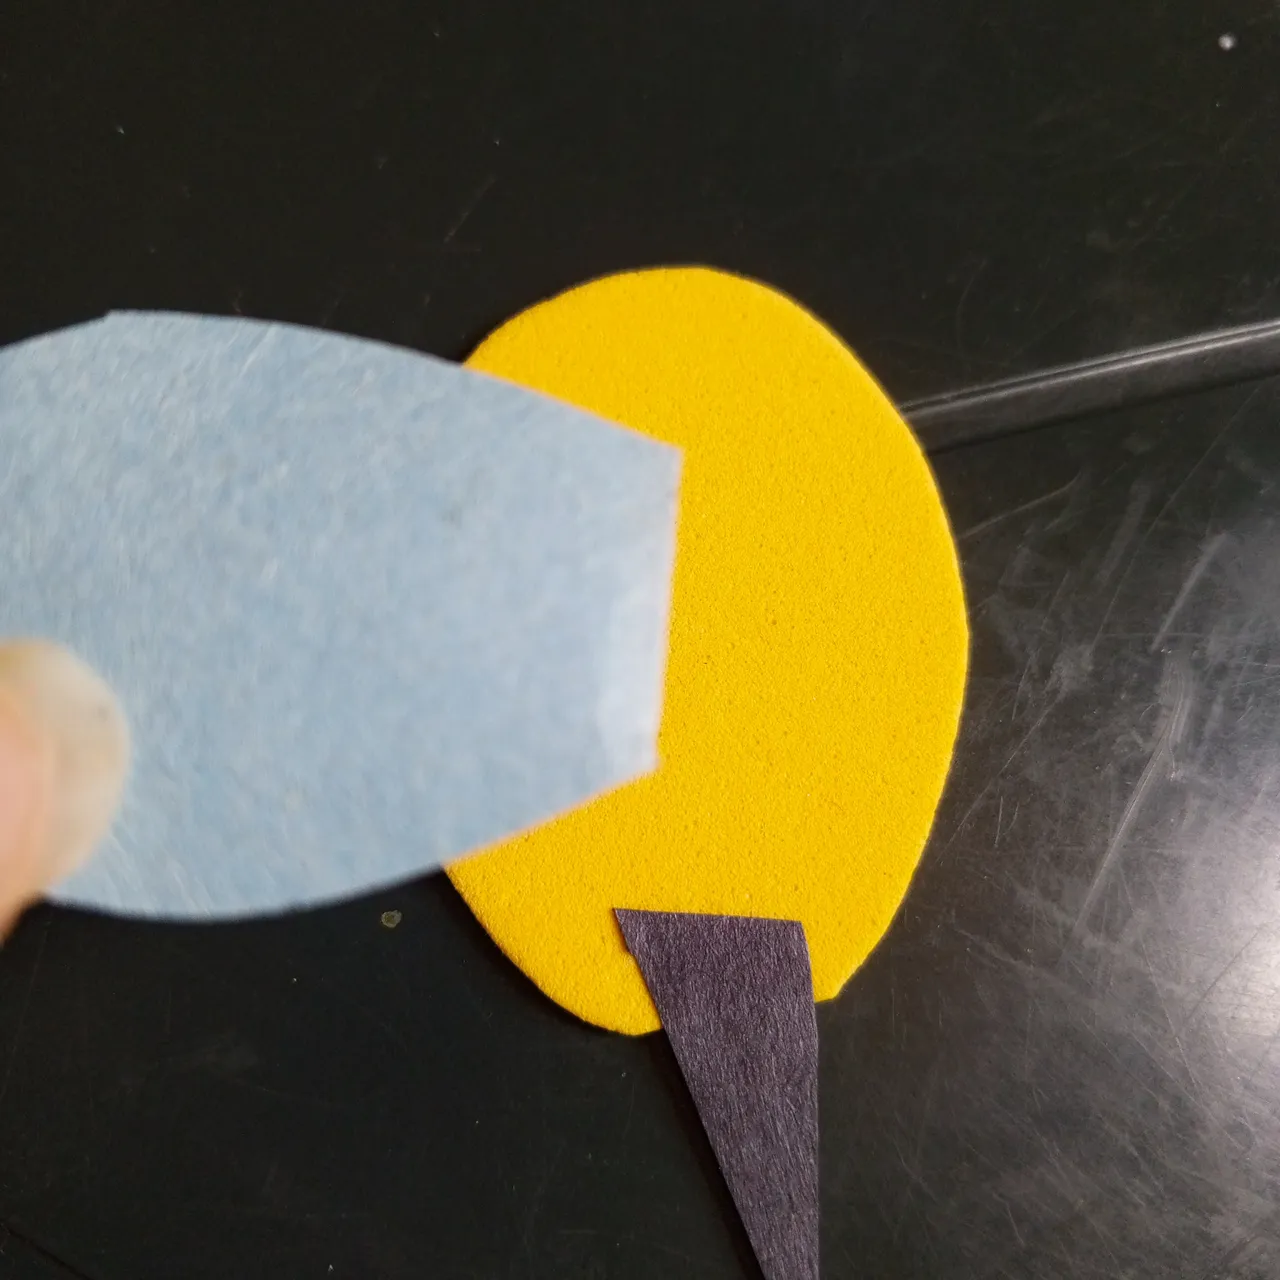
For this activity we took what he liked, which was the little house, and we designed a part of the honeycomb, with two little bees (which we would be mom and Santi).
For this we will make a kind of mobile, transparent. And we will need:
🐝 Yellow Foami.
🐝 Blue, black paper
🐝 acetate sheet
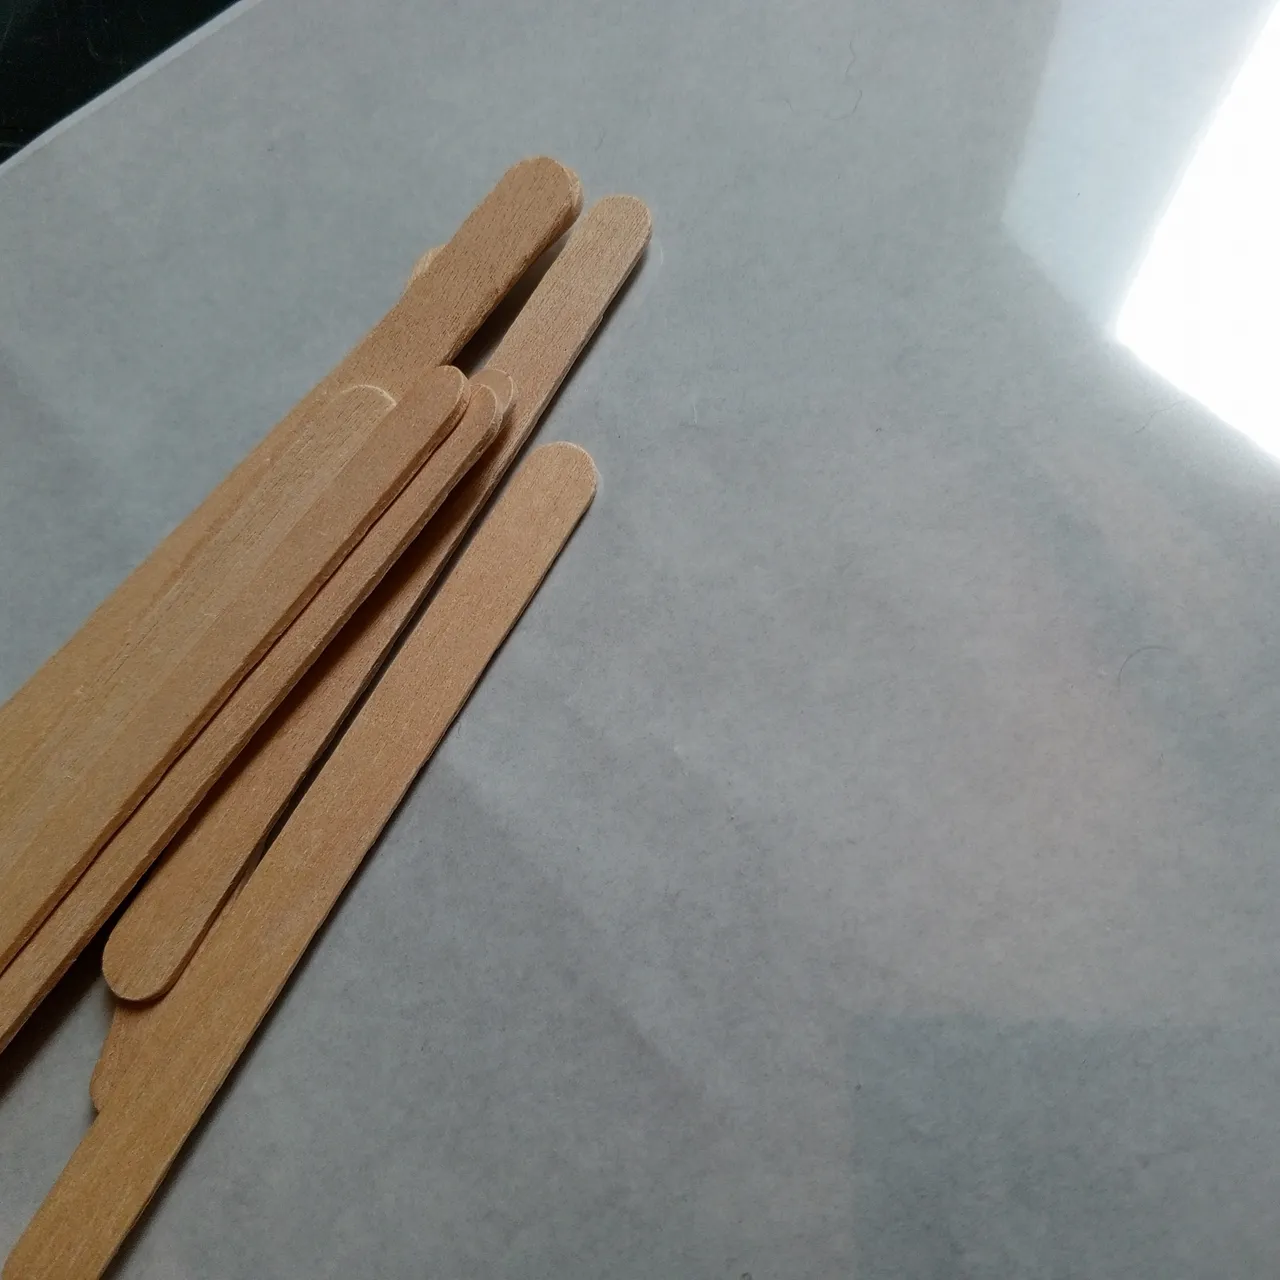
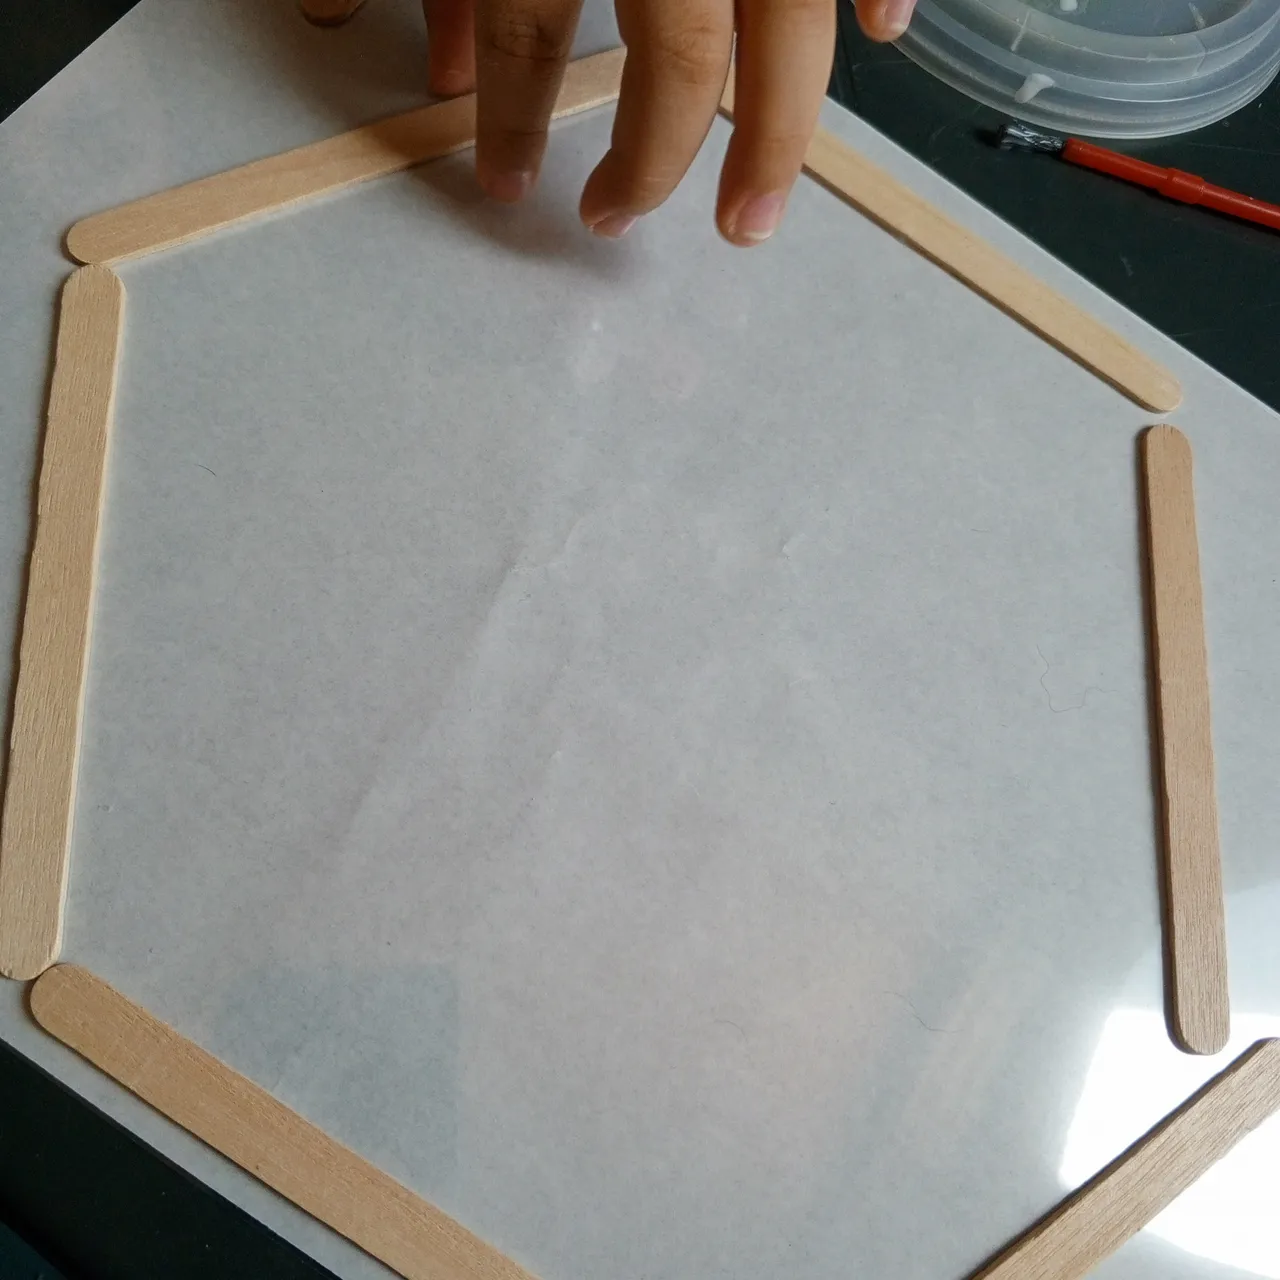
🐝 Wooden pallets
🐝 White rubber
🐝 Black marker
🐝 Scissors
Step by step


Optional:
If you want you can put a ribbon to hang it wherever you want, you can also use a string or just leave it as a decorative painting.

I hope you enjoy it as much as we do ☺️
Hola comunidad DIY, soy Yleana de Venezuela y me animé a participar en el mes de abejita en la comunidad 🐝
Cómo tengo un niño pequeño me parece una excelente oportunidad para ver algunas manualidades y explicar que son las abejas, donde viven y su importancia.
Se entretuvo muchísimo y compartimos un montón, al final le hizo una presentación a su papá, con lo que más le gustó:
🐝 La casita de las abejas
🐝 Cantidad de ojos
🐝 La reina
🐝 Y la miel
Para esta actividad tome lo que le gustó, que fue la casita y diseñamos una parte del panal, con dos abejitas (que seriamos mamá y Santi).
Para ello haremos una especie de móvil, transparente. Y necesitaremos:
🐝 Foami Amarillo
🐝 Papel azul, negro
🐝 Lámina de acetato
🐝 Paletas de madera
🐝 Goma blanca
🐝 Marcador negro
🐝 Tijeras
Paso a paso
Opcional:
Si lo deseas le puedes poner una cinta para poder colgarlo donde quieras, también puedes usar un cordón o simplemente dejarlo como cuadro decorativo.
Espero que lo disfruten tanto como nosotros ☺️
