Hola mis queridos amigos ,feliz tarde para todos ,es una alegría estar compartiendo una vez más con ustedes , estaba ausente por falta de internet , hoy les quiero compartir un tutorial para decorar un bolígrafo ,especial para damas y niñas ,con temática de la naturaleza espacialmente en un adorable pájaro hembra ,a continuación les mostraré los materiales que utilice y pasos que realice
Hello my dear friends ,happy afternoon to all ,it is a joy to be sharing once again with you , I was absent due to lack of internet , today I want to share a tutorial to decorate a pen ,special for ladies and girls ,with nature theme spatially in an adorable female bird ,then I will show you the materials I used and steps that I performed
Materiales para decorar un bolígrafo:
-Foamis
-Tijera
-Bolígrafo
-Piedras plástica
-Palitos de altura
-Silicon
Materials to decorate a pen:
-Foamis
-Scissors
-Pen
-Plastic stones
-Height sticks
-Silicon
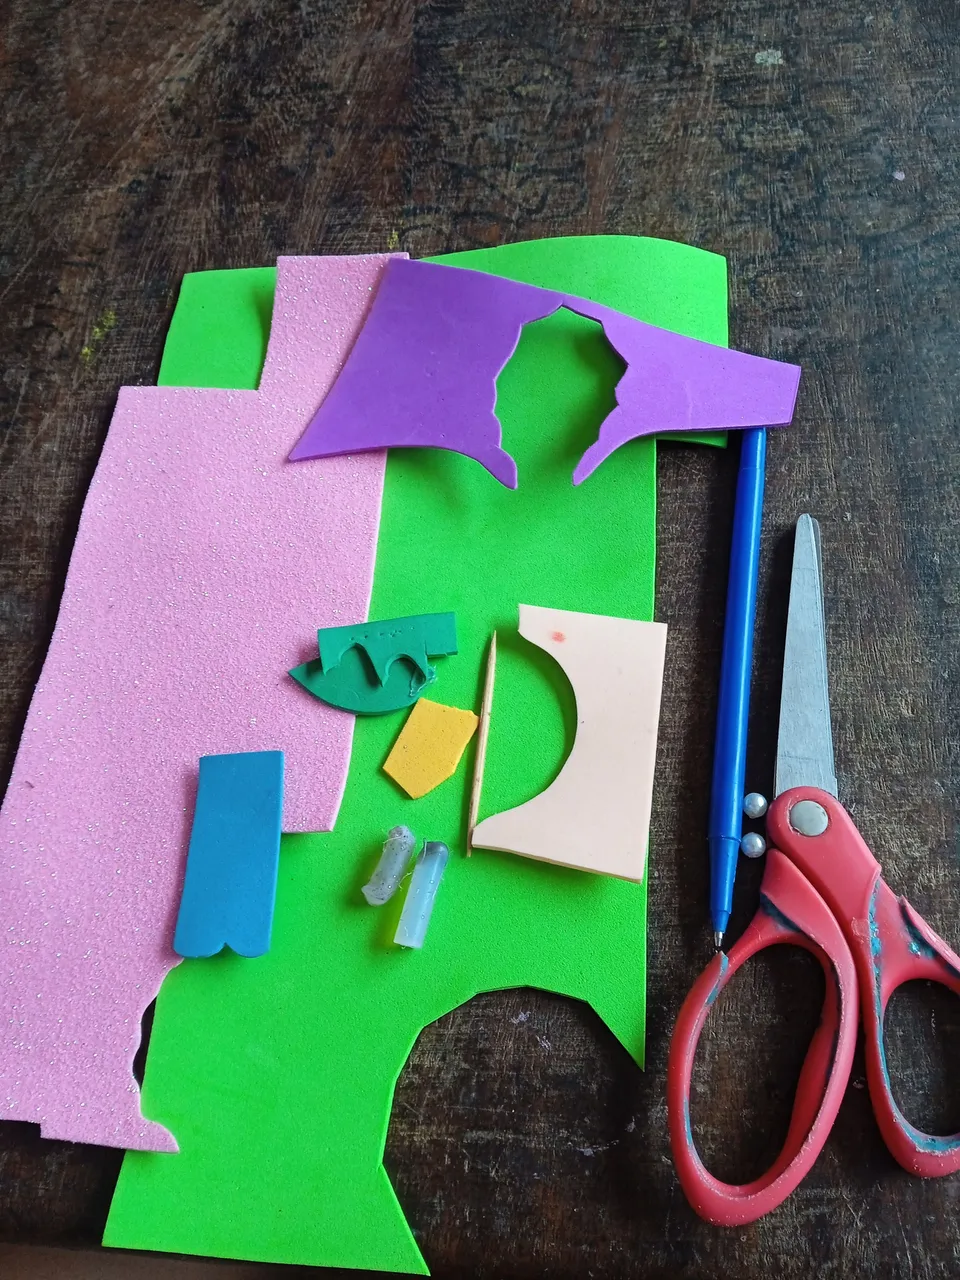
A continuación los pasos a seguir :
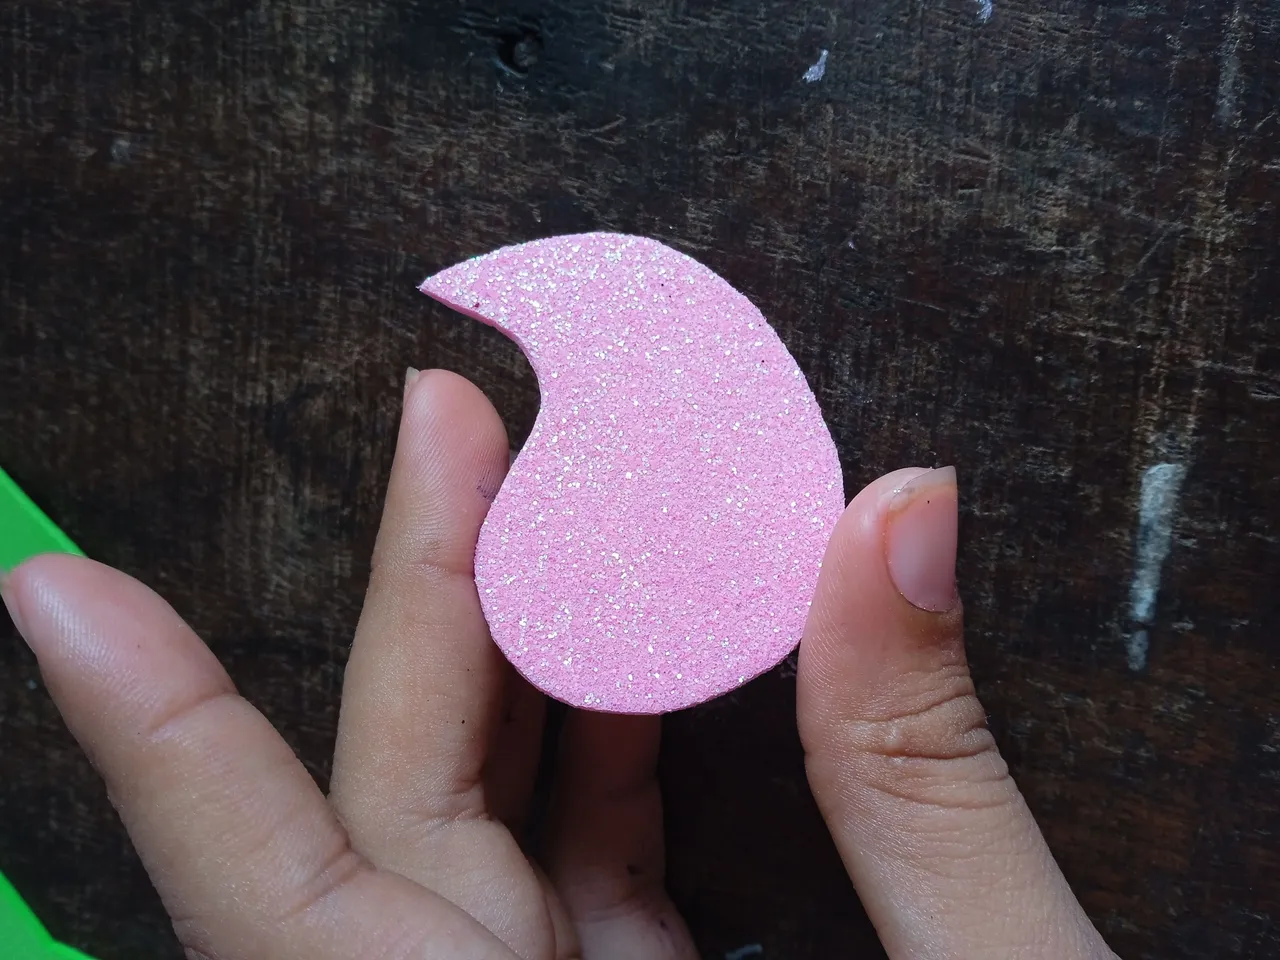
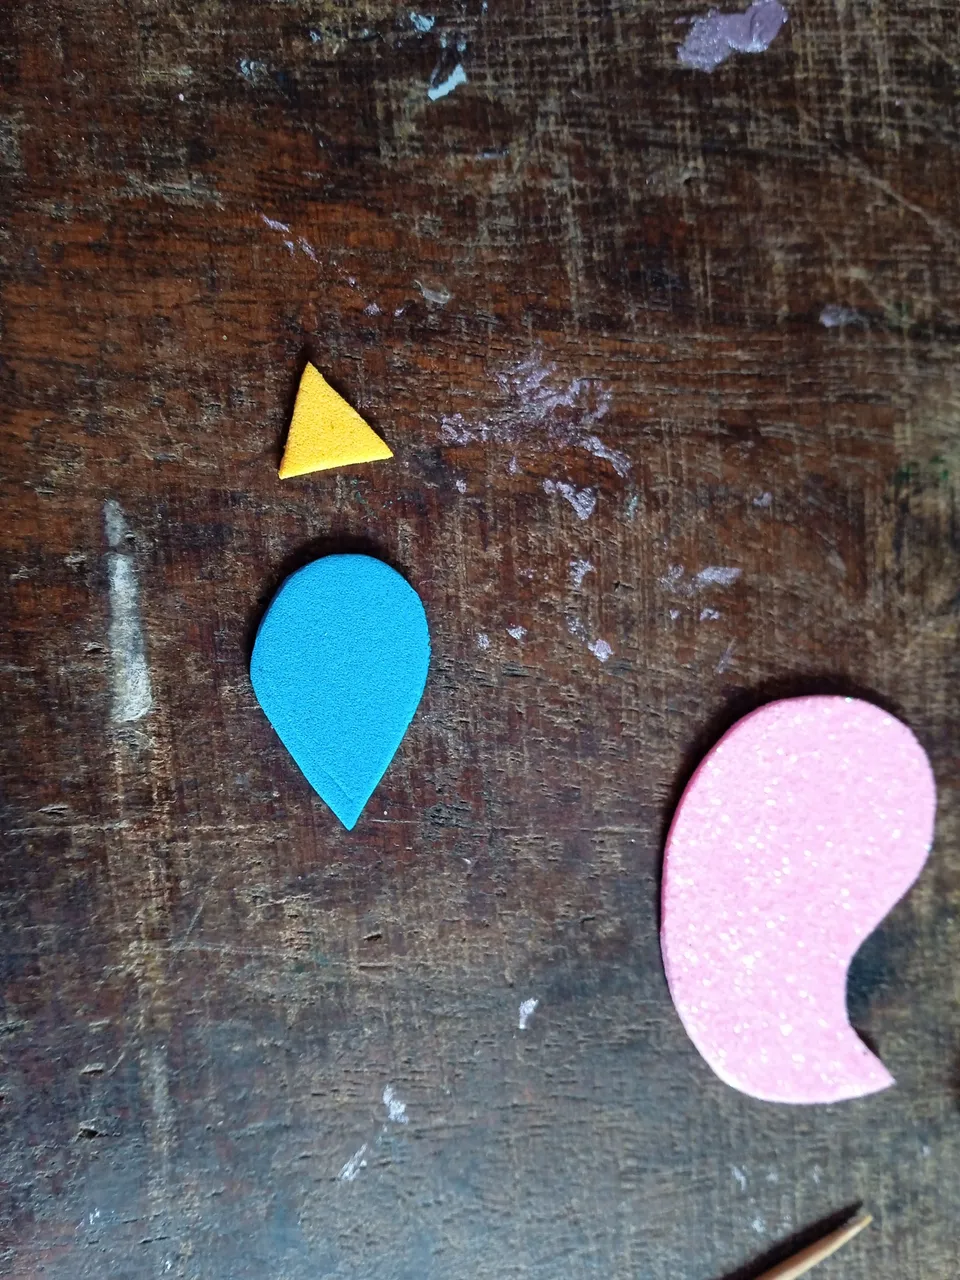
Iniciaremos tomando el foamis nuestra preferencia y recortaremos el cuerpo de nuestro pájaro , en esta ocasión utilicé el foamis rosa escarchado ,la parte de el cuerpo adelante irá redonda y hacia la cola puntiaguda
Here are the steps to follow:
We will begin by taking the foamis our preference and we will cut out the body of our bird, this time I used the pink foamis frosted, the part of the body in front will be round and towards the pointed tail.
Luego continuaremos recortando el pico color amarillo y una pequeña ala color azul ,solo una ala ya que el pájaro estará ubicado de lado y solo se observara una
Then we will continue cutting out the yellow beak and a small blue wing, only one wing since the bird will be placed on its side and only one wing will be visible.
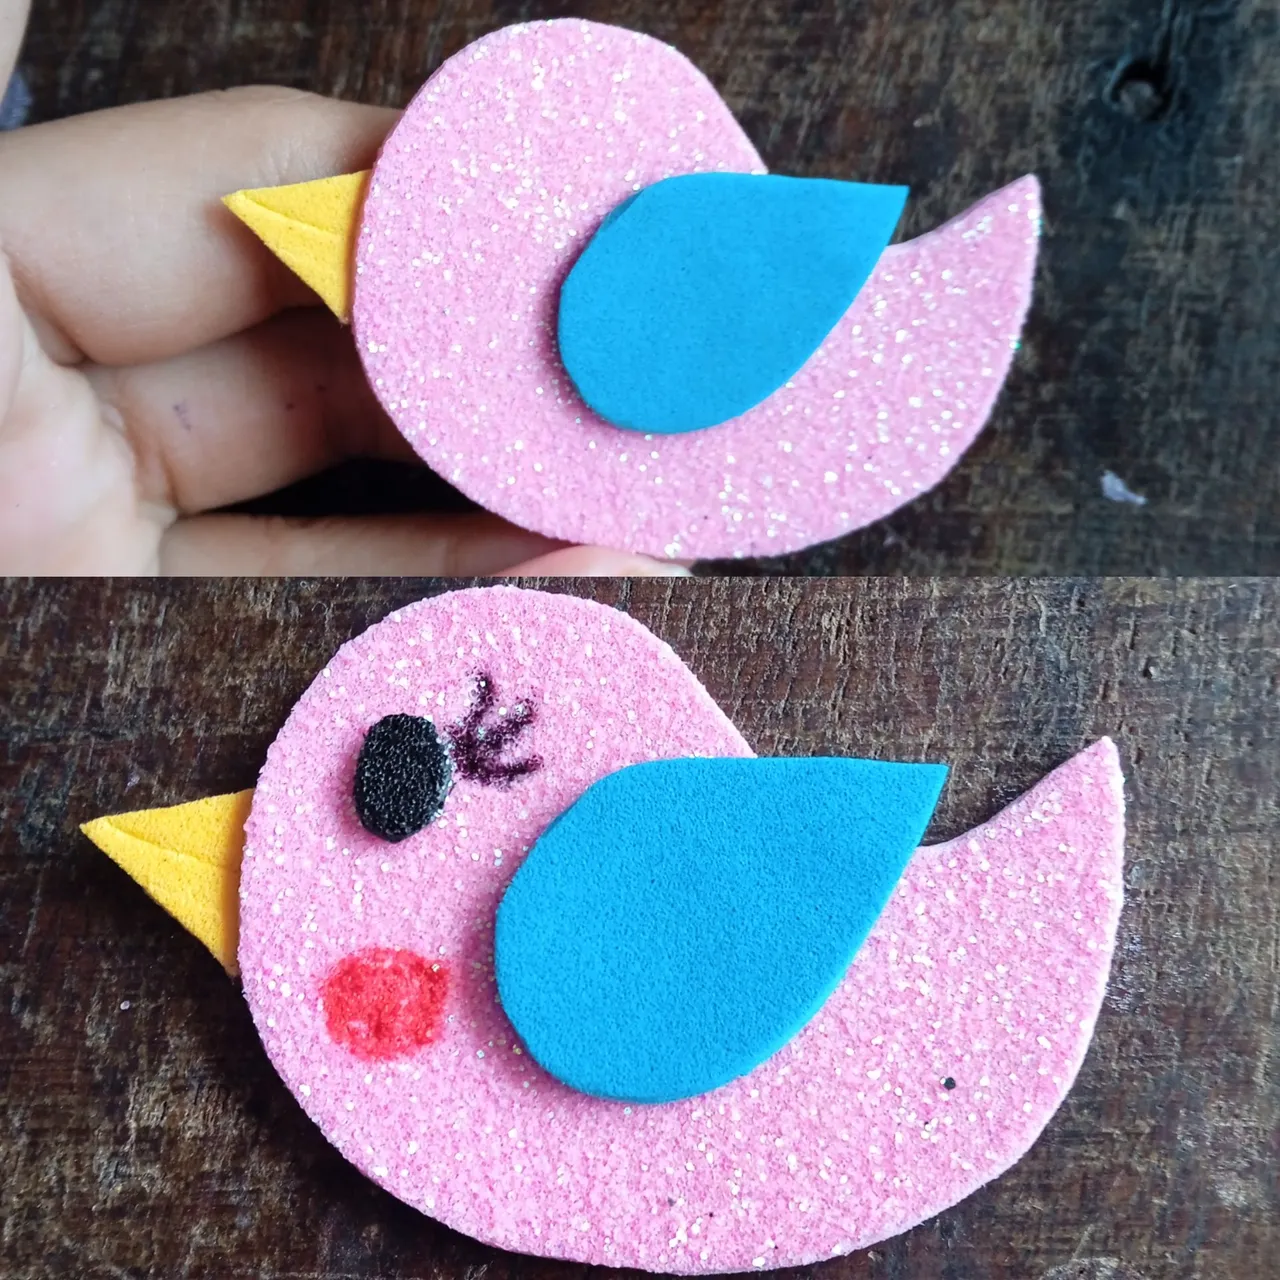
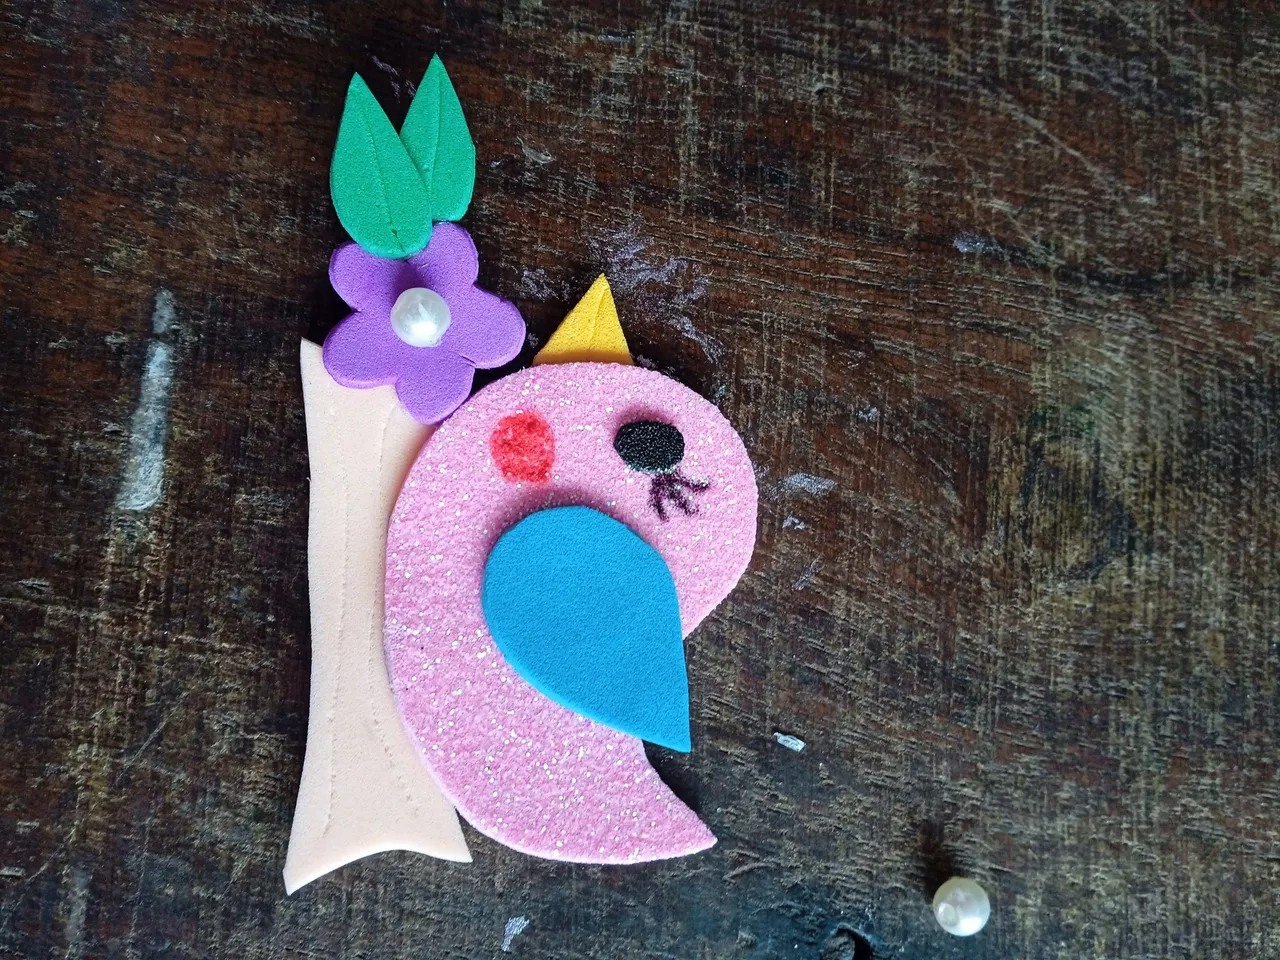
Una vez que tengamos listas las piezas ,vamos a continuar pegando y formando nuestra hermosa pájara ,iniciamos pegando en la parte de arriba su pequeño pico , en el centro de su cuerpo pegaremos su ala hacia un lado , cerca de su pico a una distancia pegaremos su ojo y realizaremos sus pestañas con lápiz negro ,su mejilla la pinte con labial rojo para que quede sonrojados
Once we have the pieces ready, we will continue gluing and forming our beautiful bird, we start by gluing its small beak at the top, in the center of its body we will glue its wing to one side, near its beak at a distance we will glue its eye and we will make its eyelashes with black pencil, its cheek we will paint it with red lipstick so that it will be blushed.
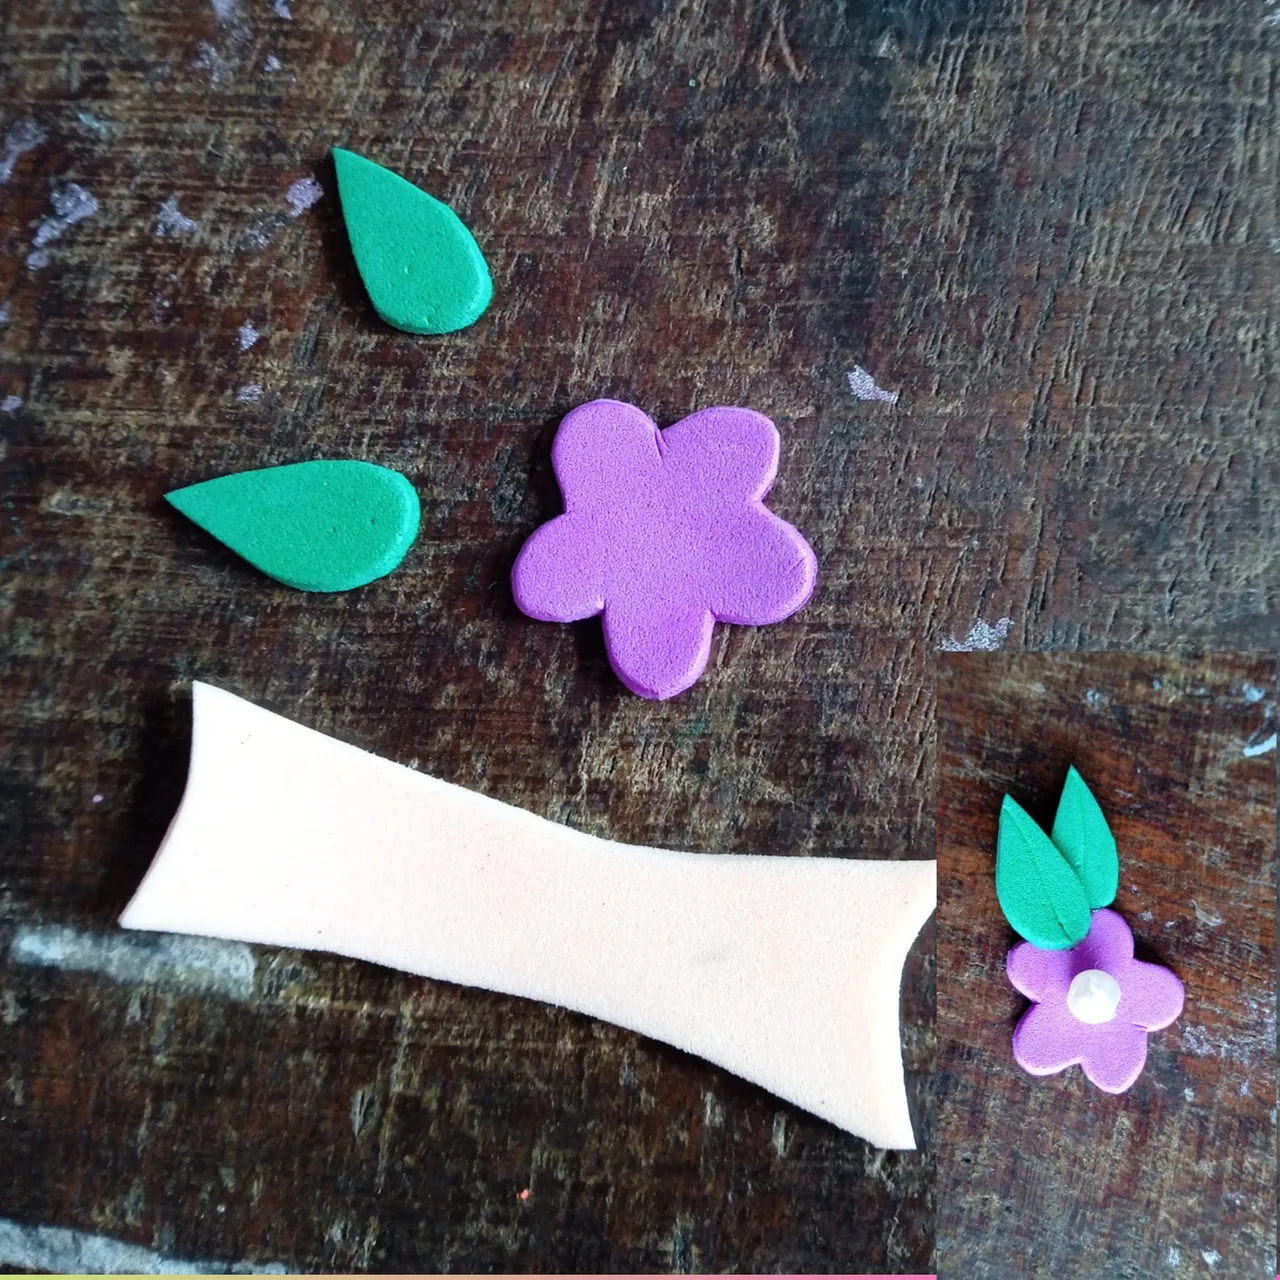
Luego continúe recortando un tallo ,una flor color morado y dos pequeñas hojas para decorar el alrededor de la pájara y sea un entorno más natural y delicado
Then continue cutting out a stem, a purple flower and two small leaves to decorate the bird's surroundings for a more natural and delicate environment.
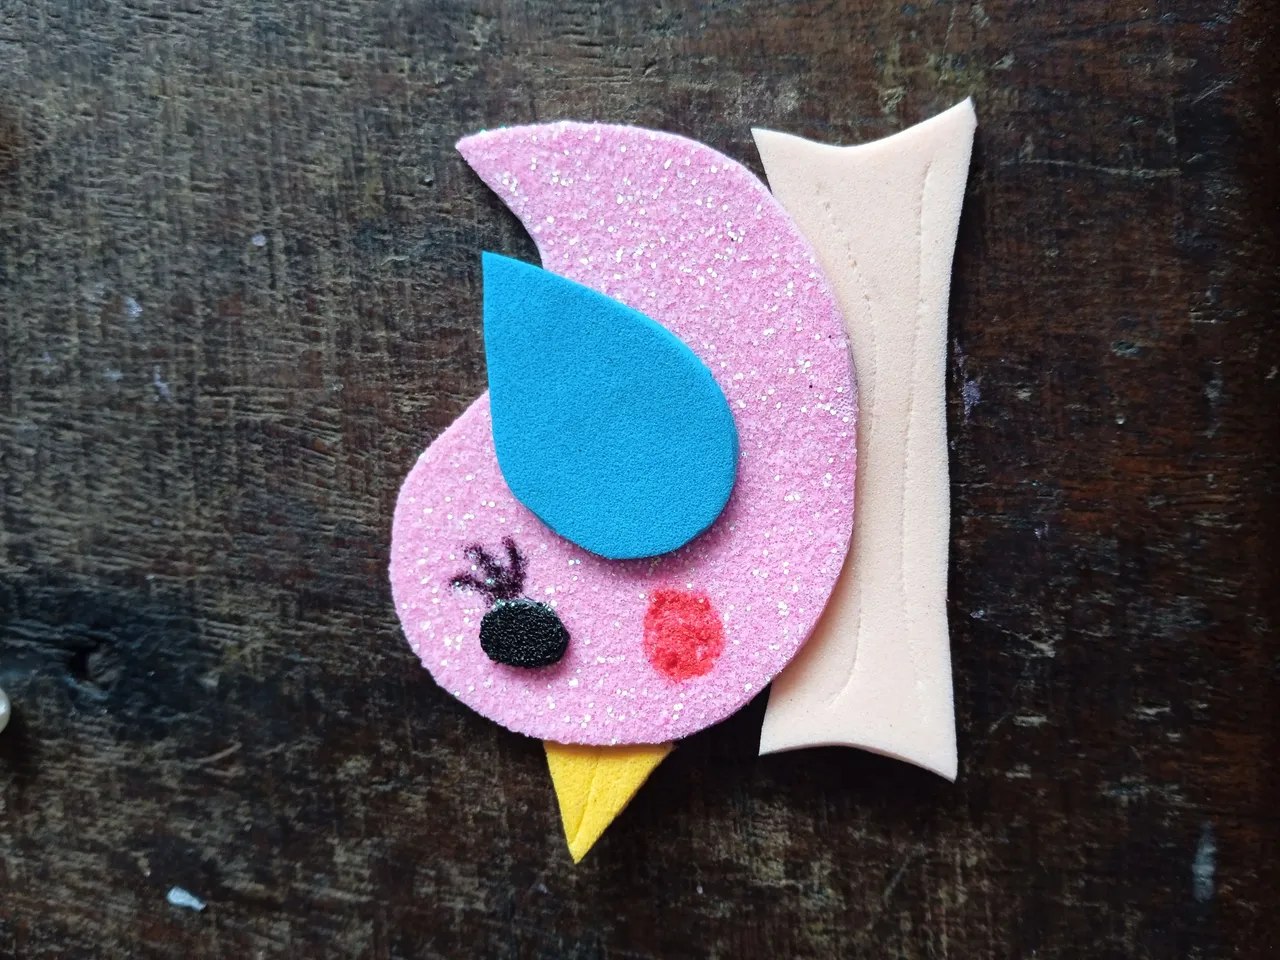
Continué en este siguiente paso pegando en el centro de el tallo o tronco nuestra adorable pájara ,que haga una simulación que ella se encuentra ahí descansando
Continue in this next step by gluing in the center of the stem or trunk our adorable bird, which simulates that she is resting there.
Para finalizar con la decoración ,vamos a tomar la pequeña flor y la pegaremos en una esquina de el tronco ubicado exactamente en frente de la pájara
To finish with the decoration, we will take the small flower and glue it in a corner of the trunk located exactly in front of the bird.
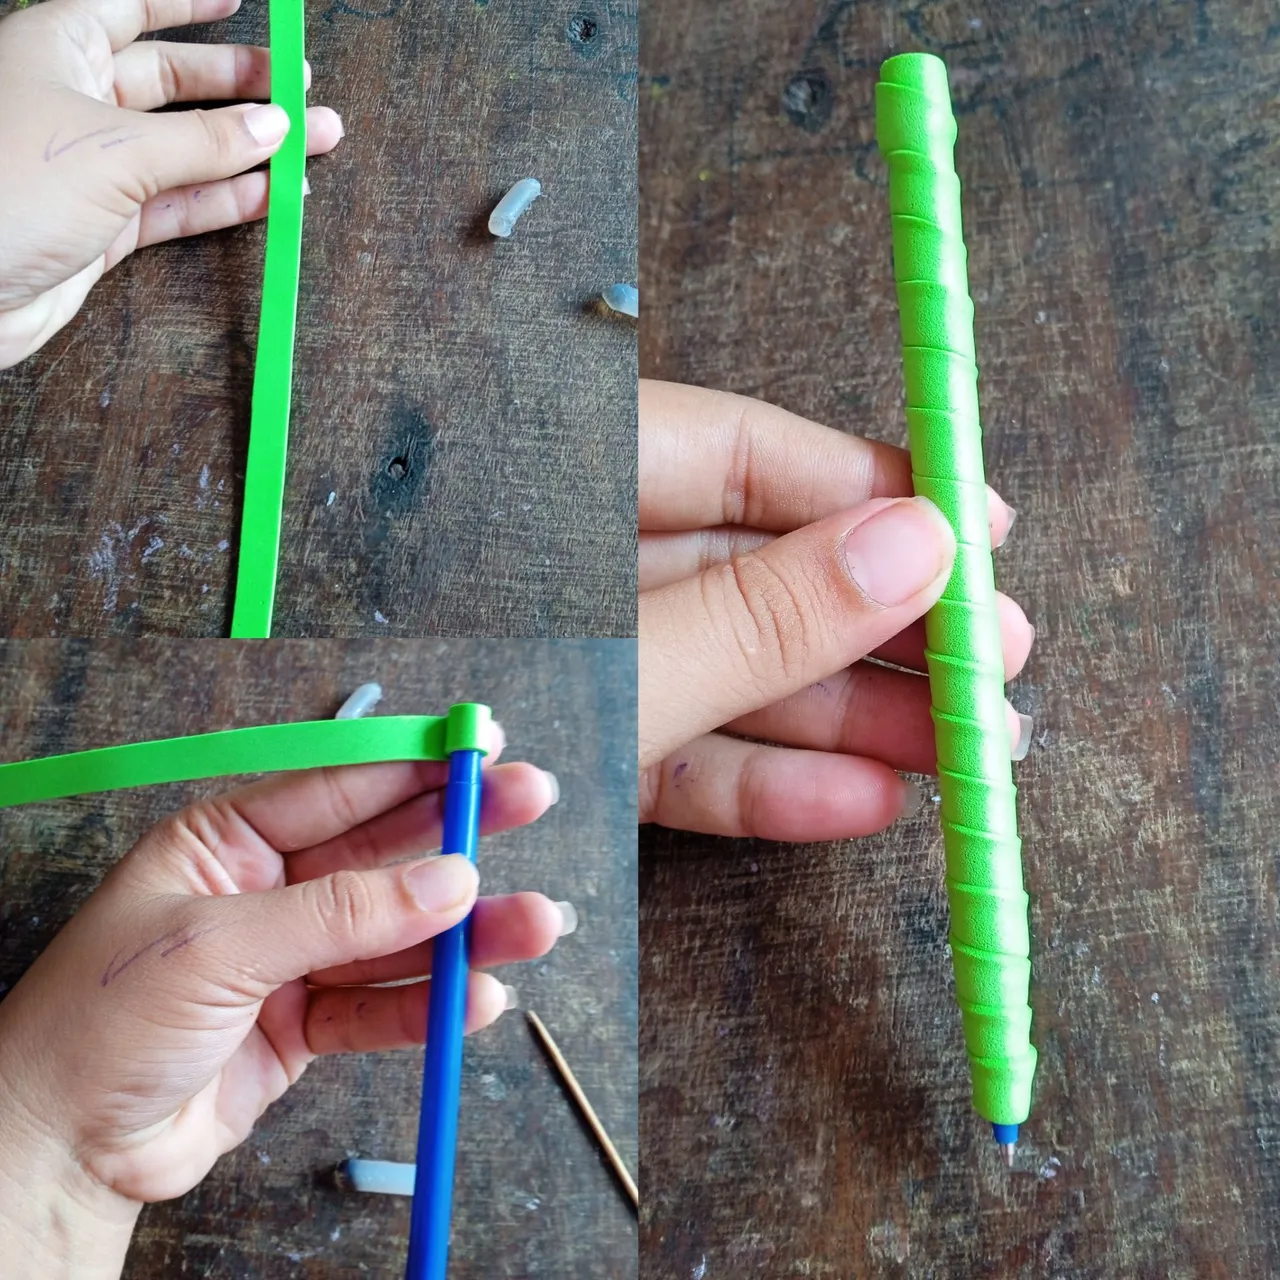
Una vez que tengamos lista nuestra temática ,vamos a realizar el paso de la transformación o decoración de nuestro bolígrafo, para este proceso tomé una tira color verde ,añadí silicón en la parte de arriba y comencé a enrollar hasta cubrirlo por completo ,utilice una tira verde ya que es similar a un tronco y la temática es sobre la naturaleza
Once we have our theme ready, we are going to make the step of transforming or decorating our pen, for this process I took a green strip, added silicone on the top and began to roll it up to cover it completely, I used a green strip because it is similar to a trunk and the theme is about nature.
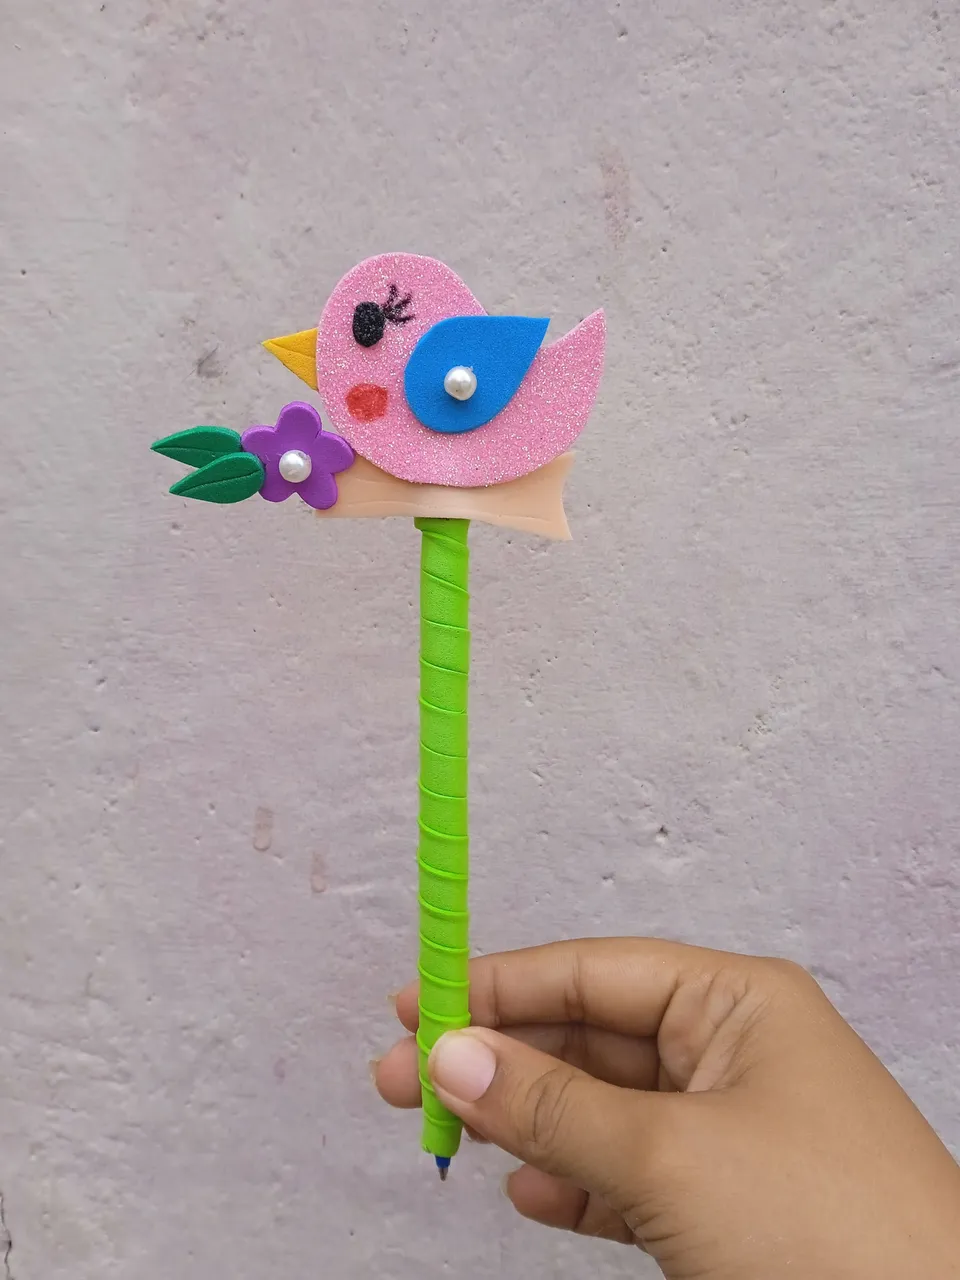
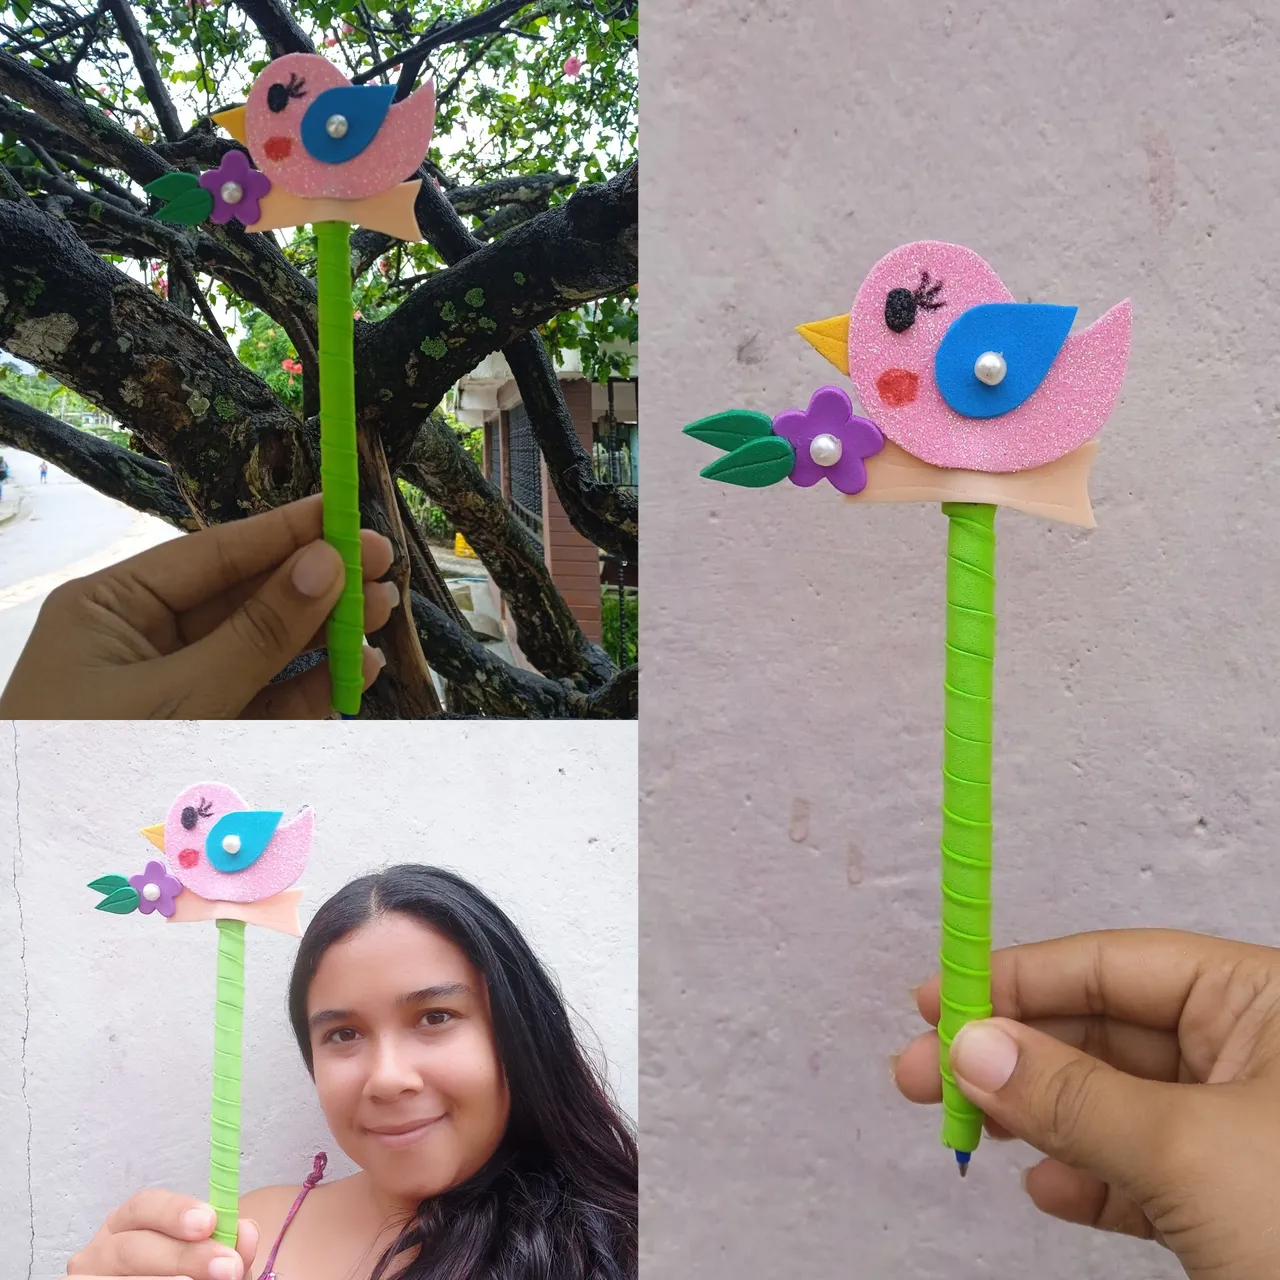
Una vez que tengamos el bolígrafo decorado ,y la temática lista ,vamos a proceder a realizar el paso final , pegaremos en la parte de arriba nuestra hermosa pájara , finalizando de esta forma nuestra creación
Once we have the pen decorated, and the theme ready, we will proceed to the final step, we will glue our beautiful bird on the top, finishing this way our creation.
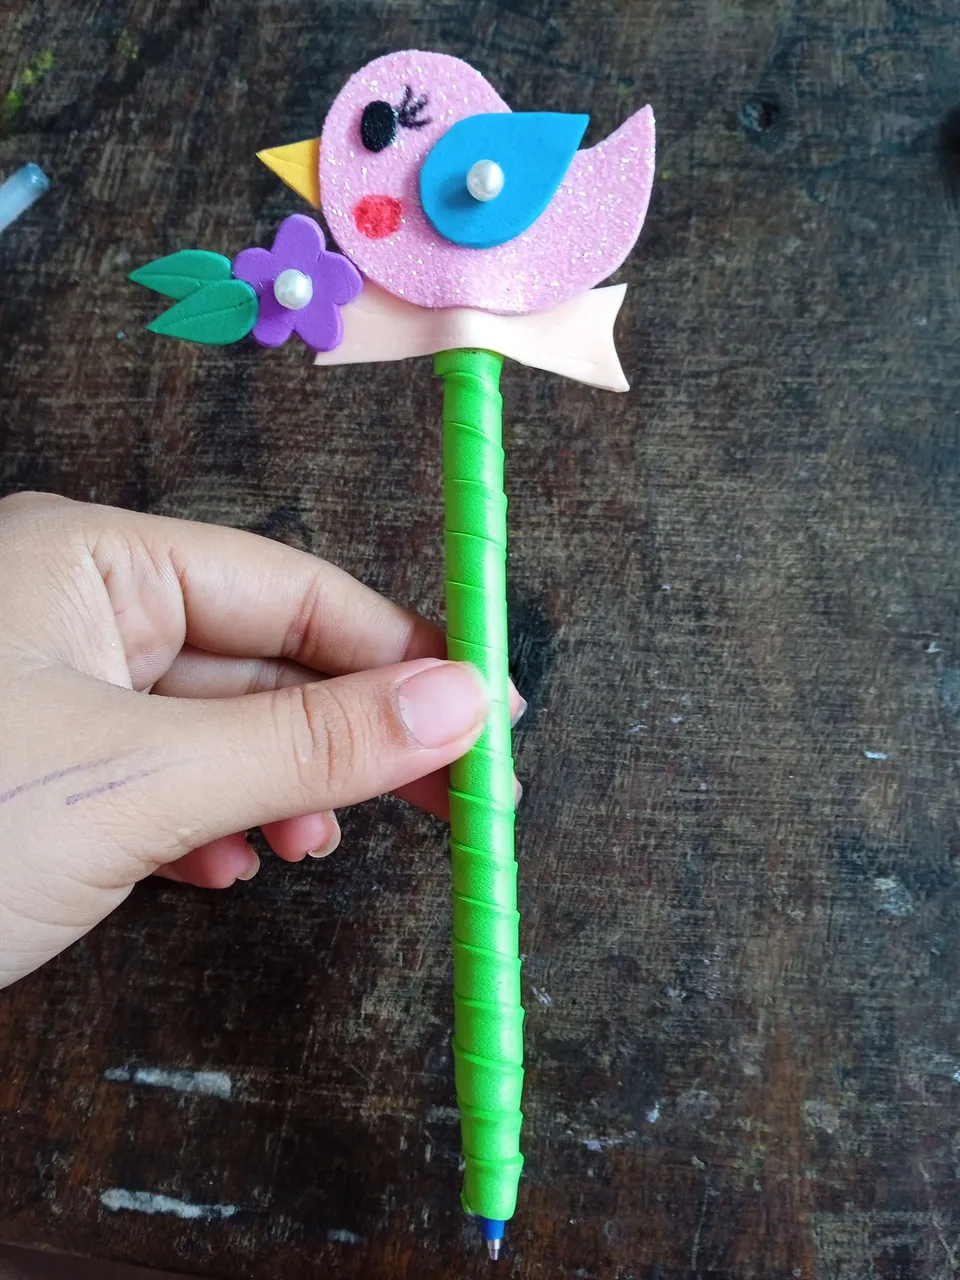
Este es el resultado final de mi hermosa restauracion en el día de hoy ,un lindo bolígrafo inspirado en la naturaleza y sus bellas creaciones, las fotos las tomé con mi telefono Redmi 9C y los textos los traduje con el traductor DeepL ,feliz tarde
This is the final result of my beautiful restoration today, a nice pen inspired by nature and its beautiful creations, the photos were taken with my Redmi 9C phone and the texts were translated with the translator DeepL, happy afternoon.