

Hello friends!
I want to say that I really liked the theme of the month of February - the MOON!
In one ancient book, the Moon is called the "faithful witness", as it is a faithful and reliable satellite of our planet Earth.
I have always enjoyed watching the moon. The night of the full moon on the sea looks especially beautiful, when you can observe the lunar path in the sea waves. Also for me forever one of my favorite childhood memories is the memory of how my grandfather rode me on a sled on a moonlit winter night. Then a lot of snow fell and the moon shone brightly. The snow sparkled and shimmered in the moonlight like real jewels!!! It was unforgettably beautiful!
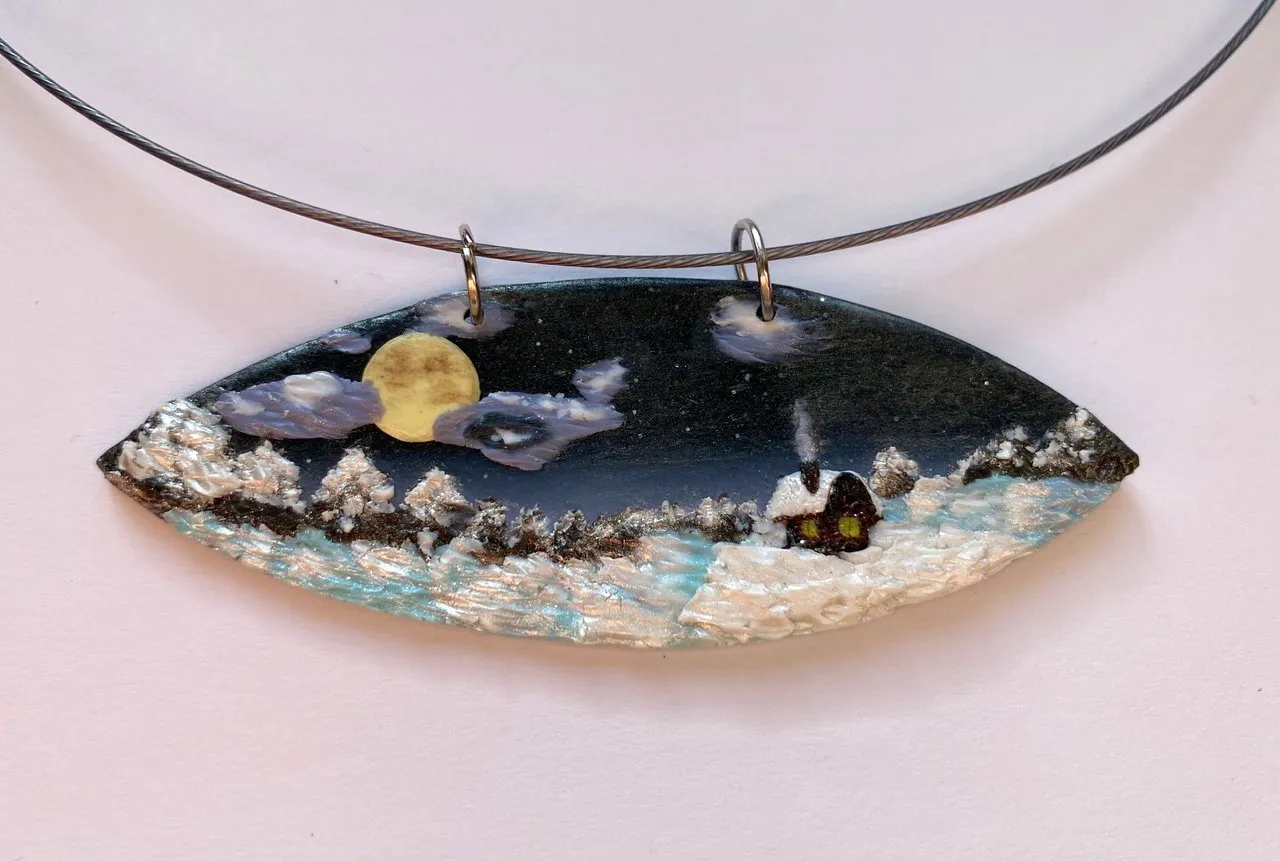
Therefore, I decided to make such a pendant with a winter landscape to participate in the competition.
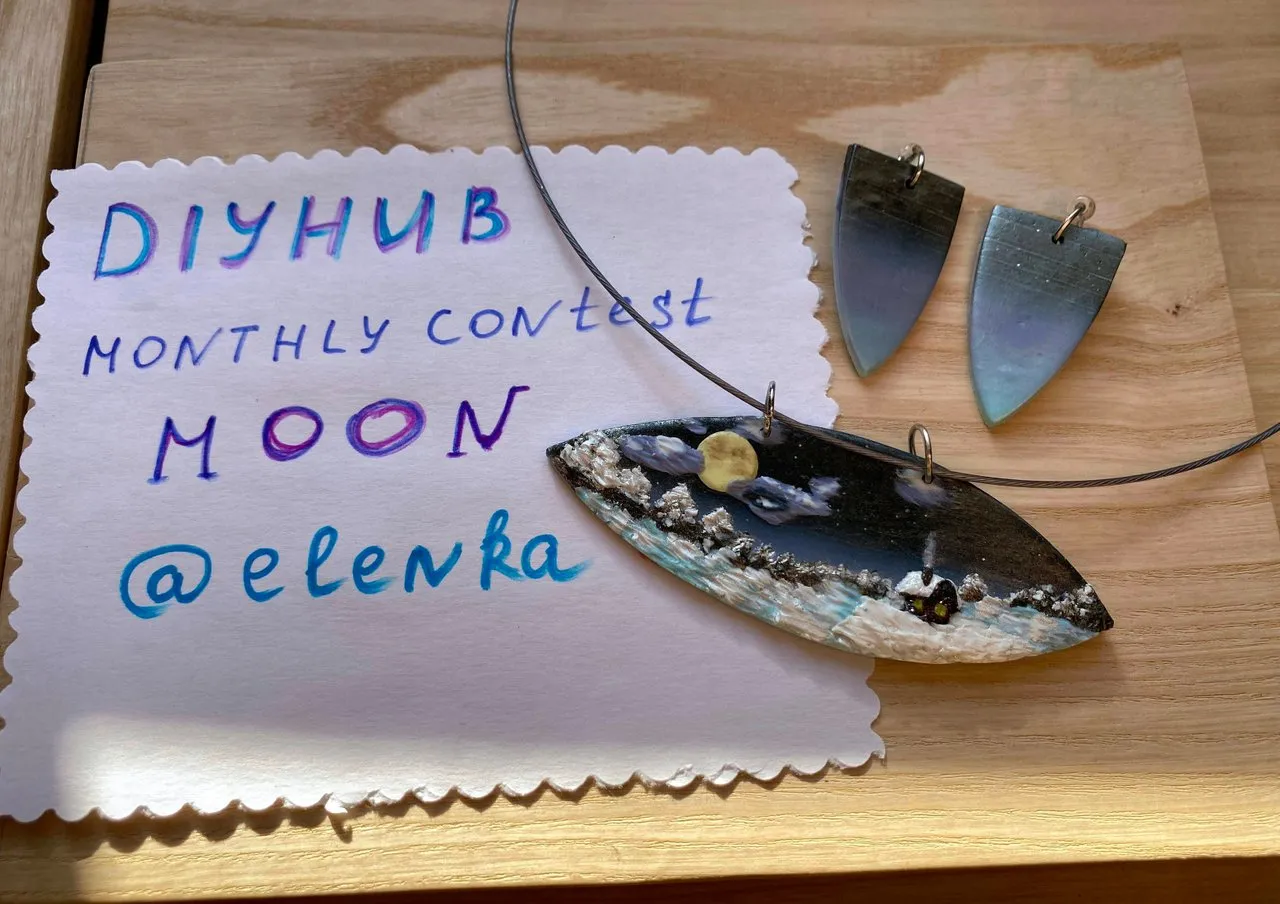
DIYHUB MONTHLY CONTEST - MOON (In Collaboration With 3Speak
Required Tools and Materials
I want to draw your attention to the fact that this work does not require a lot of materials. The main mass for modeling is polymer clay. In order to start sculpting, you do not need to immediately acquire a whole palette of colors - if you have white, then all the necessary shades can be mixed using it. Polymer clay mixes very well with dry art pastels and acrylic paints.
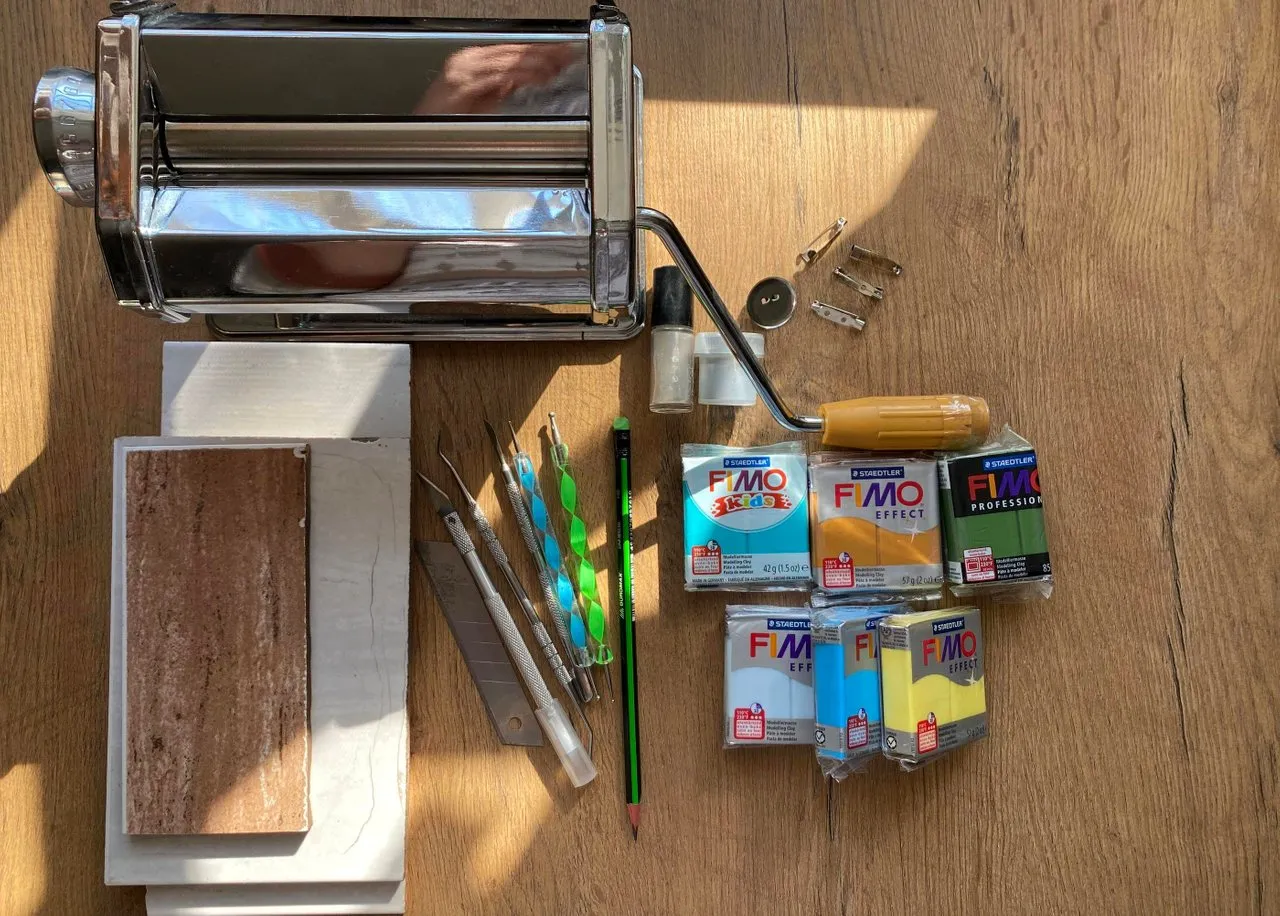


To work you will need:
- polymer clay
- paste machine for rolling plastic (it can be replaced with a rolling pin or deodorant spray)
- work surface (I sculpt on a tile, but you can sculpt glass from under a photo frame or on a sheet of plain paper)
- stacks and dots with a ball on the end (toothpicks or nail spatulas can be used instead)
- stationary knife or blade
- cutter shapes (if there is no form, you can cut out a template from paper and cut out any shape along the contour)
- Silver Eyeshadow or Silver Glitter
- brushes
- dry art pastel
- tools and fittings for assembly
- oven
Difficulty level: this work requires confident and well-developed skills in modeling.
Working time: 3.5-4 hours.
Step 1
Background preparation
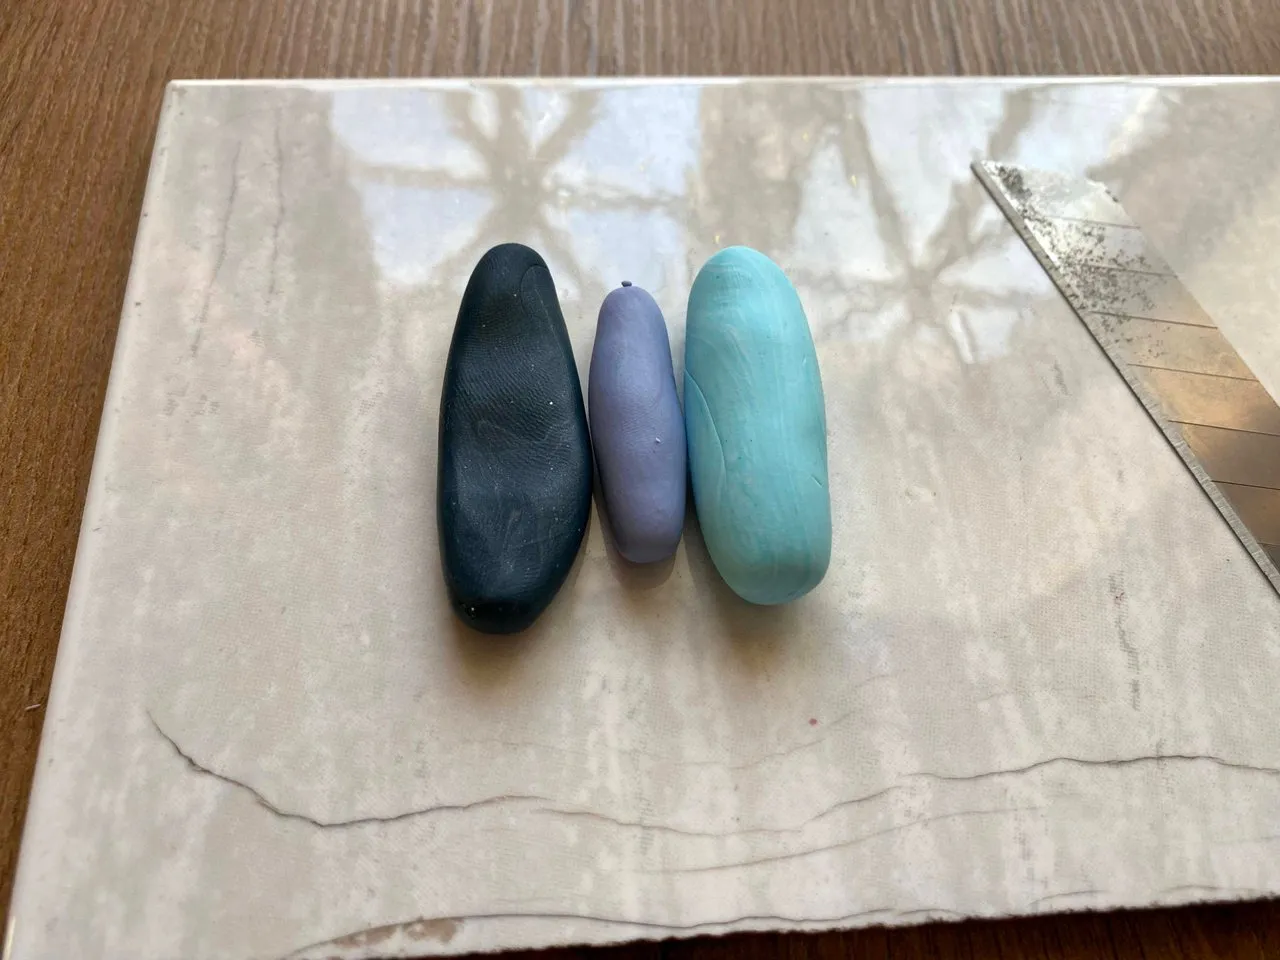
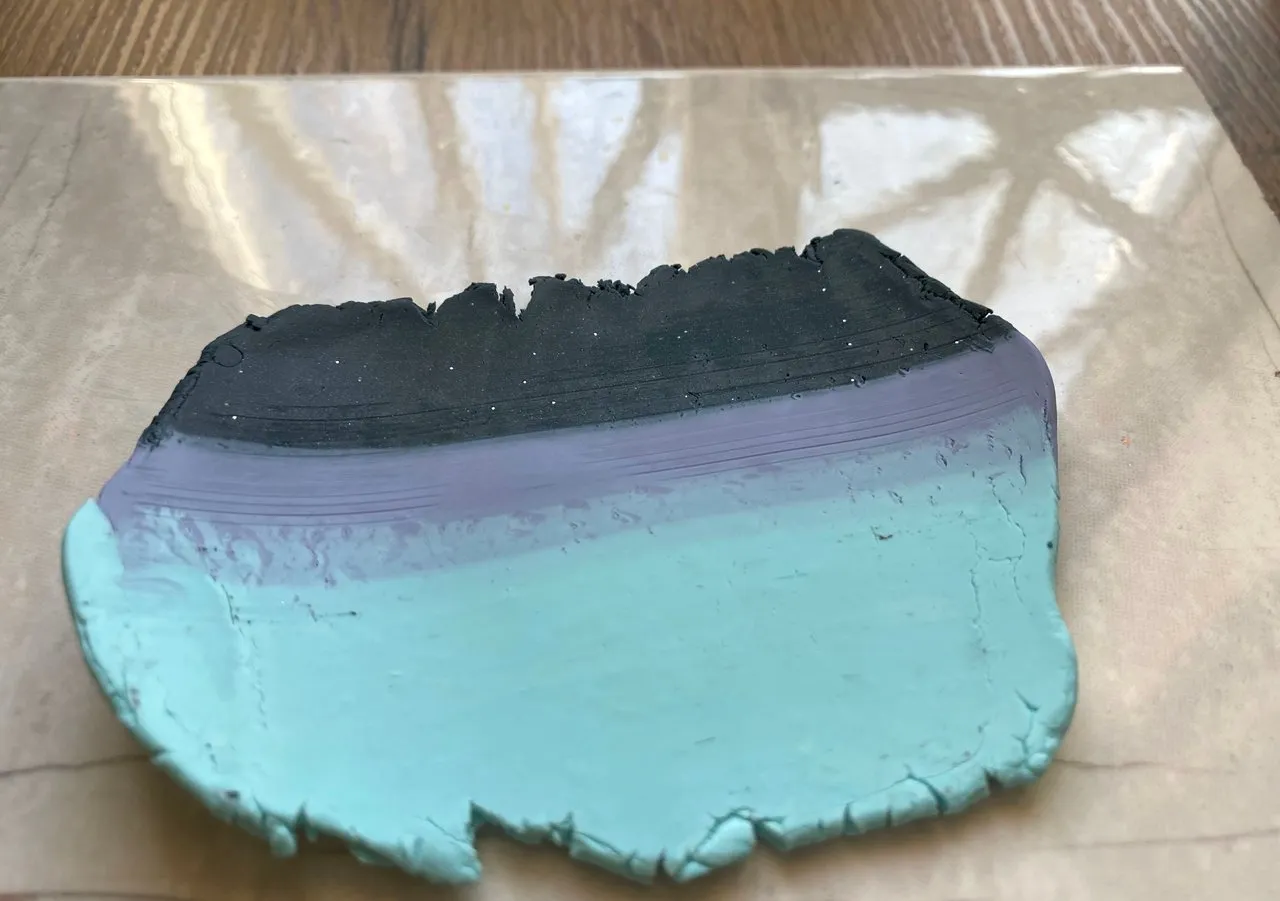
I knead in my hands the three primary colors that will make up the background of the work. I press them tightly against each other and roll them out on a pasta machine. In the pasta machine, I set the mode to the largest thickness.
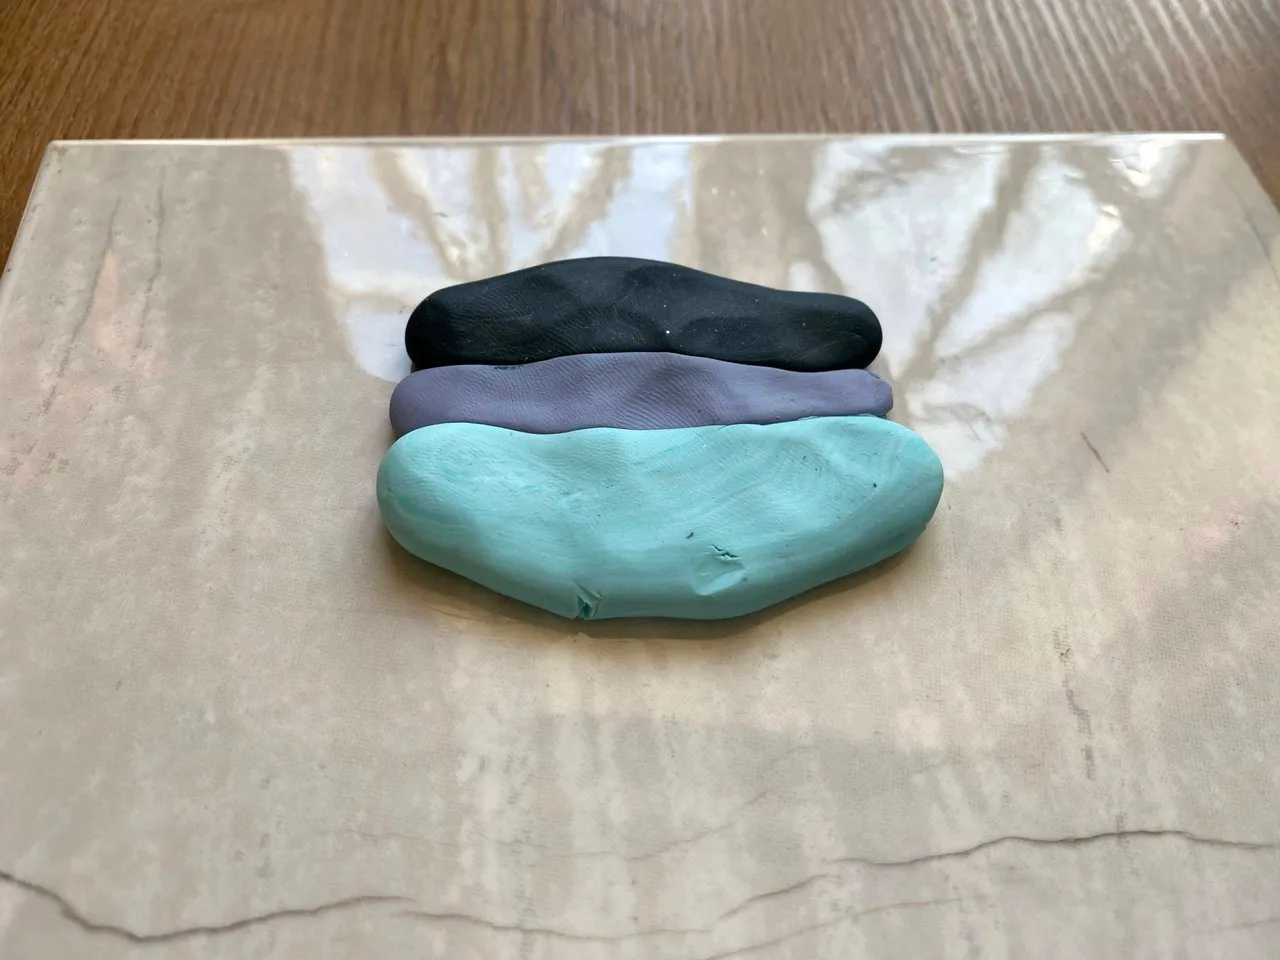
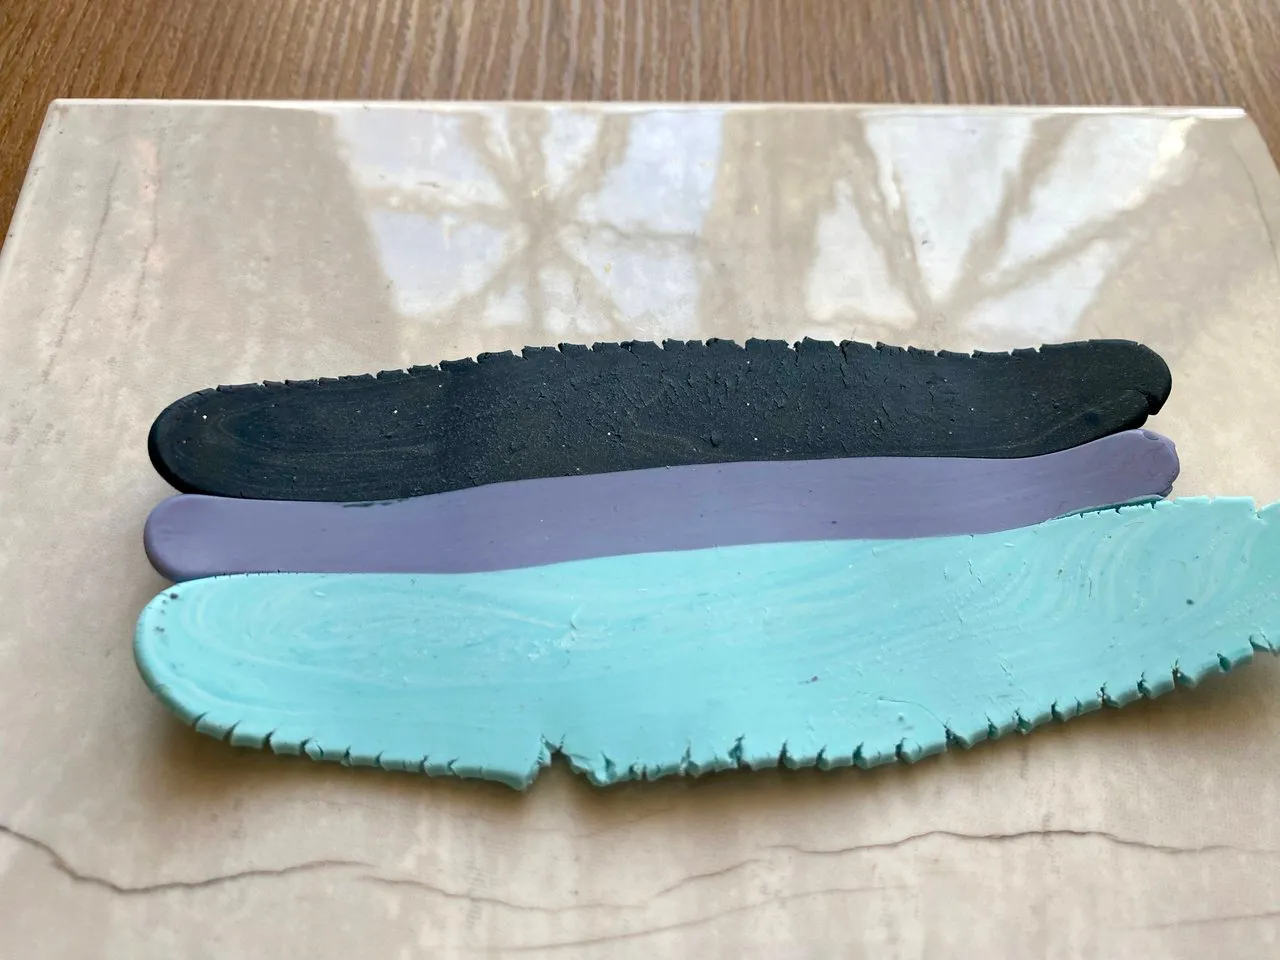
I need to get a nice smooth color transition. This can be achieved by folding the layer in half and rolling it over and over again on a pasta machine. There is one important condition here - you must always fold the layer in the same order! For example: from top to bottom with the front side facing you. If this condition is not observed, then the color transition may not work.
In this photo, I show how to fold the layer before rolling in a pasta machine:
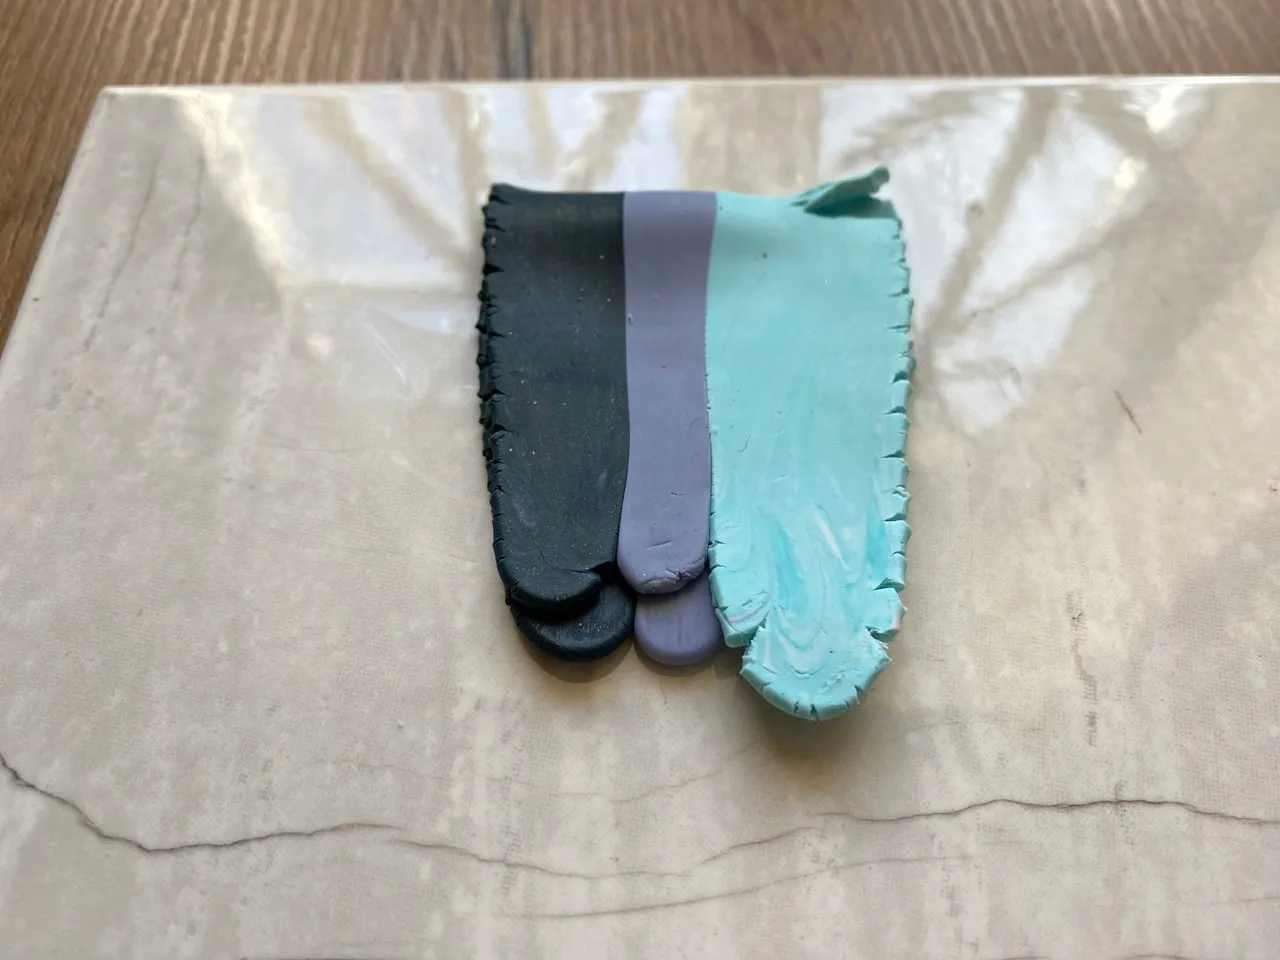
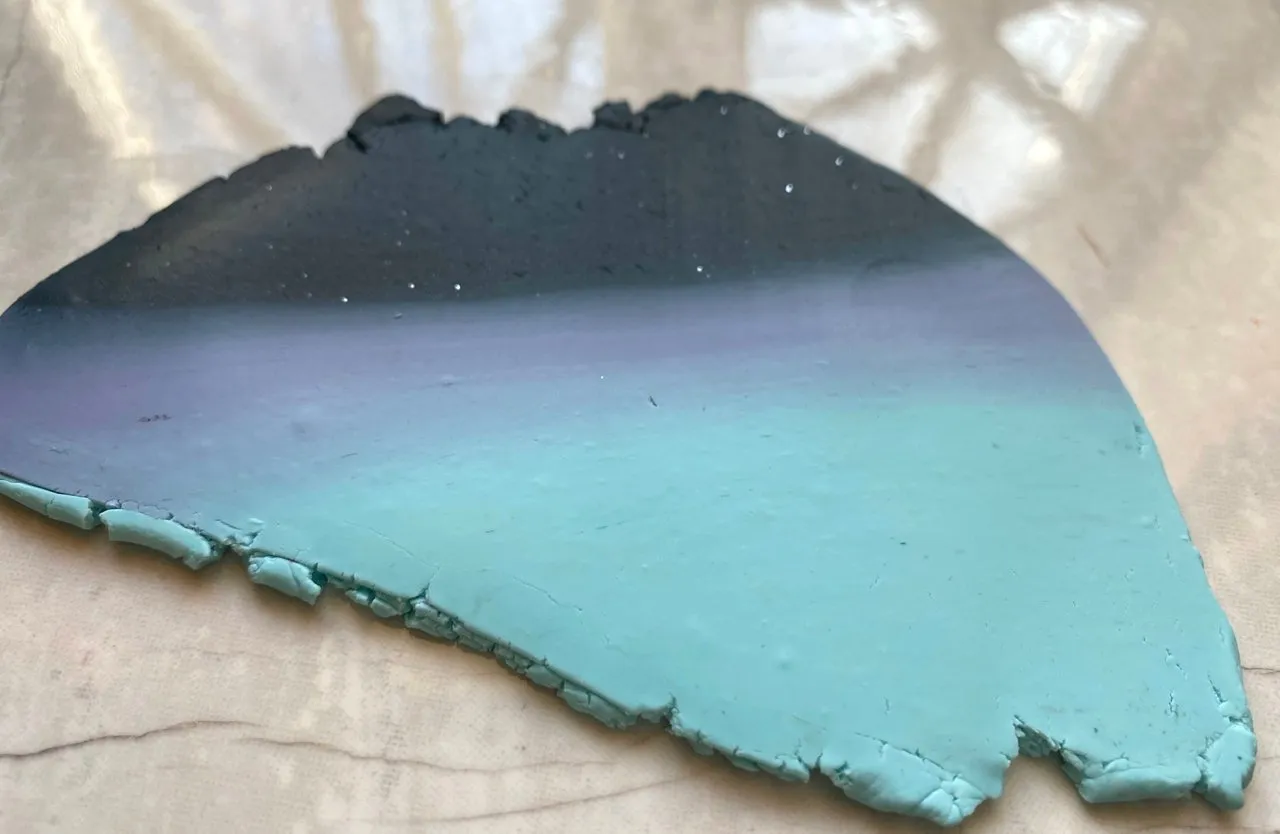
I fold and roll out more than 10 times to get the transition and color mixing I need.
Step 2
Pendant base
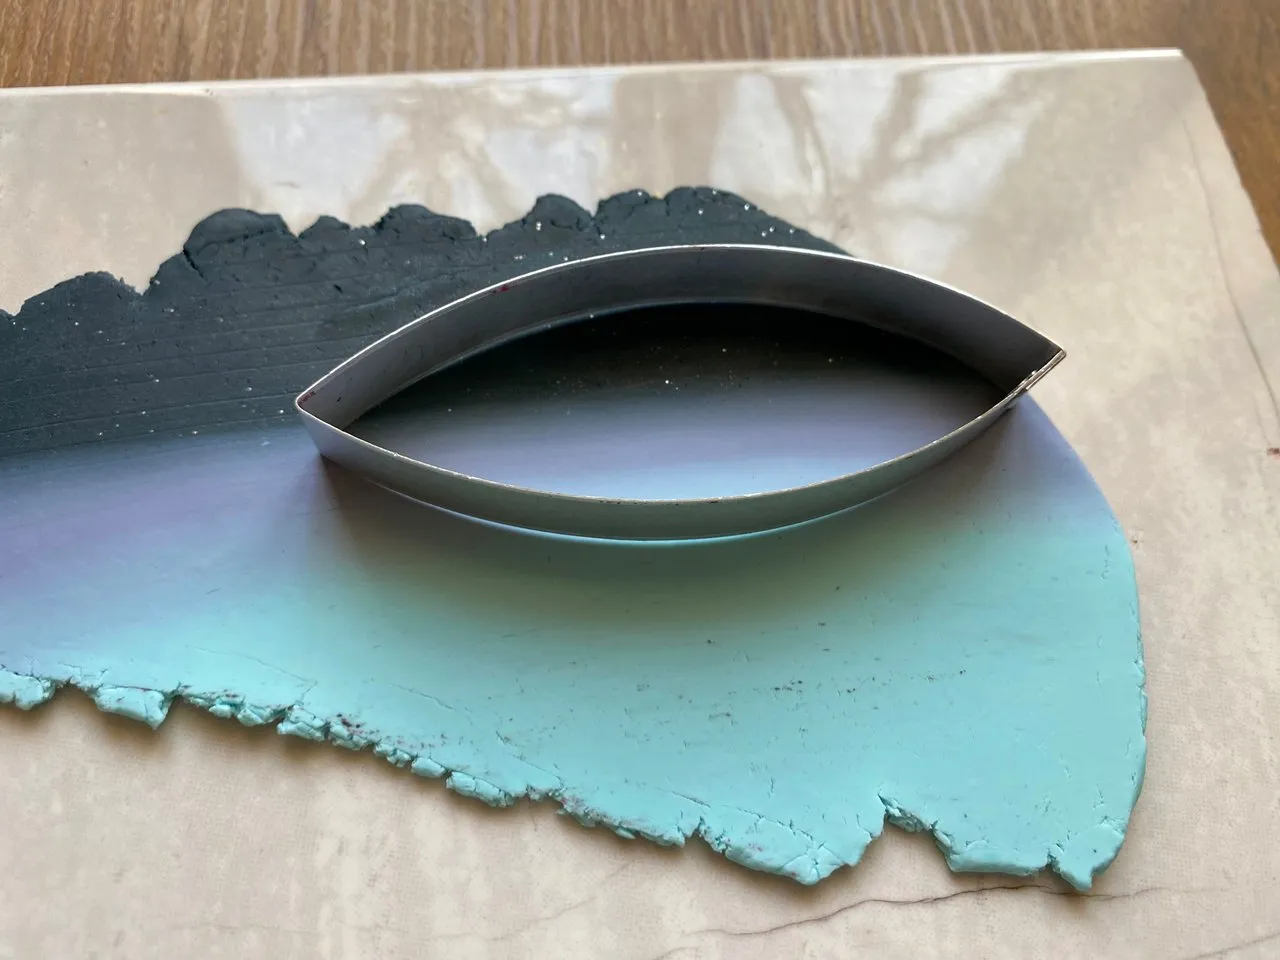
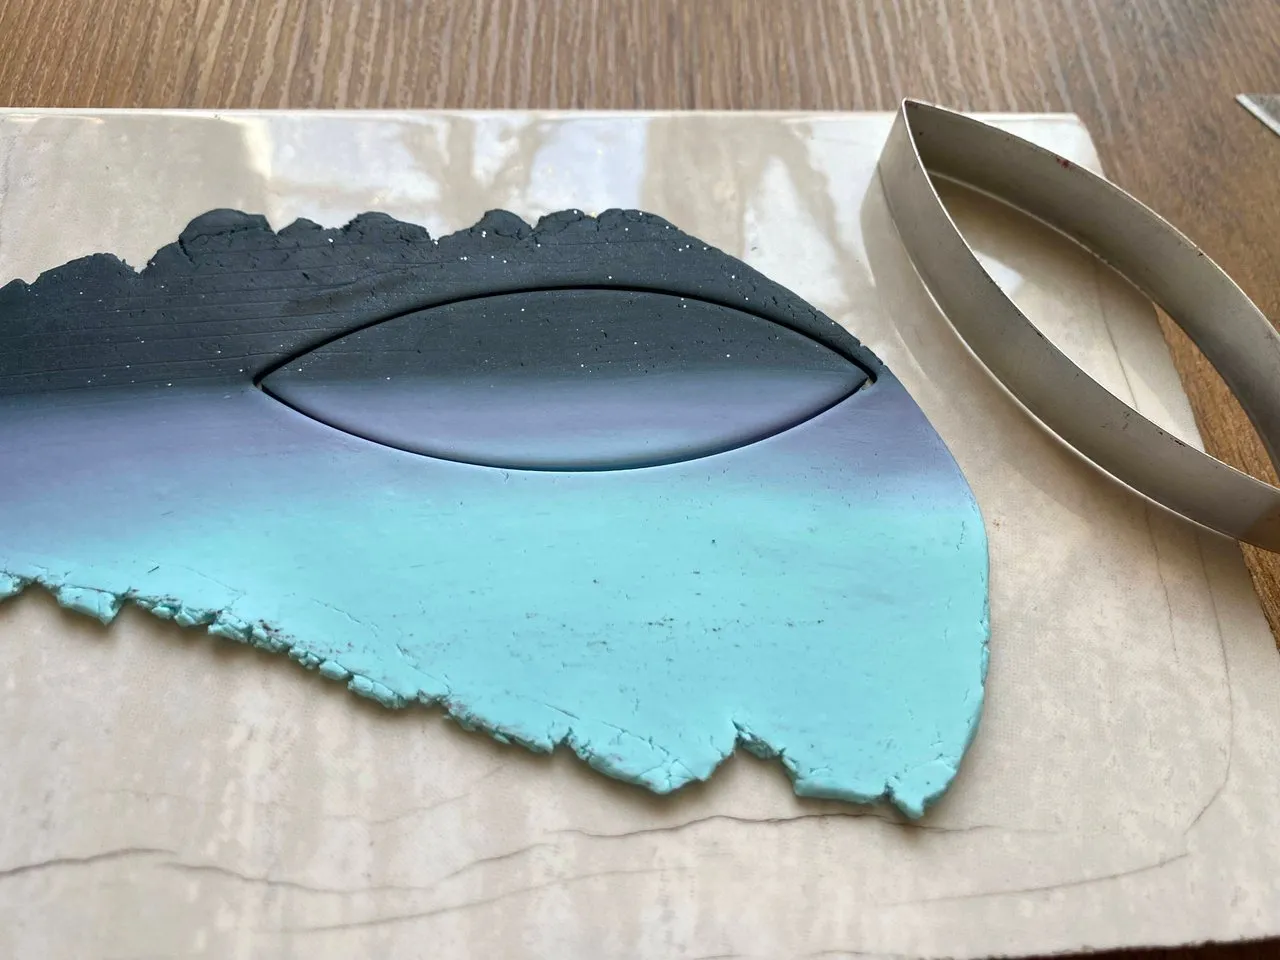
I cut out the polymer clay with a shape so that all the colors fall on the background for the landscape - the dark night sky is on top, and the snow is on the bottom.
Step 3

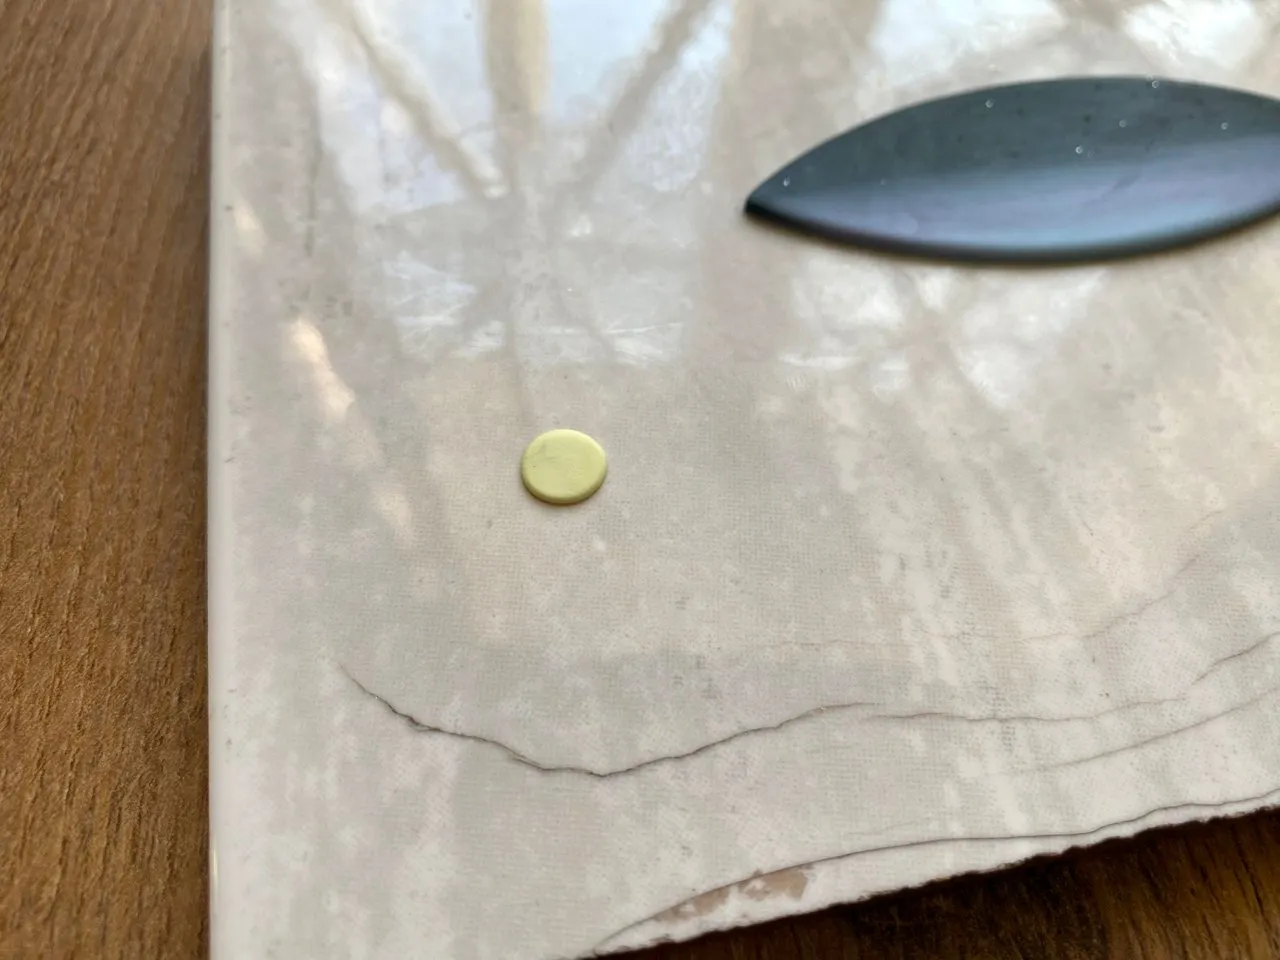

MOON
From a pale yellow color, I roll a ball and flatten it on the work surface. Then I carefully transfer it to the blank for the pendant. And our beautiful Moon is ready!
Step 4
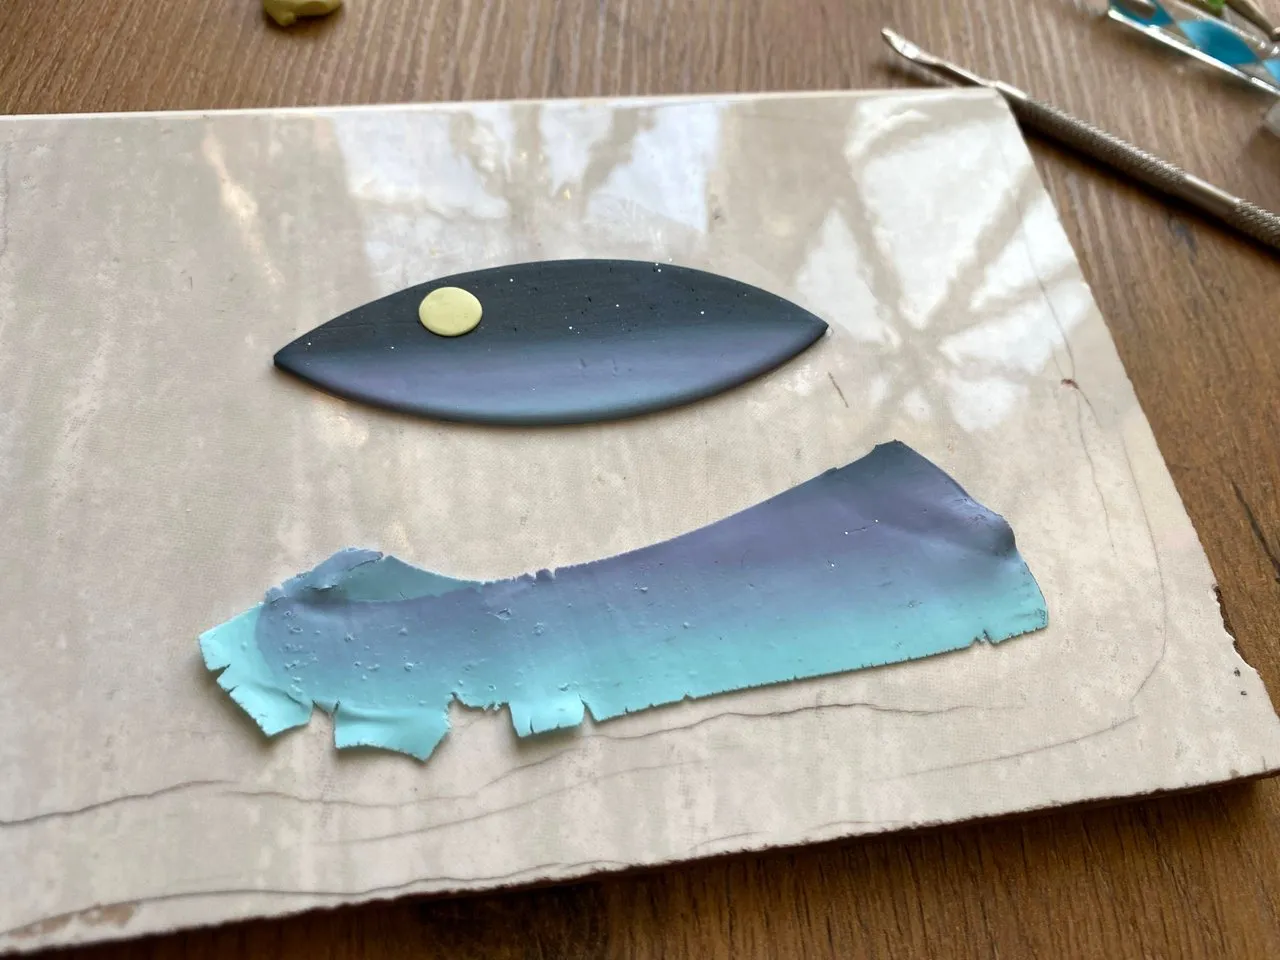
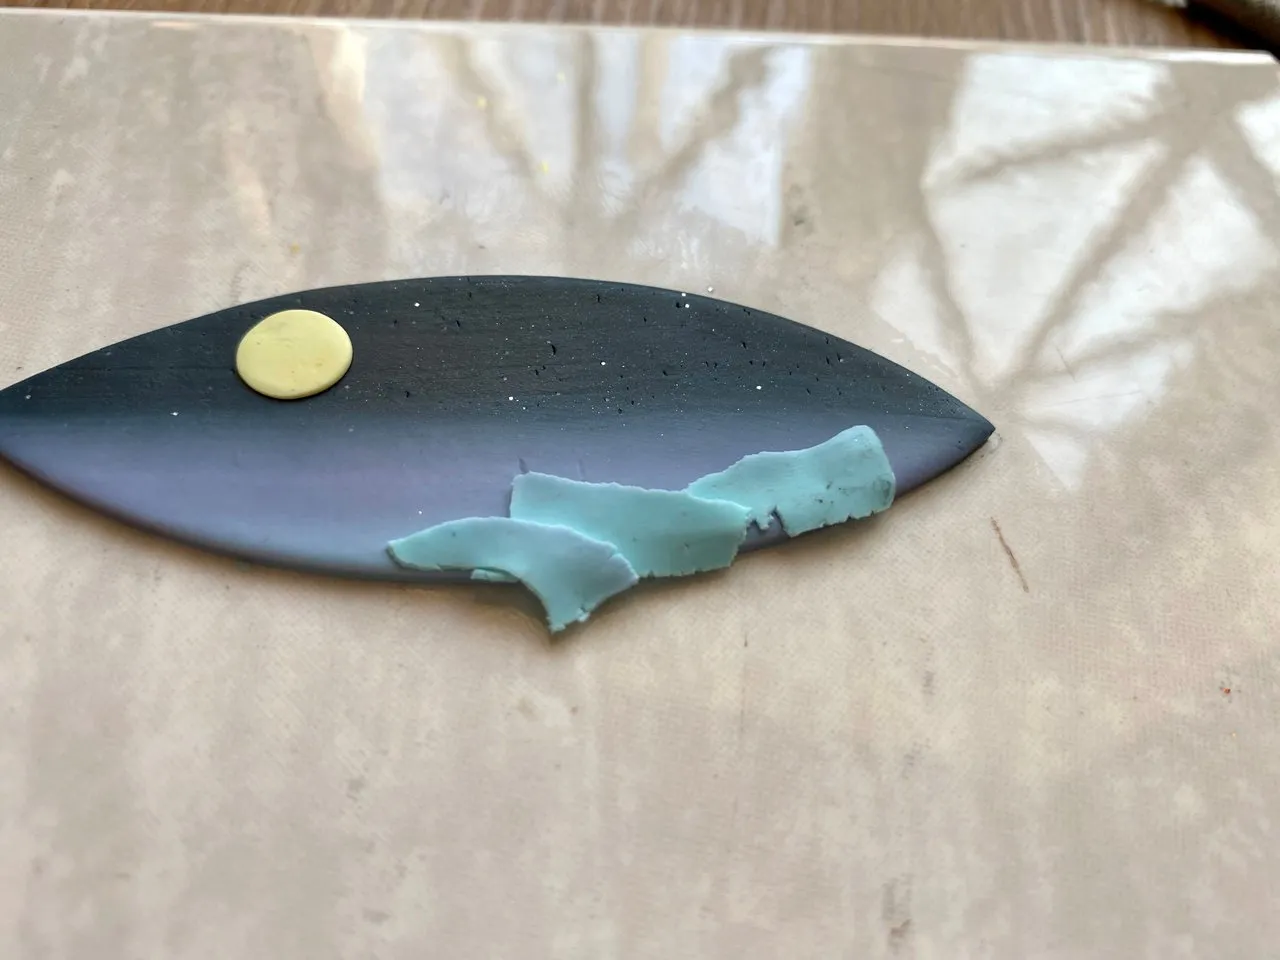

I'm starting to work on the landscape. To do this, I thinly roll out a piece from the layer with a color transition, tear off pieces from it and smooth them with a tool. The photo shows how I did it.
It seemed to me that it would look more beautiful if the moon was surrounded by clouds.
Step 5

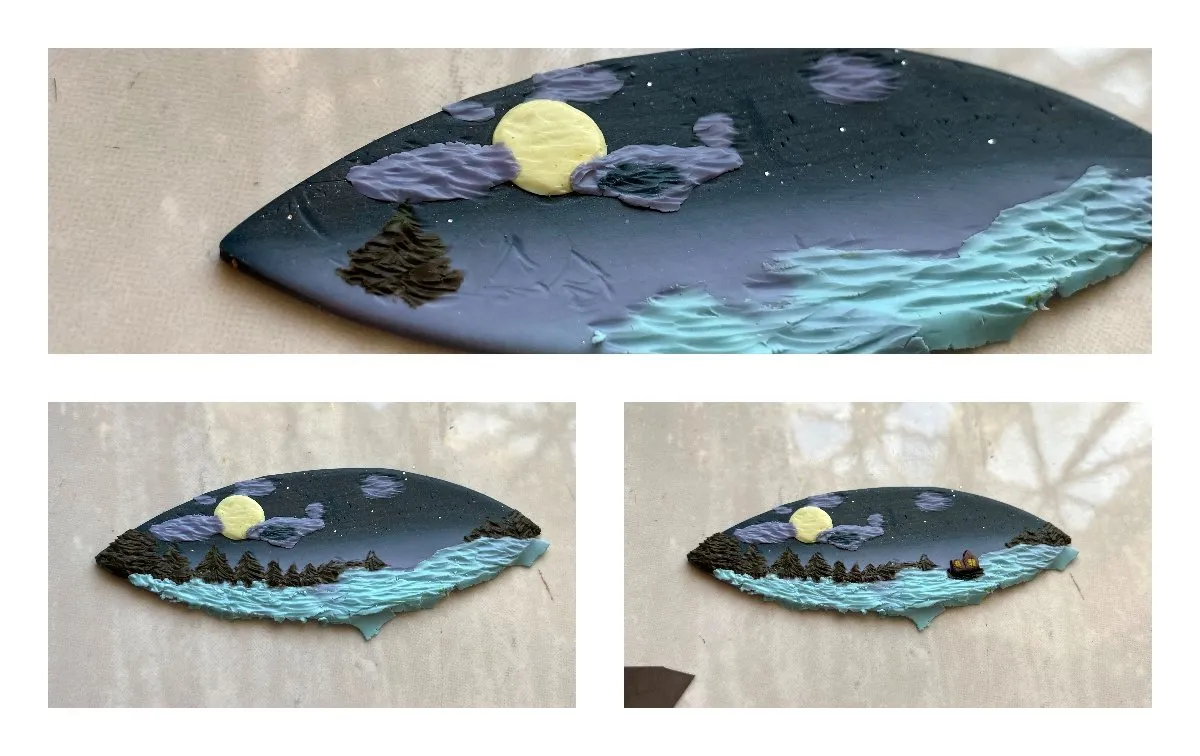
I tear off many small pieces of clay of a dark green color. These will be trees. I make trees out of them.
Step 6
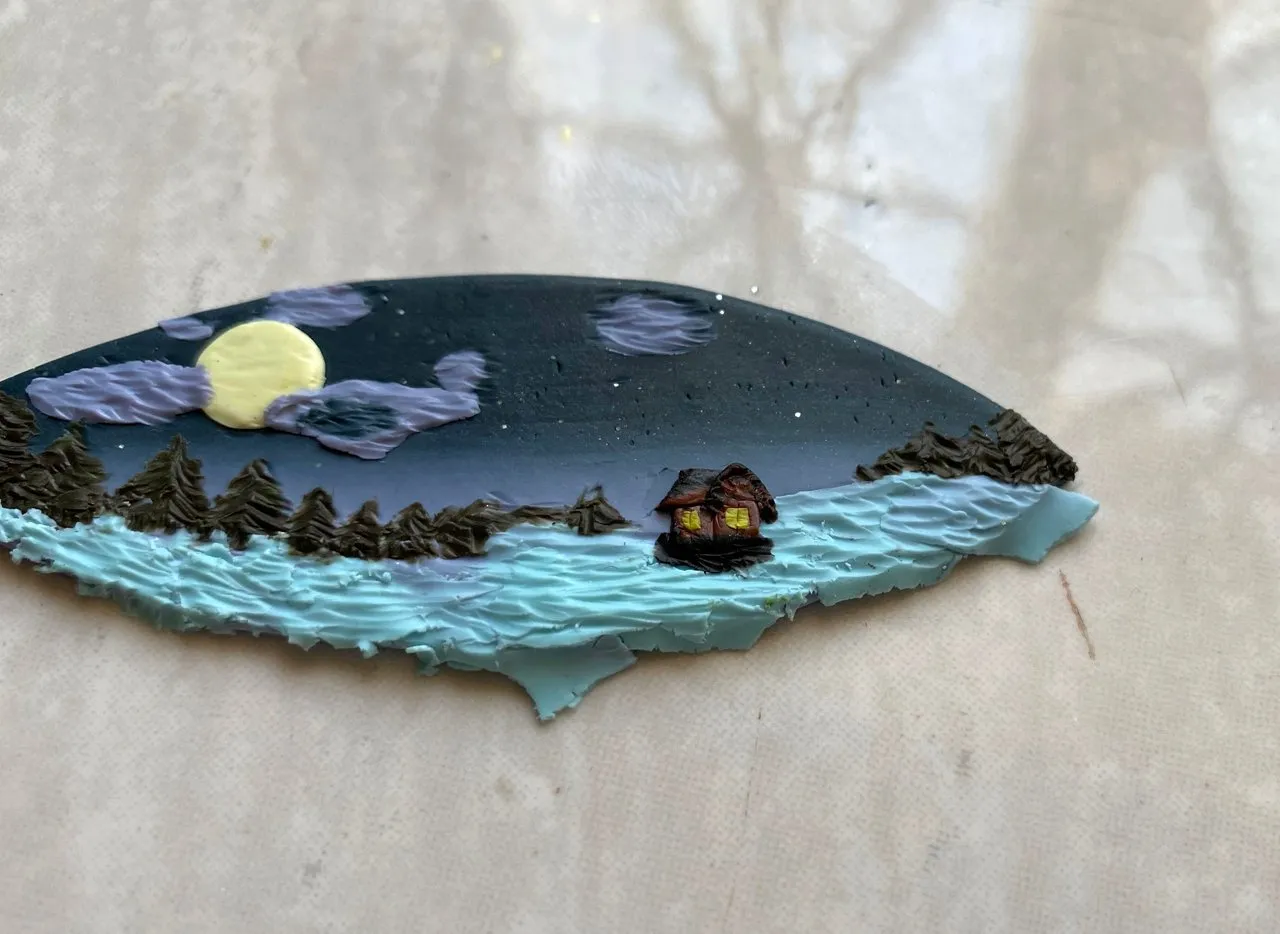
I wanted the painting to have a small house with lights on in the windows and smoke rising from the chimney. Gradually sculpt these details in the picture.
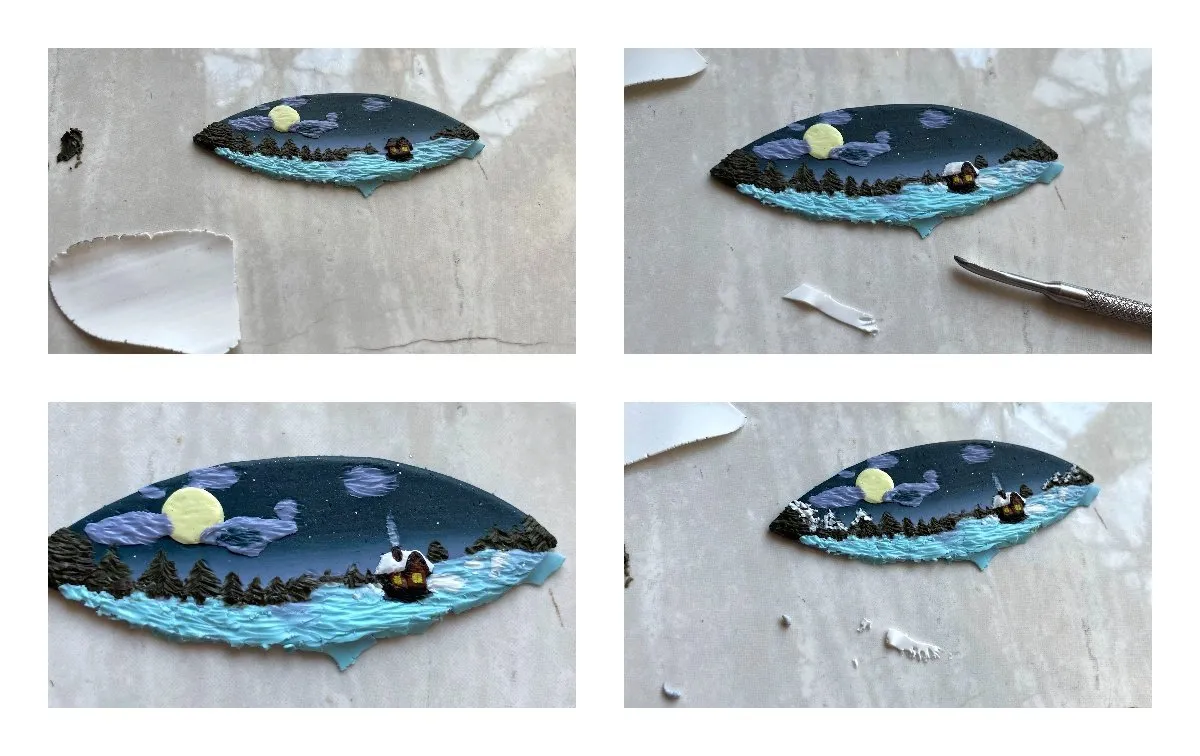
Step 7
To create the effect of snow, I cover the roof of the house, Christmas trees with white pieces and make white highlights at the bottom.
Step 8
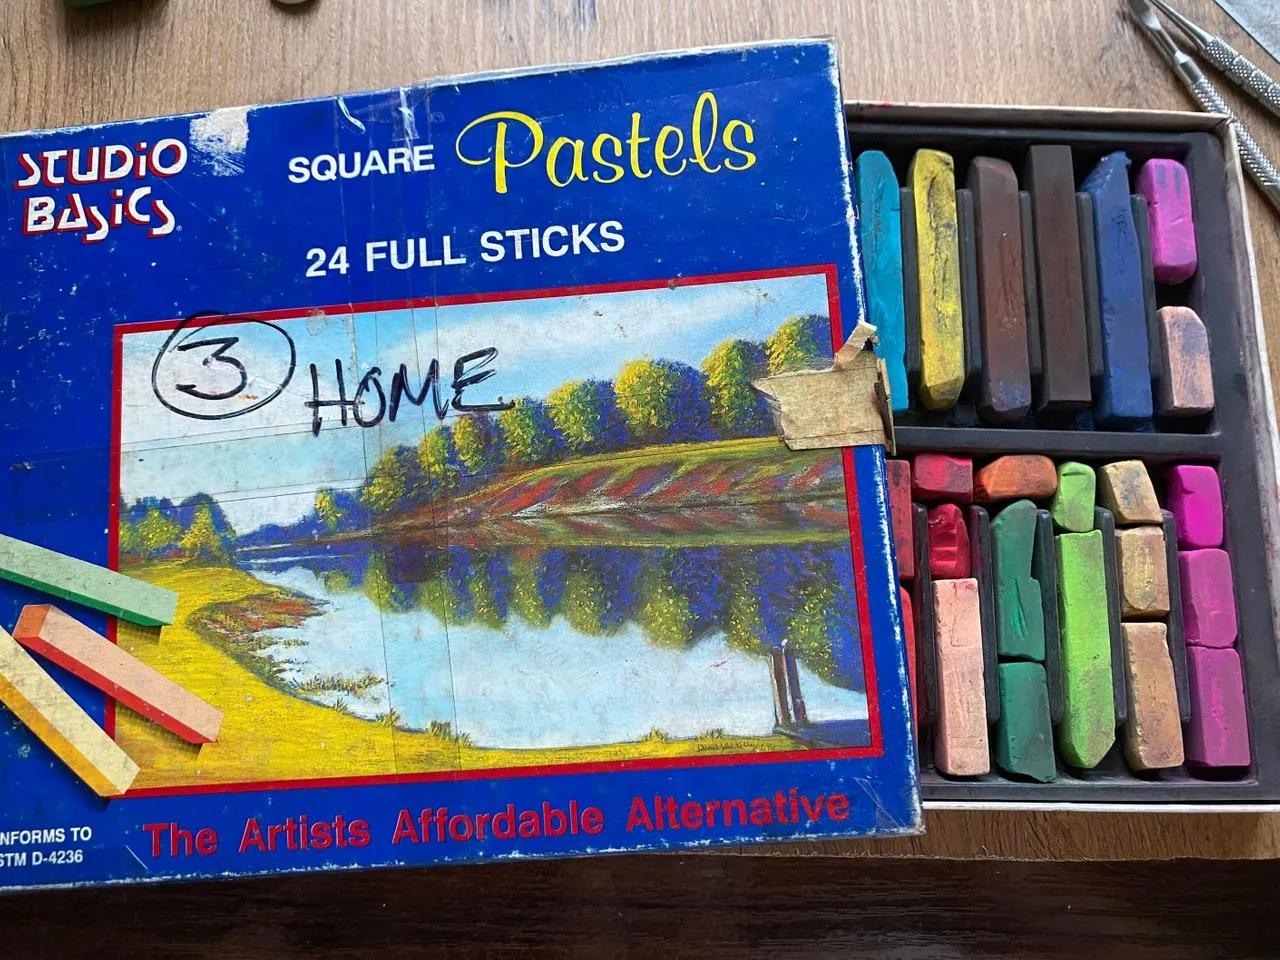

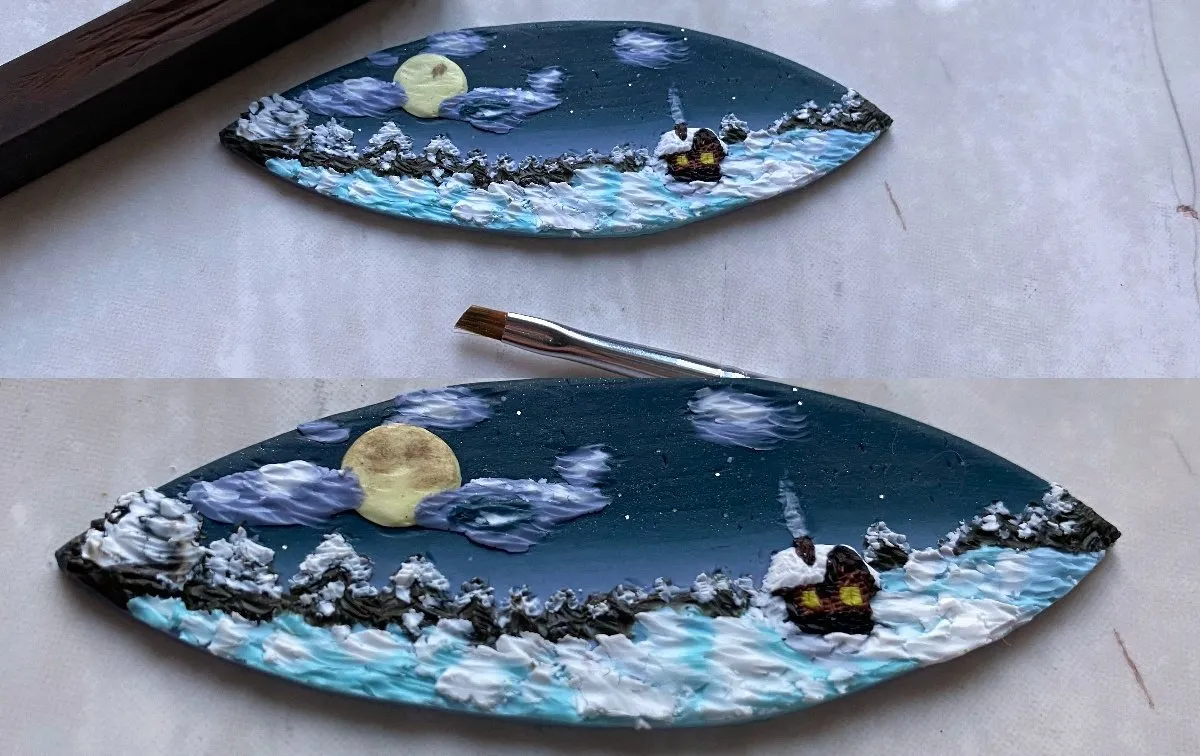
I wanted to make the moon more realistic. To do this, I tinted it a little with dry brown art pastel. This is easy to do with a brush or even a finger. If you do not have pastels, then you can replace it with eye shadow or eyebrows.
Step 9
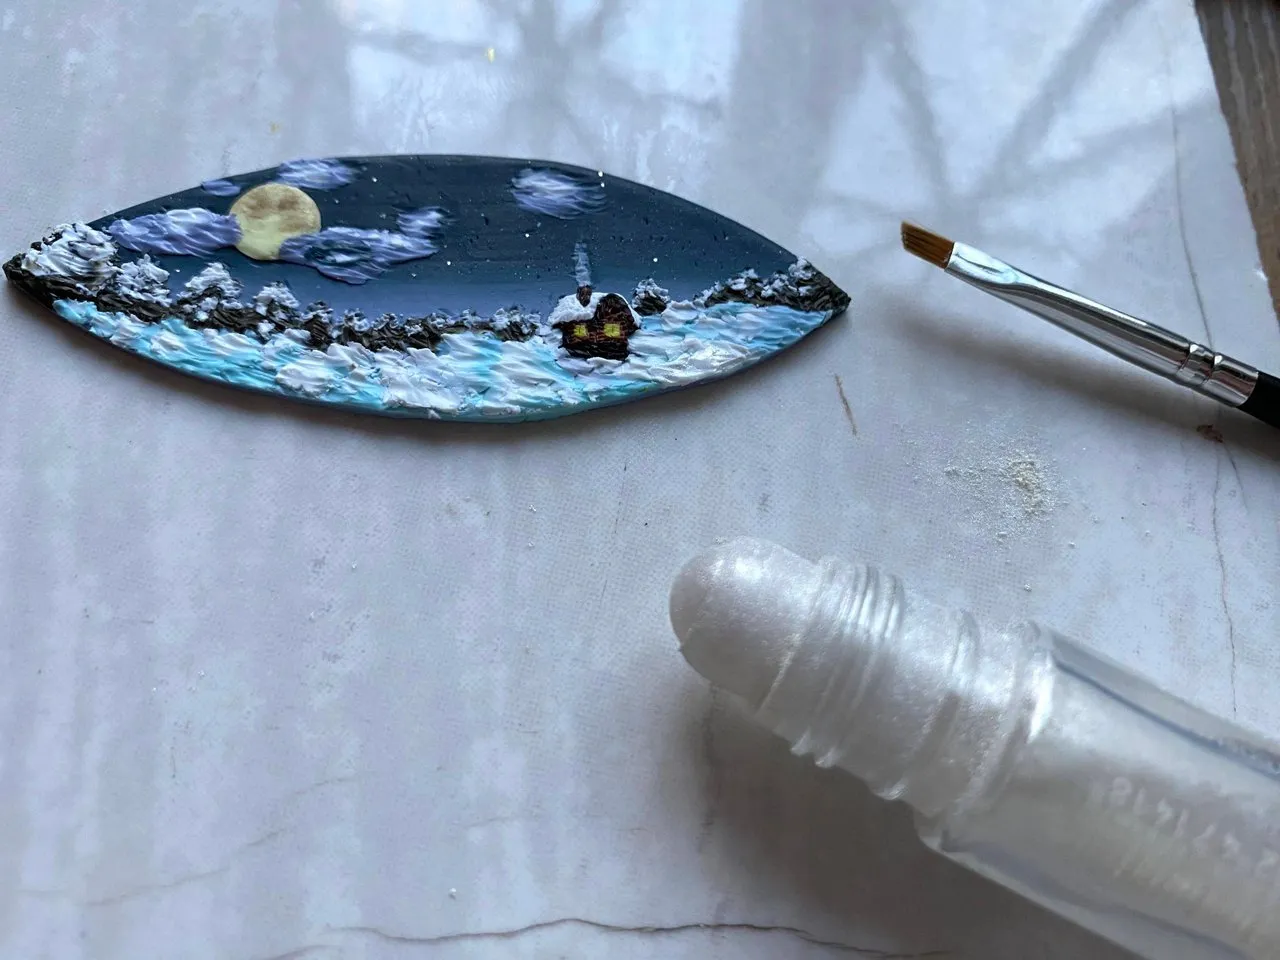
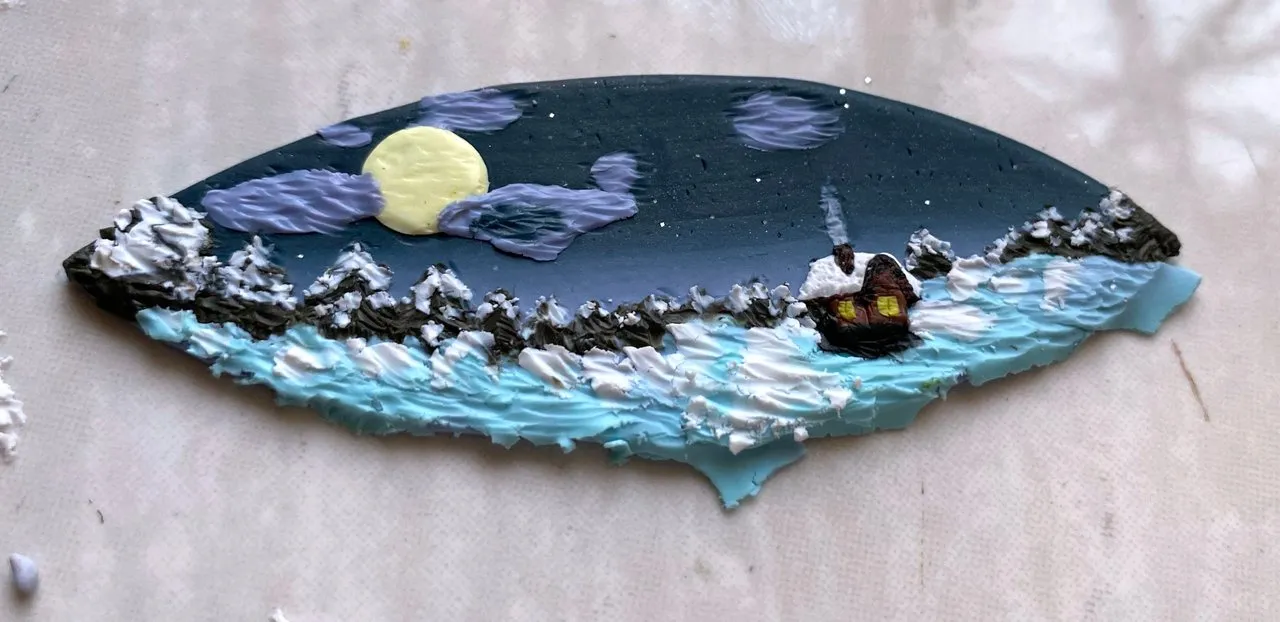
I "revive" the snow. I really wanted the snow to shimmer like a real one, so I tinted it a little with dry silver eyeshadow. This must be done very carefully and the main thing is not to overdo it so that there is not too much shine.
I want to draw your attention to the fact that all the tinting that is applied to unbaked polymer clay is very well fixed during baking. The product then does not have to be varnished, the tinting will hold well without it.
Step 10
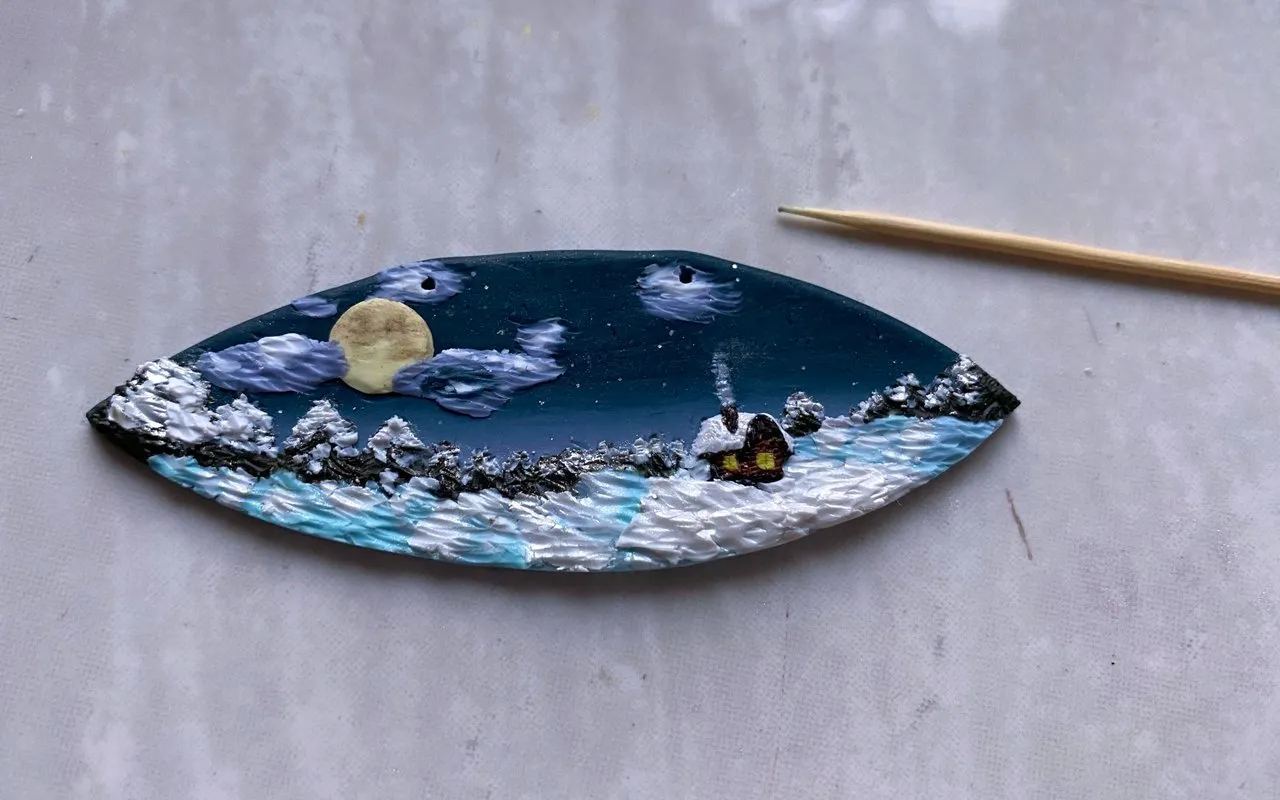
I make holes with a toothpick so that you can attach rings for which the pendant can be hung.

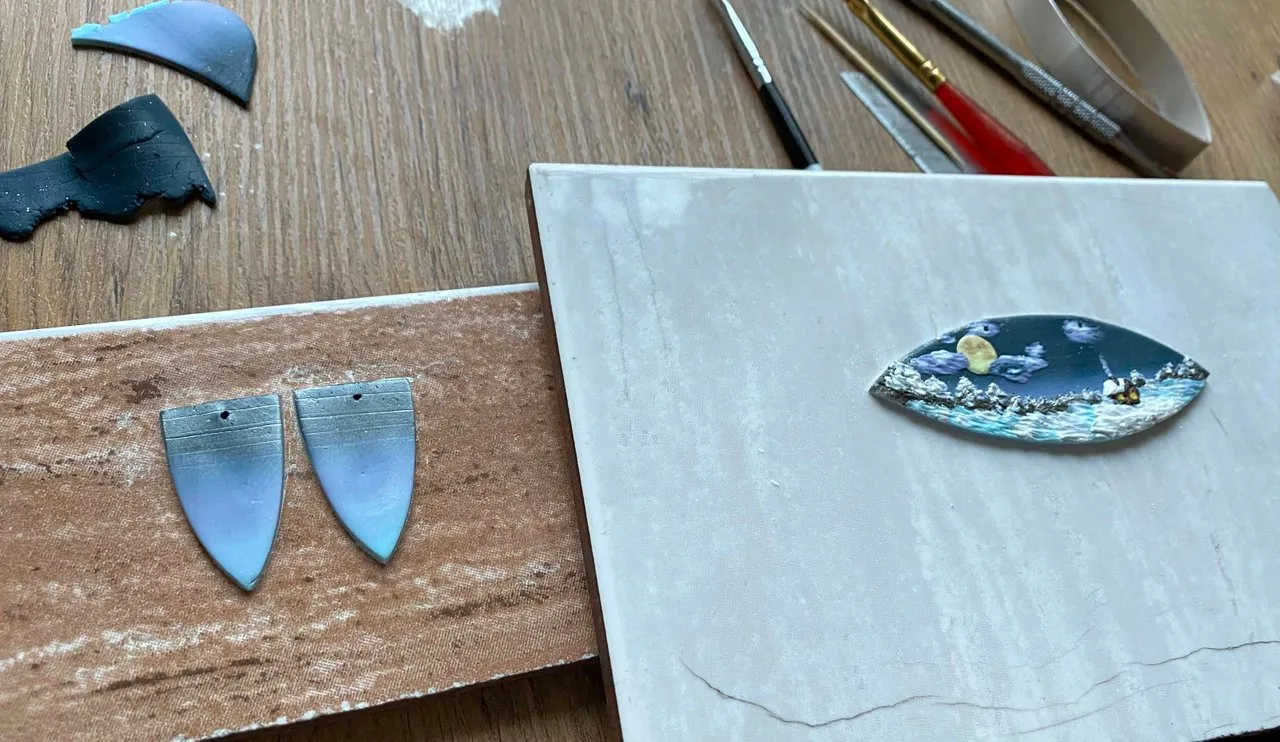
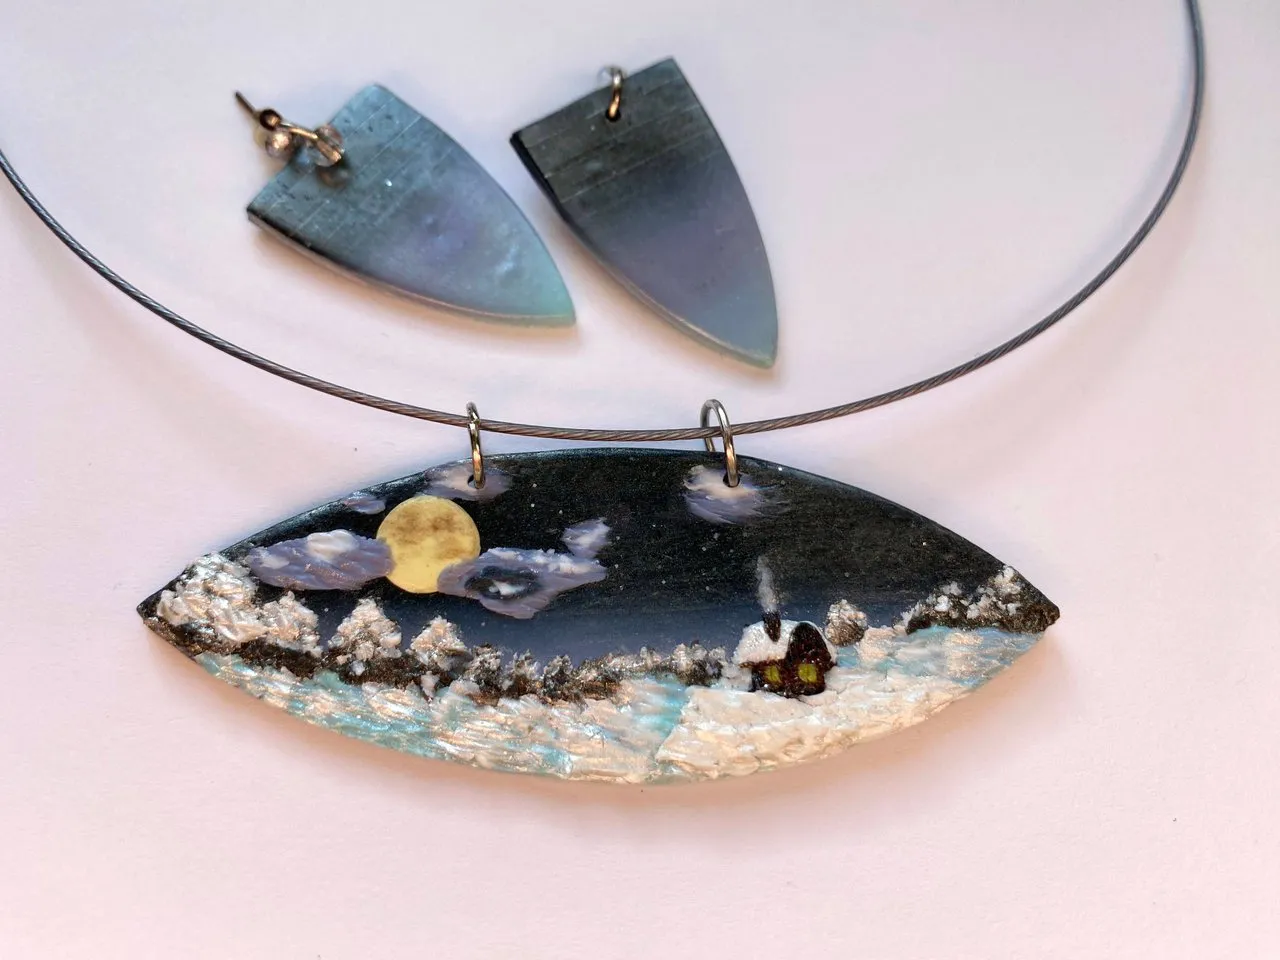
From the remains of the layer with a color transition, I decided to make a pair of earrings in a set for the pendant.
I send the pendant and earrings to the oven for baking.
IMPORTANT! Baking times and temperatures vary from brand to brand of polymer clay. Therefore, when baking polymer clay, you should always strictly follow the instructions that are on the package. It is necessary to observe the correct temperature and baking time. If not baked enough, then the product made of polymer clay will be brittle, and if overbaked, the colors may fade or even the product will burn.
Step 11

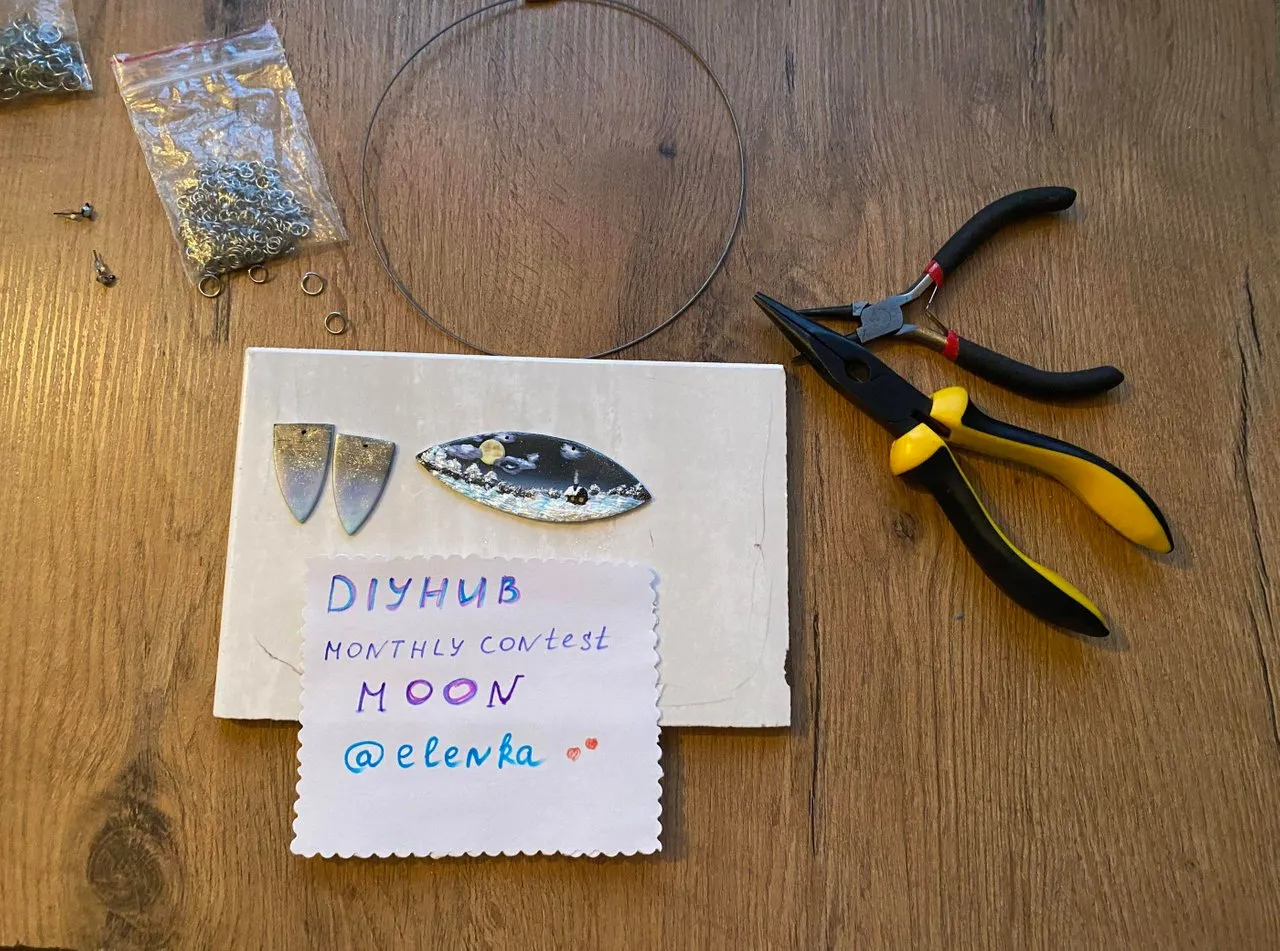
I attach rings to the pendant and earrings to assemble the finished product. For this I use round nose pliers.
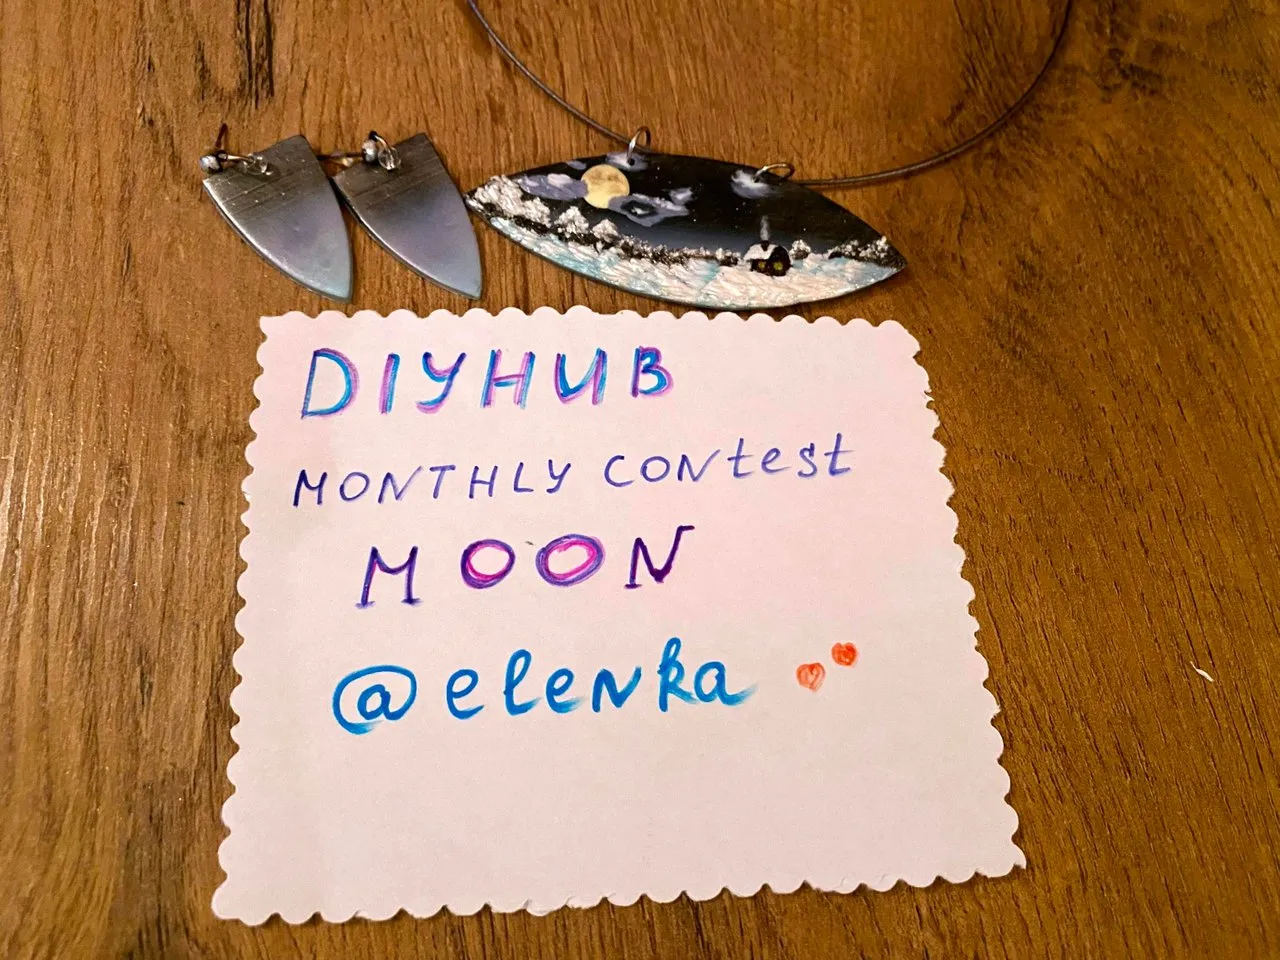

That's all! My entry dedicated to the Moon for the February 2023 contest #MOONCONTEST from @DIYhub, ready.
Many thanks to everyone for your attention and support!!!