

Hello friends of Hive. Merry Christmas to all, may the infinite blessings of the universe be with you always.
Today I want to show the step by step in the elaboration of a set with a very striking color such as yellow.
MATERIALS:
- 1 Meter of cloth fabric
- Black Elastic Lace
- Scissors
- Sewing Machine
- Pins

PROCEDURE
MAKING THE PANTS
Step 1

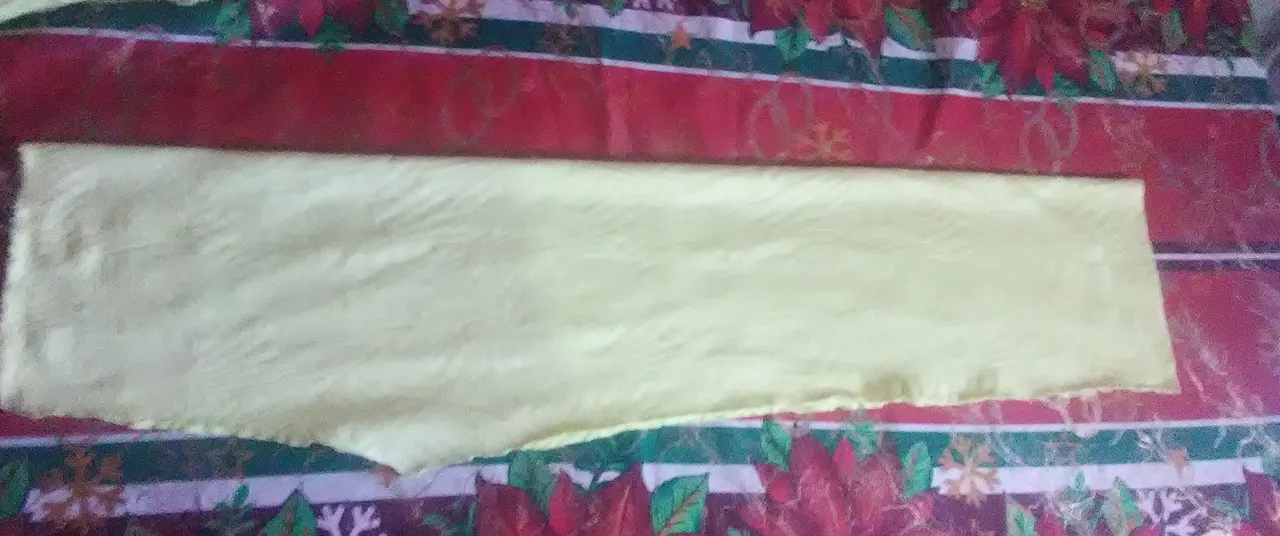
Take the fabric and cut it in two equal parts to form a rectangle. In this rectangle that is going to be formed is going to be placed a base pant or the pattern of the pants that we want to make.
To draw the pattern, fold the pattern by joining the two ends of the pattern pants.

Then cut it with the scissors following the pattern of the guide pants.
Step 2
This is how the trousers will look like.

Then join both pieces of the trousers fabric together, this will be sewn up to the pointed area of the trousers.
Then this is sewn in the sewing machine only up to the pointed area.

Step 3
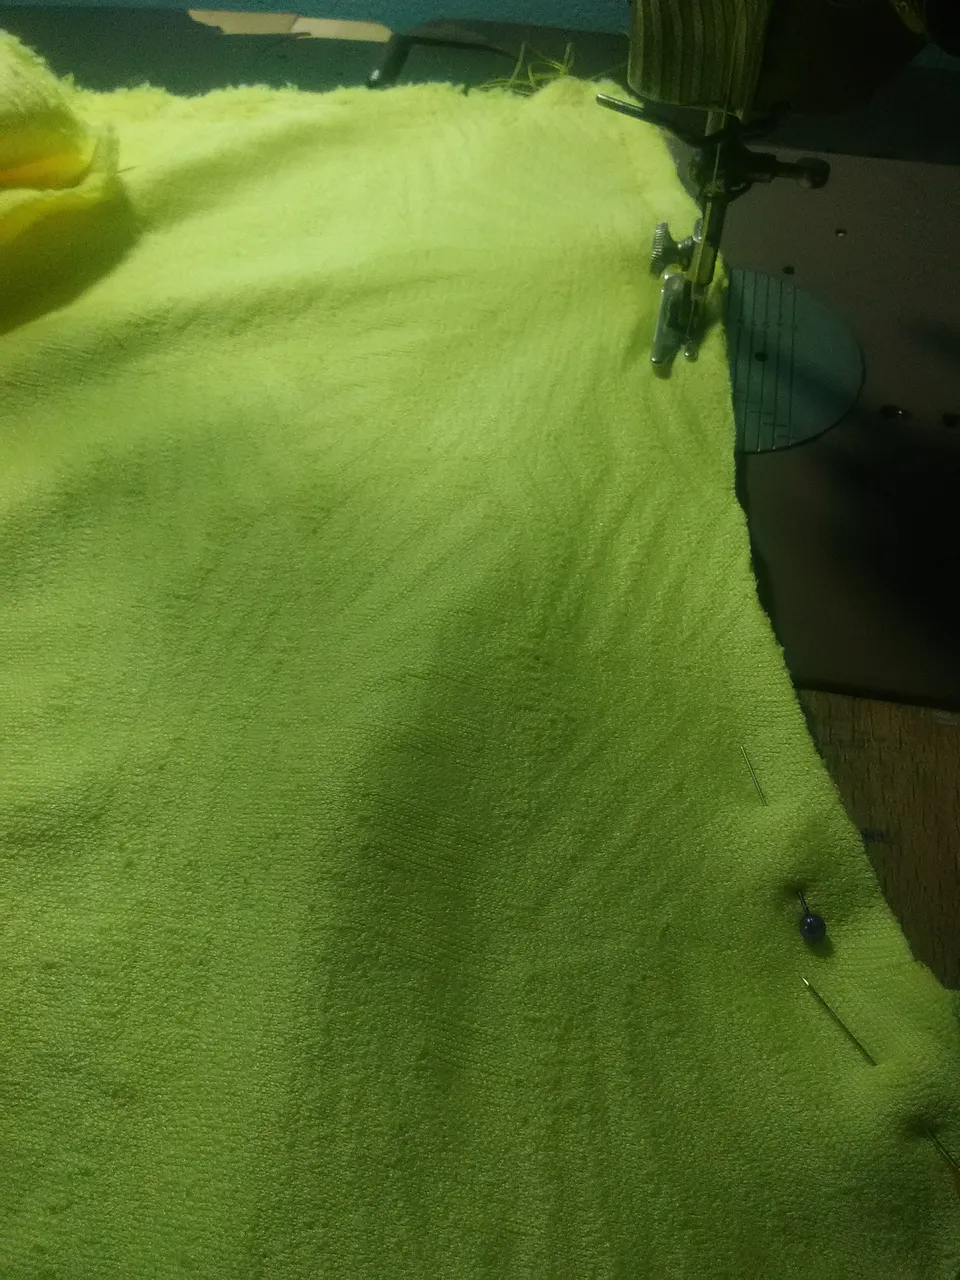
Then proceed to sew the boots of the trousers.


This is how the seam of the trousers will look like.

Posterioemnet the lace is placed on the hems of the trousers.
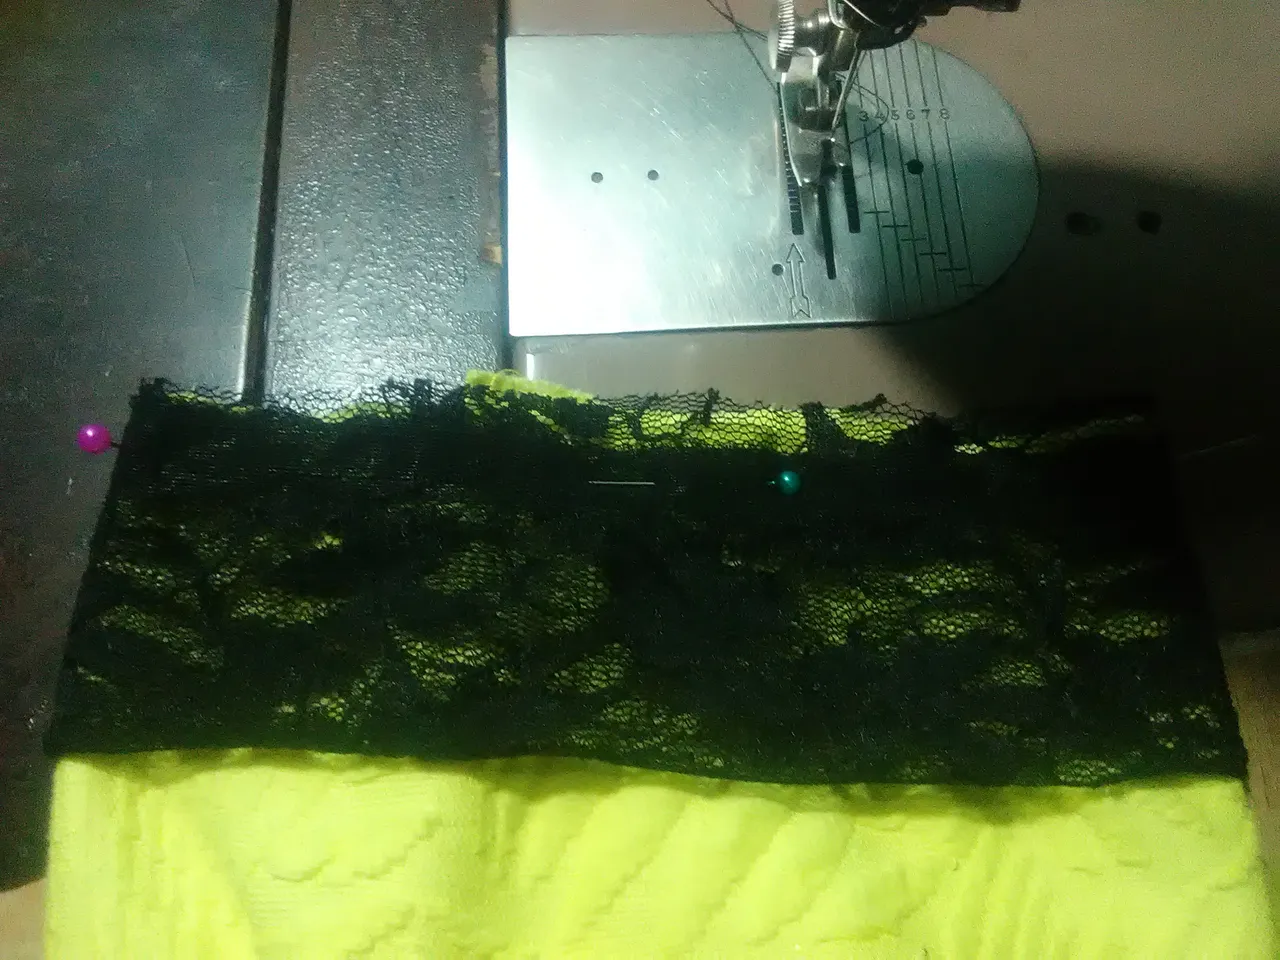
Adjust the lace with the pins and sew.
Step 4

Then sew the petrin of the trousers.
ELABORATION OF THE BLOUSE
Step 1

Take a blouse and mark it on the fabric.
In this case I have used a flannel, but there is no problem because you fold it and trace the armhole area.

In this way the area to form the blouse is traced.
Step 2

This way we have the silhouette of the blouse.

On the top we mark a vertical line to guide us and draw only half of the curved shape of the top. We are guided by the edge of the blouse.

In this way the blouse is formed with the shapes that can be seen in the image.

Result of the blouse design.
Step 3

Then cut the fabric following the shape or design that has been formed.
Step 4

Fix both pieces with the pins.
Step 5

Sew both pieces together with the sewing machine.
Step 6

Then place the lace in the neck area of the blouse.

This is how the collar will look like.

This way we have finished the yellow set.


Merry Christmas to all!
The images are my own and were taken with a ZTE BLADE phone.
Translator utilization: Deepl
The editing of the photos was done using the Polish Photo Editor application and separators were edited in canva.

Hola amigos de Hive. Feliz Navidad a todos, que las bendiciones infinitas del universo les acompañen siempre.
Hoy quiero mostrar el paso a paso en la elaboración de un conjunto con un color muy llamativo como lo es el amarillo.

MATERIALES:
- 1 Metro de Tela de paño
- Encaje Negro Elastico
- Tijera
- Maquina de Coser
PROCEDIMIENTO
ELABORACIÓN DEL PANTALÓN
Paso 1
Se toma la tela y se parte en dos parte iguales la tela de manera que se forma un rectangulo. En este rectangulo que se va a formar se va a colocar un pantalon base o el patron del pantalon que deseamos sacar.
Para trazar el patron se debe doblar este uniendo las dos puntas del pantalon del patron.
Luego se corta con la tijera siguiendo el patron del pantalon guia.
Paso 2
De esta manera nos quedaria el pantalon.
Luego se unen ambas piezas de la tela del pantalon, Esta se van a coser hasta la zona punteaguda del pantalon.
Luego esta se cose en la maquina de coser solo hasta la zona punteaguda
Paso 3
Posteriormente se procede a coser las botas del pantalon.
Asi quedaría la costura del pantalon.
Posterioemnet se coloca el encaje en los ruedos del pantalon.
Se ajusta el encaje con los alfileres y se cosen.
Paso 4
Luego se cose la petrina del pantalon
ELABORACION DE LA BLUSA
Paso 1
Se toma una blusa y se marca sobre la tela.
En este caso he utilizado una franela, pero no existe ningun incoveniente porque se doblan estas y se traza el area de la sisa.
De esta forma se traza el area para formar la blusa.
Paso 2
De esta forma nos queda la silueta de la blusa.
Sobre la tapa se marca una linea vertical para guiarnos y trazar solo la mitad de la forma curva de la tapa. Nos guiamos con el borde de la blusa.
De esta manera se va formando la blusa con las formas que se pueden apreciar en la imagen.
Resultado del diseño de la blusa.
Paso 3
Luego se corta la tela siguiendo la forma o el diseño que se ha formado.
Paso 4
Se fijan ambas piezas con los alfileres.
Paso 5
Se cosen ambas piezas con la maquina de coser.
Paso 6
Luego se coloca el encaje en la zona del cuello de la blusa.
De esta manera quedaria el cuello.
Asi hemos terminado el conjunto amarillo.

Feliz navidad para todos!
Las imagenes son de mi autoria y fueron Tomadas a traves de un Telefono ZTE BLADE.
Traductor utilizado: Deepl
La edicion de las fotos la realicé mediante la aplicaciones Editor de Fotos Polish y los separadores se editaron en canva.