Hello DIYhub and Hive friends. Christmas is without a doubt a very nice time for the family. Being able to make crafts with the kids and recreate their Christmas outfits is a lot of fun and the most important thing is the time to put together the best Christmas gift.

Today I want to show you the elaboration of a cute Christmas dress made with felt and foami.
Materials:
- Green felt ( 1 meter)
- Sewing thread
- 2 buttons
- Frosted foami ( black, gold, red, silver, red)
- Orange foami
- Artificial flowers and decorations for the dress.
- Cardboard
Procedure.
Step 1
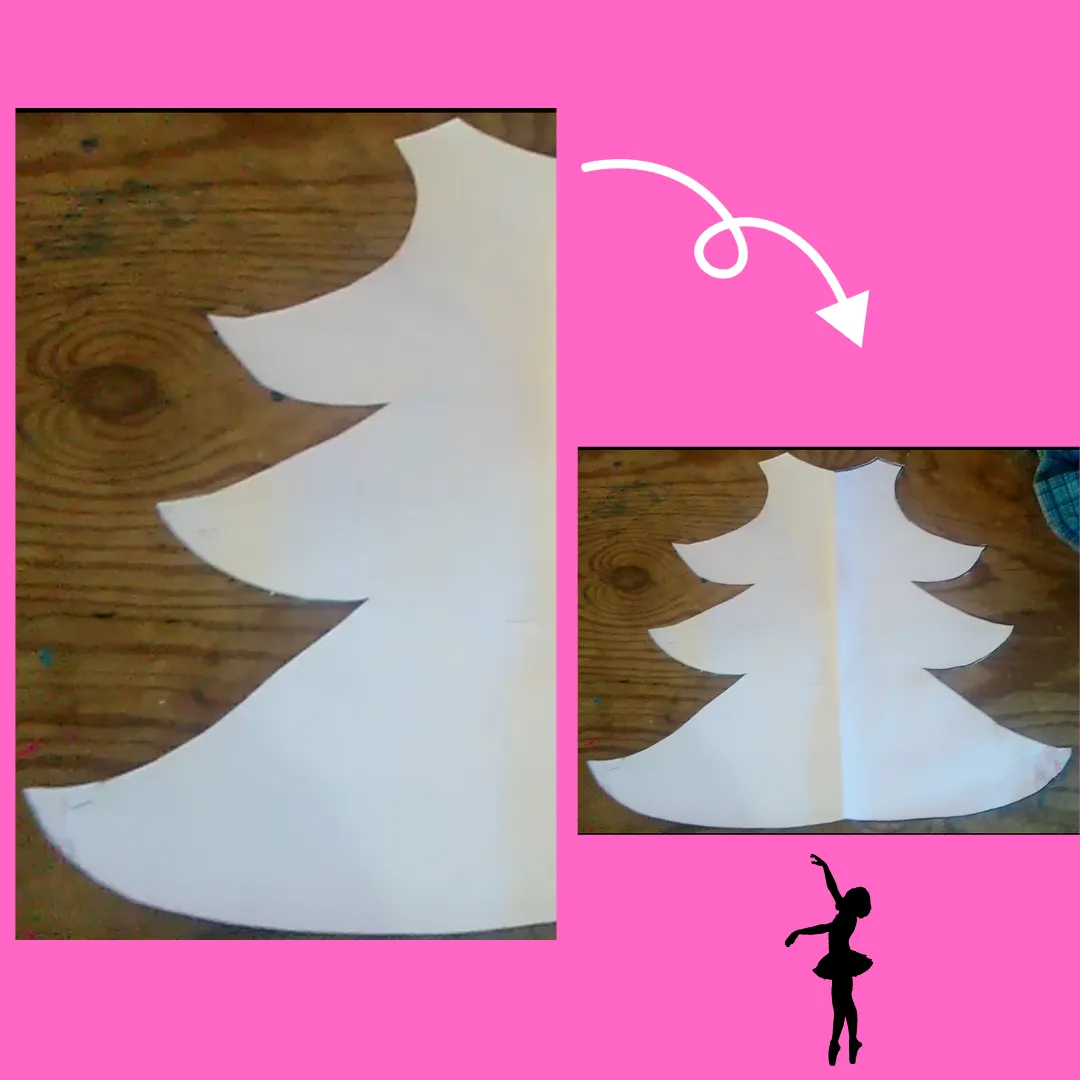
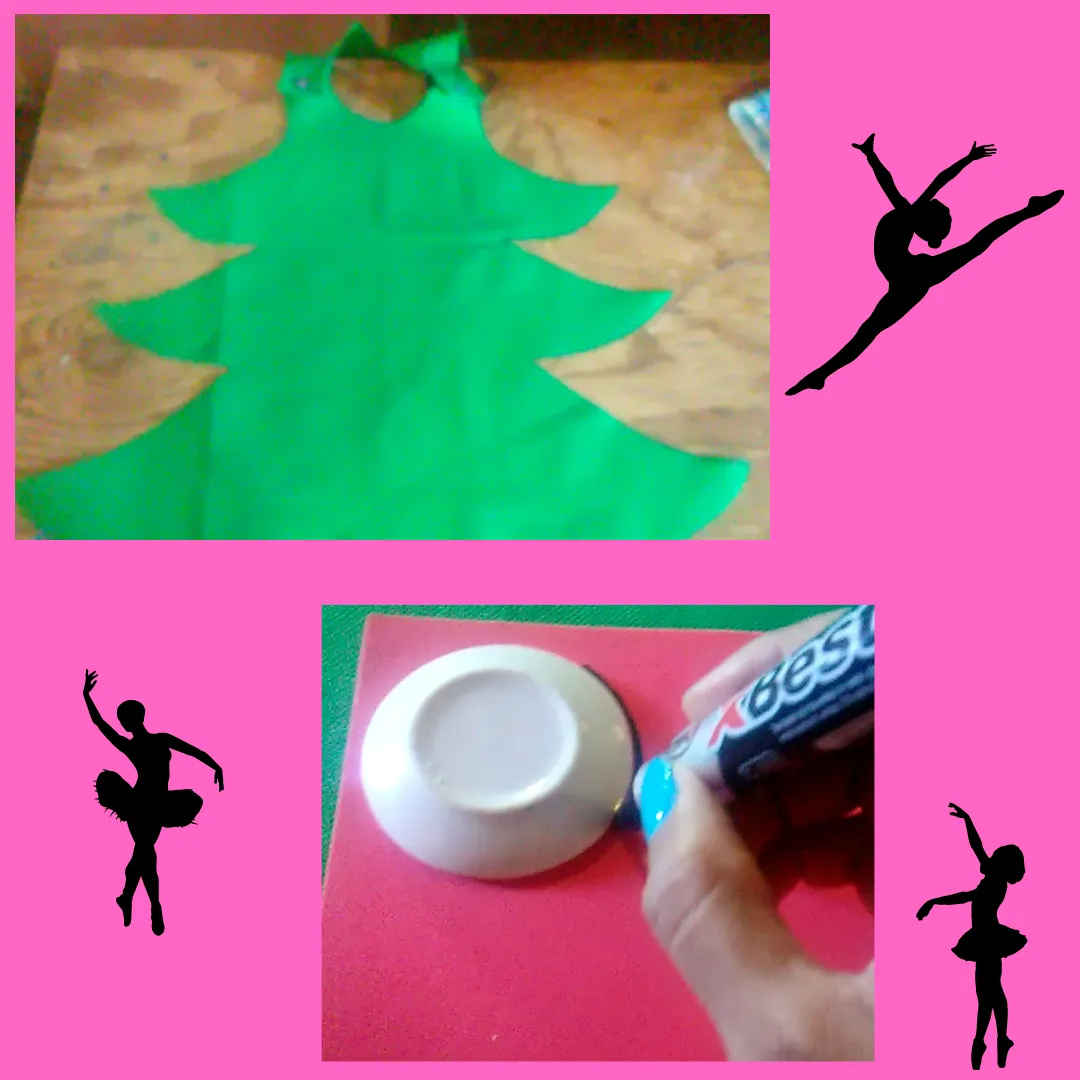
On a piece of cardboard folded in half, draw the pattern of the dress design in the shape of a tree.
Then open it and two parts will be exactly the same.
Step 2
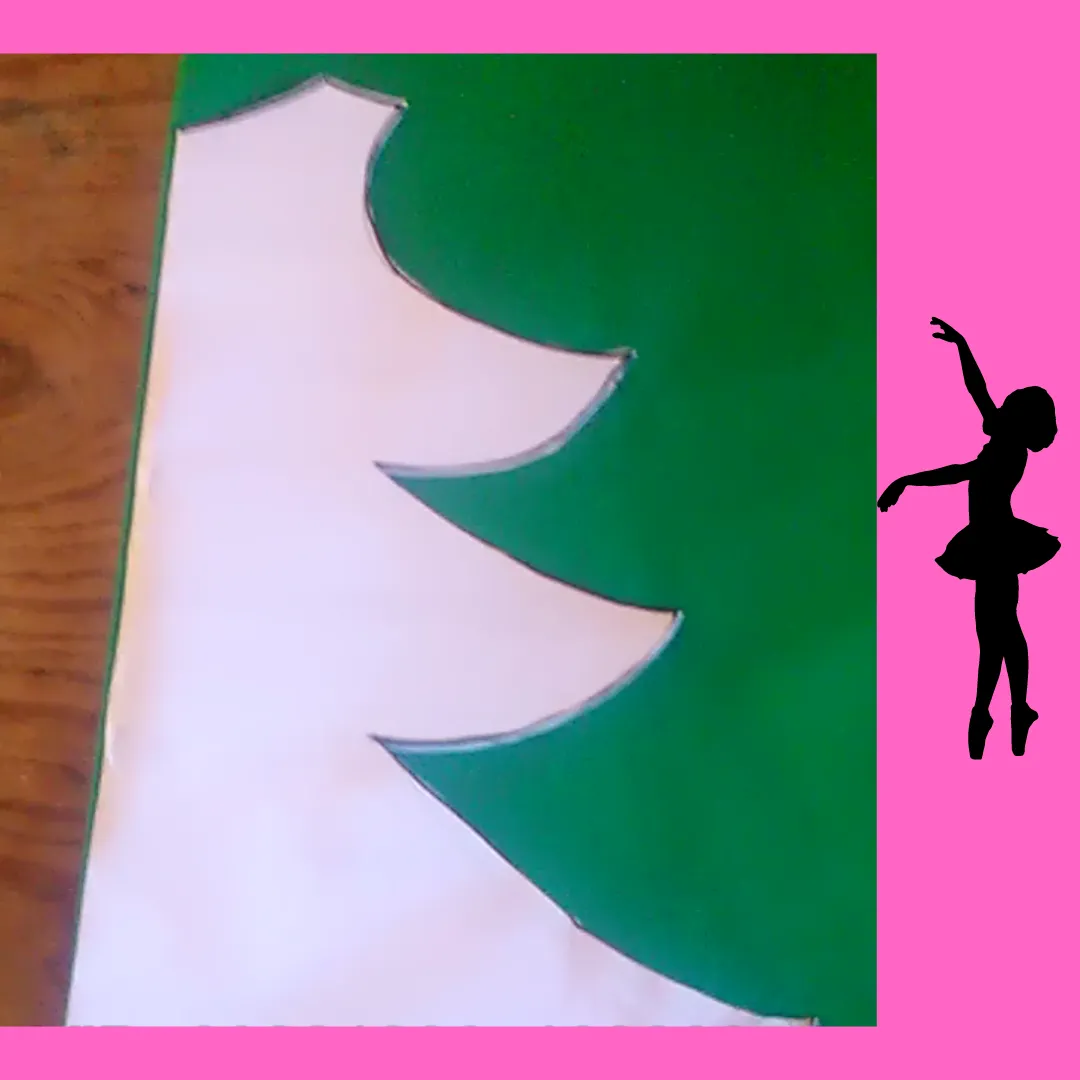
Then transfer the pattern to the felt fabric and fold it in half to trace the shape.
Step 3

Then to draw the pattern of the front area of the dress, take the previous pattern created in step 1 and create the neckline of the dress.

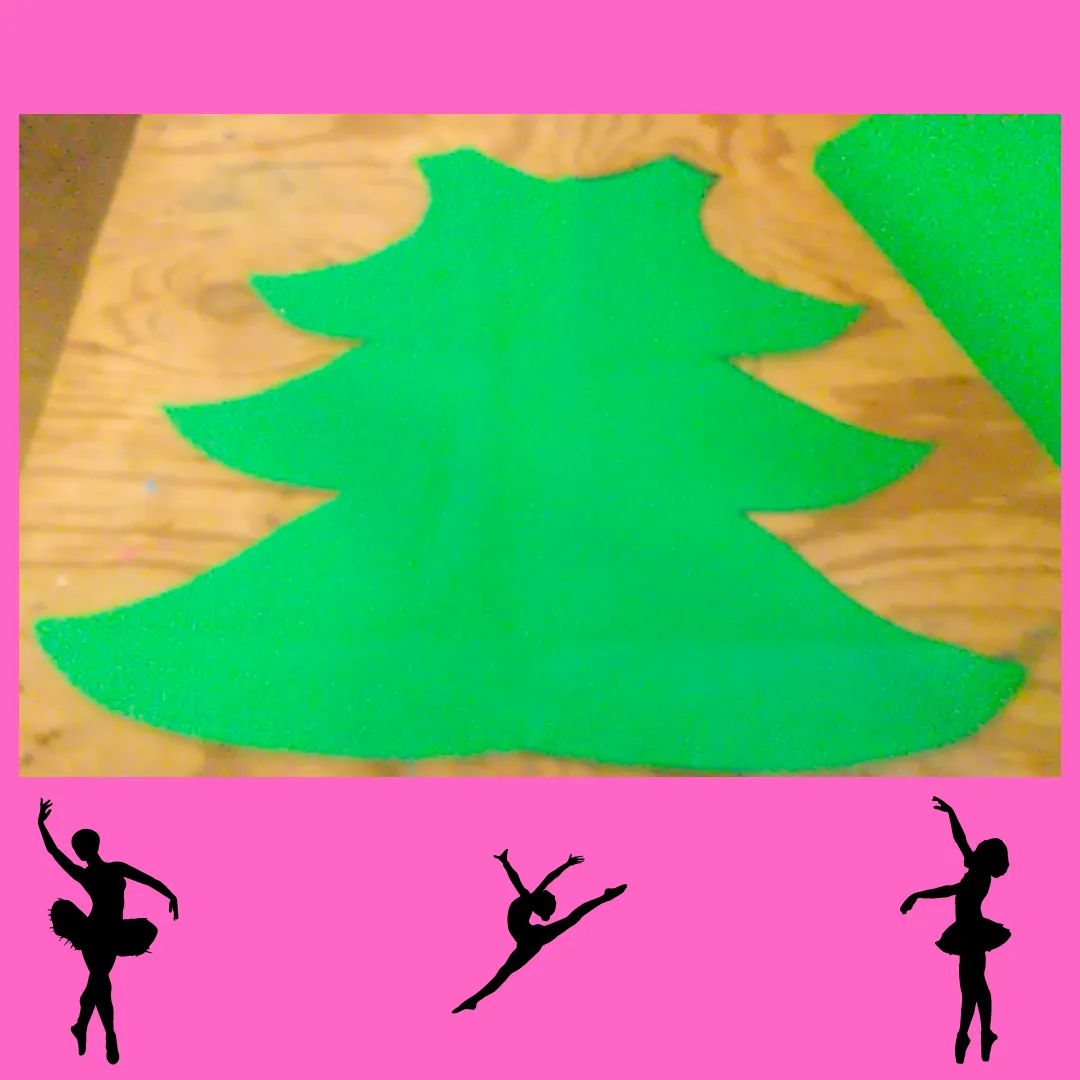
Then transfer this pattern to the felt fabric, always folding it in half.
Step 4
Afterwards, both pieces are obtained.
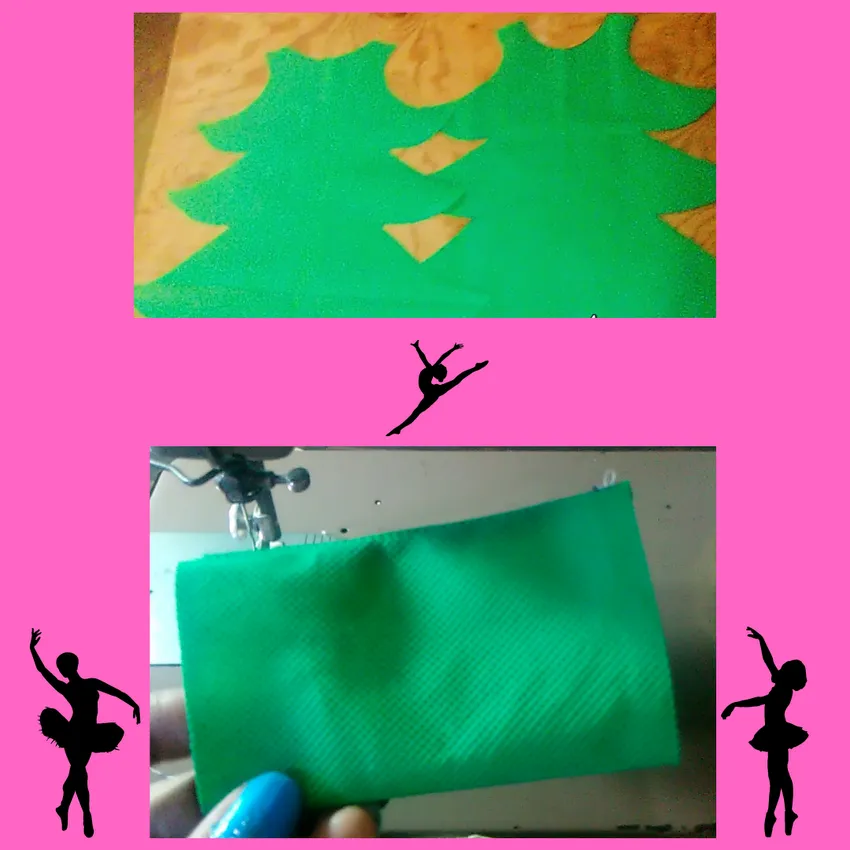
Then proceed to make the fasteners of the dress.
Step 5

Then the fasteners will be sewn on the back of the back of the final finishing of the upper ends of the garment.
A button is then attached.
This is how the Christmas tree costume will look like.
Finally we proceed to make some decorations with the foami for the Christmas suit.
I made circles on the frosted foamis.
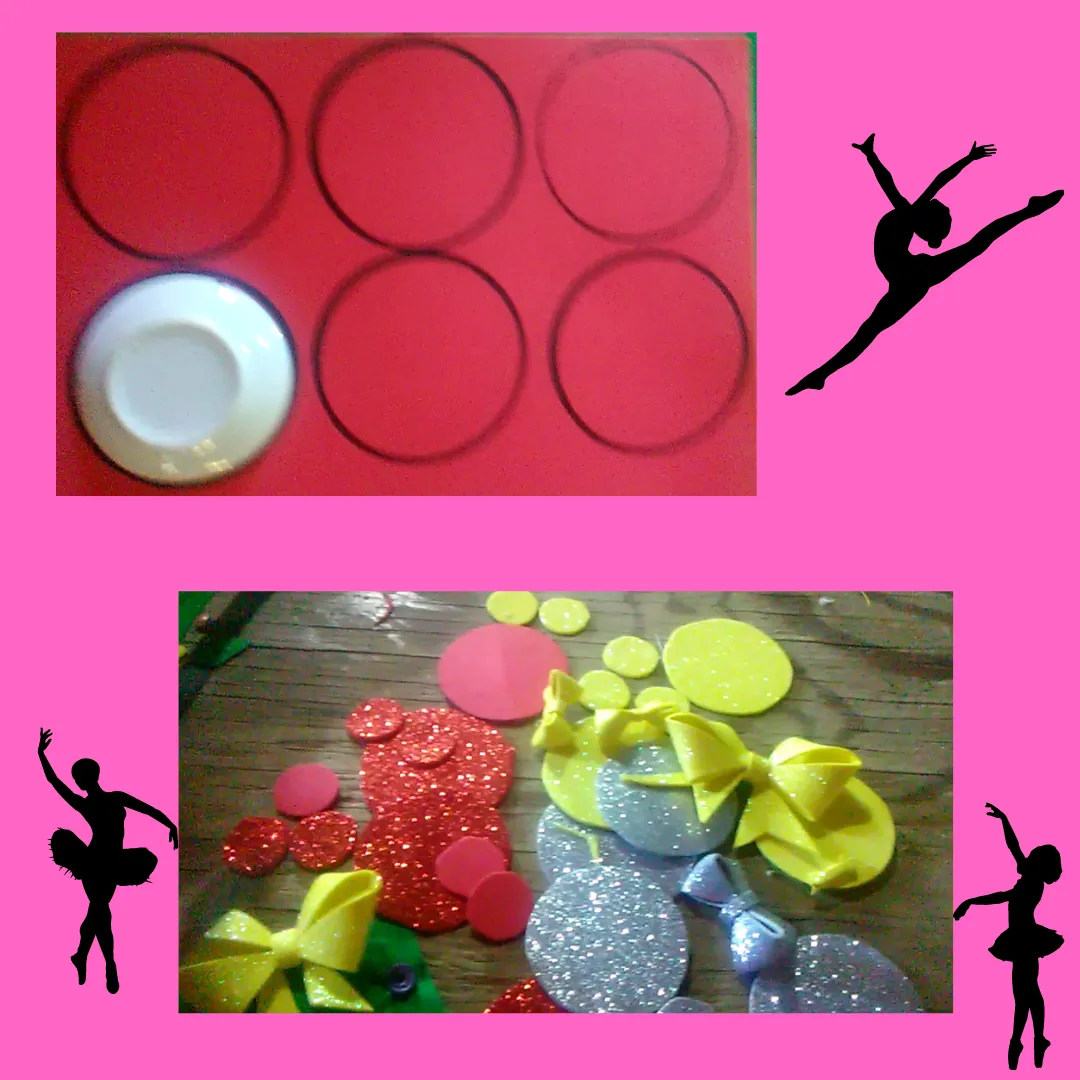
I also decorated the dress with yellow bows in foami.
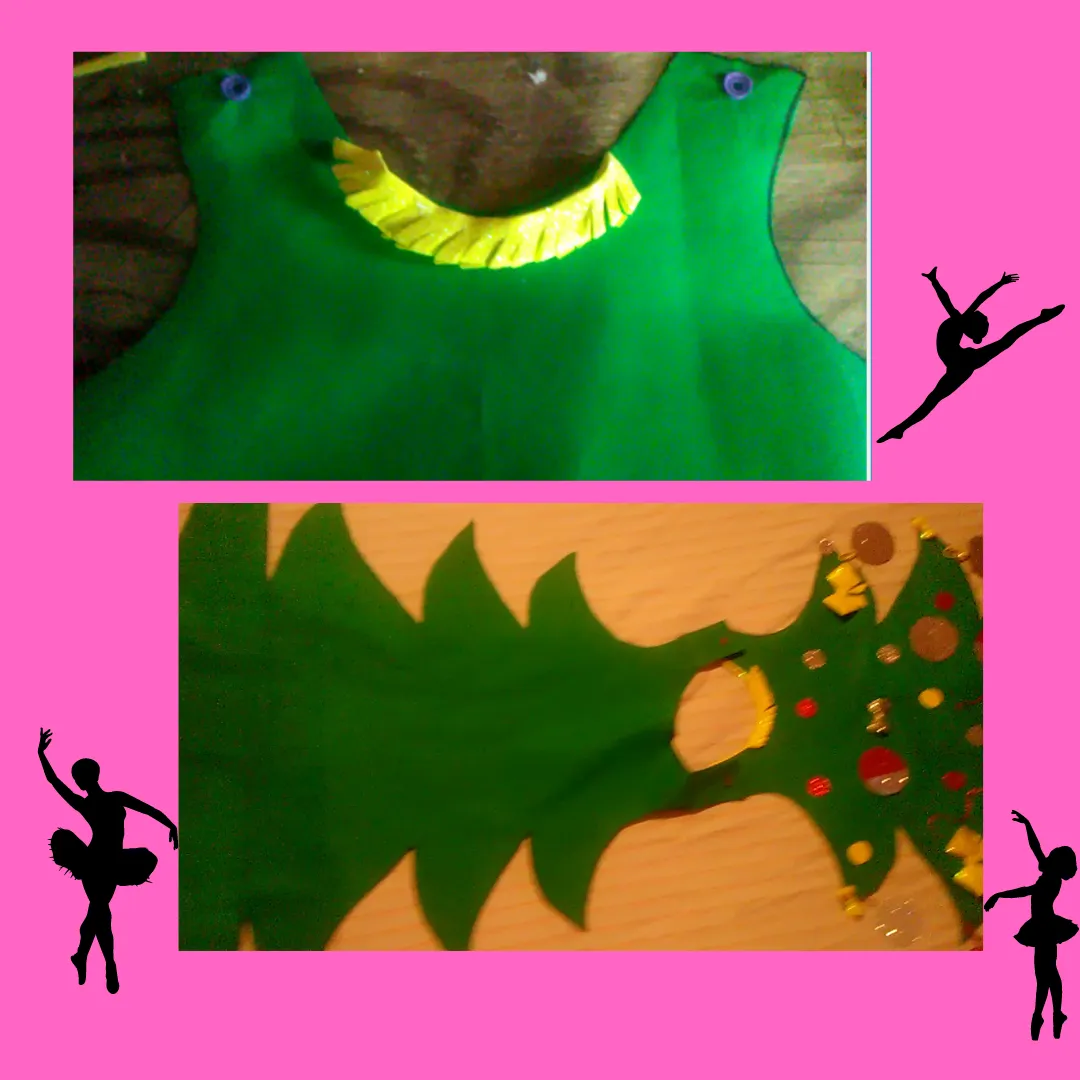
In the same way I designed a decoration on the neck of the dress, cutting the yellow foami in thin threads of this material.

That's how we finished this cute little Christmas tree dress! !
Greetings and Merry Christmas Friends!
The images are my own and were taken with a ZTE BLADE phone.
Translator utilization: Deepl
The editing of the photos was done using the Polish Photo Editor application and separators were edited in canva.
Hola amigos de DIYhub y Hive. La navidad es sin duda alguna una época muy bonita para la familia. Poder hacer manualidades con los niños y recerear sus trajes para navidad es muy divertidod y lo más importante es el tiempo en union el mejor regalo de navidad.

Hoy quiero mostrarles la elaboración de un lindo vestido de navidad elaborado con fieltro y foami.
Materiales:
- Fieltro verde ( 1 metro)
- Hilo de coser
- 2 Botones
- Foami escarchado ( negro, dorado, rojo, plateado)
- Foami naranja
- Flores artificiales y decoraciones para el vestido.
- Cartulina
Procedimiento.
Paso 1
En una cartulina doblada a la mitad se va a trazar el patron del diseño del vestido en forma de arbolito.Se recorta la forma.
Luego se abre y quedaran dos partes exactamente iguales.
Paso 2
Posteriormente se pasa el patron a la tela de fieltro esta se va a doblara la mitad para trazar la figura.
Paso 3
Luego para sacar el patron de la zona delantera del vestido se va a tomar el patron anterior creado en el paso 1 y se va a crear el cuello del vestido.
Luego se pasa este patron a la tela de fieltro, siempre doblando este a la mitad.
Paso 4
Posteriormente se obtienen ambas piezas.
Luego se procede hacer los sujetadores del vestido.
Paso 5
Luego los sujetadores se van a coser sobre la parte trasera de la terminacion final de los extremos superiores de la prenda.
Luego se le coloca un boton.
De esta manera quedaria el traje de arbolito de navidad.
Finalmente se procede hacer con los foami ciertas decoraciones para el traje de navidad.
Hice circulos sobre los foamis escarcachados.
Tambien decoré el vestido con lazos amarillos en foami.
De igual forma se diseño una decoracion en el cuello del vestido, recortadno el foami amarillo en finos hilos de este material.
Asi hemos terminado este lindo vestido de arbolito de Navidad!
Saludos y Feliz navidad Amigos!
Las imagenes son de mi autoria y fueron Tomadas a traves de un Telefono ZTE BLADE.
Traductor utilizado: Deepl
La edicion de las fotos la realicé mediante la aplicaciones Editor de Fotos Polish y los separadores se editaron en canva.