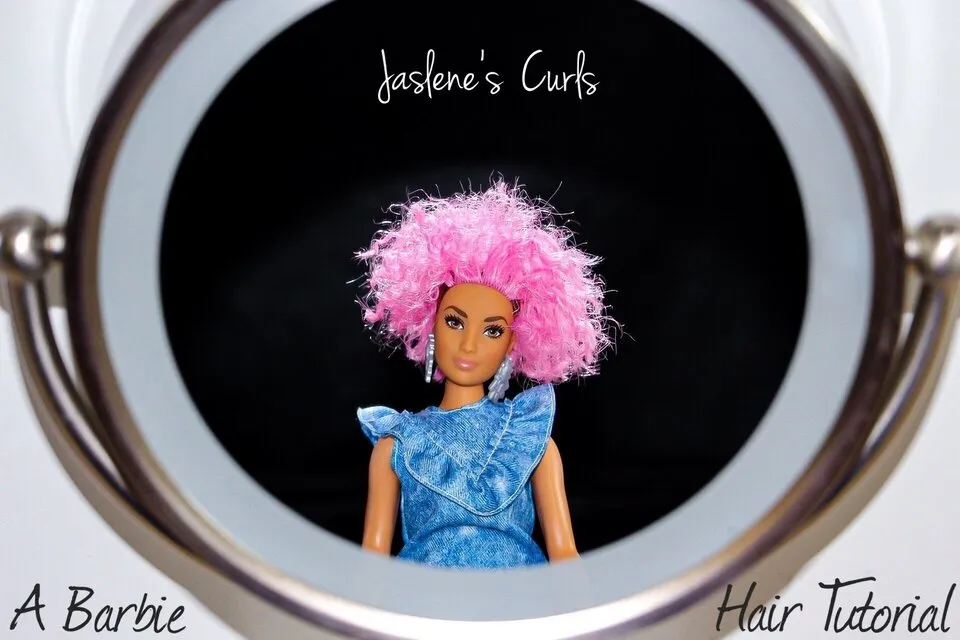
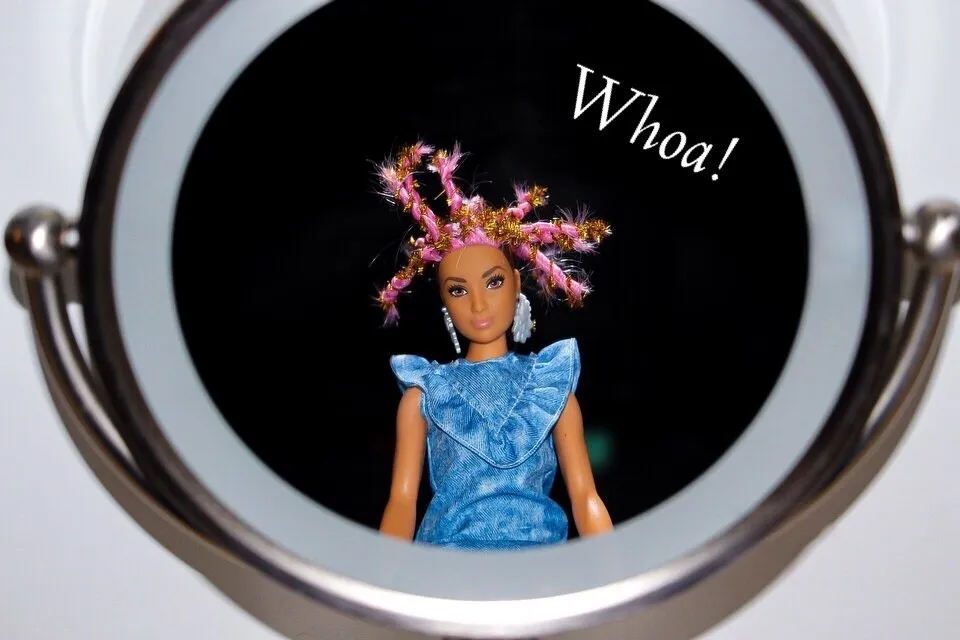
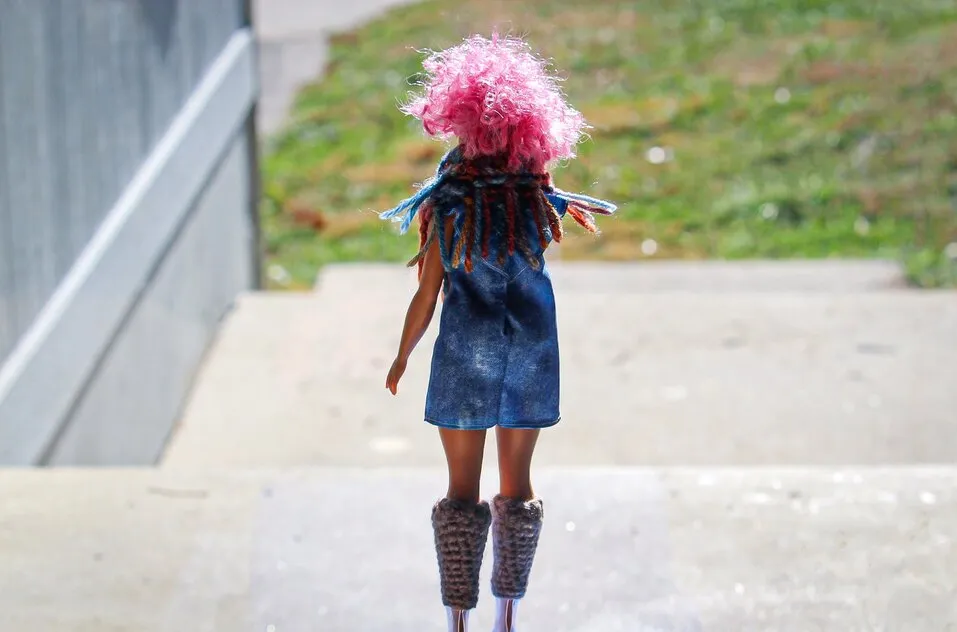
Last week you met Jaslene as she took you on a photoshoot journey showing off her new hat and scarf set.
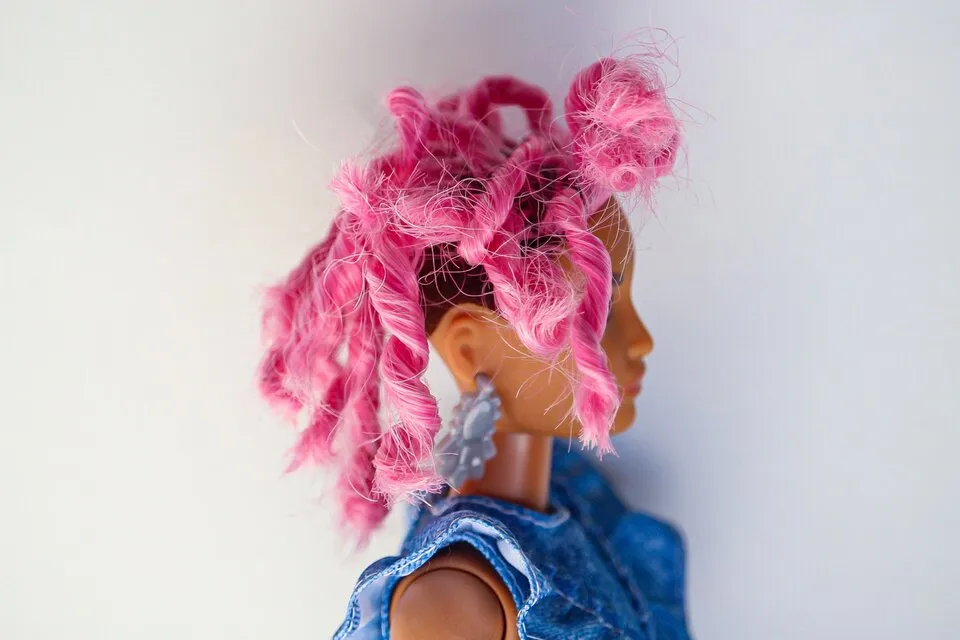
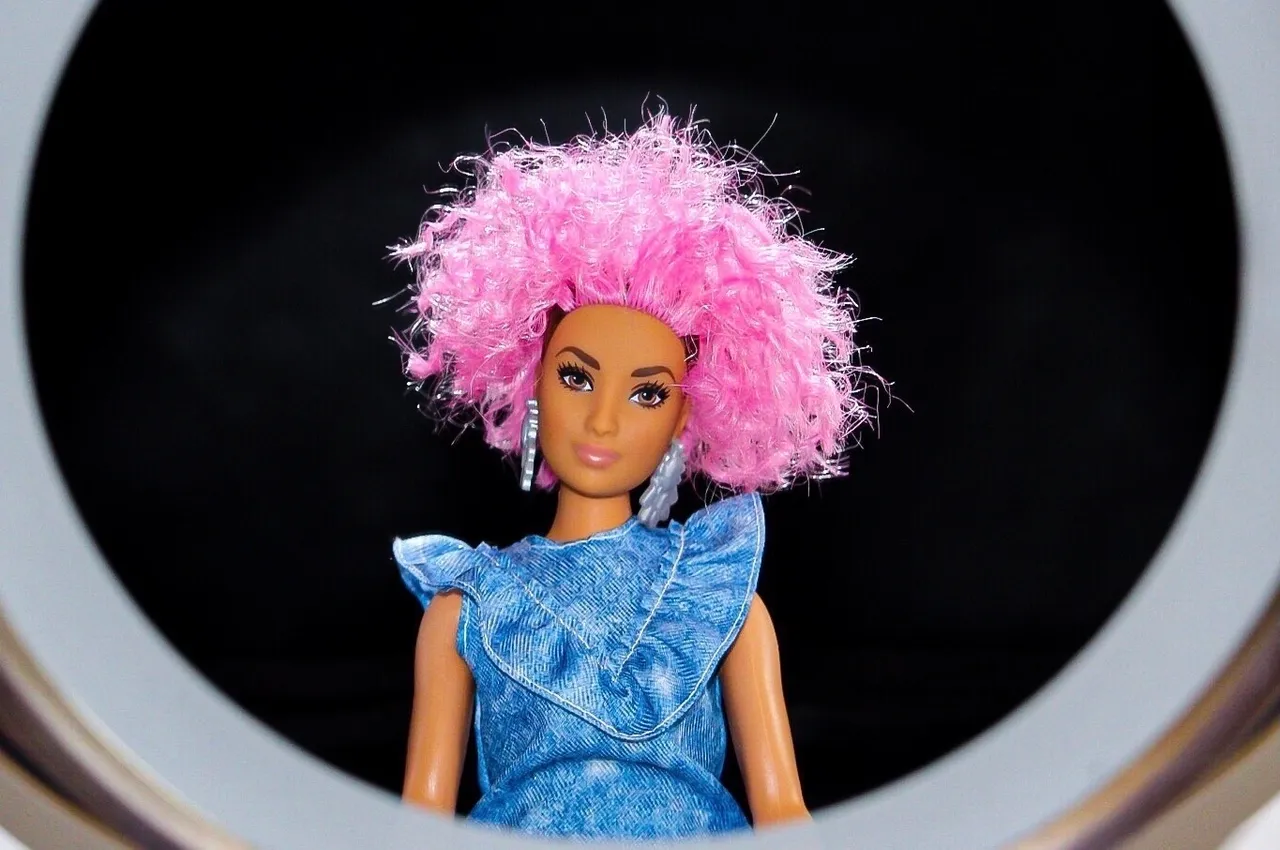
What you didn’t see was how she got her curls poplin’! She now rocks a cute short curly style that fits well with her vibrant pink hair.
So how did she get there from here?...
Let me show you. 😊
Supplies
• Pipe cleaners
• String/Yarn
• Boiling water
• Scissors
Section hair, Twist and Wrap
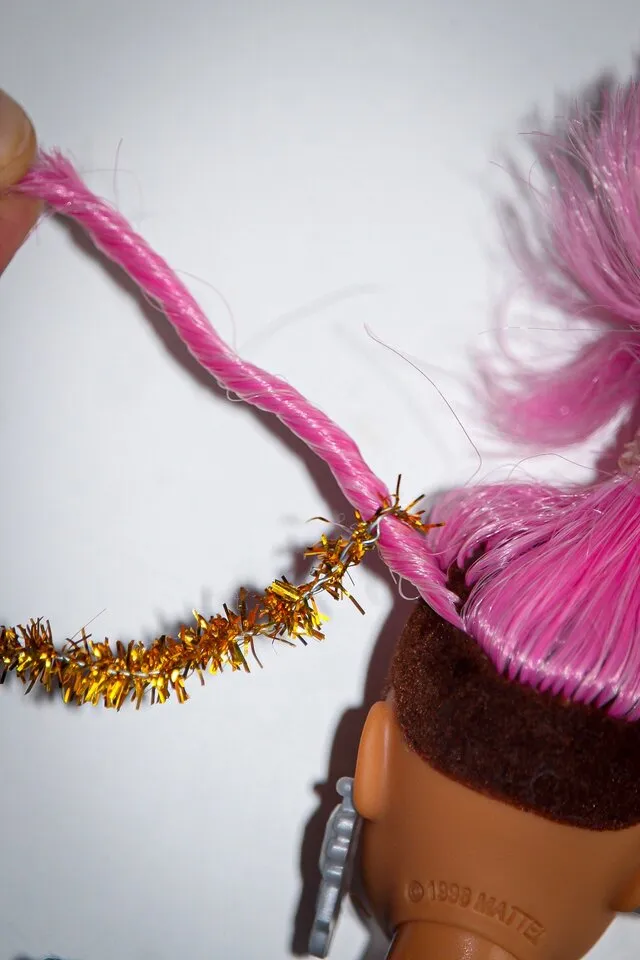
Let me first warn you not to use these decorative pipe cleaners like I did. It’s all I had on hand at the time but I do recommend using regular ones. The shiny pieces do tend to fall off and get everywhere. 😩
You want to start with a small section at a time. The bigger the section the bigger her curls will turn out.
After I parted each section I damped the hair a little with water in order to help the hair stay more in place...
Twist...
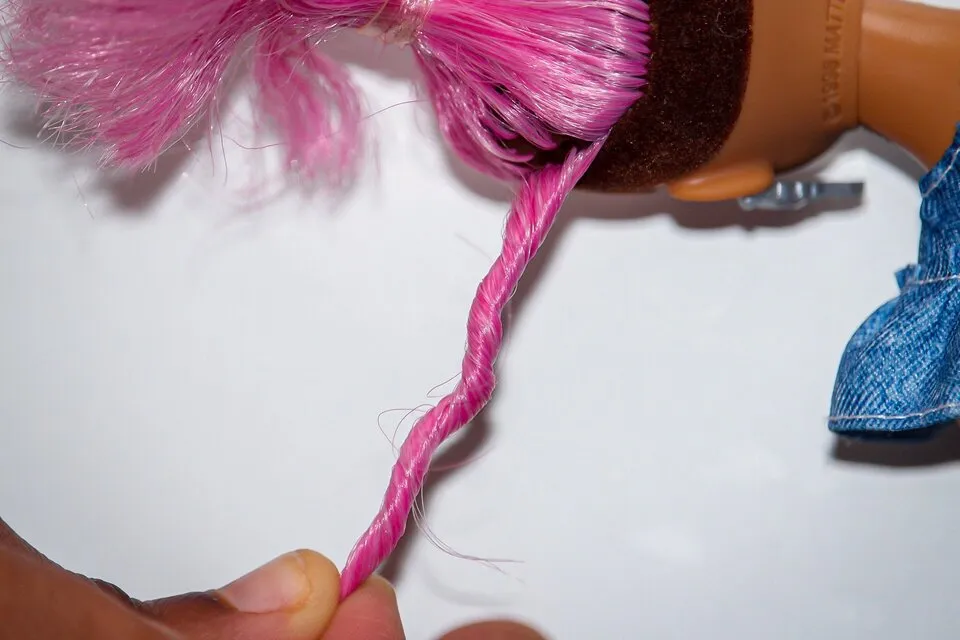
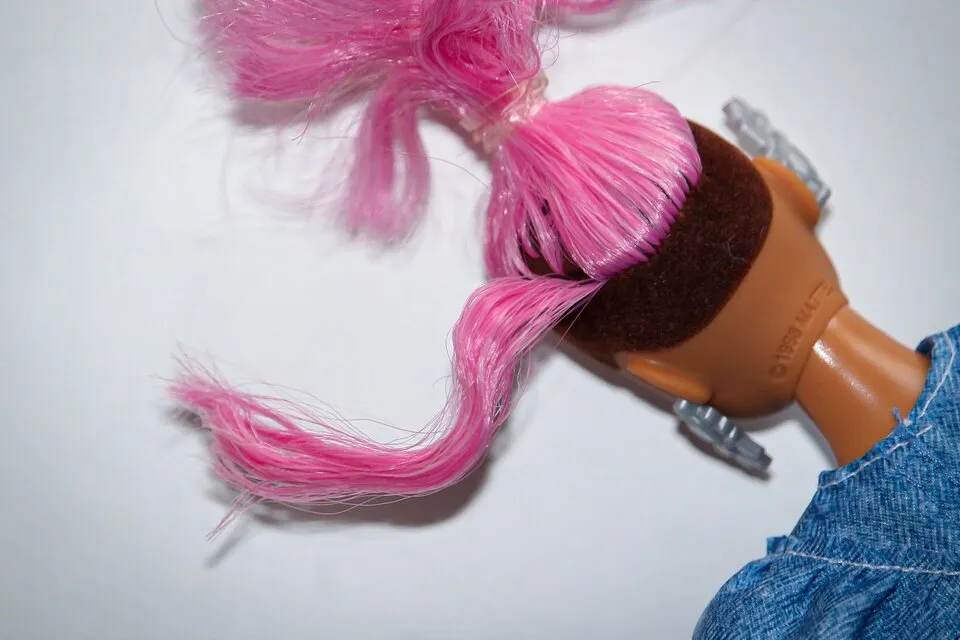
Wrap one end of the pipe cleaner around the root of her hair and began wrapping her hair down around the pipe cleaner.
You might have to keep repositioning the pipe cleaner to make sure it stays very close to her scalp. In the photo mine was loose so I had to tighten it...
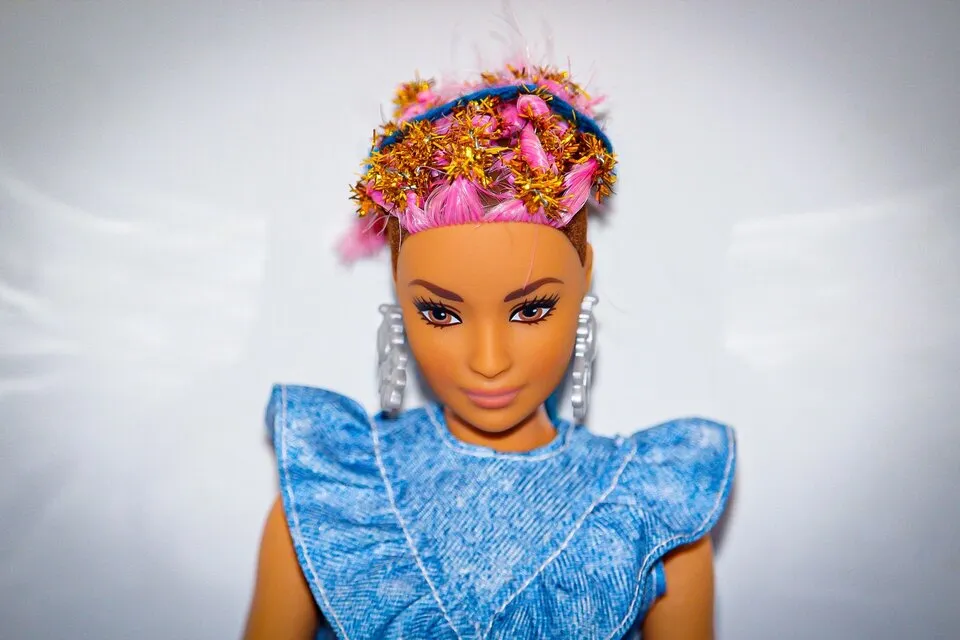
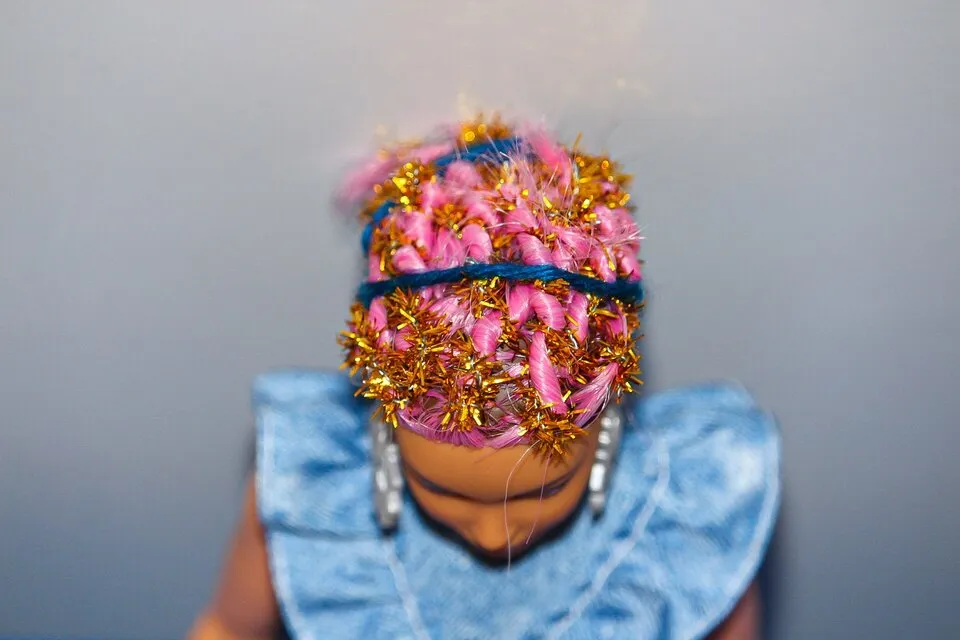
Here’s what a full head looks like...
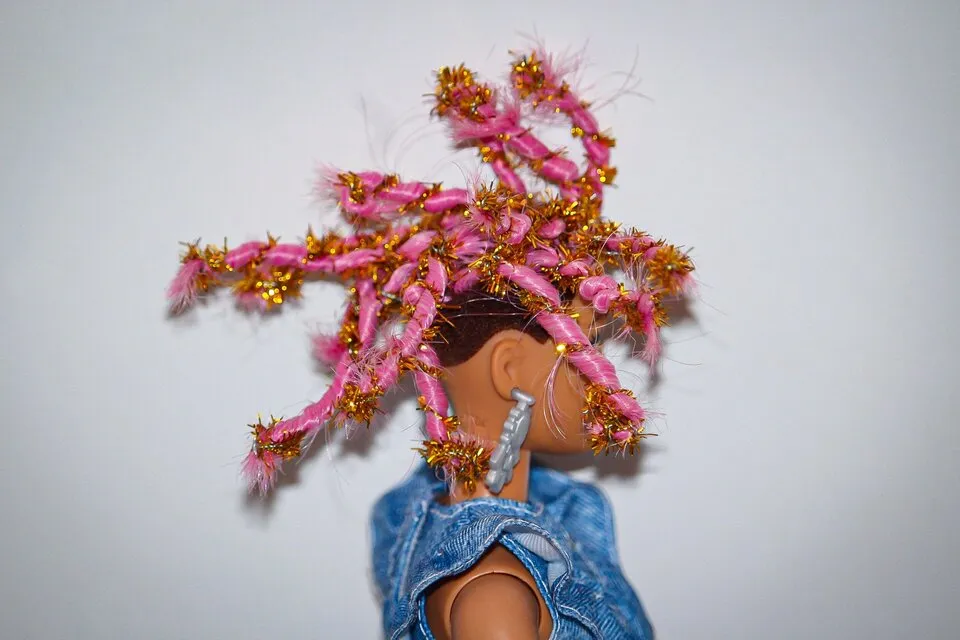
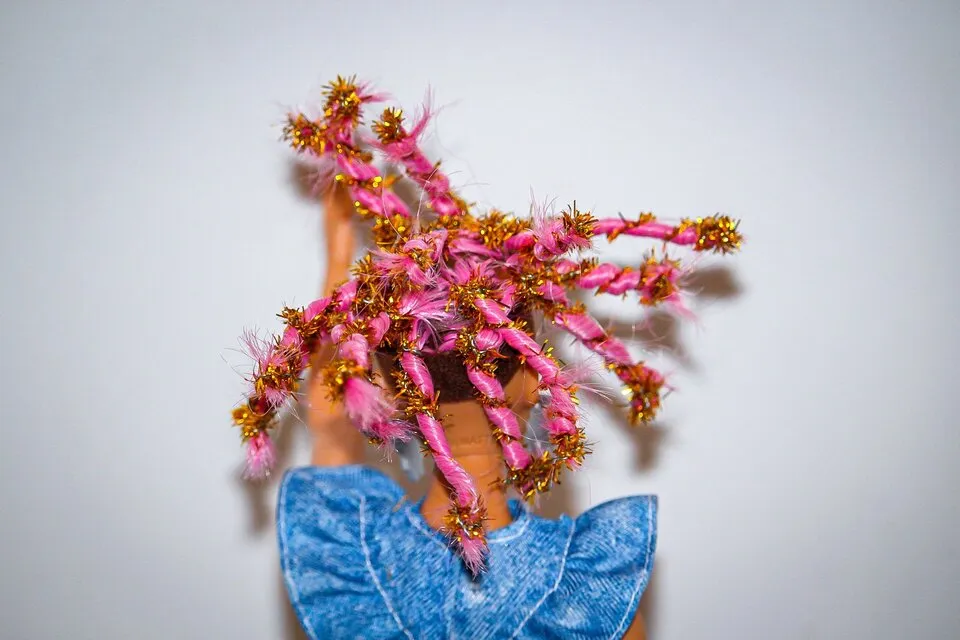
And a look at the front...
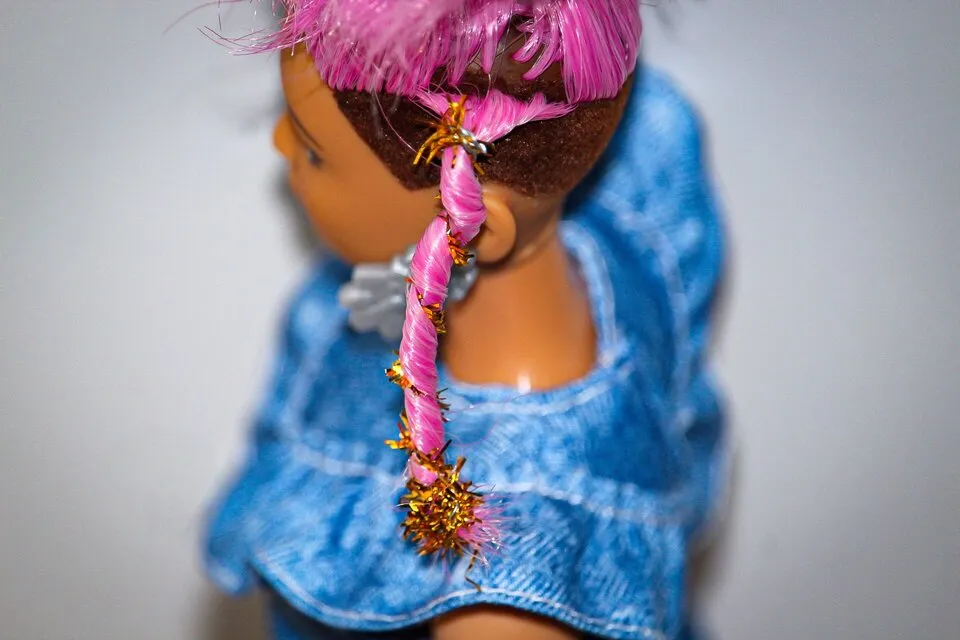
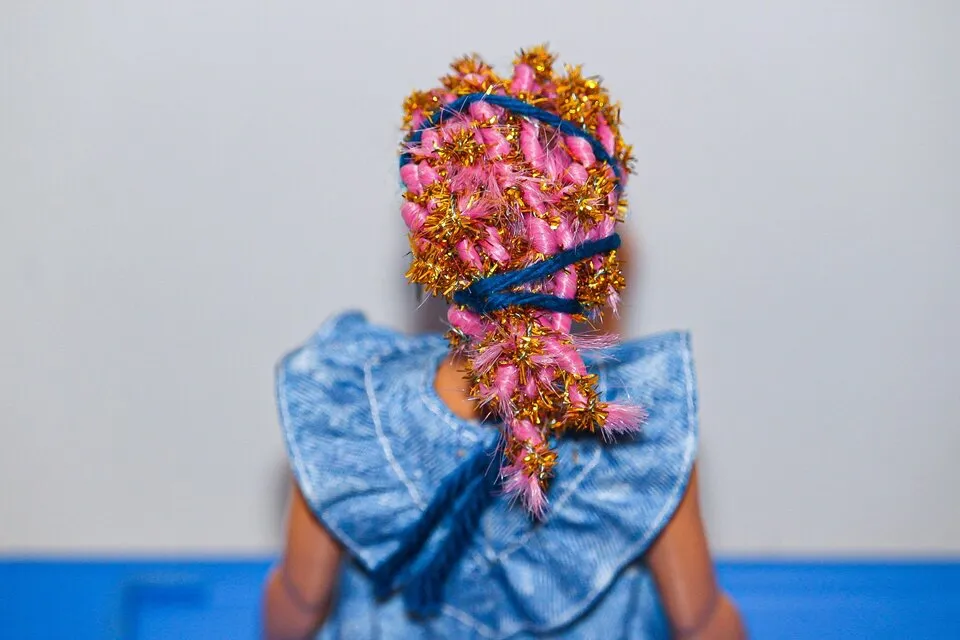
Tie Down
Next, tie down her hair with a string or piece of yarn to keep it in place. You don’t want a crazy looking fly away finish lol...
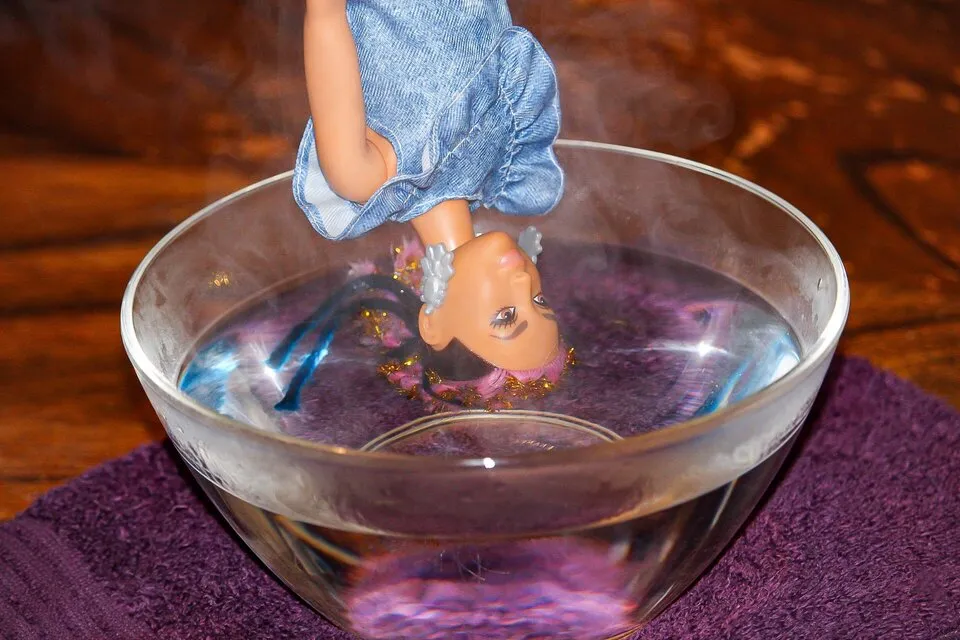
Boil
Boil a pot of water and then transfer the water to a bowl. I dipped Jaslene’s hair for two 10 counts...
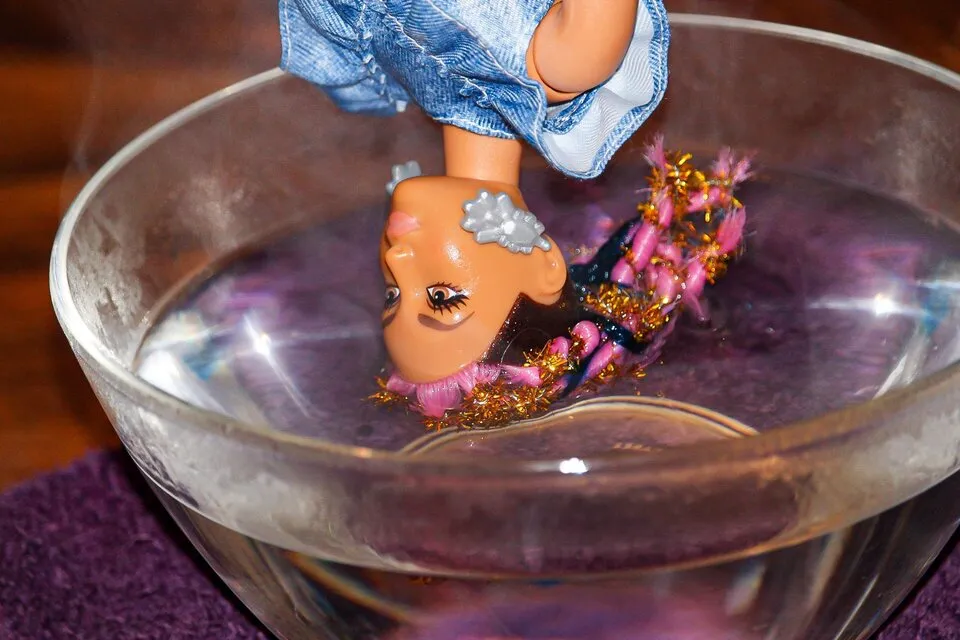
Can you see the steam?...
All done. It looks nice and shiny too...
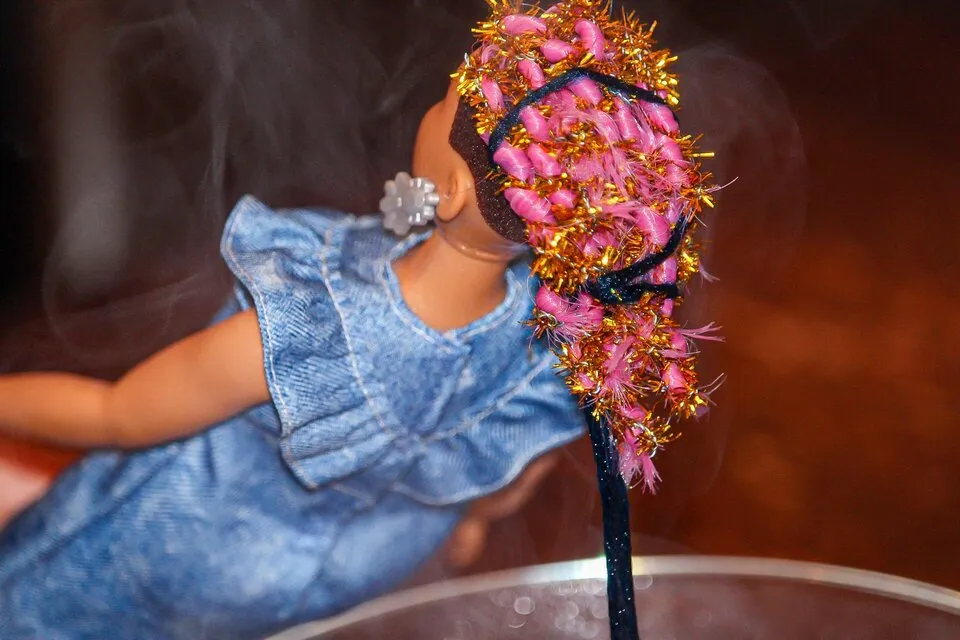
I let the “curlers” stay in her hair all night to make sure it fully dried. You want to make sure her hair is not wet or damp when taking them out.
Removing the Pipe Cleaners
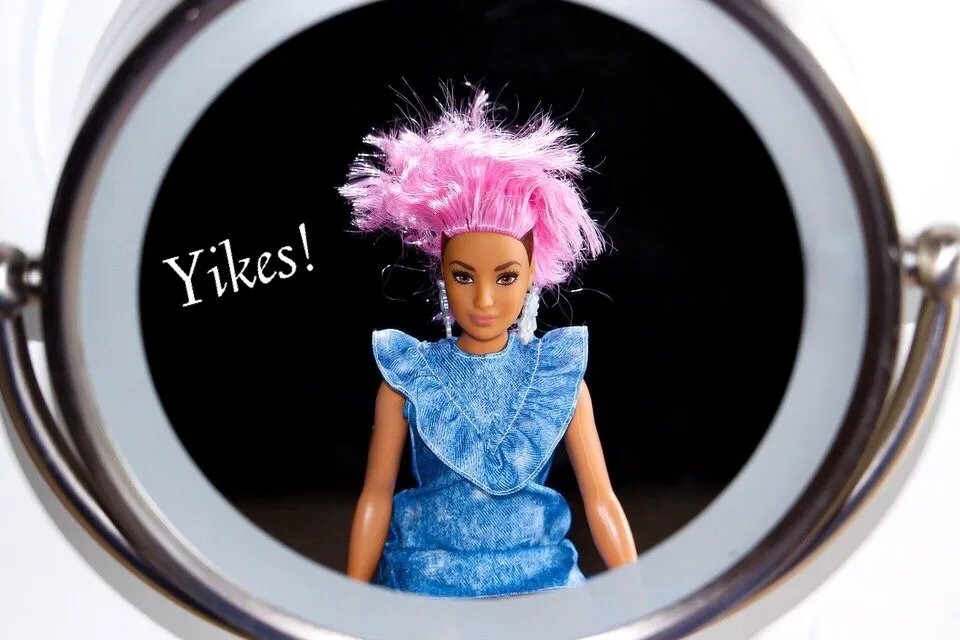
Here are the next mornings results...
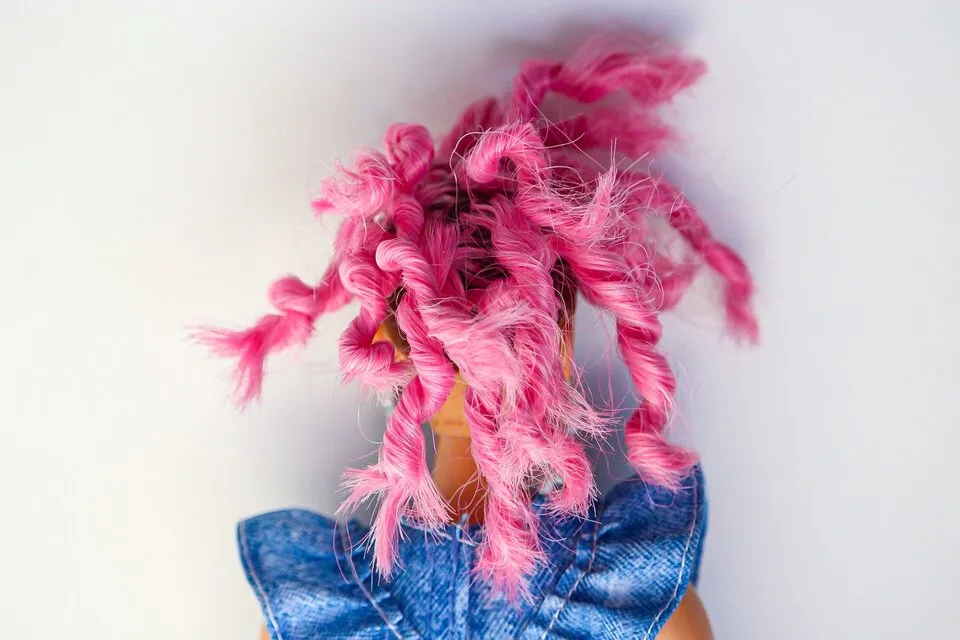
I was fairly pleased with the results. I think there would have been a better outcome had I used the regular pipe cleaners. I also wish the ends would have curled more but I fixed that later on.
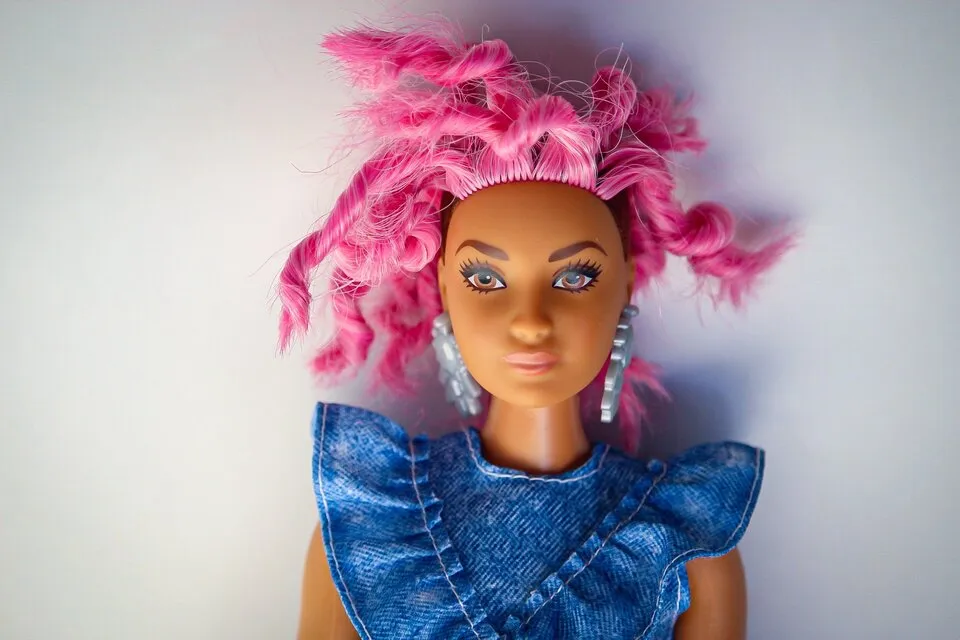
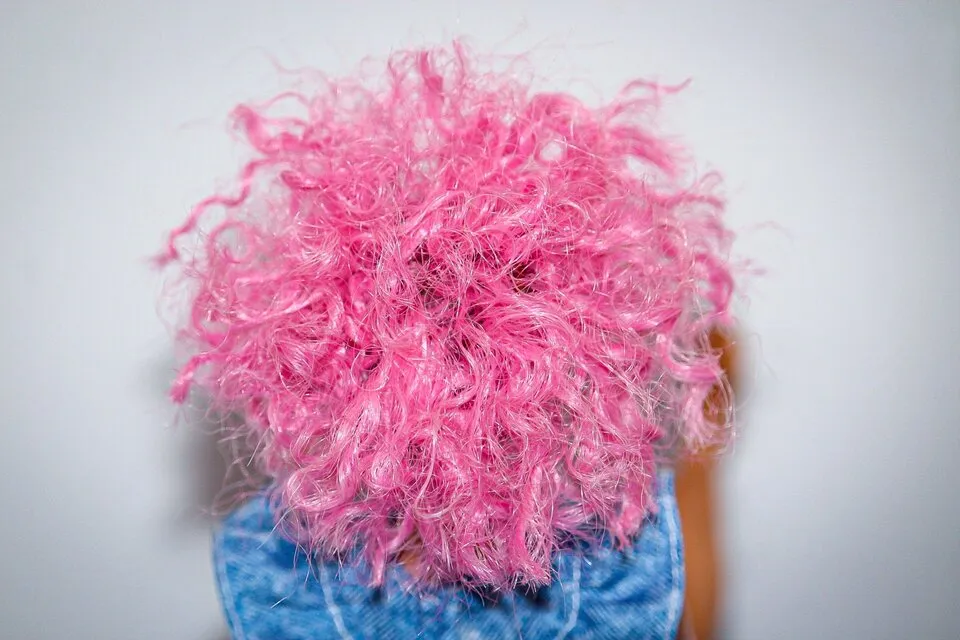
Separate Curls and Style
Finally, I separated the curls and styled her hair. I like the wild look results.
I also clipped off her straight ends to make it look neater...
I hope you enjoyed this tutorial! If you give this a try on your Barbie please do share ~ 😉