I came up with the idea of sharing with you how I connected an electric fancy lamp holder. This is because the guideline will be of assistance to us whenever we feel that an electrician that is supposed to mount the fancy lamp holder was not available. It will also guild us to determine whether an electrician mounting an electric lamp holder for us is actually doing the right thing with his/her connections. We must not joke with electric connections by not doing the right connection. If you don't have any knowledge about electric connections, please avoid doing the wrong one. This is because any wrong connection of wires during the fitting of the bulb may lead to unwanted life and property damage.

Electricity is very important to have in our different homes. I don't think anyone could actually wish to stay in the dark without light in his/her house. This is because we use light to see in order for activities of the day to be more easier and convenient. Since we have seen the importance of light in our life, we must apply caution when wiring and fitting lamp holders.

Materials that were used for the fitting of the fancy lamp holder will be highlighted below:
Fancy lamp holder.
plier.
Screwdriver.
Testing pen.
White energy screw bulb.

Procedures that were used for the fitting of the fancy lamp holder will be discussed below:
The moment materials to be used for the fitting of the lamp holder are provided. Check what made the formal lamp holder to be damaged before the current fitting. This will help you determine whether the wire that will be connected to the current lamp holder is okay. Once the wire is okay, you can go ahead with your connection.

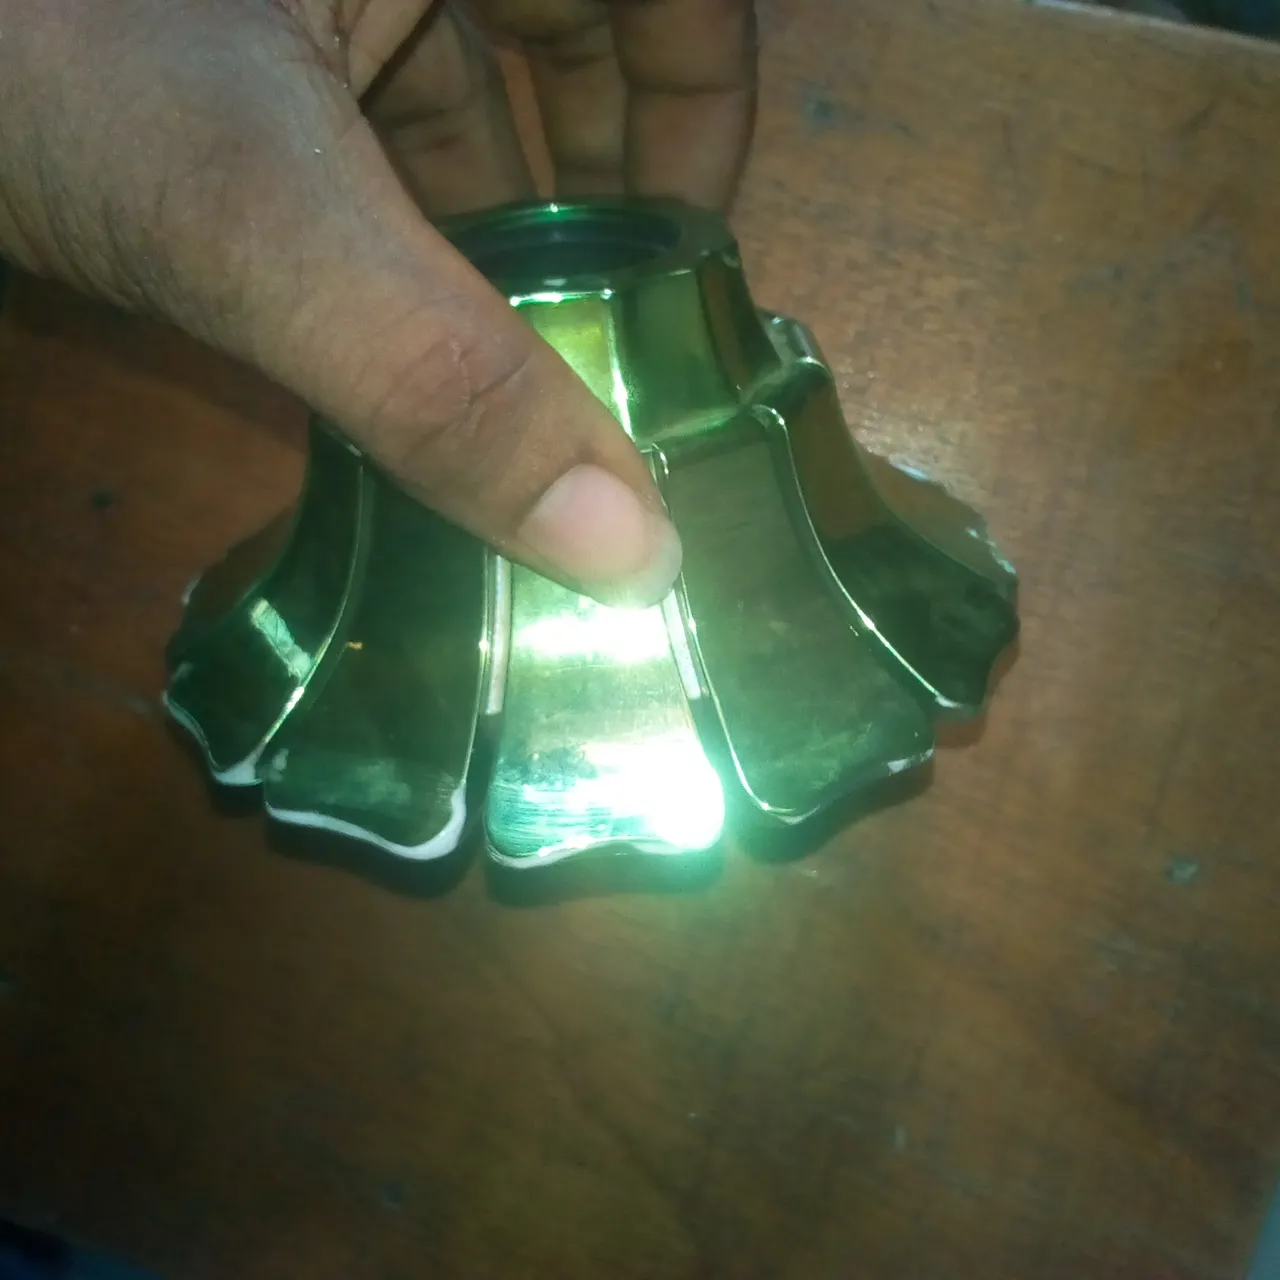
Use your hand to scroll off the fancy cover of the lamp holder. When doing this, you are expected to scroll your hand left to help the fancy cover of the lamp holder be removed.

Look inside the lamp holder, you will see two points dictating where the wire can be connected. You will now have to use the screwdriver to lose the screw on the points.

Take the lamp holder closer to the wire inside your parlor that you want to connect the lamp holder with. Looking at the wire from the ceiling, you will notice that there are two twin wires with red and black colors. The red wire stands for positive (+) and the black wire stands for negative (-). Use the plier to open the real copper cable inside the red and black wire. Now, connect the red wire to one of the points from the lamp holder and the black to the remaining point. After that, use the screwdriver to tighten the screws holding the two wires inside the lamp holder.

After your connection, use a separate screw to tighten the lamp holder to the ceiling. This will make the lamp holder have a balance on the ceiling where it was mounted.

Now take the fancy cover of the lamp holder and cover back the lamp holder. After that, use the testing pen to test if the light is passing through the positive + wire. Once you have confirmed that, you can now put on the light from the wall gang. You can now see your light shining.