
Hoy les quiero hablar de un brazalete muy lindo y sencillo en un color rojo muy fácilmente de hacer muy usual para ustedes las chicas al que querer ir a un evento especial.
Aquí les estaré presentando los materiales utilizados en esta elaboración.
💎Piedras Rojas Grandes
💎Piedras Rojas pequeñas
💎Piedras Rojas escarchadas
💎Piedras grandes transparentes .
💎Piedras pequeñas blancas .
💎Piqueta
💎Alambre de cobre
💎Trancadero reciclado

Bueno aquí les estaré presentando los paso a seguir en la elaboración de nuestro lindo y sencillo Brazalete .
A continuación
Pasó 1

Lo primero es ir metiendo las dos piedras transparente es es para que valla tomando diferencia
Pasó 2
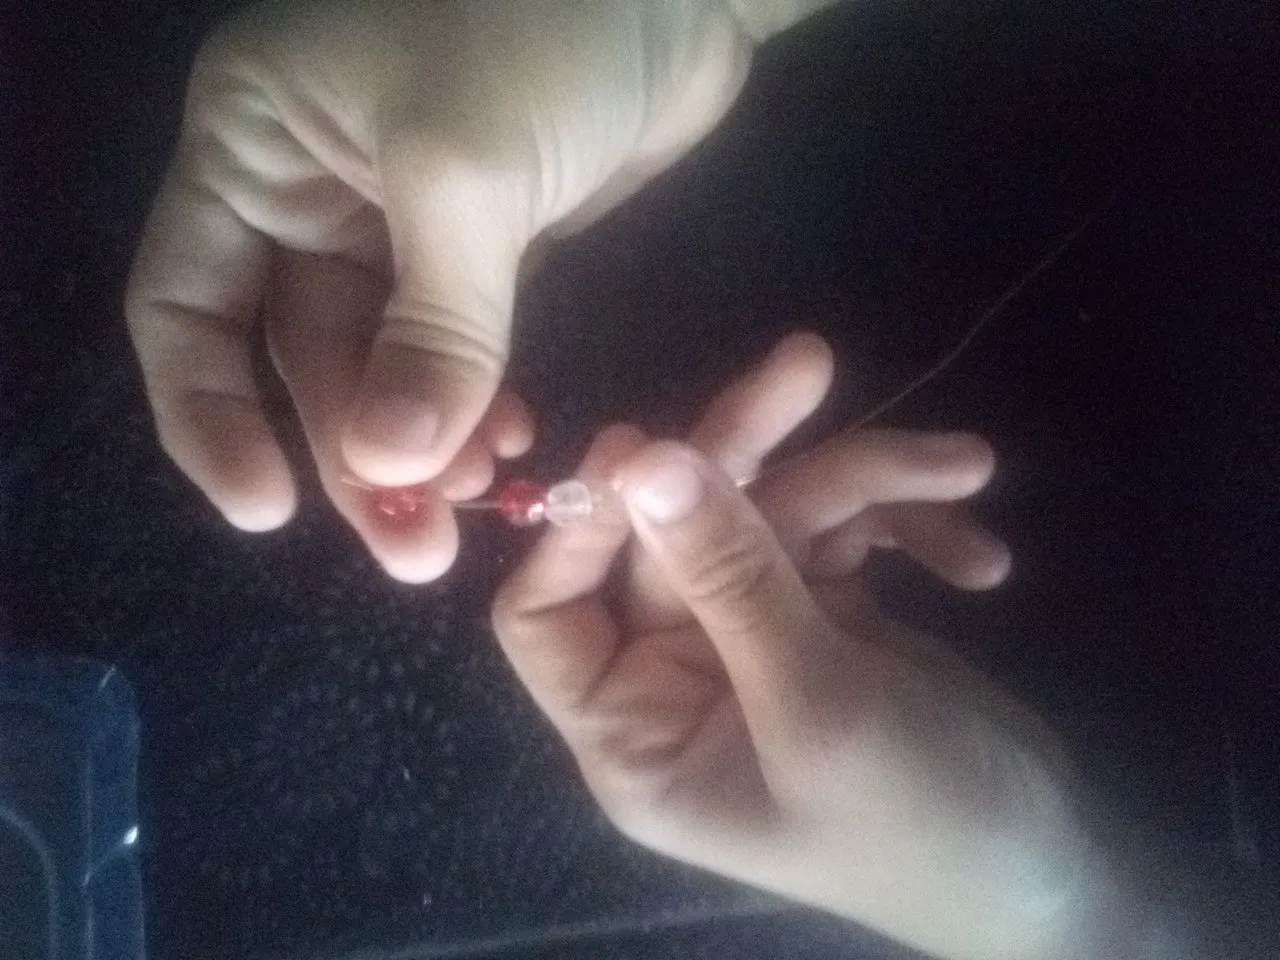
Vienen las piedras Rojas pequeñas que permiten el separamiento de las piedras con distintos colores es importante ya que al ir construyendo se va dando la forma
Pasó 3

Bueno aquí hacemos un separamiento de piedras en el medio de las dos blancas va una piedra roja mediana
Pasó 4

Bueno ya después viene la piedra grande transparente que .
Pasó 5
Una vez metidas las primeras piedras se va ha hacer el mismo procedimiento con el brazalete dándole los últimos toques al lindo y sencillo brazalete en color rojo .
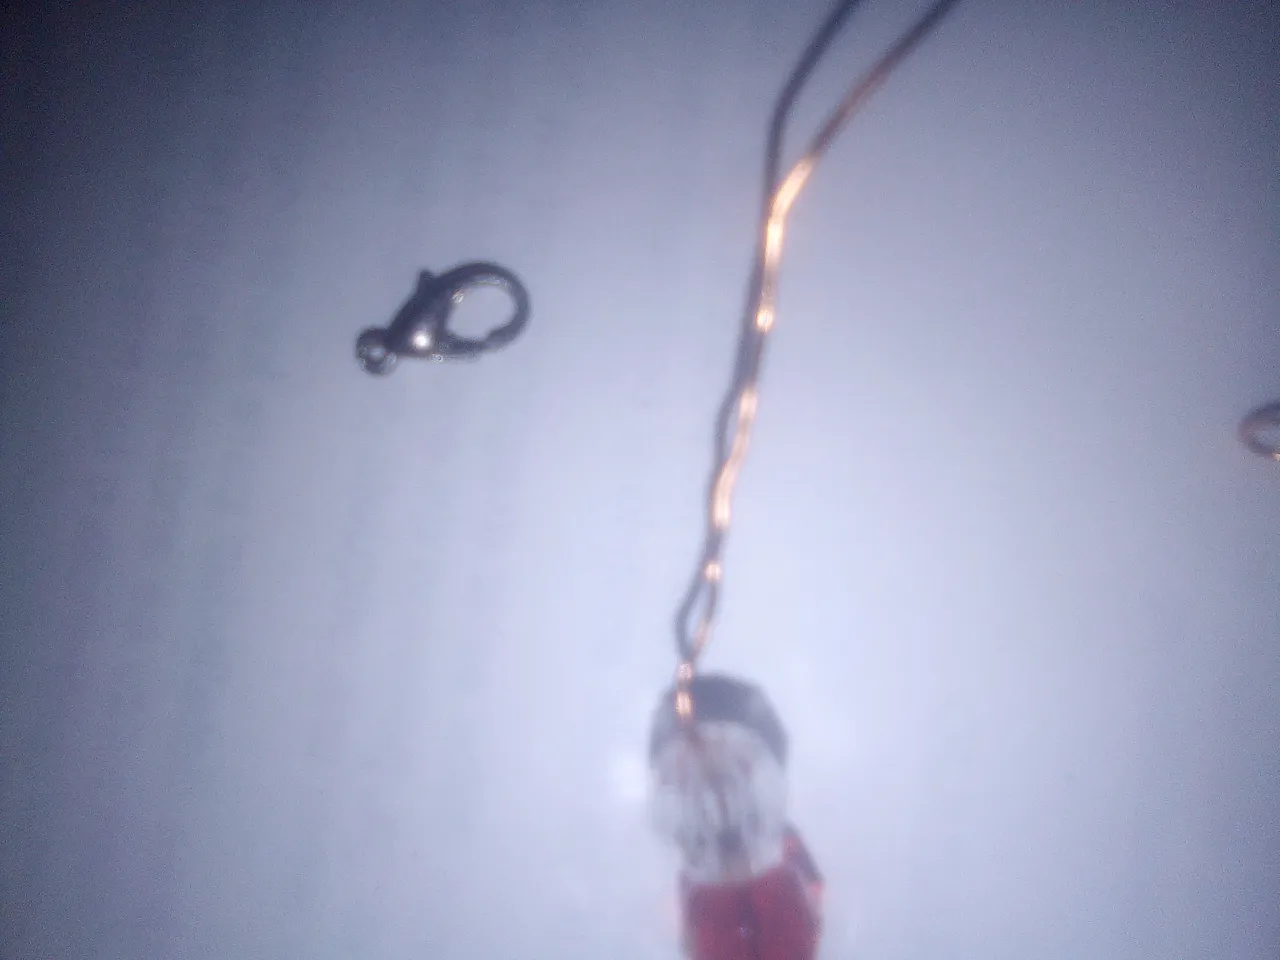
Pasó 6

Bueno aquí está la elaboración del trancado de la parte última que es un pequeño círculo donde va insertado el otro alambre de el brazalete .
Una vez ya hecho en la parte de abajo se le hace unos 4 giros que quedará de este modo .
Pasó 7

Una vez ya terminada con la piqueta se corta el alambre de cobre esto permite que quede cortó y así poder hacer mejor la facilidad de quedar más apretado y tupido el giro .
Pasó 8

Este el otro pasó ya después de terminar el paso anterior seguidamente hacemos este metiendo en el alambre de cobre el trancadero reciclado para así brindarle más facilidad de ponerse el brazalete.

Por último ya finalizado nuestro lindo y sencillo brazalete ideal para utilizar en toda clase de ocación perfecto para también regalar en el día del amor y la amistad muy importante es siempre ser detallista en cada momento de reuniones con nuestras amistades .
Bueno espero que de verdad les guste mucho mi creación que está sencilla pero con mucha dedicación para que ustedes puedan saber cómo los hagoy así tener más creatividad en todos los aspectos de jewerly.
Espero sus comentarios amigos está creación es muy linda de hacer amigos aquí les dejo esta elaboración del brazalete .
-Las fotos fueron editadas por mi teléfono Alcatel 1 y son de mi autoria.
-las fotos son editadas mediante la aplicación editor de fotos polish y los separadores los edite yo.
-traductor utilizado : Deepl. Traductor.
Today I want to talk about a very nice and simple bracelet in a red color very easy to make very usual for you girls who want to go to a special event.
Here I will be presenting the materials used in this elaboration.
💎Large Red Stones
💎Small Red Stones
💎Frosted Red Stones
💎Large transparent stones .
💎Small white stones .
💎Picket
💎Copper wire
💎Recycled ratchet
Well here I will be presenting the steps to follow in the elaboration of our nice and simple bracelet.
Next
Passed 1
The first thing to do is to put in the two transparent stones to make a difference.
Passed 2
There are small red stones that allow the separation of the stones with different colors is important because as you go building the shape is given.
Passed 3
Well here we make a separation of stones in the middle of the two white stones is a medium red stone.
Passed 4
Well, then comes the big transparent stone that .
Passed 5.
Once the first stones are in, the same procedure will be done with the bracelet, giving the final touches to the beautiful and simple red bracelet.
**Passed 6
Well here is the elaboration of the locking of the last part which is a small circle where the other wire of the bracelet is inserted.
Once it is already made in the bottom part, it is made about 4 turns that will be like this.
Passed 7
Once finished with the pickaxe, the copper wire is cut, this allows it to be cut and thus to be able to make better the facility to be more tight and dense the twist.
Passed 8
This is the other step after finishing the previous step and then we do this one by inserting the recycled copper wire into the copper wire to make it easier to put on the bracelet.
Finally, we have finished our beautiful and simple bracelet, ideal to use in all kinds of occasions, perfect to give as a gift on the day of love and friendship. It is very important to always be thoughtful in every moment of meetings with our friends.
Well I hope you really like my creation that is simple but with a lot of dedication so that you can know how to make them and thus have more creativity in all aspects of jewerly.
I hope your comments friends this creation is very nice to make friends here I leave this bracelet elaboration.
-The photos were edited by my Alcatel 1 phone and are authored by me.
-the photos are edited by polish photo editor application and the separators were edited by me.
-translator used : Deepl. Translator.