
Les estaré presentando más adelante los materiales utilizados en esta hermosa pulsera que puede lucir en toda clase de ocacion y permitiendo lucir para estas navidades.
Los Materiales son los siguientes
✨Piedras Rojas Grandes
✨ Piedras Rojas perladas Pequeñas
✨ Alambre de cobre
✨Piqueta.
✨Cristales Transparentes grandes
✨ Diamantes perlados transparentes
A continuación les estaré explicando el paso a paso en la elaboración de esta hermosa y sencilla pulsera .
Paso 1

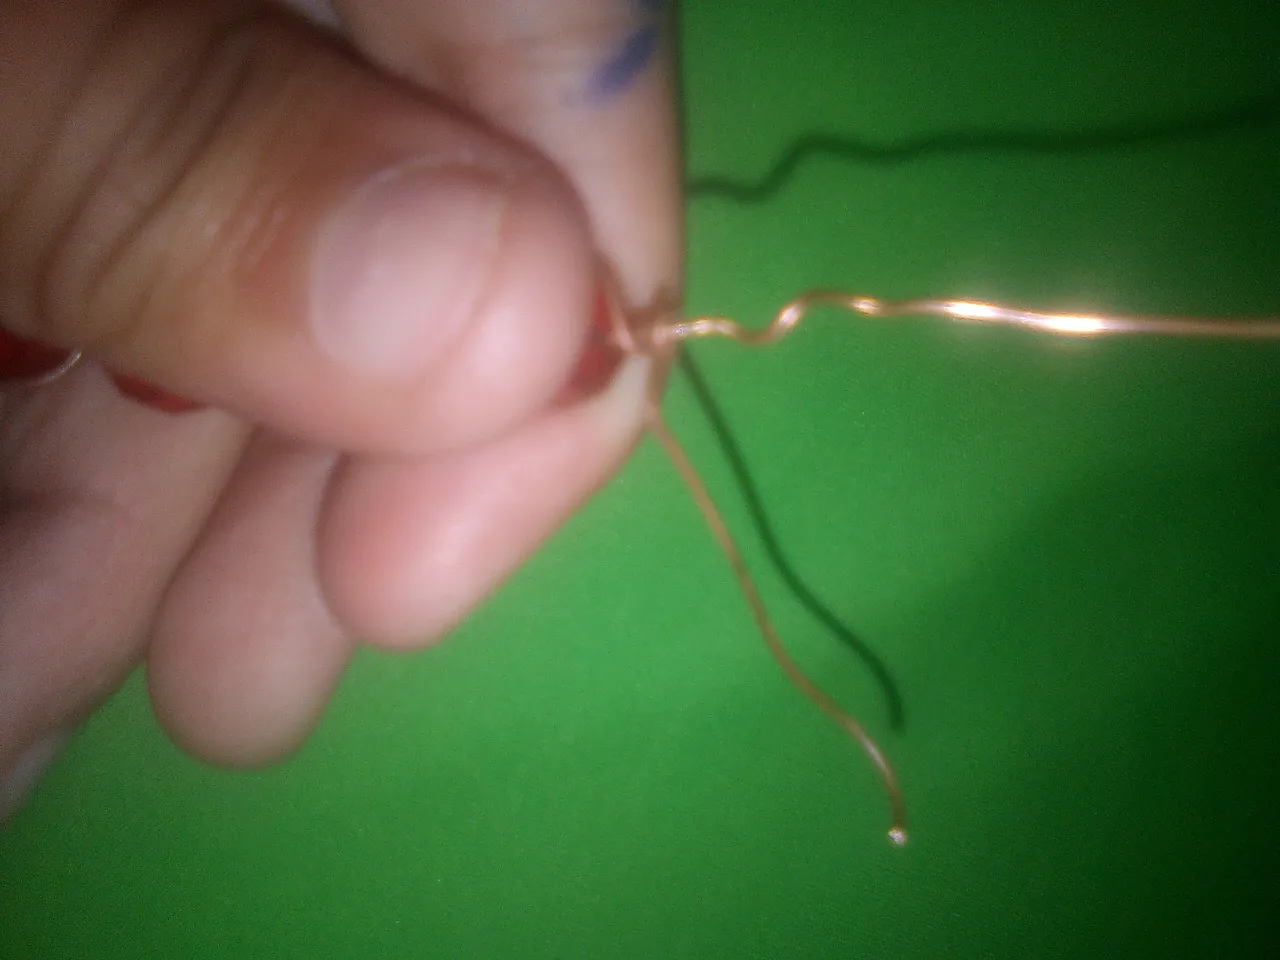
Lo primero es hacer un doble dándole un giro de tres veces permitiendo que quede doble los alambres.
Paso 2
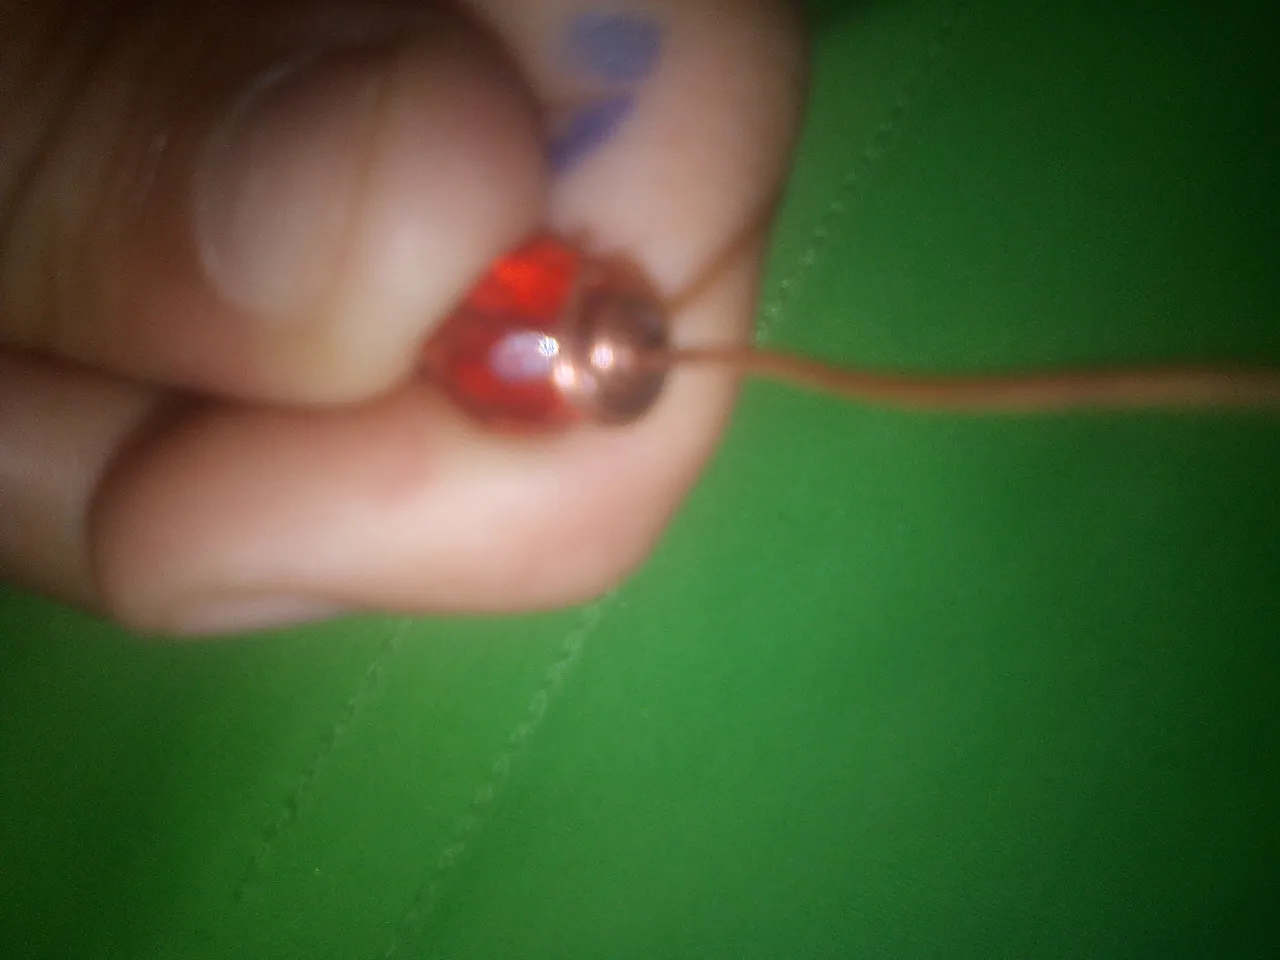
Lo que debemos de hacer es que en uno de los primeros alambres introducir una piedra de las grandes por supuesto rojas .
Paso 3
Una vez ya metida la piedra roja con el otro alambre se le da un giro hacia la derecha por la parte de arriba .
Paso 4

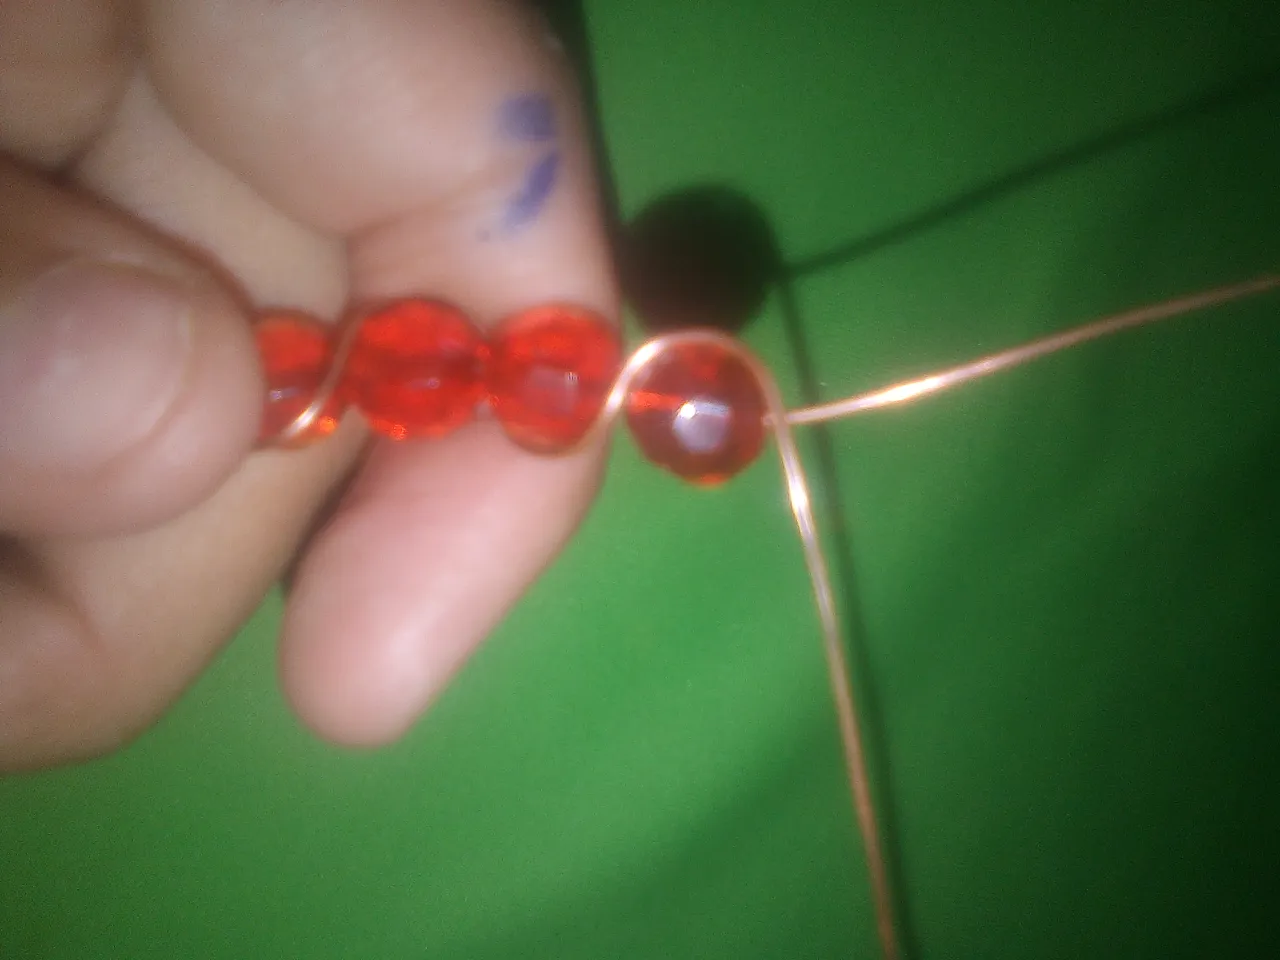
Debemos tomar por importante que al hacer los cruce uno tiene que ser por arriba y el otro por debajo .
Permitiendo que quede uno del lado derecho y el otro del lado izquierdo en forma de trenzado de dos.
Paso 5
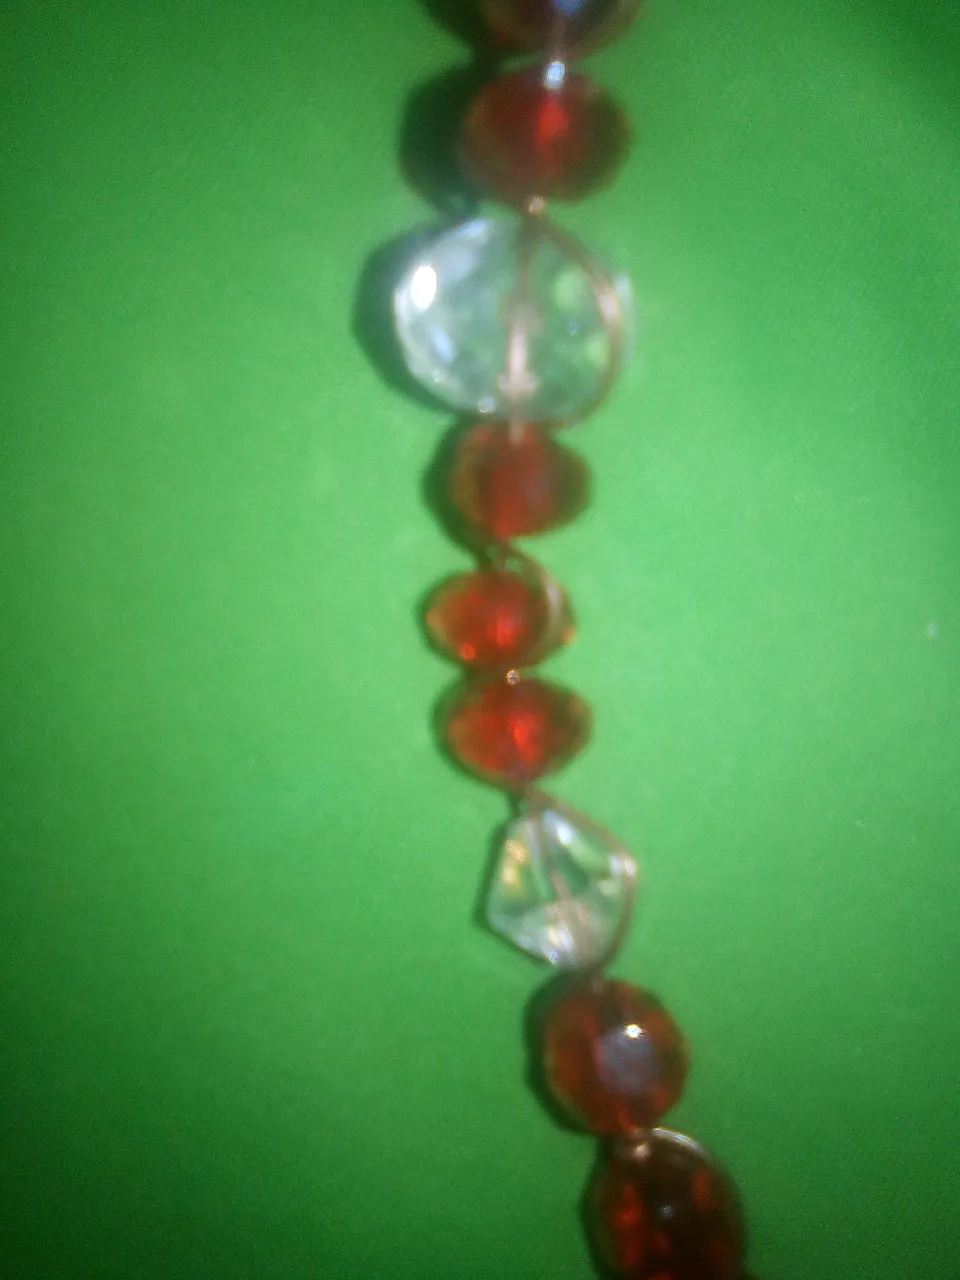
Vamos a contar las piedras en la primera hechura de la parte de la pulsera deben ser 5 piedras grandes rojas y 3 piedras pequeñas rojas .

Después de poner todas las piedras Rojas en seguida viene las piedras transparentes estilo diamantes y después de las piedras transparentes viene una de las grandes piedras que quedan en el medio de la pulsera dándole un toque sencillo para poder lucir .
Paso 6
Una vez ya metidas todas las piedras Rojas, hacer el mismo procedimiento del otro lado en si que queden los dos lados iguales .
Una vez ya terminados los dos lados que hallan quedado iguales , viene el paso de los trancados.

Paso 7
Con el lado derecho de la pulsera lo primero es cortar el alambre de modo que quede dos .

Ya cortado con uno de los alambres en la parte de la última piedra hacer varios giros permitiendo reemplazar y aguantar el amarre de la pulsera presionando muy fuerte.
Paso 8
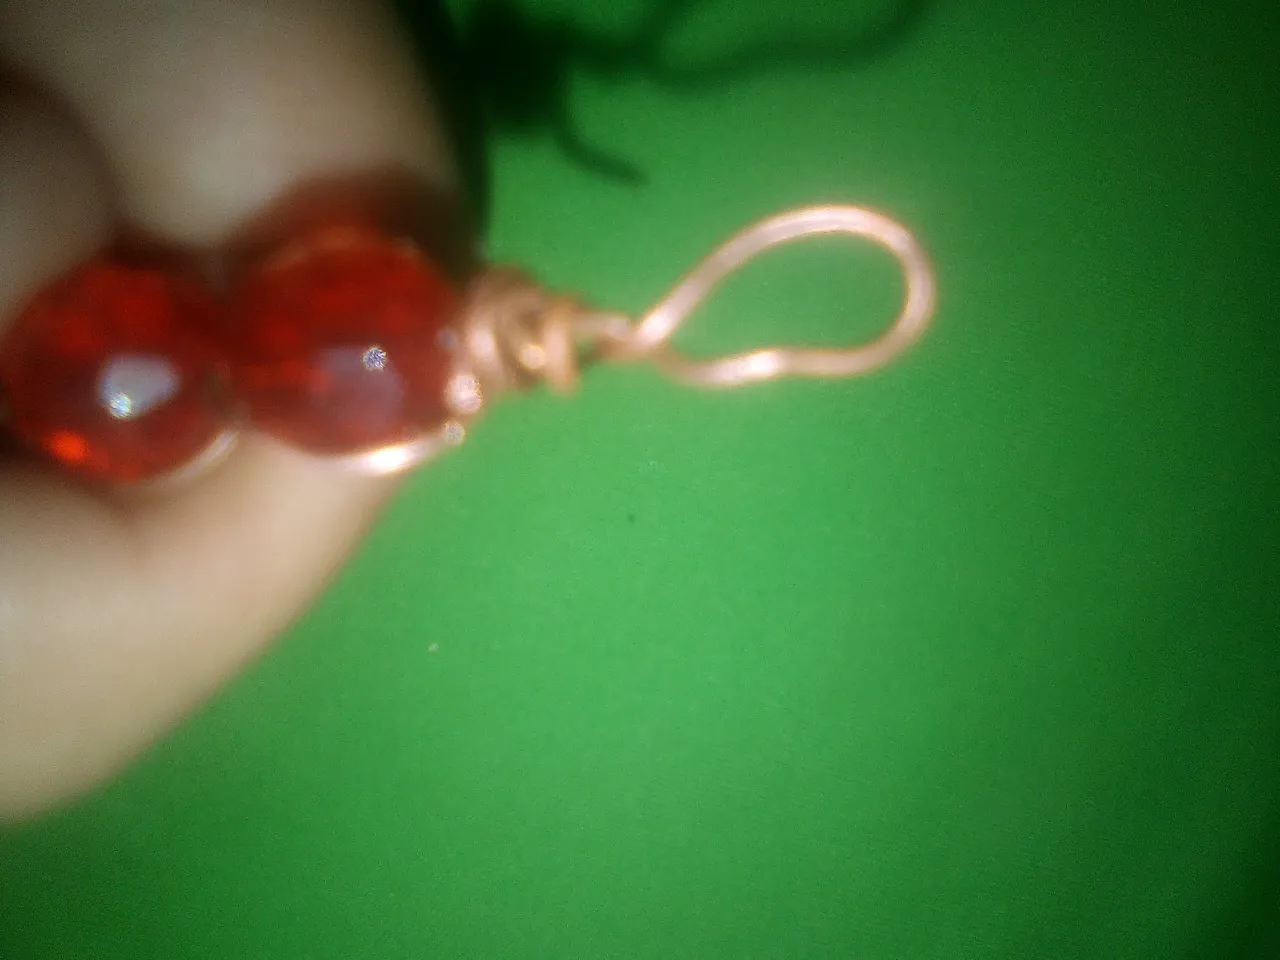
A lo último de la pulsera Con los alambres se va haciendo la parte final que son los trancados si son dos con una de ellas , se hace delicadamente un corte dejando aproximadamente un largo de un 3cm .
Una vez ya cortado el alambre con el que queda ,hacer una forma de U que es donde van enganchado la otra parte .
Paso 9
Por último viene el otro lado esa paso es el más fácil de todos ,lo primero es con la piqueta cortar de esta manera .

Con unos de los alambres hacer el giro de máximo tres vueltas en la parte de abajo , y con la otra despacio hacer una círculo pequeño todo depende el gusto de cada quien .
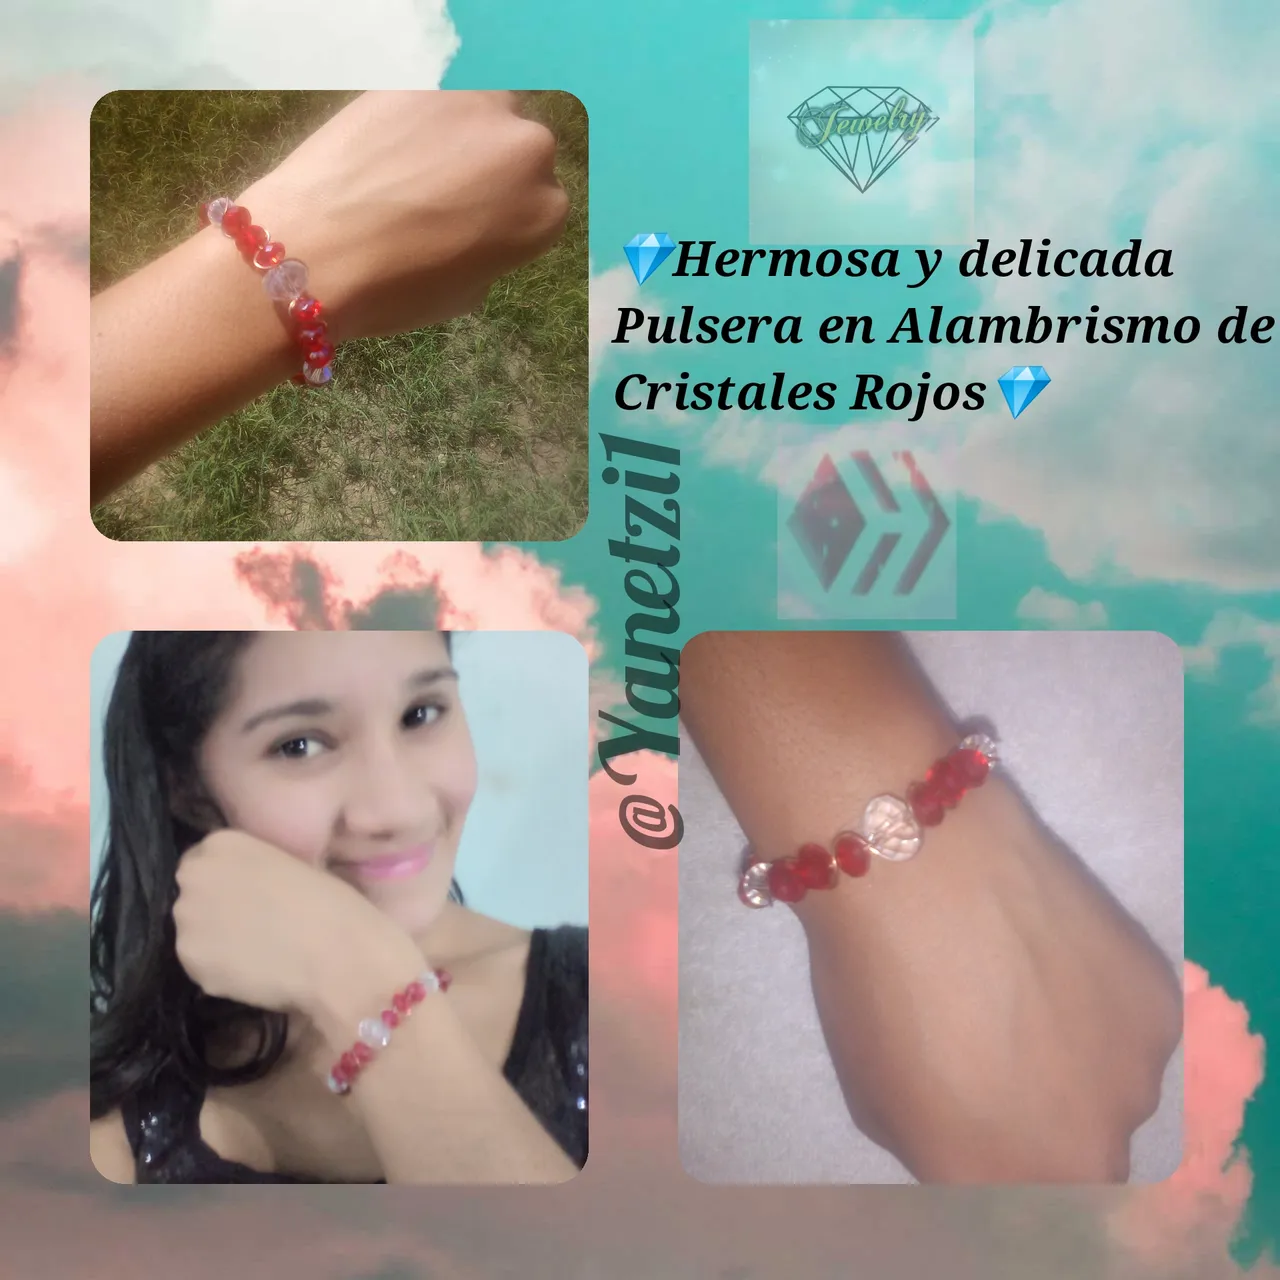
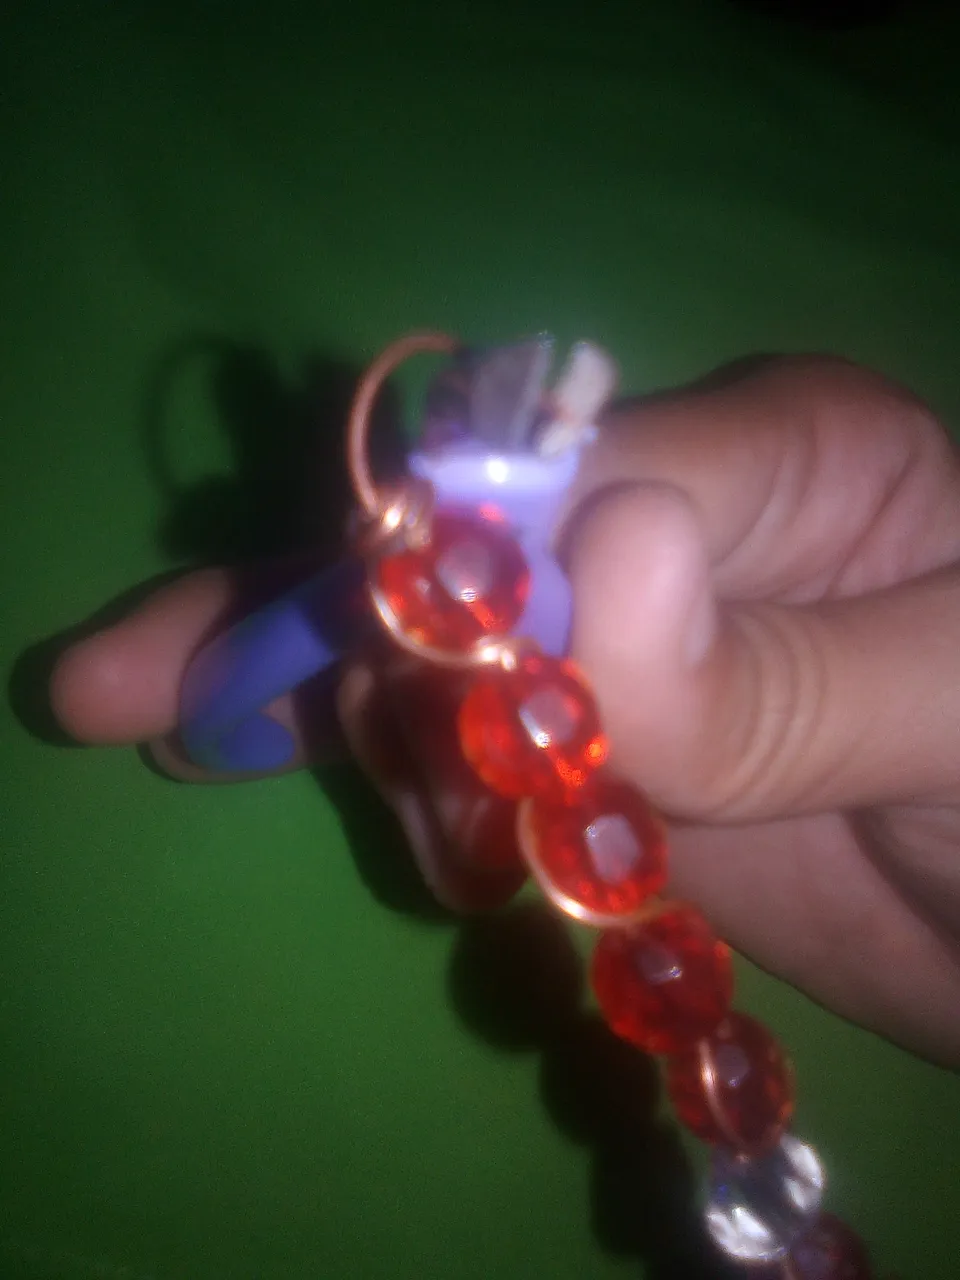
Bueno aquí les dejo mi hermosa pulsera en Alambrismo de Cristales Rojos ✨ muy fácil de hacer en casa .

Espero que les guste mucho y espero sus comentarios saludos cordiales y éxitos para todos.
Las imagenes son de mi autoria y fueron tomadas por mi teléfono celular Alcatel 1.
traductor utilizado: Deepl traductor.
las imágenes fueron editadas mediante la aplicación de editor de fotos Polish y los separadores fueron mediante la aplicación canva .!
I will be presenting later the materials used in this beautiful bracelet that you can wear in all kinds of occasions and allowing you to wear it for Christmas.
The materials are as follows.
✨ Large Red Stones
✨ Small Red Pearly Stones
✨ Copper Wire
✨Picket.
✨Large Transparent Crystals
✨ Transparent Pearly Diamonds.
Next I will be explaining the step by step in making this beautiful and simple bracelet .
**Step 1
The first thing to do is to make a double by turning it three times allowing the wires to be doubled.
**Step 2
What we must do is that in one of the first wires insert a big red stone.
**Step 3
Once the red stone has been inserted with the other wire, turn it to the right at the top.
**Step 4
It is important to take into account that when making the crossings, one must be from above and the other from below.
Allowing one on the right side and the other on the left side in the form of a braid of two.
**Step 5
We are going to count the stones in the first part of the bracelet. There should be 5 large red stones and 3 small red stones.
After setting all the red stones, then comes the clear diamond style stones and after the clear stones comes one of the large stones that are in the middle of the bracelet giving it a simple touch to show off.
**Step 6
Once all the red stones are in, do the same procedure on the other side so that both sides are the same.
Once the two sides are the same, the next step is to put the stones in.
**Step 7
With the right side of the bracelet the first thing is to cut the wire so that it is two .
Already cut with one of the wires in the part of the last stone make several turns allowing to replace and hold the bracelet fastening by pressing very hard.
**Step 8
At the end of the bracelet, with the wires, we make the final part, which are the strands, if there are two with one of them, we delicately make a cut leaving a length of approximately 3cm.
Once the remaining wire is cut, make a U shape which is where the other part is hooked.
**Step 9
Finally comes the other side that step is the easiest of all, the first thing is with the pickaxe cut in this way.
With one of the wires make a maximum of three turns at the bottom, and with the other slowly make a small circle, it all depends on the taste of each person.
Well here I leave you my beautiful bracelet in Alambrismo of Red Crystals ✨ very easy to nomake at home .
I hope you like it very much and I hope your comments cordial greetings and success to all.
The images are of my authorship and were taken by my Alcatel 1 cell phone.
translator used: Deepl translator.
the images were edited using the Polish photo editor application and the separators were edited using the canva application!