Como están apreciados hivers, muy entusiasmada en visitarlos una vez más, estaba al pendiente de participar y más sabiendo que ya esta por culminar este estupendo concurso, no me hubiese perdonado quedar por fuera jejeje, ya que, refiere Creando accesorios con Botones, propiciado por esta Comunidad Jawerly qué siempre está desbordante de belleza y creatividad.
Es sorprendente descubrir lo bien que se ven los botones desde otra perspectiva, donde pueden seguir siendo funcionales por utilizarse en la creación de accesorios, qué como se sabe forman parte importante en nuestro día a día al complementar nuestra imagen y vernos cautivantes. Lo que los llama a este mundo de diseño son los distintos colores, tamaños, texturas y relieve en los que se pueden encontrar y bien pueden ser usados haciendo volar nuestra imaginación con una destacada creación.
Buscando en el costurero, conseguí entre los hilos y agujas varios botones la mayoría eran desiguales, solo algunos lograban tener su par, pensé en reunir varios que tuvieran parecidas tonalidades o una apropiada combinación, la idea en mente era que por tener los botones una forma circular los mostraría en una especie de espiral realizado de alambre de bisuteria cubierto de mostacillas, lo que quería era conseguir un mismo patrón para estos zarcillos, y que, a su vez me permitiera mostrar los botones a su alrededor.
Asi que manos a la obra, les comparto los materiales:
✨ 35 ctms Alambre (qué sea moldeable, para formar el espiral)
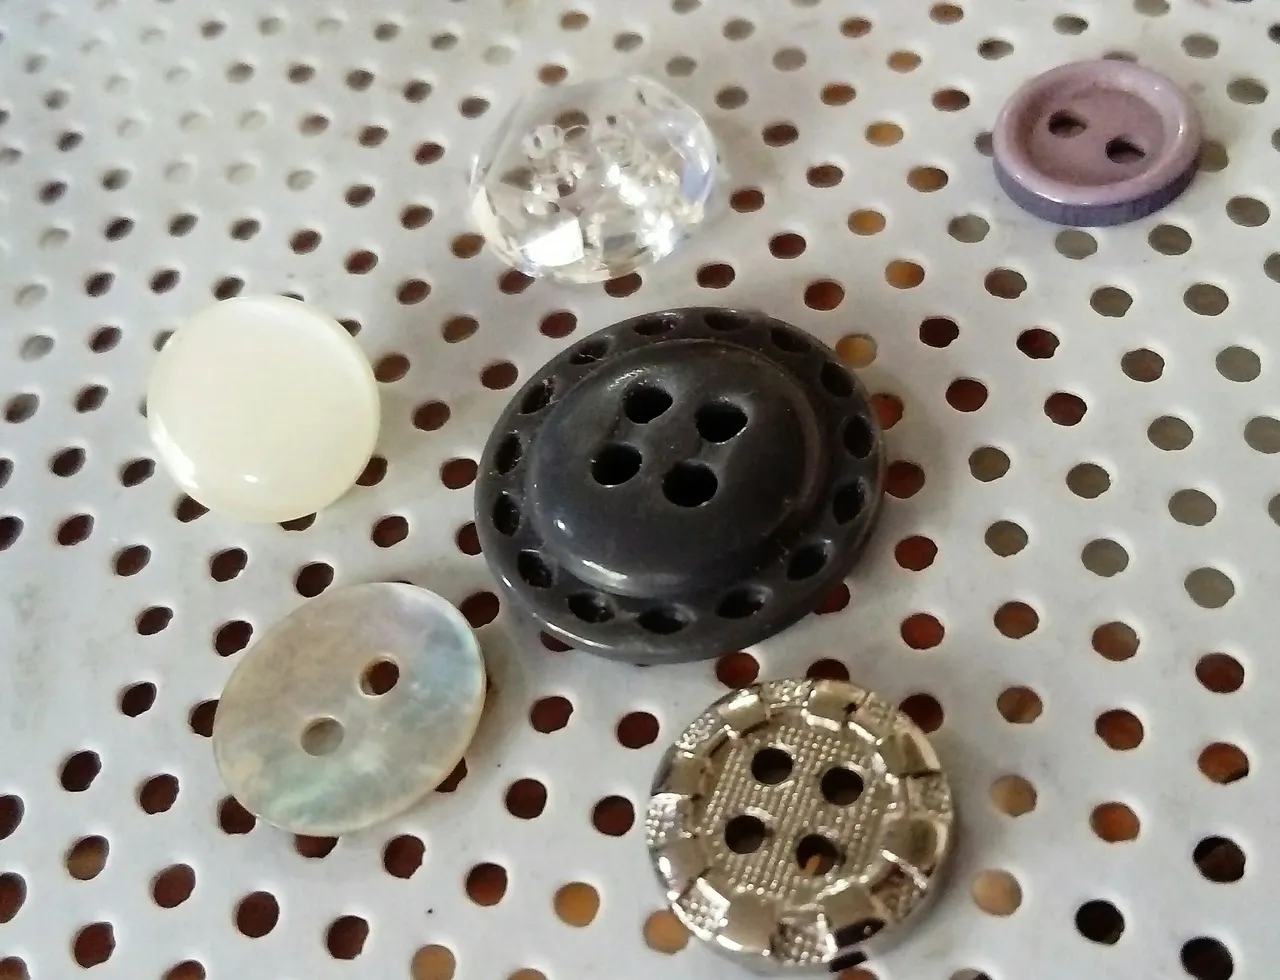
✨Botones de diferentes tamaños en colores gris, violeta, perla, transparente y plateado
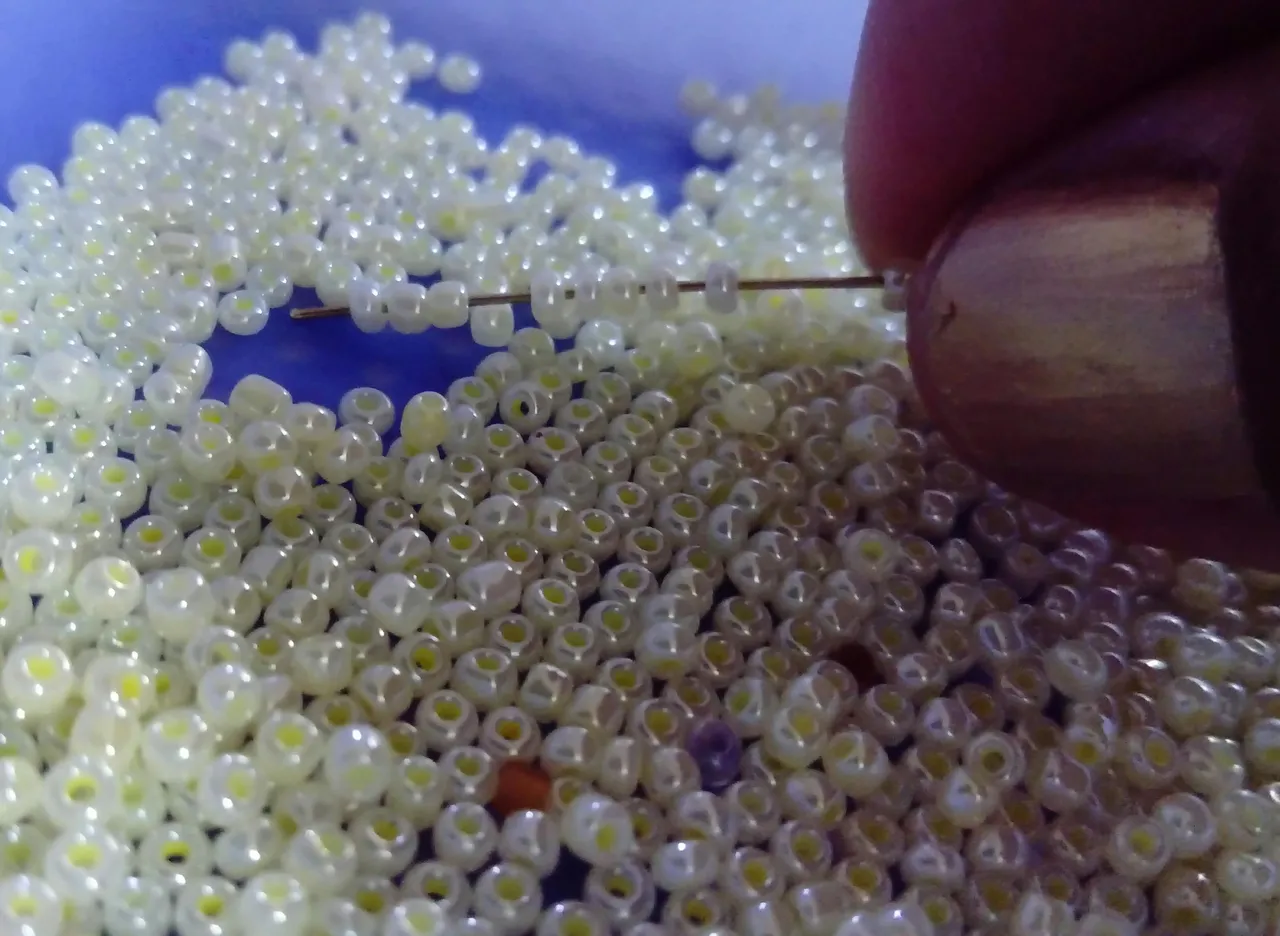
✨Mostacillas color amarillo crema
✨Pinza de Bisuteria.

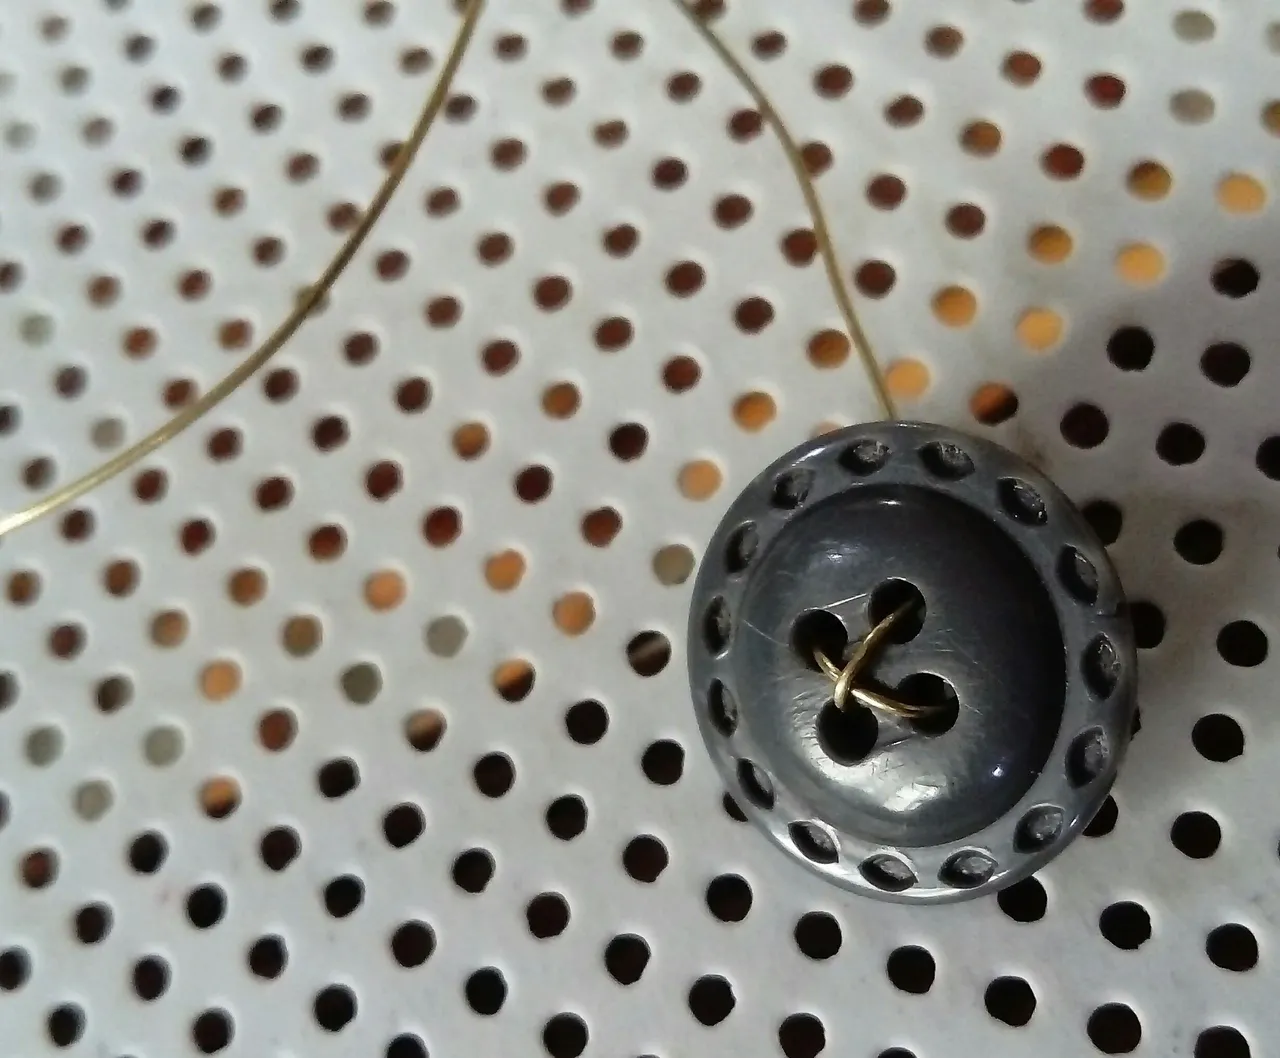
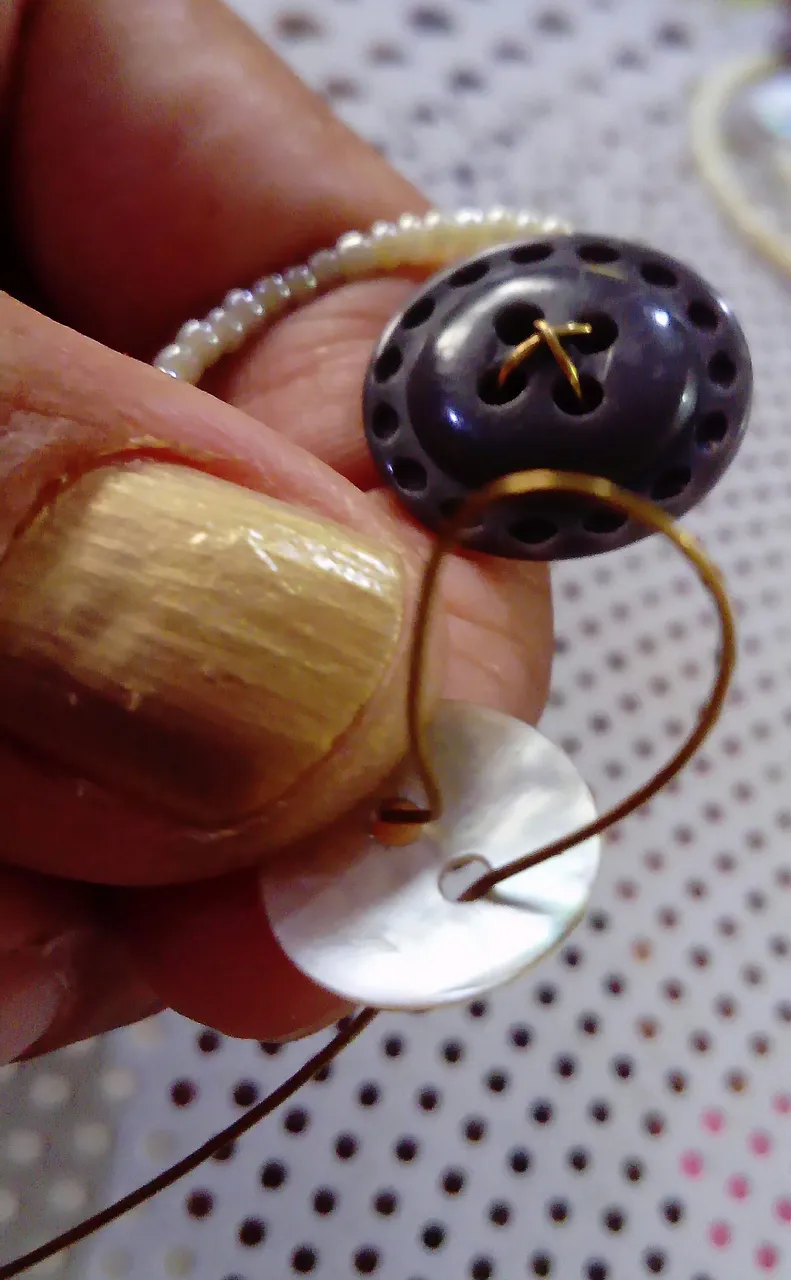
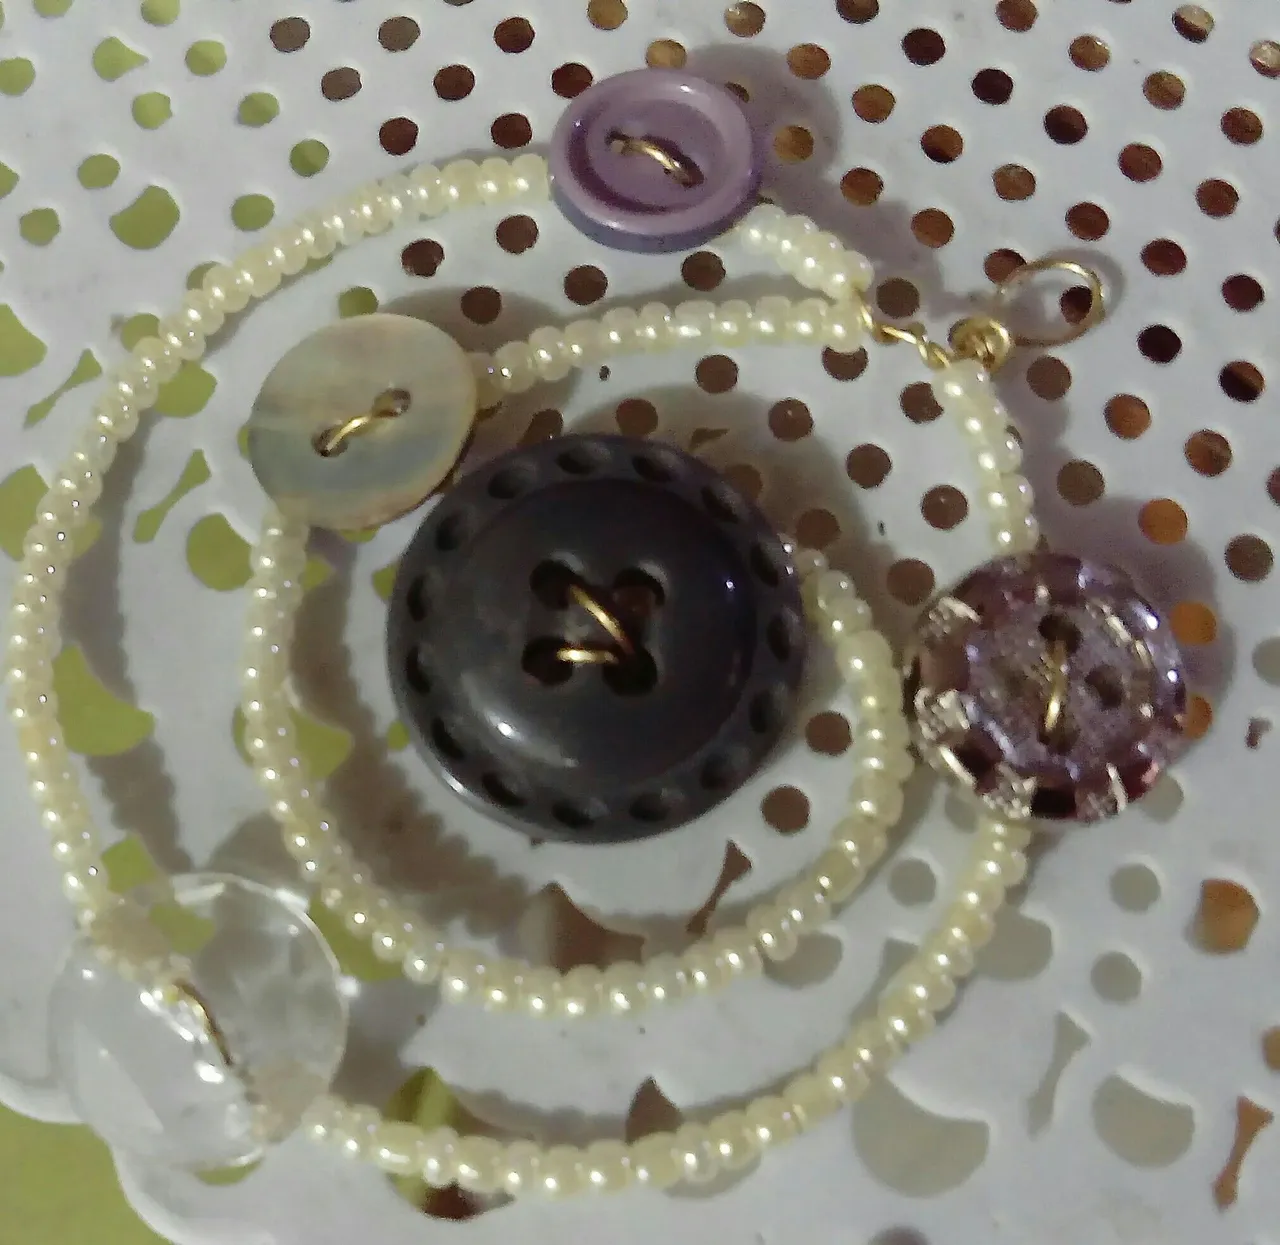
Se inicia con el Botón más grande pasando el alambre por uno de los huequitos del botón, luego se saca el alambre por el siguiente horificio, el cual debe quedar asegurado, ya que este será el inicio del espiral.
Se continua cubriendo el alambre de mostacilla hasta alcanzar 6 ctms, o hasta apreciar que es suficiente para insertar el botón siguiente, ya que los botones deben quedar algo distante y en diversas posiciones a medida que van creandose las vueltas.
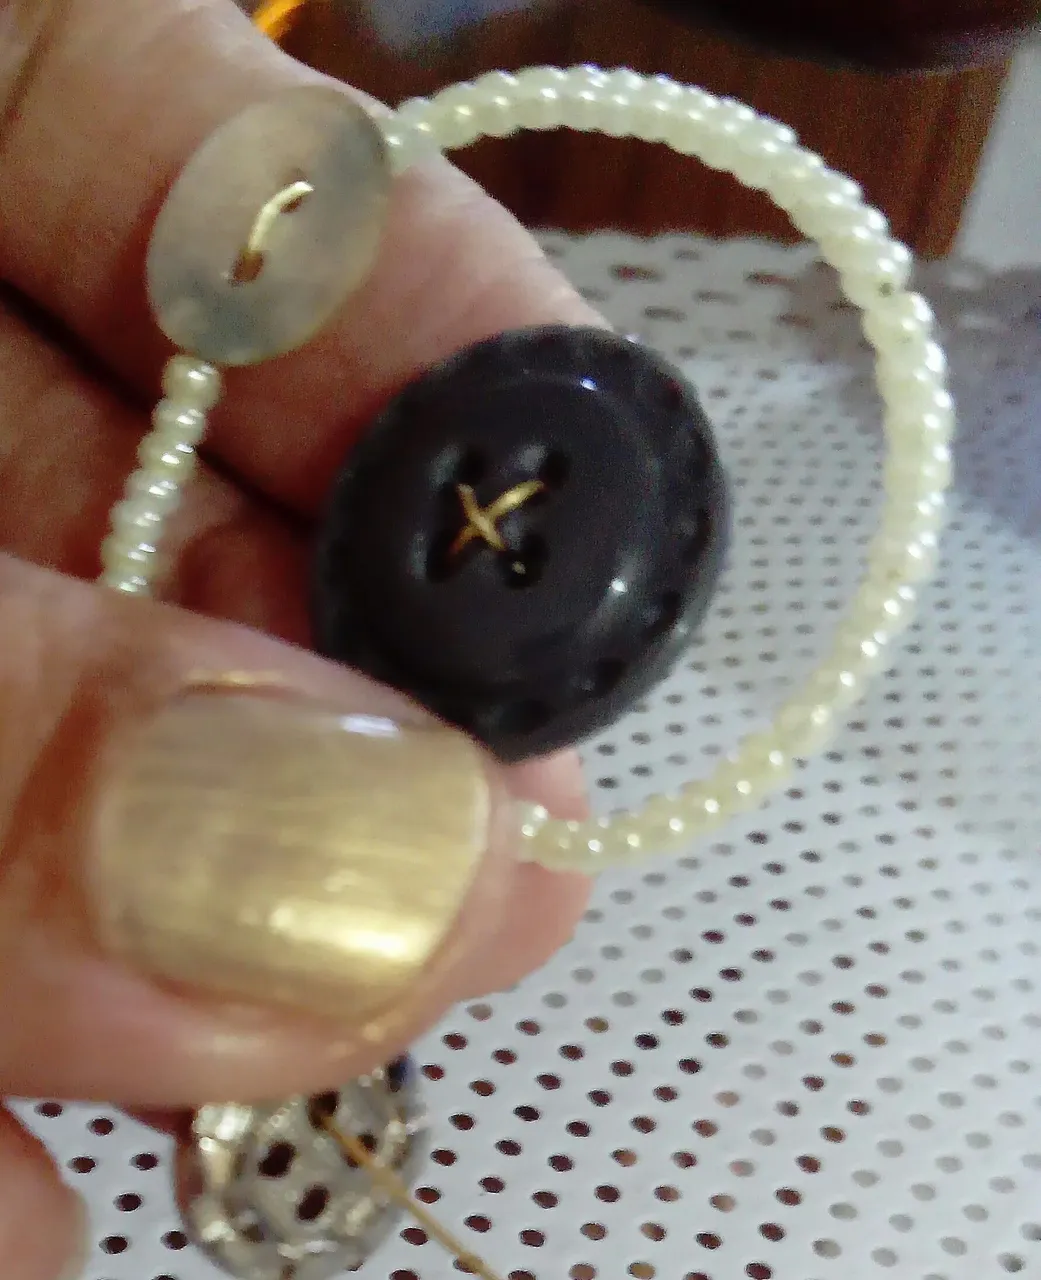
Se continua colocando el botón color tornasol, y se asegura al lado de la mostacilla cuidando qué no se vea el alambre.
Luego de cada boton se cubre con la mostacilla el alambre y se va moldeando la pieza en forma circular, así se va definiendo como va a quedar.
Sigue el botón color plata, a medida que va formándose las vueltas, va indicando la posición donde mejor queda situado el siguiente botón, es decir, si en la vuelta anterior está el botón del lado derecho, en la vuelta que sigue se coloca del lado izquierdo.
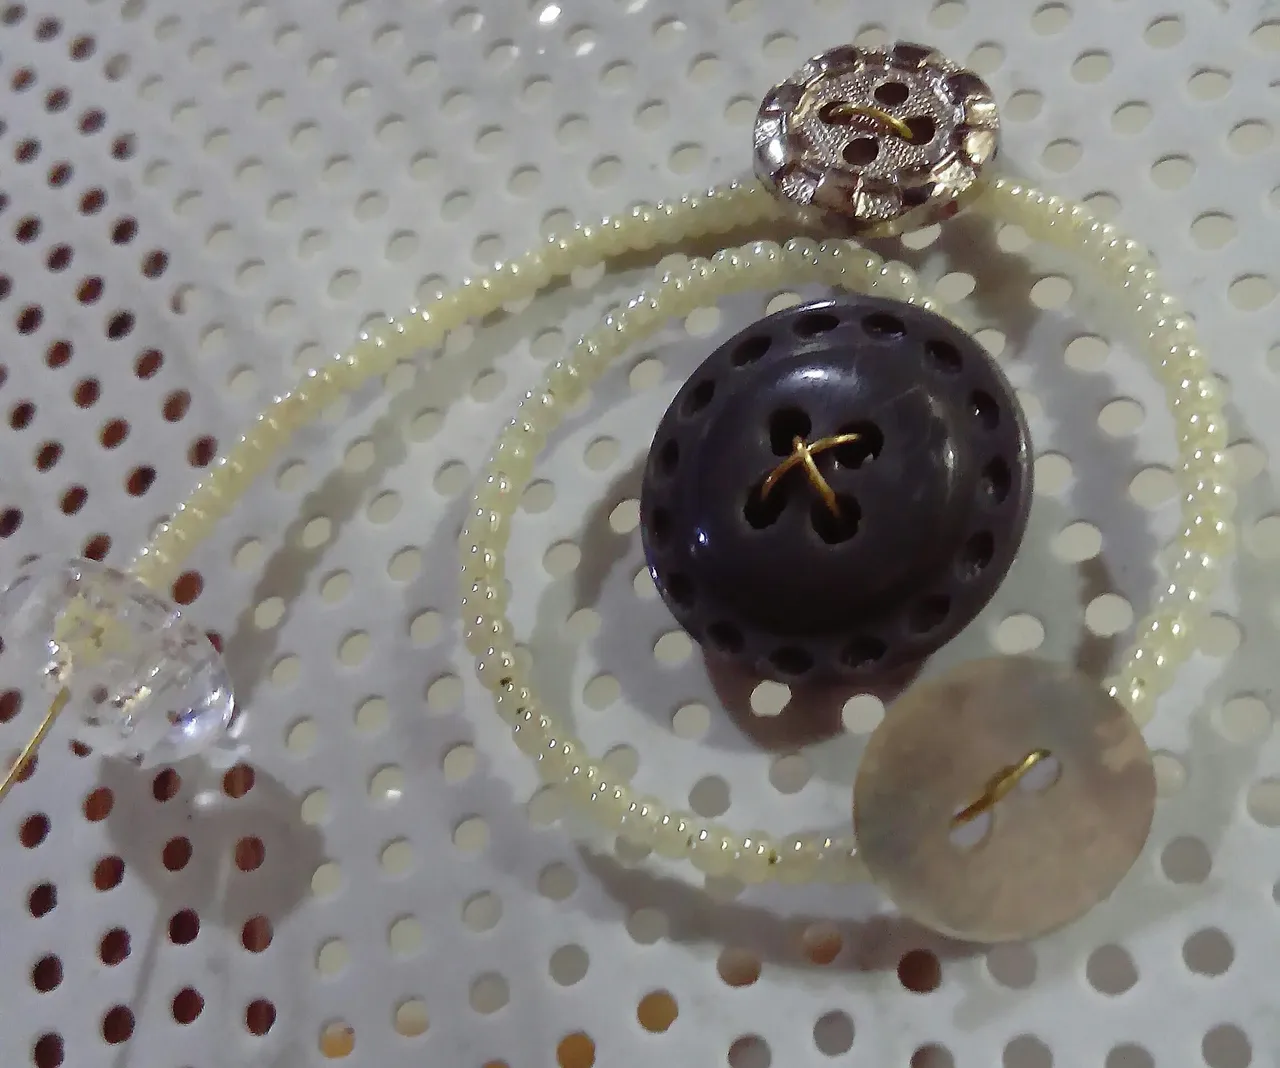
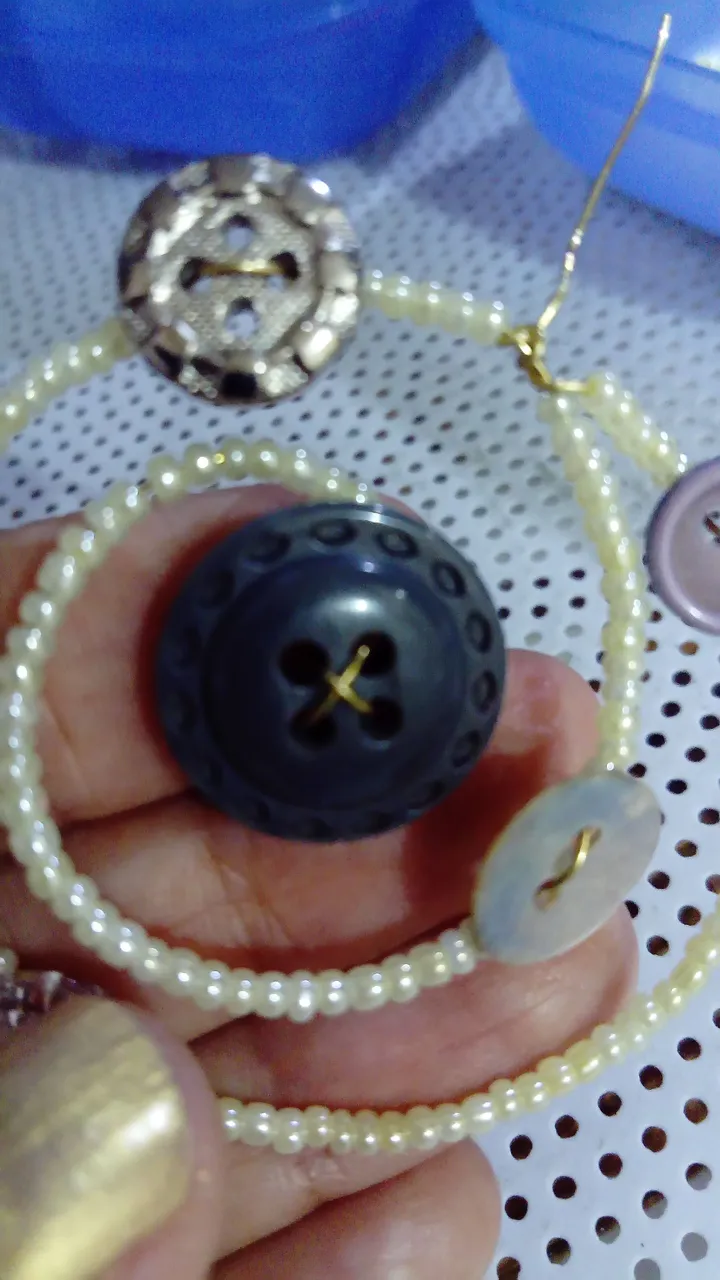
En esta pieza coloque seis botones alrededor de cada vuelta, de manera dispersa, luego del plateado, ubique el de color transparente, y se continua cubriendo el alambre de mostacillas. Le sigue el botón más pequeño, en este caso es violeta para finalizar con mostacillas.
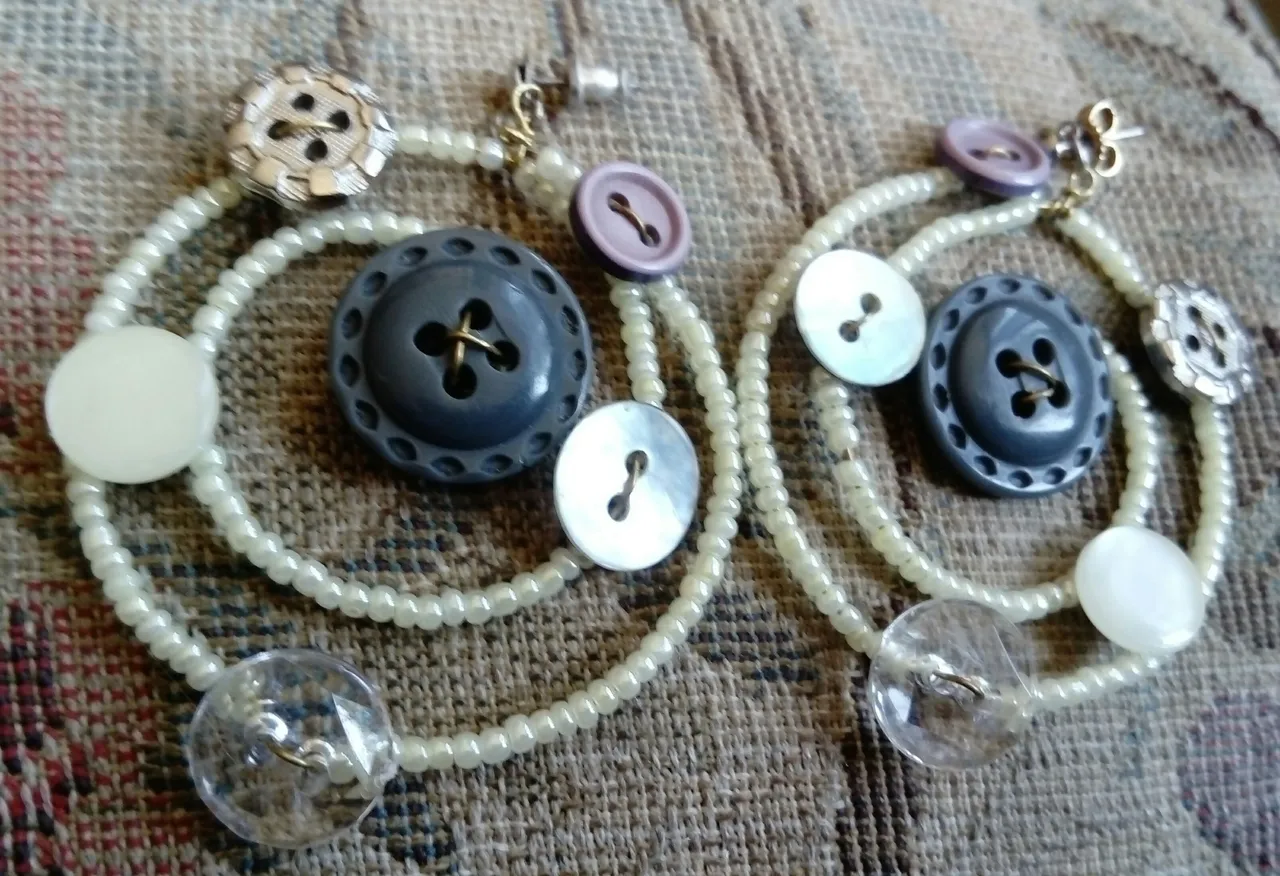
Se le da forma redondeada a este alambre y se une al espiral, se asegura bien, con el sobrante se realiza una argolla qué servira para colocar el topo puya para así poder llevarlo puesto.
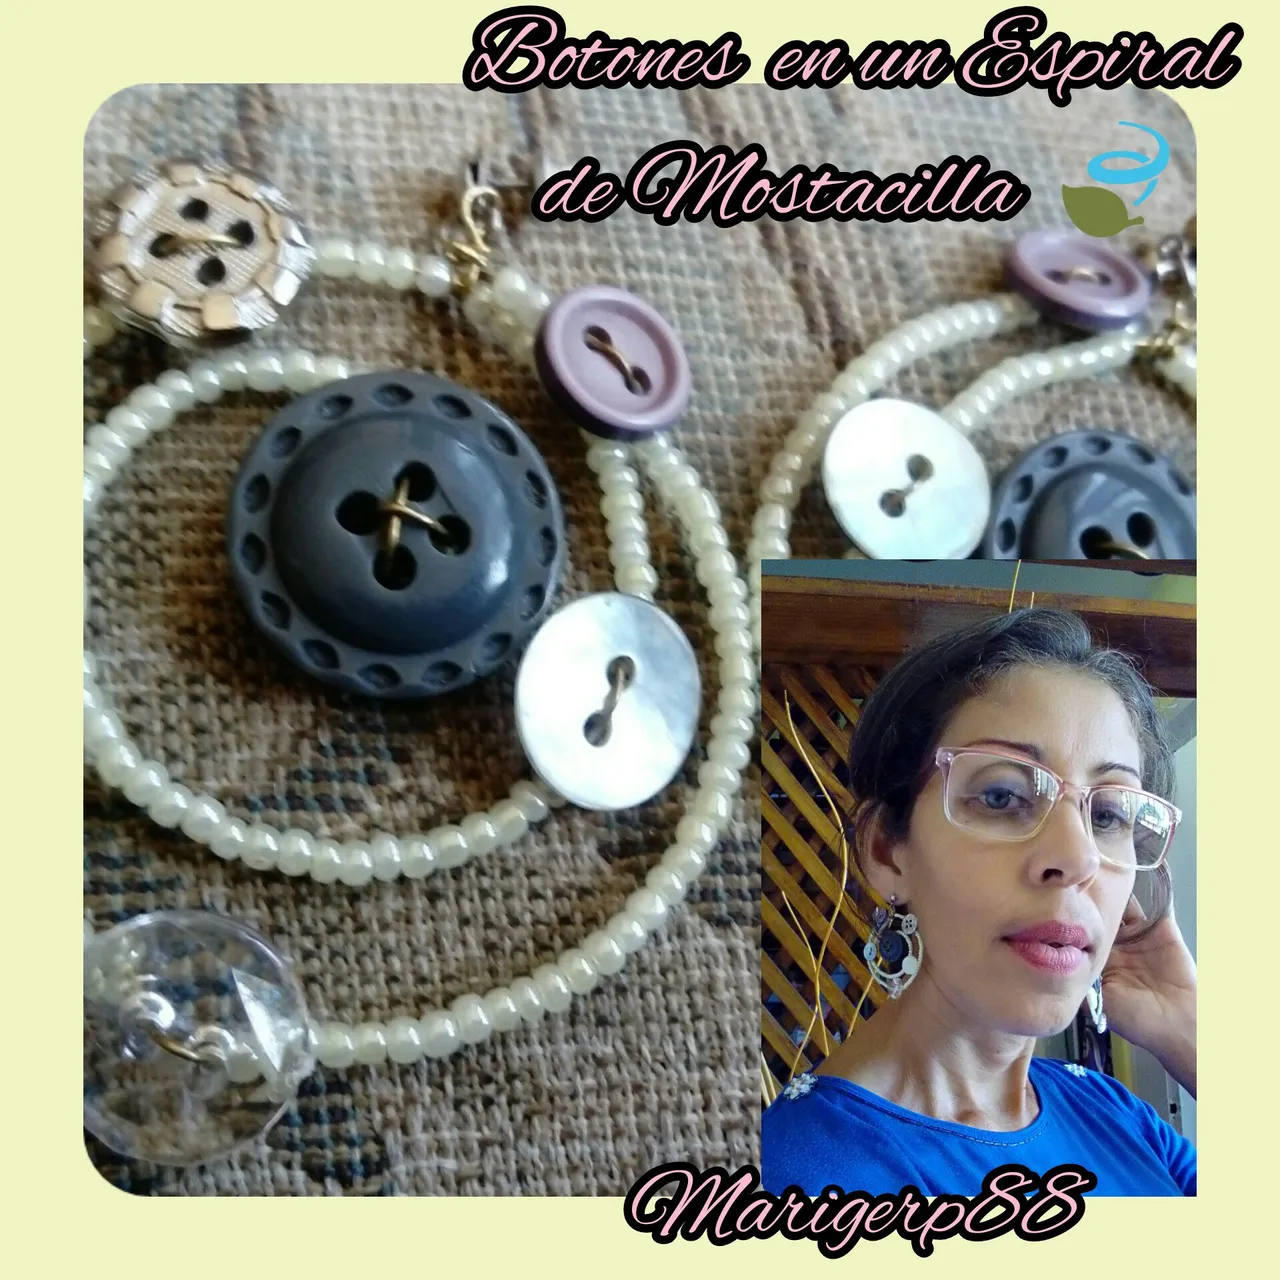
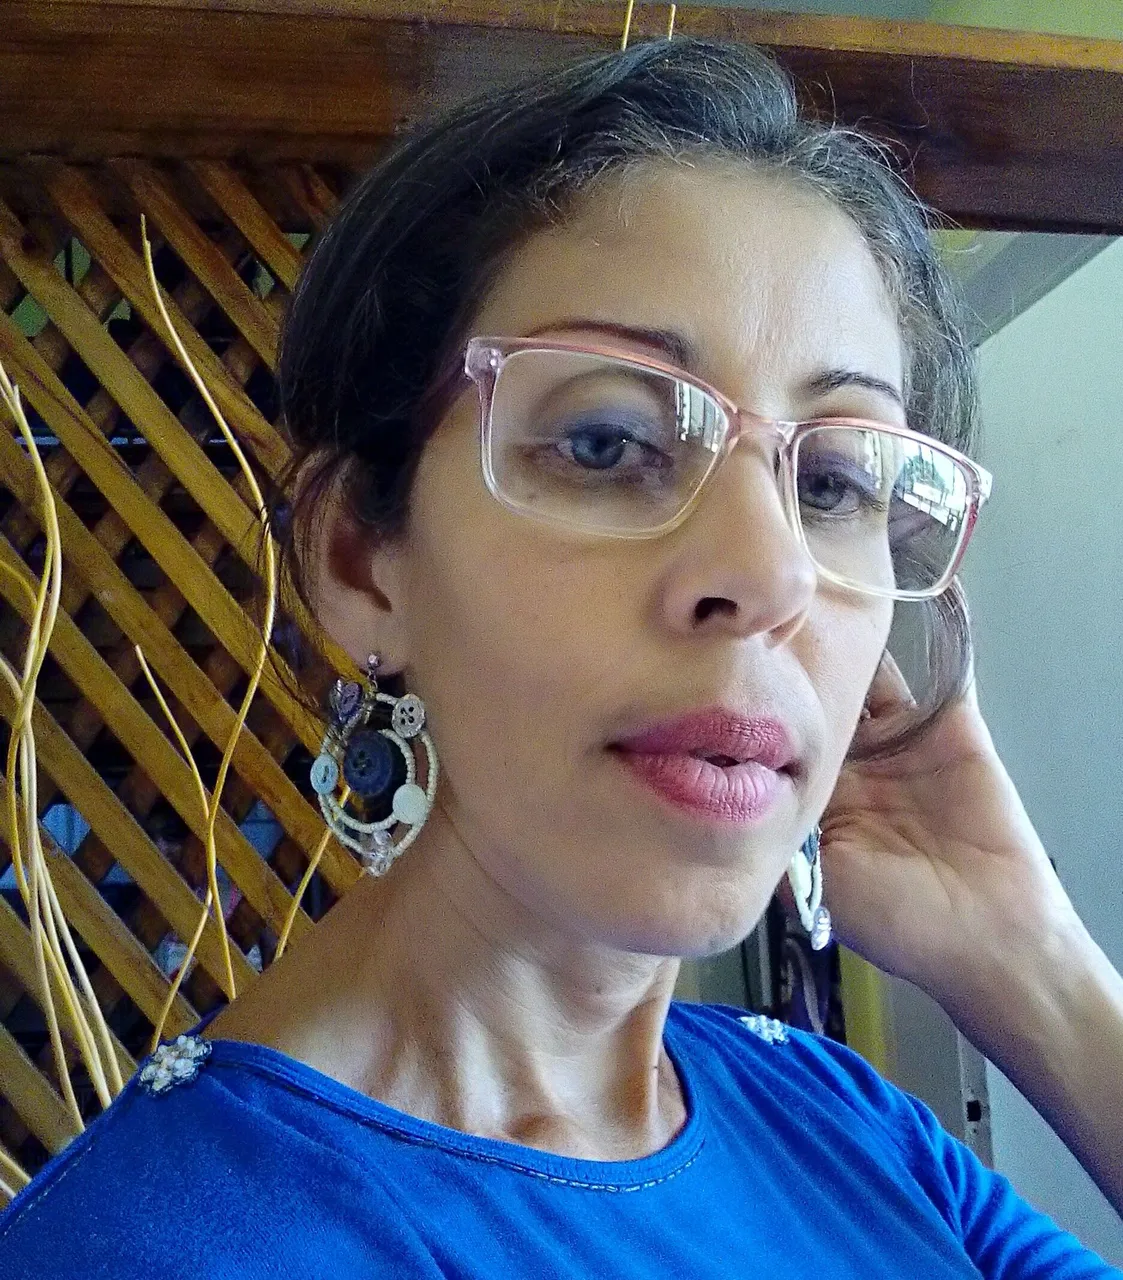
Es así como quedan estos zarcillos en los que se resaltan estos botones quedando muy lucidos en este espiral de mostacilla color crema, el resultado me encantó quedarían muy apropiados para complementar con vestimenta casual pero con una apariencia reluciente.
Buenos amigos, les agradezco por tomarse el tiempo de encontrarse en mi publicación, me despido deseandoles qué este bien y pasen una Feliz tarde.
Bendiciones 💮✨💮✨
🍃🍃CONTENT IN ENGLISH🍃🍃
As you are dear hivers, very excited to visit you once again, I was looking forward to participate and knowing that this great contest is about to end, I would not have forgiven myself to be left out hehehe, since it refers to Creating accessories with Buttons, brought about by this Jawerly Community which is always overflowing with beauty and creativity.
It is surprising to discover how good buttons look from another perspective, where they can continue to be functional by being used in the creation of accessories, which as we know are an important part of our daily lives to complement our image and look captivating. What calls them to this world of design are the different colors, sizes, textures and relief in which they can be found and can be used to make our imagination fly with an outstanding creation.
Looking in the sewing box, I found among the threads and needles several buttons, most of them were uneven, only some of them had their pair, I thought of gathering several that had similar shades or an appropriate combination, the idea in mind was that because the buttons have a circular shape I would show them in a kind of spiral made of costume jewelry wire covered with beads, what I wanted was to get the same pattern for these tendrils, and that, in turn would allow me to show the buttons around them.
So let's get to work, I share with you the materials:
✨ 35 ctms Wire (which is moldable, to form the spiral).
✨ Buttons of different sizes in gray, violet, pearl, transparent and silver colors.
✨Creamy yellow beads
✨Bewelry Clip.
Start with the largest button by passing the wire through one of the holes in the button, then pull the wire through the next hole, which must be secured, as this will be the beginning of the spiral.
Continue to cover the bead wire until it reaches 6 cm, or until you see that it is enough to insert the next button, since the buttons should be somewhat distant and in different positions as the loops are being created.
Continue placing the iridescent colored button, and secure it next to the bead, taking care not to show the wire.
After each button, the wire is covered with the beads and the piece is molded in a circular shape, thus defining how it will look like.
The silver-colored button, as the turns are formed, indicates the position where the next button is best placed, i.e., if the button is on the right side in the previous turn, it will be placed on the left side in the next turn.
In this piece place six buttons around each turn, in a scattered manner, after the silver one, place the transparent one, and continue covering the wire with beads. The smallest button follows, in this case it is violet to finish with beads.
This wire is given a rounded shape and is joined to the spiral, it is well secured, with the excess is made a ring which will serve to place the puya mole so you can wear it.
This is how these tendrils are highlighted in which these buttons are highlighted being very lucid in this spiral of cream colored mustard, the result I loved would be very appropriate to complement casual dress but with a shiny appearance.
Good friends, I thank you for taking the time to meet in my publication, I say goodbye wishing you well and have a Happy afternoon.
Blessings 💮✨💮✨💮✨
Fotos tomadas por | Photos taken by @marigerp88
Dispositivo | Device | SONY XPERIA
Fotos editadas en: |Photos edited in | App InShot
Gig creado en| Gif created in |Adobe Express
Traducción con | Translation with| DeepL