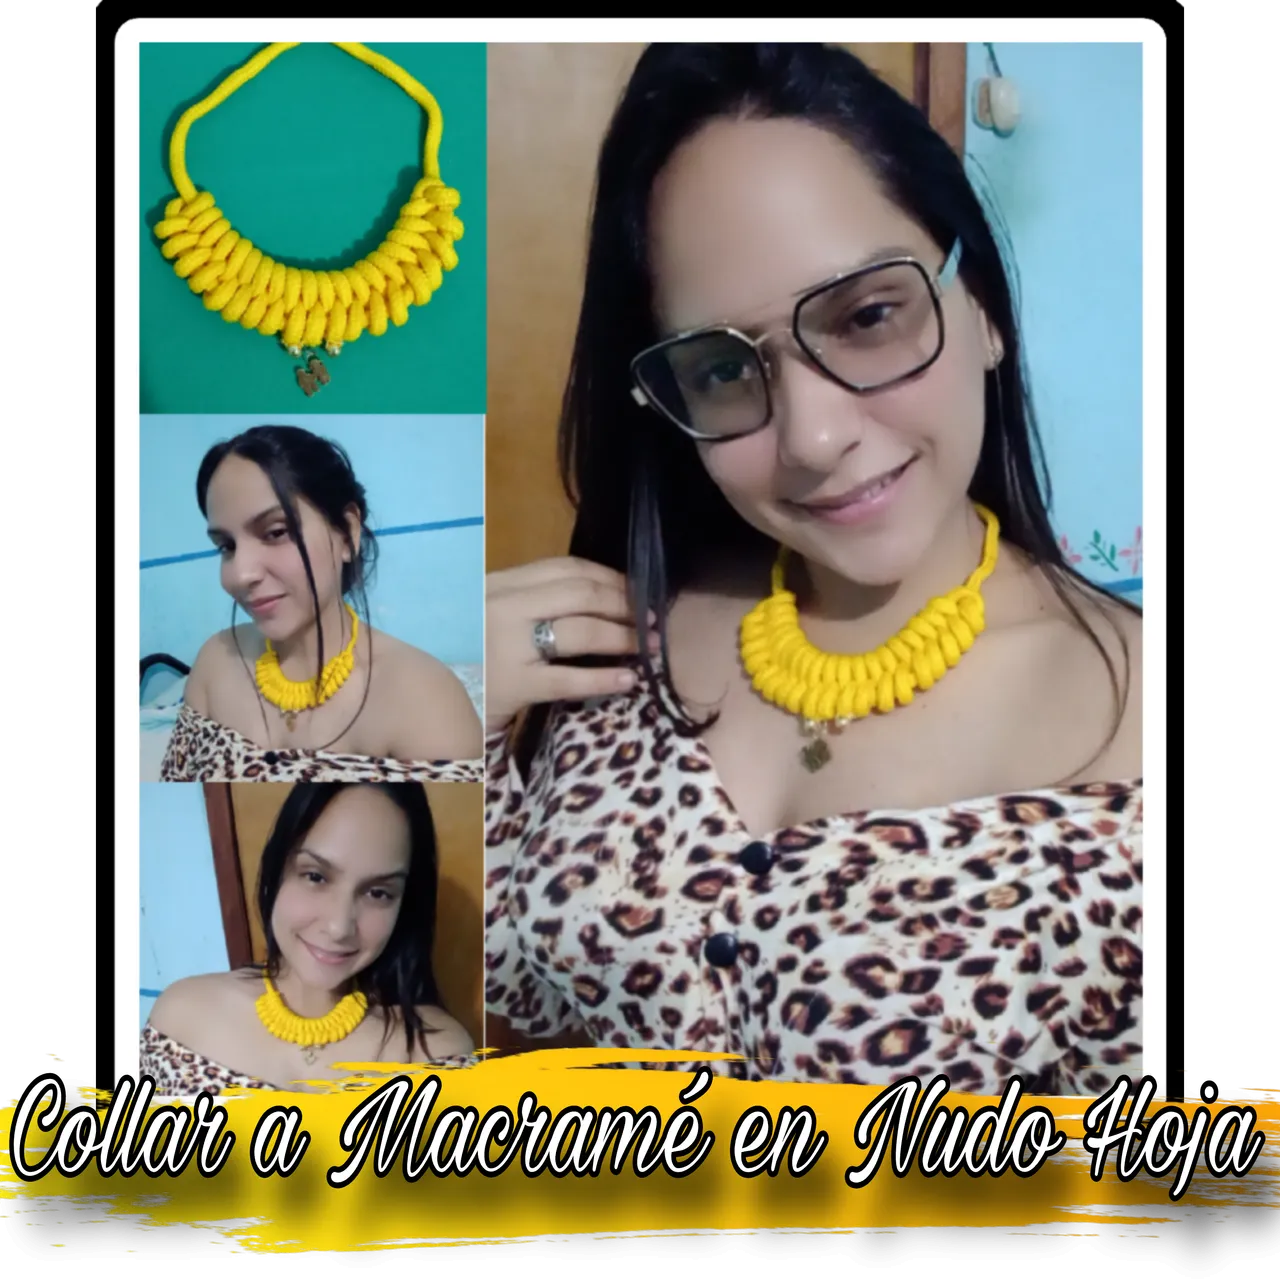
Hola hola, qué tal amigos amantes de la joyeria artesanal y la bisuteria, les saluda su amiga @kathelopez77, es para mi un placer saludarlos y desearles que tengan un excelente día, lleno de exito y muchas bendiciones. Les cuento que soy nueva en ésta colmena #Joyería, supe de ella por una amiga que realiza trabajos hermosos de bisuteria y los comparte con ustedes por acá. A parte de la costura y las manualidades, el arte de la joyería y la bisuteria artesanal son una de las tantas cosas que me gustan hacer, ya que me defino como una persona #Polímata; creo que muchos de los que leen puden definirse de esa manera también ya que desde pequeños aprendemos diferentes arte y la joyería, porque ¿Quiénes no hicieron pulseras de la amistad o collares u otros accesorios para venderle a sus compañeros de clases? Fue allí donde nos iniciamos. Bueno, ahora si, sin mas preámbulos, hoy quiero compartir con ustedes la elaboración de un *** Hermoso Collar a Macramé en Nudo Hoja***. ¡Manos a la obra!
Hello hello, how are you friends who love handmade jewelry and costume jewelry, greetings from your friend @kathelopez77, it is my pleasure to greet you and wish you an excellent day, full of success and many blessings. I tell you that I am new to this hive #Jewelry, I learned about it from a friend who makes beautiful jewelry works and shares them with you here. Besides sewing and crafts, the art of jewelry and handmade jewelry are one of the many things I like to do, since I define myself as a person #Polymath; I think many of you who read can be defined that way too since we learn different art and jewelry since we were little, because who did not make friendship bracelets or necklaces or other accessories to sell to their classmates? That's where we started. Well, now, without further ado, today I want to share with you the elaboration of a Beautiful Macramé Necklace in Leaf Knot. *Let's get to work!.

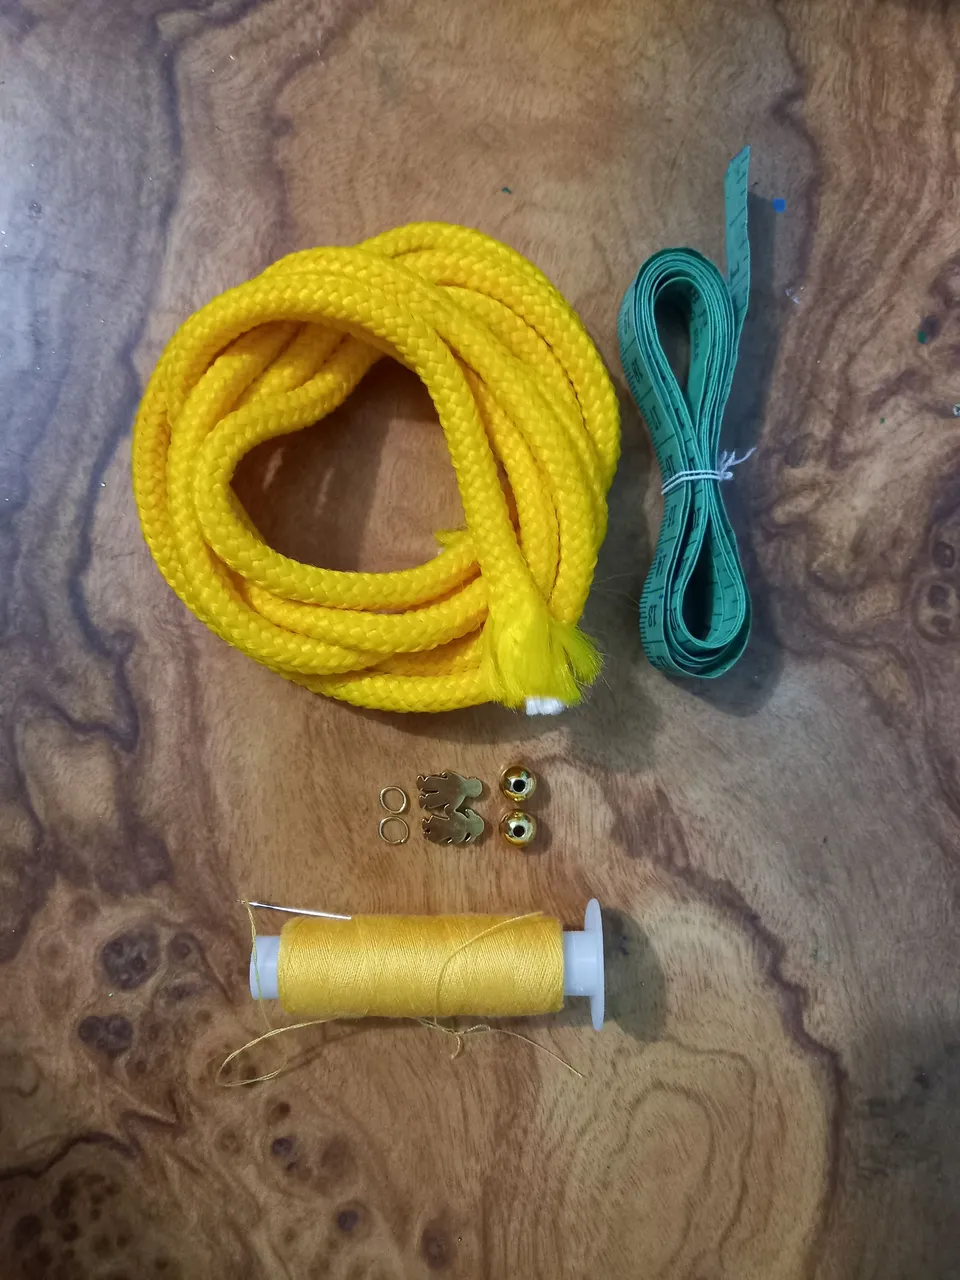
- 90 cm de cordón de algodón amarillo.
- 2 Aros pequeños.
- 1 digen pareja de acero inoxidable.
- 2 abalorios de acero inoxidables.
- Hilo amarillo y aguja.
- Cinta métrica.
- 90 cm of yellow cotton cord.
- 2 small rings.
- 1 pair of stainless steel digen.
- 2 stainless steel beads.
- Yellow thread and needle.
- Measuring tape.

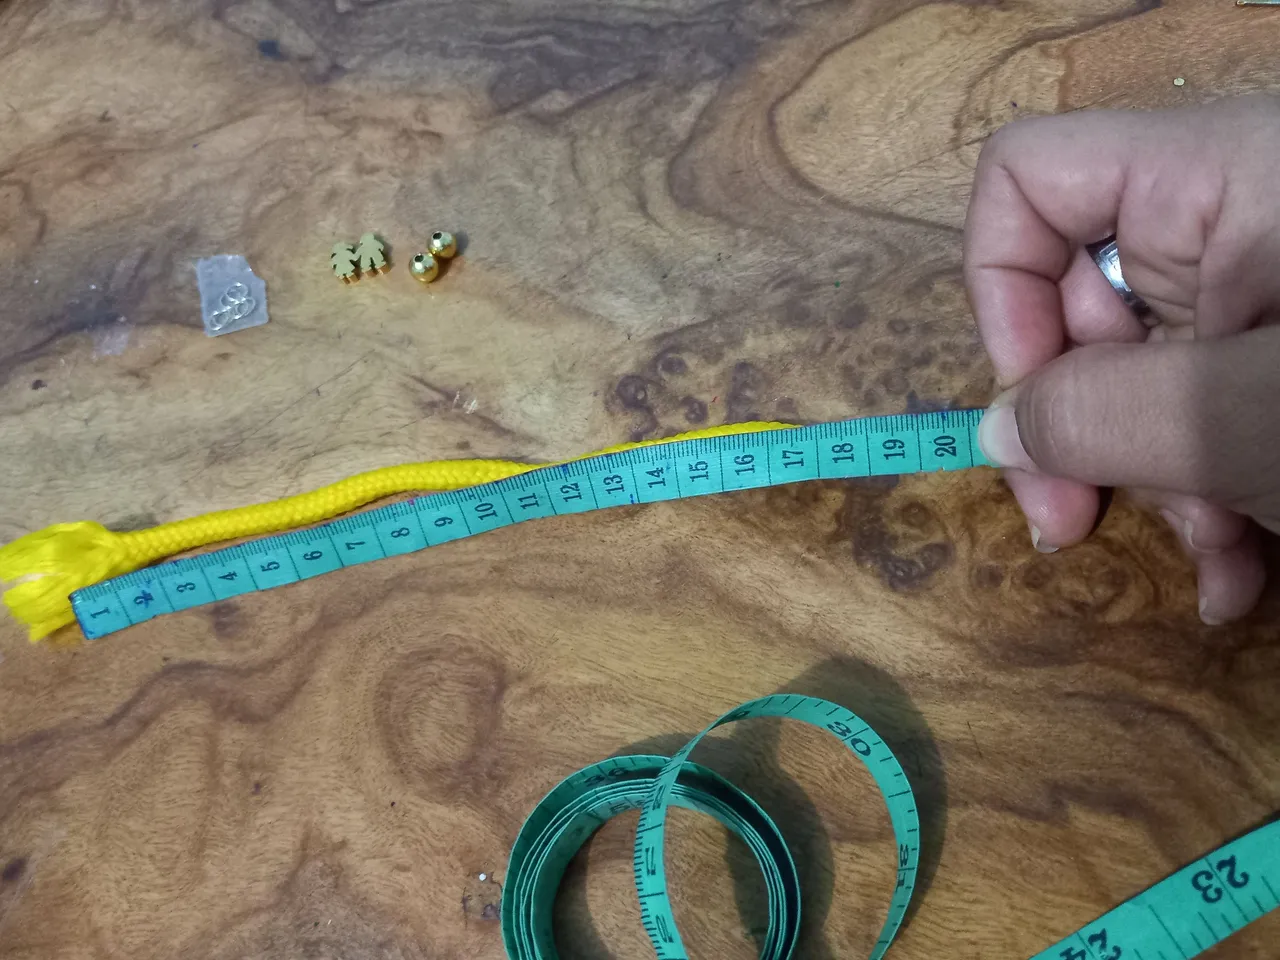
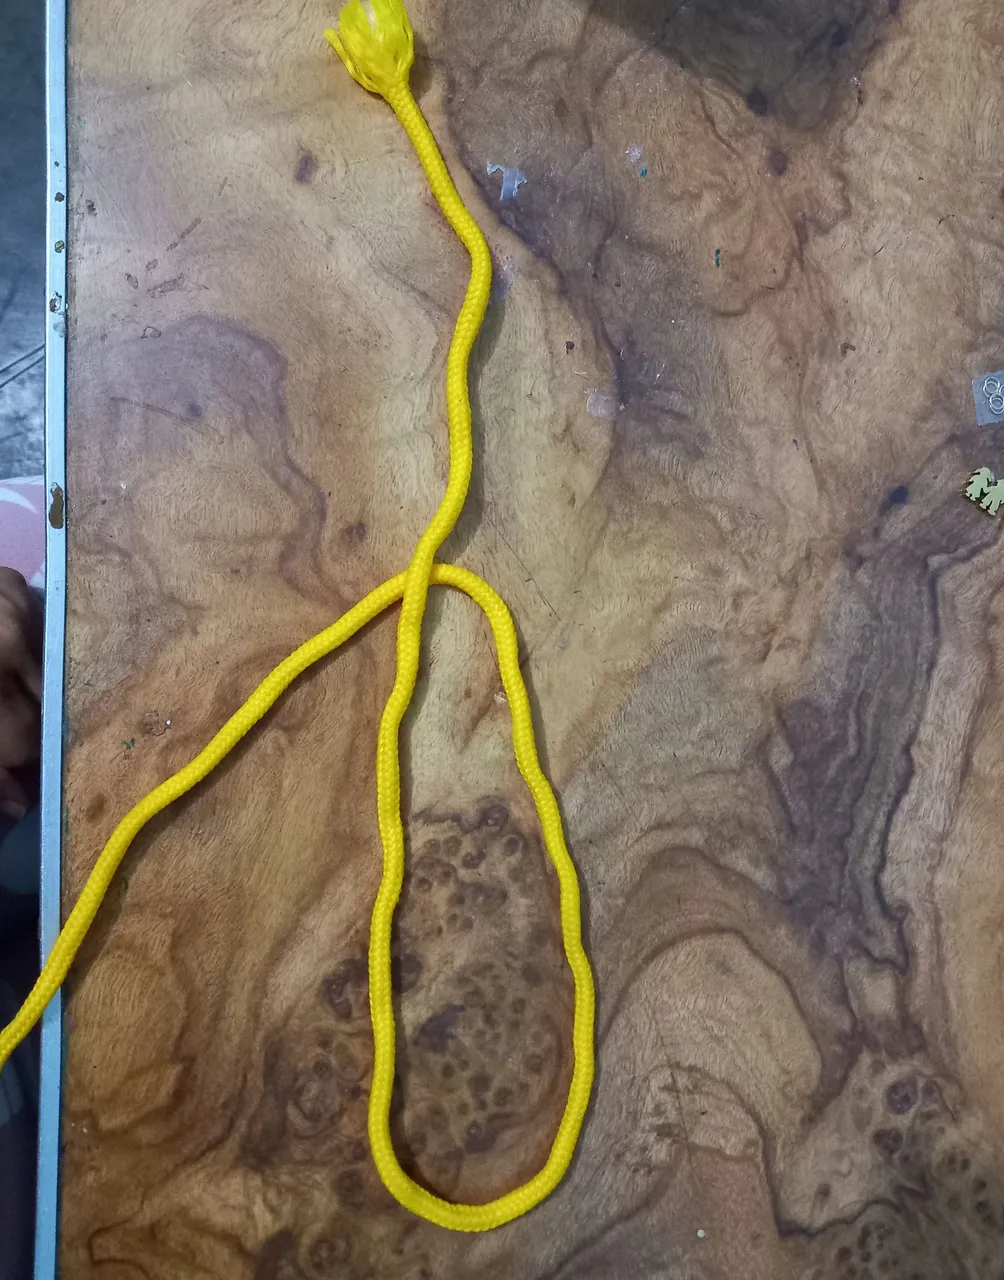
Primero medi con mi cinta métrica 20 cm desde la punta del cordón hacia el largo del mismo.
First I measure with my tape measure 20 cm from the tip of the cord to the length of the cord.
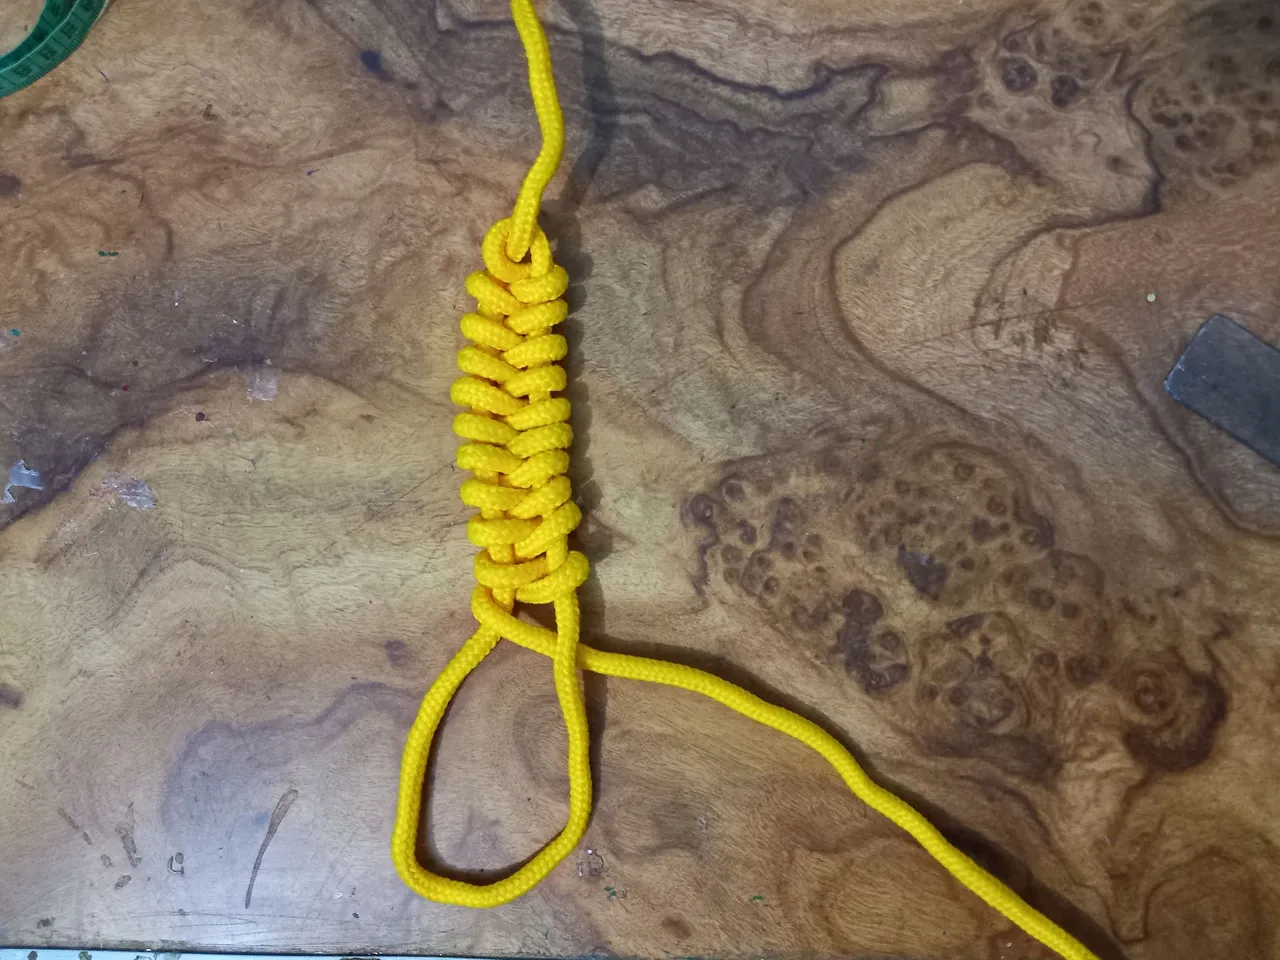
Luego hice un ojal o una especie de "O" de 22 cm de largo, partiendo después de los 20 cm que marqué al principio, cuando llegué al final de los 22 centímetros siguientes, doblé y devolví el resto del cordón hacia el punto donde terminan los 21 cm que marqué al principio.
Then I made a buttonhole or a kind of "O" of 22 cm long, starting after the 20 cm I marked at the beginning, when I reached the end of the next 22 centimeters, I folded and returned the rest of the cord to the point where the 21 cm I marked at the beginning end.
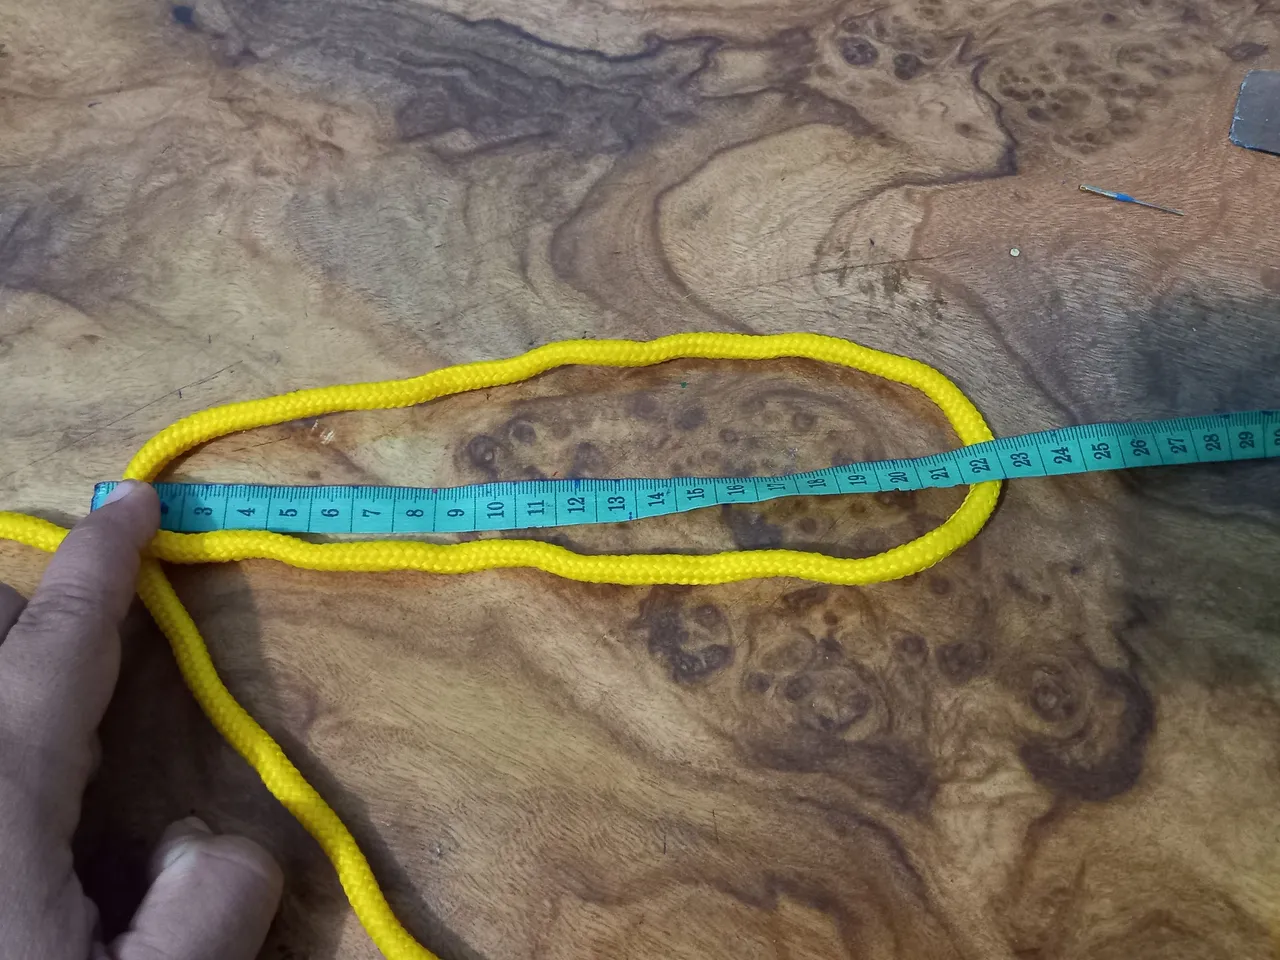
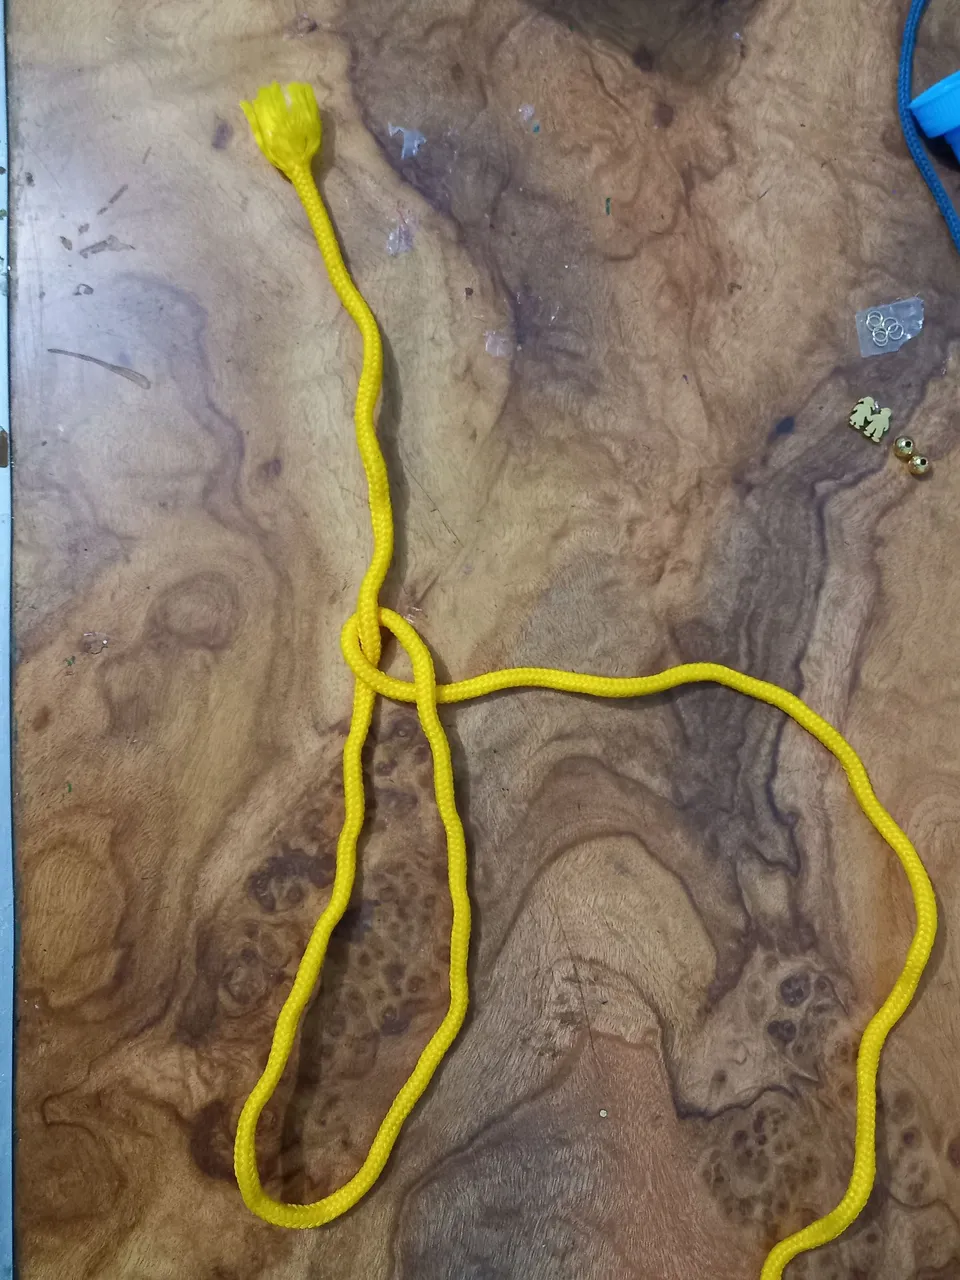
Luego pasé el resto del cordón por debajo del cordón inicial, es decir, de donde terminan los 20 cm y luego lo pase por arriba de éste, llevando el resto del cordón hacial el otro lado de la "O" pansándolo por debajo y luego por arriba.
Then I passed the rest of the cord under the initial cord, that is, from where the 20 cm ends and then passed it over it, taking the rest of the cord to the other side of the "O" by passing it under and then over it.
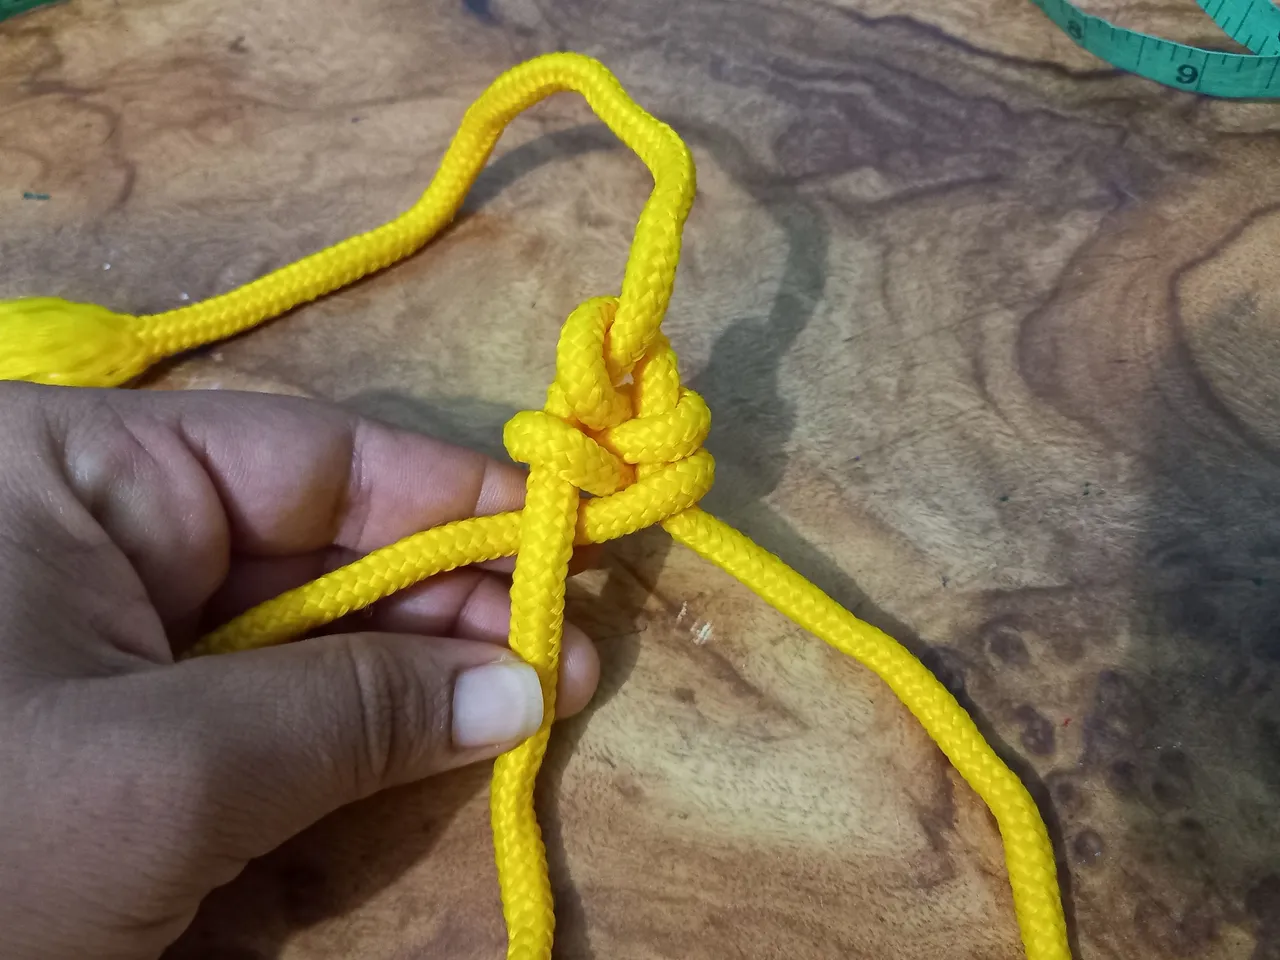
Y este mismo proceso se hará con todo el largo de la "O" pasando el resto del cordón de un lado hacia otro lado, por debajo y por arriba, por debajo y por arriba, hasta cubrir toda la "O"
And this same process will be done with the whole length of the "O" passing the rest of the cord from one side to the other side, under and over, under and over, until the whole "O" is covered.
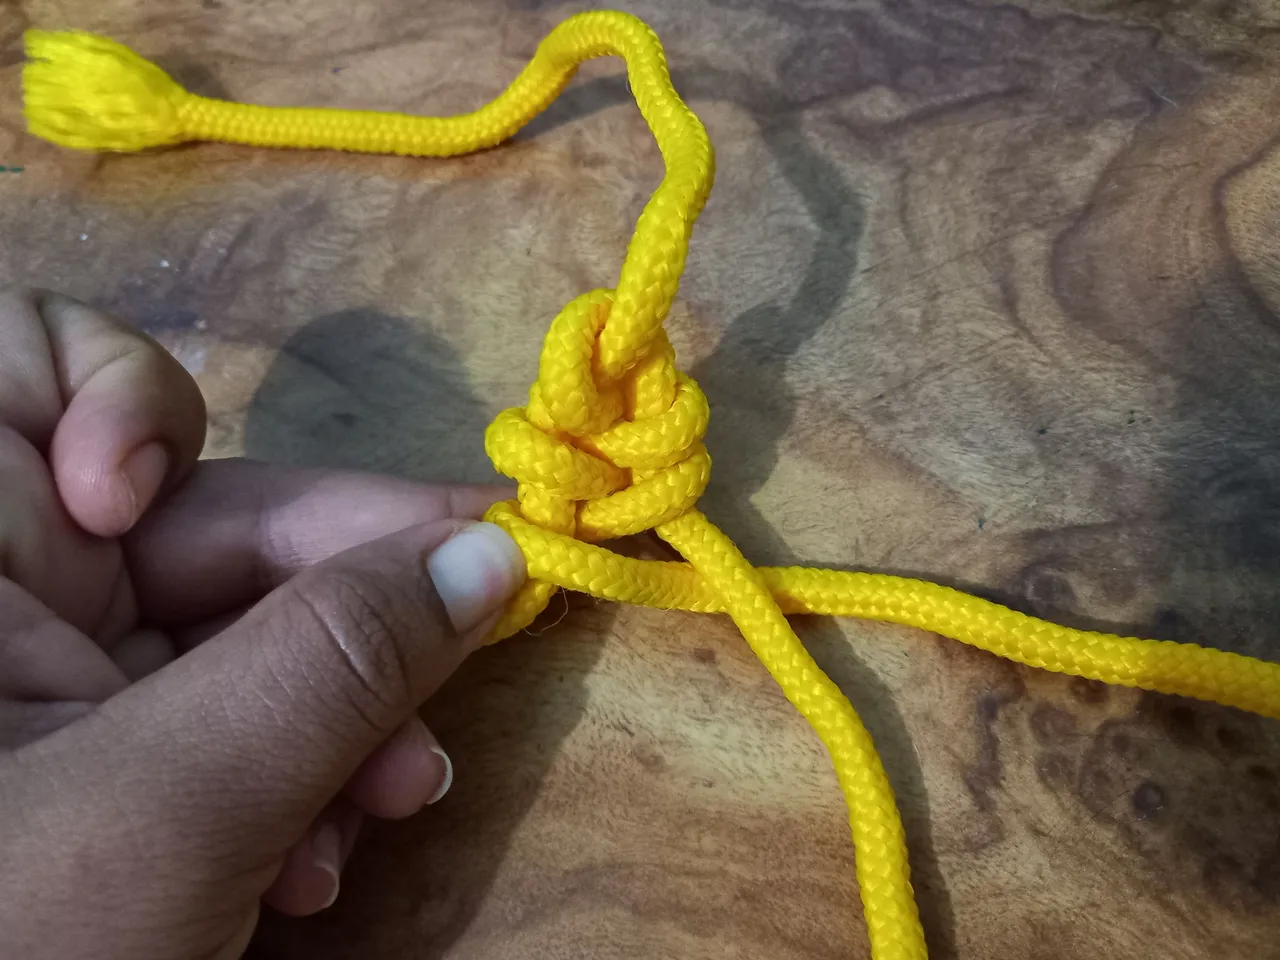
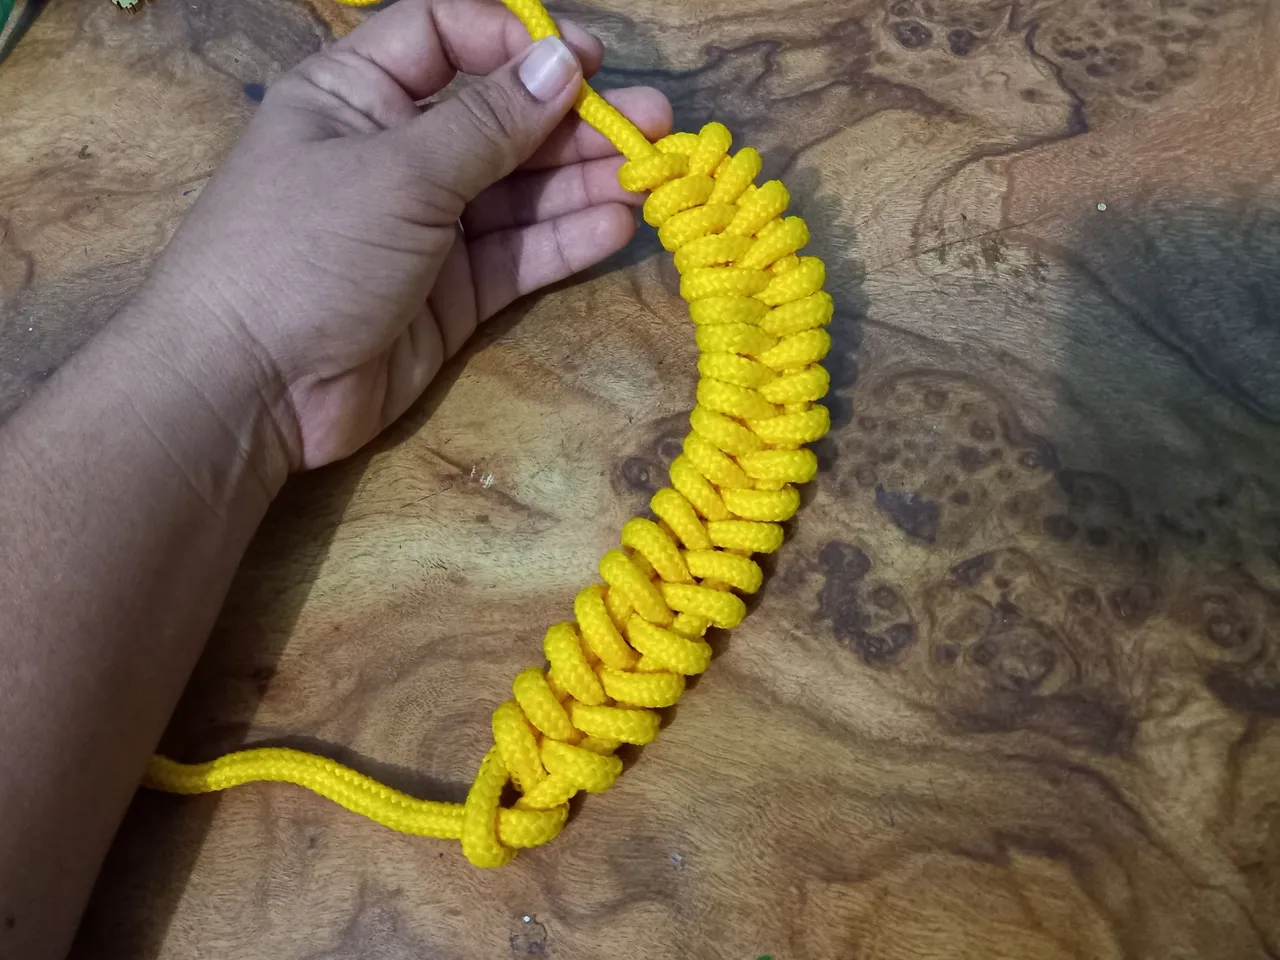
Para que el nudo quede de forma curva, siguiendo la forma del cuello, halé la punta del cordón de donde se inició el nudo, para que éste se recoja y adopte la forma deseada.
To make the knot curved, following the shape of the neck, pull the end of the cord from where the knot started, so that the knot is gathered and adopts the desired shape.

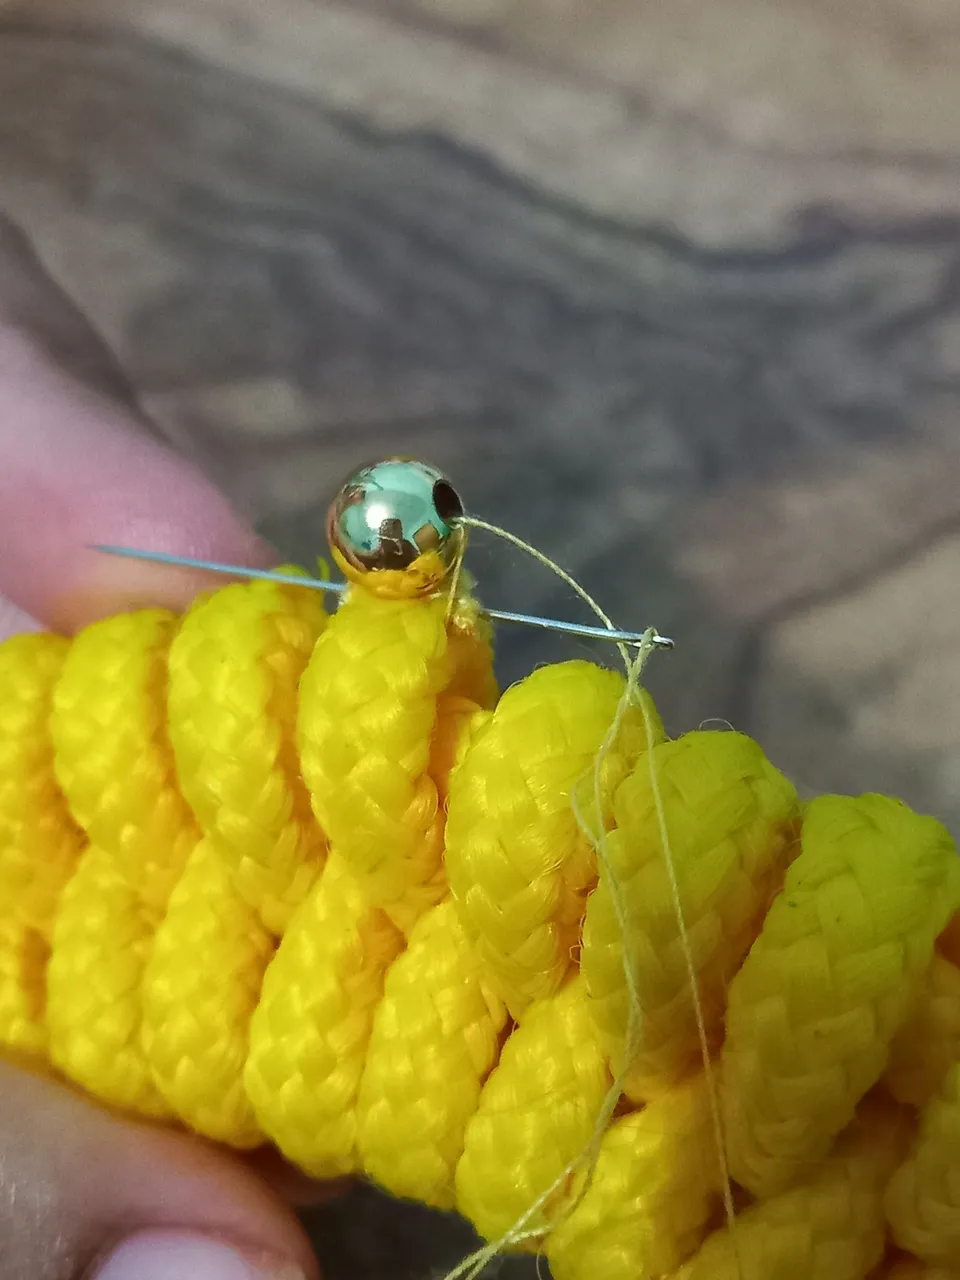
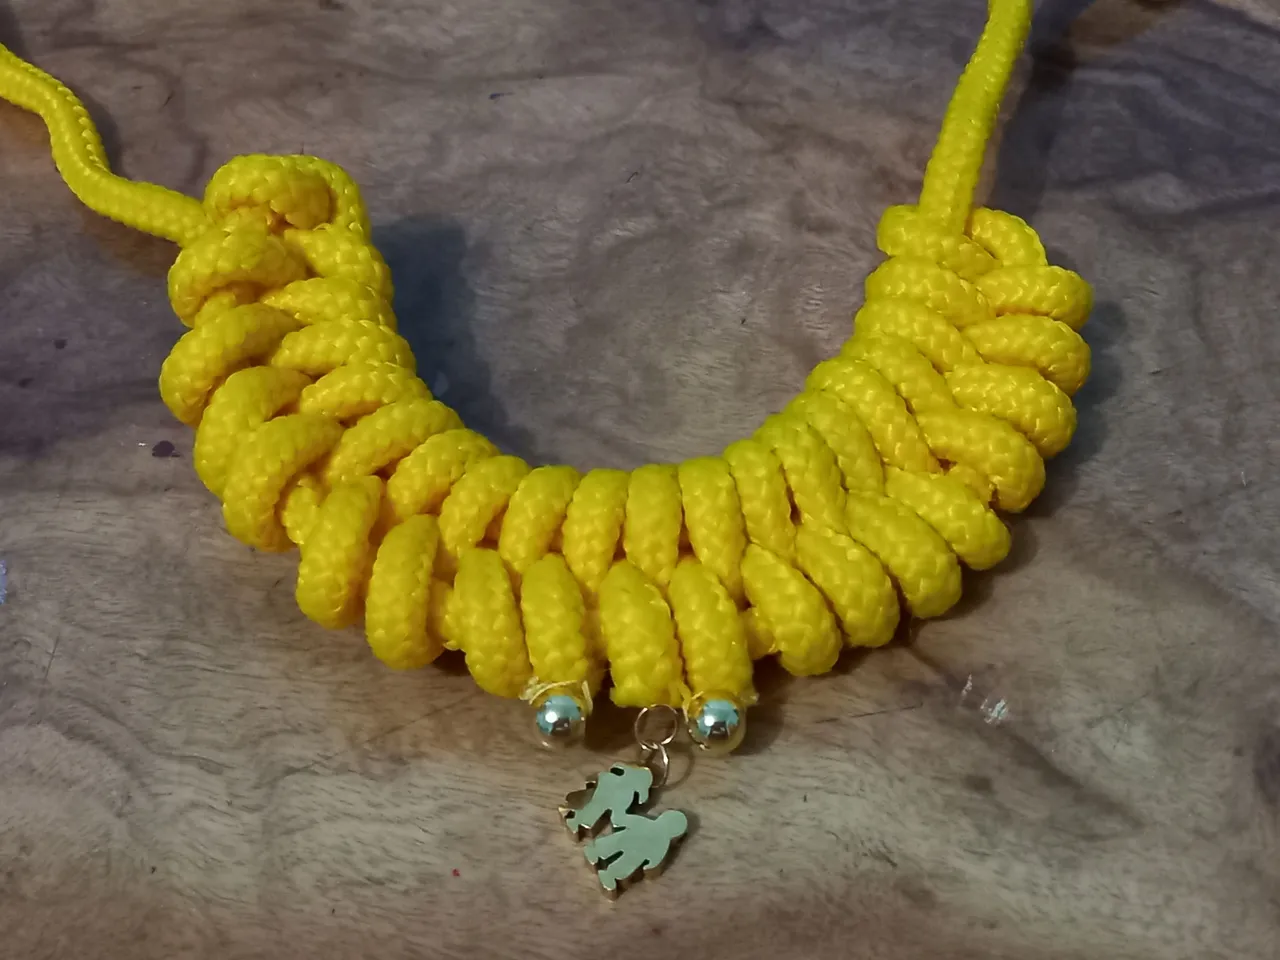
Cuando terminé el macramé en nudo hoja, procedi a colocar los adornos, comenzando por el digen, el cual coloqué en el centro del collar, para éste, utilicé 2 aros, uno para sotener el digen y otro para guindar la pieza completa en el collar.
When I finished the macramé in leaf knot, I proceeded to place the ornaments, starting with the digen, which I placed in the center of the necklace, for this, I used 2 rings, one to hold the digen and another to hang the whole piece in the necklace.
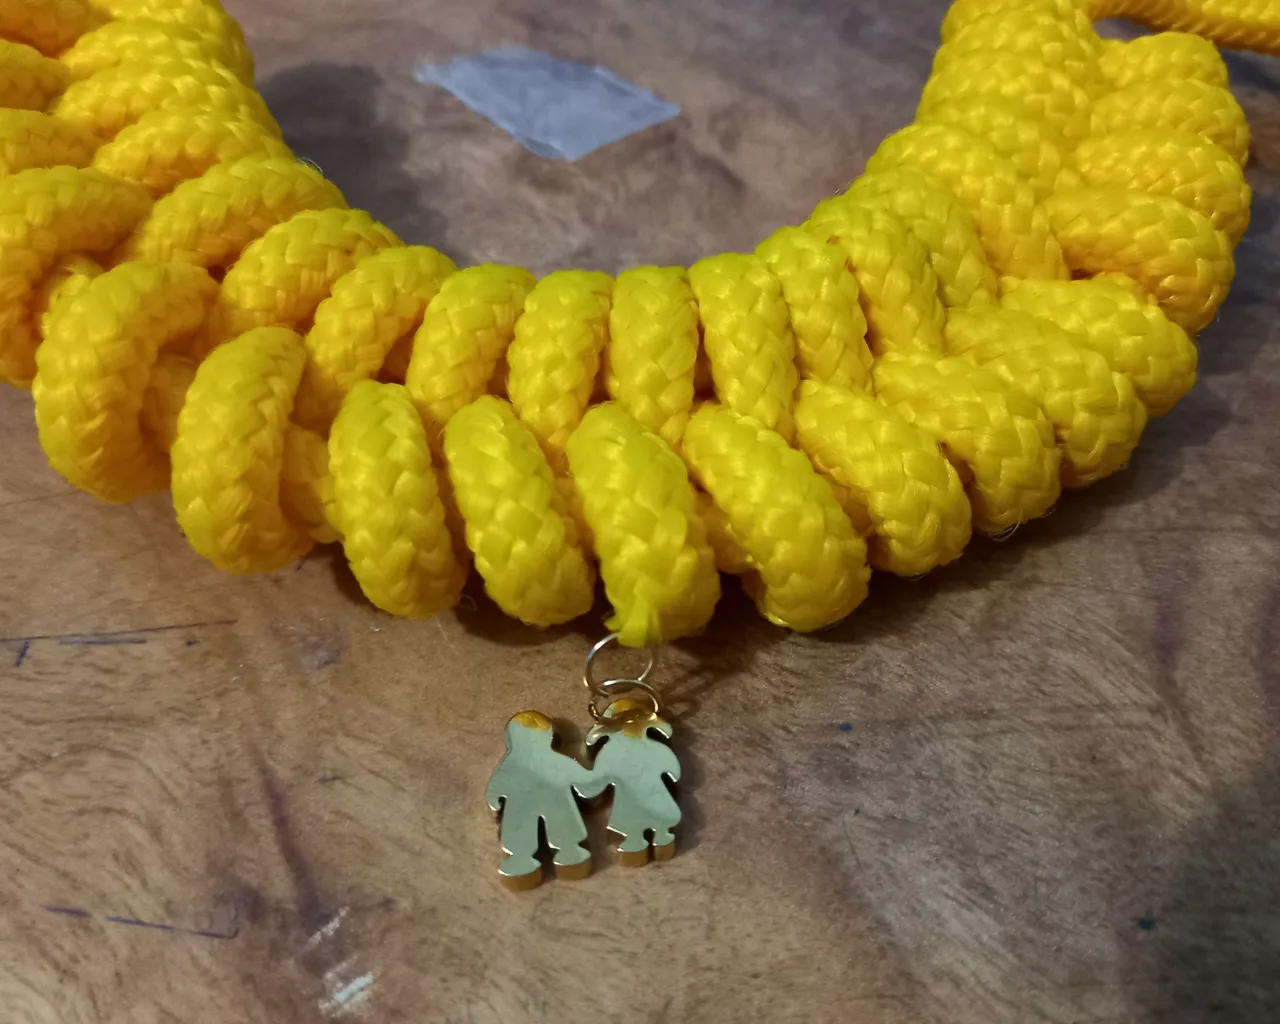
Después cosí los abalorios dorados, uno a cada lado del digen.
I then sewed the gold beads, one on each side of the digen.

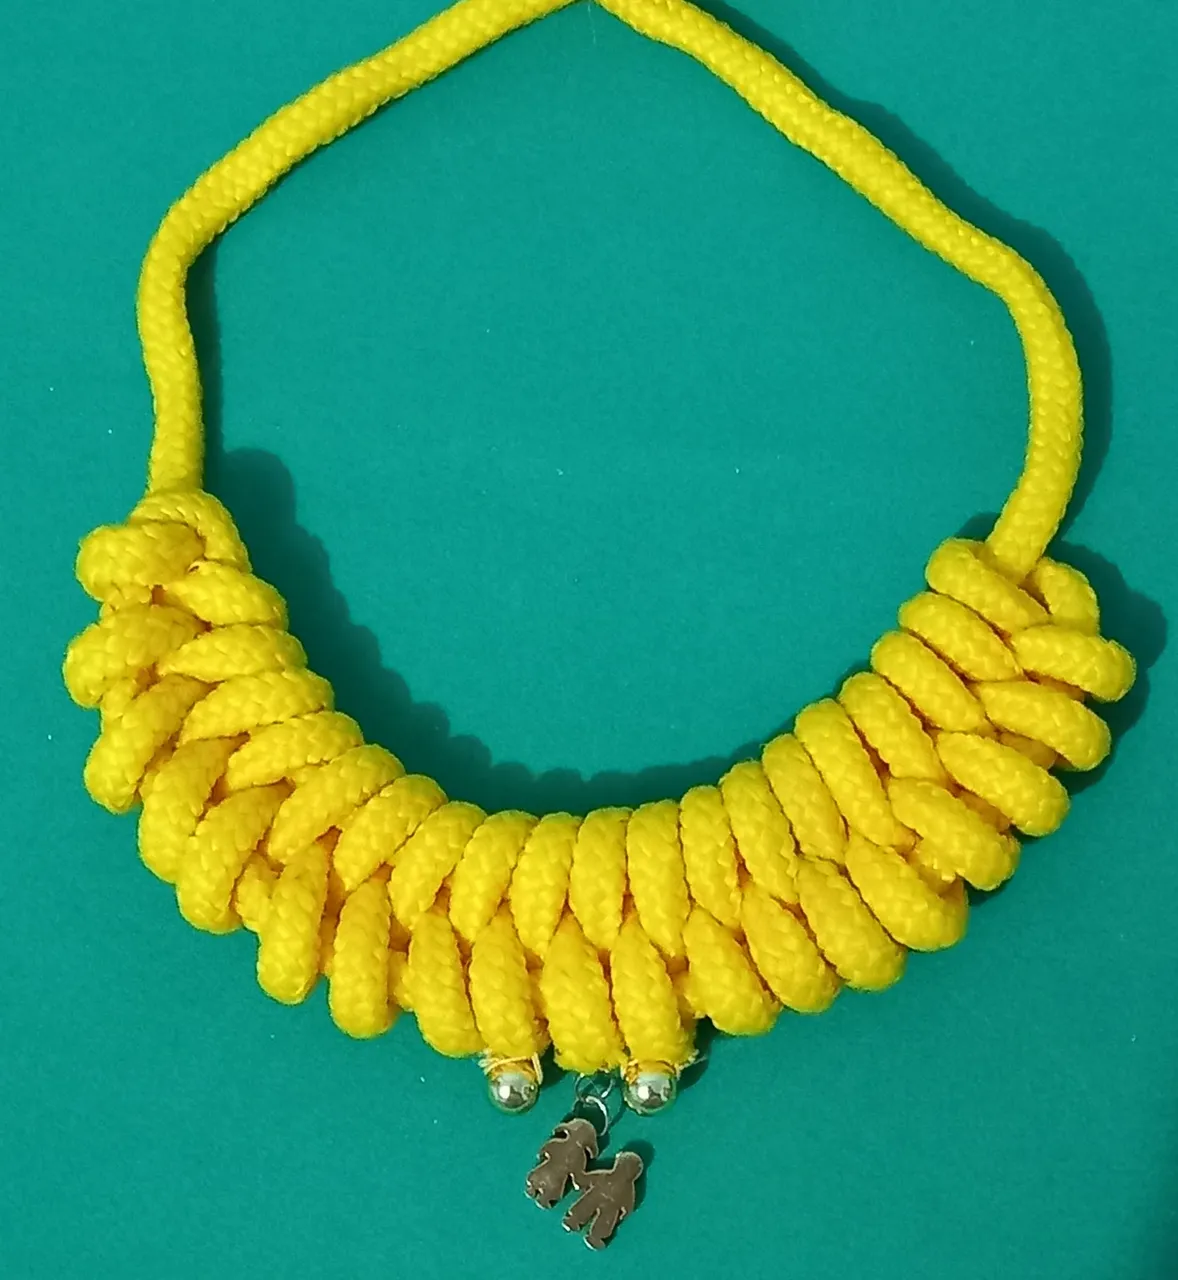
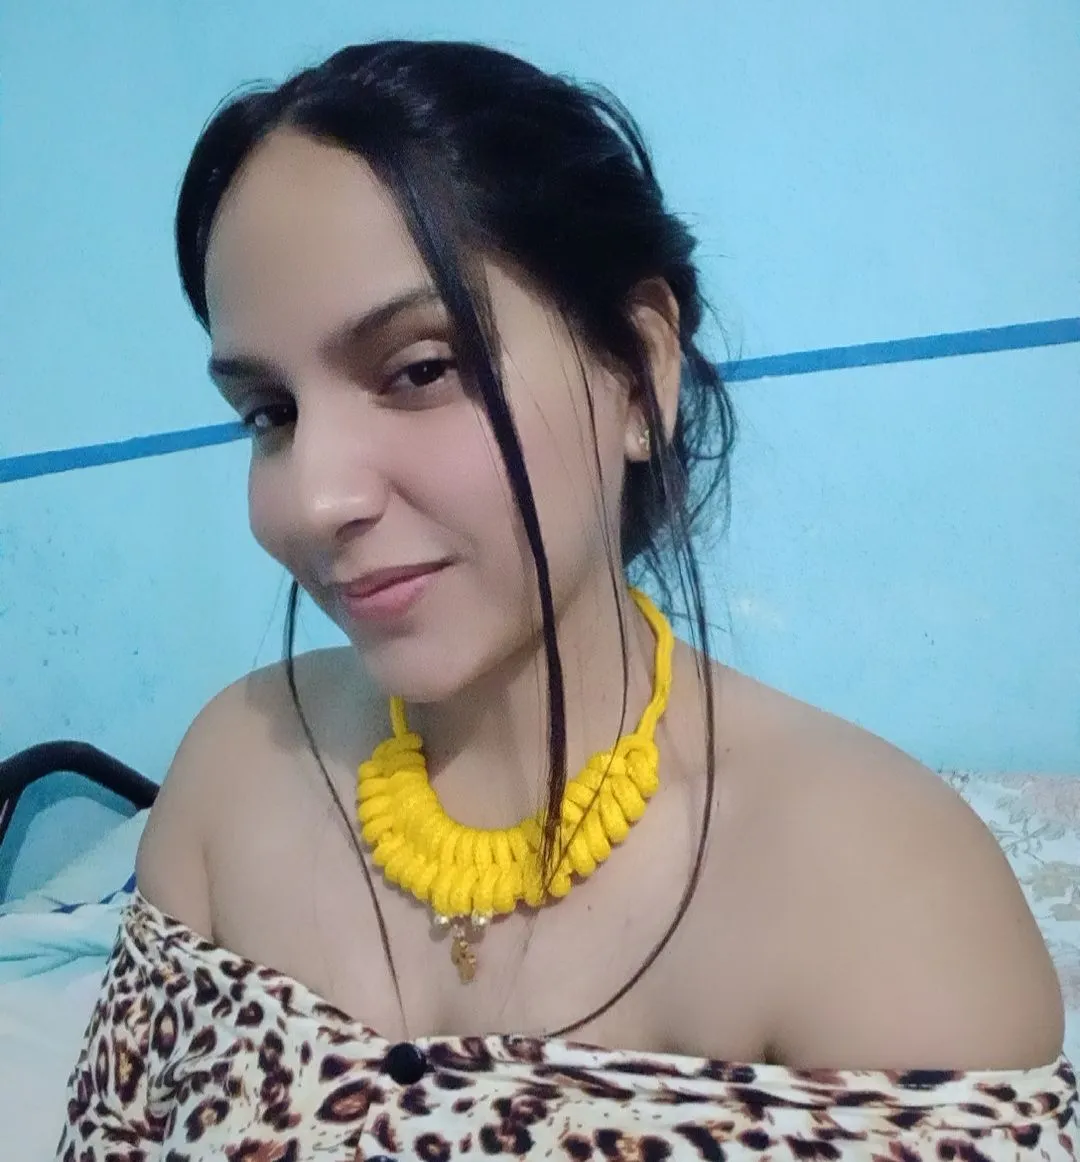

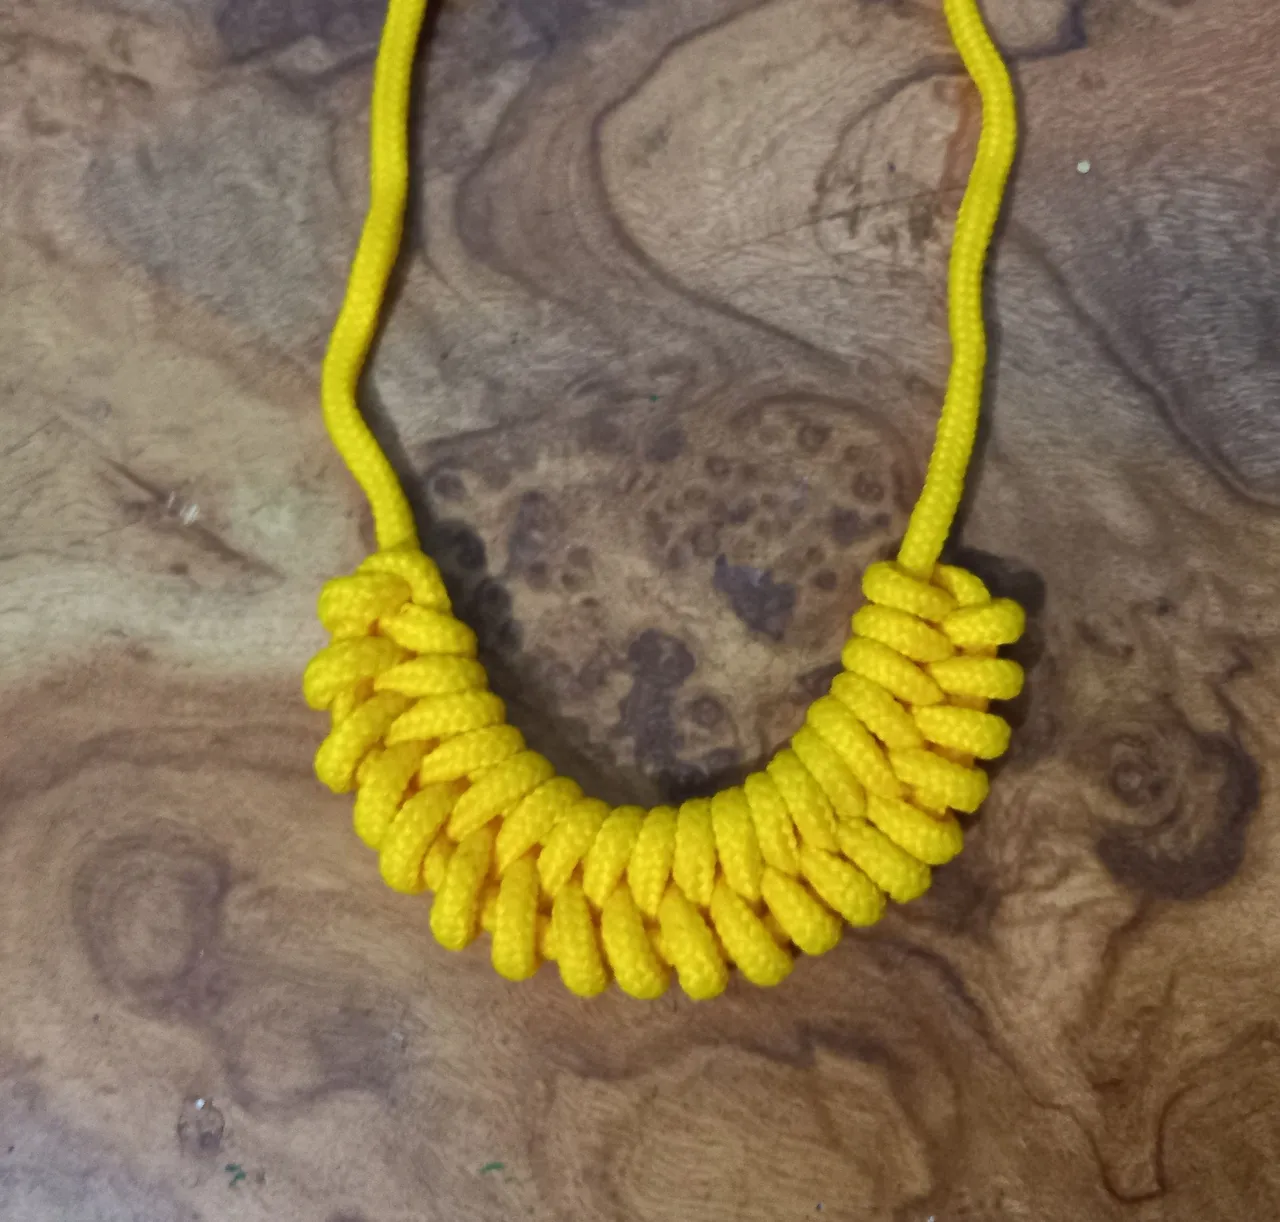
Y así ha sido el resultado de este hermoso collar en macramé utilizando el nudo hoja. Espero te haya gustado el tutorial y sea de gran utilidad. Gracias por dedicar parte de tu valioso en visitar mi blog. Muchas bendiciones 🙏🏻🤗.
And so was the result of this beautiful macrame necklace using the leaf knot. I hope you liked the tutorial and found it useful. Thank you for dedicating part of your valuable time to visit my blog. Many blessings 🙏🏻🤗.