
Hello Hive friends. It is a pleasure to be able to write again in this beautiful Jewelry community. I want to wish you a happy new year and all the good energy of the universe so you can accomplish all your goals in this new year 2023. Today I want to share with all of you the elaboration of some cute earrings with plush fabric to form some very beautiful bunnies and most importantly very easy to make.
Let's get to work! 🐰
MATERIALS:
- Pink Plush Fabric.
- Black thread
- Bank or pink thread.
- Silicon Gun
- Piece of leather.
- Fuchsia yarn
- Crystal or small pearl.
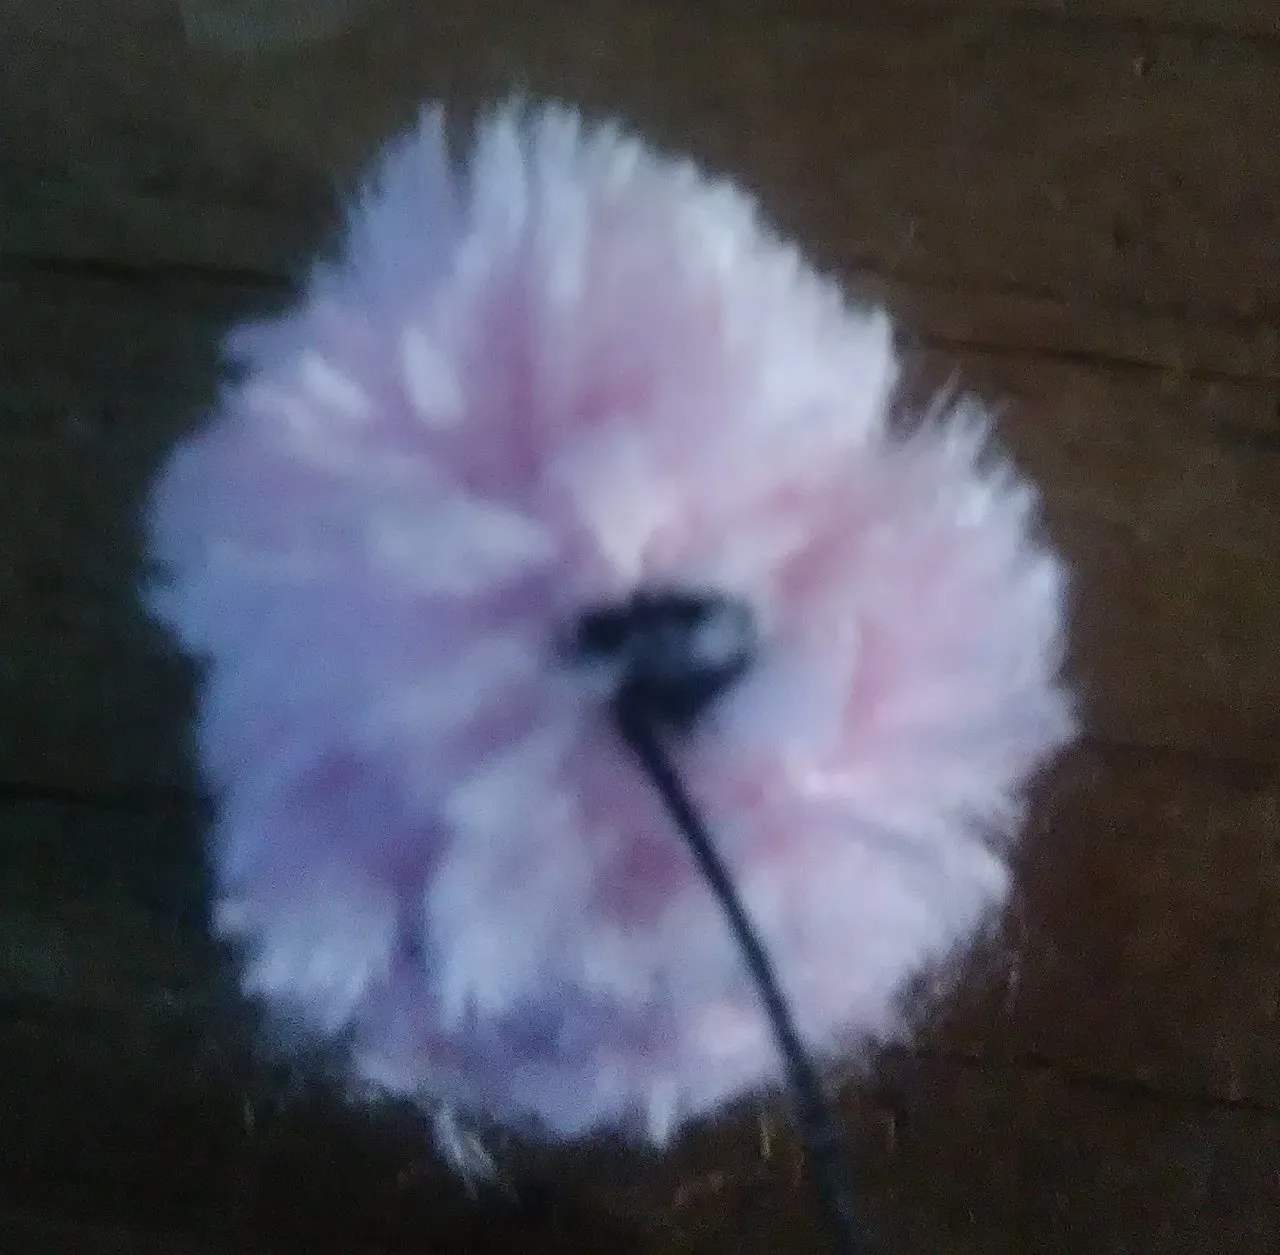
Step 1
Head of the bunny
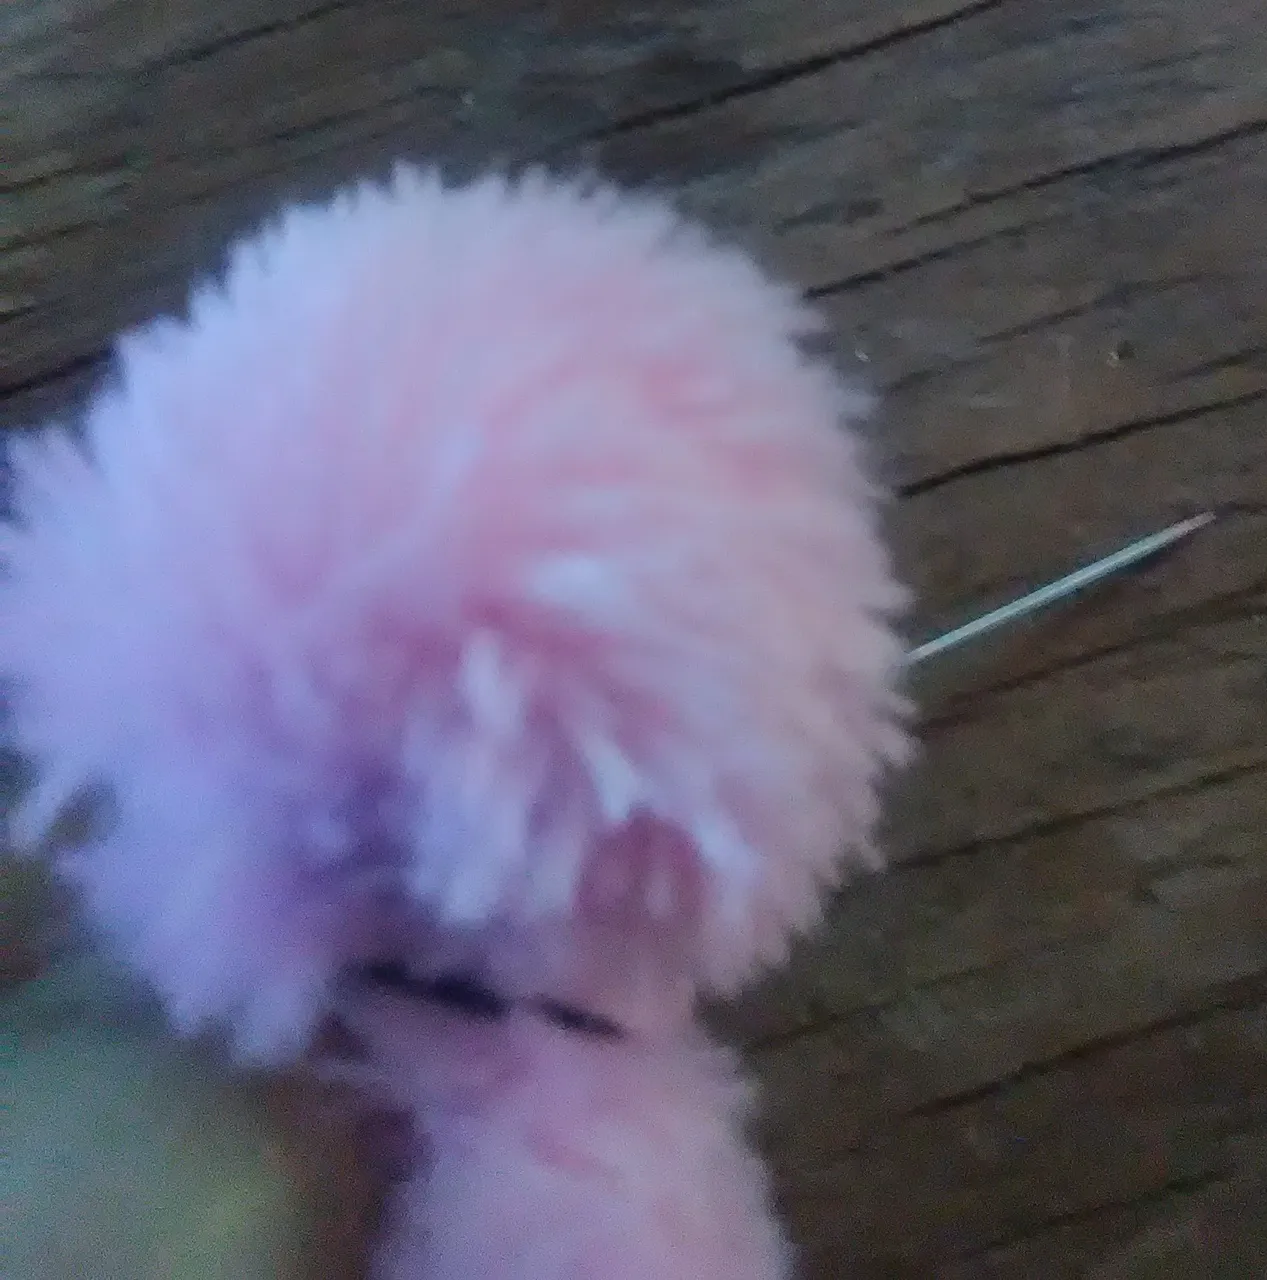
Take a piece of plush fabric to form the bunny's head. To adjust the bunny's head, take thread and needle to immobilize the bunny's head.
With the scissors cut the excess fabric after the sewing thread.
In this way should be the piece or the head of our bunny.
Step 2
Ears of the bunny.
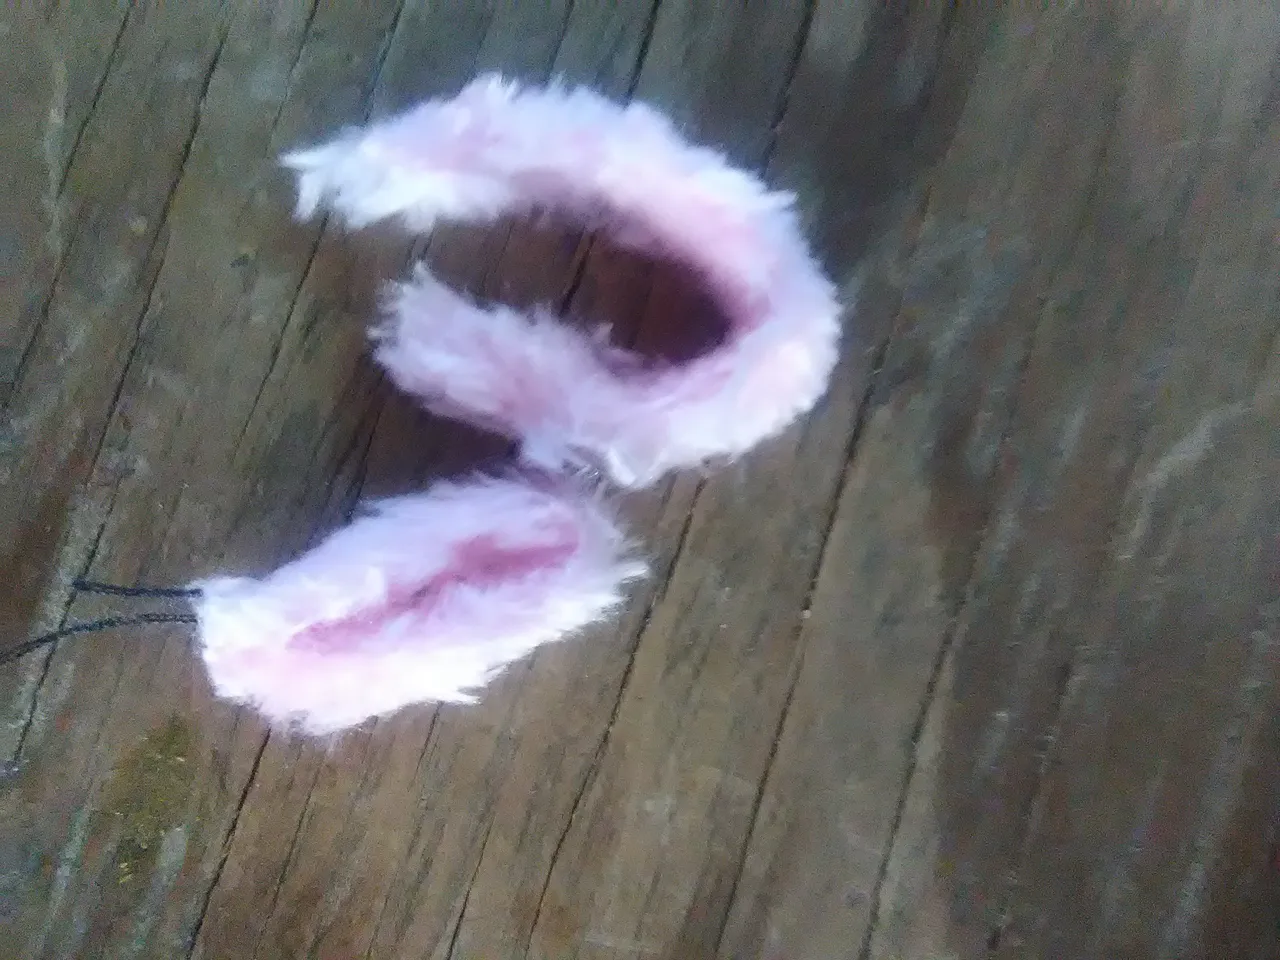
To make the bunny's ears, take a piece of plush fabric measuring 1 cm x 4.5 cm. Take both ends of the fabric and join them together with the needle and thread.
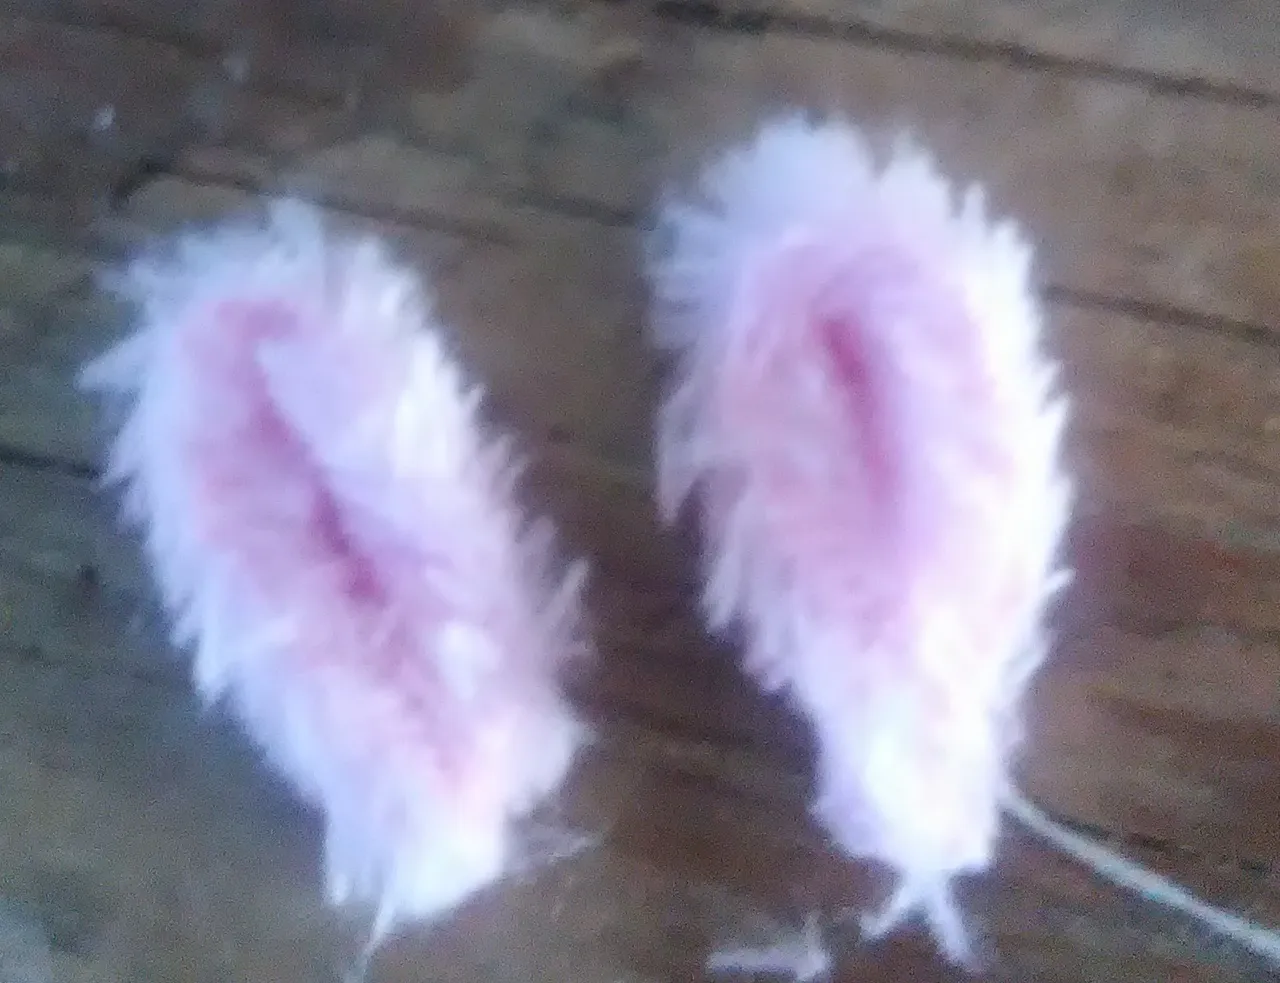
This will form the ears of the bunny.
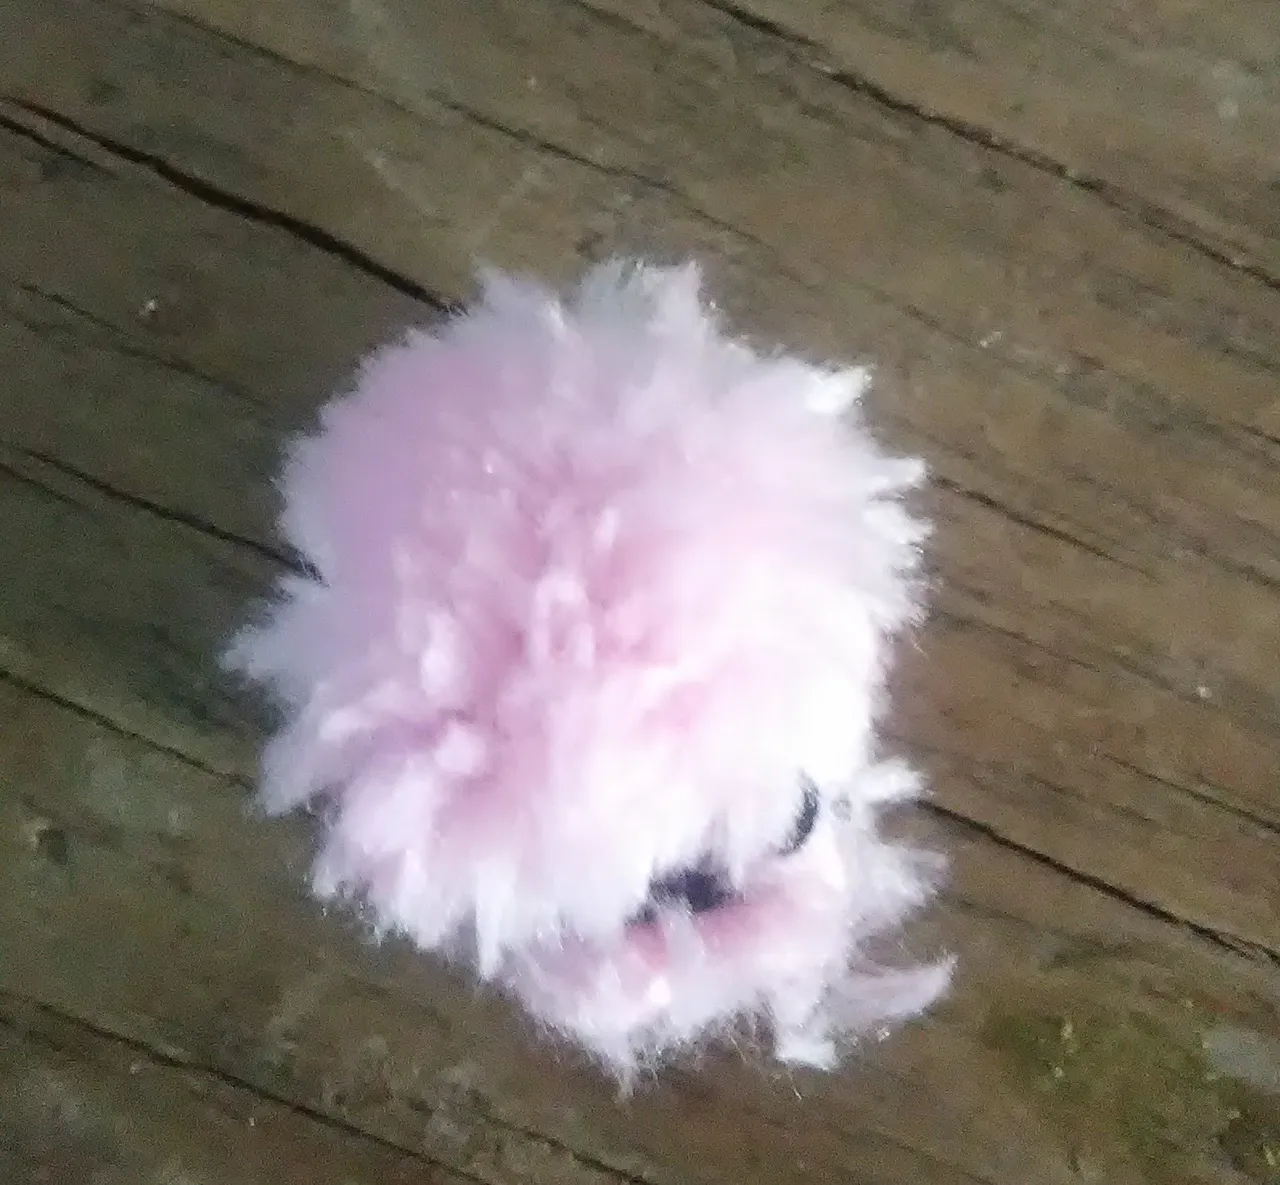
Step 3
Bunny's Paws
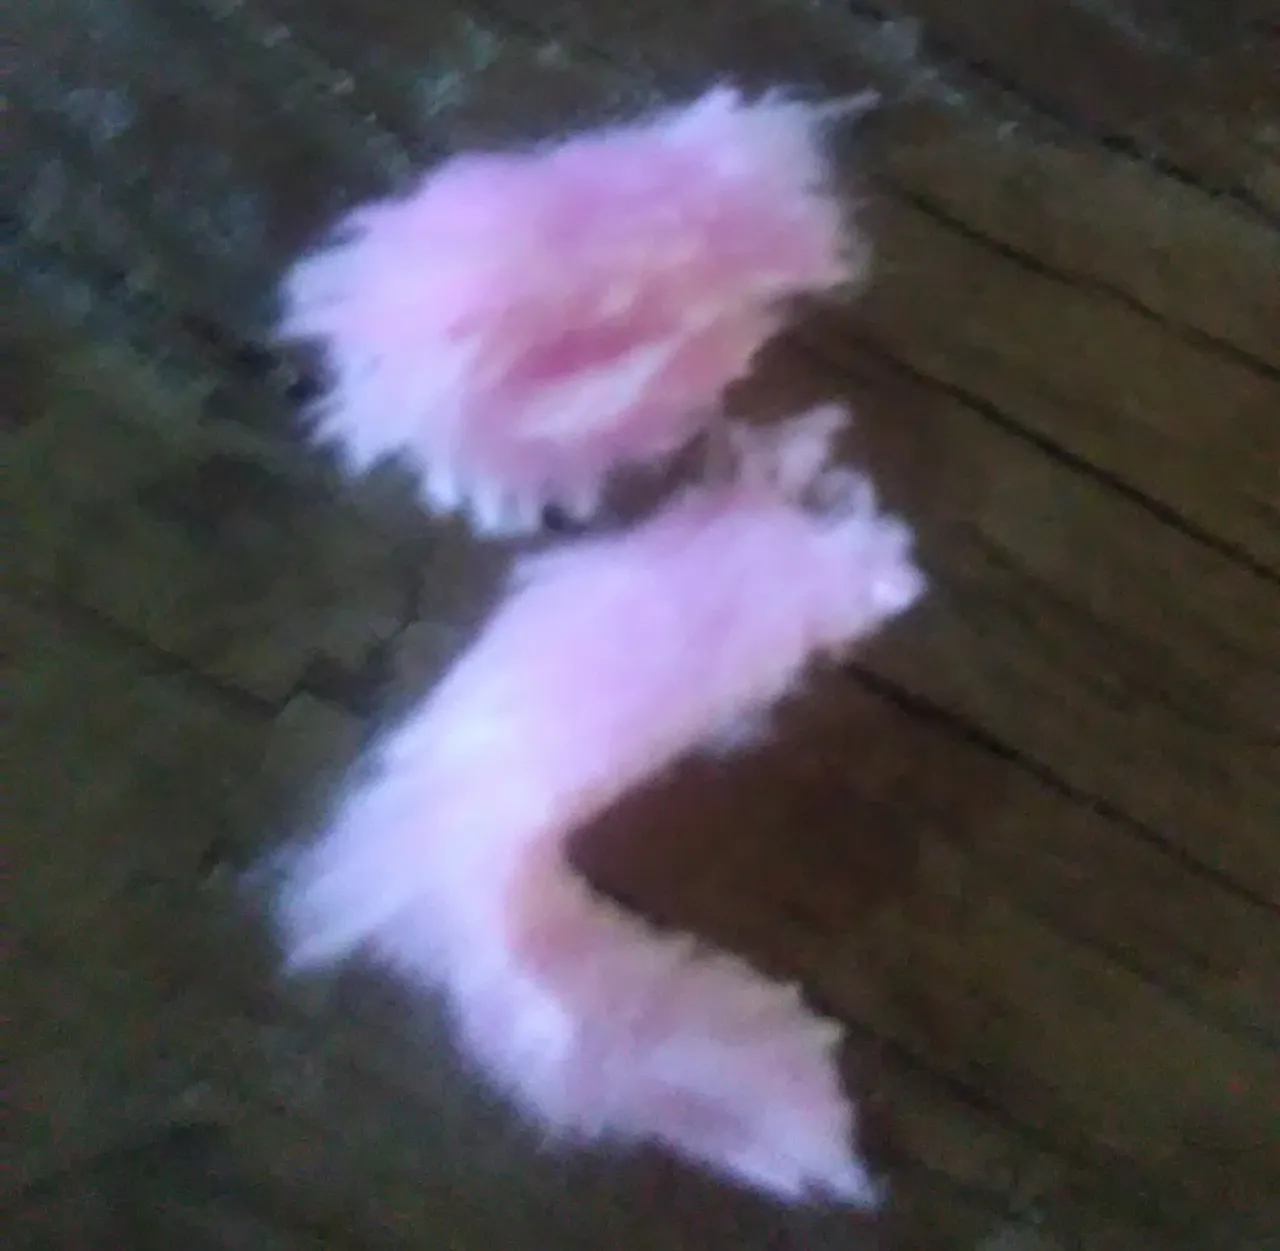
Use a piece of fabric 1 cm x 3 cm long to form the bunny's limbs. Join both ends of the plush fabric together with the thread and needle.
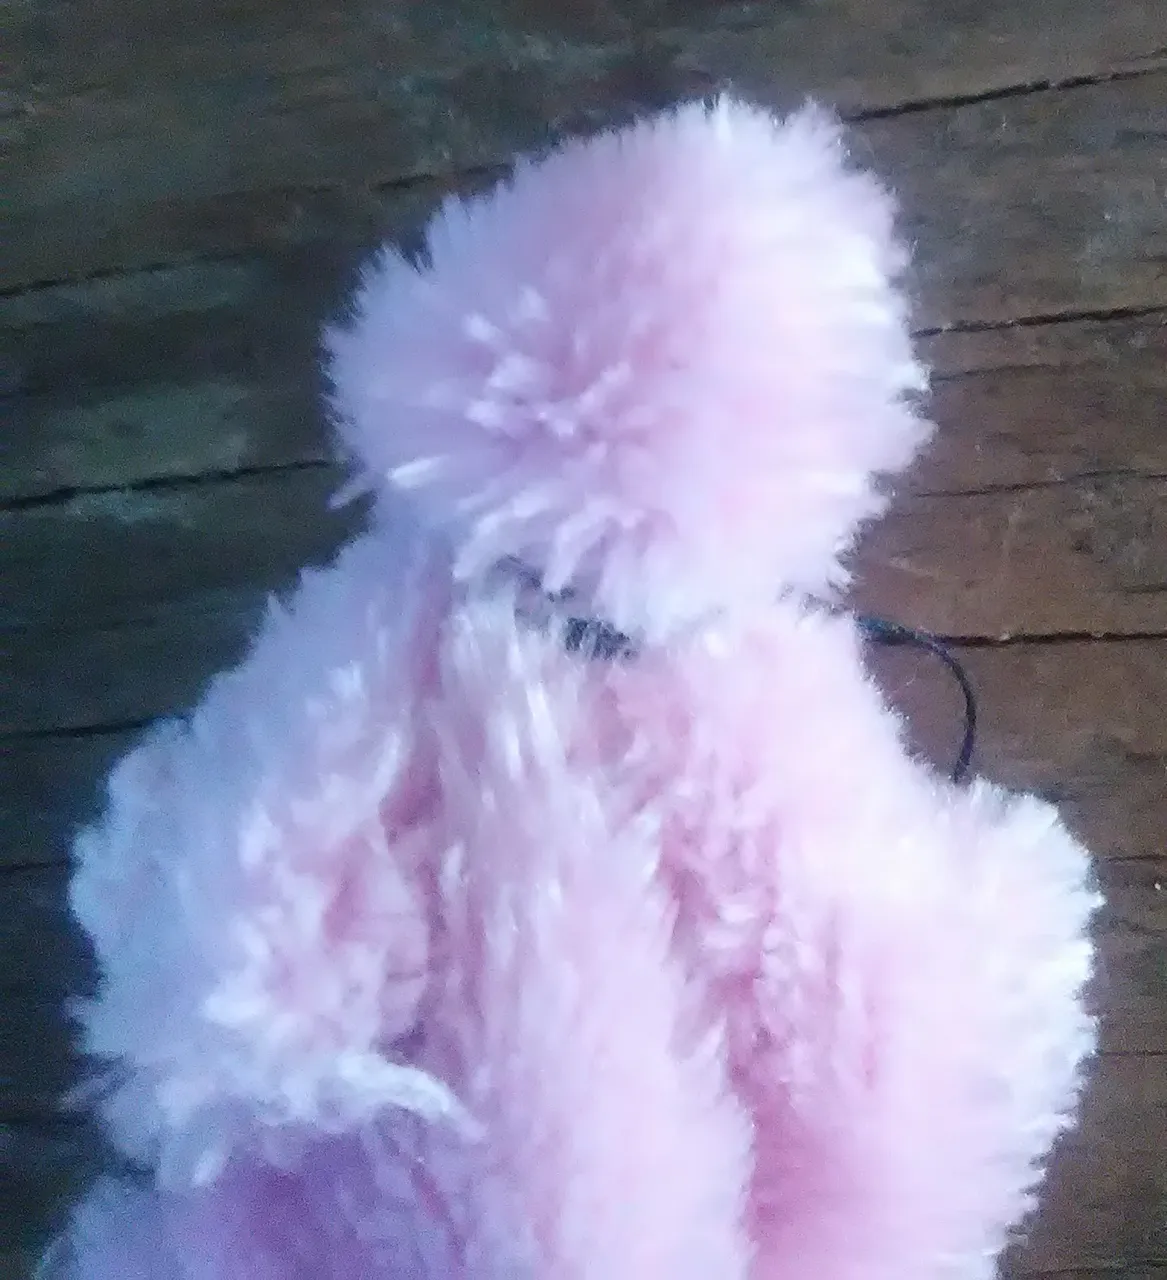
Step 4
Body of the bunny.
Form a Cylinder with the Plush Fabric to create the trunk of our bunny. Take thread and needle to sew the cylinder, using fine stitches to avoid the thread showing through.
Step 5
Bunny Face
To create the face of our bunny, take thread and needle to make the nose. With the thread and the needle, make a small black angle to form the nose of the bunny.
The same should be done to form the eyes of the bunny. Stitch stitches to make black circles on the bunny's head.
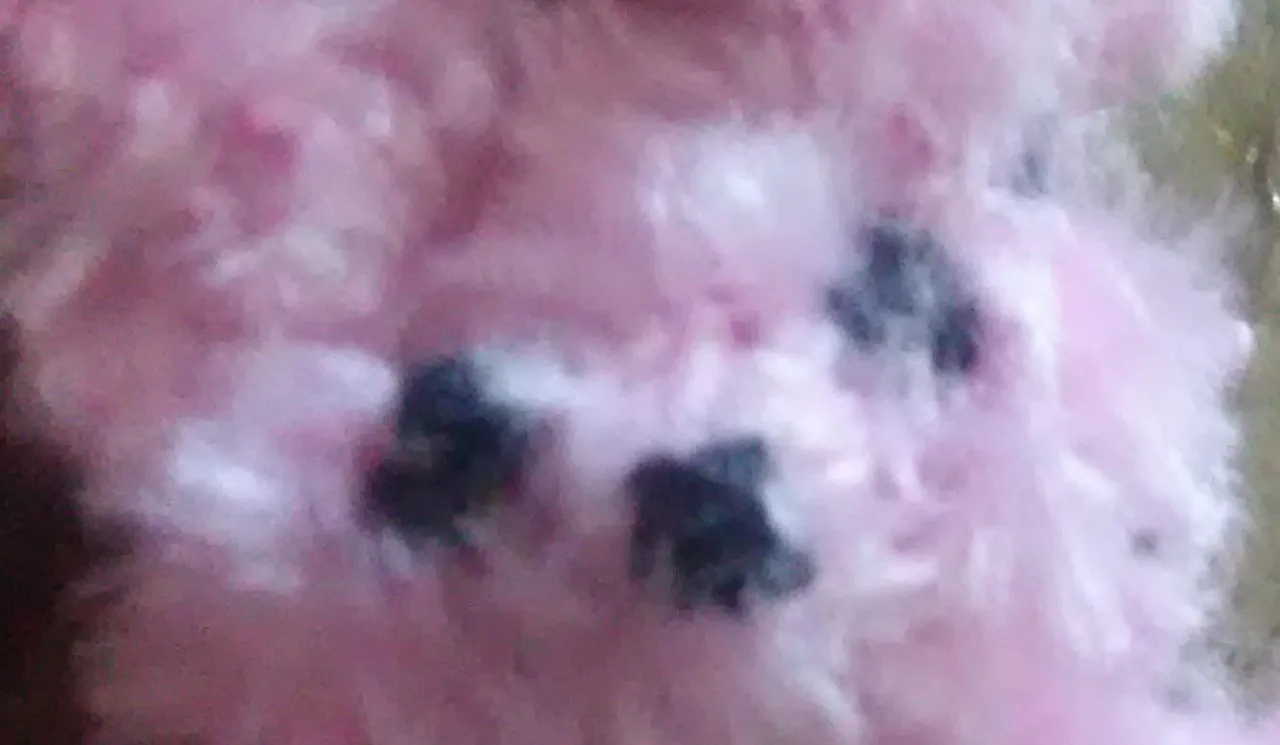
This is how the bunny's face should look like!
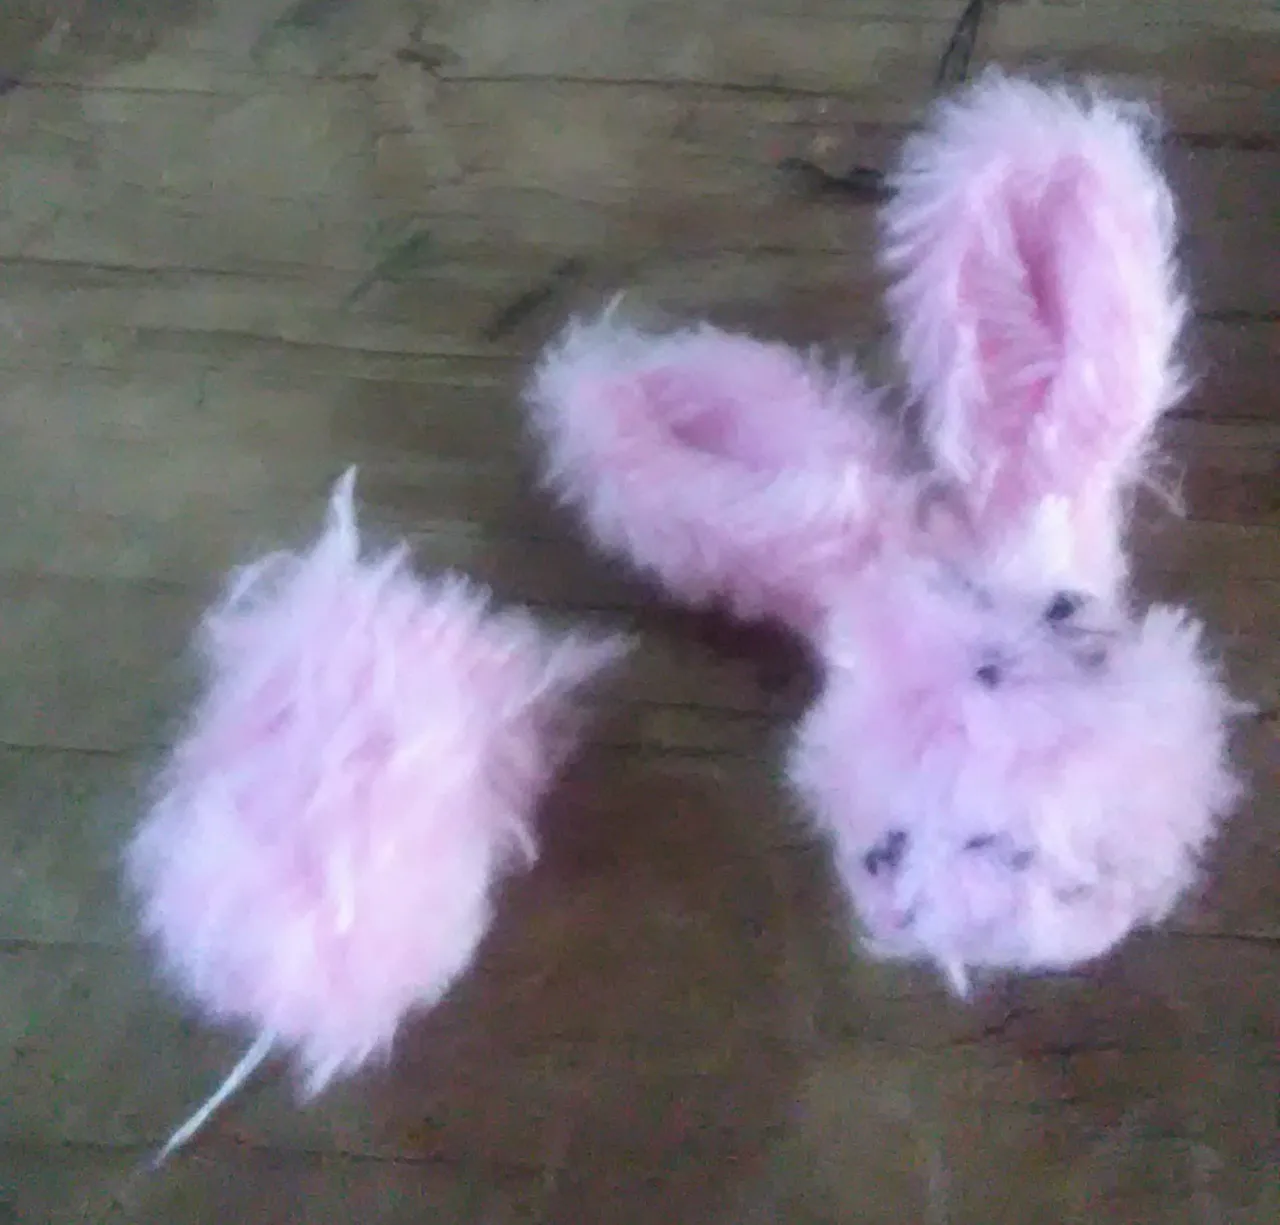
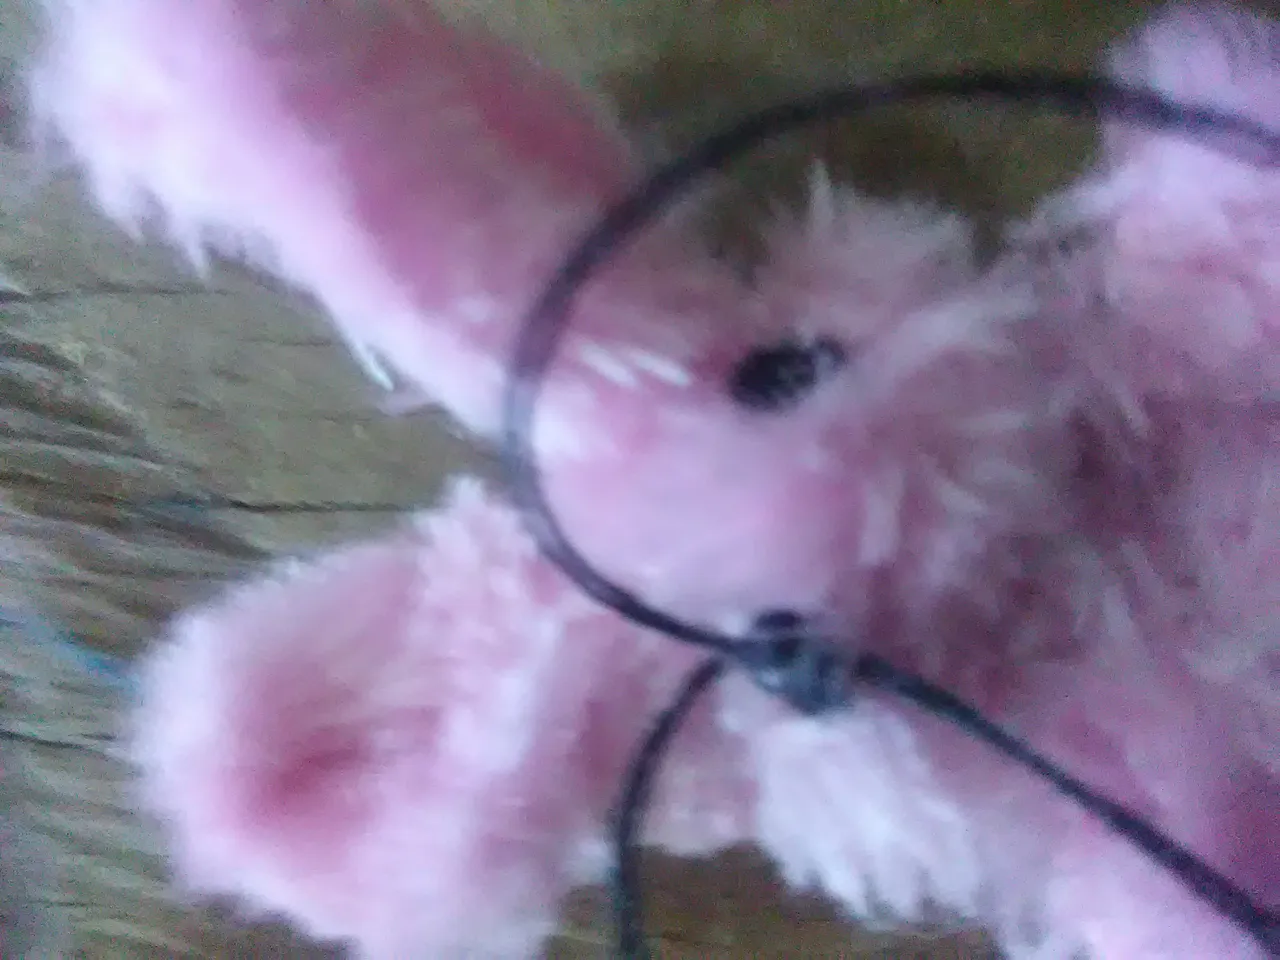
Step 6
Joining the Pieces
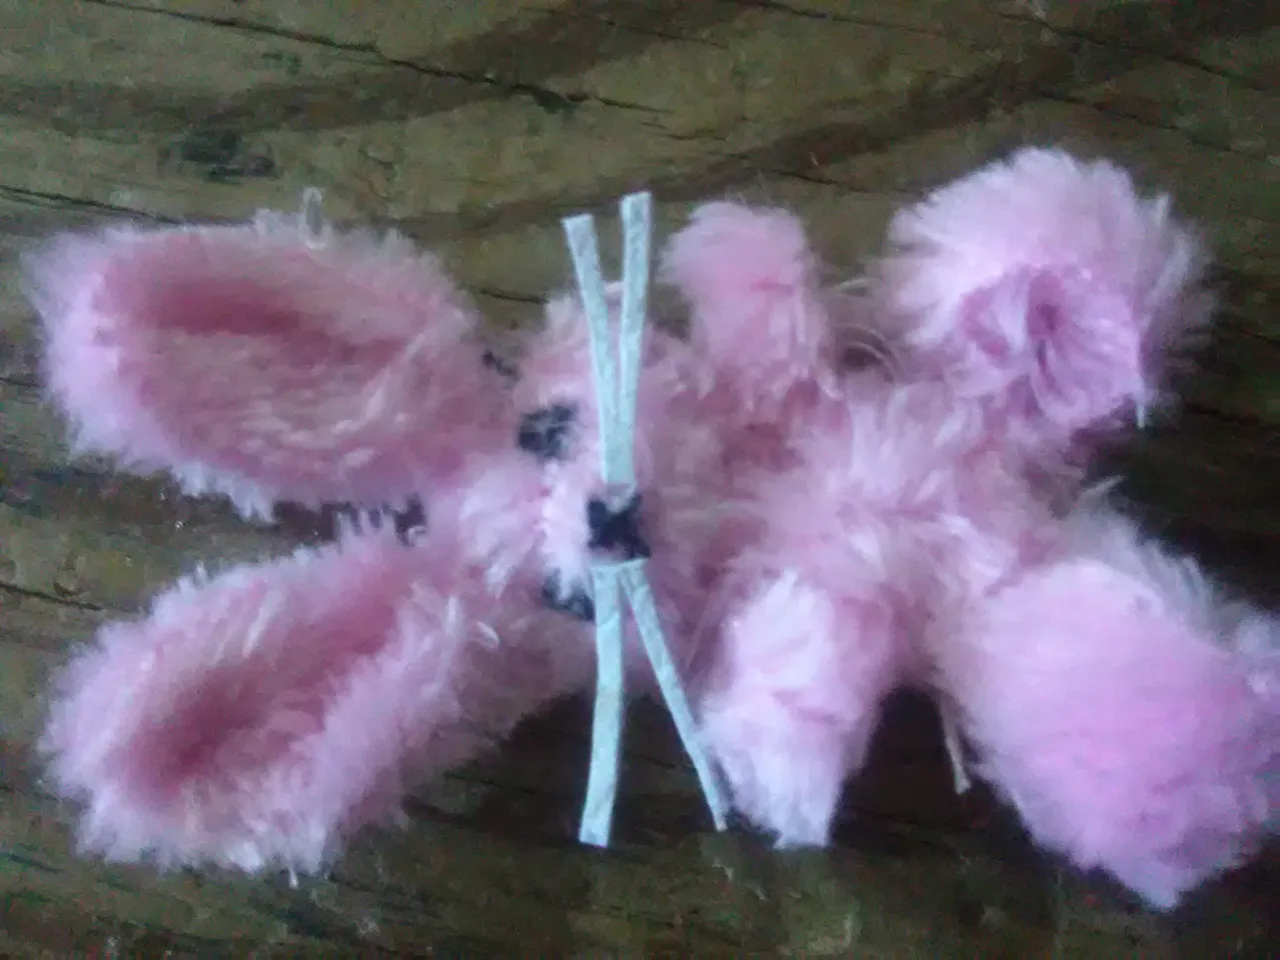
Then glue all the parts that we have made in the previous steps.
That is; glue its ears on its head, its four legs on the upper part of the trunk and the two other legs on the lower part of the trunk.
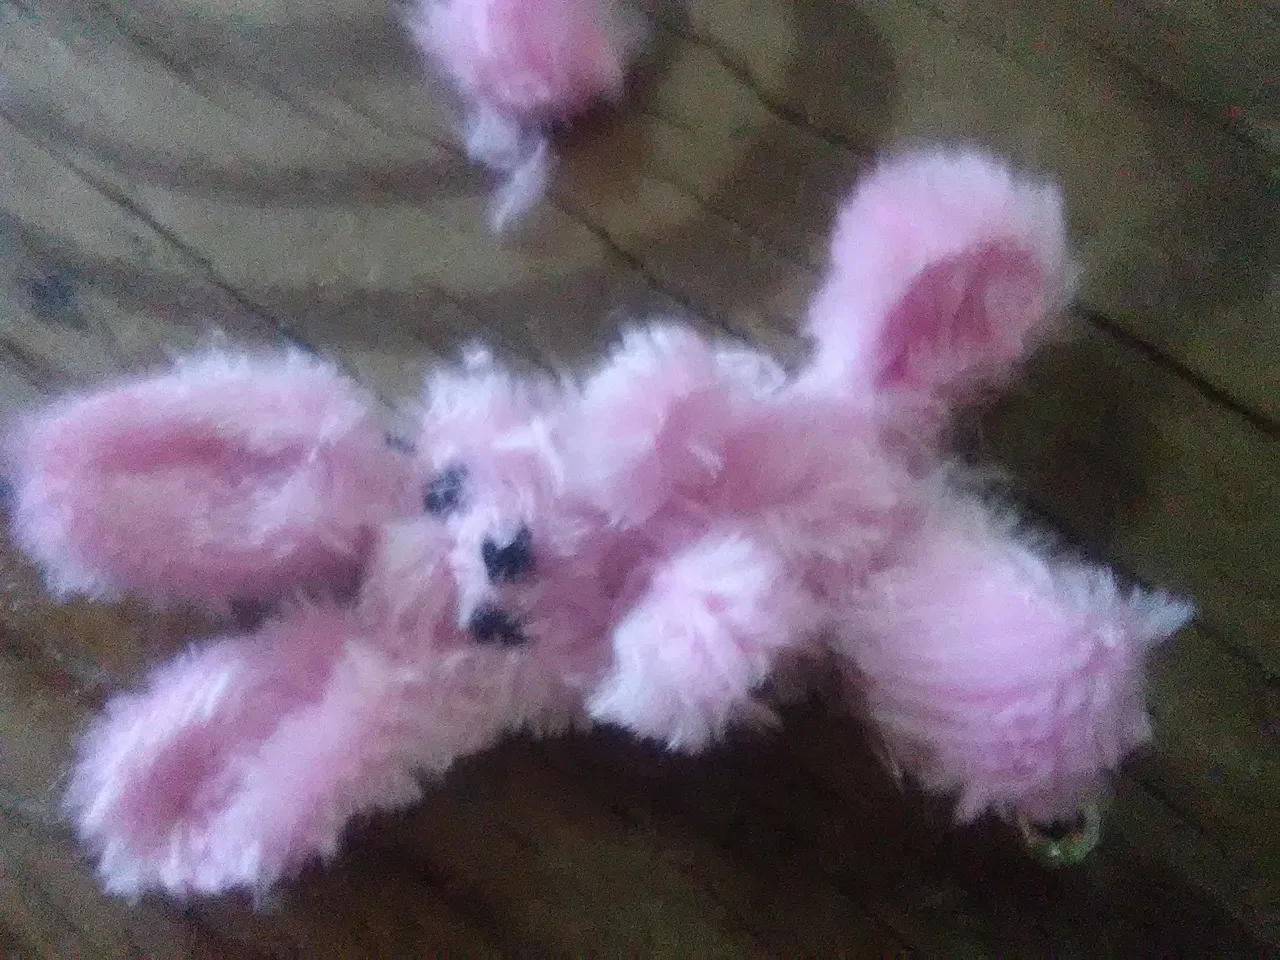
Step 7
Rabbit Bunnies
To this design of our rabbit we are going to attach the bunny's whiskers, which are the result of cutting 4 thin strips of white leather.
These will be attached to both sides of the bunny's nose. Two on the right side and two on the left side.
Decoration of the stuffed animal.
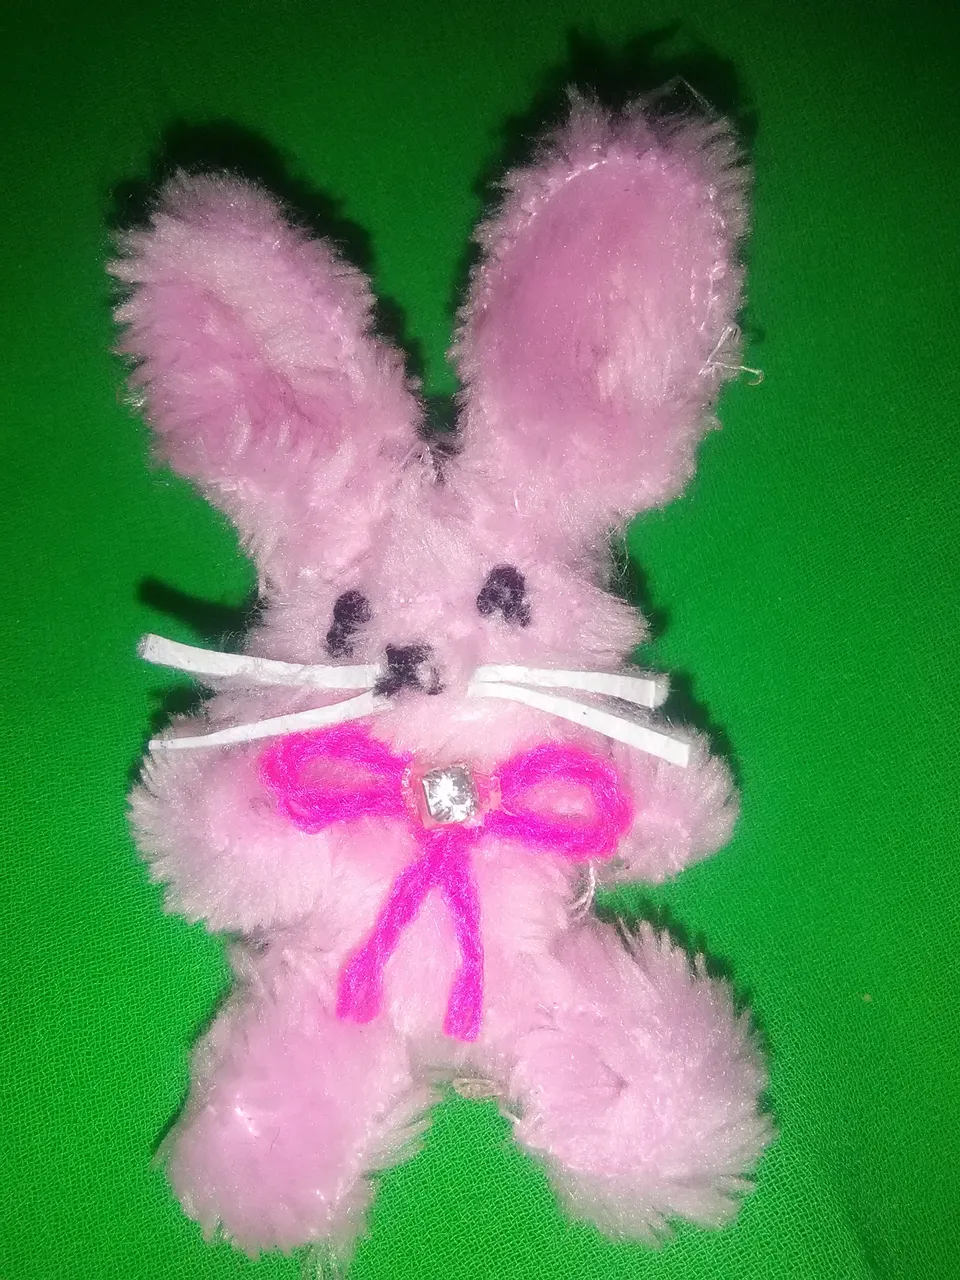
To decorate I used a piece of fuchsia yarn to make the ribbon of the rabbit and on the central part of the ribbon I will glue a small ball or a crystal.

So we have finished the elaboration of our earrings, we only have to replicate the other piece of the bunny to make the pair, following the previous steps.
Greetings and success in everything! 🐰
The images are my own and were taken with a ZTE BLADE phone.
Translator utilization: Deepl
- The editing of the photos was done using the Polish Photo Editor application and separators were edited in canva.

Hola amigos de Hive. Es un gusto poder escribir nuevamente en esta bonita comunidad de Jewelry. Quiero Deserles un feliz año y toda la buena energia del universo para que puedan cumplir todas sus metas en este nuevo año 2023. Hoy quiero compartir con todos ustedes la elaboracion de unos lindos aretes con tela de peluche para formar unos conejitos muy bellos y lo más importante muy faciles de hacer.
Manos a la obra! 🐰
MATERIALES:
- Tela de Peluche Rosada.
- Hilo negro
- Hilo banco o rosada.
- Pistola de Silicon
- Pedazo de cuero.
- Estambre fucsia
- Cristal o perla pequeña.
Paso 1
Cabeza del conejito
Se debe tomar un pedazo de tela de peluche para formar la cabeza del conejito. Para ajustar la cabeza del conejo se toma hilo y aguja para inmovilizar esta.
Con la tijera se debe cortar la tela sobrante despues del hilo de coser
De esta manera debe quedar la piezao la cabeza de nuestro conejito.
Paso 2
Orejas del conejito
Para dformar las orejitas del conejo se debe tomar un trozo de tela de peluche de 1 cm x 4,5 cm. Se deben tomar ambos extremos de la tela y se deben unir a traves del hilo y la aguja.
De esta manera se forman las orejas del conejito.
Paso 3
Patas del Conejito
con un trozo de tela de 1 cm x 3 cm de largo para formar las extremidades del conejito. Se unen ambos extremos de la tela de peluche con el hilo y la aguja.
Paso 4
Cuerpo del Conejito
Se debe formar un Cilindro con la Tela de Peluche para crear el tronco de nuestro conejito. Se toma hilo y aguja para coser el cilindro, con finas puntadas para evitar quwe el hilo se note.
Paso 5
Rostro del Conejito
Para craer el rostro de nuestro conejito se debe tomar hilo y aguja para hacer la nariz. Se hace con el hilo y la aguja un tiangulo pequeñito negro para foormar la nariz del conejo.
Asi mismo se debe hacer para formar los ojos del conejito. Se haces puntadas para haer unos circulos negros sobre la cabeza del conejito.
Asi debe quedar la cara del conejito!
Paso 6
Union de las Piezas
Luego se debe pegar todas las partes que hemos elaborado en los pasos anteriores.
Es decir; pegar sus orejas sobre su cabeza, sus cuatro patas en la parte superiro del tronco y las dos otra spatas en la parte inferior del tronco.
Paso 7
Bigotes del Conejo
A este diseño de nuestro conejo se va a unir los bigotes del conejito, que resulta de cortar unas 4 finas cintas de cuero blanco.
Estas se van a fijar a ambos lados de la nariz del conejo. Dos de un lado derecho y dos ddel lado izquierdo.
Decoracion del peluche.
Para decorar utilicé un trozo de estambre fucsia para hacer el lazo del conejo y sobre la parte central del lazo se va a pegar una pelotica o un crital.
Asi hemos terminado la elaboración de nuestro aretes, solo debemos de replicar la otra pieza del conejito para hacer el par, siguiendo los pasos anteriores!
Saludos y éxito en todo! 🐰
Las imagenes son de mi autoria y fueron Tomadas a traves de un Telefono ZTE BLADE.
Traductor utilizado: Deepl
La edicion de las fotos la realicé mediante la aplicaciones Editor de Fotos Polish y los separadores se editaron en canva.