¿Alguna vez soñaste con crear imagenes impresionantes o dibujar como un gran pintor? ¿ ¡Ahora ya puedes hacerlo realidad con la ayuda de la Inteligencia Artificial! En esta ocasion usaremos Dream Booth y Stable Diffusion, Te explicare detalladamente los pasos que debes seguir para usar estas herramientas:
Paso numero 1
Debes registrarte en la pagina Hugging face, aqui abajo te dejo el
hugging face
En este apartado en donde dice sign up nos vamos a registrar.
Paso numero 2:
una vez registrados y logueados en el buscador de hugging face vamos a escribir stable diffusion. En esta ocasion usaremos la version 1.5
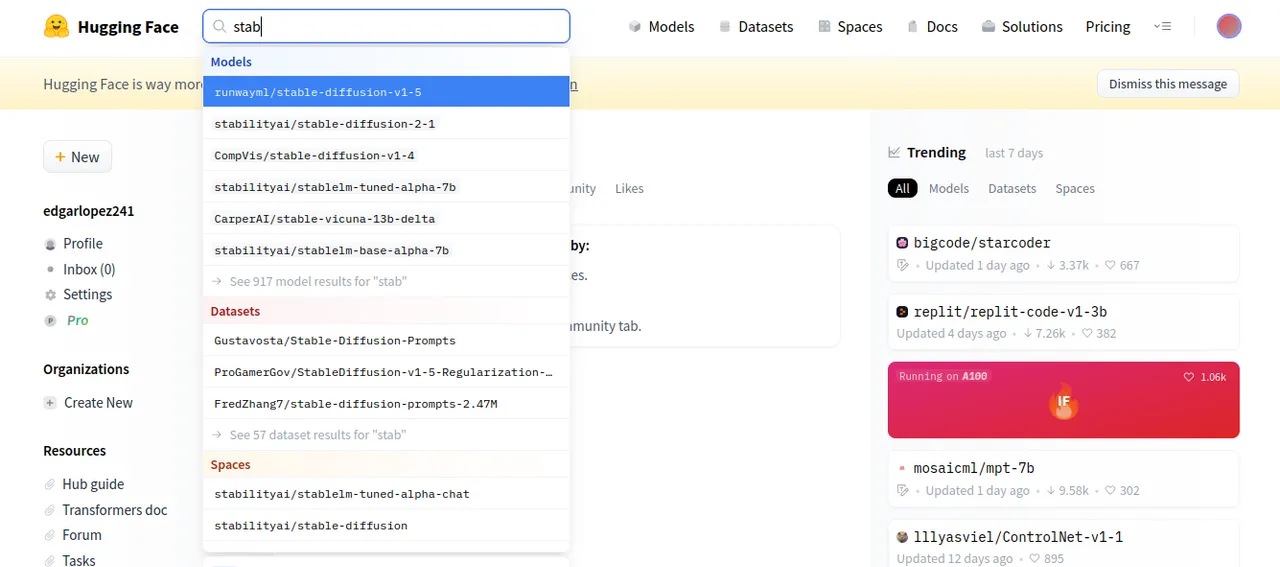
Una vez elijamos stabble diffusion aceptaremos terminos y condiciones, en caso de que aparezca, Hay momentos que aparece como momentos en los cuales no aparece
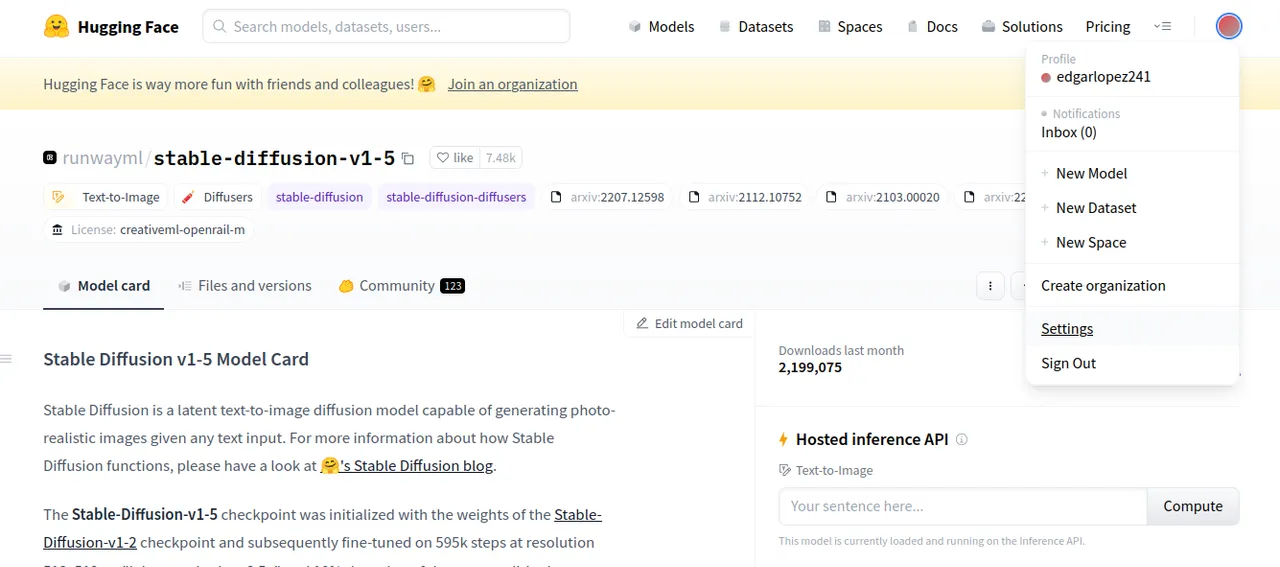
- El siguiente paso, vamos a generar un token para acceder a stable diffusion, para generar este token le damos click al icono de la parte superior derecha, una vez que se despliegue le damos al apartado de settings.
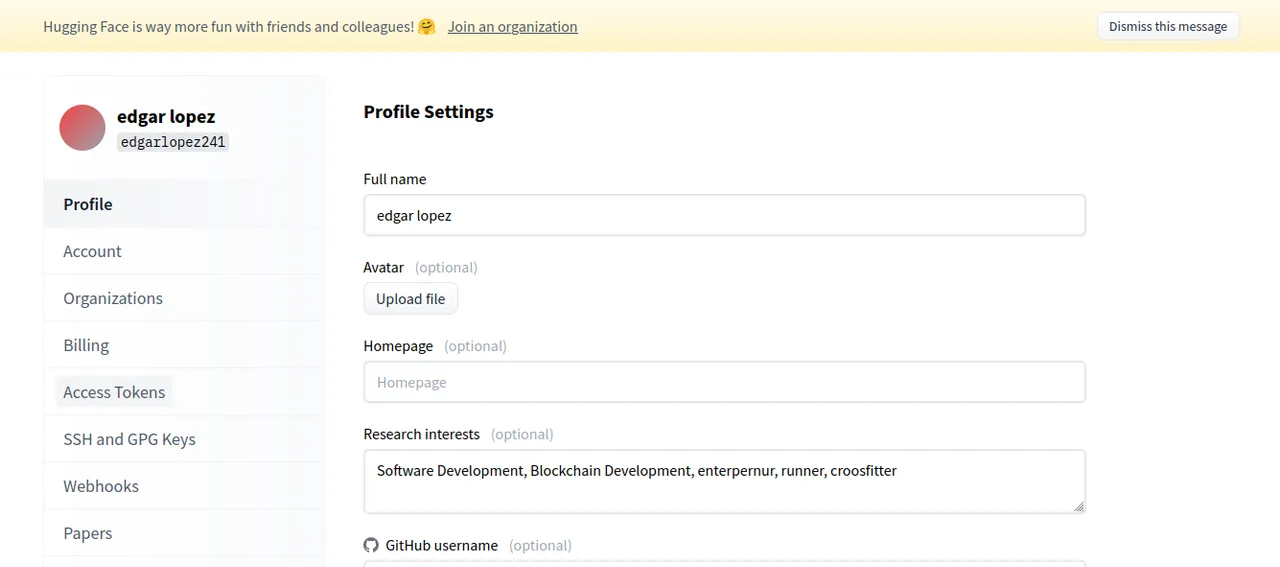
Para crear el token le damos click al apartado que dice: Access Token
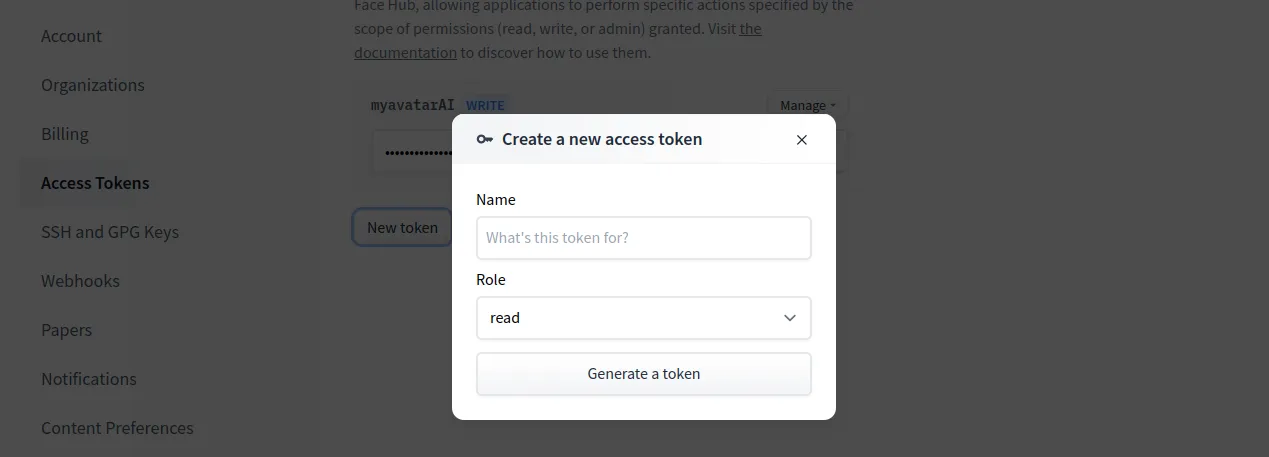
Luego de que le demos Acces Token, vamos a darle click a new token
a este le vamos a dar el nombre que querramos, el rol que le asignaremos sera el de escritura es decir write, este token lo vamos a usar para conectarnos a la cuenta de Huggin face, para poder descargar el modelo que creemos.
Paso numero 4, nos vamos a l pagina de stable diffussionstable diffusion
Una vez en la pagina lo siguiente que vamos hacer es conectar nuestra cuenta google con stable diffusion, le damos en el boton que dice conectar
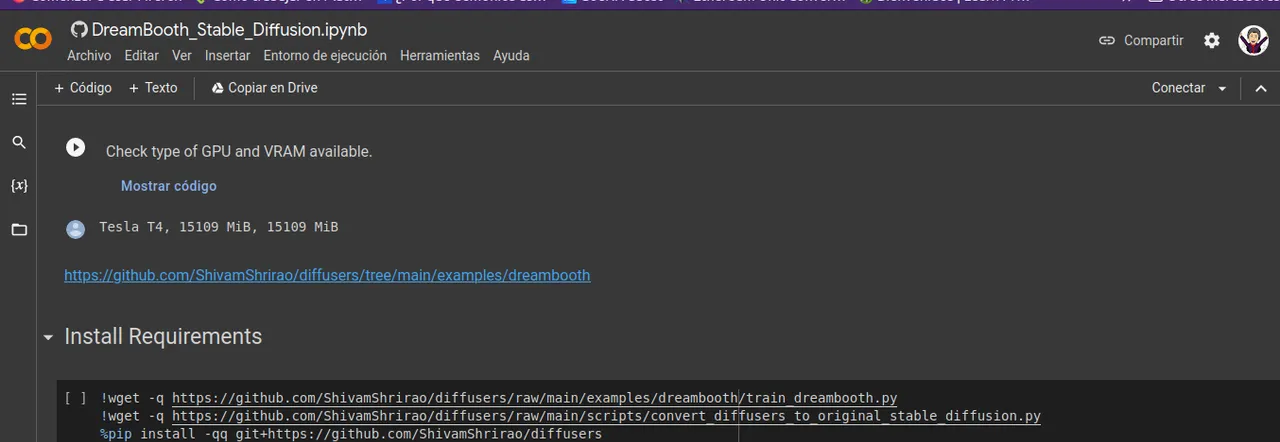
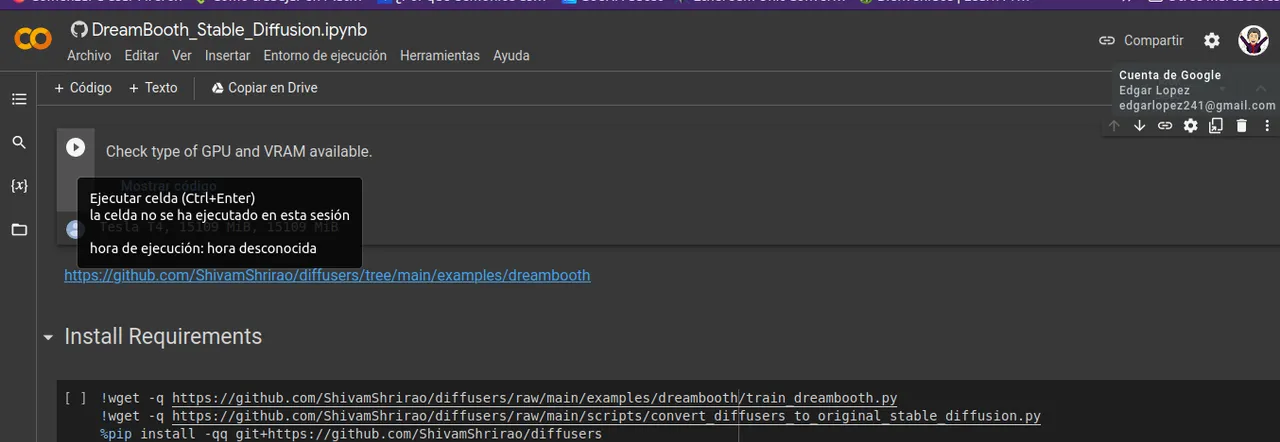
Una vez dentro de DreamBooth_Stable_Diffusion, vamos a darle click para comprobar la capacidad de nuestro computador, en el boton de play.
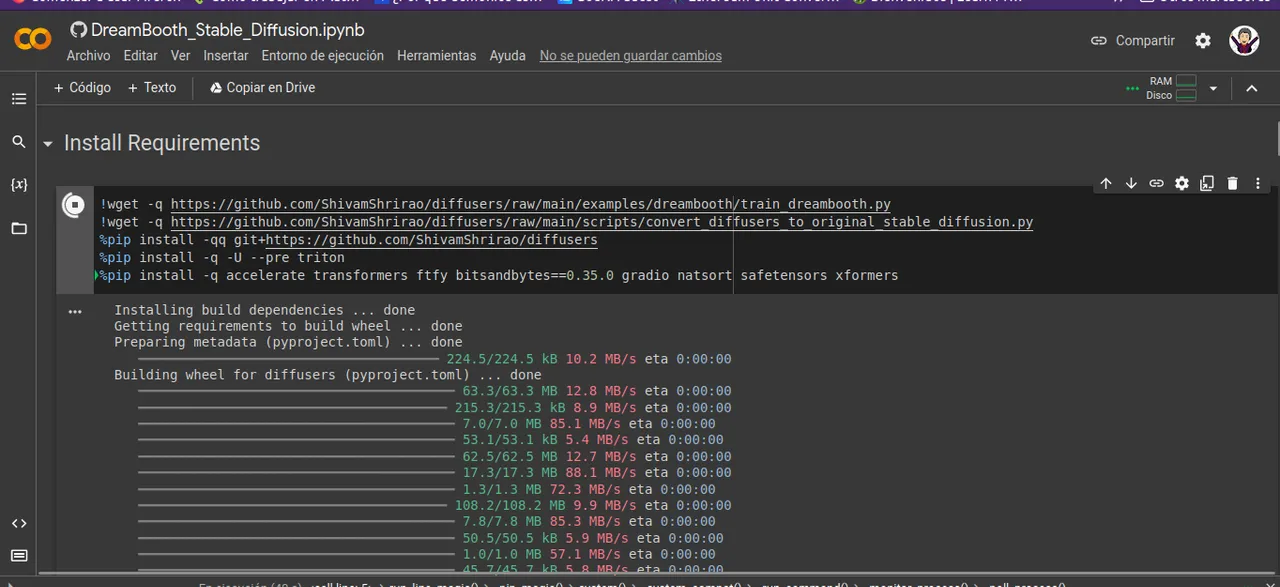
- Una vez que comprobemos que nuestro computador puede procesar el entrenamiento,procedemos a instalar las dependecias para generar las imagenes
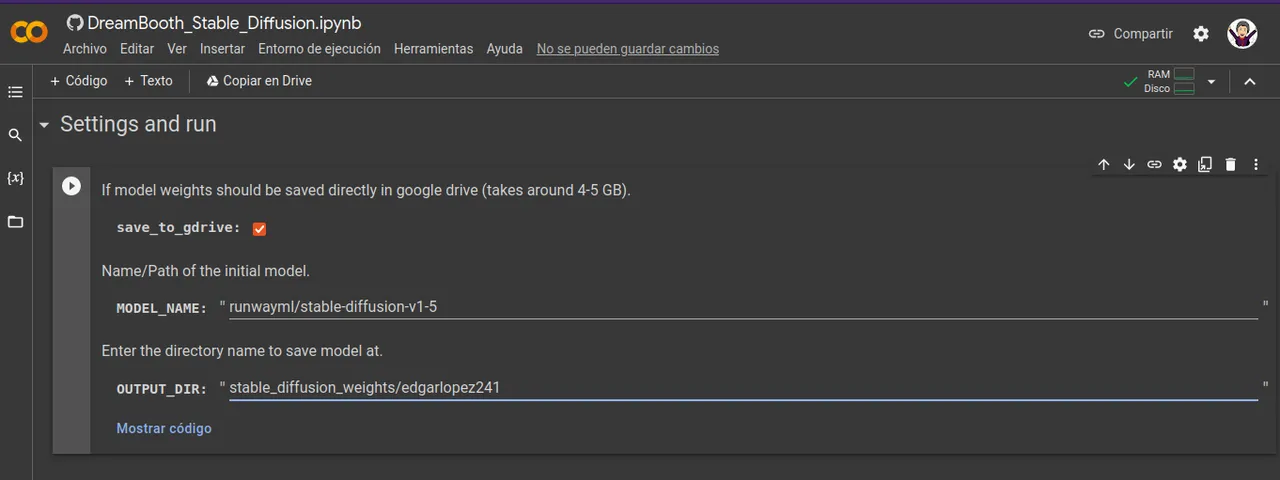
- Ahora procedemos a seleccionar en el apartado de settings and run, seleccionamos el checklist para que guarde en un drive de google la informacion, esta podra ser utilizada posteriormente. Aqui va a guardar el modelo entrenado.
Es importante que donde dice MODEL_NAME no lo modifiquemos, vamos a modificar solamente el apartado que dice: OUTPUT_DIR:
Al modificar esta linea de OUTPUT_DIR: aqui stable_diffusion_weights/edgarlopez241 despues del / le colocas el nombre de tu preferencia, una vez que modifiques le das click a ▶️
te solicitara permiso, se lo concedemos, para conectarse a google drive
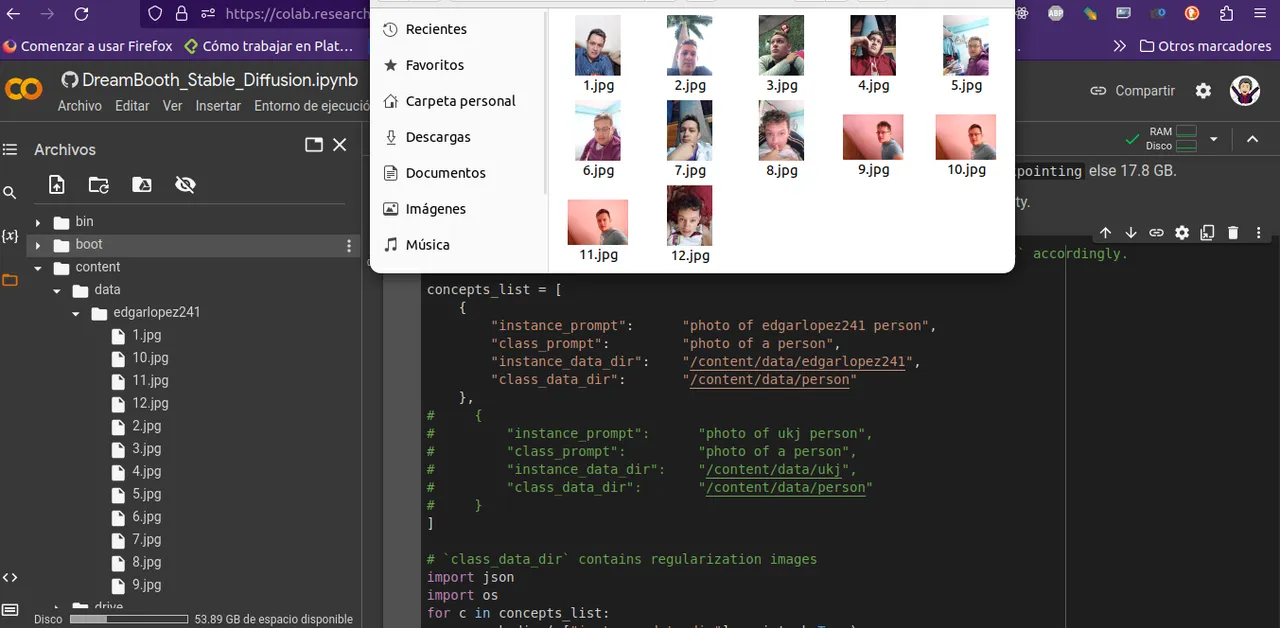
- Ahora nuestro siguiente paso es indicar el nombre con el prompt que vamos a querer usar posteriormente en mi caso fue asi
 {
        "instance_prompt":      "photo of edgarlopez241 person",
        "class_prompt":         "photo of a person",
        "instance_data_dir":    "/content/data/edgarlopez241",
        "class_data_dir":       "/content/data/person"
    },
El resto queda exactamente igual

Posteriormente vamos a la parte de archivos alli se genero una carpera con el nombre que colocamos asi, vamos y le damos click para que abra la carpeta /data/NOMBRE_QUE_COLOCAMOS en esta carpeta vamos a insertar las fotos de la persona que queremos que genere la foto
Una vez que carguemos las imagenes modificamos la estructura del prompt y procedemos hacer las iteraciones
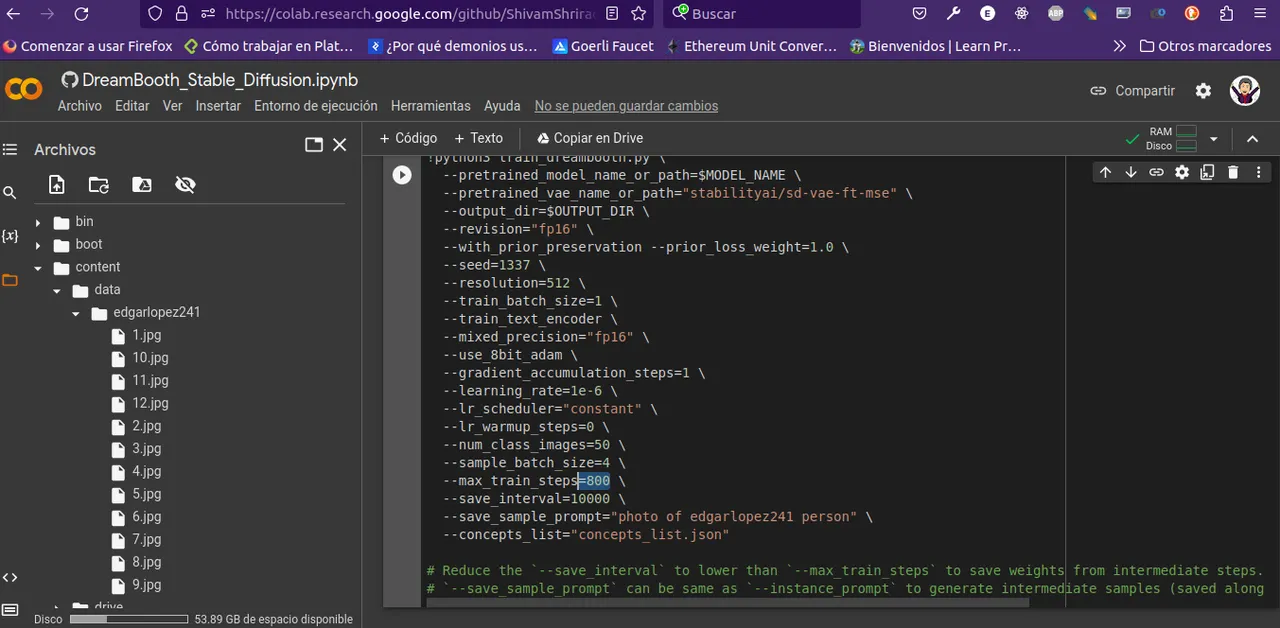
En el boton de play ▶️ procedemos a ejecutar las iteraciones, esto se toma su tiempo.
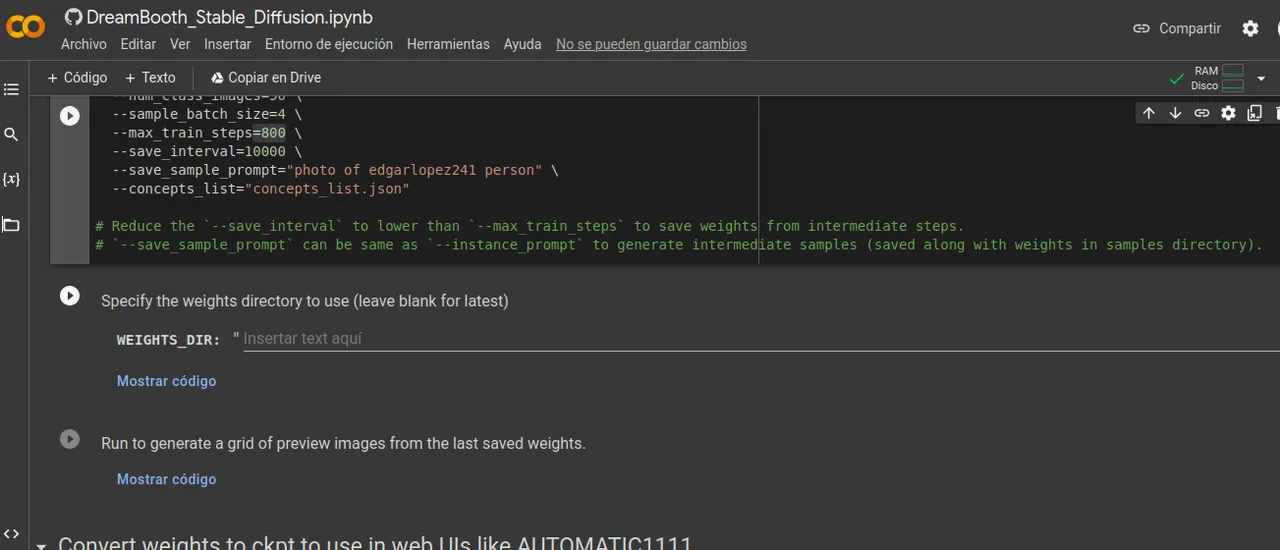
luego de que ejecute las iteraciones, procedemos a ejecutar la siguiente operacion para especificar el peso de la operacion, esto lo dejamos en blanco
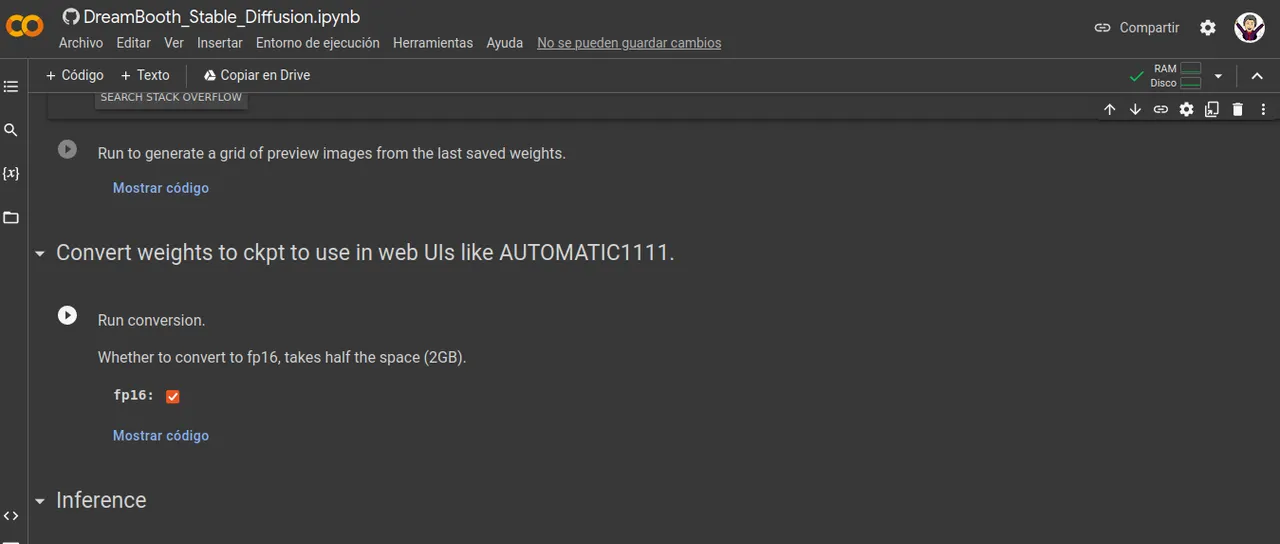
Por ultimo, bueno casi ultimo ejecutamos la conversion ckpt
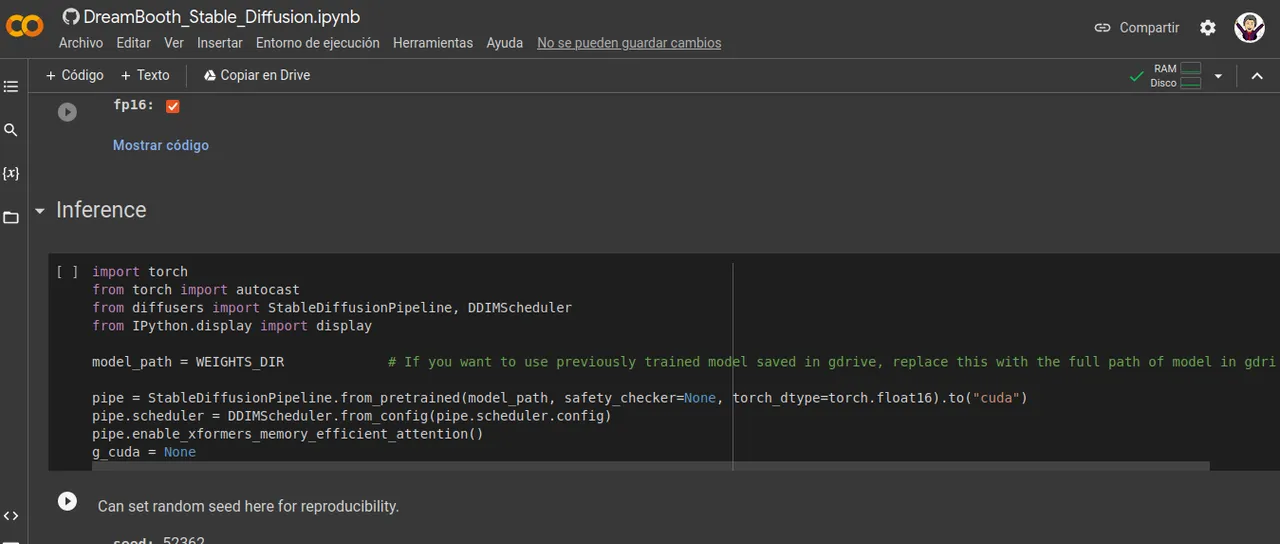
paso numero lo perdi en que paso iba, en este paso ejecutamos la inferencia, para que termine el entrenamiento para luego proceder a la ver las imagenes.
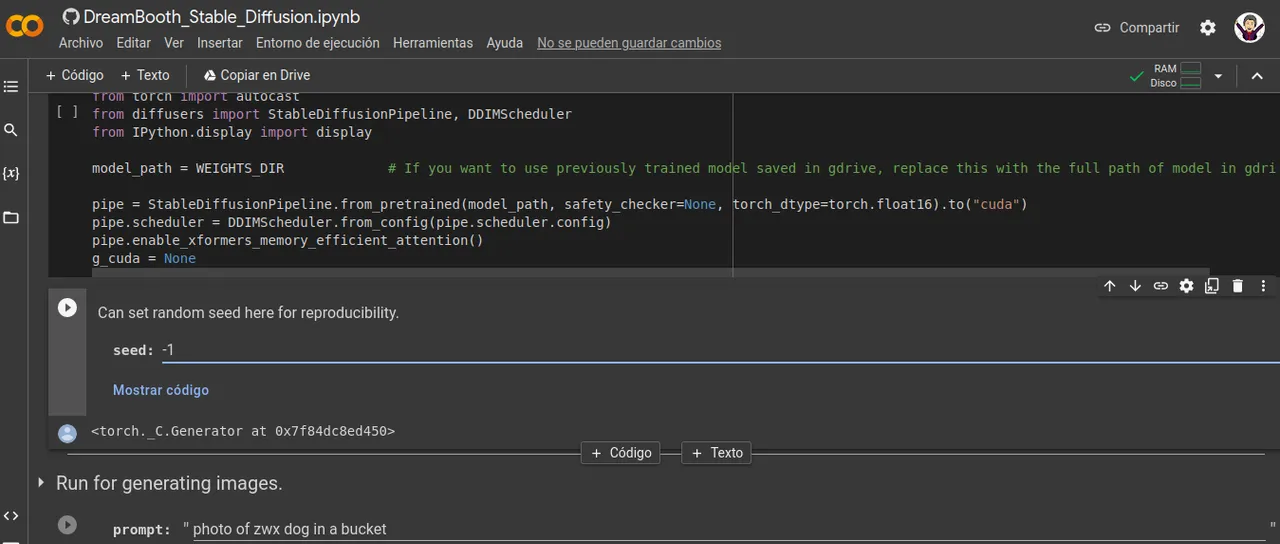
Luego para que nos genere algo aleatorio procedemos a modificar el valor a -1, ya con esto podemos generar imagenes
Ahora si el ultimo paso y boialaa obtenemos lo que pedimos en este caso le pedire un arte digital al prompt y un solo ejemplo

¿Quieres saber mas sobre como funciona la inteligencia artificial y como puedes aprovecharla en tus proyectos? ¡No te pierdas el proximo blog donde explicare como funciona y cuales herramientas podemos utilizar!
¡NO OLVIDES MOSTRAR EL RESULTADO EN TUS COMENTARIOS!
Have you ever dreamed of creating stunning images or drawing like a great painter? Now you can make it happen with the help of Artificial Intelligence! This time we will use Dream Booth and Stable Diffusion, I will explain in detail the steps you must follow to use these tools:
Step number 1
You must register in the Hugging face page, here below I leave you the
hugging face
In this section where it says sign up we are going to register.
Step number 2:
once registered and logged in the hugging face search engine we are going to write stable diffusion. This time we will use the 1.5 version.
Once we choose stable diffusion we will accept terms and conditions, in case it appears, There are times when it appears as well as times when it does not appear.
- The next step, we are going to generate a token to access to stable diffusion, to generate this token we click on the icon on the top right, once it is displayed we click on the settings section.
To create the token click on the section that says: Access Token.
After we give Acces Token, we are going to give click to new token
to this we are going to give the name that we want, the role that we will assign will be the one of writing that is to say write, this token we are going to use it to connect to the account of Huggin face, to be able to unload the model that we create.
Step number 4, we go to the stable diffusion stable diffusion page.
Once in the page the following thing that we are going to do is to connect our account google with stable diffusion, we give him in the button that says to connect
Once inside DreamBooth_Stable_Diffusion, we are going to give click to verify the capacity of our computer, in the button of play.
- Once we verify that our computer can process the training, we proceed to install the dependencies to generate the images.
- Now we proceed to select in the settings and run section, we select the checklist to save in a google drive the information, this will be able to be used later. Here you will save the trained model.
It is important that where it says MODEL_NAME we do not modify it, we are going to modify only the section that says: OUTPUT_DIR:
When modifying this line of OUTPUT_DIR: here stable_diffusion_weights/edgarlopez241 after the / you put the name of your preference, once you modify it click to ▶️
it will ask for permission, we grant it, to connect to google drive.
- Now our next step is to indicate the name with the prompt that we will want to use later in my case it was like this
 {
        "instance_prompt": "photo of edgarlopez241 person",
        "class_prompt": "photo of a person",
        "instance_data_dir":"/content/data/edgarlopez241",
        "class_data_dir":"/content/data/person"
    },
The rest is exactly the same
Subsequently we go to the part of files there was generated a folder with the name that we place thus, we go and we click it so that it opens the folder /data/NOMBRE_QUE_QUE_COLOCAMOS in this folder we are going to insert the photos of the person that we want that it generates the photo
Once we load the images we modify the structure of the prompt and we proceed to make the iterations
In the play button ▶️ we proceed to execute the iterations, this takes time.
after it runs the iterations, we proceed to execute the following operation to specify the weight of the operation, this we leave blank
Lastly, well almost last we run the ckpt conversion
step number I missed where I was going, in this step we run the inference, to finish the training and then proceed to view the images.
Then to generate us something random we proceed to modify the value to -1, and with this we can generate images
Now if the last step and boialaa get what we ask in this case I will ask for a digital art to the prompt and a single example
Want to know more about how artificial intelligence works and how you can take advantage of it in your projects, don't miss the next blog where I will explain how it works and which tools we can use!
DON'T FORGET TO SHOW THE RESULT IN YOUR COMMENTS!
If you want create a video with AI left me a comment
si quieres que deje un video usando inteligencia artificial dejame un video