Hi, foodies in the Hive!
I hope you're having a nice day 😁
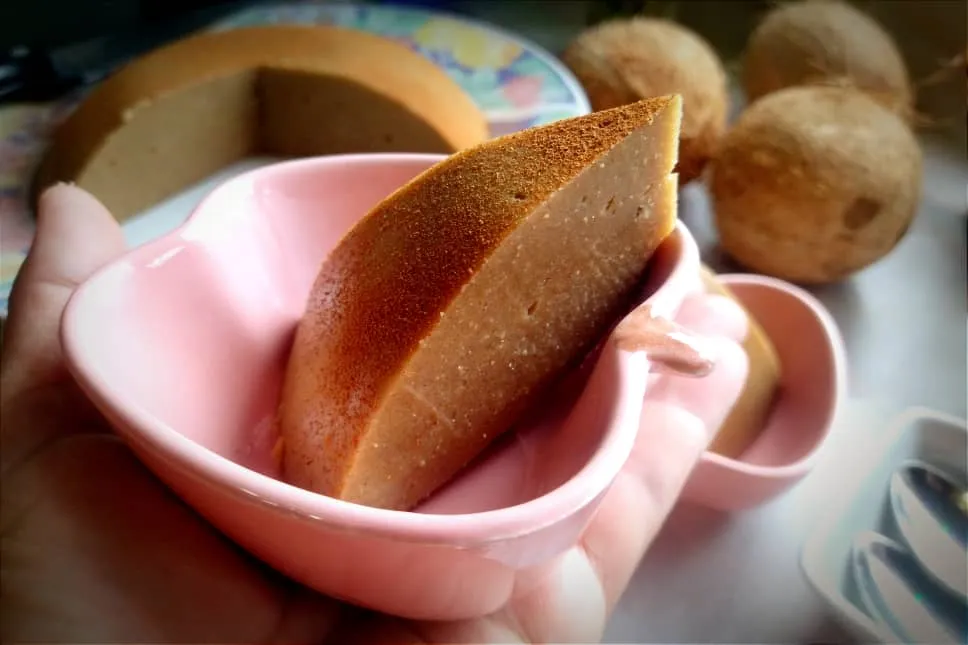
In my town, coconut cornmeal mush is known as majarete or manjarete, while the same preparation is known simply as coconut manjar when cornstarch is used instead of cornmeal. It's a dessert of varied consistency; there are those who make it as a spoon dessert and there are those who, like me, make it firmer as fingerfood (which can still be eaten with a spoon, but when there are twenty people in the family get-together, one prefers not to have to do so many dishes, right?).

A couple of days ago, I shared a recipe for a traditional Venezuelan coconut rice pudding (sweet coconut rice pudding). Today I'm sharing another recipe with coconut, but this one is made with cornmeal instead of rice, and since this one requires a little more work, it may be less common to see, but it's still super popular and inexpensive. If you're interested to know, I'll tell you how I prepare it at home, how much I spent to make it, and serving size.
INGREDIENTS
- 1/2 cup cane honey
- 1 1/2 cups water
- 1 cinnamon stick
- 7-8 cloves
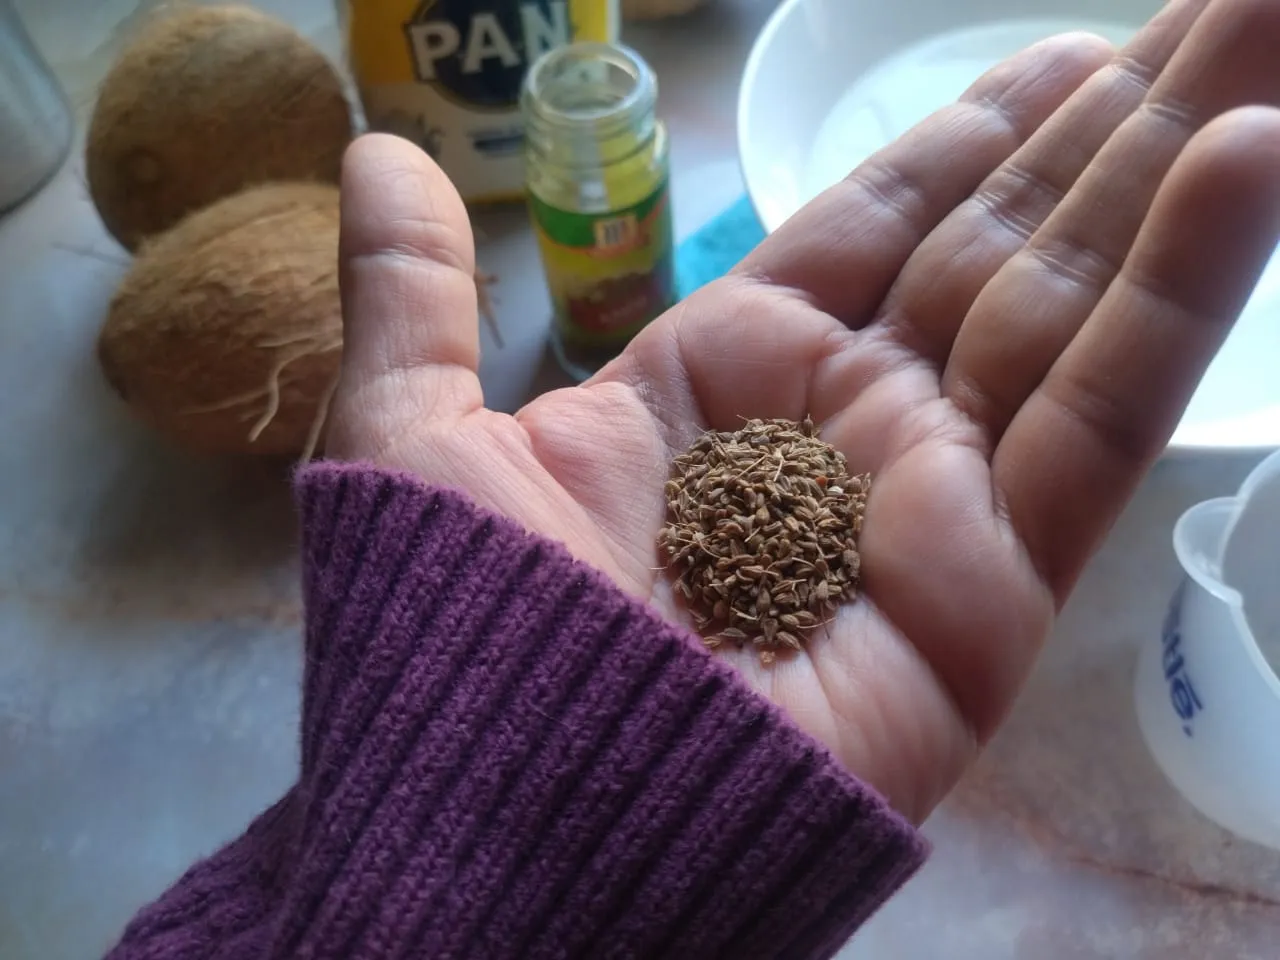
- 1 tablespoon anise seed
- 2 teaspoons salt
- Approx. 2 cups freshly made coconut milk (1 medium to big coconut and its water = approx. 800 gr coconut flesh + 1 cup coconut water + as much extra water as necessary to process de coconut meat in the blender)
- 1 cup corn flour (I used P.A.N., white)
- ground cinnamon to taste for garnish
Some people use the same spices for sweet coconut rice pudding and coconut cornmeal mush, but since I was little I learned from my grandmothers that the mush has a characteristic anise flavor, which comes from the dried anise seeds. So this last ingredient is never missing when I prepare this dessert in my house.
THE PROCESS
EXTRACTING FLAVORS
Mush is very simple to make, but it takes some work. I used cane honey and coconut milk that I had already a coupleof days ago days ago. These are two items that are never missing in my fridge. To prepare cane honey, I melt a 750 gr piloncilloin a cup of water to make 900 ml (you can check it out here).
I dissolved the cane honey in the water and added the spices 👇
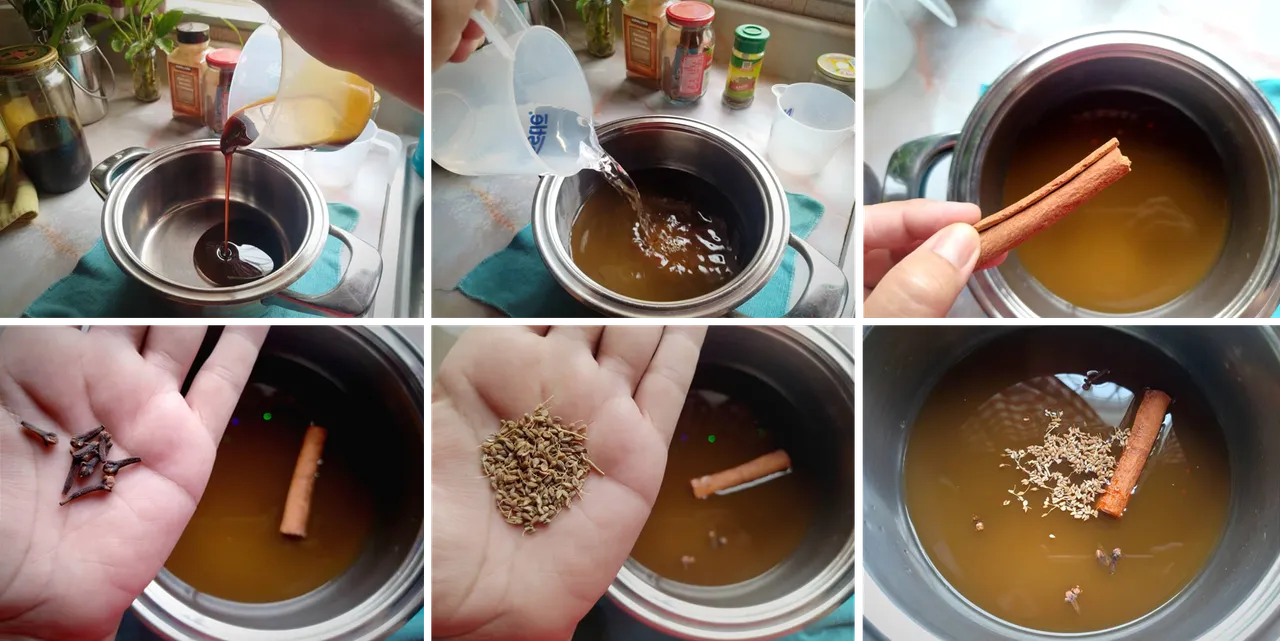
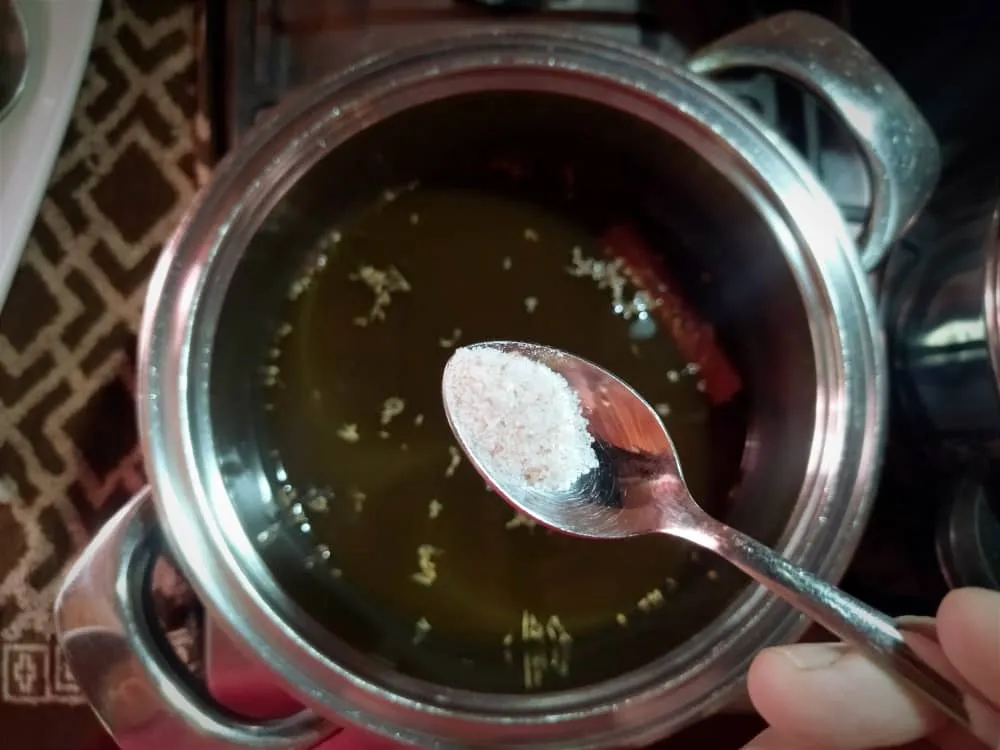
Then I took the pot to the fire and added the salt. I stirred on and off for 15 minutes over low heat, so that the spices would release all their flavor and aroma.
COCONUT MILK
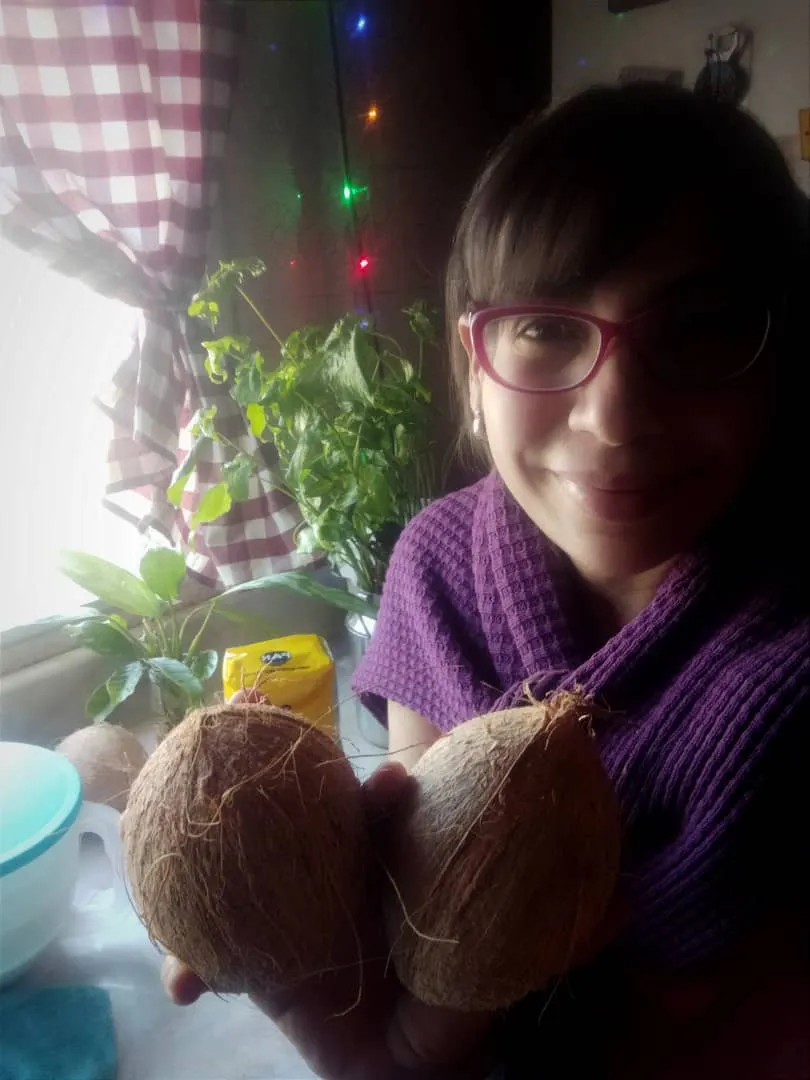
As I had already told you, I always make coconut milk and keep it in the fridge. This day I used a lot of coconut milk because I was making several desserts and savory dishes for my family. So I used milk that I already had but also made another couple of liters fresh. When you're a lactose-intolerant foodie, there's never too much plant-based milk in the fridge 😋
I always start by burning the coconuts directly on the stove; then I remove the shell, wash well and chop the coconut meat, and blend it in its own water. I add more water if necessary, so as not to strain the blender.

Then I strain the milk using my yogurt dripping bag and squeeze to get as much as possible.
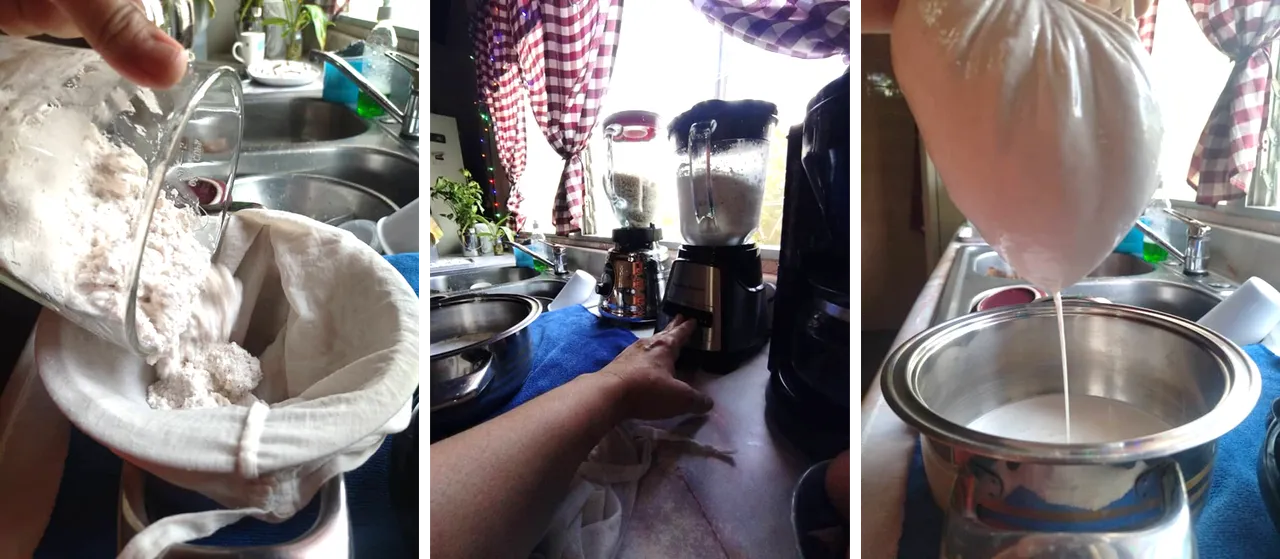
I add salt and heat it until it's about to boil, stirring constantly for about 6 minutes. This time I'd be using only 2 cups of coconut milk for the mush.
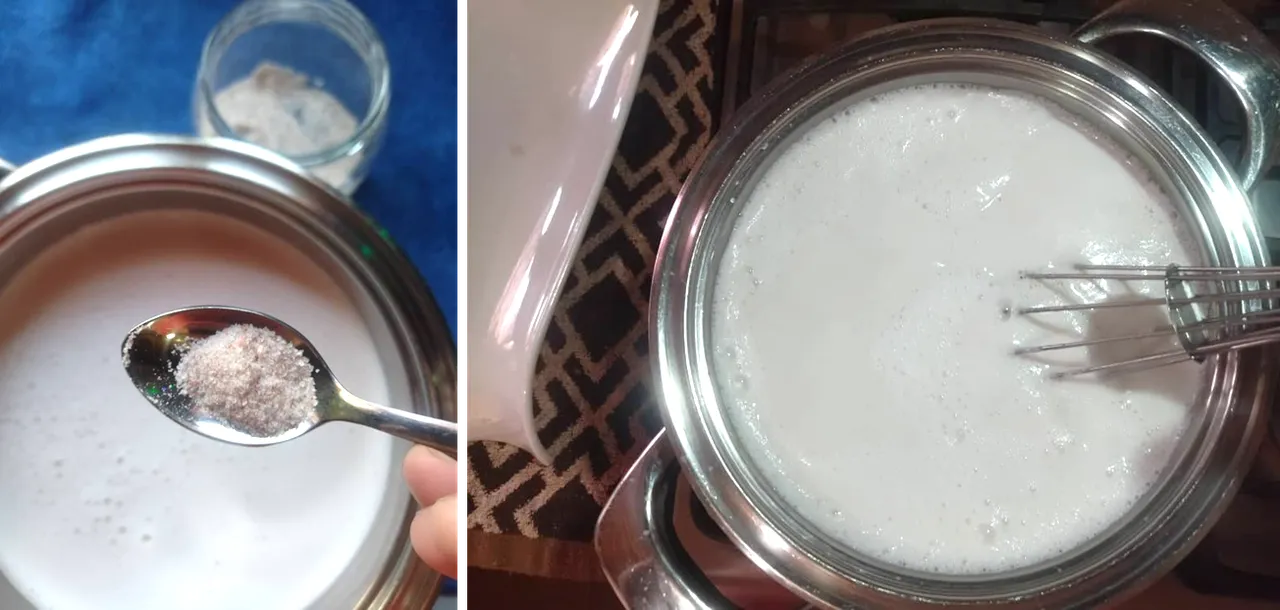
TIME TO STIR 😏
I added the coconut milk to the cooking, and immediately, I also added the corn flour. At this point, I had to stir non-stop until the flour dissolved, to avoid lumps.
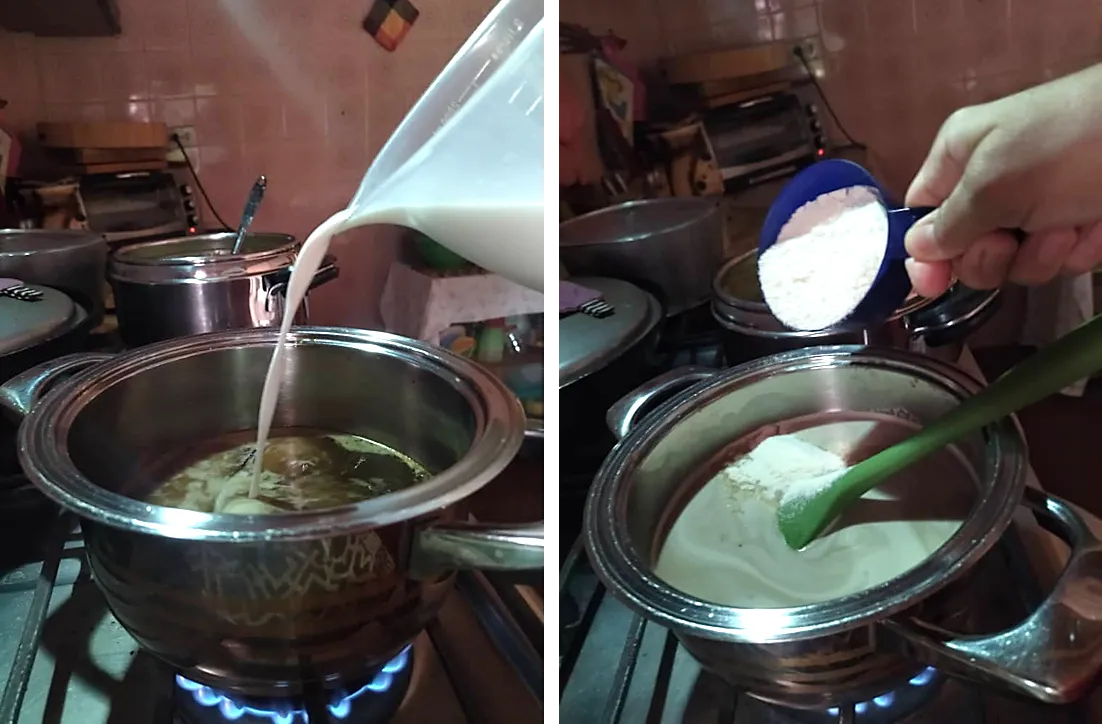
For this quantity, the mixture cooks for approximately 10-12 minutes.

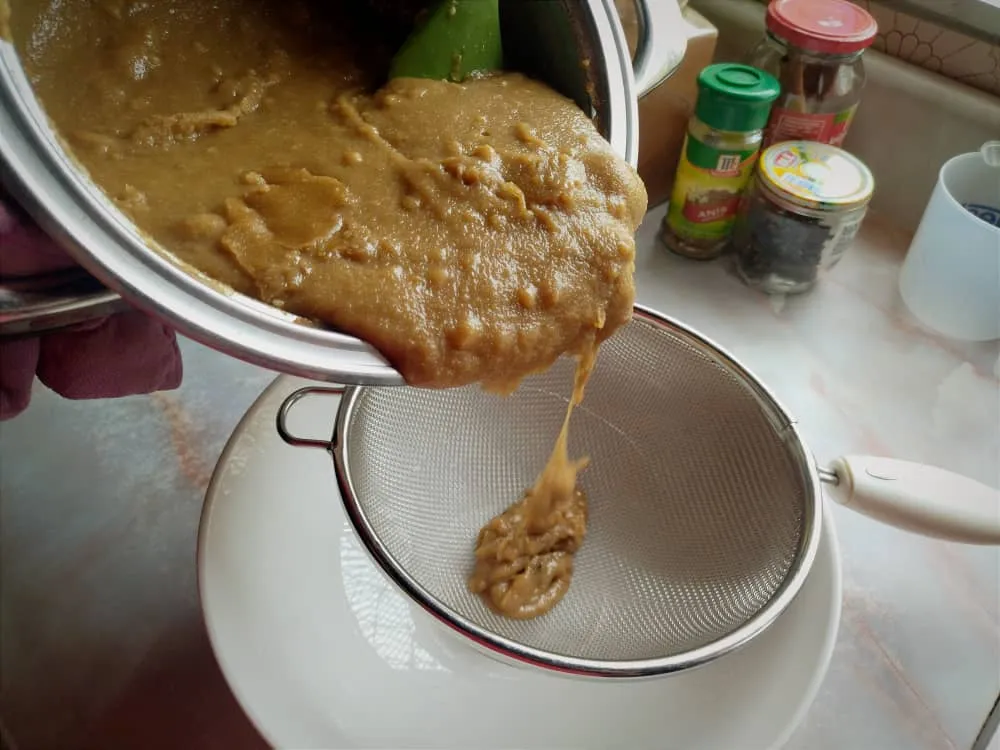
MAKE IT SMOOTH
I strained the mixture as soon as I removed the pot from the heat, as it starts to firm up very quickly. It's okay if you don't strain the mixture, but I do it for two reasons: 1. to remove the aniseed (which not everyone likes to chew because it has a bitter aftertaste--I love it, by the way) and 2. to remove any lumps that may have formed.
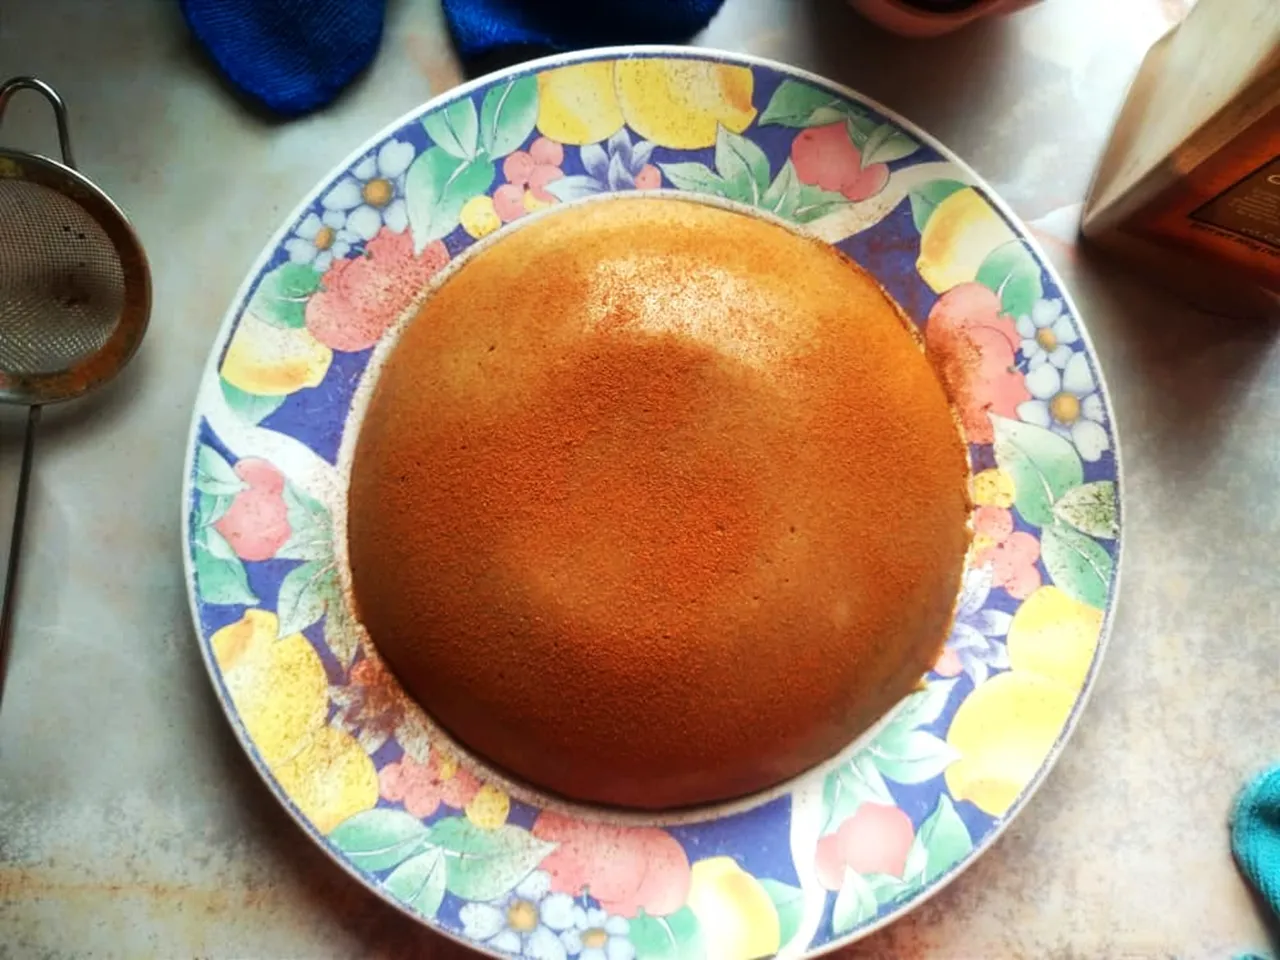
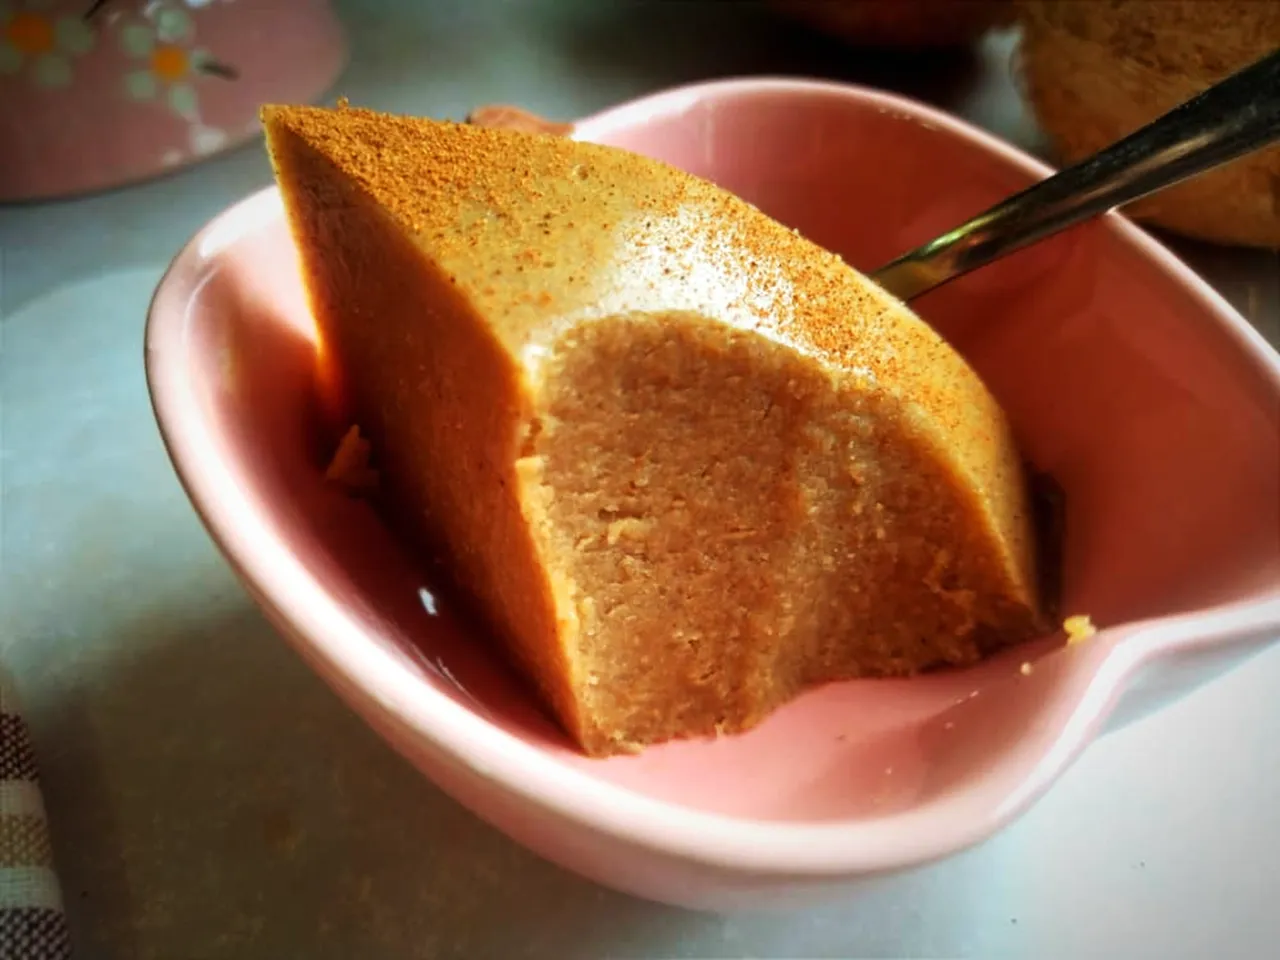
There are many molds to place the mush and make it take a beautiful shape. I could've used my jelly mold, but I'm a romantic and in my childhood days, coconut mush was left to cool in a ceramic dish, an ordinary dish, and that's how I always do it.
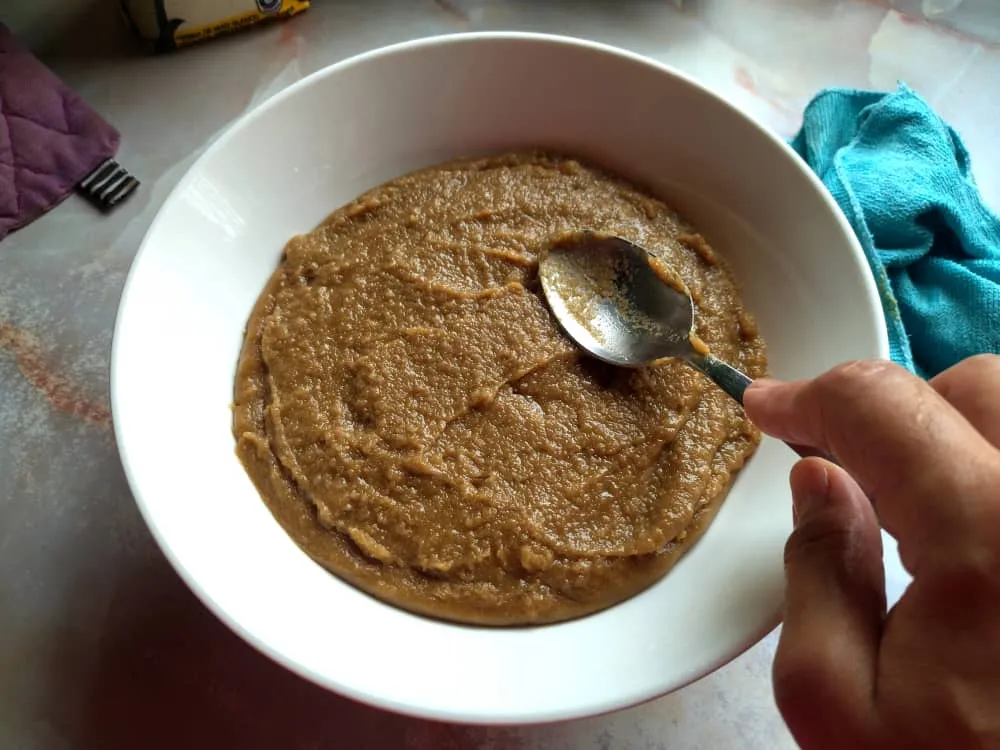
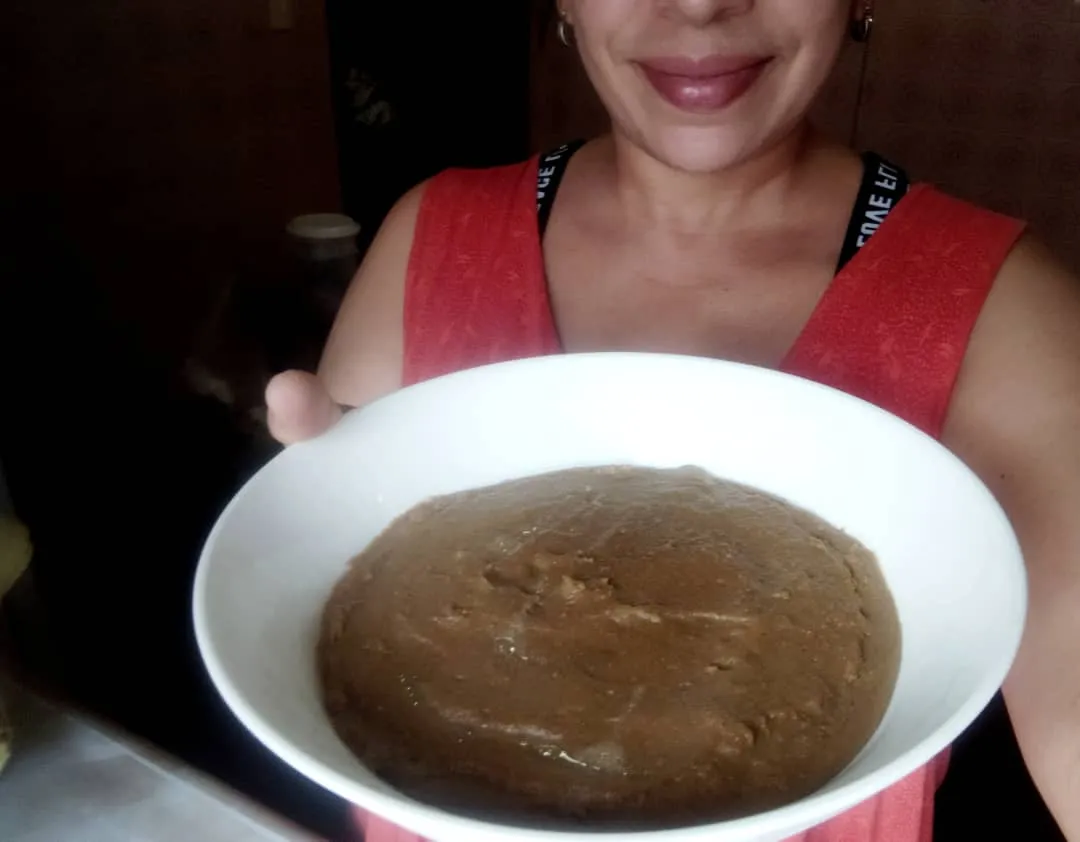
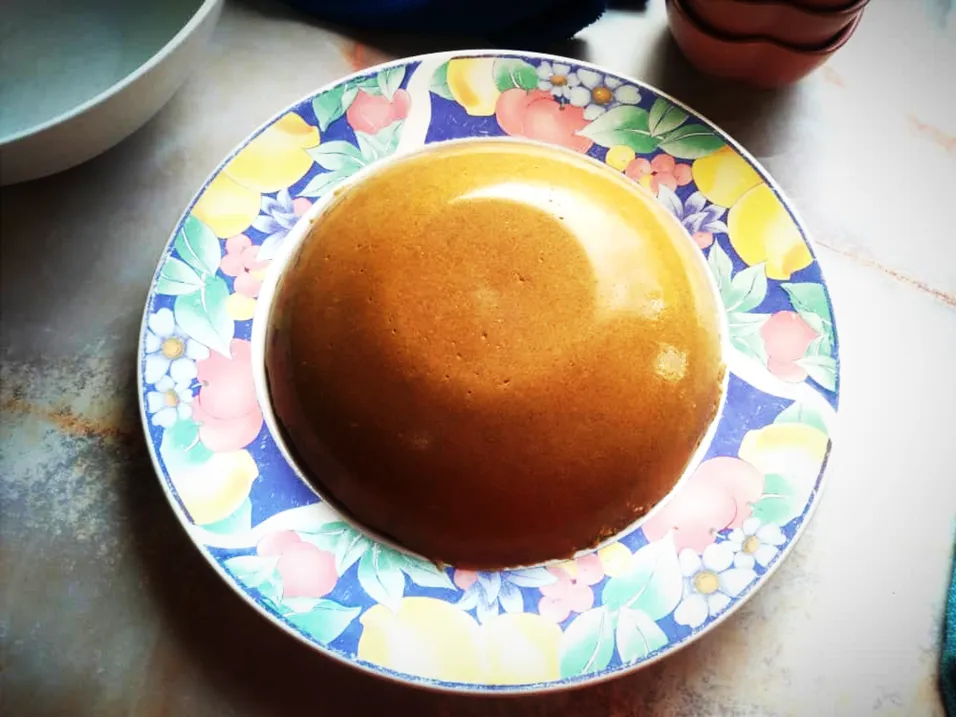
Once the mush is cooled, I let it refrigerate for two hours and then it's always easy to unmold. Simply turn it out onto the serving plate.

The top face of the mush is "ugly face." The pretty face shows after you unmold it 👇
GARNISH
After the mush is firm and cold, it's time to sprinkle some ground cinnamon on top. SOmetimes, I like to eat this warm; it's like pudding. It depends on my mood that day--and whether I don't want to wash twenty dishes and twenty spoons 🙃
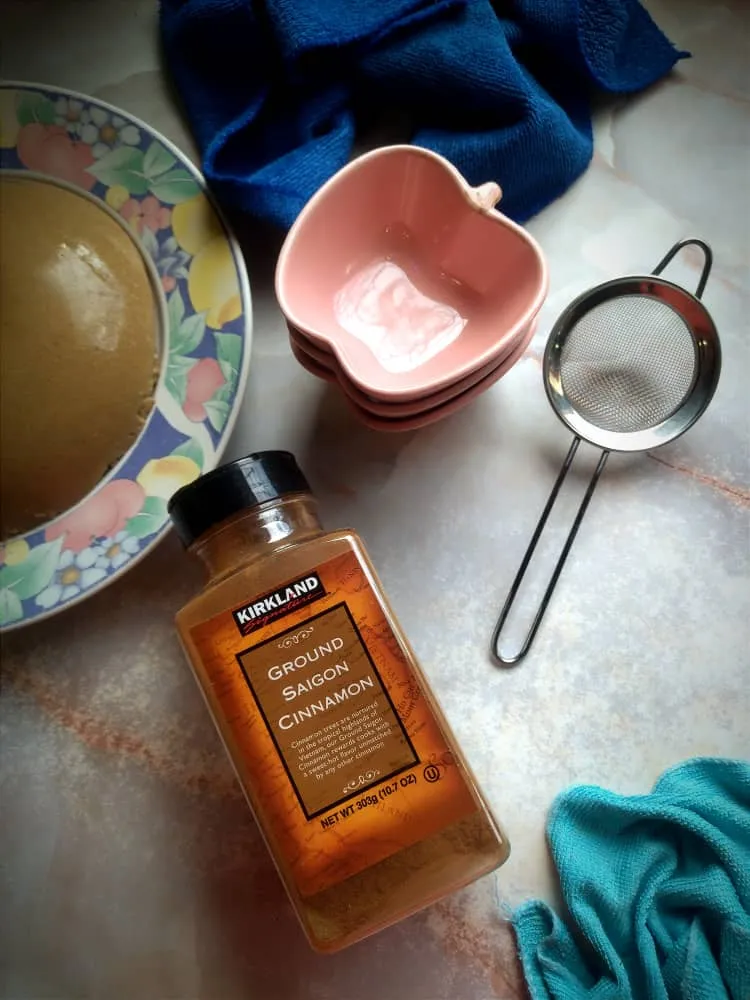
Sprinkle cinnamon to your liking.
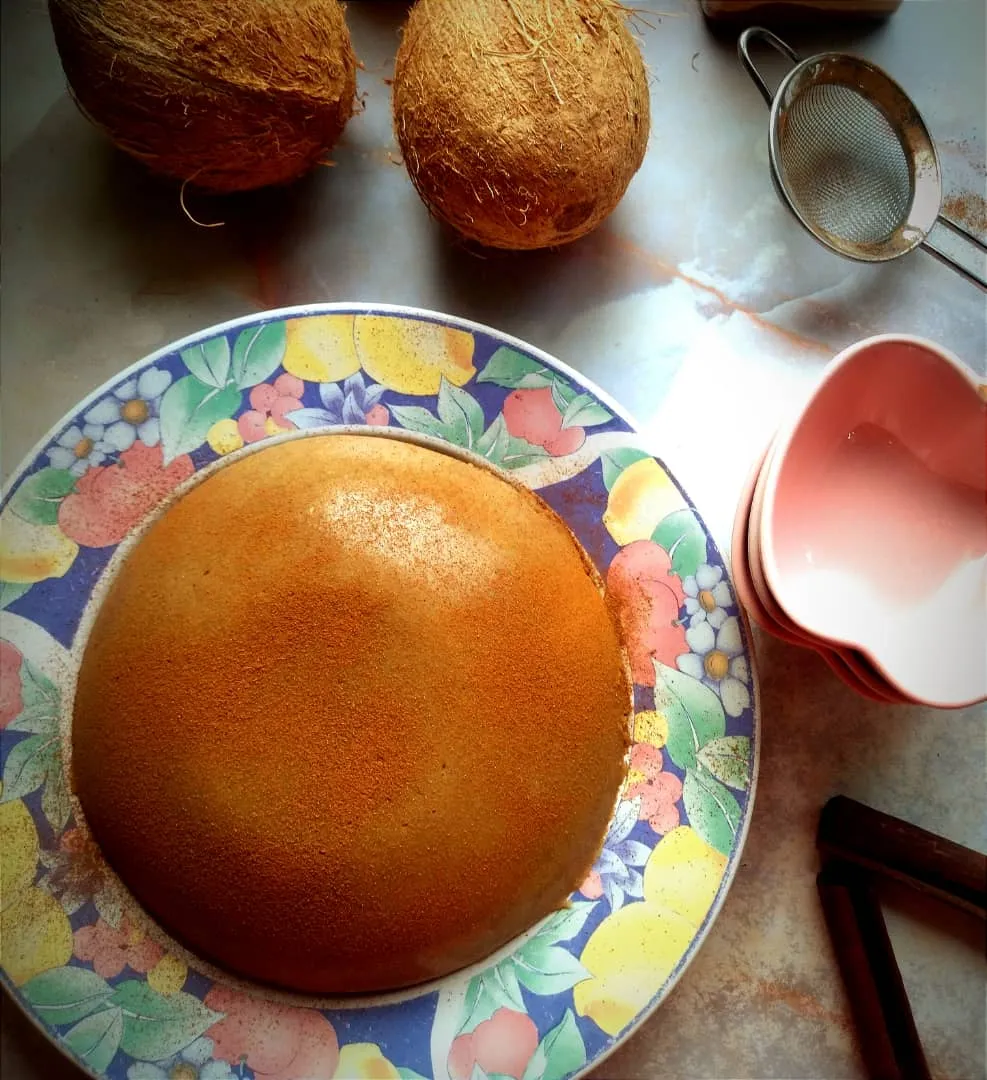
Then serve the portions. I made three units this size this day: two for my family when we met at my father's and one for my own home. I'll show you the one I served at home.
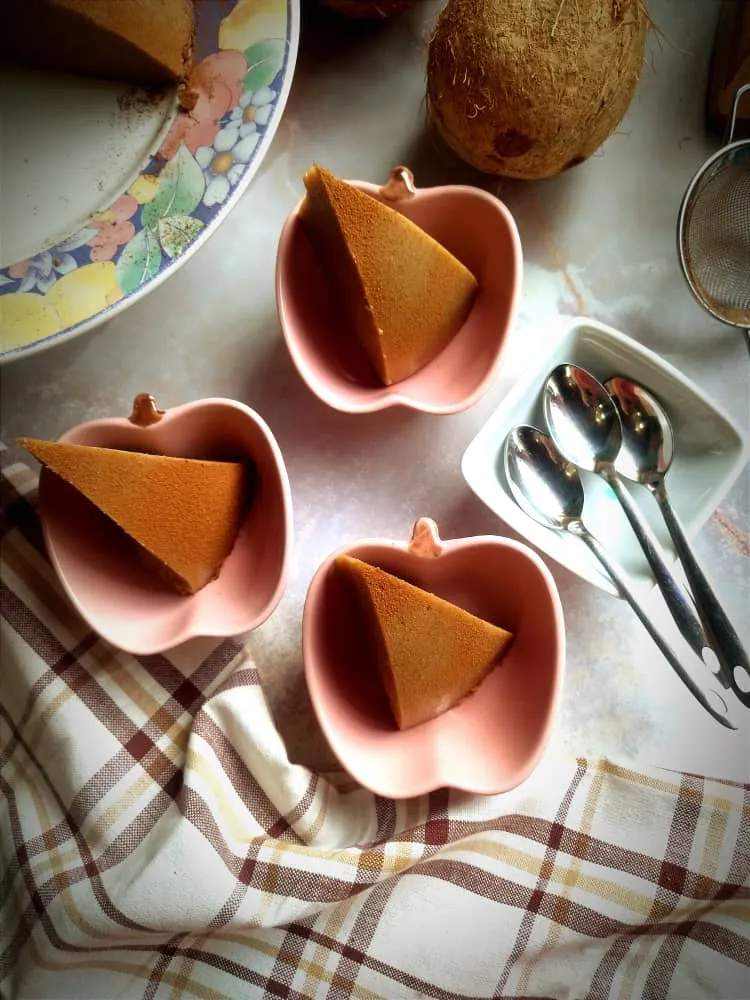
It was enough for 8 people: 8 servings, 3/4 cup each approx.

One coconut mush this size is enough for 8-10 people and if you buy the ingredients in the public market here, you will spend less than $1.
How about you?
What's that typical dessert you love that you can make with little money?
As always, I hope you've found this post useful 😁❤️
Enjoy!

All text and images are my own. I have taken the pictures with my Redmi 9T cell phone. And if any GIFs here, I've used GIPHY for all them.
Thank you so much for your visit :)