Hi all of you..
on this occasion, we will look at the renovation of the living room of my house using gypsum board as the main material.
This one construction material is commonly used as ceilings and partition walls. The standard size of gypsum board that is commonly circulated in the market is 1.2 x 2.4 meters with a thickness of 9 mm and is sold in sheets.
The light and flexible character of gypsum board will make the work of ceilings and partition walls easier to shape for interior aesthetics. If there is damage to the ceiling or partition wall, the repair process is relatively easy and fast.


For the room that I'm working on with a size of 3x4 then Room Area: 3 x 4 = 12 m2
Gypsum Board Area : Width x Length (1.20 cm x 2.40 cm) = 2.88 m2
Gypsum board requirement : 12 m2 : 2.88 m2 = 4.17 Sheets
Gypsum needed for the living room ceiling with a size of 3 meters x 4 meters is 5.17 sheets. Rounded into 6 sheets.
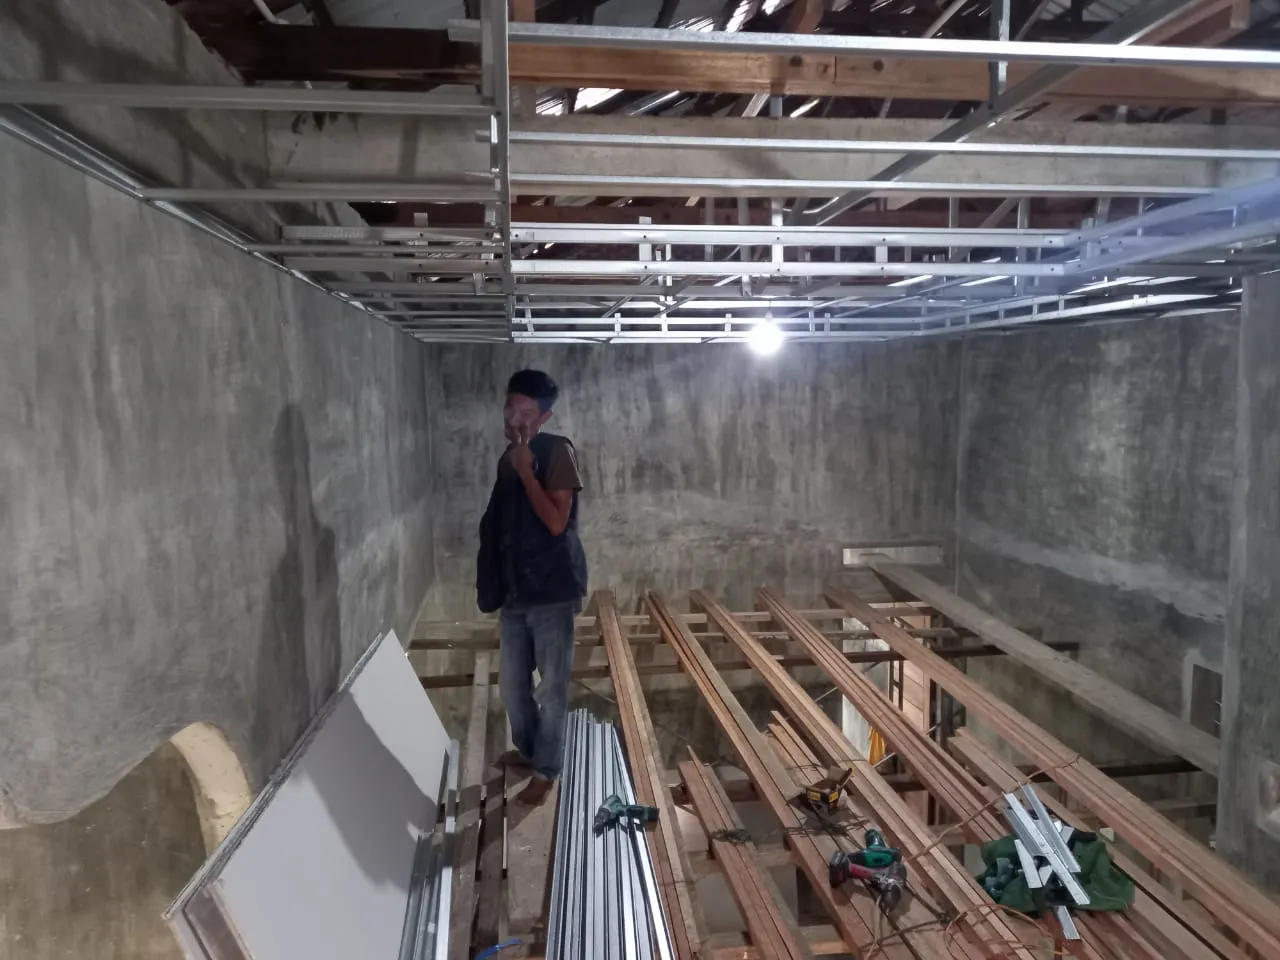
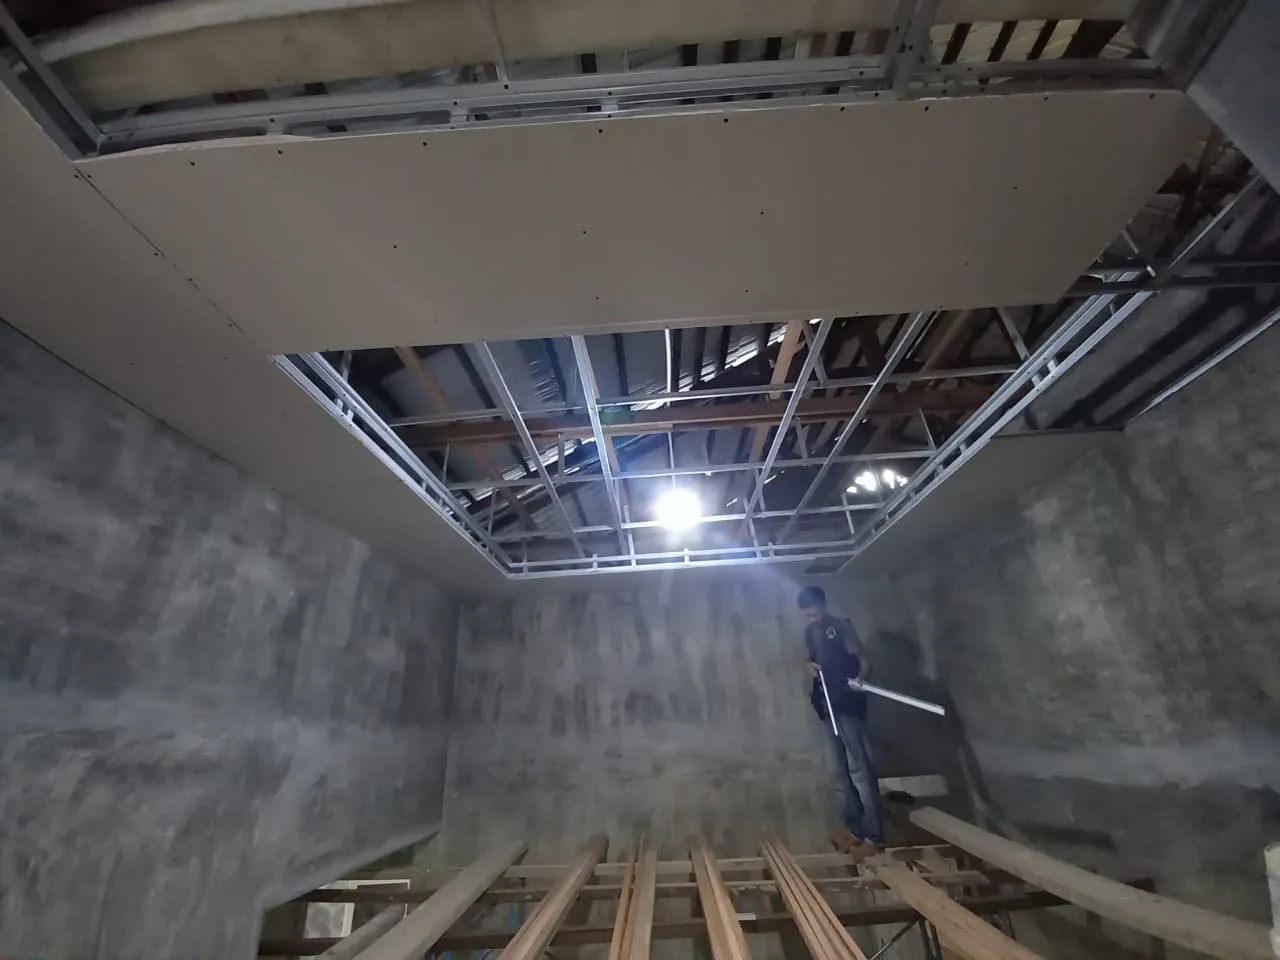
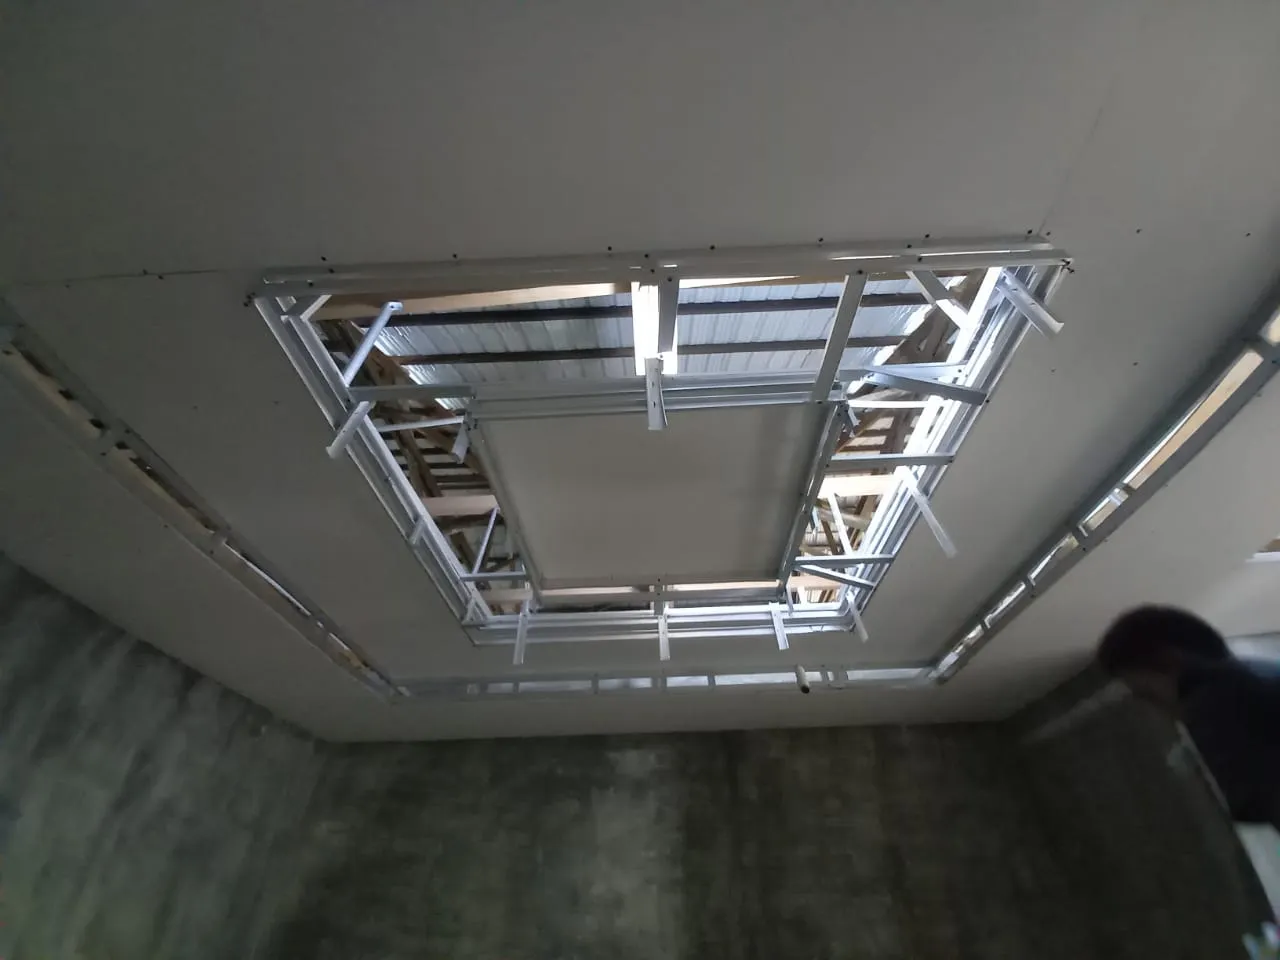
To create a framework, we can follow the following steps:
Measure the height of the ceiling around the room then mark and draw a line using a rope or if according to the Sundanese language "Snap".
Install the 2 x 4 hollo standing up, then nail it to the wall that was made earlier, install the hollo around the room.
Measure the distance per each corner of the room (there are 4 corners in total).
The first corner to the left and right 40 cm (according to your hand) then mark.
The second corner to the left and right 40 cm (according to your hand) then mark.
The third corner to the left and right 40 cm (according to your hand) then mark.
The fourth corner to the left and right 40 cm (according to your hand) then mark.
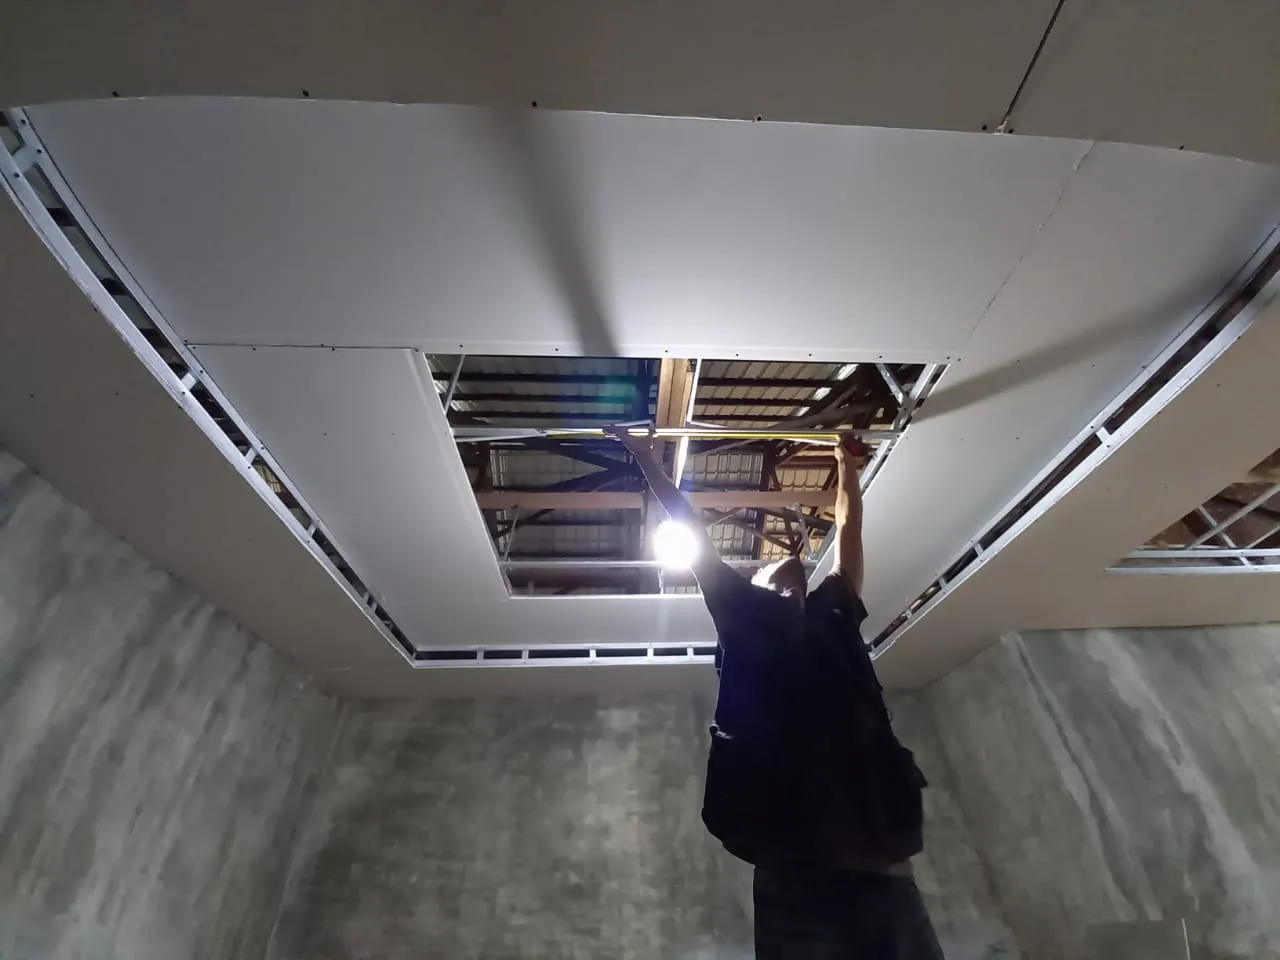
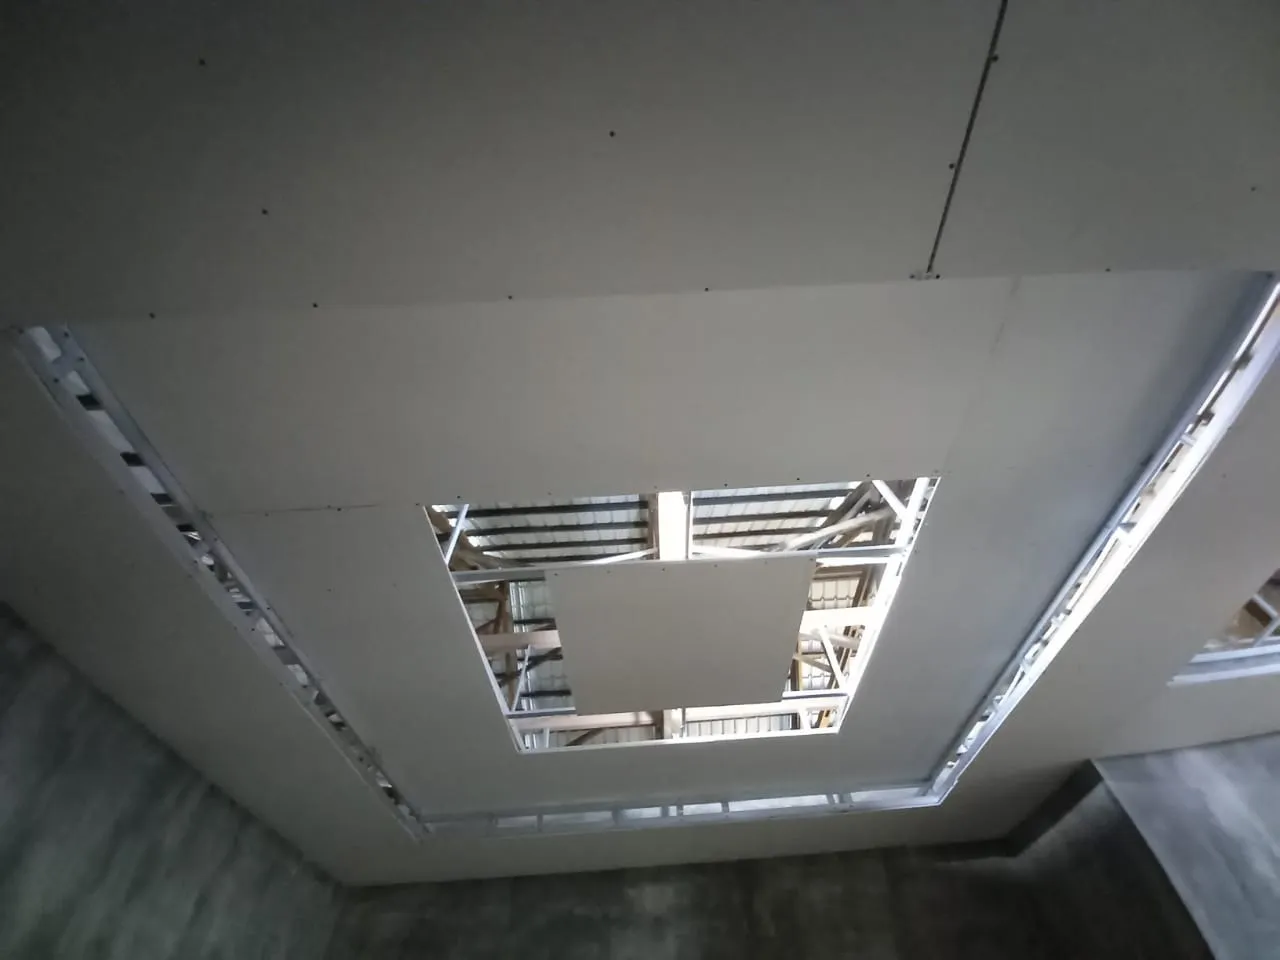
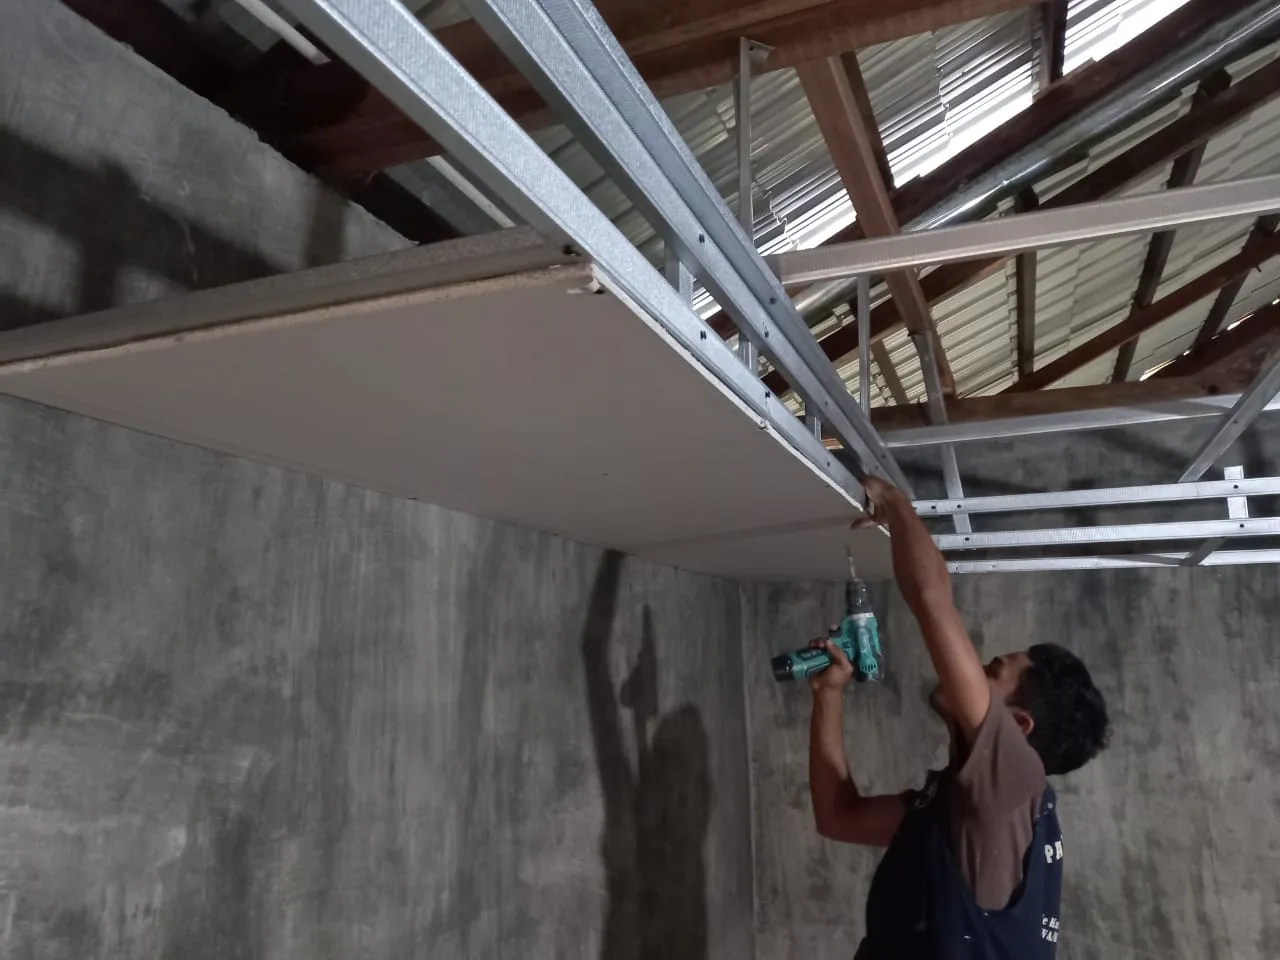
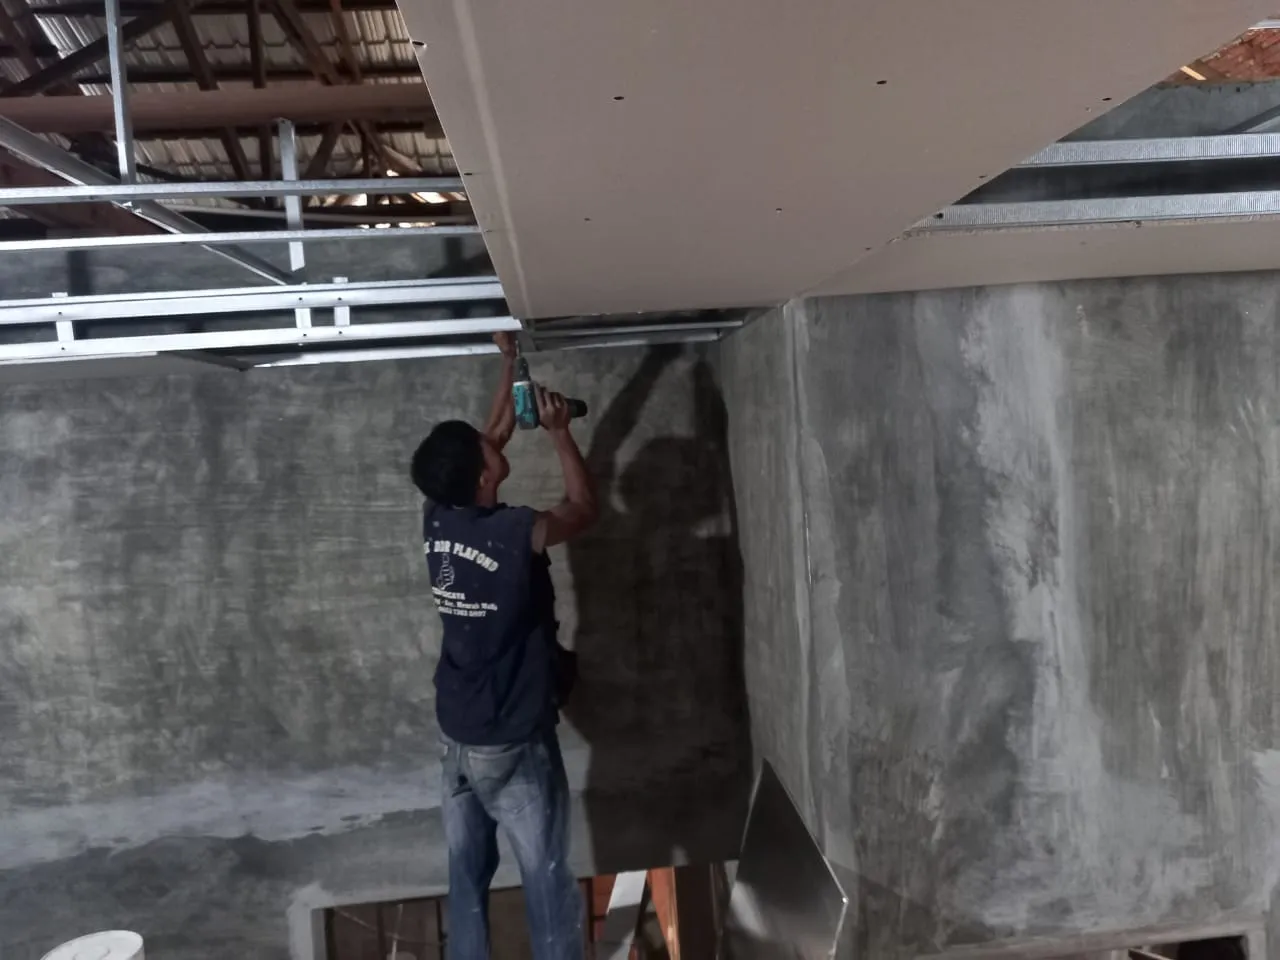
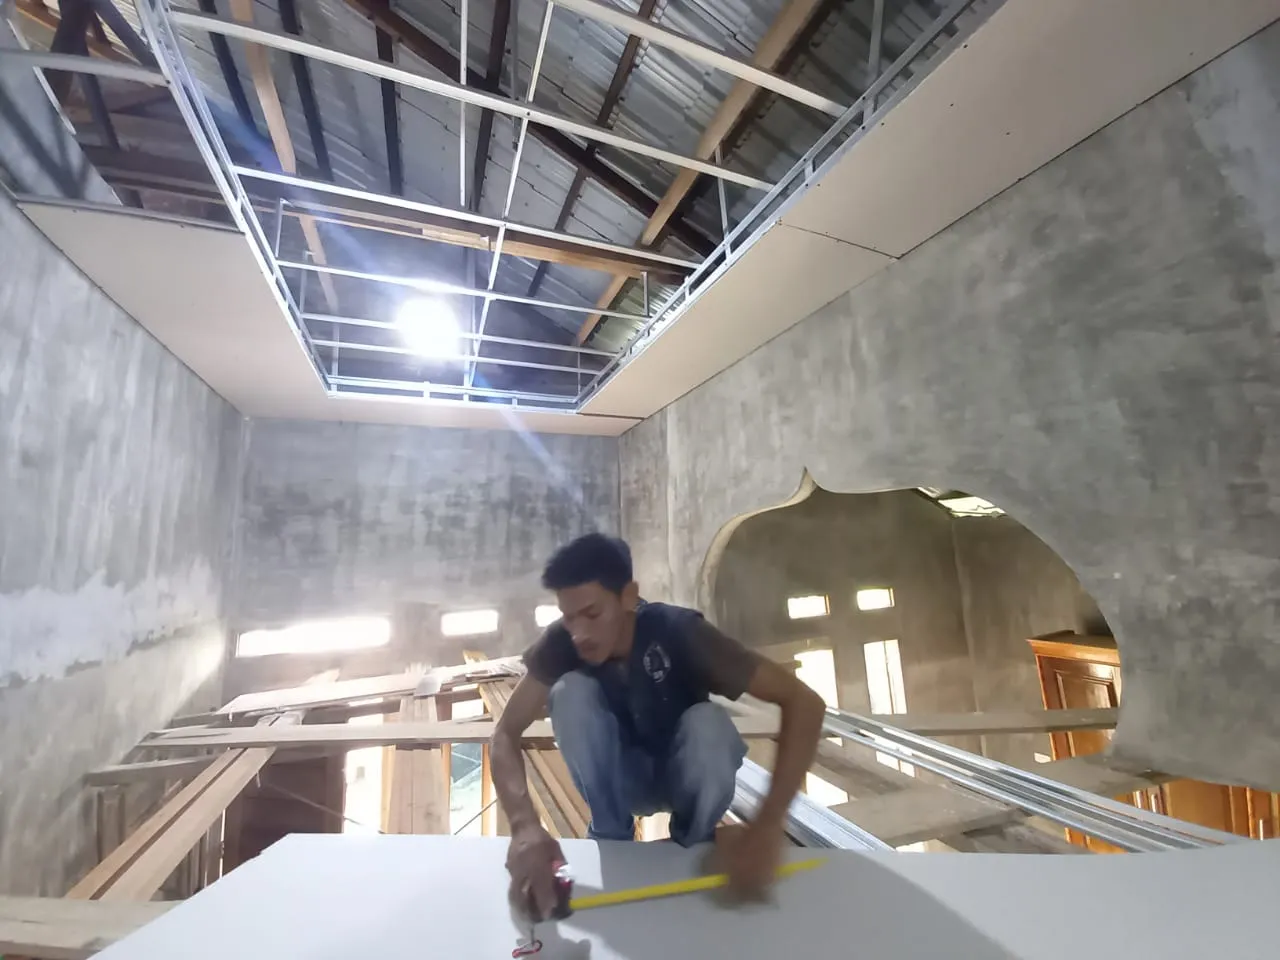
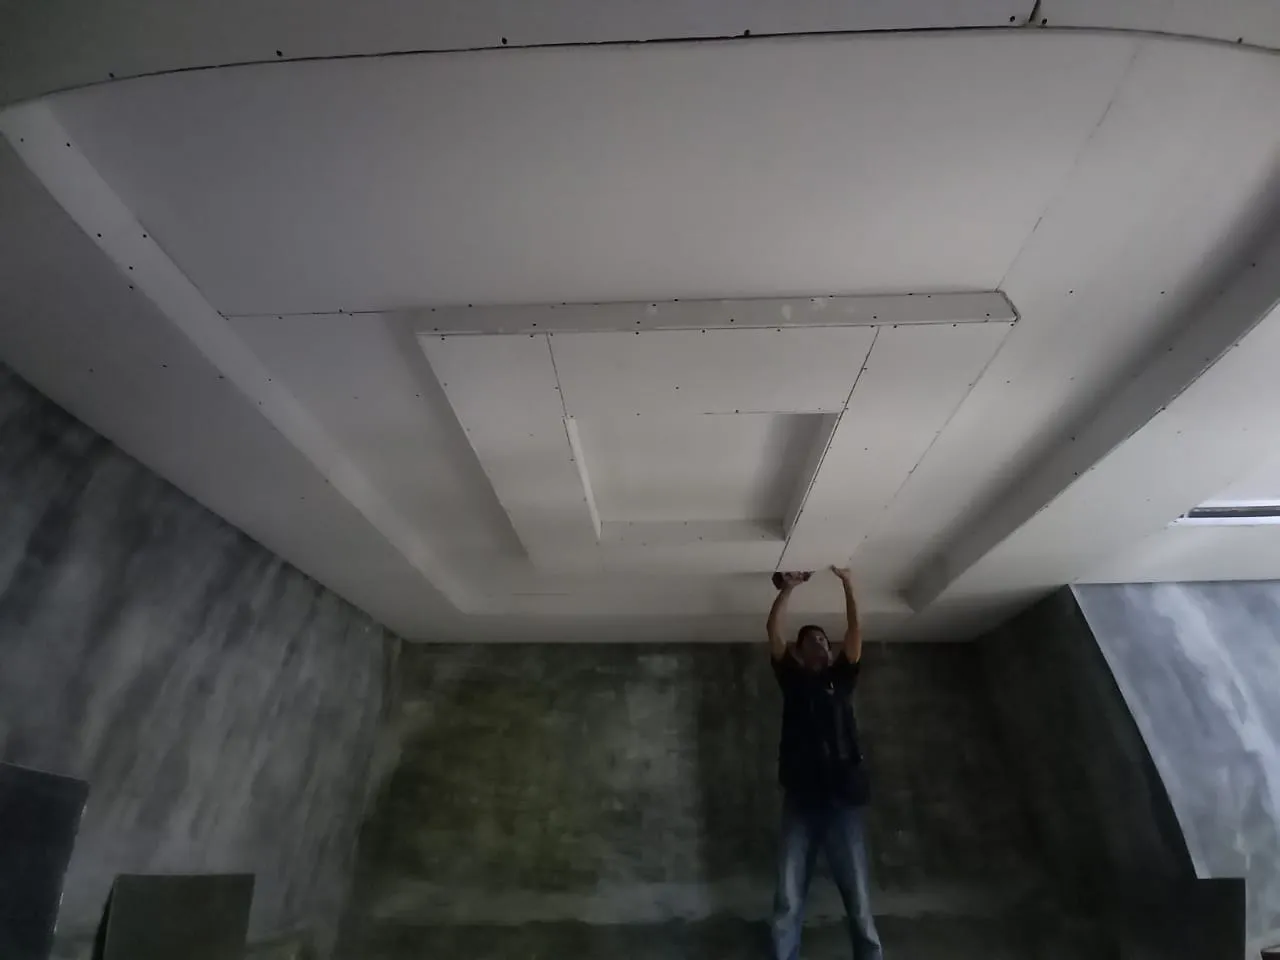
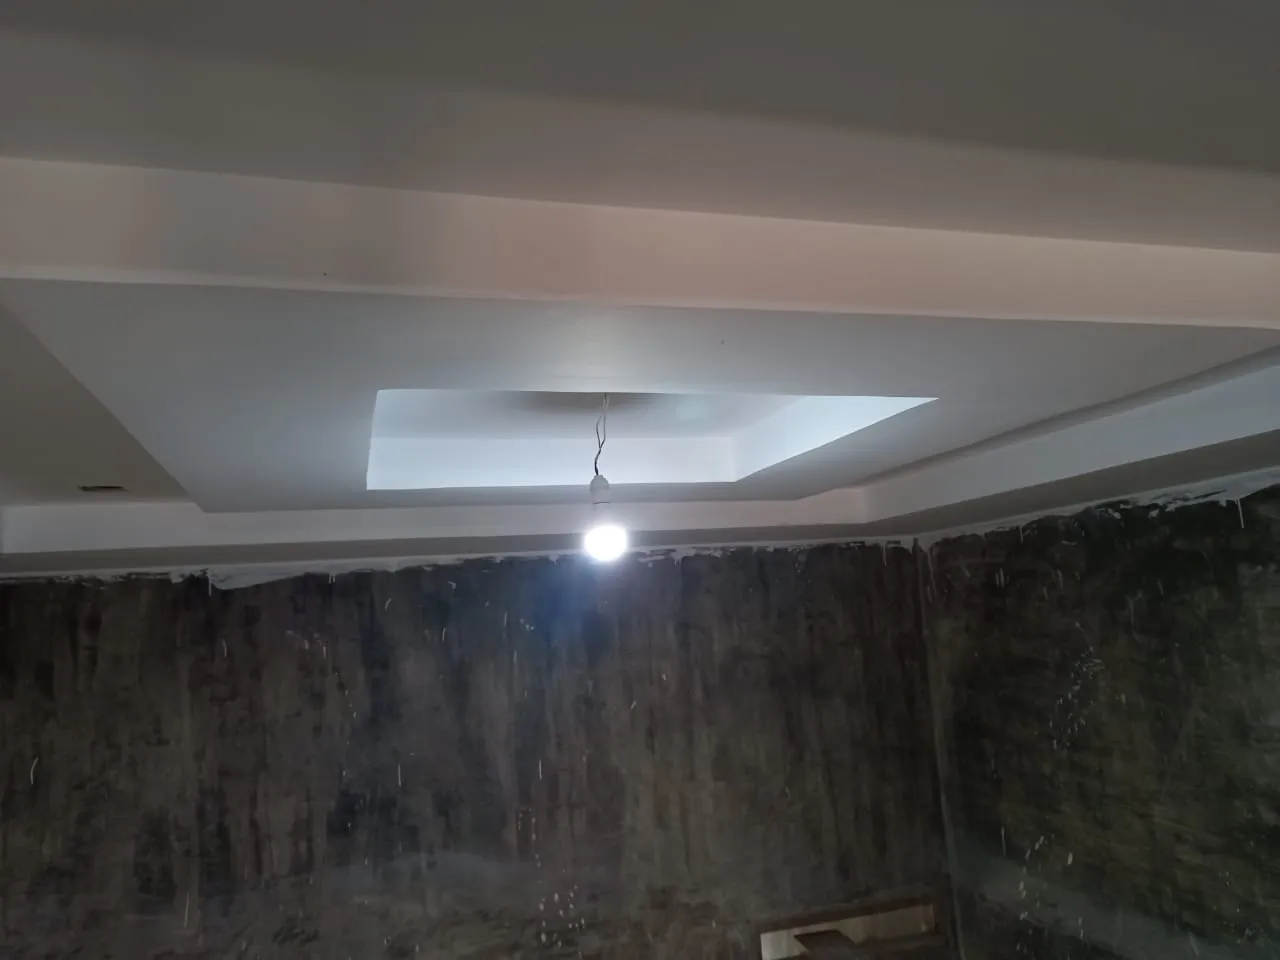
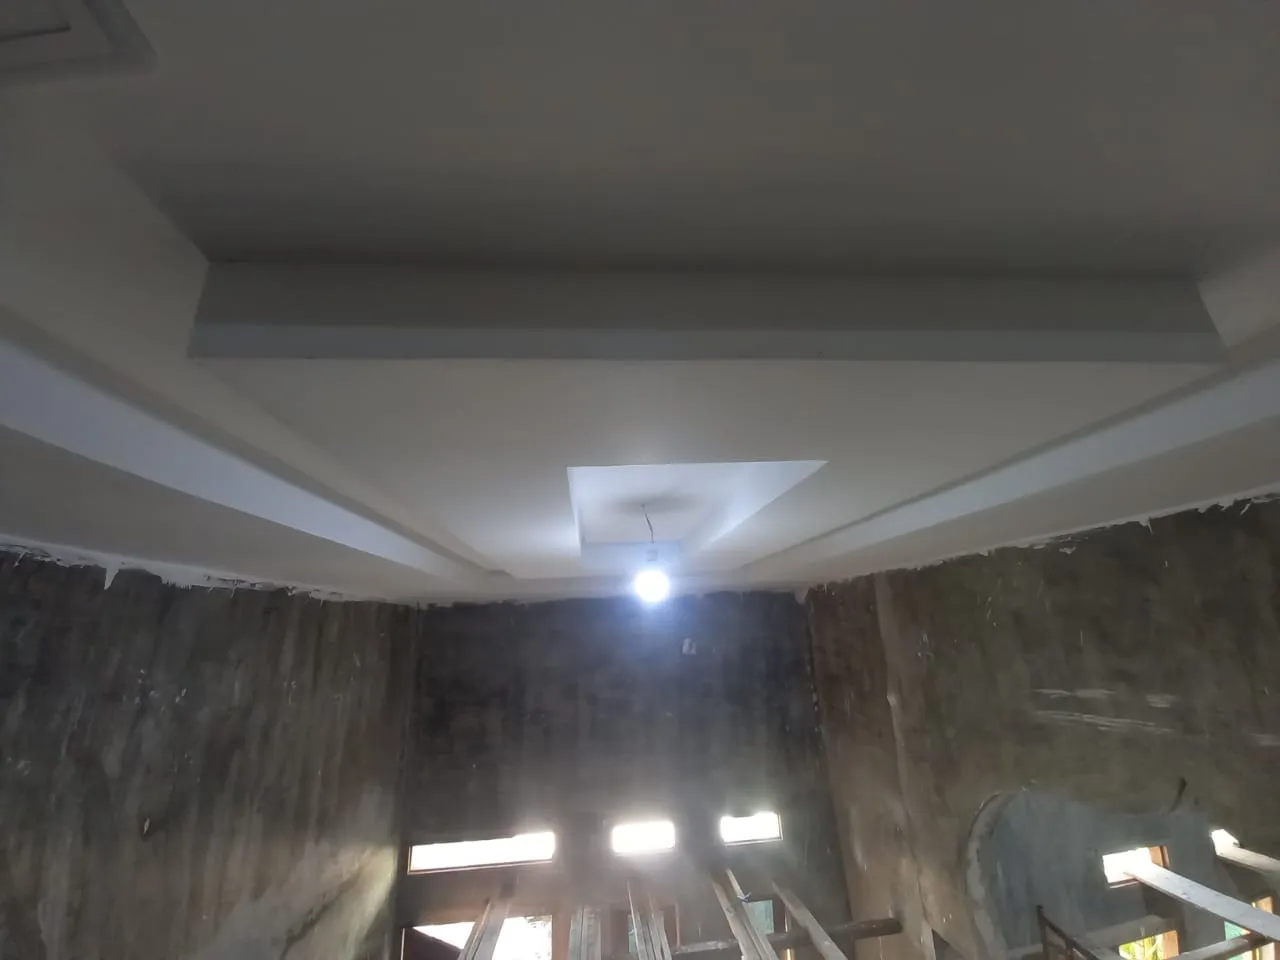
Ceiling Covering.
After all the ceiling frames are closed using gypsum boards, the next step is caulking at the joints.
Perform Gypsum Ceiling Connection Caulking evenly and not wavy. use tools such as a putty knife, scrap, and a small bucket as a ceiling putty tool.
Use cornice flour to caulk the ceiling.
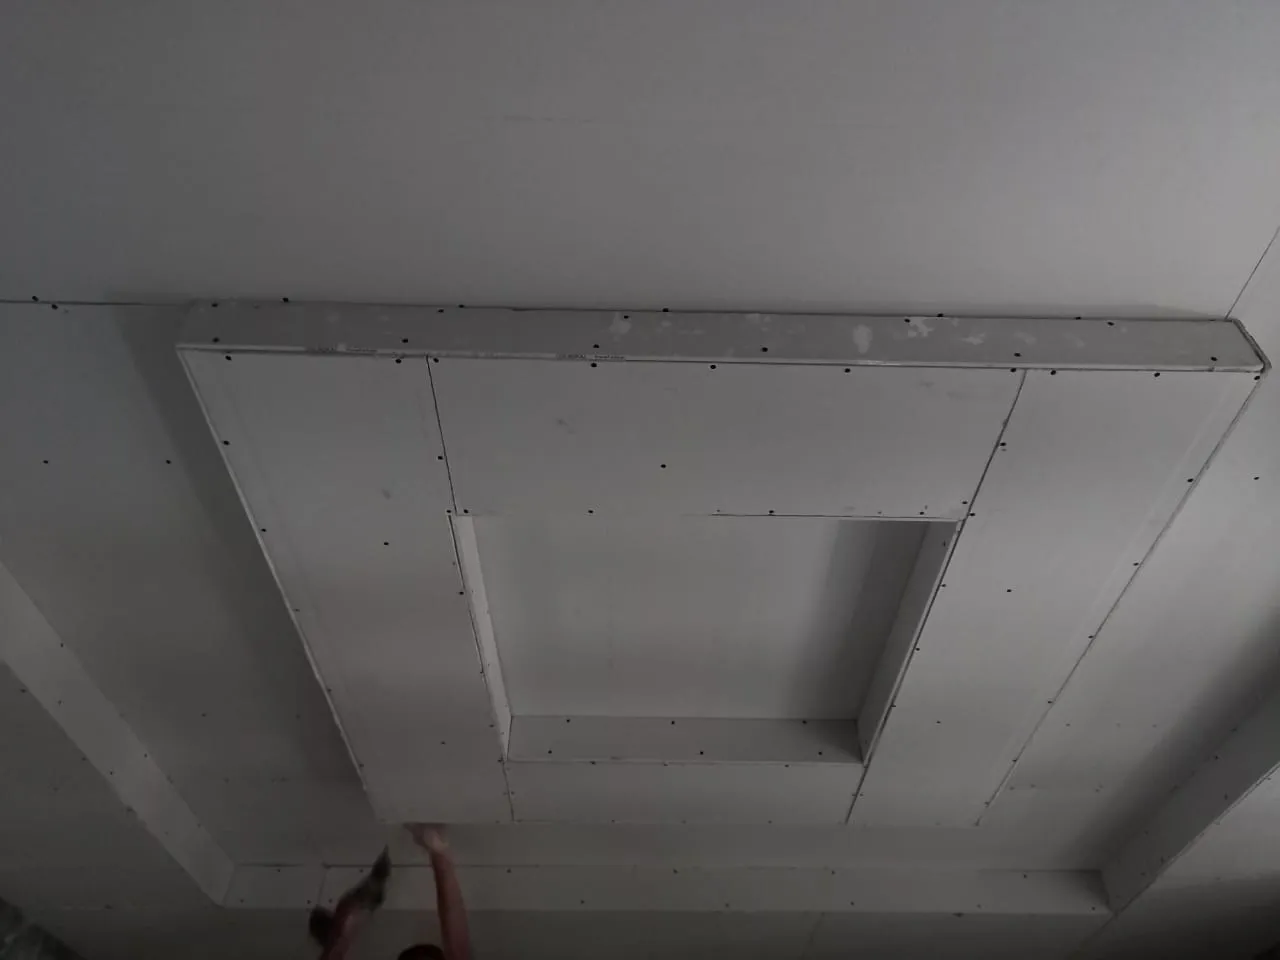
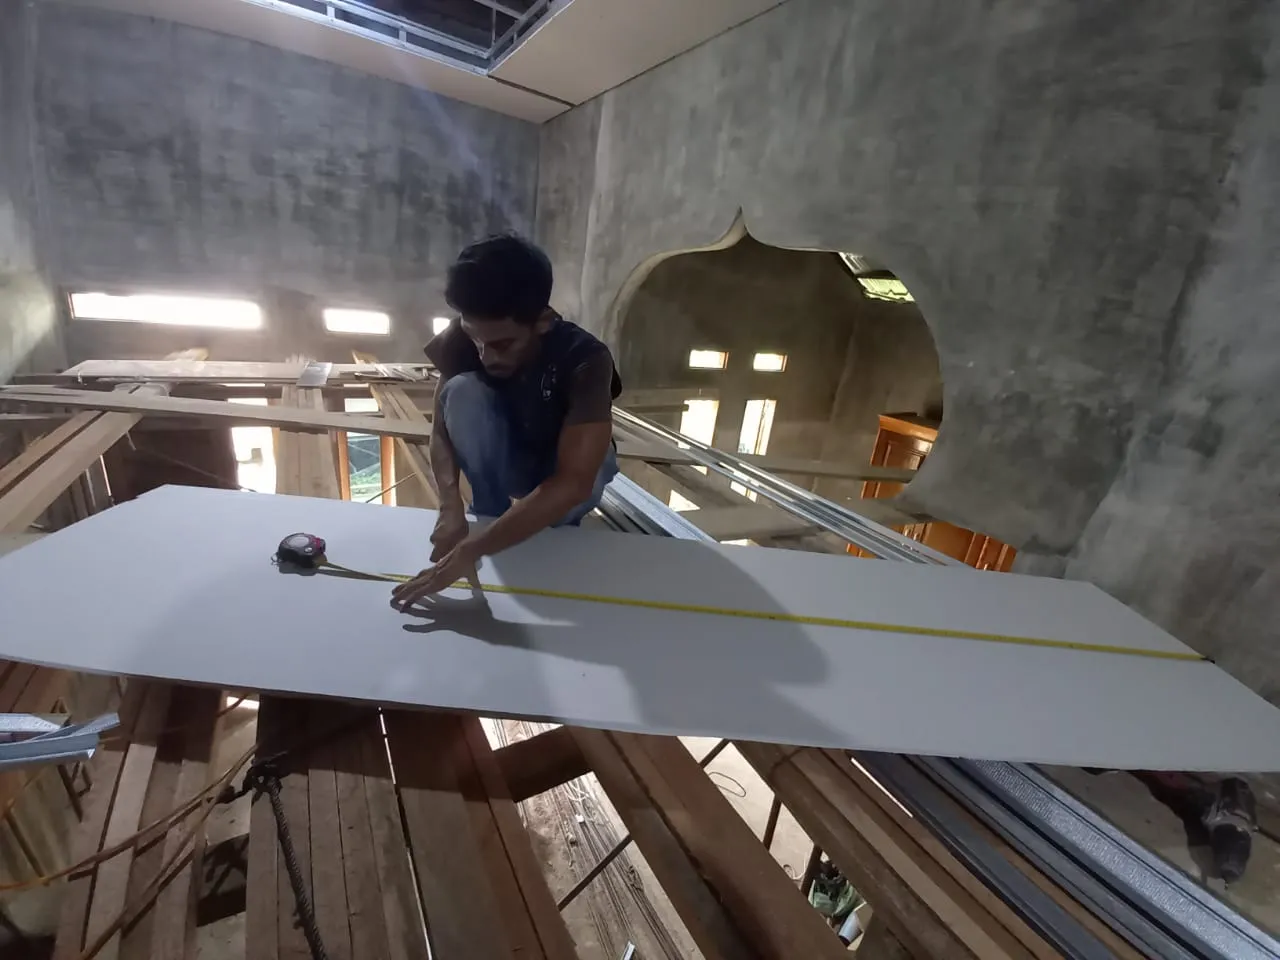
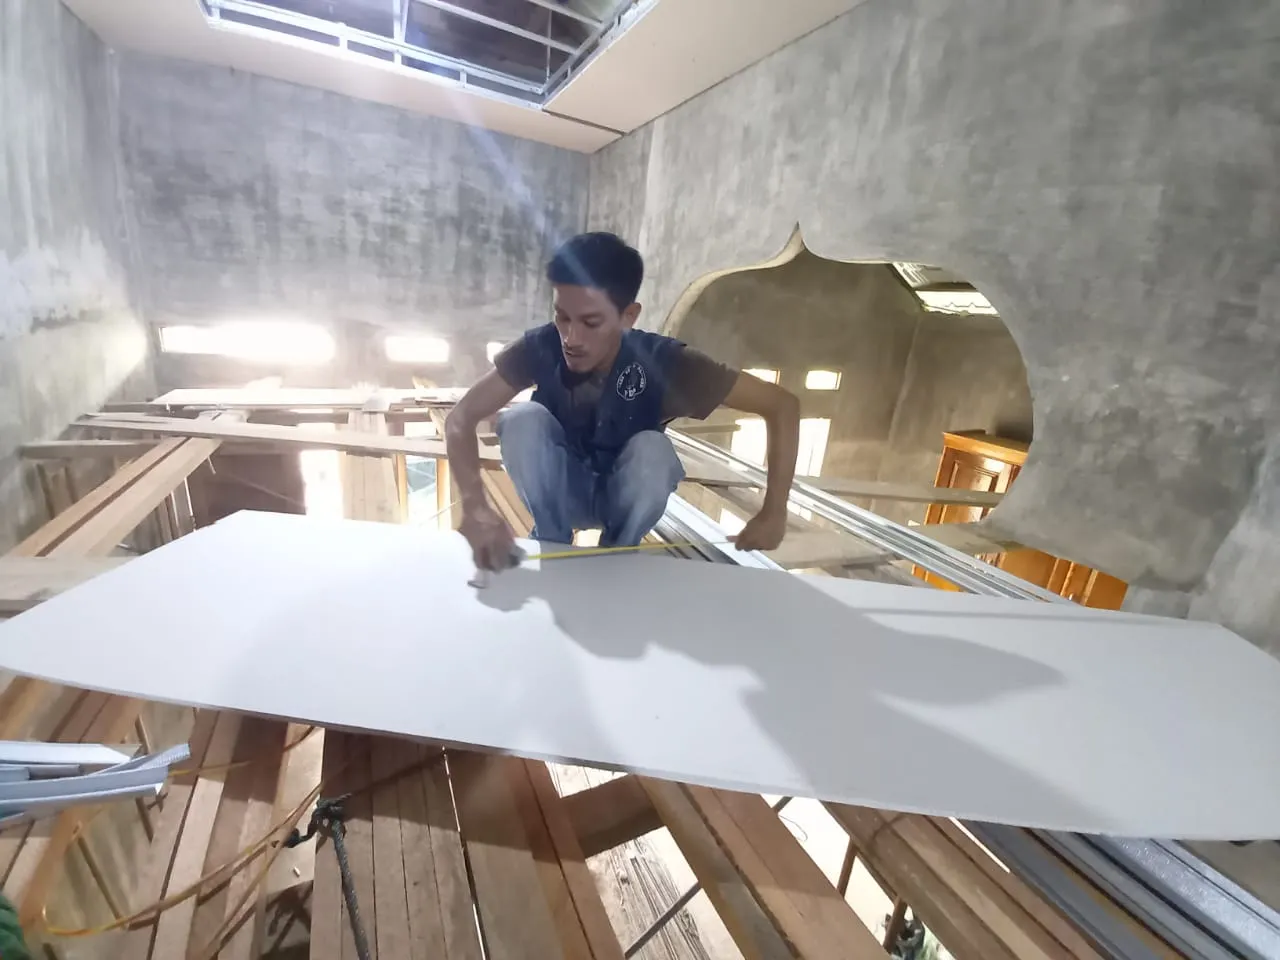
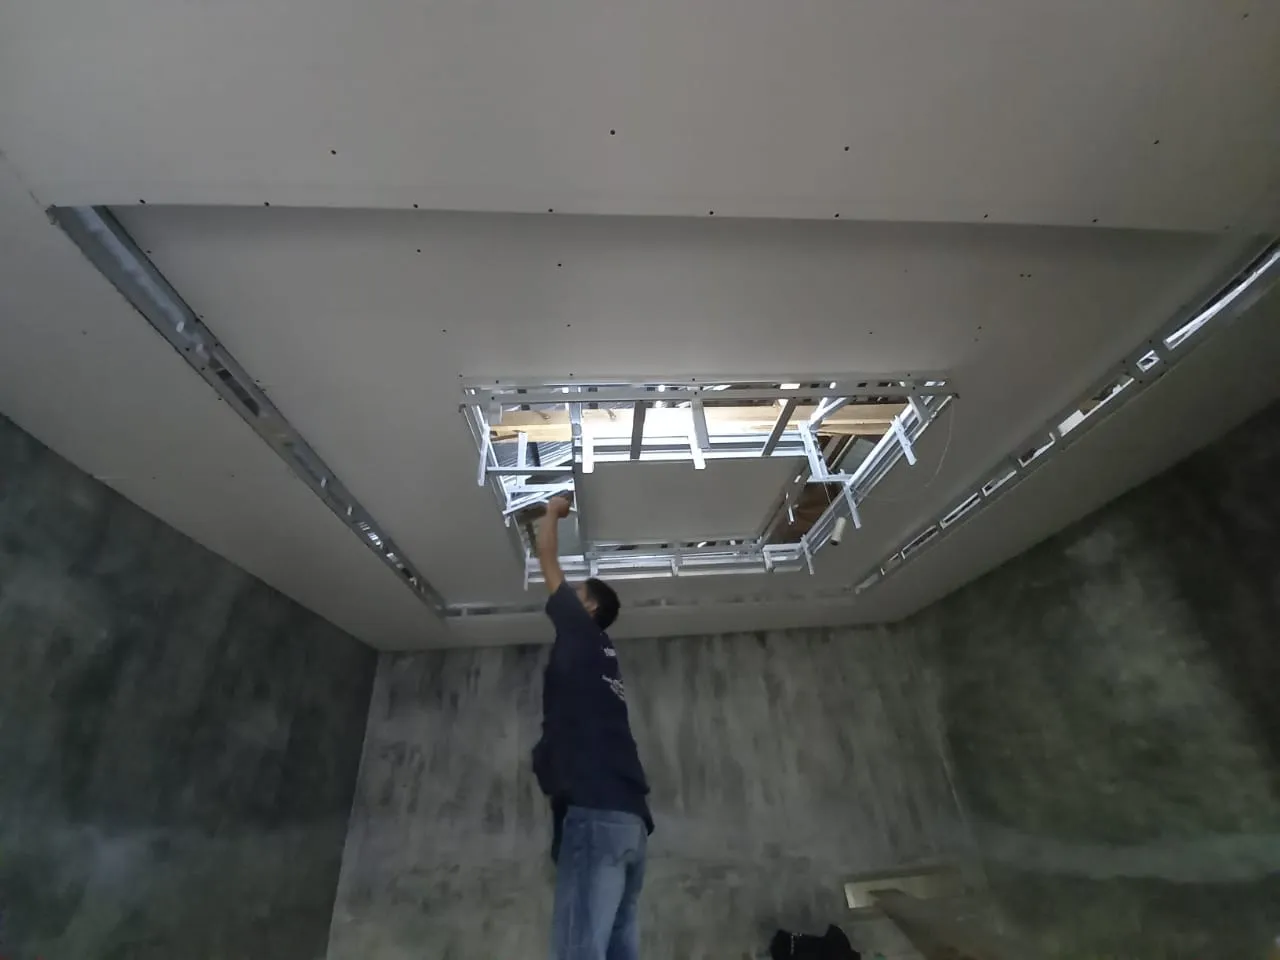
for how to cut the gypsum board so it doesn't get wasted is to cut the gypsum board with a width of 8cm,
Attach the 8 cm gypsum board to the edge of the bottom frame.
Do the installation until all around until covered.
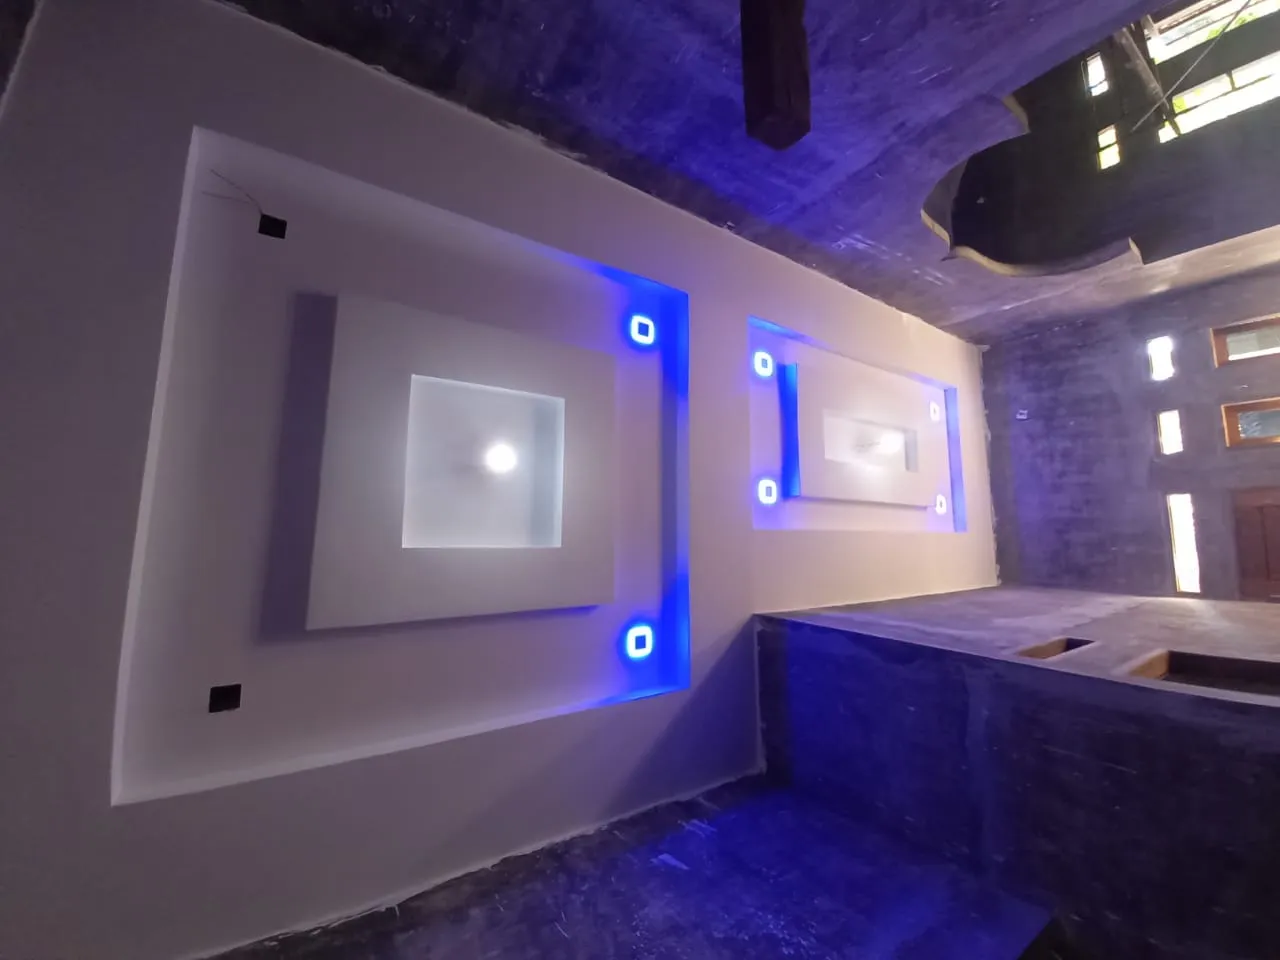
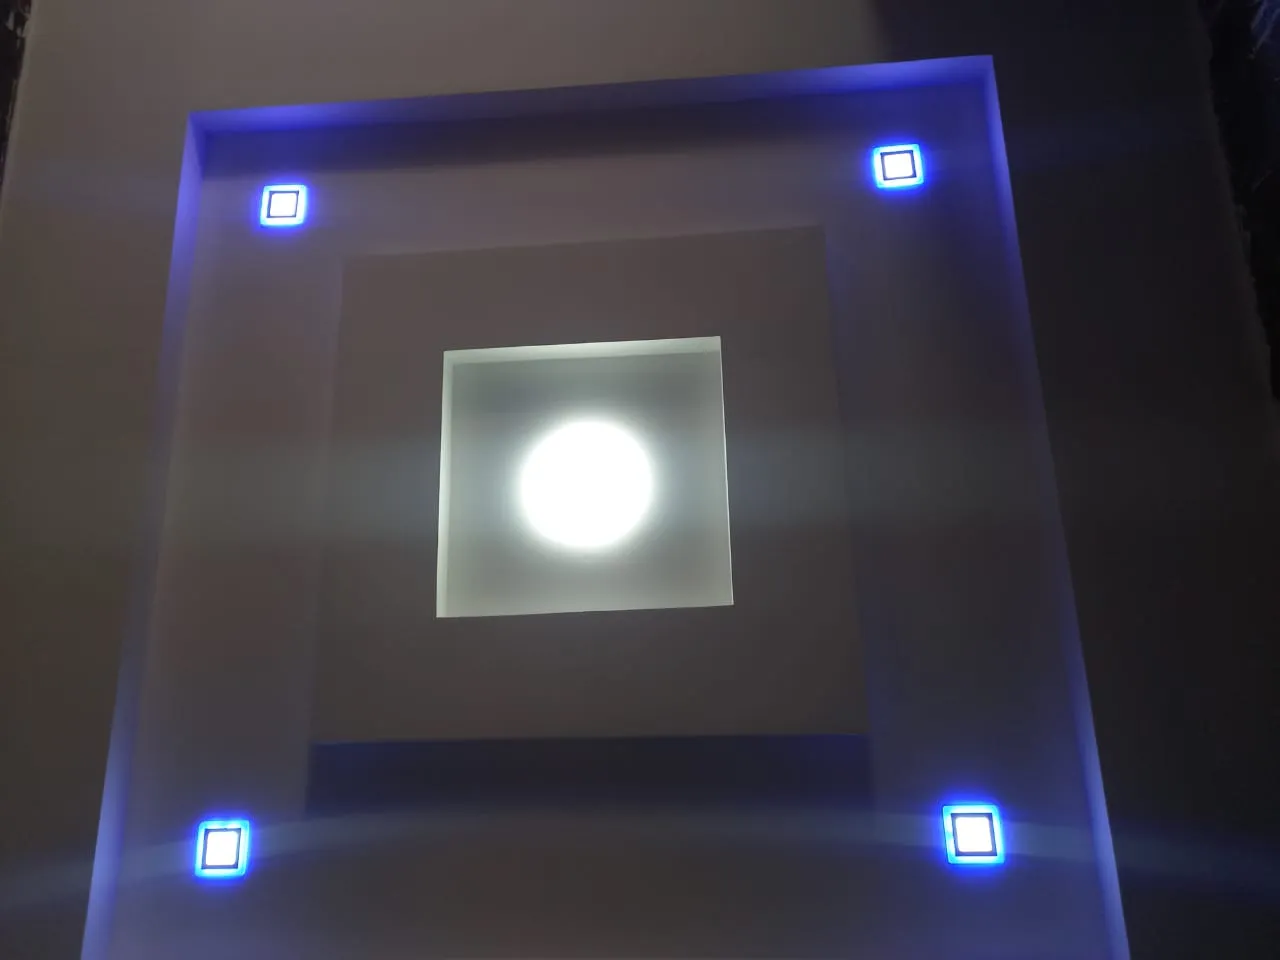
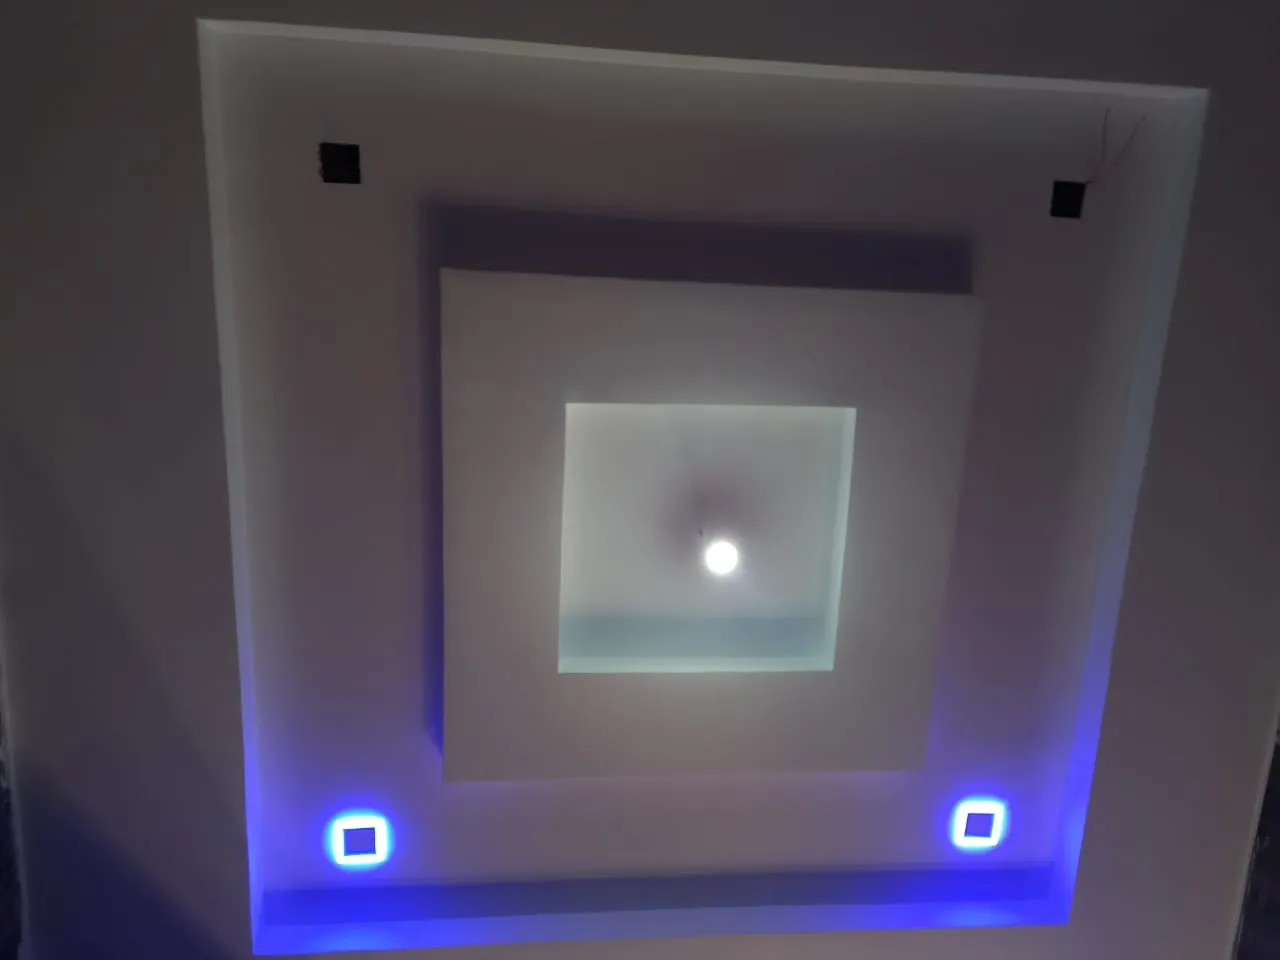
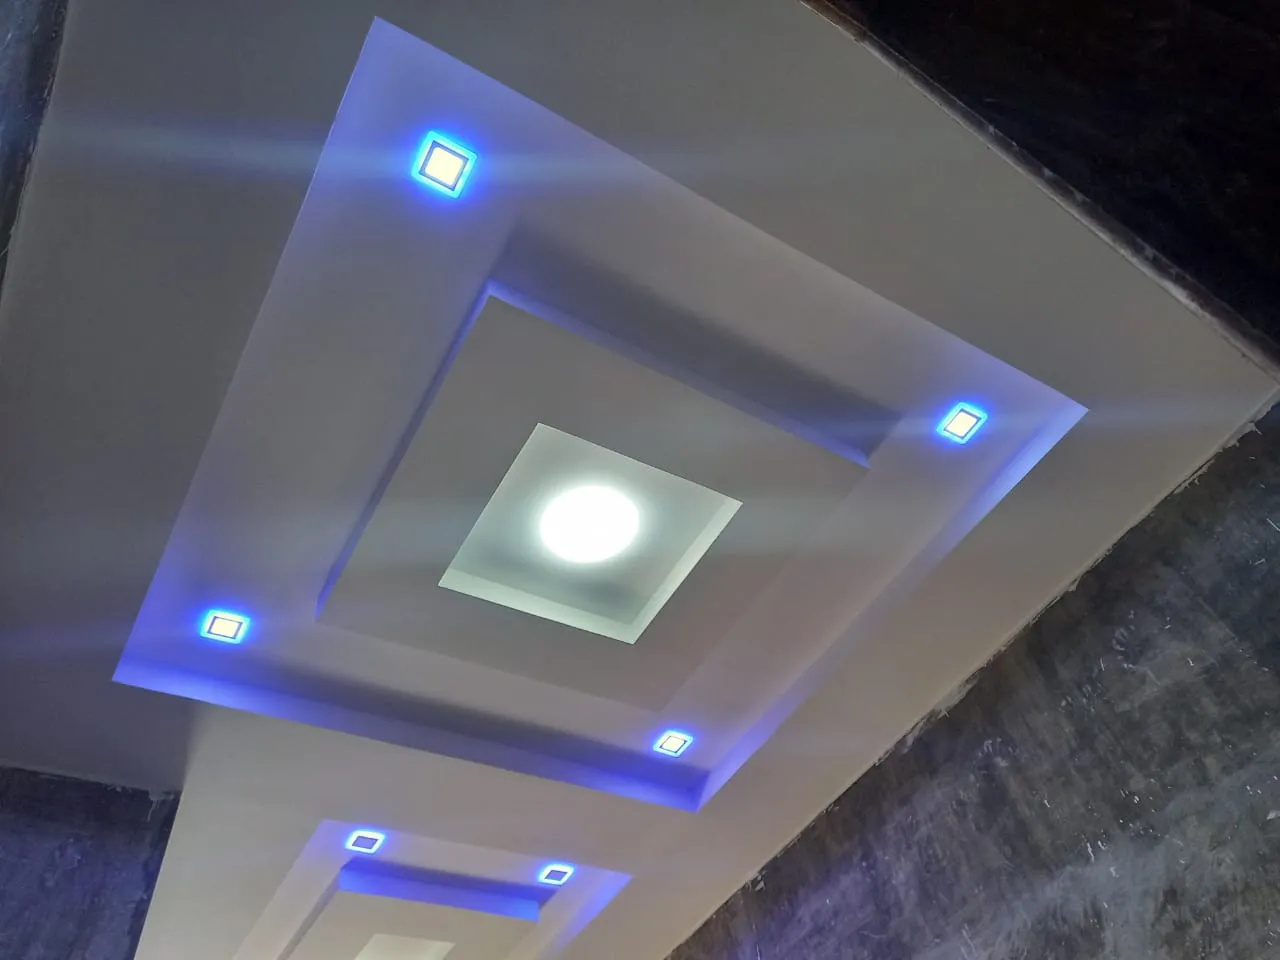
For colors and lights, it's up to your taste, choose a slightly brighter color in the living room, but that's up to your individual taste.