Column formwork. / Constructive process.
Hello friends, welcome to my blog; The first thing you have to do for the formwork of a column is the layout, starting from the main axis of the work, with that you mark all the measurements you need on site according to the plans.
For the formwork, the only thing you need is two feathers,
a hammer, the pliers, the pencil, the tape measure, the circular saw that is always necessary to cut wood; Once you raised the two feathers and projected the lines, the internal lines where the concrete goes are marked, they must be square.
Depending on the thickness of the wood that you are going to use for the formwork you can make additional lines where they show the orientation of the formwork, this is done to have additional guides.
Unlike wood, phenolic is almost non-porous and this will allow the concrete to absorb the water it has inside so that it can achieve adequate resistance, that is why even and in many places they use burnt car oil to form a waterproof coating on the wood.
You have to know when to use wood, you have to know when to change your way, you have to realize when it is completely warped or bent, or has many cracks that will allow the concrete grout to escape, at that moment we must change them and It also depends on the structure. If the concrete structure that we are going to form is very large, it is preferable to use a metallic or phenolic formwork, which, as we can see, is more resistant to withstand the pressure of the concrete.
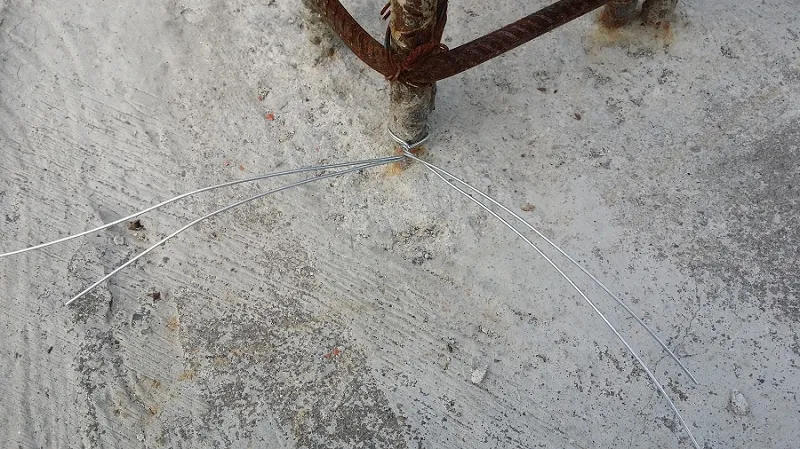
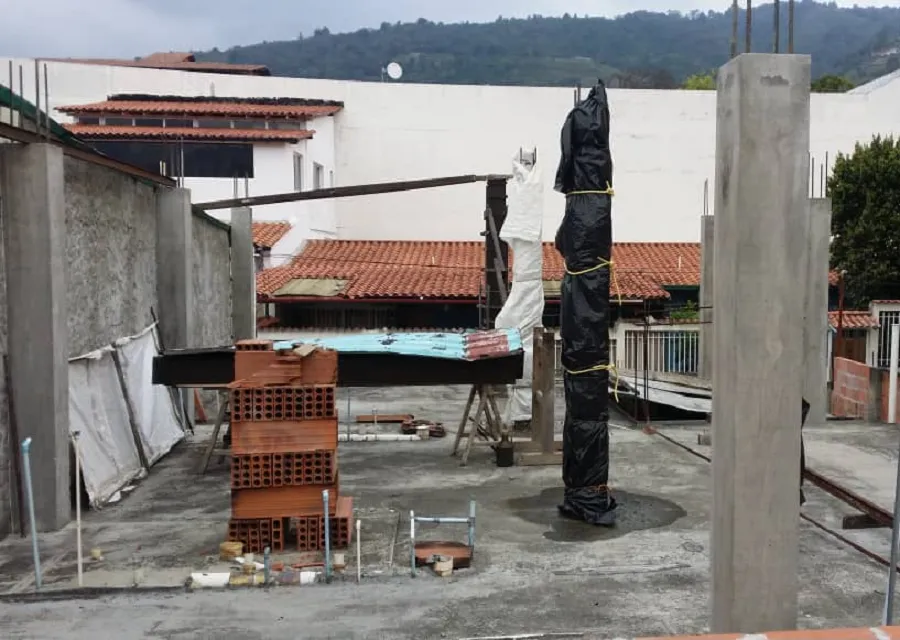
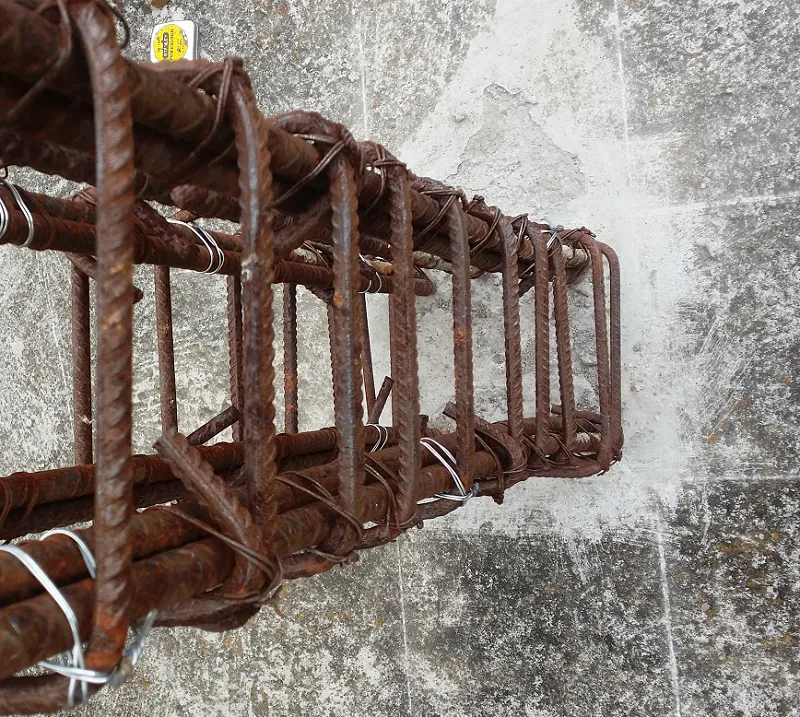
Once you have the stakeout, proceed to assemble a die at the base of the column, you can do it in two ways, fix the boards with steel nails on the plate or placing ties from the steel as support, as shown in Fig. image.
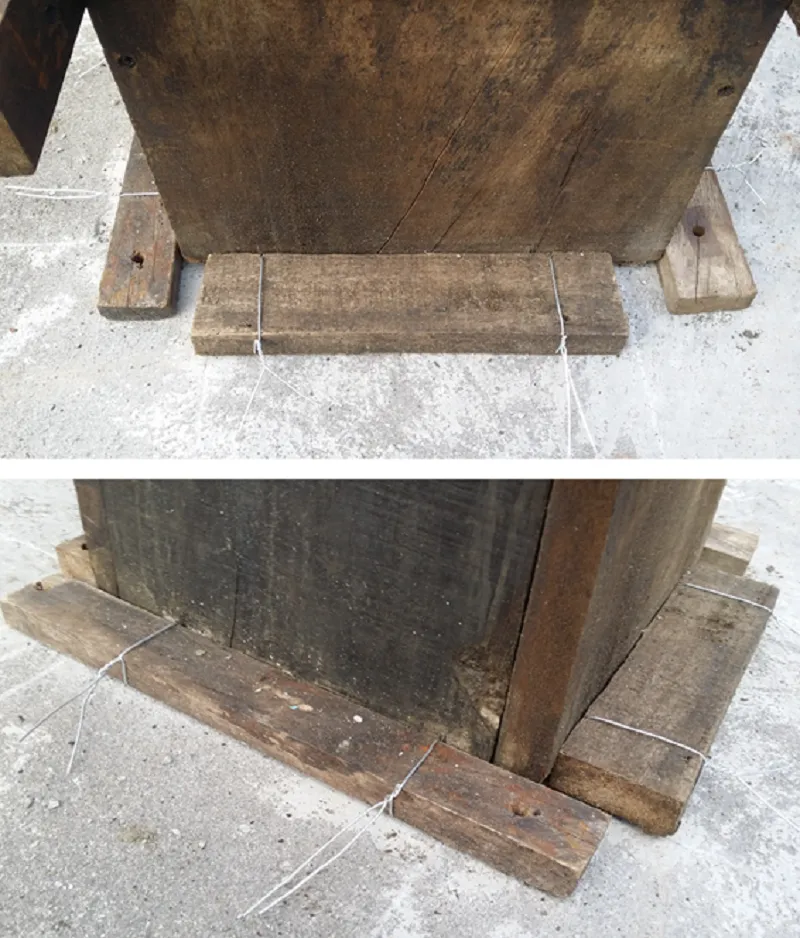
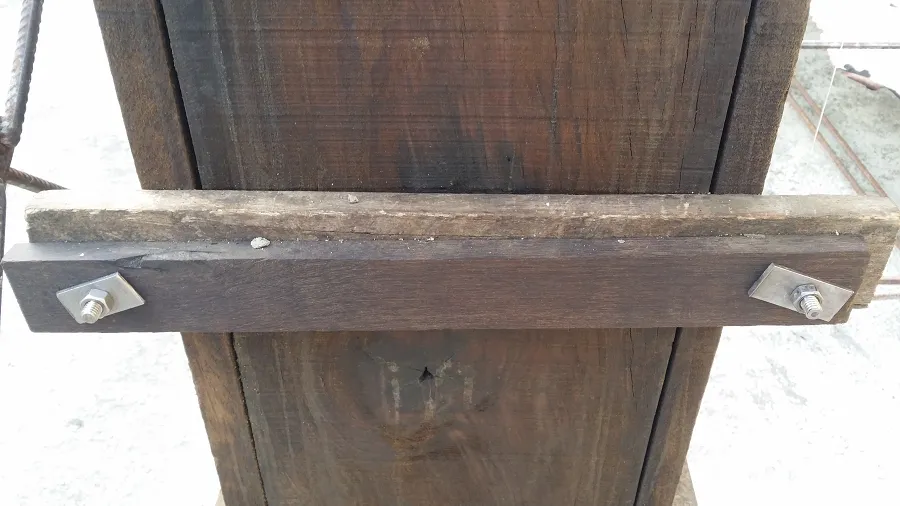
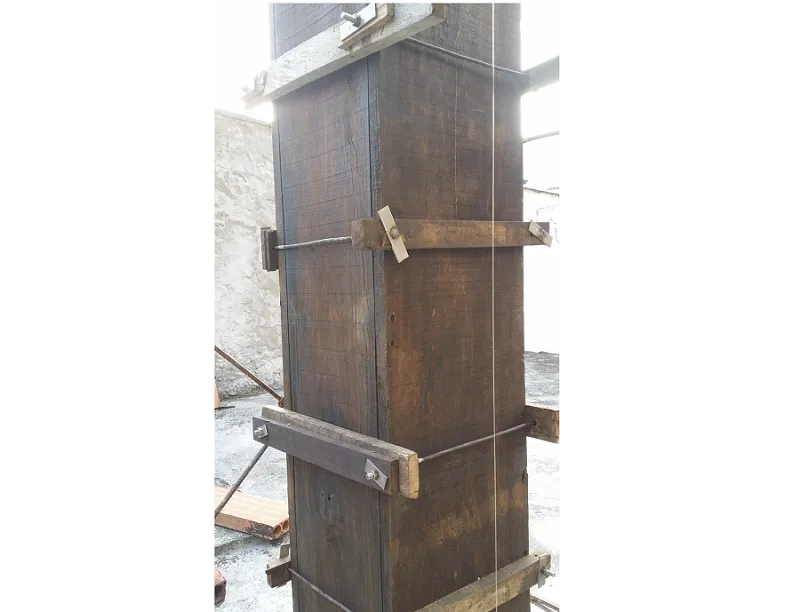
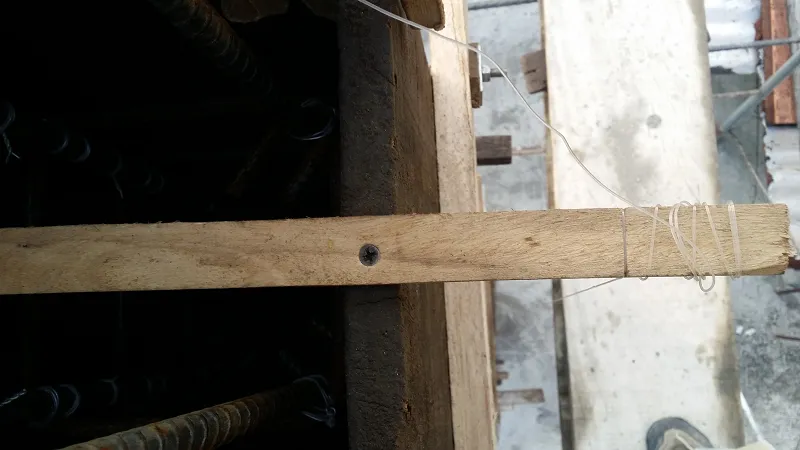
Once you have the wires in place, proceed to place the formwork, three faces are initially joined and then the fourth face, the wires have to come out on each side, proceed to assemble it with nails or screws, for greater rigidity, the bars are placed at least every 40 cm.
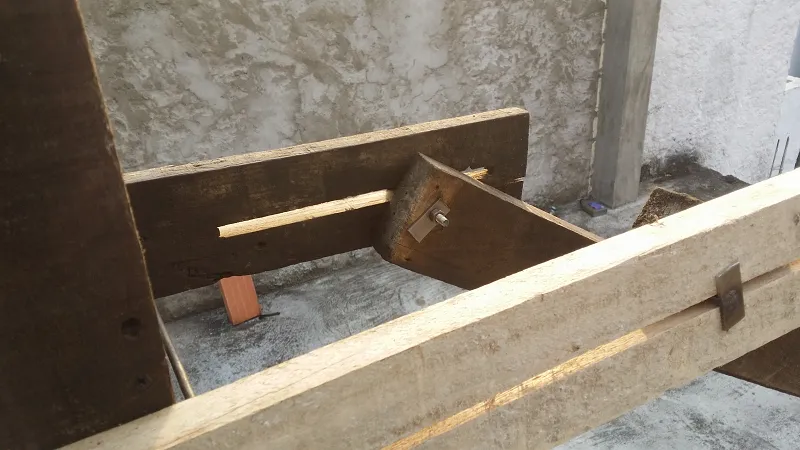
We already have the die below ready, we proceed to stabilize it with struts on the sides, this time there are some adjustable struts that can be moved when plumbing the column.
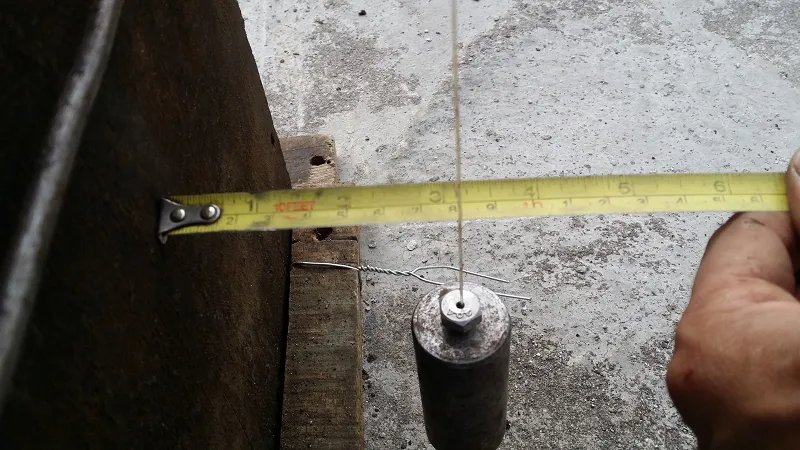
Once you have the struts firm, we proceed to place the plumb line, it is advisable to have two plumb lines, one on each side, it is adjusted with the help of a strip at the top, and the important thing is that the plumb line is free and adjusts accordingly. in such a way that the upper measurement is the same as the lower one, in this way the verticality of the column is guaranteed.
I hope the information is useful when making a decision, do not forget to support me and we will read next time, bye.