This was an accessory that I needed for a long time. Unfortunately I haven't had the opportunity to get it in all this time with my bike, but I got it (as my title states). But I got it (as my title states), what did I take into account to buy it, did I have any setbacks? Please allow me to answer you.
A few months ago we were given some things from a relative who was migrating from the country, and among them was precisely a bicycle side stand (leg). I took it without thinking twice, and a few days later I installed it thanks to the help of a friend. But it didn't work properly, and it was all over the place, preventing me from holding the bike, and now I realise why it was on those unused things. But I didn't uninstall it since I had already left my friend's house and didn't have the necessary key. So I was all these months with something useless stuck on my bike.
The only two places that sell bike parts and accessories in my area had one that cost $3 that wouldn't fit my bike model. And there was an adjustable model for $8. But in a city we go to from time to time that same model costs $5. So I decided to wait and buy it at the latter place.
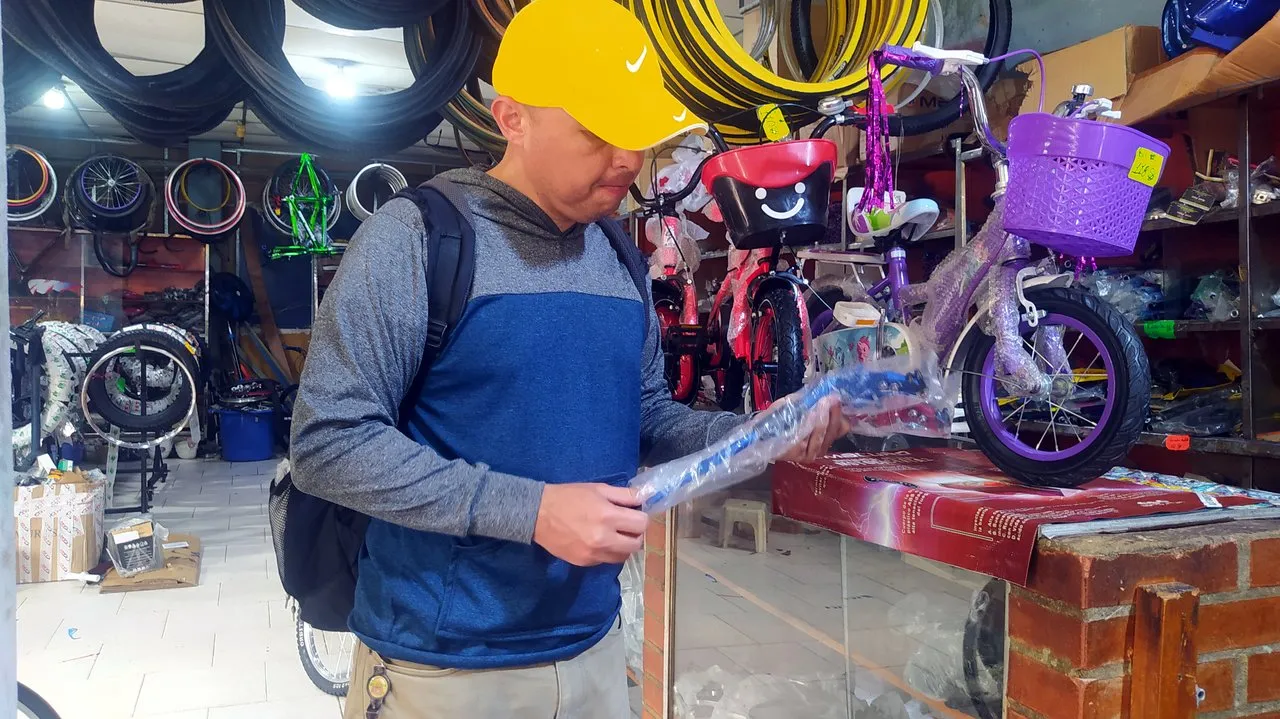
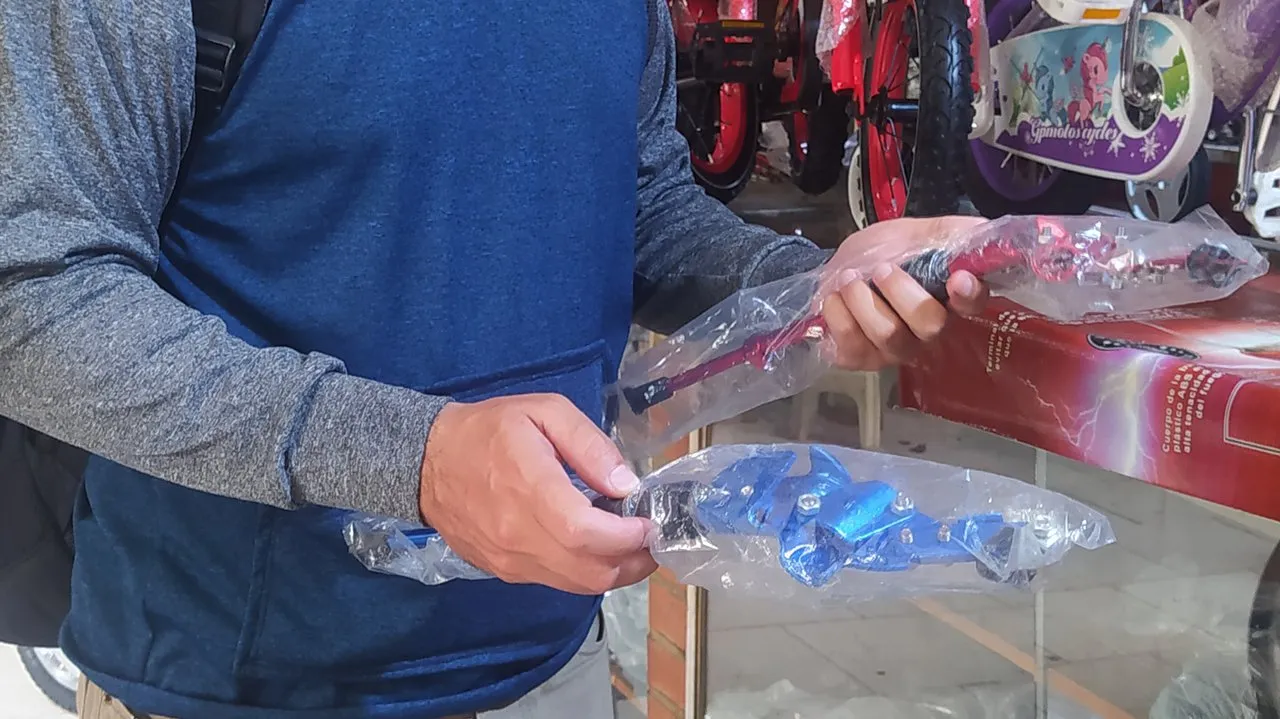
The opportunity arose a few days ago. I knew where to go and I had the money. I went to the store and fortunately there was some in stock. What I liked the most was the adaptability it had, so it was very difficult (in my mind) that this model would not fit my bike, she was almost 100 km away! So I couldn't go wrong with this purchase. They had it in two colours: red and blue. After thinking about it, I decided to go for my favourite colour and the one that opposes yellow in several colour stars: blue.
The first obstacle: I didn't have the set of keys to do the installation. So I borrowed one and waited a few days for it to arrive. Once I had it in my hands, it took three days before I had the time to do the job. Let's get to work!

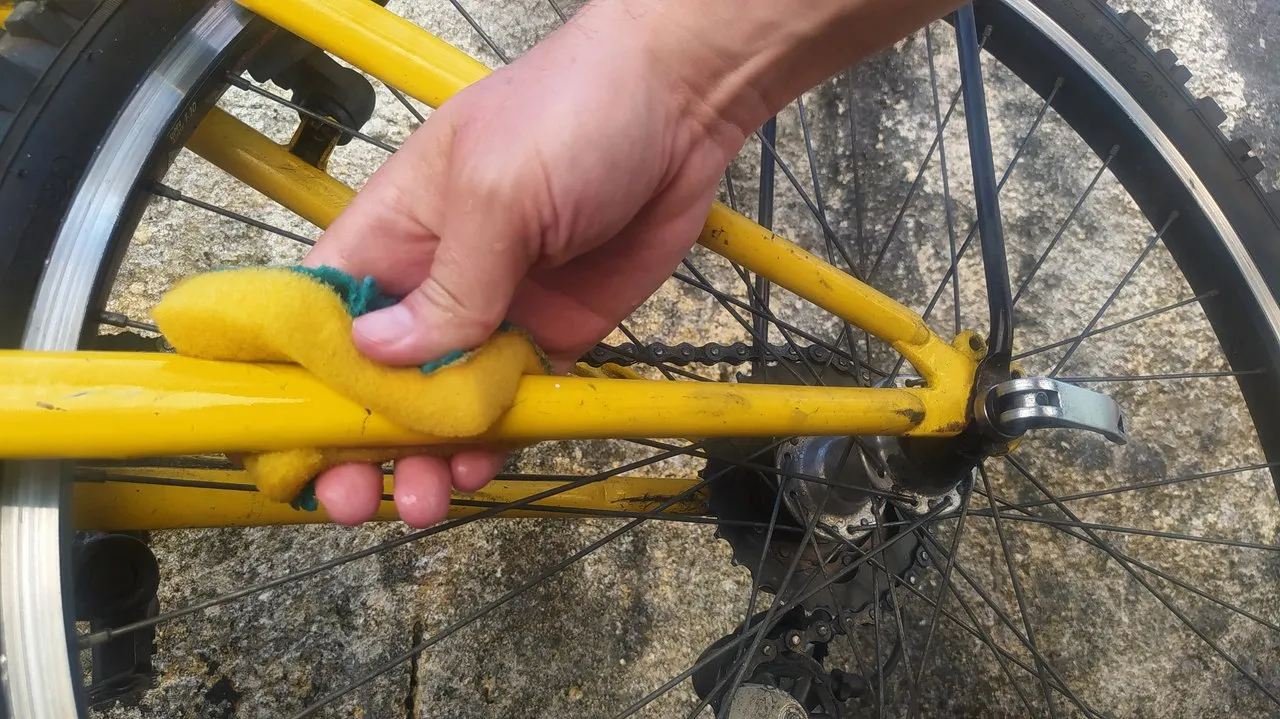
The first thing I did was to uninstall the side support I had, which was of no use to me. Then I proceeded to wash those surfaces, so that the materials of both pieces could be free of dirt or matter that could damage them. I waited for it to dry.
This side stand did not come with an instruction manual. I don't know what to think, I don't know if this is a good thing or a bad thing. Maybe it's a good thing because the manufacturer thinks we are so smart that they think we don't need it. Or maybe it's a bad thing because I have no idea how to do this.
Anyway, I had to resort to observation and logic. Yes, I know there must be video tutorials on the web, but I didn't use that resource. So I was able to conclude that the first thing I had to do was to detach the clamp that went on the top and place it there.
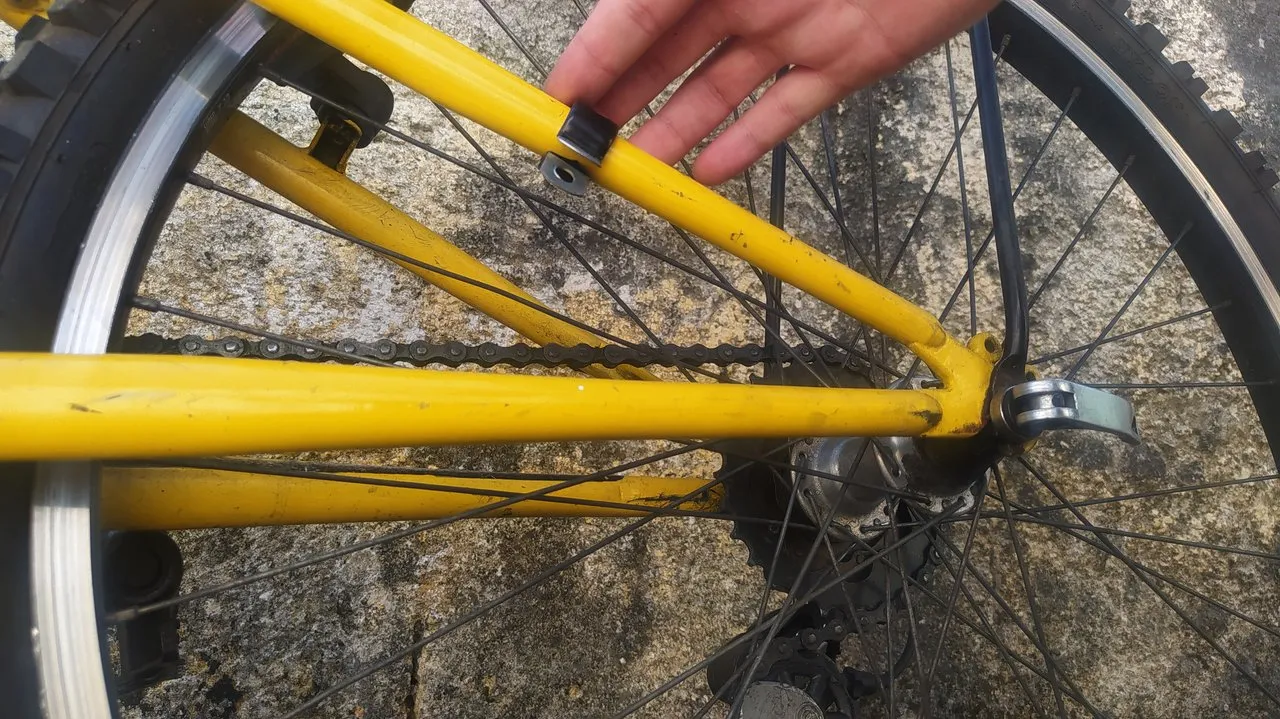
Now I would have to reattach it to the rest of the bracket. So the bracket pretty much sits on that clamp for the moment. Now it's time to detach the piece that will go around the bottom of the bike. I noticed that the bracket that I removed had some protective rubber to avoid scratching the bike's paint, and this new bracket didn't have that rubber, so I decided to put it on the same way.

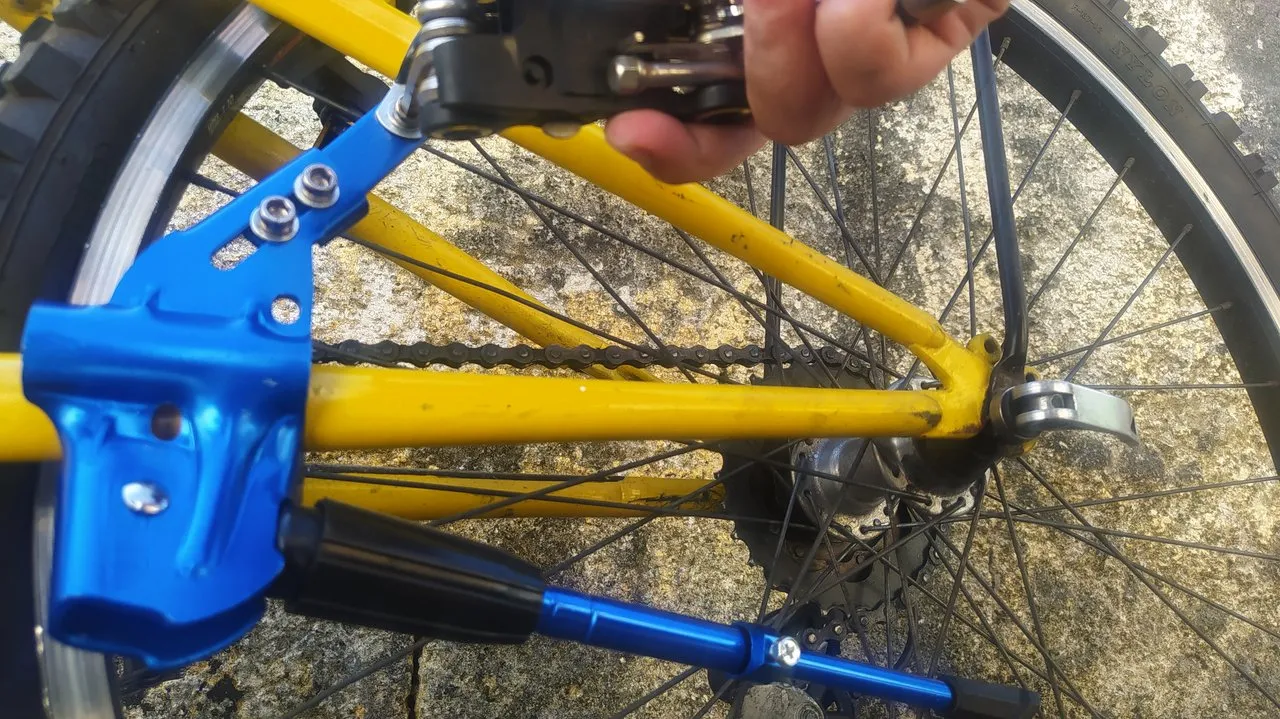
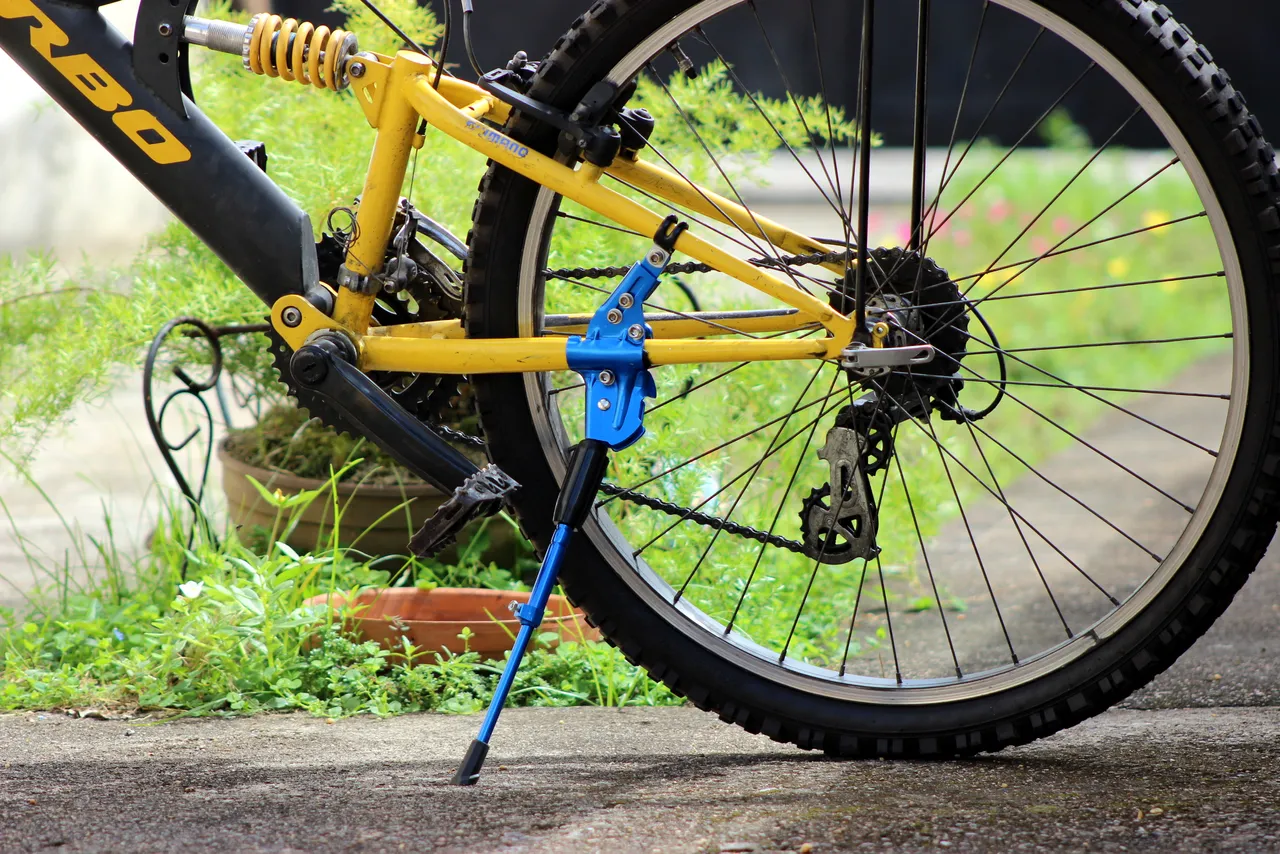
After tightening all the screws and adjusting the length of the bracket, I noticed a new problem: the tip of the bracket is very close to the spokes of the wheel, and at the moment they touch each other. Because of the first piece I adjusted, this model does not allow to rotate the bracket, and the chosen length did not help to solve the problem either.
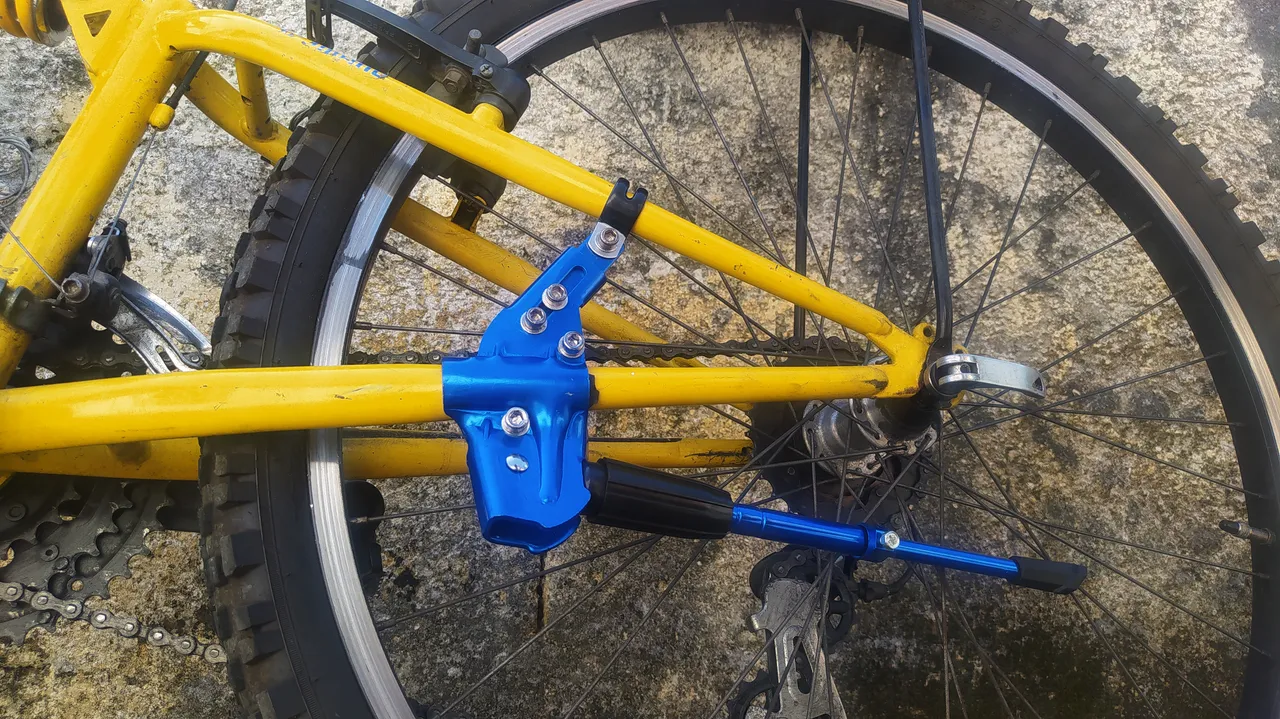
So I did the best I could, noting that if they do touch, they will touch from the bottom up, which doesn't necessarily mean that the bracket will be lowered sharply, but that it will stay in place and the sound will surely alert me. So I left that gap, about a centimetre or so.
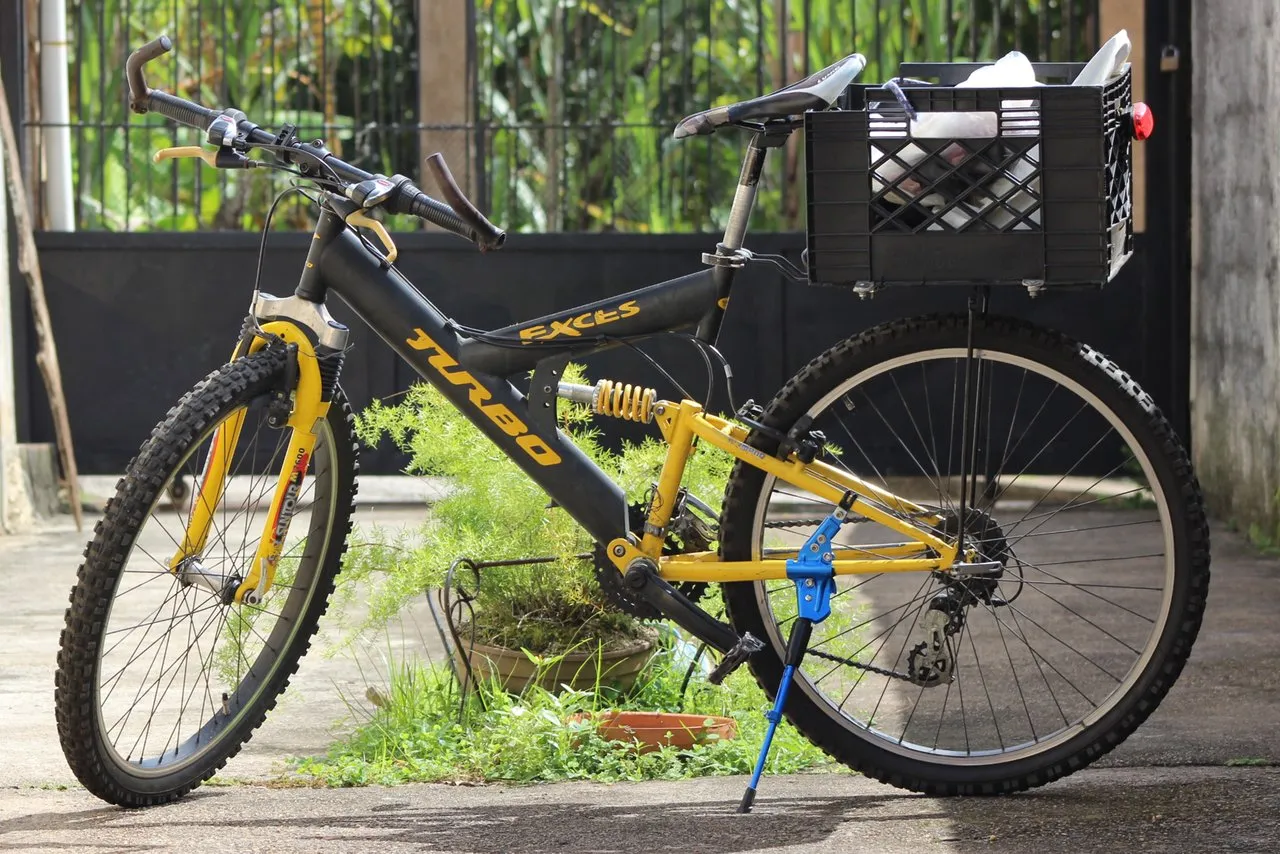
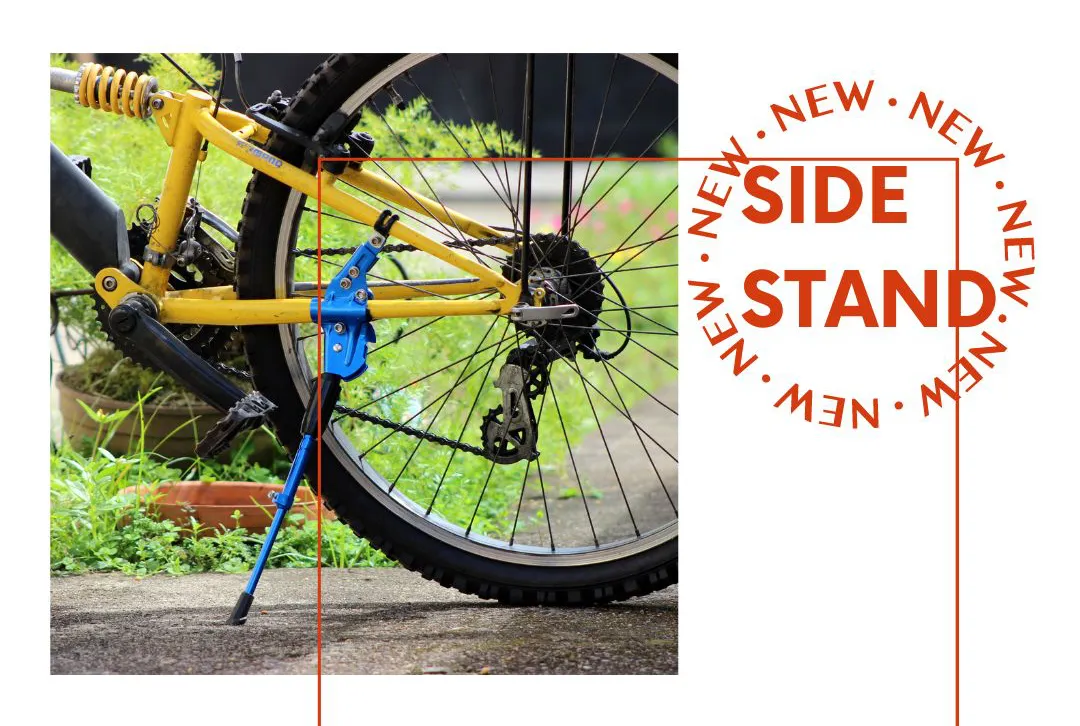
That's it! I have the side stand installed. I like the way the bike looks standing up like that. I don't think I've ever seen it from that angle. Only one thing left to do, yes, I know: wash it.


Éste era un accesorio que necesitaba desde hace mucho tiempo. Lamentablemente no había tenido la oportunidad de obtenerla en todo éste tiempo con mi bicicleta. Pero la obtuve (como lo expone mi título). ¿Qué tomé en cuenta para comprarla? ¿Tuve algún contratiempo? Por favor, permite que te responda.
Hace unos meses nos dieron algunas cosas de un familiar que migraba del país, y entre ellas estaba precisamente un soporte lateral de bicicleta (pata). Lo tomé sin pensarlo dos veces, y a los pocos días la instalé gracias a la ayuda de un amigo. Pero no servía bien, y se desparramaba toda, impidiendo sostener la bicicleta. ¡Vaya! Ahora me doy cuenta por qué estaba en esas cosas sin usar. Pero no la desinstalé puesto que ya me había ido de la casa de mi amigo y no tenía la llave necesaria. Así que estuve todos estos meses con algo inútil pegado en mi bicicleta.
En los dos únicos lugares que venden repuestos y accesorios para bicicletas en mi localidad había una que costaba $3 que no le serviría al modelo de mi bicicleta. Y había un modelo ajustable en $8. Pero en una ciudad a la que vamos cada cierto tiempo ese mismo modelo cuesta $5. Así que decidí esperar y comprarla en éste último lugar.
La oportunidad surgió hace unos días. Ya sabía dónde ir y tenía el dinero. Acudí al local y afortunadamente había disponible en el inventario. Lo que más me gustó fue la adaptabilidad que tenía, de modo que era muy difícil (en mi mente) de que éste modelo no le sirviera a mi bicicleta. ¡Ella estaba a casi 100 kilometros de distancia! Así que no podía fallar con ésta compra. La tenían en dos colores: rojo y azul. Luego de pensarlo, me decidí por mi color favorito y aquel que se opone al amarillo en varias estrellas de colores: azul.
El primer obstáculo: no tenía el juego de llaves para hacer la instalación. De modo que pedí una prestada y esperé unos días a que llegara. Una vez en mis manos, pasaron tres días para poder disponer del tiempo para hacer el trabajo. ¡Manos a la obra!
Lo primero que hice fue desinstalar el soporte lateral que tenía, que no me sirvió para nada. Entonces procedí a lavar esas superficies, a fin de que los materiales de ambas piezas puedan estar libres de suciedad o materia que pueda dañarlas. Esperé que se secara.
Este soporte lateral no trajo manual de instrucciones. No sé qué pensar, no sé si esto es algo bueno o es algo malo. Tal vez sea algo bueno porque el fabricante nos creen muy inteligentes que piensa que no lo necesitamos. O tal vez sea algo malo porque no tengo ni idea de cómo hacer esto.
En fin, tuve que recurrir a la observación y la lógica. Sí, ya sé que debe haber tutoriales en video en la web, pero no usé ese recurso. Así que pude concluir que lo primero que tenía que hacer es separar la abrazadera que iba en la parte superior y colocarla allí.
Ahora tendría que volverla a unir con el resto del soporte. Entonces el soporte prácticamente guinda de momento sobre esa abrazadera. Es el momento de separar la pieza que ira apretando la parte inferior de la bicicleta. Noté que el soporte que retiré tenía unas gomas protectoras para que no rayara la pintura de la bicicleta, y éste soporte nuevo no traía esa goma, así que decidí colocársela igual.
Al apretar todos los tornillos y ajustar la largura del soporte me di cuenta de un nuevo problema: la punta del soporte queda muy cerca ce los rayos de la rueda, y de momento llegan a tocarse. Debido a la primera pieza que ajusté, éste modelo no permite girar el soporte, y la largura elegida tampoco incidía en la solución del problema.
Así que hice lo mejor que pude, notando que si llegan a tocarse lo harán desde abajo hacia arriba, lo cual no implica necesariamente que el soporte se bajará bruscamente, sino que se mantendrá en su lugar y seguramente el sonido me alertará. Así que dejé esa separación, de un centímetro aproximadamente.
¡Listo! Tengo el soporte lateral instalado. Me gusta cómo se ve la bicicleta parada de esa forma. Creo que nunca la había visto desde ese ángulo. Solo le falta una cosa, sí, lo sé: lavarla.

Cover: Made with the free version of CANVAS || Portada: Hecho con la versión gratuita de CANVAS
Images: Shot with my Xiaomi Redmi Note 8 phone / Canon EOS Rebel t3i camera and edited with GIMP || Imágenes: Realizadas con mi teléfono Xiaomi Redmi Note 8 / cámara Canon EOS Rebel t3i y editadas con GIMP
Banner: Made by me in GIMP with my own images and free resources from the site pfpmaker.com || Banner: Hecho por mi en GIMP con imágenes propias y recursos gratuitos del sitio pfpmaker.com
Language: Post written in Spanish and then translated into English through DeepL || Idioma: Post redactado en español y luego traducido al inglés mediante DeepL