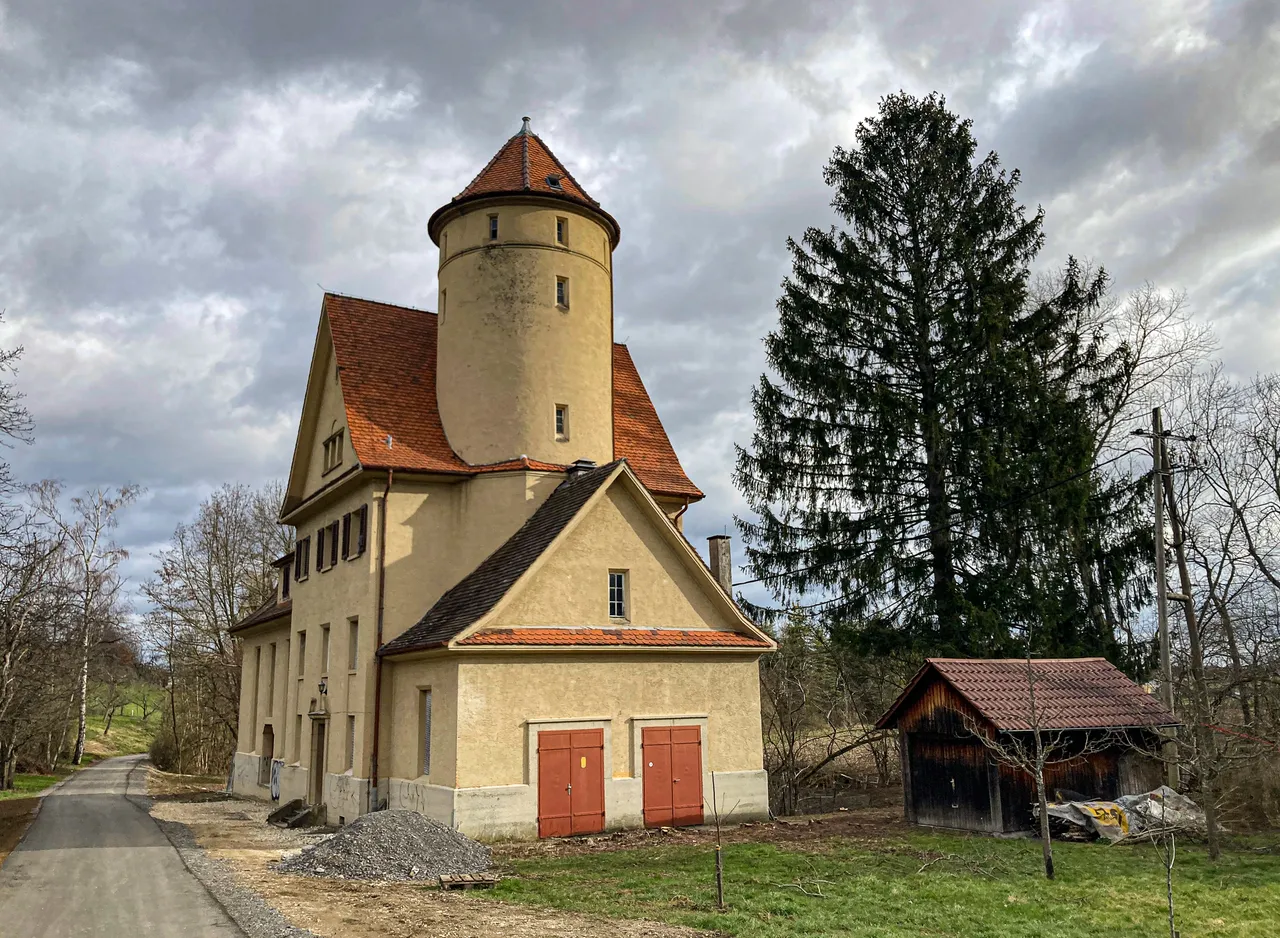
I intended to make a snail some castle instead of his house, actually, upgrading his house with castle so the first step was to find amusing snail photo.
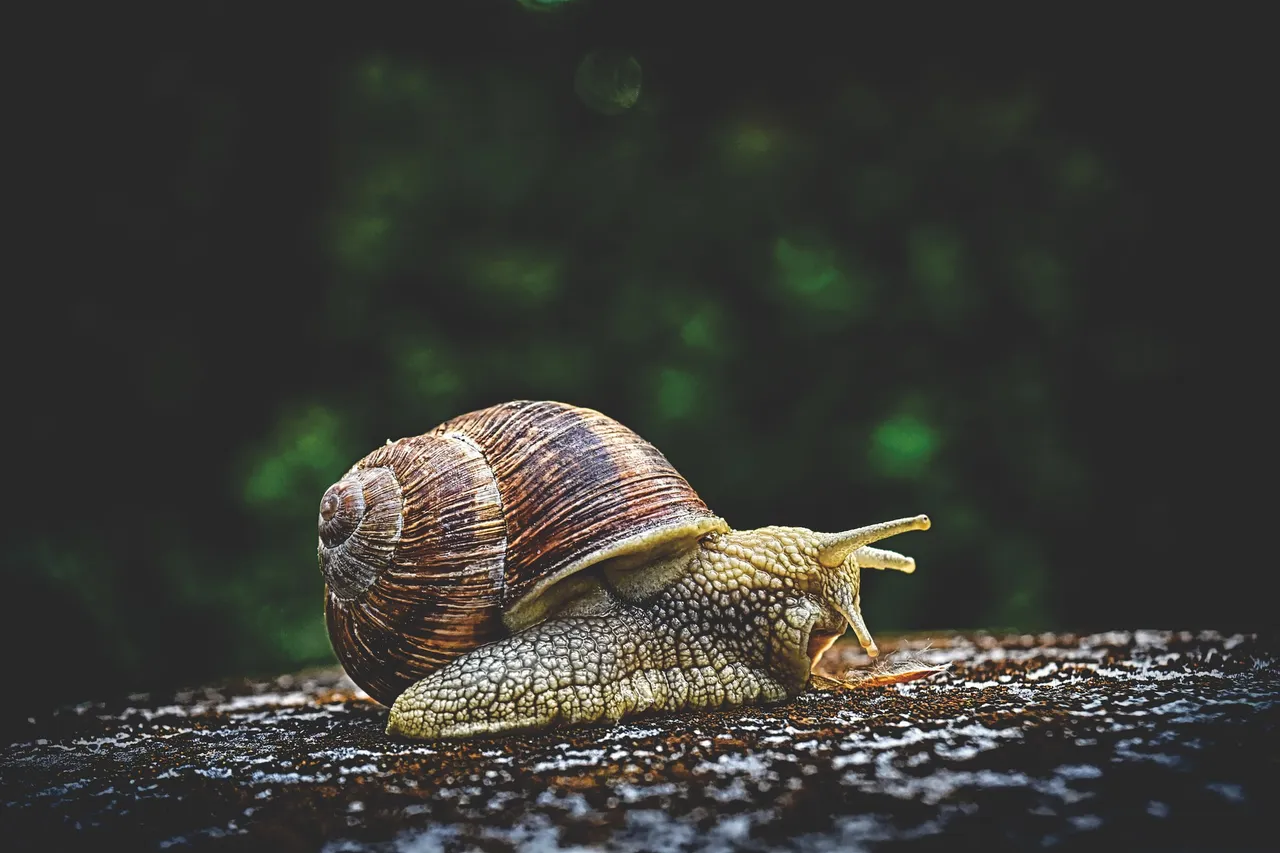
- After just few minutes I found really really nice photo of a snail with a house I really liked, after my failed try of the landscape, this was really refreshing.
A little for the change I'll combine my workflow with finding the right photos. I think I'm going to explain my further workflows this way as it's more natural, it follows the actual procedure I was going through while designing this one. It's all about the improvement at the end.
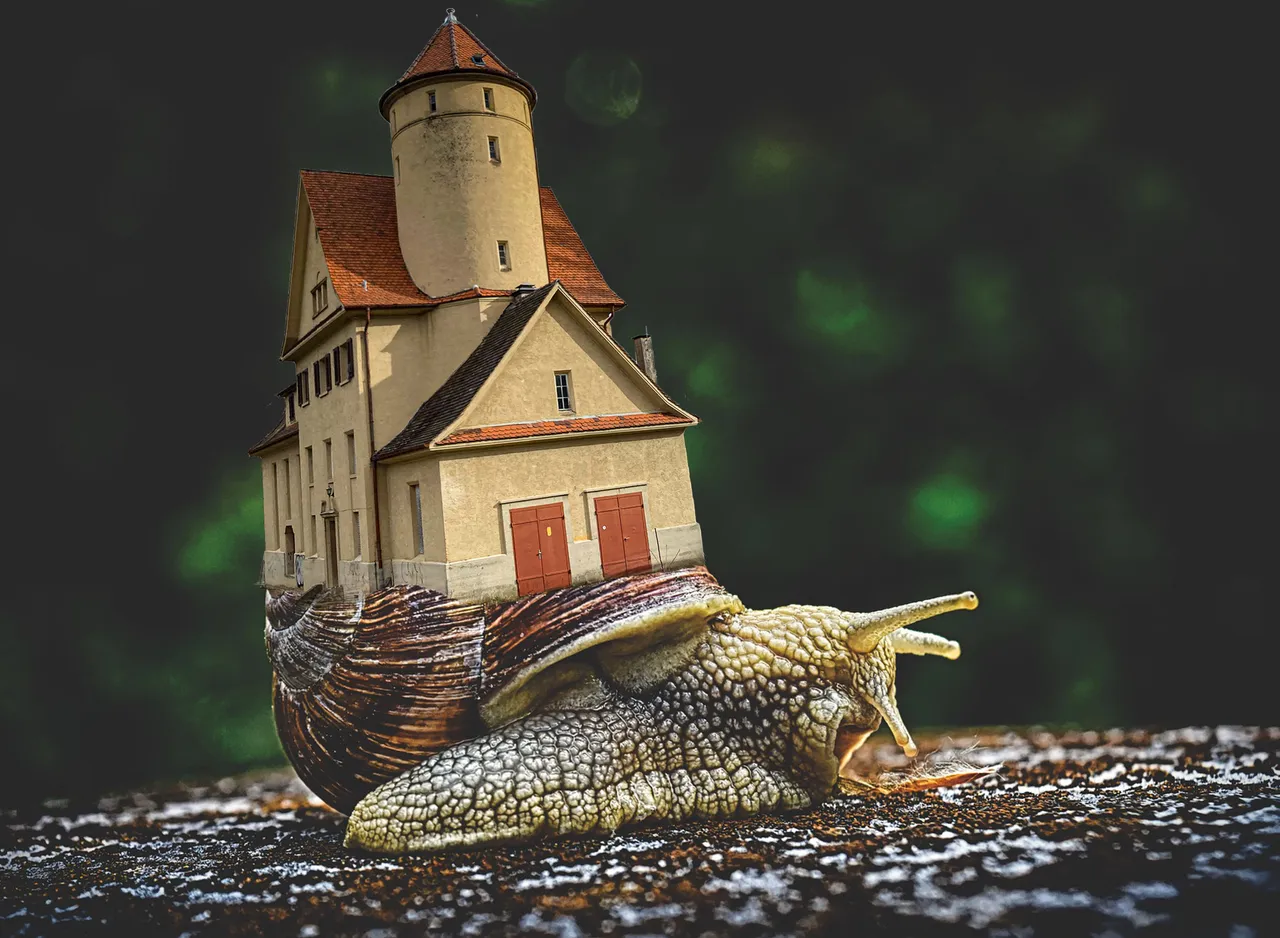
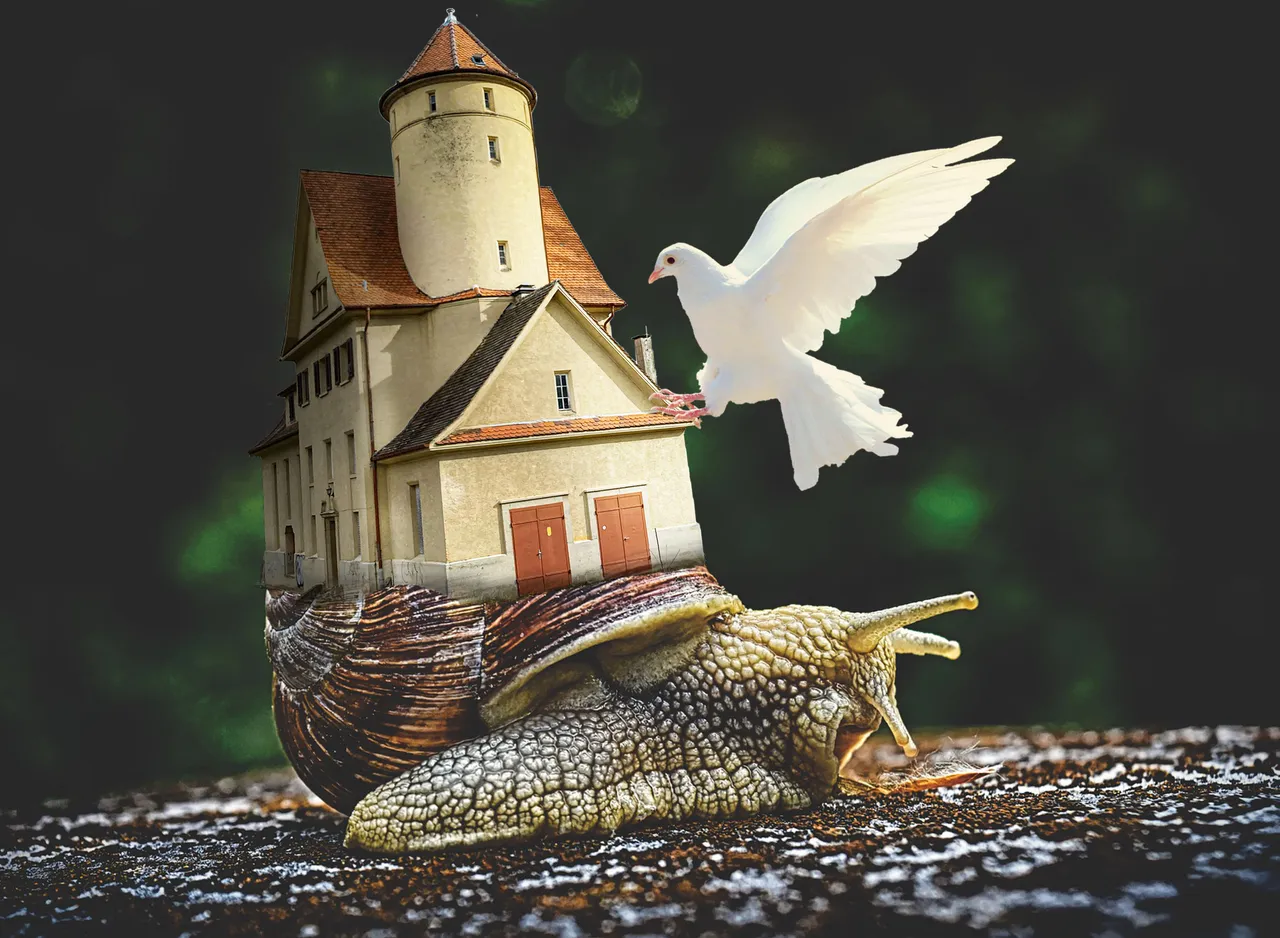
I'm going to explain all 3 simultaneously: The first photo is just the mask I've done from the original photo. Played with transform tool (size and rotation) until I matched the element of castle with snail's house well. Used soft brush with reduced opacity to make a nice transition that's not very noticeable.
After that, probably my favourite technique comes next - Burn & Dodge - the technique I explained in a little more detail in my TORNADO PHOTO MANIPULATION. It's the technique which is great in simulation of real life shading and lighting. That's still the best way for me to match 2 different photos and their light sources.
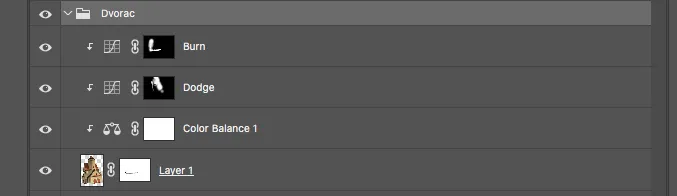
I had to tweak "Colors" with Color Balance Adjustment Layera little bit as well.
I was pretty much satisfied with the result because I really allowed myself some time to do it the way it should be done, slowly and precisely. But yet, I wanted one more character in the composition, because it will automatically get more dynamic and amusing. I opted for white dove - making nice contrast from the snail and is very beautiful on its own.

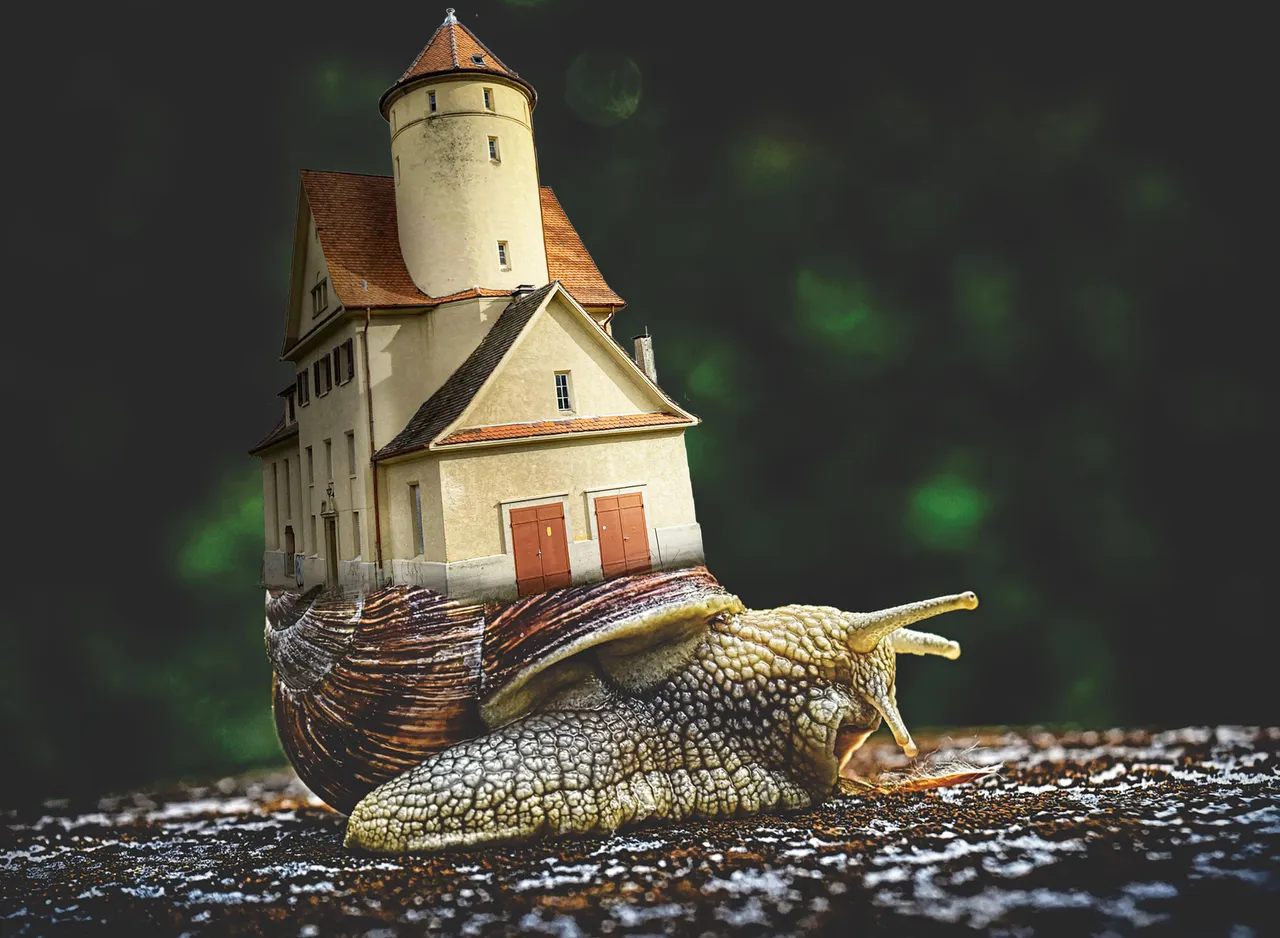
Perception is by no means realistic, but I made it on the purpose. It's my right on artistic freedom I guess :)
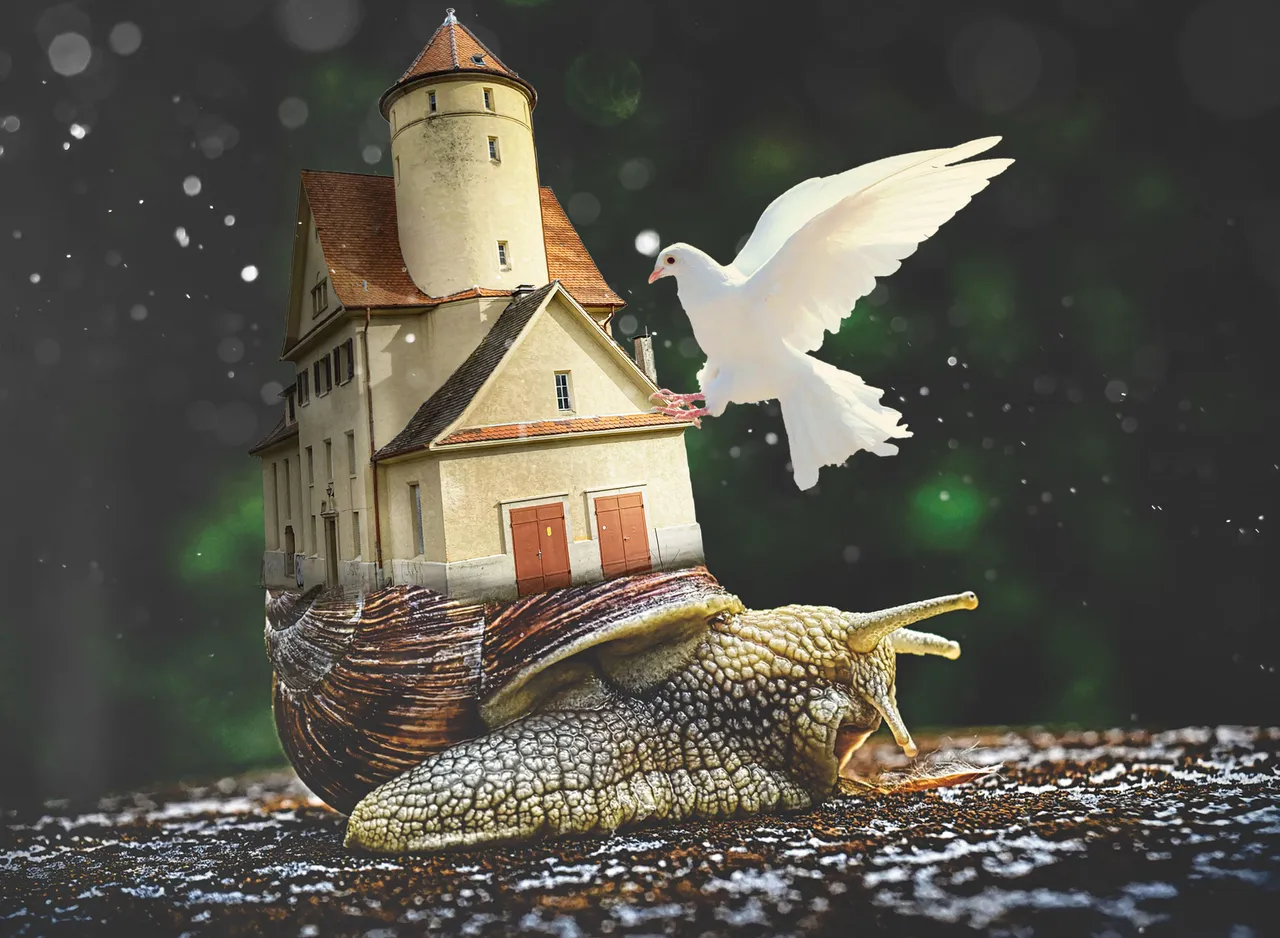
The last tweak and work was to make the whole composition more tempting to the eye by adding particles and doing a neat Color Correction.

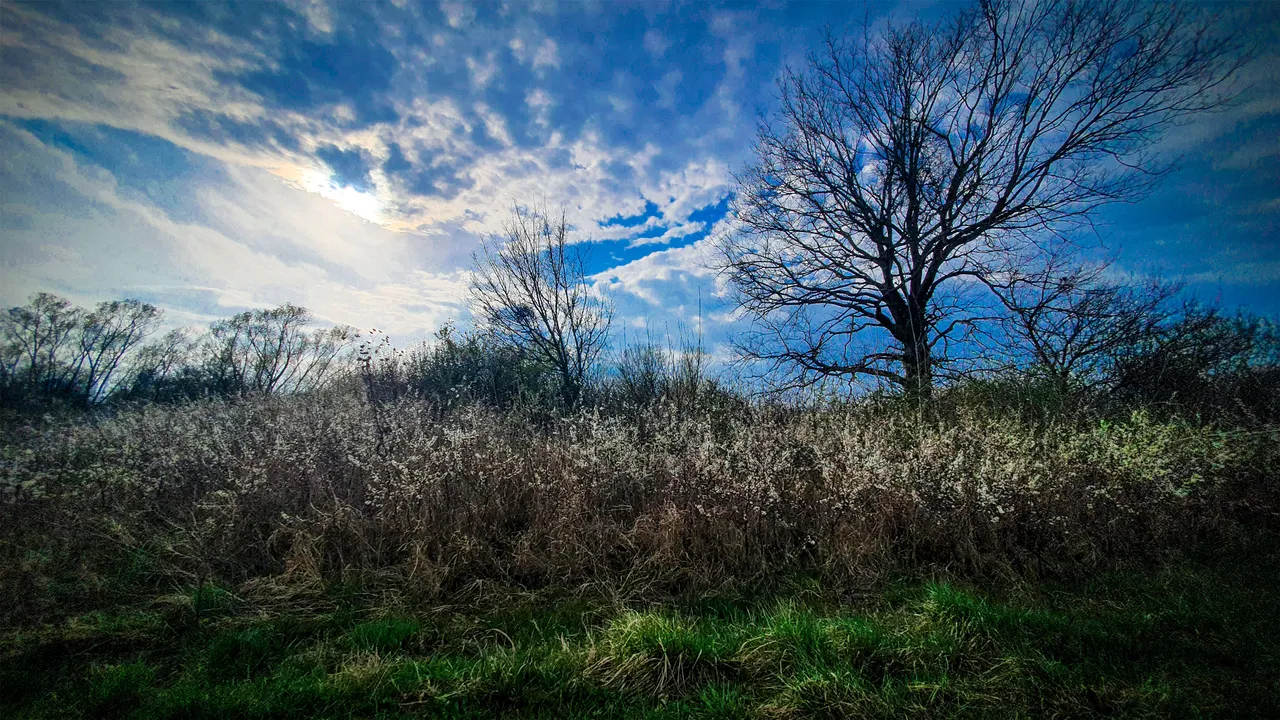
- Take a look of my recent Post. For a change, it’s not about graphic design but spending time in nature and restarting my mind The Pure Beauty of Blooming Nature Followed by Rare & Extreme Weather Change
© This content is originally made by @tonac