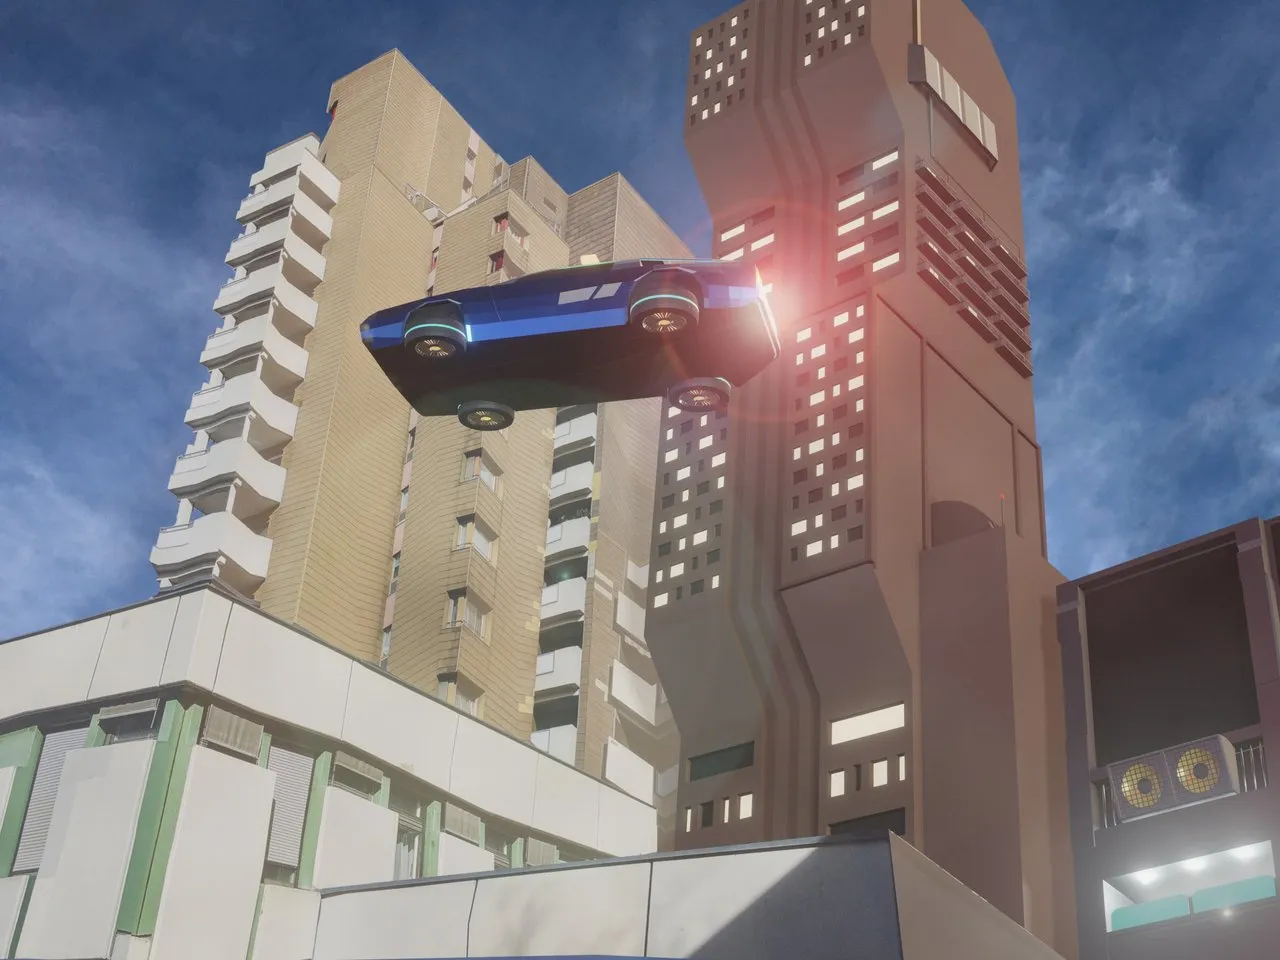
Here is my entry for this week’s LMAC Challenge! I call it, “Daytime Cyberpunk Street”
As always, I stuck to creating my own 3D assets instead of relying on stock pictures, mainly because I’m learning 3D and this has been fantastic practice for me.
A lot of times, when I sit down to create something, I spend a lot of time staring at a blank canvas, trying to come up with an idea of what I want to create. These LMAC challenges have been a great way to get past that “blank canvas writers block” feeling.
I was fortunate enough this week to have everything I needed already built. Both the buildings that I added and the car were from 3D scenes I made in the past, so it was really simple to just add them into the scene this week!
If I had not already had these items built, this scene would have turned out much different haha. Those buildings and especially the car, were a ton of work!
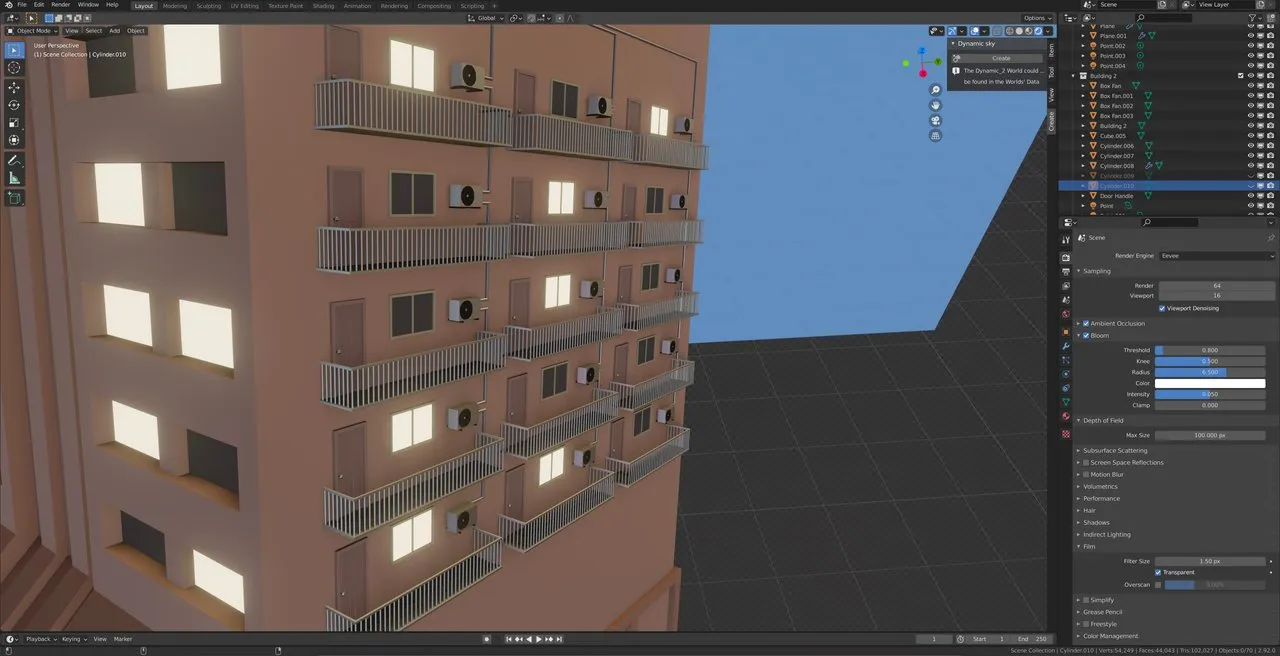
Anyway, here is my scene how it looked in blender:
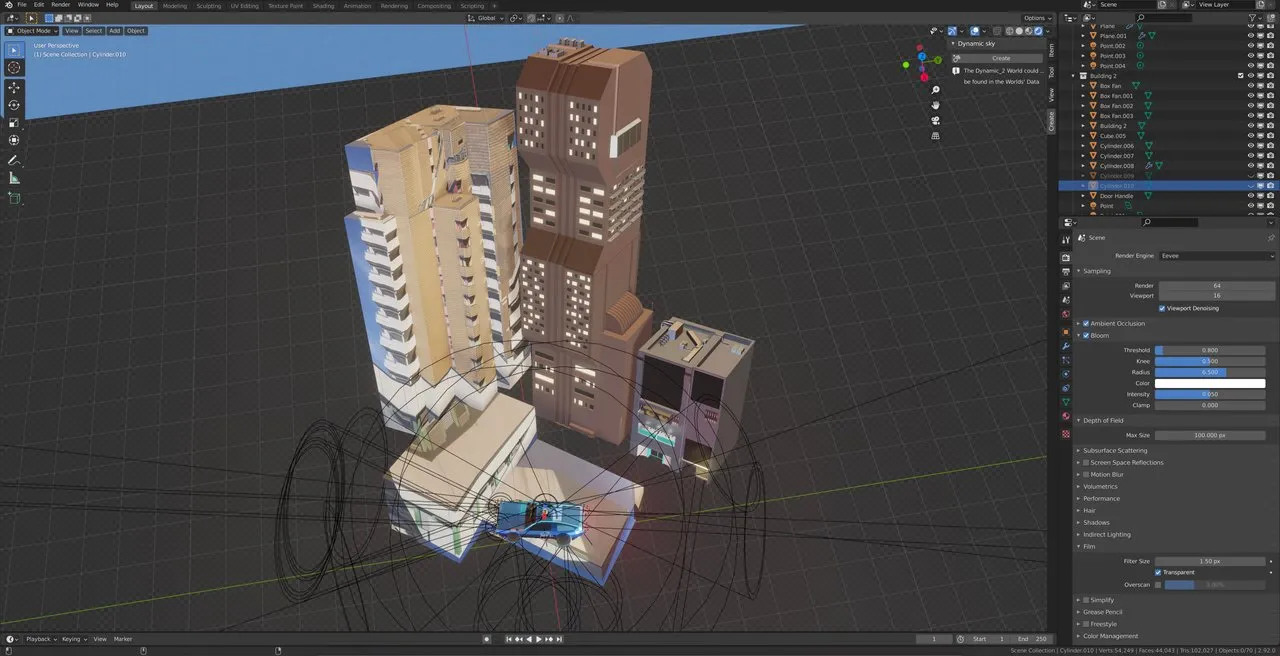
Once again, I’ve fleshed out a couple of the key parts of the scene in 3D.
Last week it was so I could cast shadows with the objects I was adding in. This week, I had good intentions of casting shadows, but then I never ended up with any. But I just left it all as 3D anyway because I put in the work already and I didn’t want to go back on it haha.
If you look closely at the “real” buildings in the final scene, the one in front and the one on the left, you can see where the texture mapping of the reference picture didn’t line up quite right and it’s making the balconies of the building on the left look a little strange. I decided it wasn’t a big deal and moved on.
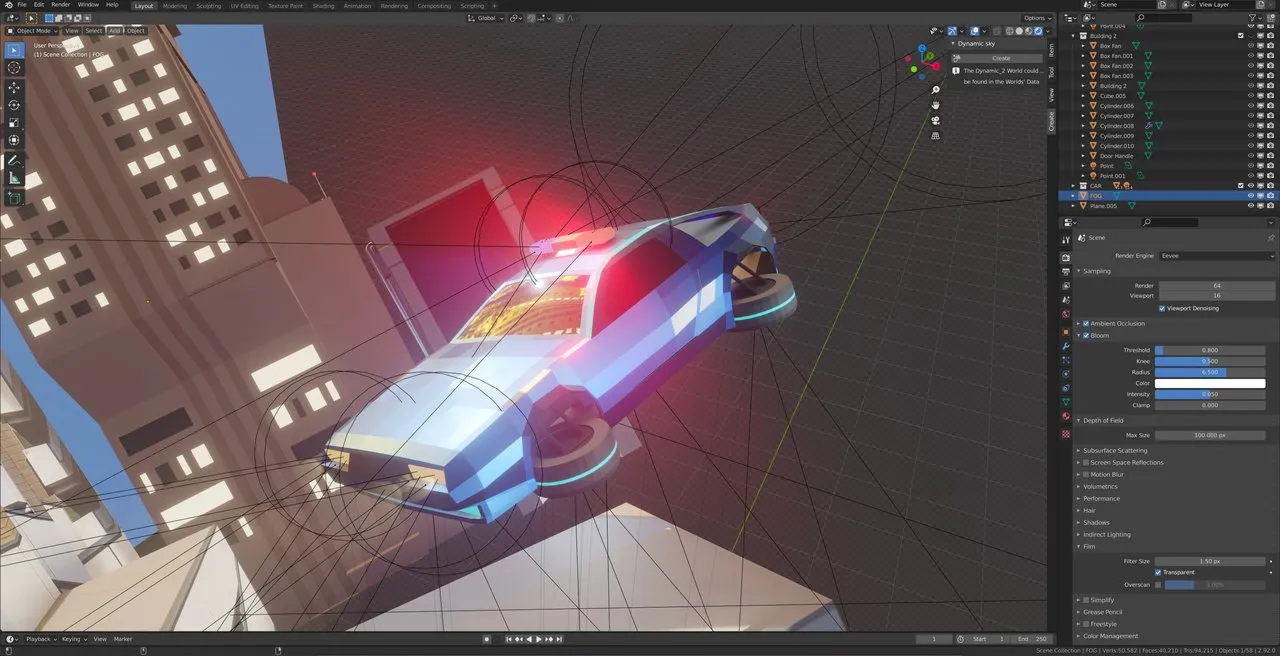
Here is the car. I created it following a tutorial from Polygon Runway last year. It was originally a Delorean, but I edited it to be a flying police car a few months ago for a different scene I was working on.
Here is a different view of the cyberpunk inspired buildings I created, (also for the scene with the police car). I got the inspiration for these buildings from various images online by searching “cyberpunk buildings”.
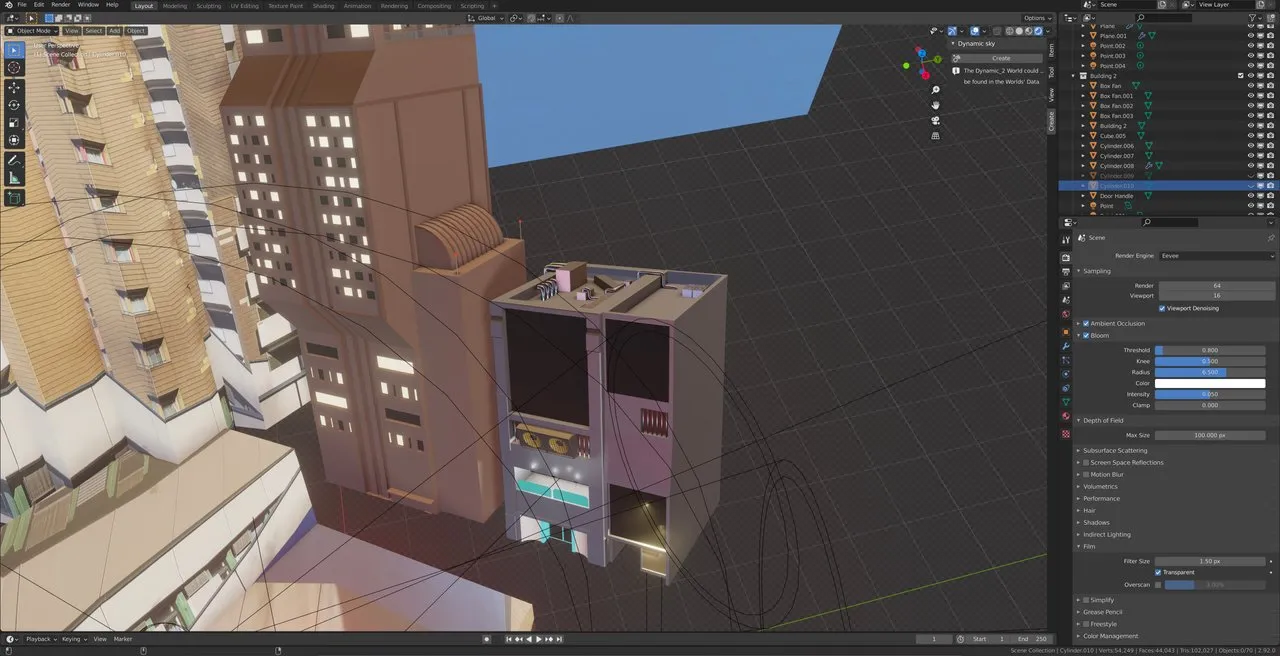
This picture isn’t really important, but I spent a lot of time on these balconies, and it wasn’t visible in my other picture either, so I just wanted to show them off haha
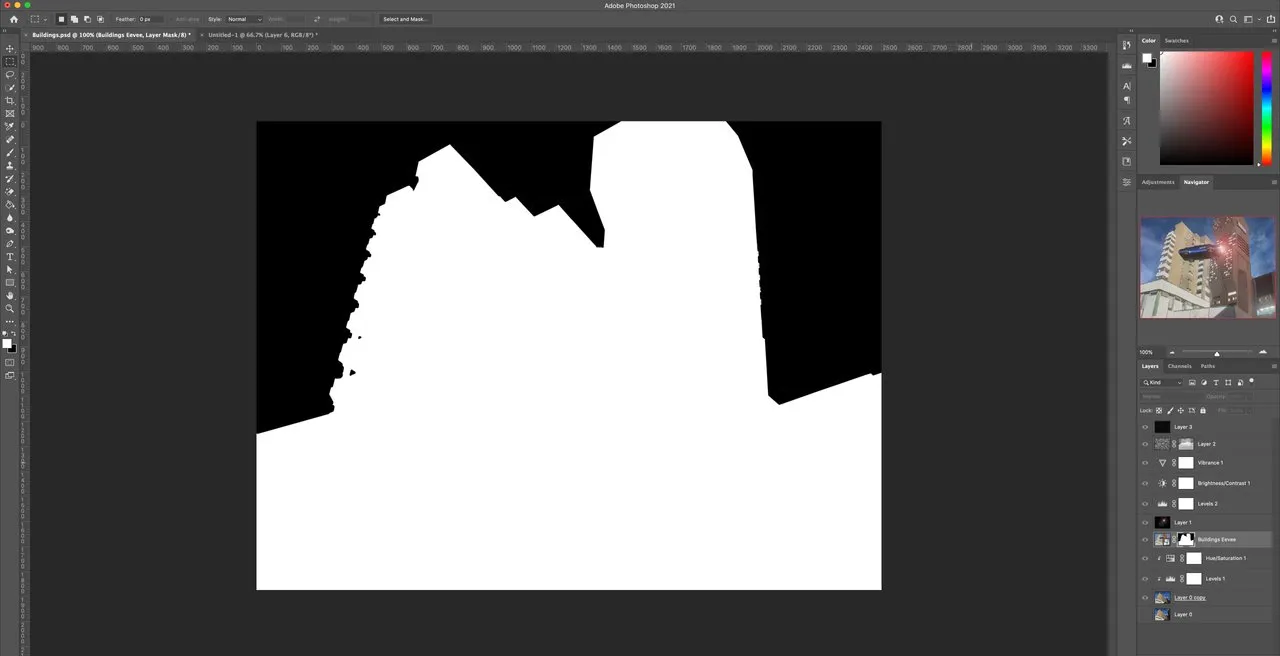
Moving over to photoshop now, here is the mask layer I used to mask out my 3D render against the reference picture.
You can also see in the layers panel that I had to do a bit of levels and saturation adjustments to get the contrast and colors to blend correctly. I also added a lens flare on the brake lights of the car, and added some fake smog in the scene with a “clouds” layer. And I also added some slight noise to make a film grain look.
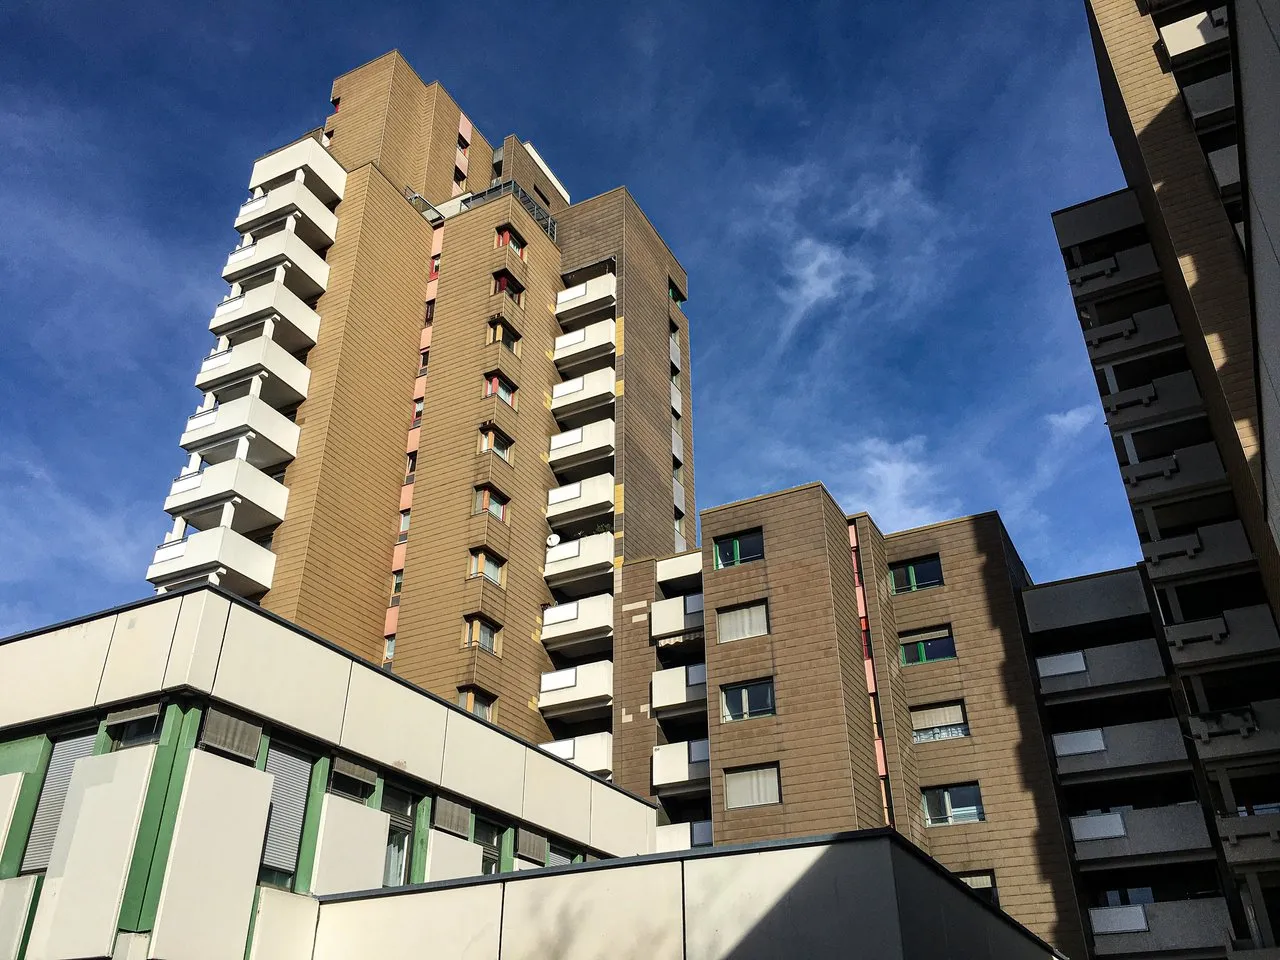
Here is the work I did on the reference picture. It’s hard to tell at first, but I had to erase some of the buildings edges and bring the sky in a little closer.
As I added in the 3D elements, they weren’t the exact same angle and so it wasn’t lining up just right. So I needed to add in extra sky to hide it. I also took out the buildings on the right side as the angles were really off with the rest of my added items.

And here is @shaka original picture that was used as a template for the whole scene!
Thanks for following along!