
Built a rack to hold my video game controllers, I have quite the collection and have been having trouble figuring out how to store them when not in use. So what I had was some 3d printed hangers that I found online, and had my friend @whangster79 produce them for me.

A link below to my previous post on this project, showing the finished results.
He 3d printed enough for me to hang up about four of my controllers using these hangers. Using a 2x4 I screw these hangers into the wood and then I can hang up the 2x4 where I want to store them.

The only problem I noticed was the holes for the screws are quite small, and the screws I had on hand are bigger than the holes. Since these 3d printed objects are made of plastic they cannot take a screw being driven in without a good sized pilot hole. Without pre-drilling they will crack and these will be printed for nothing. I already tried without a pre-drilled hole and it cracked right away.
Carefully I held the hangers and used my drill with a bit and made the holes little bigger.

I made quite the mess drilling out these holes so I cleaned up before moving onto to mounting the hangers to the 2x4 wood. After drilling I tested again with my screw and they went in much more easily.

Holding the screws in place I used my drill to drive in the screws and almost cracked the first one, so I switched to my power screw driver that had more options to slow down the driving of the screw and made it easier for me to install without cracking the 3d printed objects.

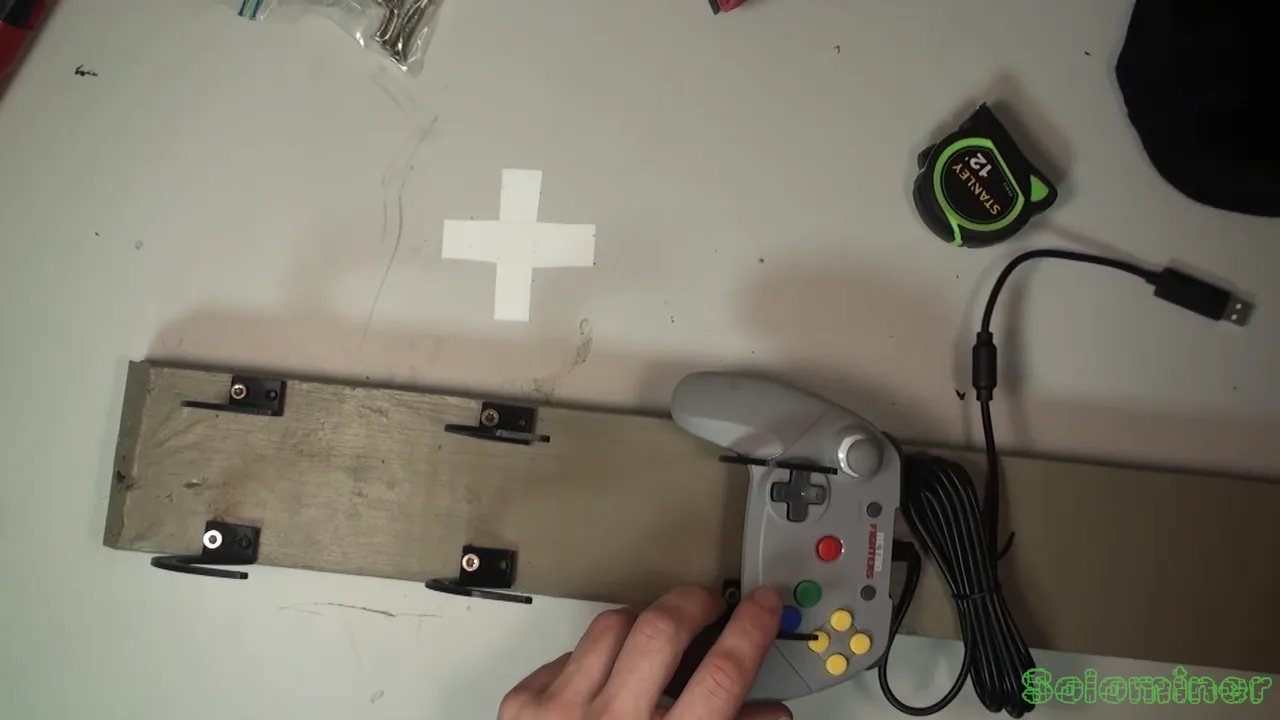
Each controller was carefully checked for fitment before moving on, glad I did not need to remove the hangers to readjust. As I think driving these in and removing them too much would cause the 3d printed plastic to become brittle.

I install these hangers one by one to make sure they are spaced out enough for each controller. Since video game controllers shapes can be quite different from each other they need to be checked for fitment before moving onto the next one.
Once the first mount was installed I moved onto the next one and checked again to make sure both fit without bumping into each other, or making it hard to remove with them all installed.

As they say measure twice and cut once. So I carefully measured the placement of each and then drove in the screws into the 2x4 wood.
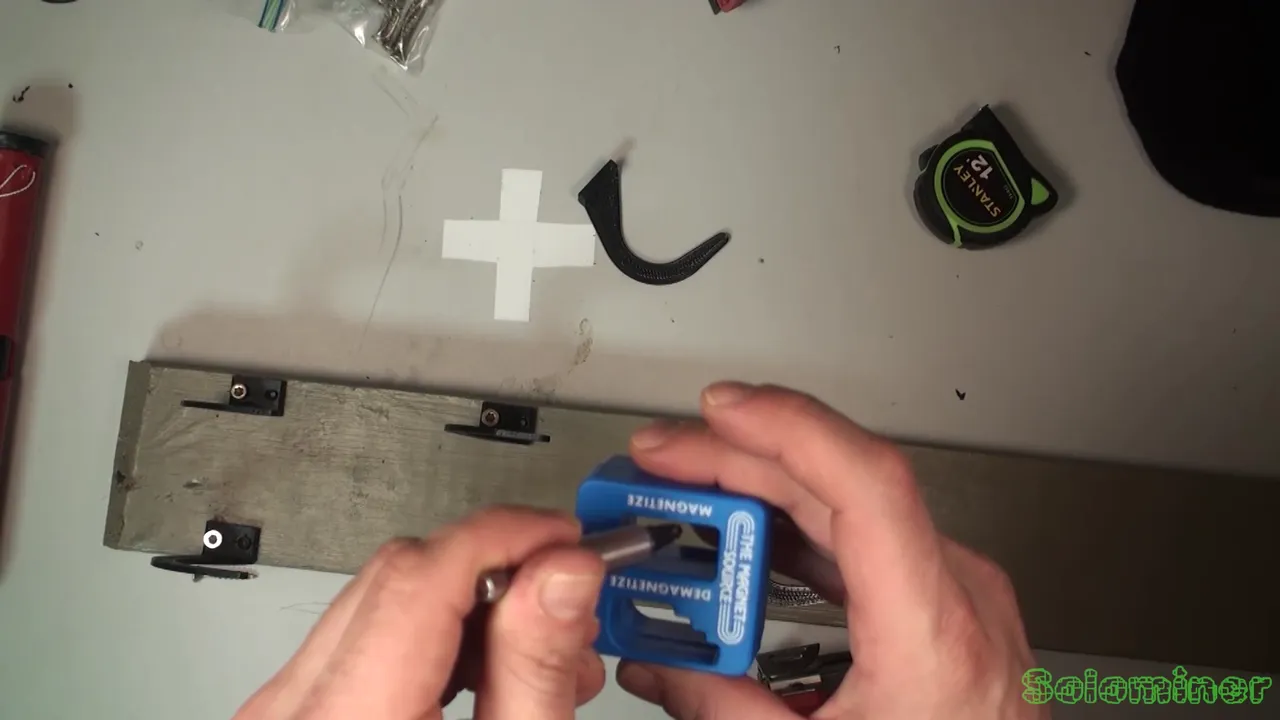
Noticed my screws were not sticking very well to my bit so I grabbed my trusty magnetizer and used it on my screw bit.
With the third one added I realized I did not have enough to fully space them out on the board. So instead I placed the first three at the bottom and then one final hanger at the top. When my friend can I will ask him to please print me some more hangers as I still have a few loose controllers that could use a proper home.
Glad I was able to give alot of them proper homes, and looking forward to finishing this project with more hangers. Looking on ebay and amazon its shocking how much people charge for these little pieces of plastic. So I will wait until my friend can help me with producing more of them.
LBRY Video Link
Addresses below to help me buy better camera equipment and support me to travel to locations to do photo and video and overall great blogs in new places.
| Coin | Address |
|---|---|
 BTC: BTC: | bc1qhfmvd2gywg4fvrgy2kkkkyqta0g86whkt7j8r7 |
 LTC: LTC: | ltc1qdyzm5cwgt8e2373prx67yye6y9ewk0l8jf3ys9 |
 DASH: DASH: | XkSqR5DxQL3wy4kNbjqDbgbMYNih3a7ZcM |
 ETH: ETH: | 0x045f409dAe14338669730078201888636B047DC3 |
 DOGE: DOGE: | DSoekC21AKSZHAcV9vqR8yYefrh8XcX92Z |
 ZEN: ZEN: | znW9mh62WDSCeBXxnVLCETMx59Ho446HJgq |