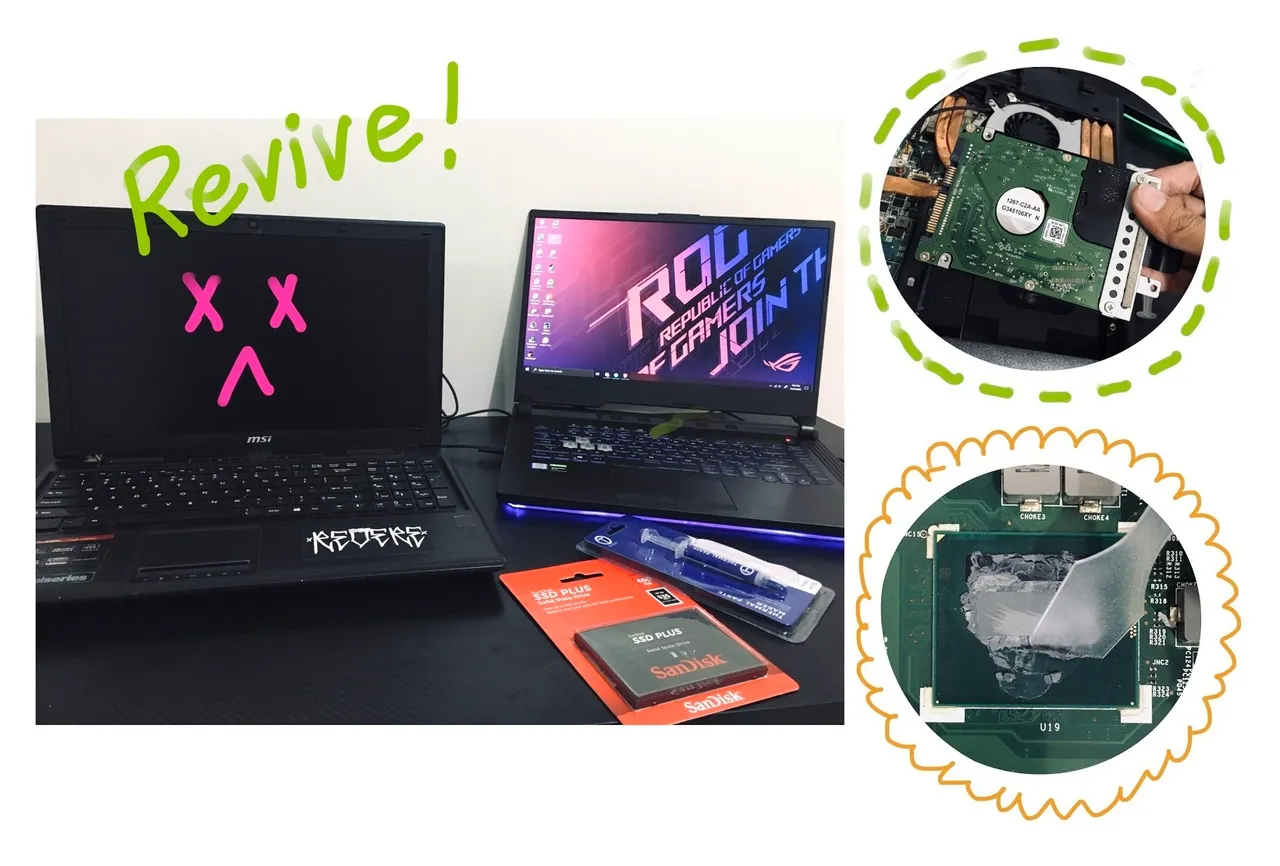
Remember when I bought a new laptop a few months ago? Well yeah it isn't dead... but my old one is!
I bought a new laptop mainly so I could give my old one to my brother who's gonna have online classes that time. My old laptop is an MSI GP2QE which was bought in 2015. That time, MSATA is new but my laptop didn't have it as a default, I only have a slot for it. I didn't use it tho, and had a hard drive for years.
That hard drive I knew was already dying cos it was already making noises but since I don't wanna upgrade it to SSD only for my brother to game all day and be lazy, I delayed it. It was last week when it really died. xD
So, it was really time for me to upgrade it to SSD.
Me no experience
My knowledge with PCs is pretty basic and when I encounter some problems, I usually just Google it or ask help from Microsoft support directly. This whole SSD upgrading is very new to me so I was so nervous with doing it.
What's more complicated is I also need to change the thermal paste cos I haven't done so since I bought it (or dunno if the repair shop did it one time) but yeah as far as I remember, it hasn't been changed.
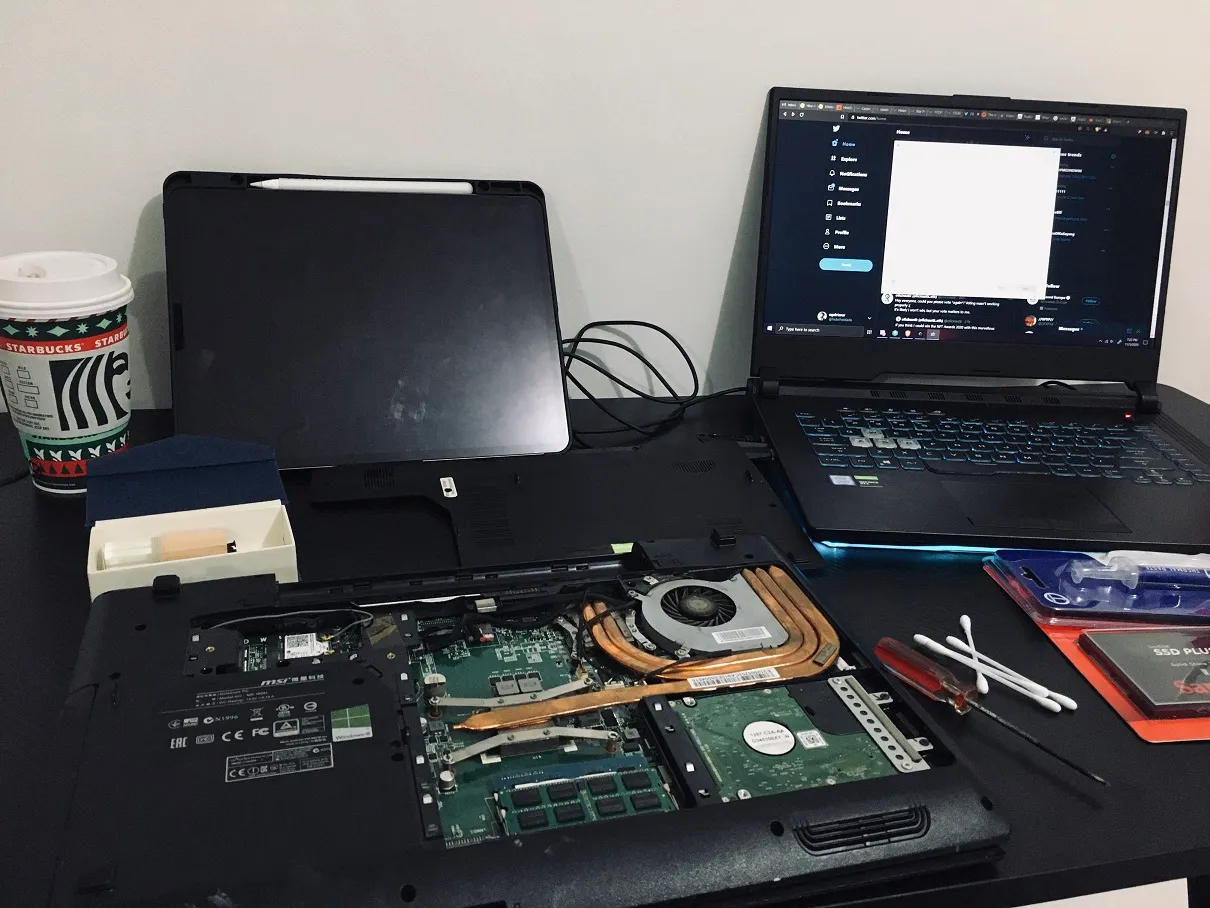
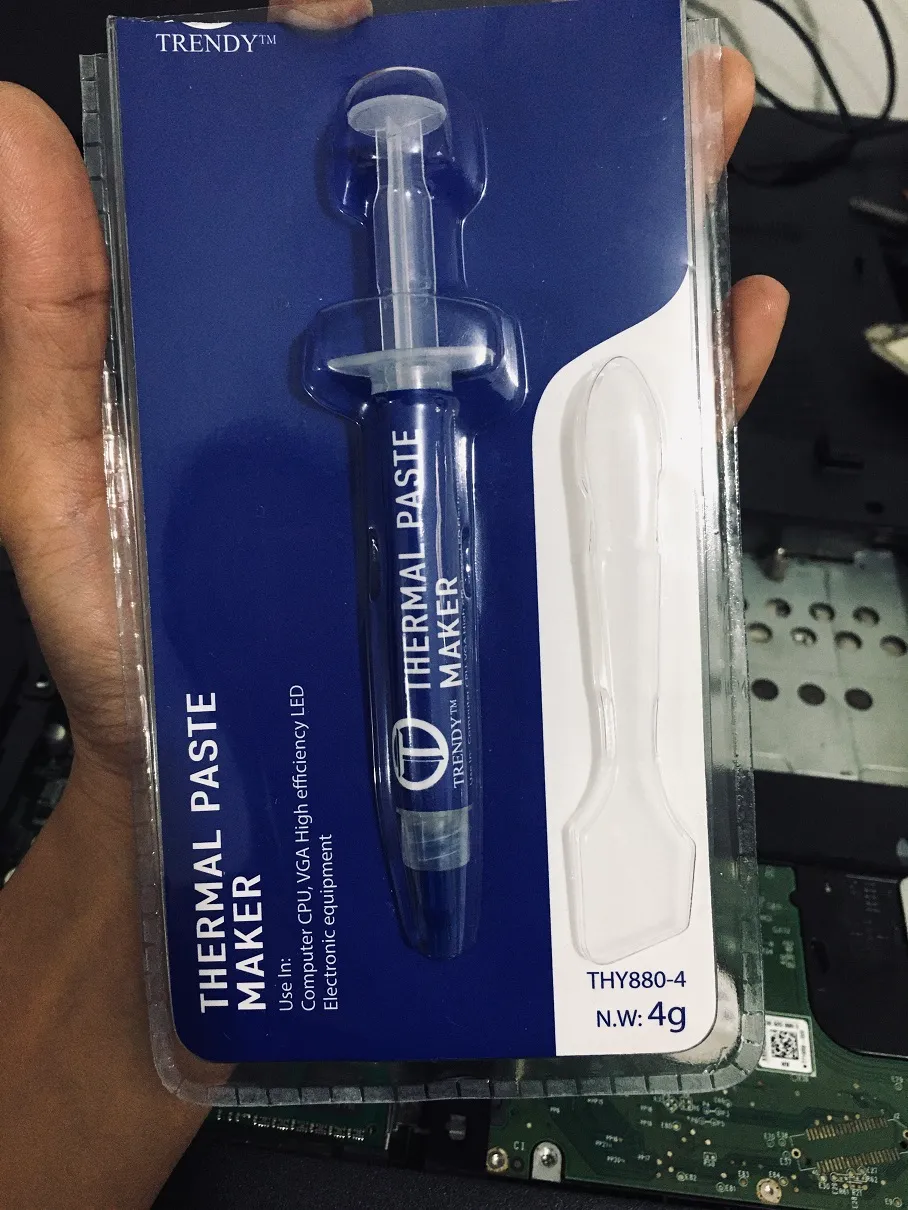
After I bought a 2.5 inch SSD (not the MSATA) and thermal paste, it was time to finally do it!
Also, you're probably gonna cringe and be like NO STOOOPPP DON'T DO IT, BE CAREFUUUL at some parts especially the GPU cleaning but ya know, just warning you lol.
Removal of cover and screws
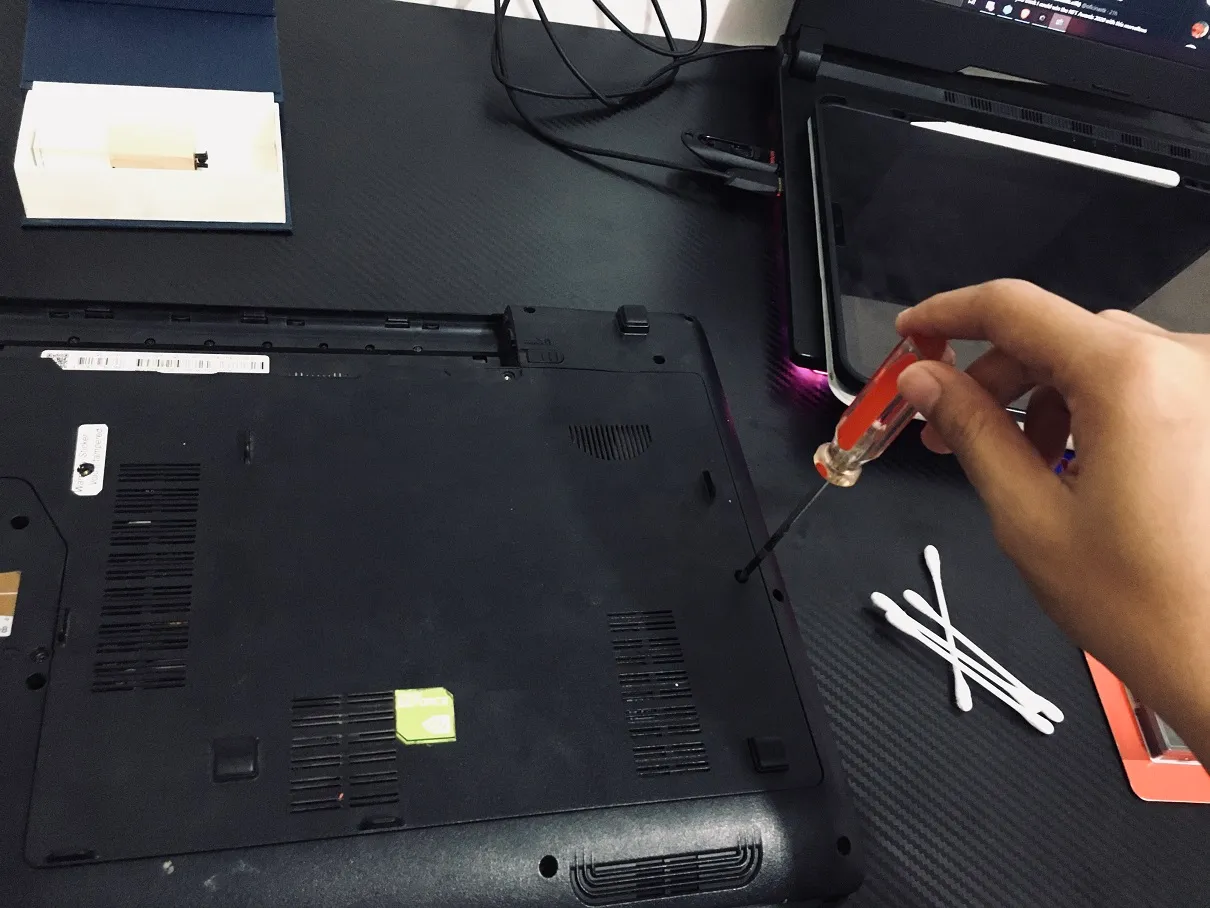
To be able to access the insides, of course I needed to remove the cover first. Thankfully, this doesn't have a complicated set up so I was able to understand what to remove pretty quickly.
I'm using the iPad for Youtube tutorials on how to do these stuff while my PC is downloading the Windows 10 and make the flash drive a boot-something. I don't have professional cleaning tools LOL so I just used alcohol, Q tips and some wet wipes.
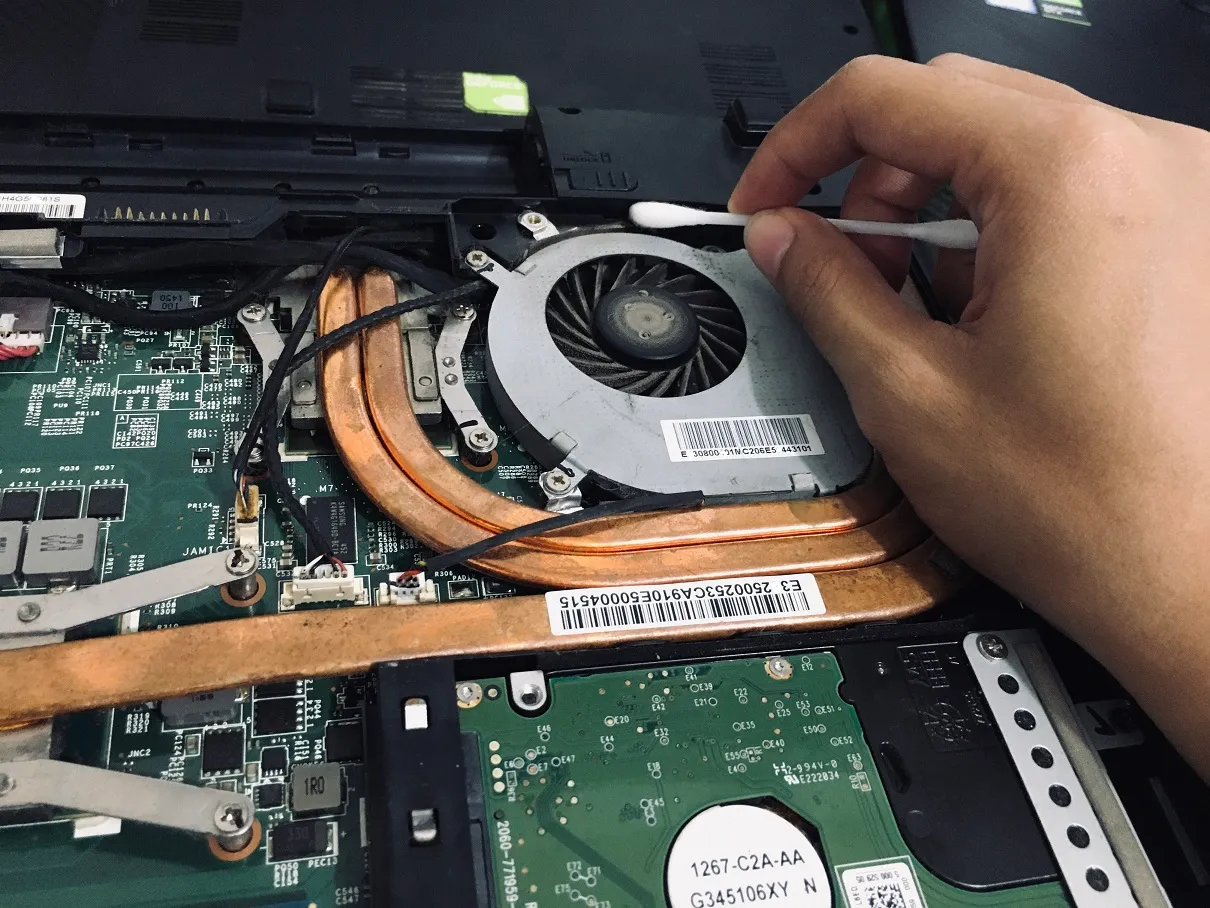
I also cleaned the fan cos it's so dirty XD
Thermal Paste time!
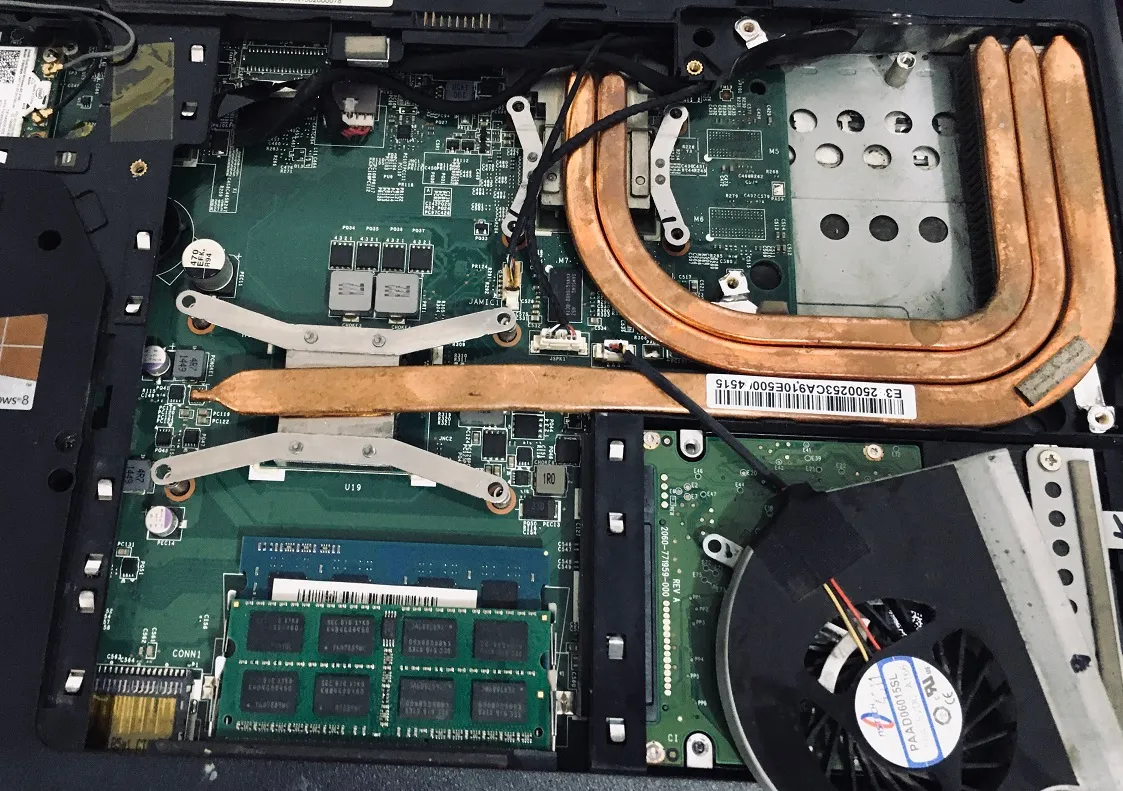
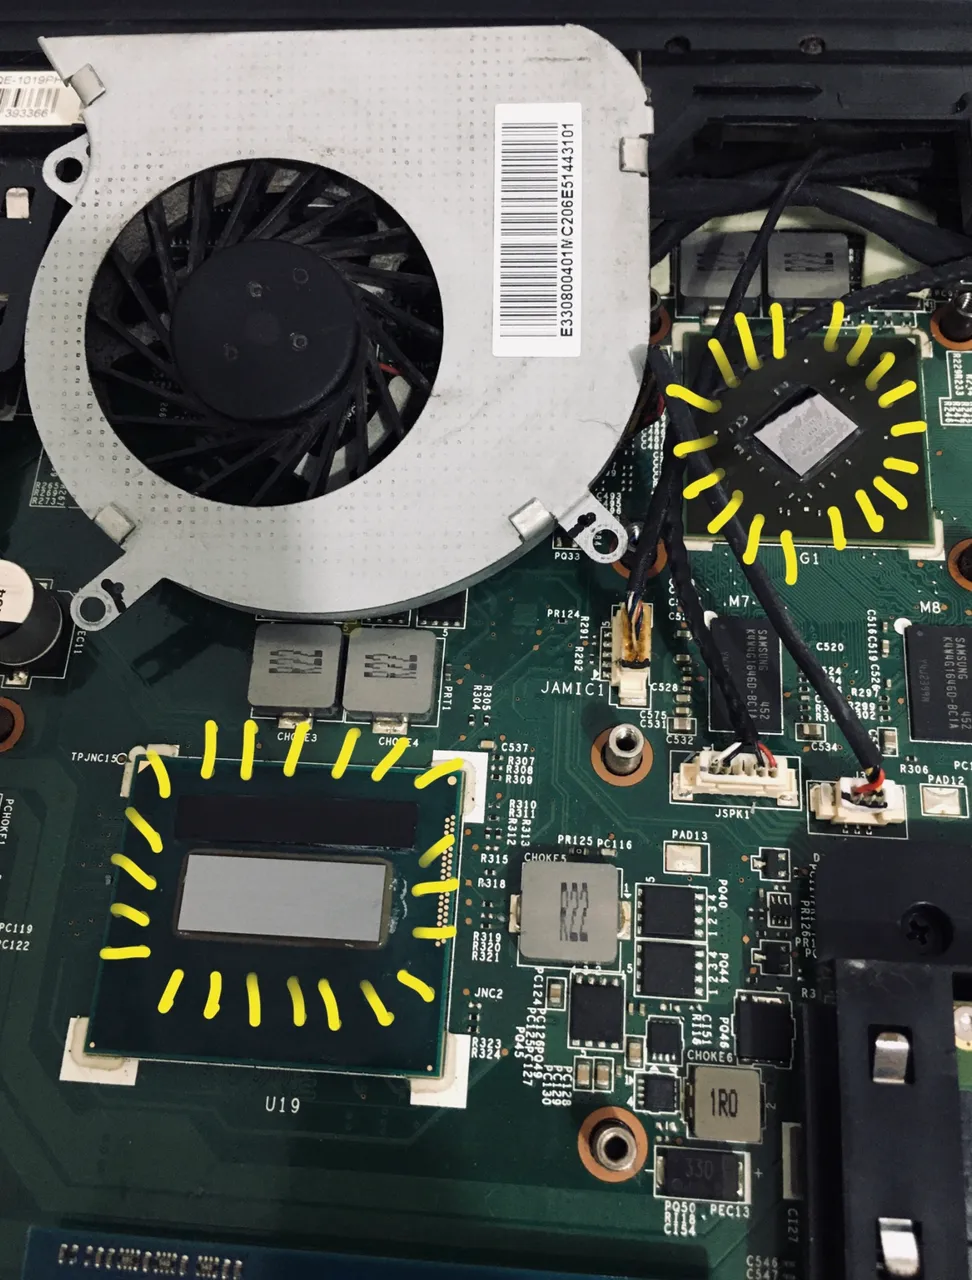
I didn't know which is the GPU or the CPU here but yeah I was able to identify them thanks to Youtube. It took me quite some time to remove them cos there are wires on top of the whole thing, which kinda blocks it. I don't wanna remove any of those wires or don't even know if I can remove them so I just did my best to remove the orange thing without rekking the wires.
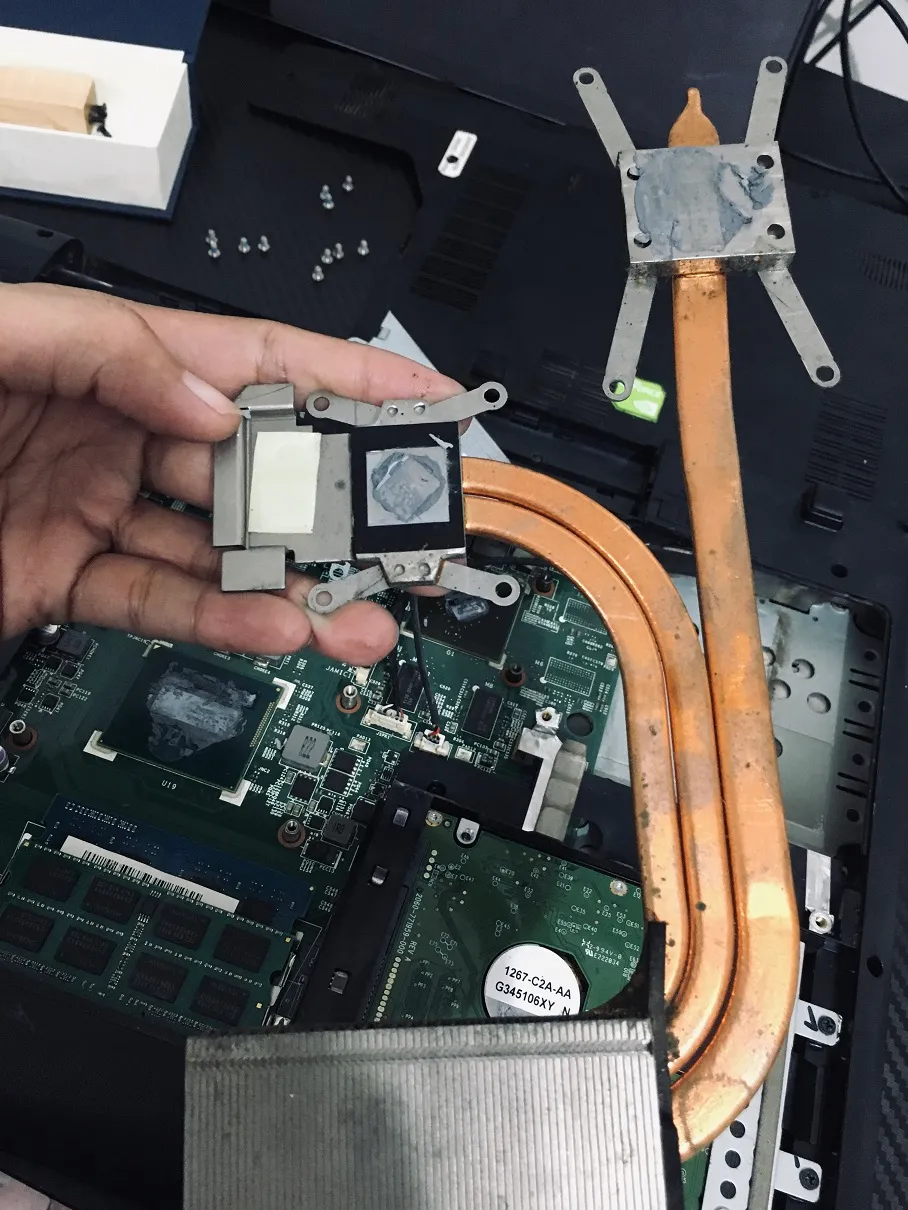
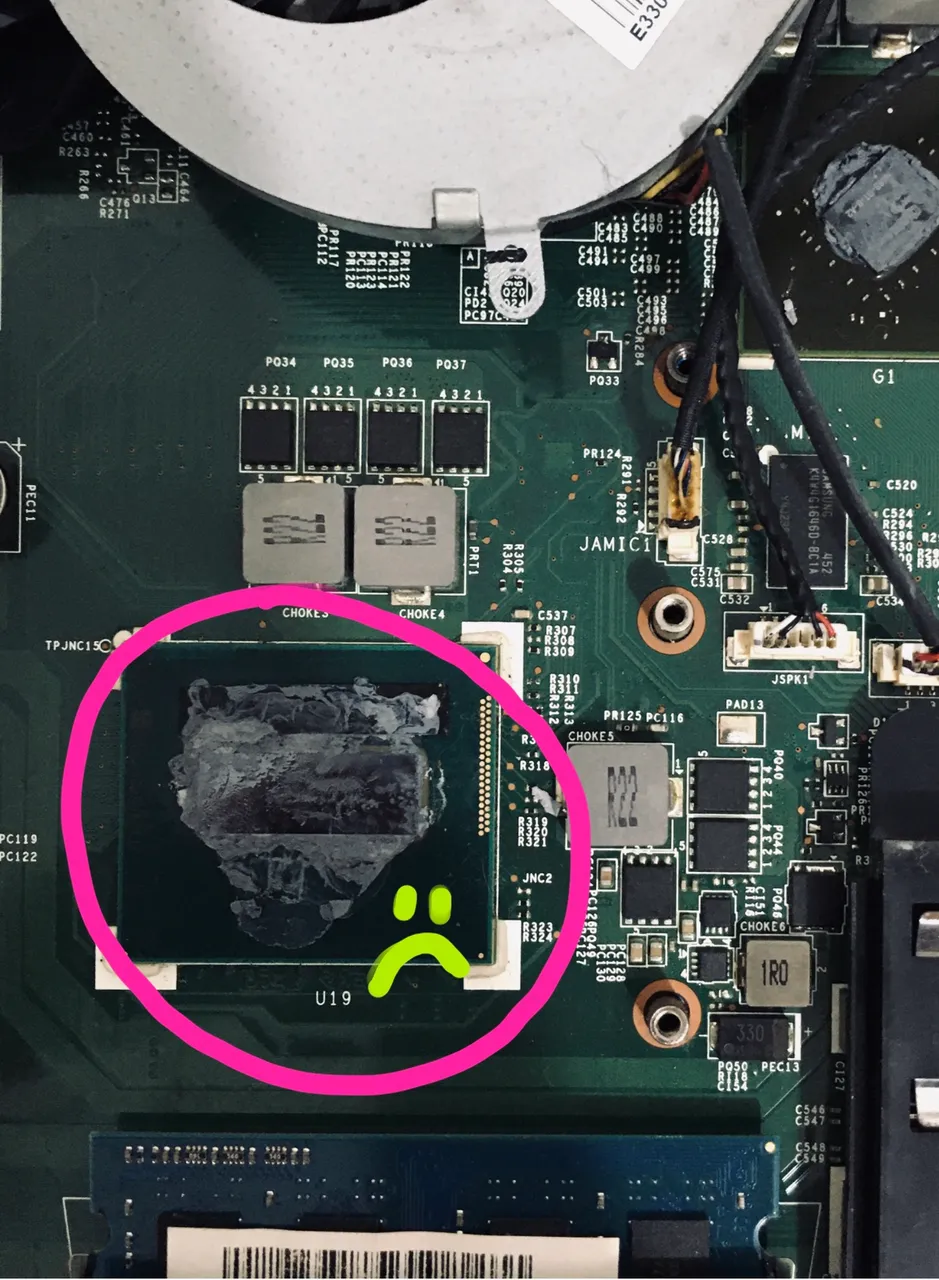
This is how the old thermal paste looks like. Lol. Pretty rekt and also quite hard (not supposed to be that way, I guess?).
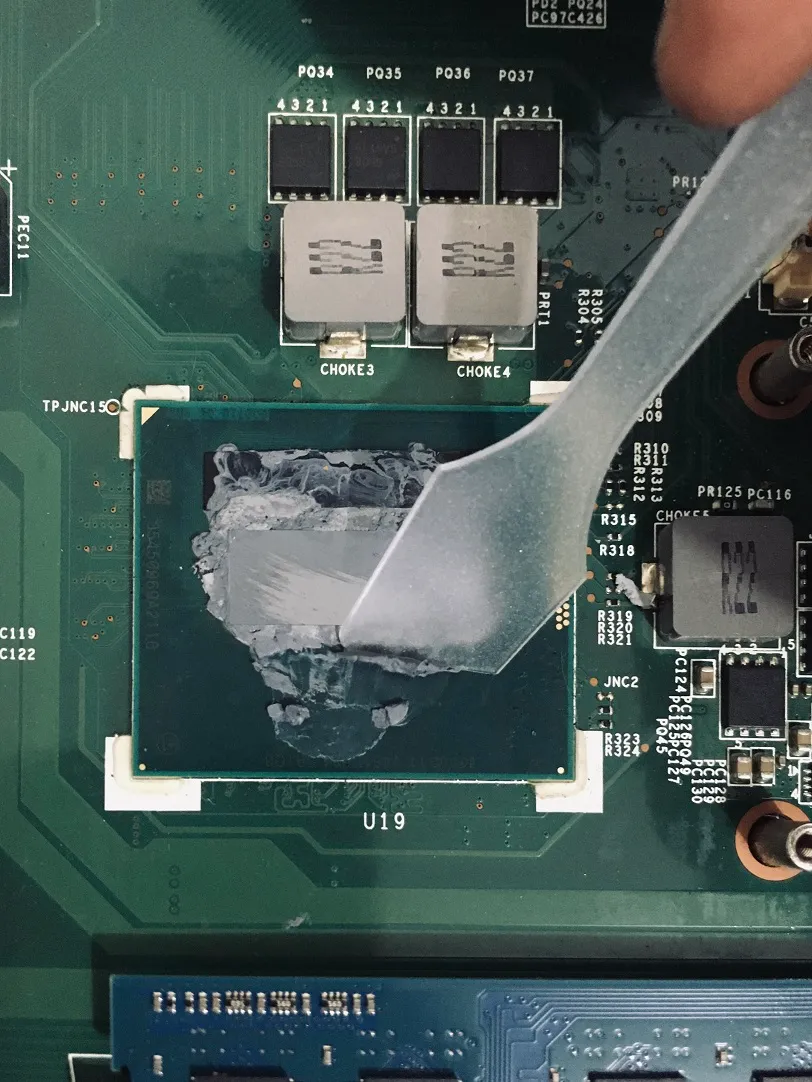
I first scraped the old paste using the scraper included in the thermal paste package.
And I wiped them with wet wipes and alcohol. It looks kinda clean now! Though I didn't just force clean those in the critical parts cos I might mess it up.
Time to apply it!
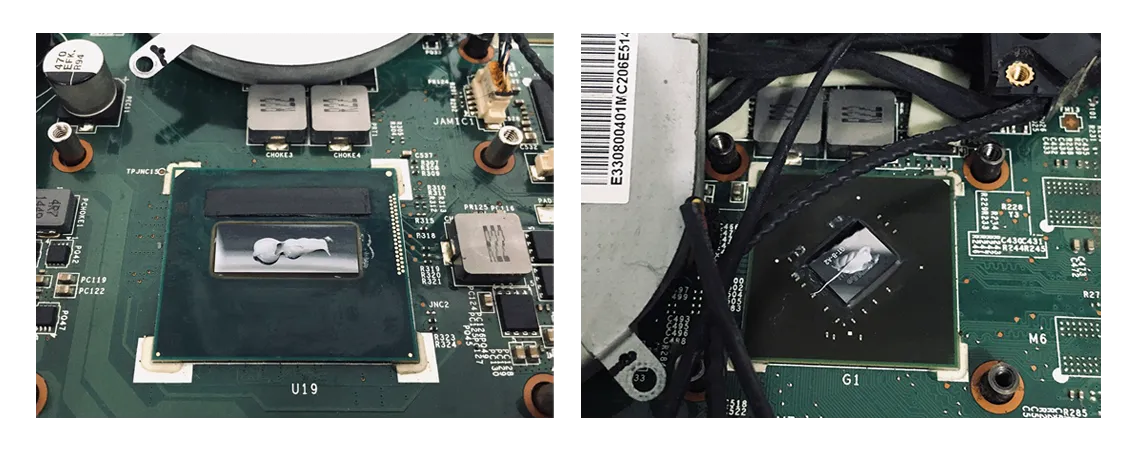
I wasn't really sure if it's too much or something. But looks good already lol.
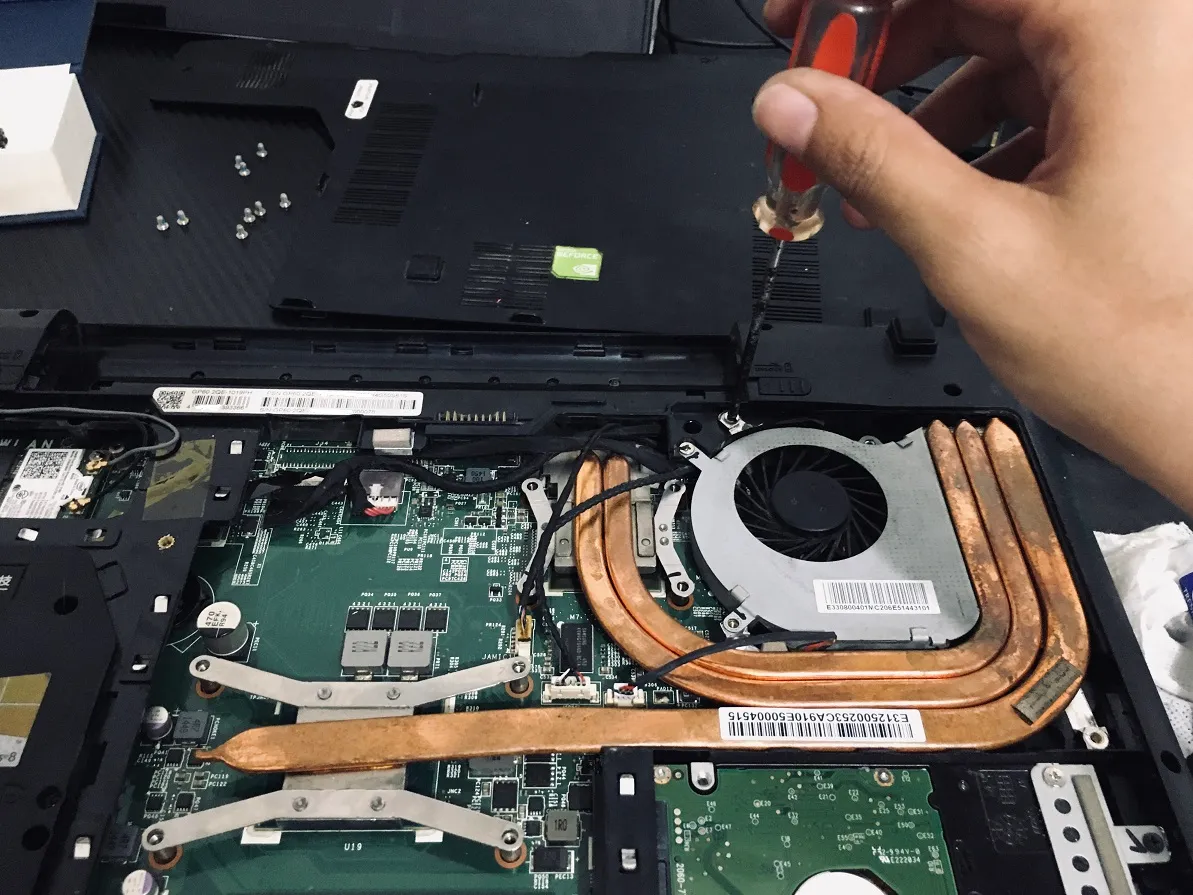
After that, I just screwed the thing back on, and the fan.
Changing hard drive to SSD
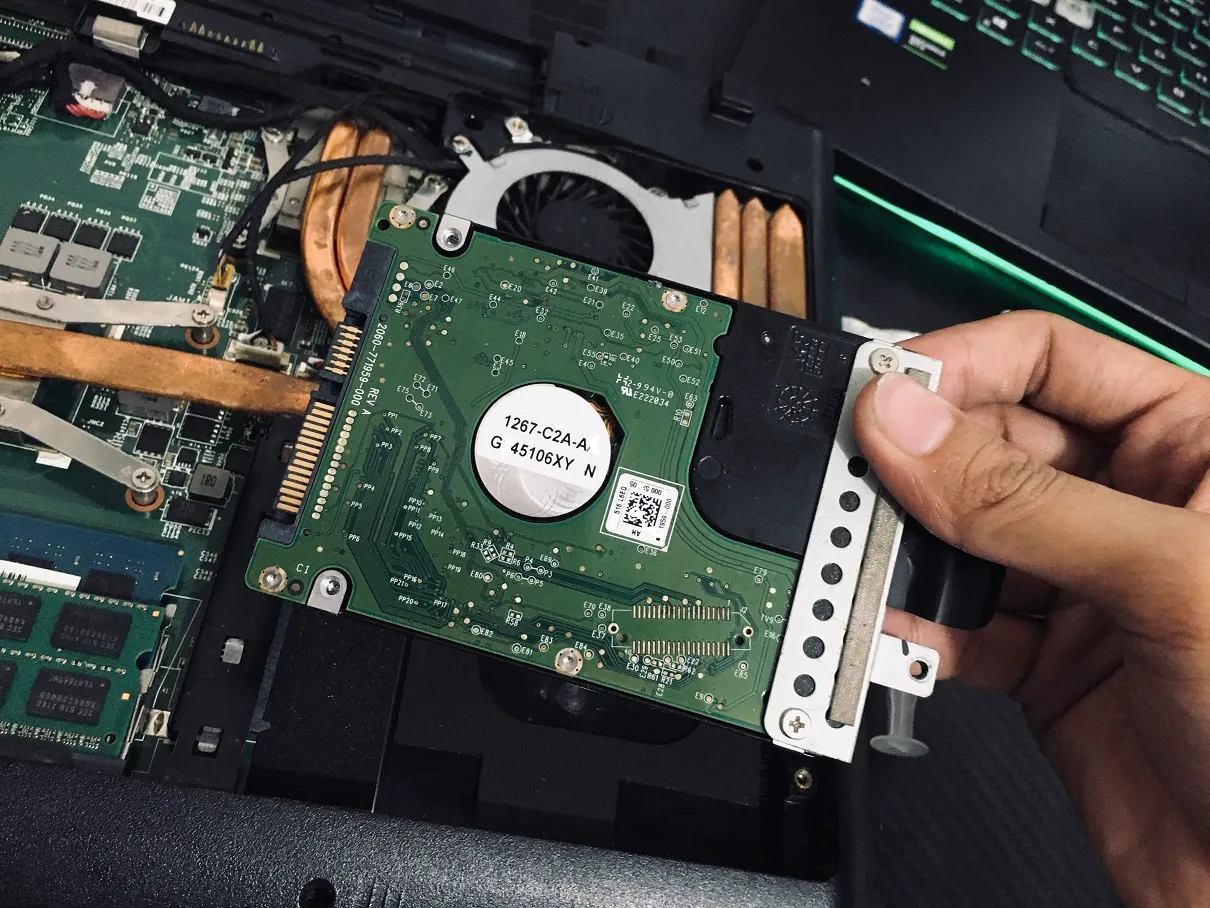
This was the ded hard drive. Luckily, my bro has no important files there so I don't have to worry about recovering something, if possible.
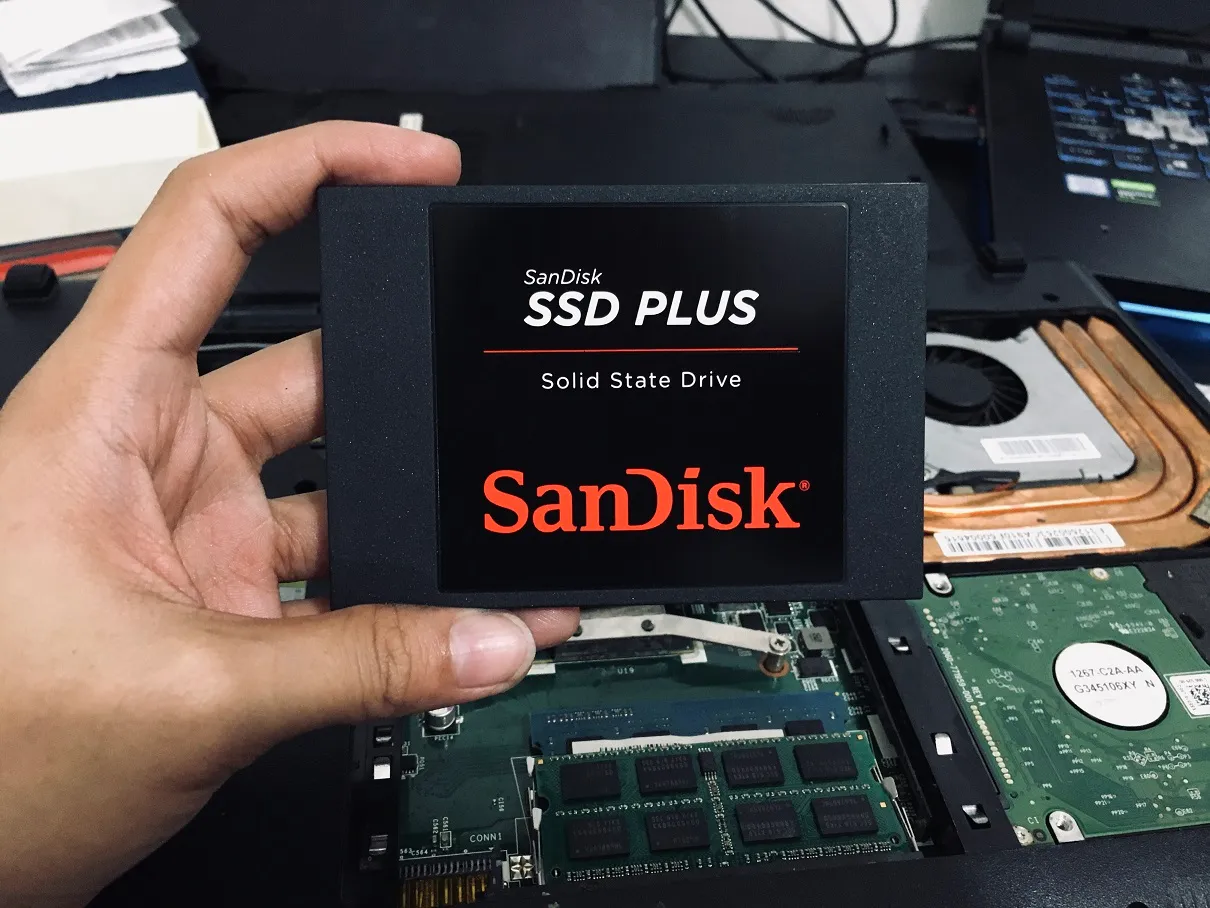
And the new SSD, which is 480 gb.

After putting the SSD there, all I had to do was plug the flash drive (with the Windows 10 in it) and it automatically recognized that it wants to install a new OS and I didn't have to put some serial keys or press some more buttons in the BIOS. After like 7 minutes, it was ready! Very fast. :D
I'm glad I didn't mess anything up considering this is my first time doing these. It's all working fine and the system is now fast. <3