Hi guys Happy new year, week and day to y'all ❤️.
it's me @geyzee your old time friend, did you miss me guys? If you did, give me some welcome back kiss 😘 😁
I'm just kidding gimme a big welcome hug guys.
For today blessings, I'd be teaching y'all how to make a macro photography studio.

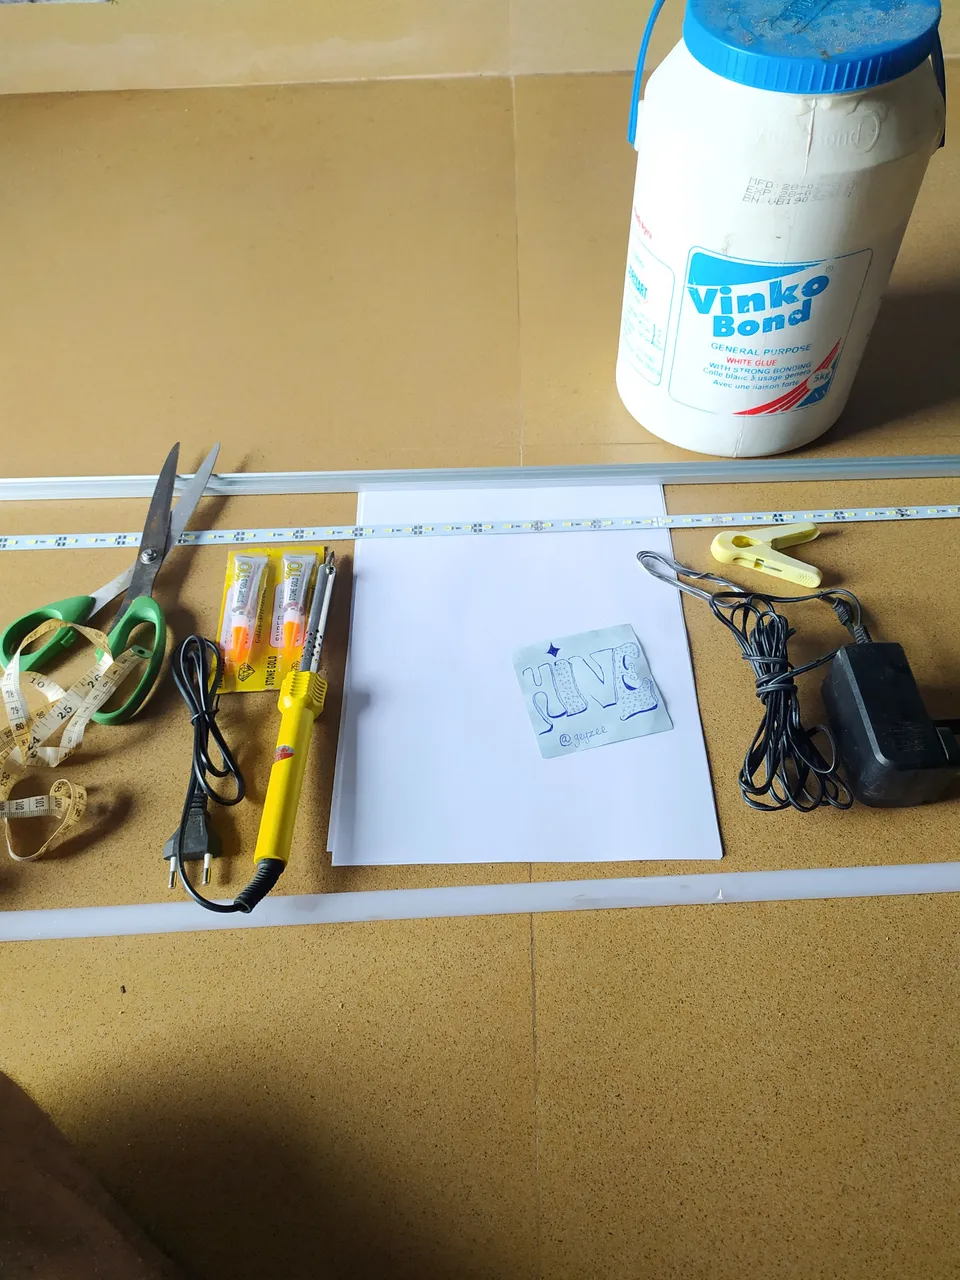
Requirements :
• Cardboard
• 12 Volt Led Strip
• Silver Stick For Heat Sink
• 12 Volt Adaptor
• White Chart Paper
• Super Glue
• Dc Barrel Jack Adaptor
• Pencil
• Protractor
• Soldering Bit
• Wire

Steps :
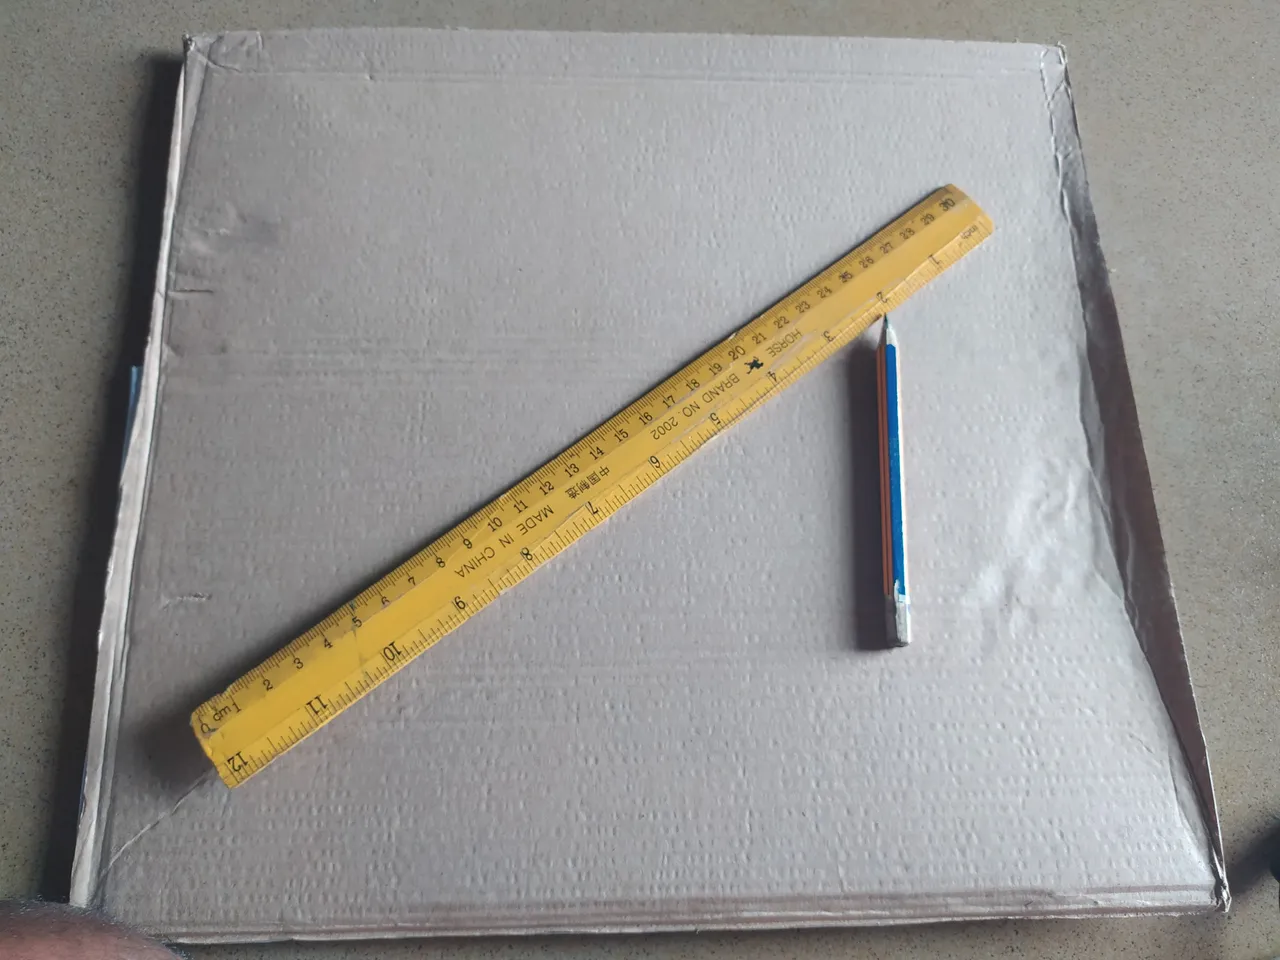
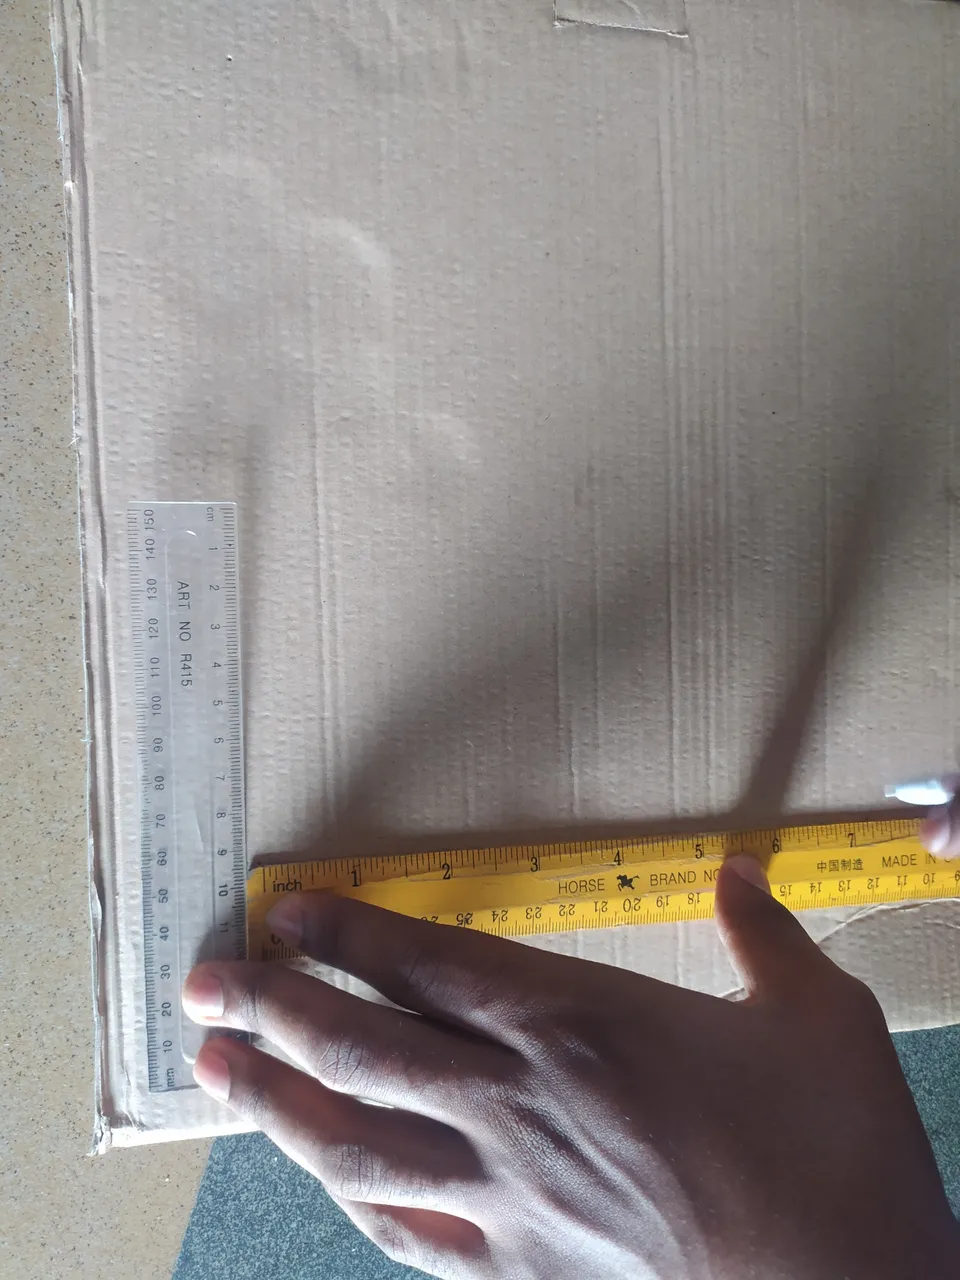
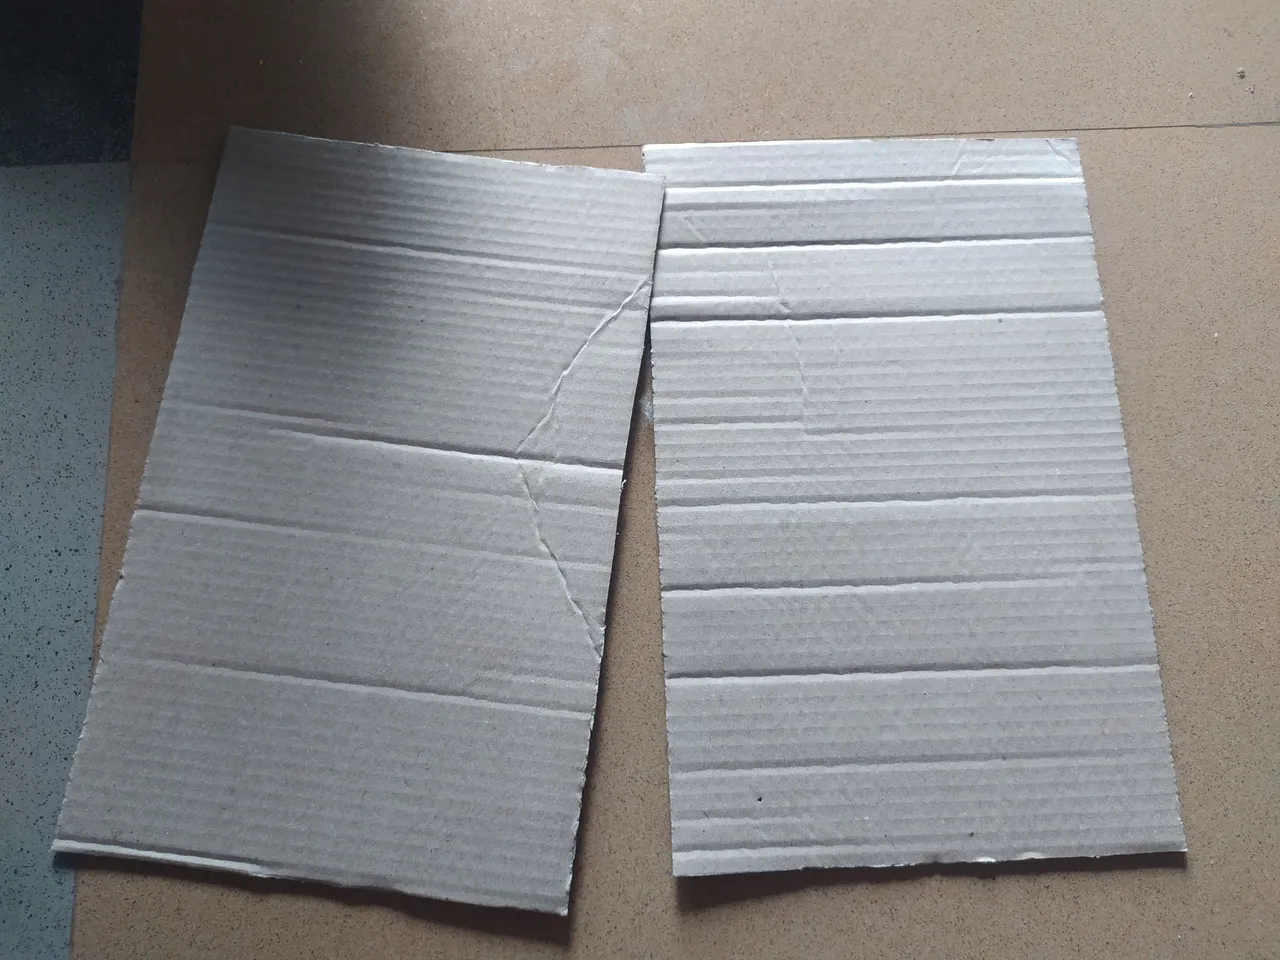
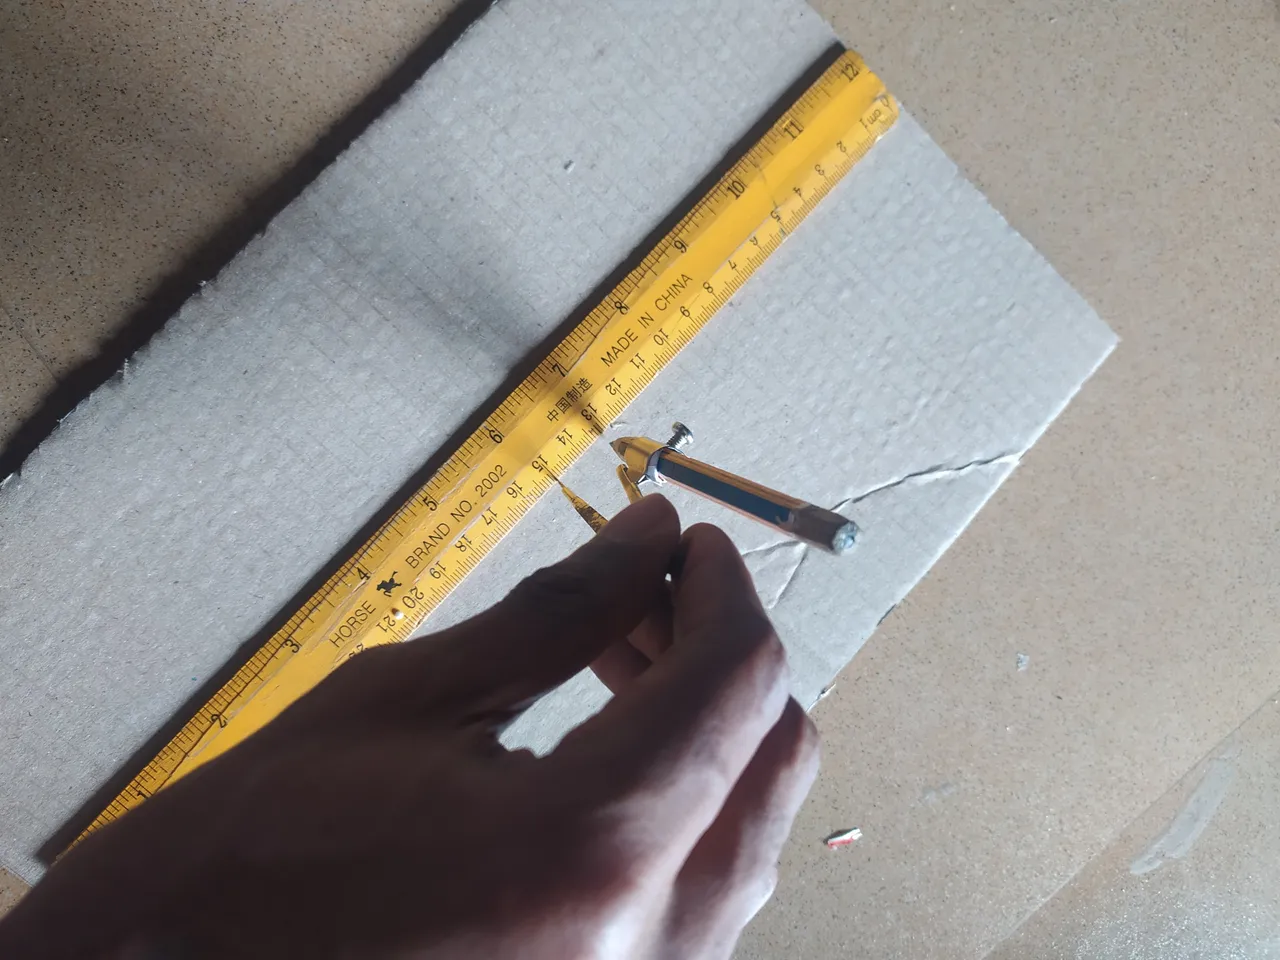
1:
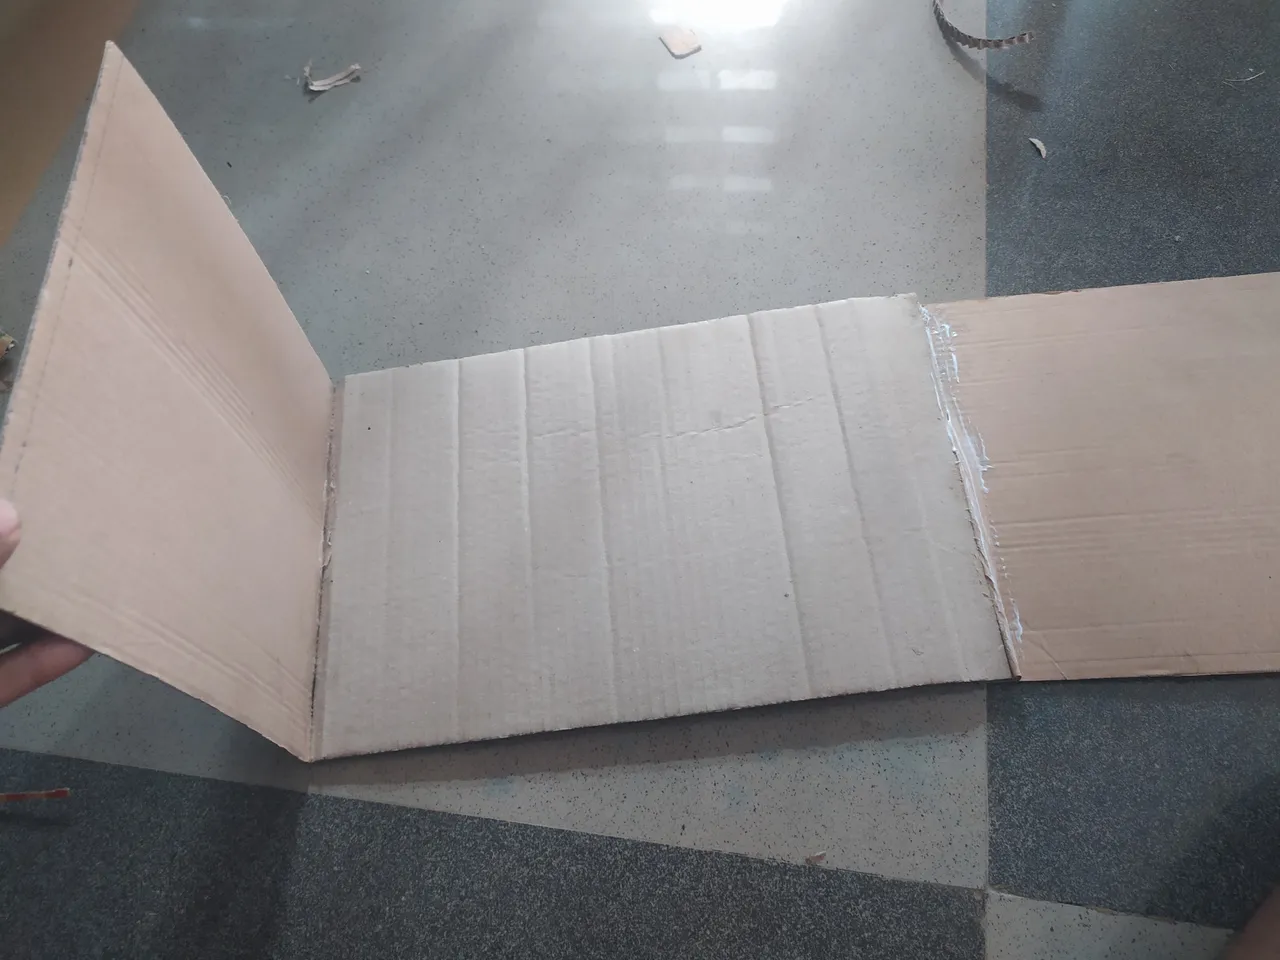
Measure and cut out 3 and 2 pieces of a 12 by 8.5 and 8.5 by 7.5 cardboard respectively
2:
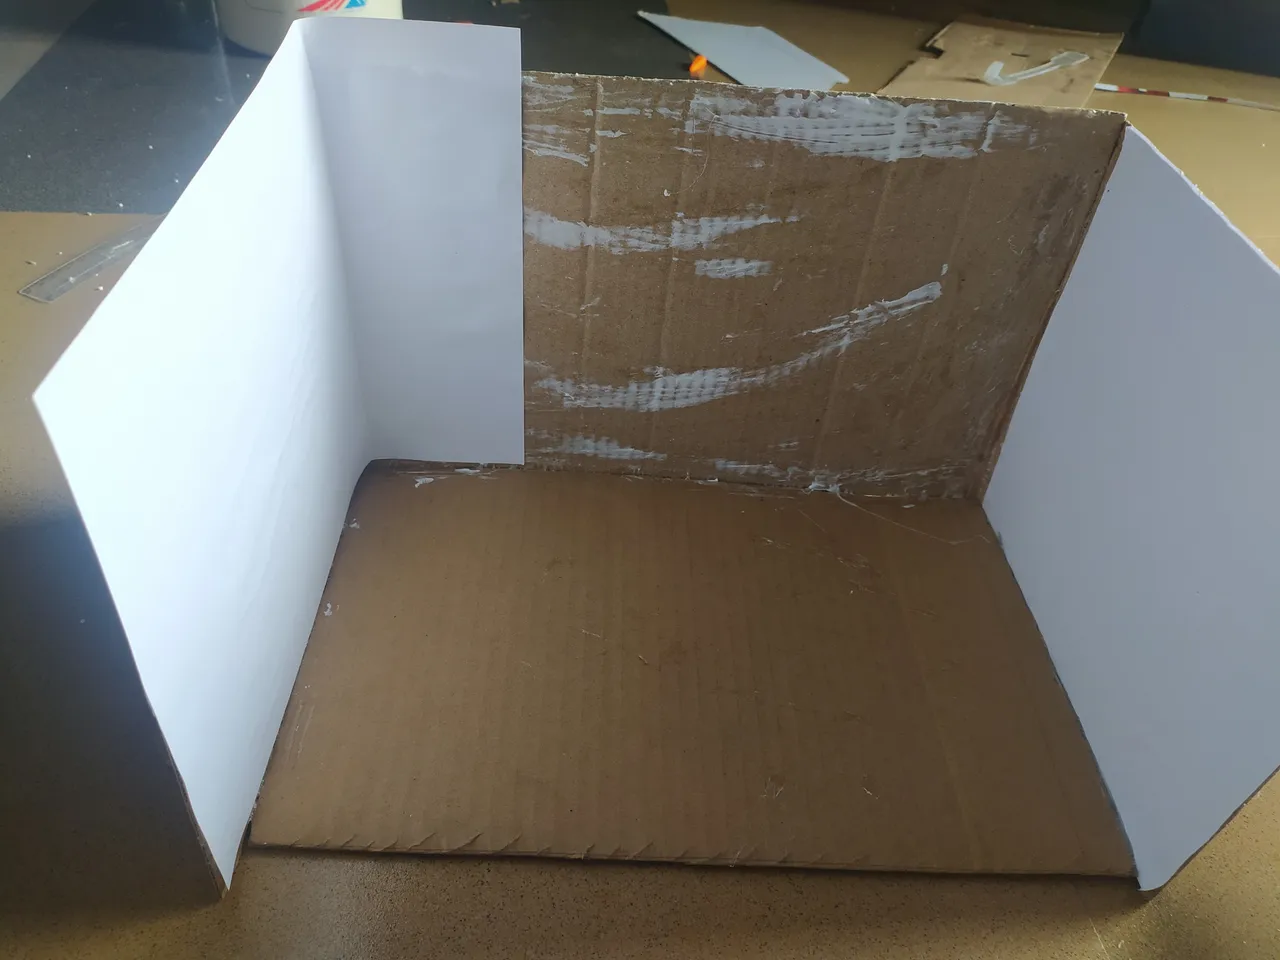
Apply gum to all edges and join together :
3:
Glue the white chart paper to the interior of the cardboard
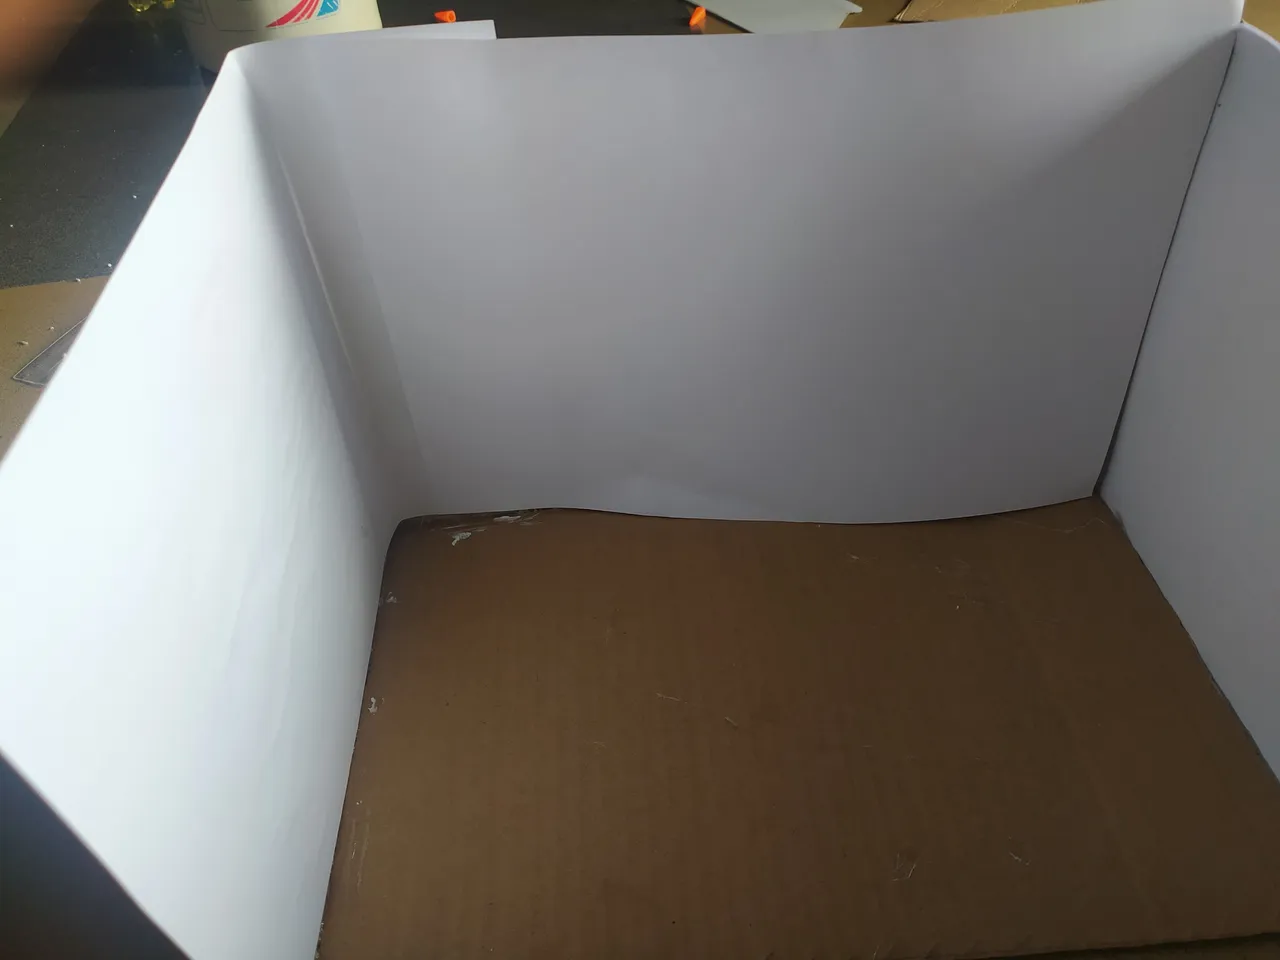
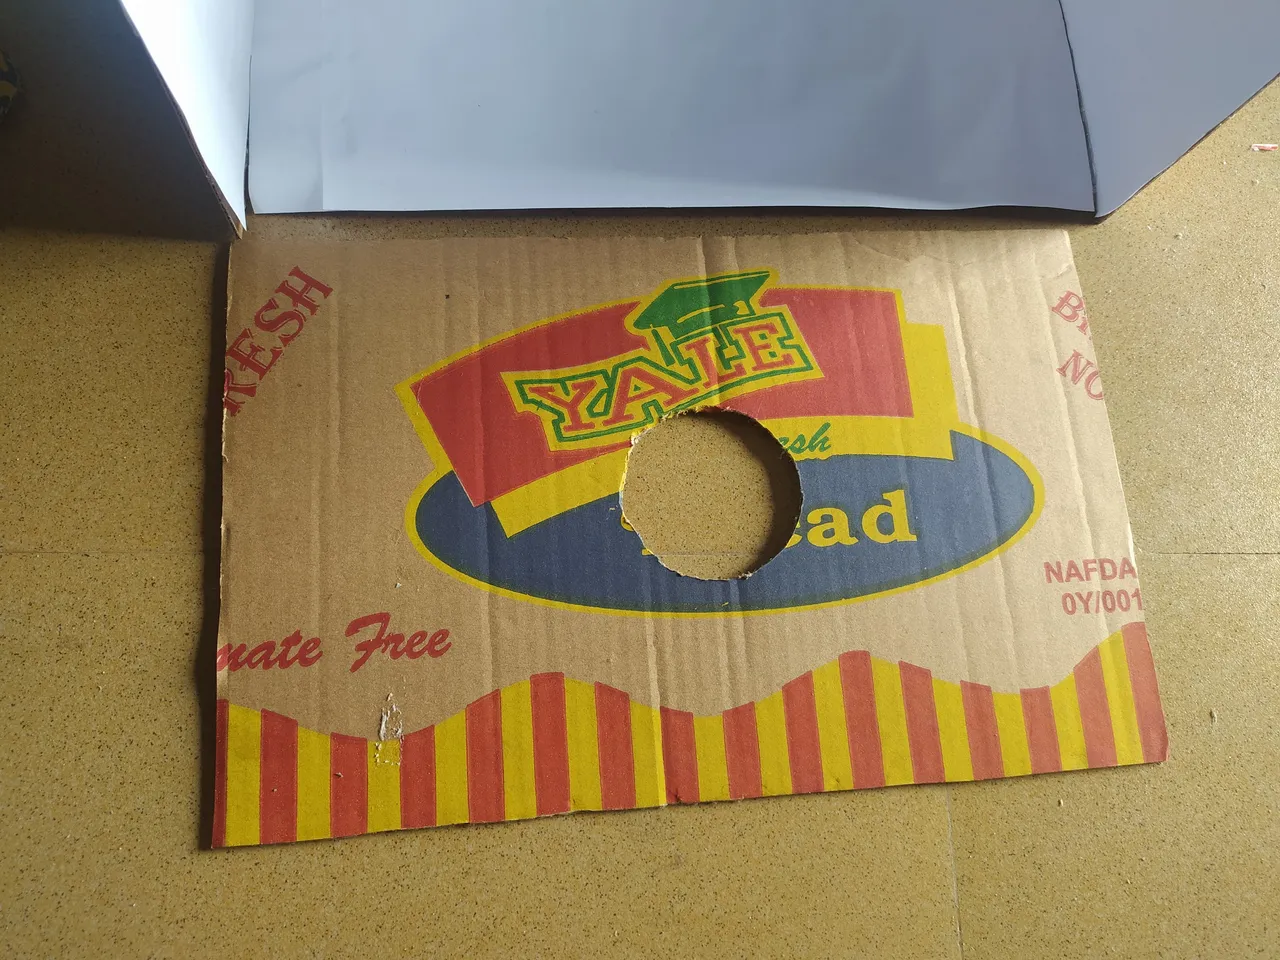
4:
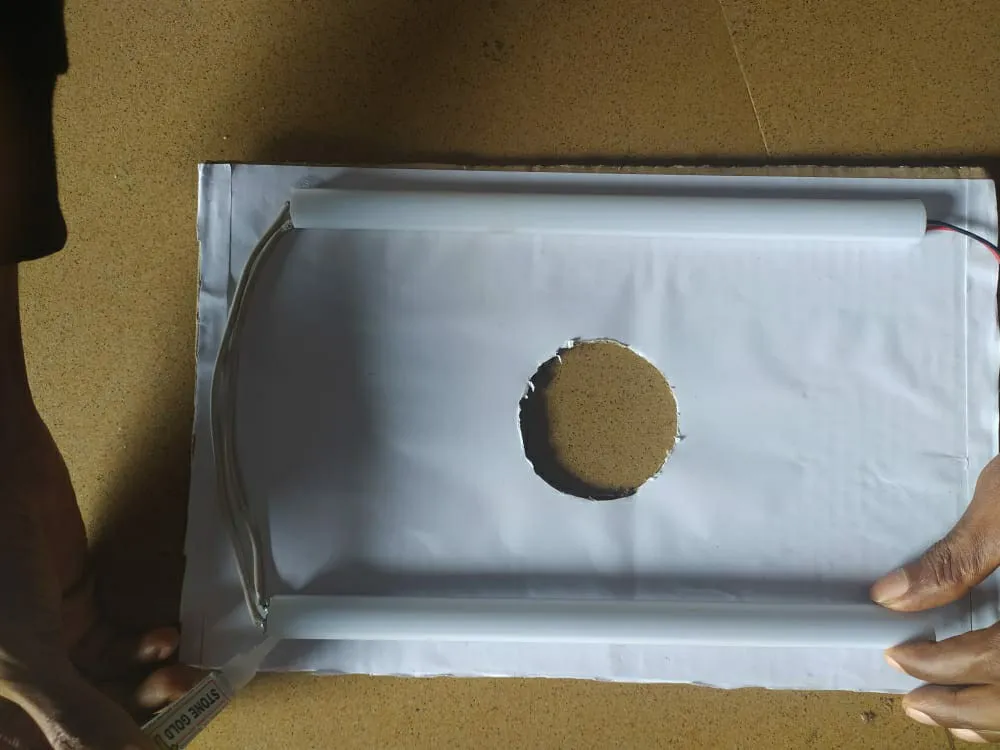
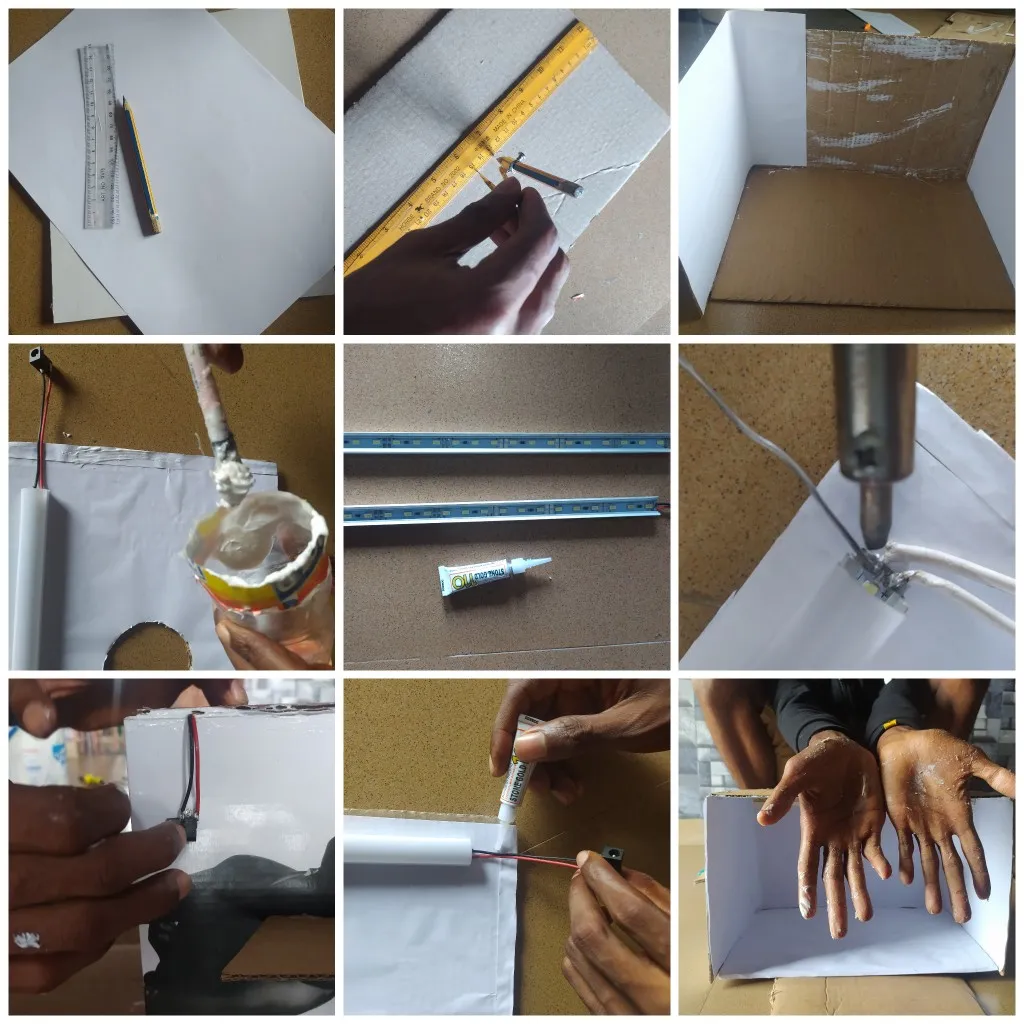
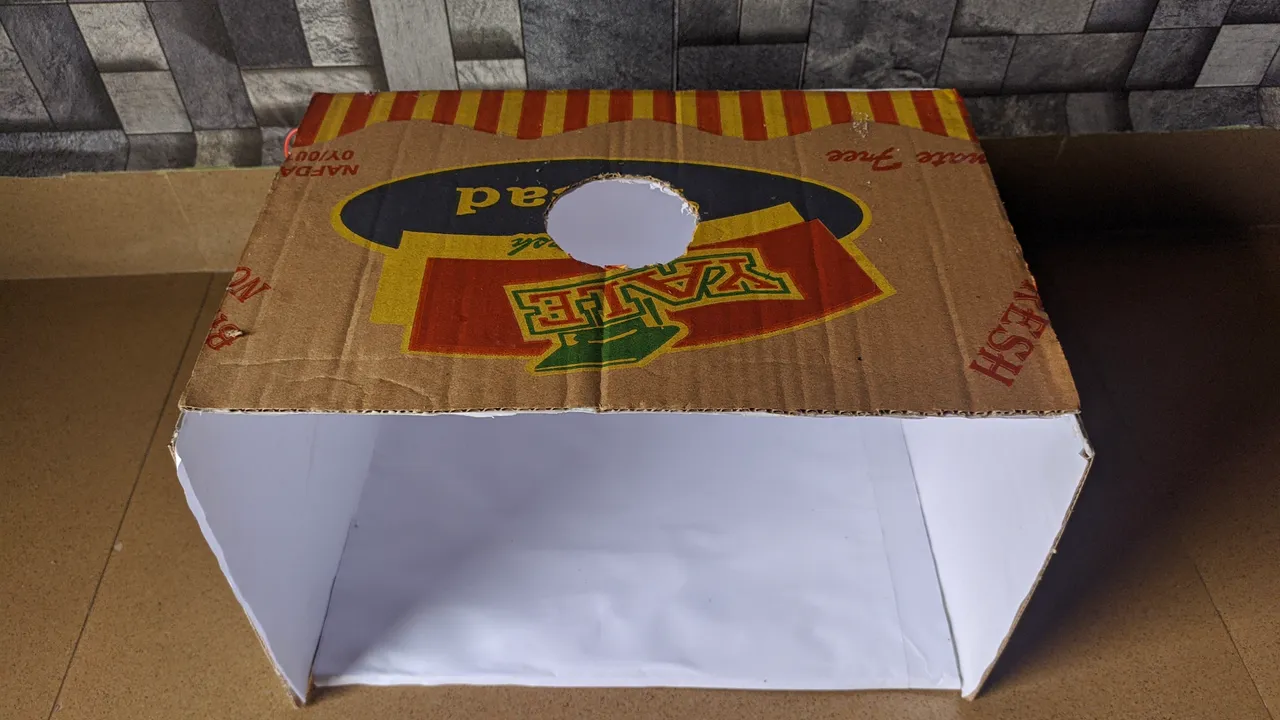
Use pencil and a protractor to draw a circle on the remaining 12 by 8.5 cardboard and cut the drawn part off :
Cut off to look like this :
5:
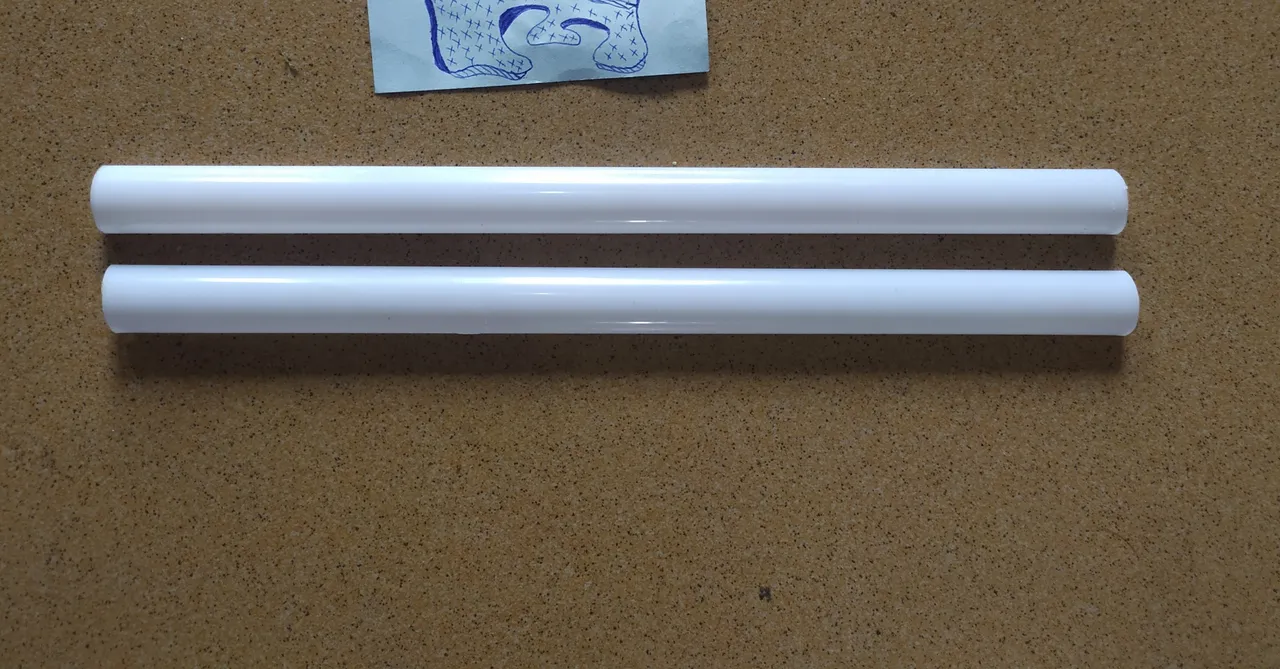
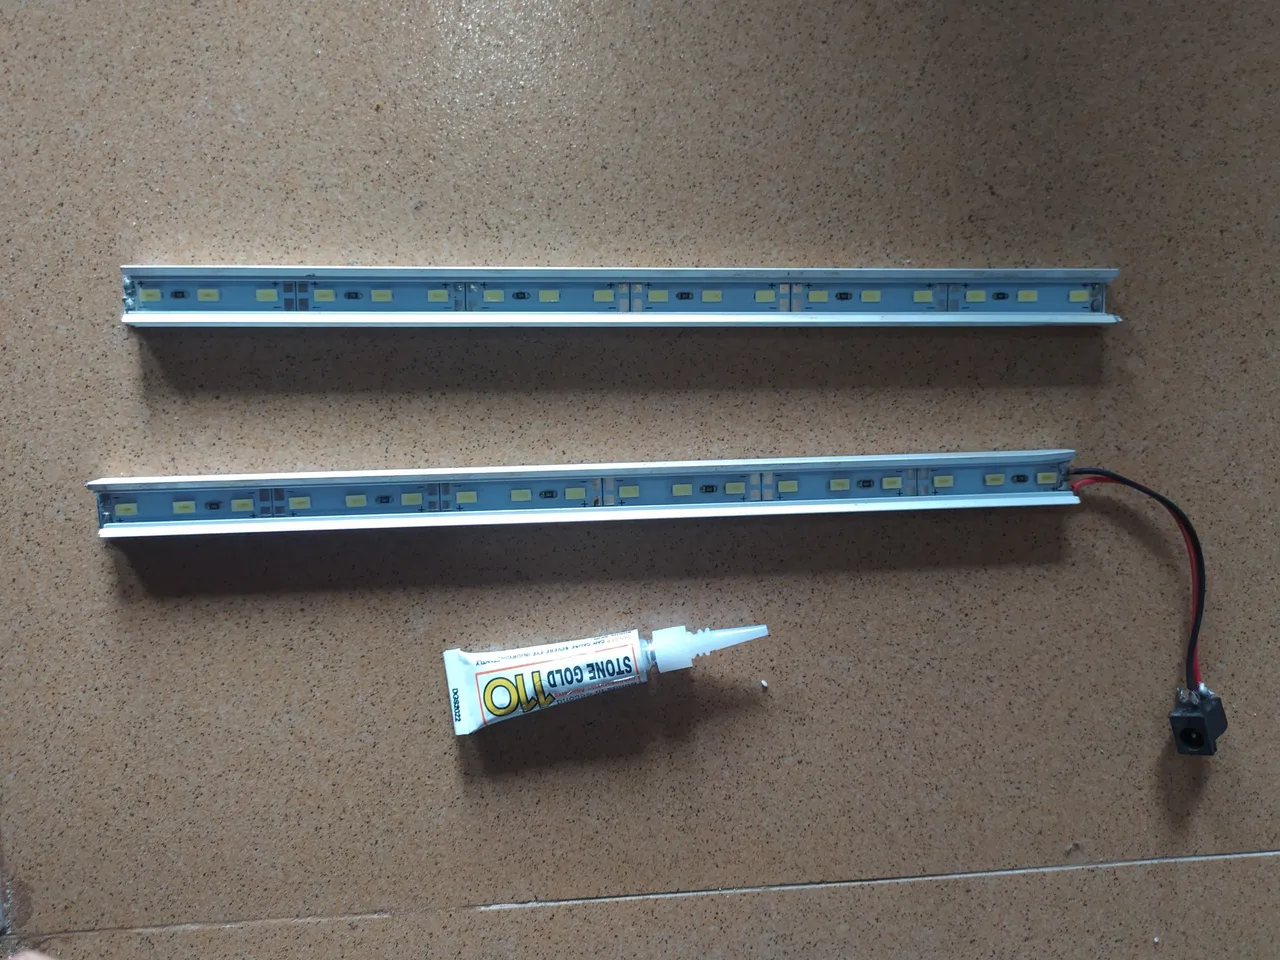
Measure and cut out 2 equal part of the metal strip and 12volt lead strip and solder the wire and the Dc connector to the positive and negative terminals of the 12volt led strip
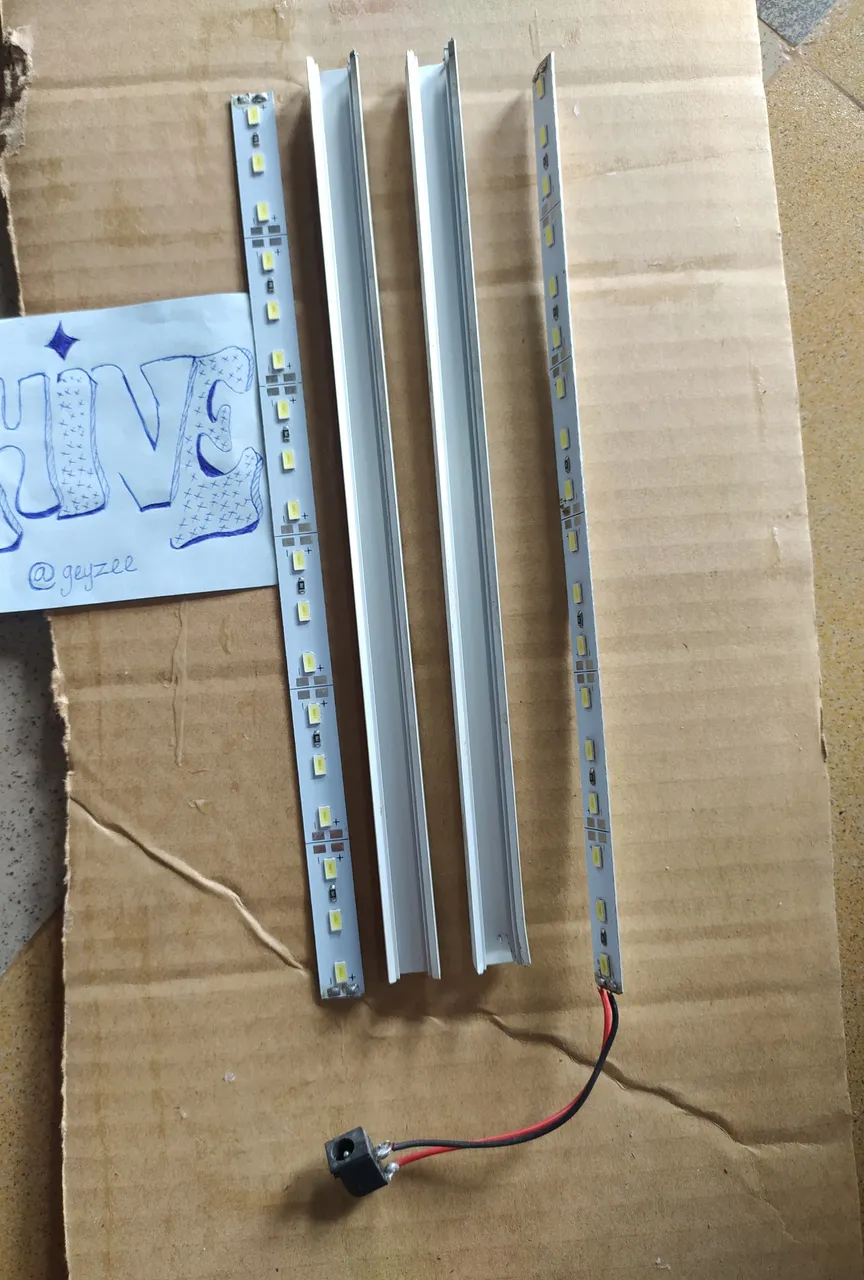
This is the white cover of the light source :
6:
Glue the 12volt strip to the silver strip:
7:
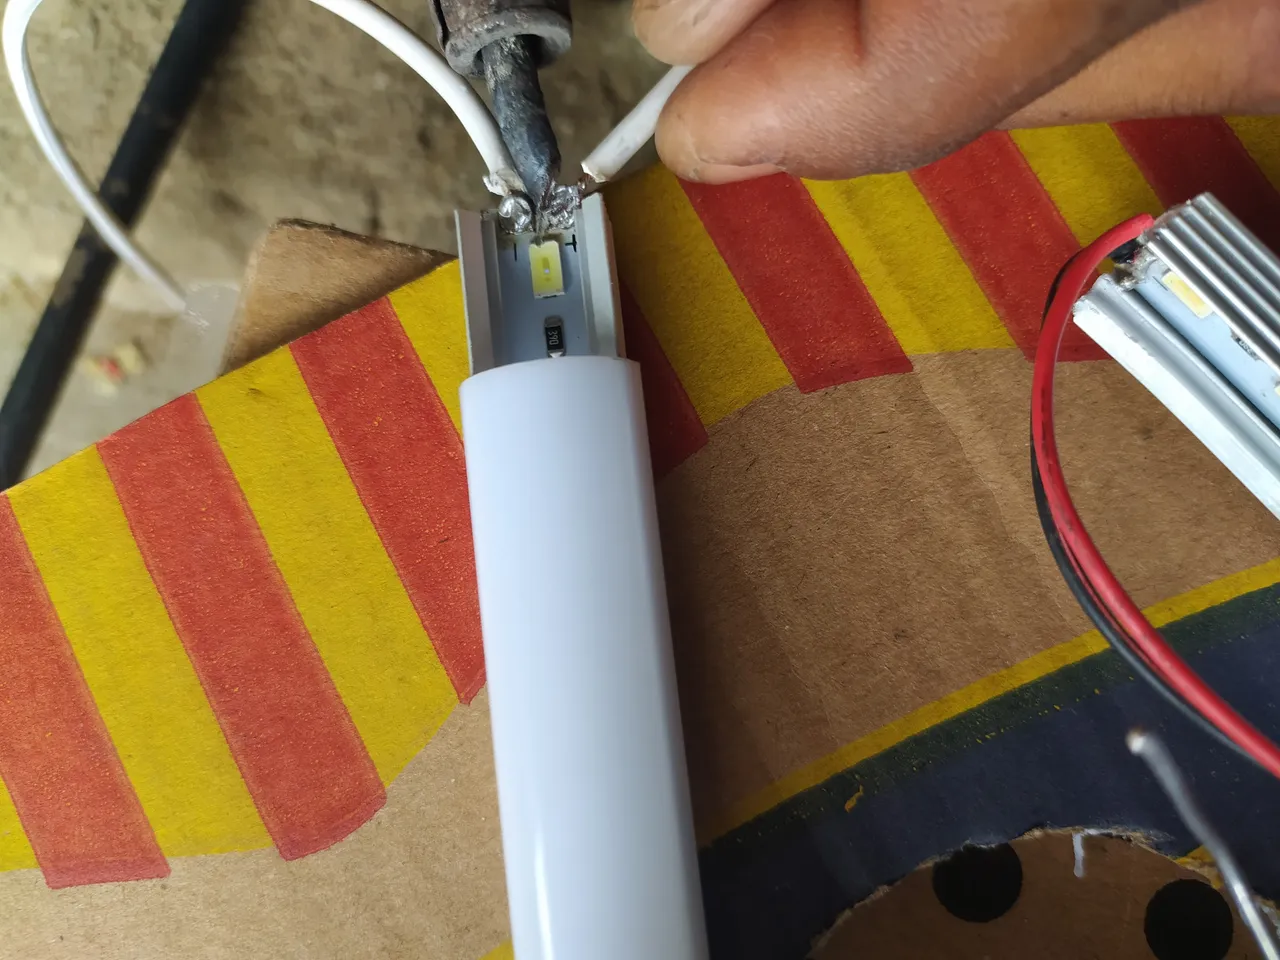
Solder the positive and negative wires to their respective positions on the led strip then join both ends by soldering respectively (+ve and - ve)
8:
Glue the both strip to the last 12 by 8.5 cardboard in a parallel position :
9 :
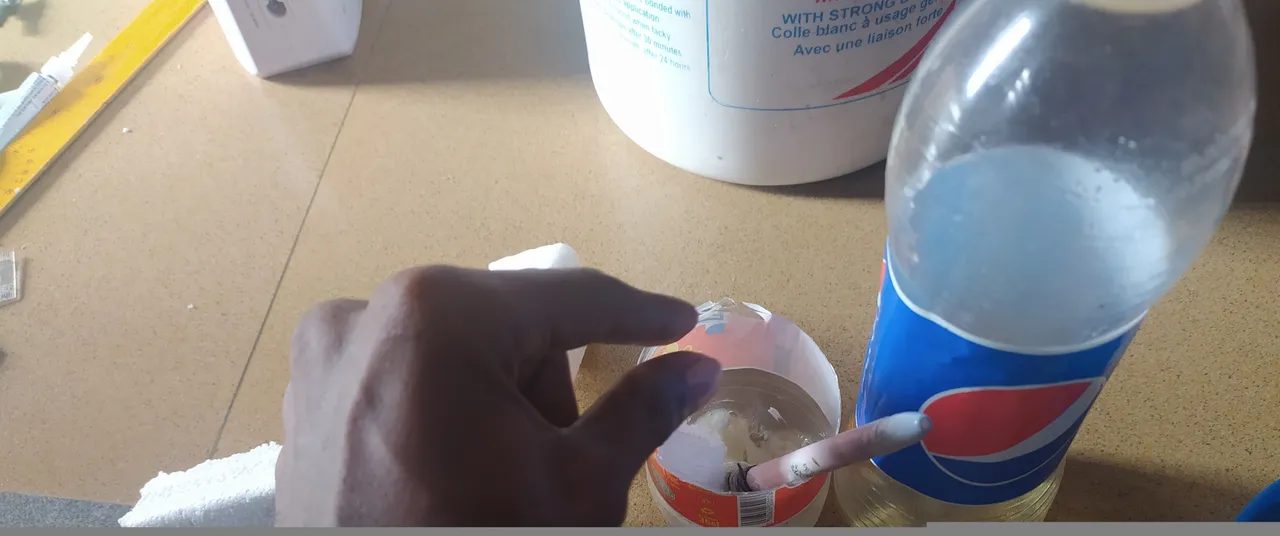
I prepared a fuel gum by mixing fuel and Cork to get a stronger gum:
10 :
Glue handles to the edges of the studio
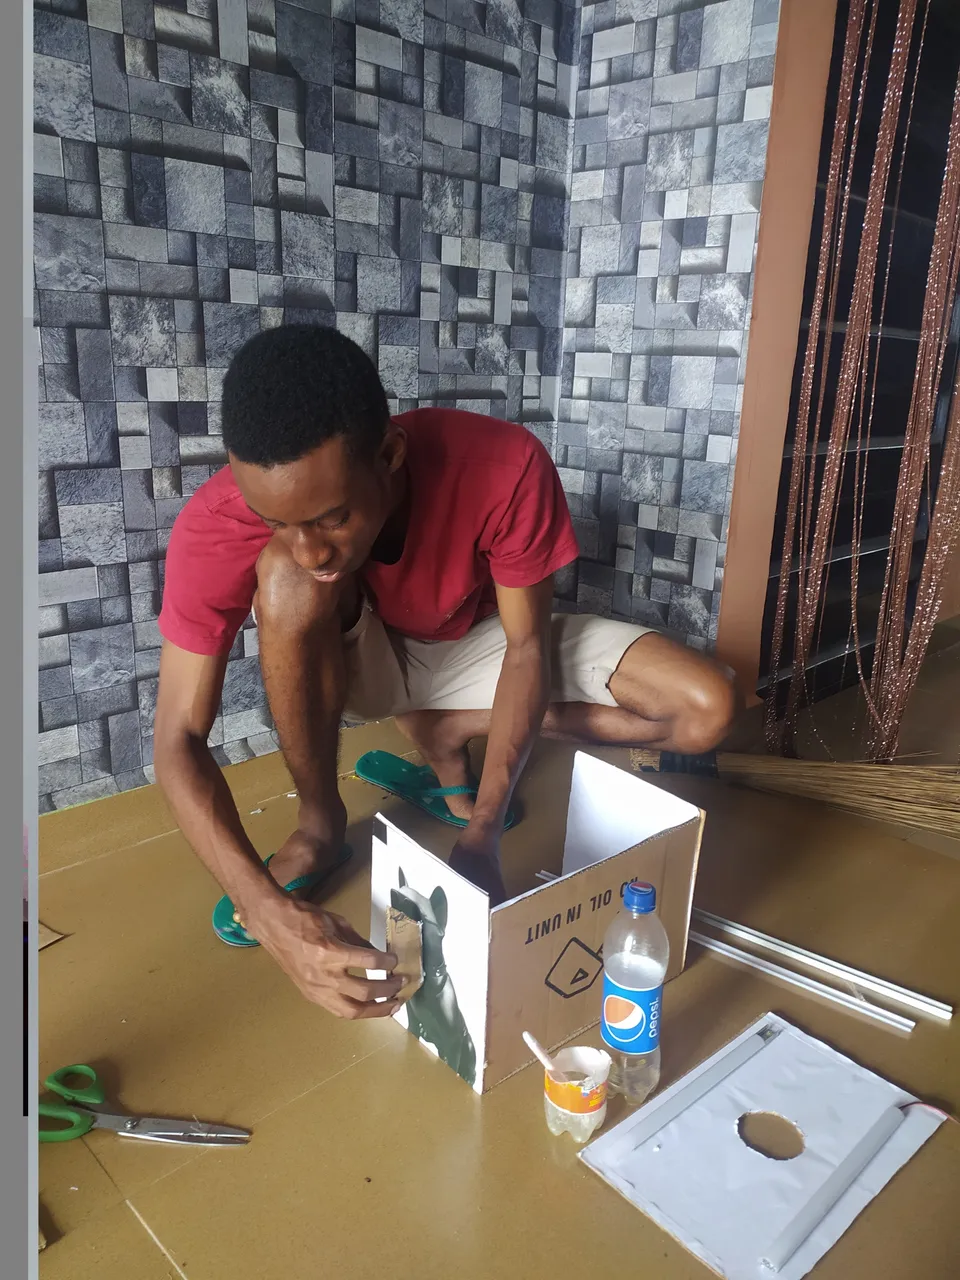
11:
Add glue to the edges of the last cardboard and join to the topmost part of the studio

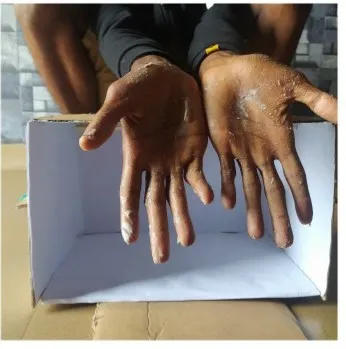
If you're at this stage, your hand should be close to what looks like this :
This is a breakdown of all the stages put all together :
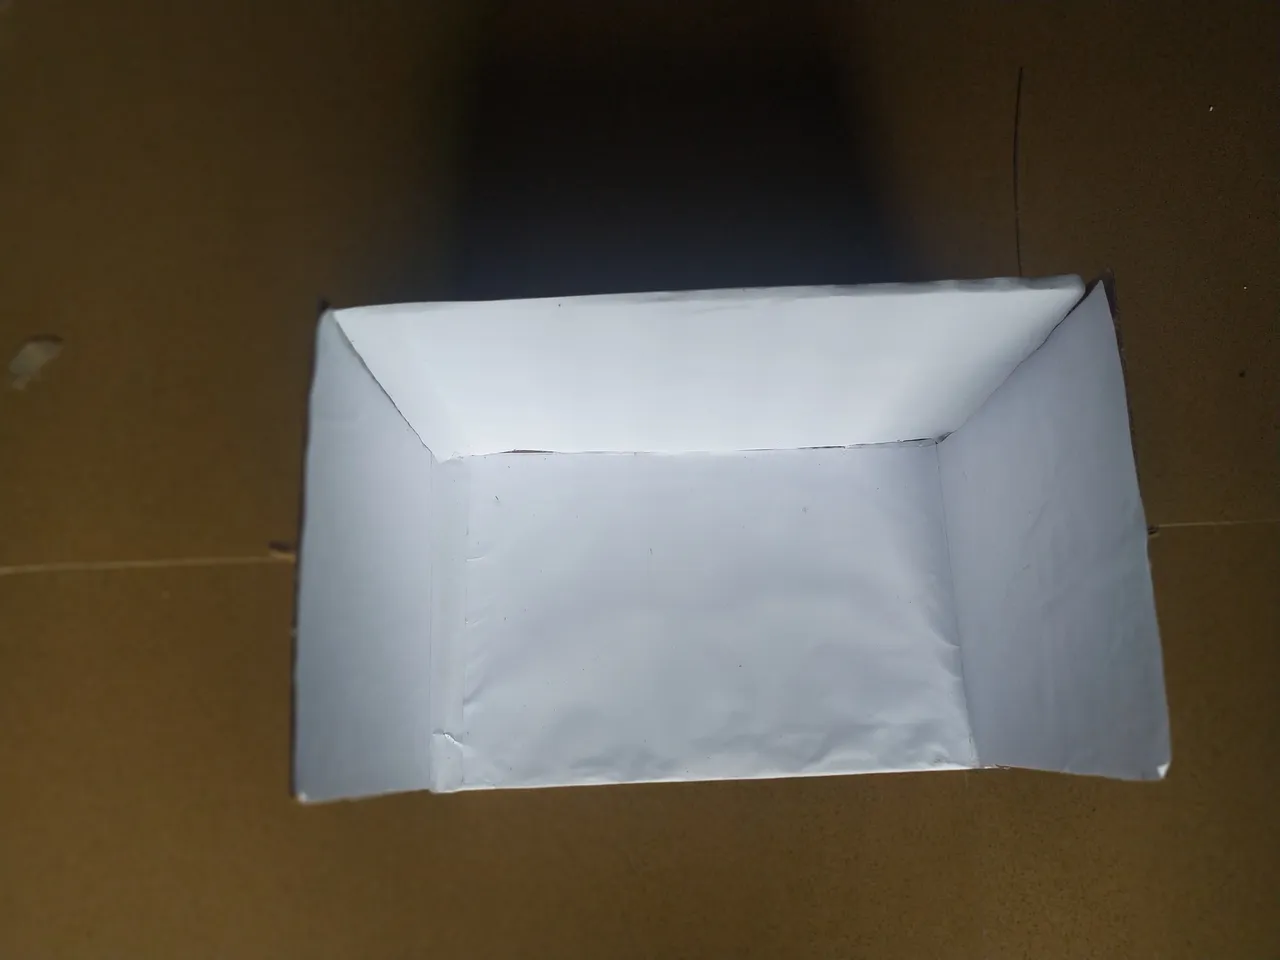
Here we gooooooooooo! we have our macro photography studio ready and functional to use (let's sip a cup juice to this achievement😋🥛) :
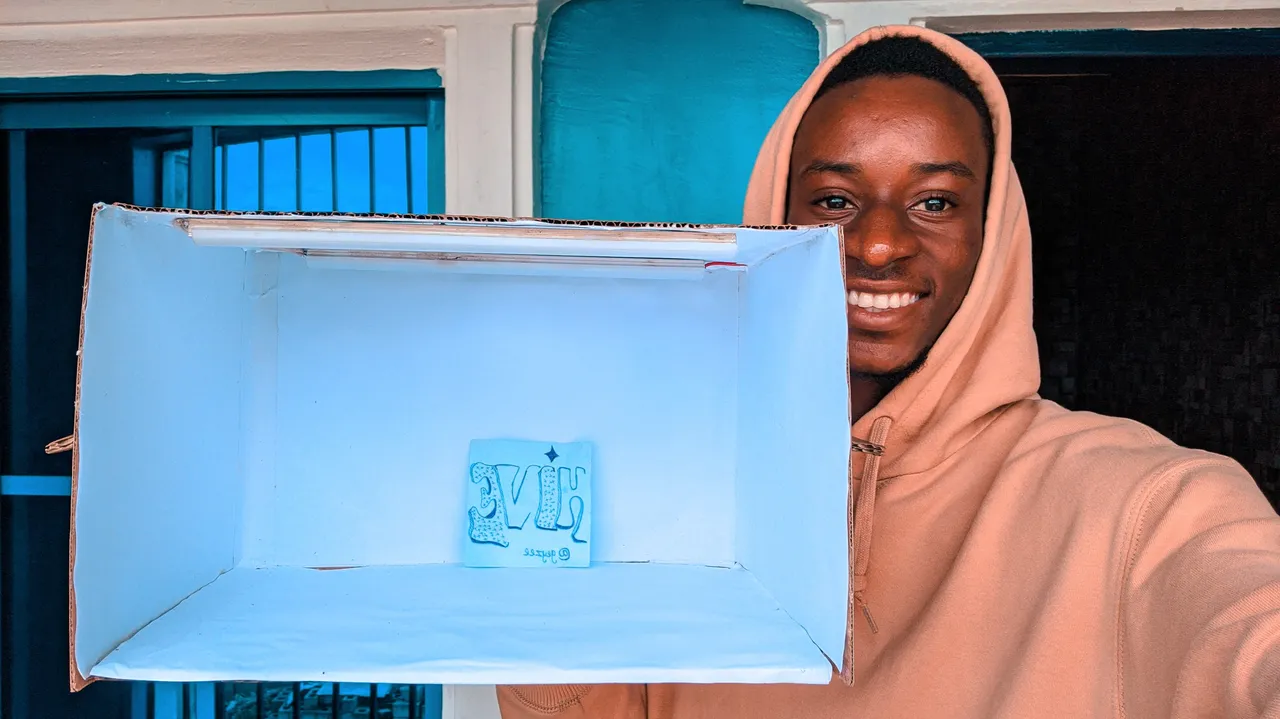
Top view :
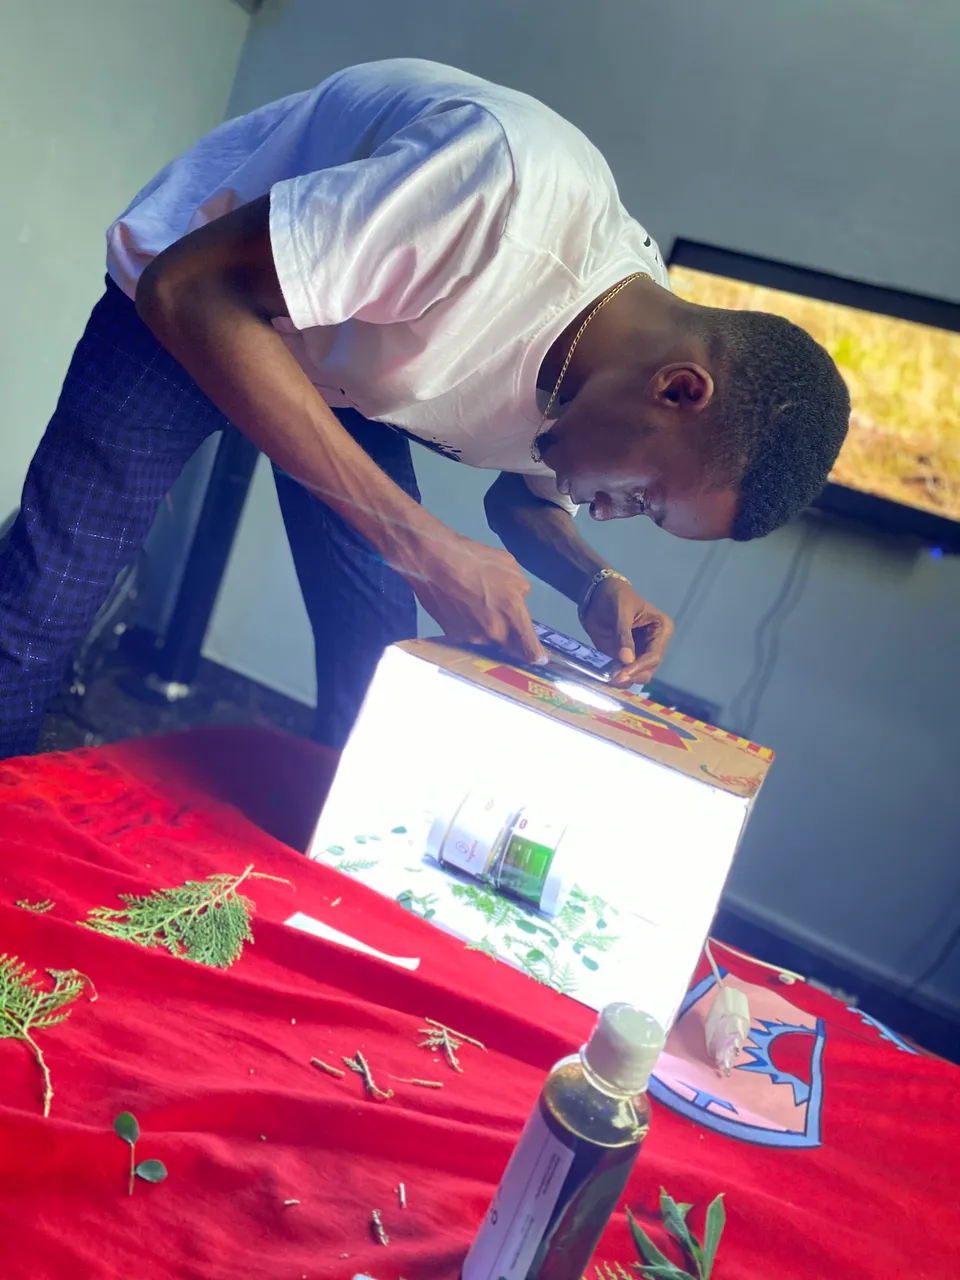
TESTING OUR MACRO STUDIO :
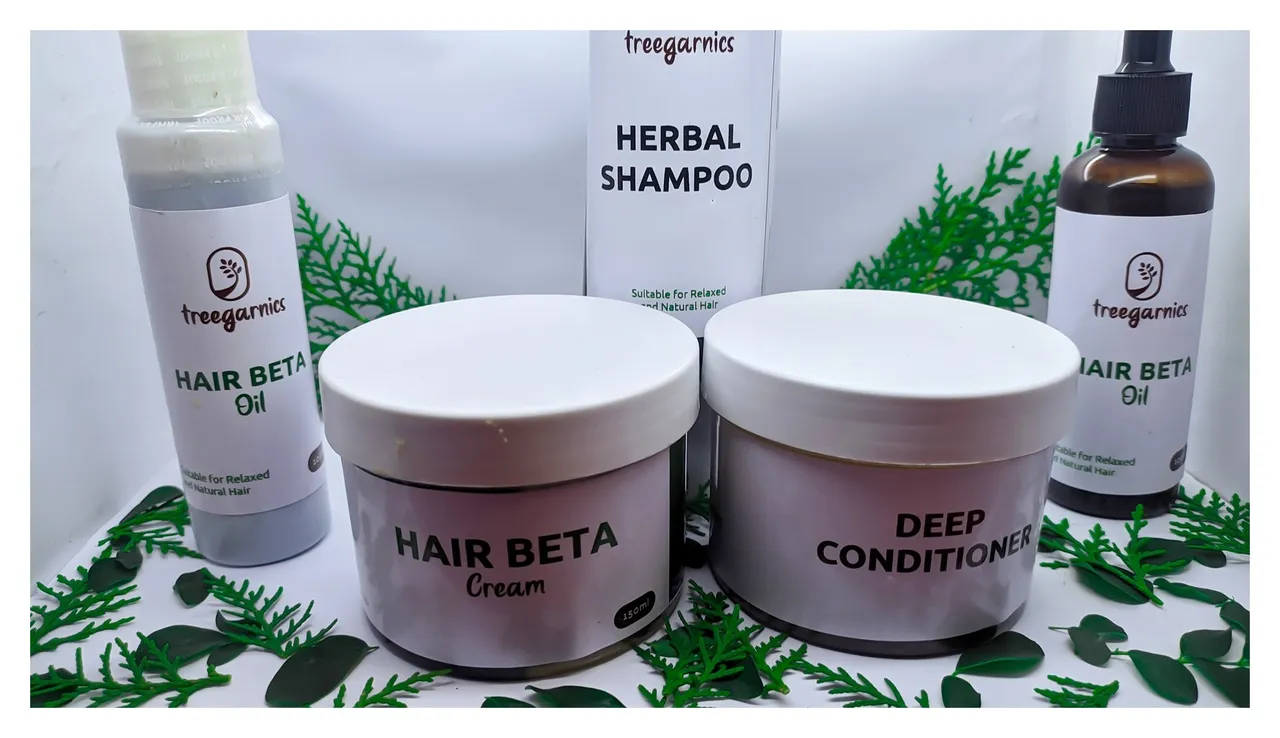
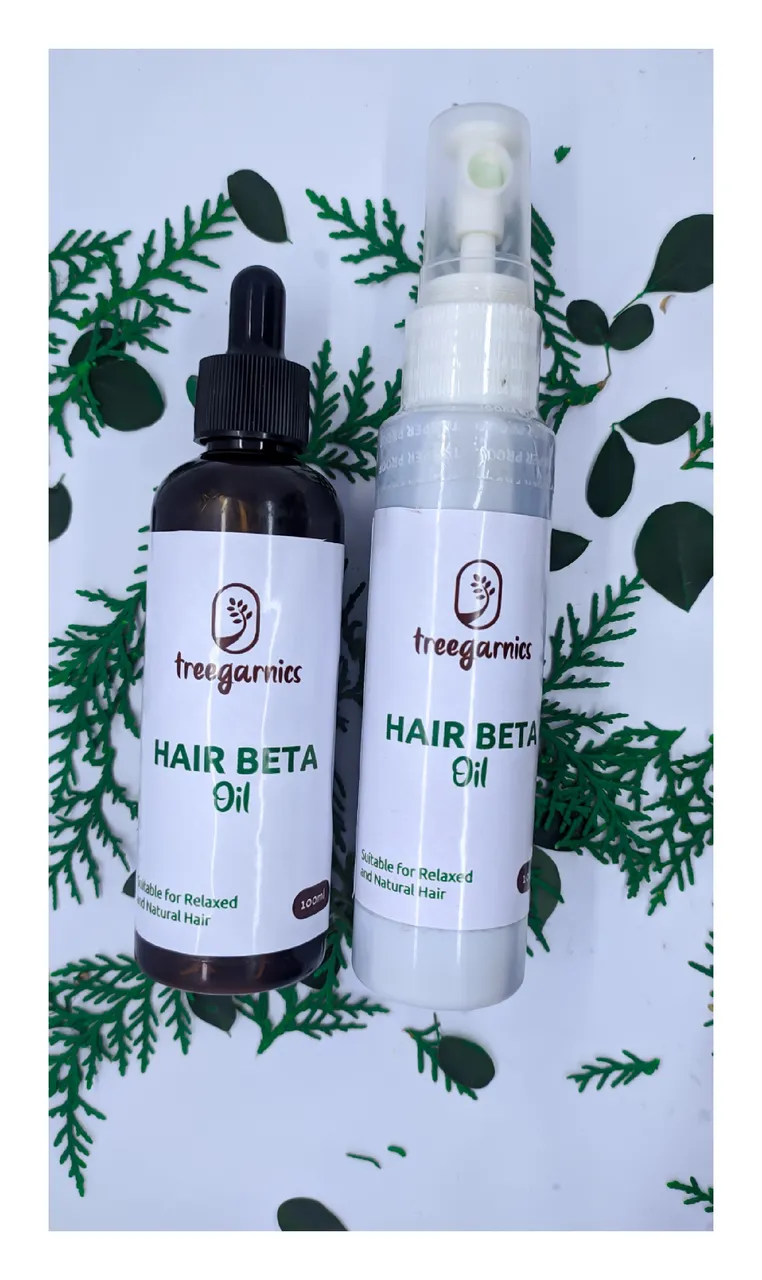
After whole process I decided to test the studio by using my Mobile phone to capture the center and top view 😊:
Center view :
Top view :
Testing process :
I kindly call on some nice photographers whom I've admired their works in the likes of @digitalis, @pavelsku,@aulia1993, @amryksr , @whisky2, @carlosadolfochac, @pradeepdee6, @cottonlazarus, @greddyforce, @pradeepdee6, @txatxy, @uwelang, @flewsplash, @haastrecht, @brianhphotos, @jasonmunapasee, @jaki01, @k-banti to kindly help contribute and give me some photography tips as well. Thanks 😊
I also want to use this opportunity to wish a good friend of mine @nathanmars a happy birthday 🎂,more life and blessings to come 😊
Kindly drop a comment, contributions or any issues you encounter while trying it out 😊.
You can also reach me up on:
INSTAGRAM
TWITTER
FACEBOOK
Thanks for visiting my blog 😊.
I'm still that your good friend @geyzee

Have a nice time.
Hive on 💯.