Today is Monday, not only #fruitsandveggiesmonday, one of my favorites, but also #needleworkmonday, my new playground from now on.
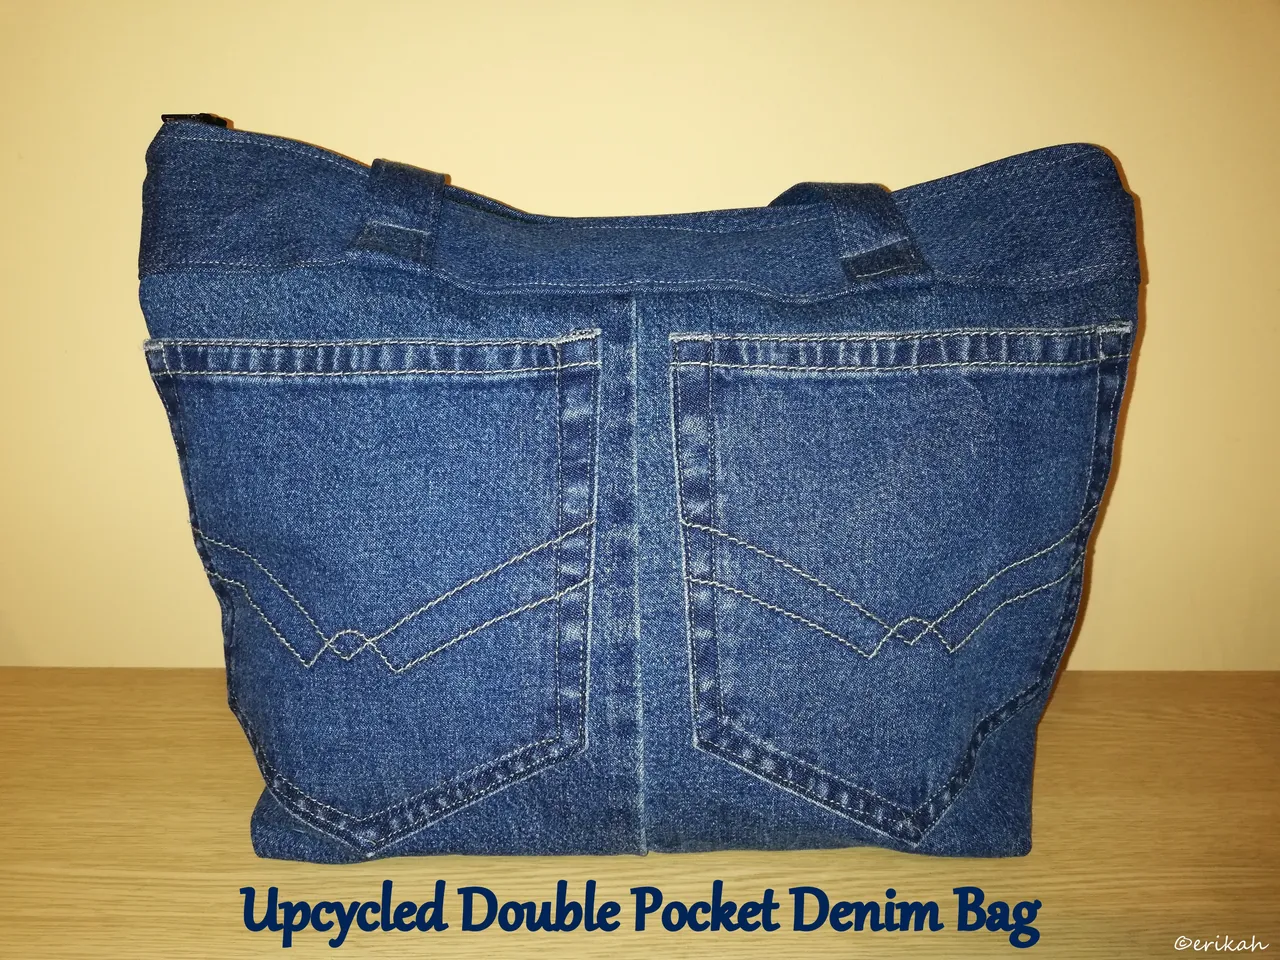
Last week I posted about my first bag. My very first bag made with my sewing machine, without any previous training or help from another person. If you missed my posts, you can read them here:
As I've said in my previous posts, I'm working with textiles that I'm buying at my favorite second hand shop, most of the times these are brand new products, unused due to the fast change of fashion. I believe in recycling, although it's not the solution for the world's problem, but at least I can upcycle them and give them a new life.
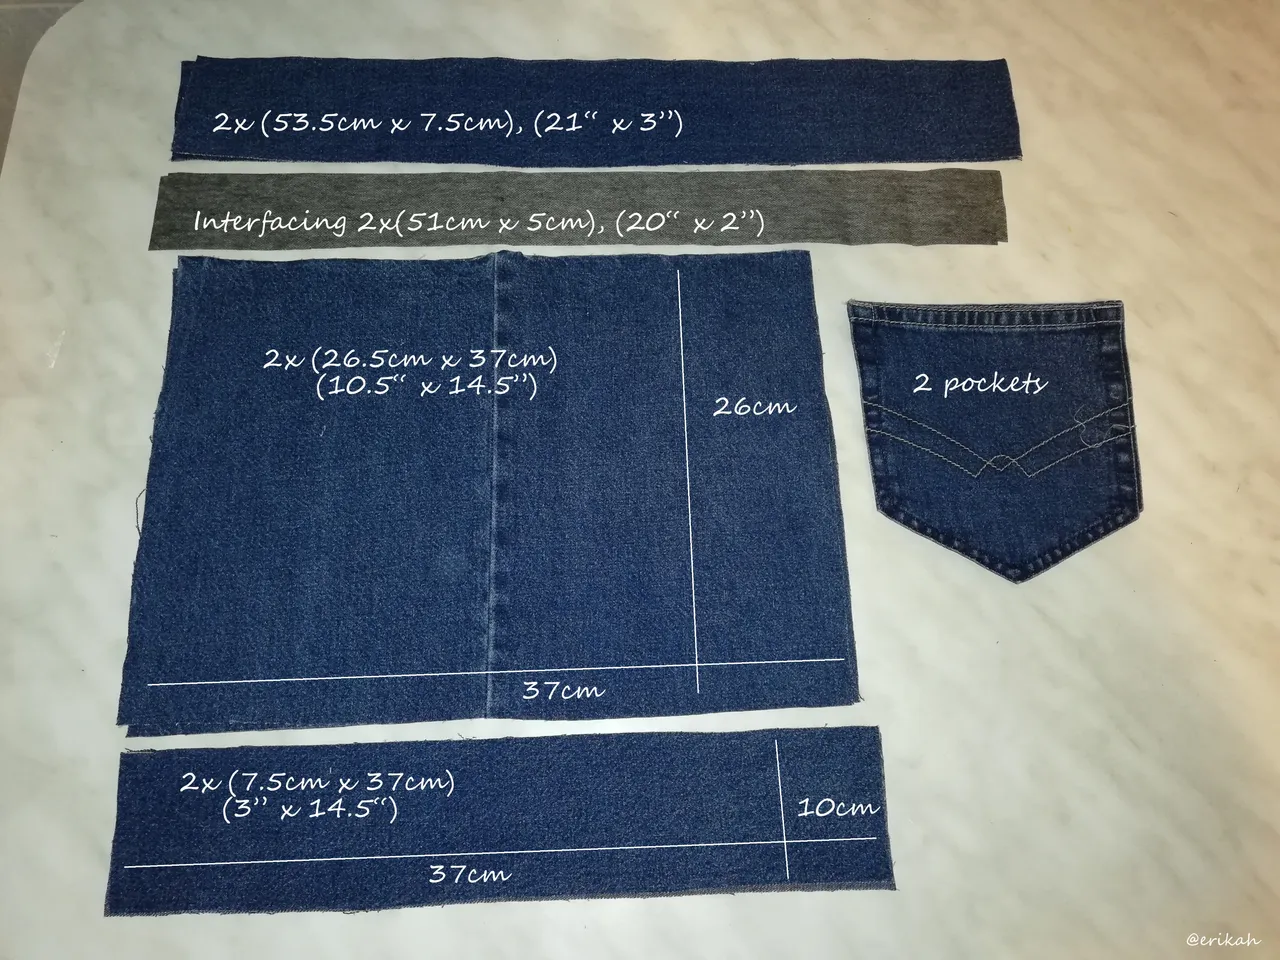
On the photo above you can see the measurements:
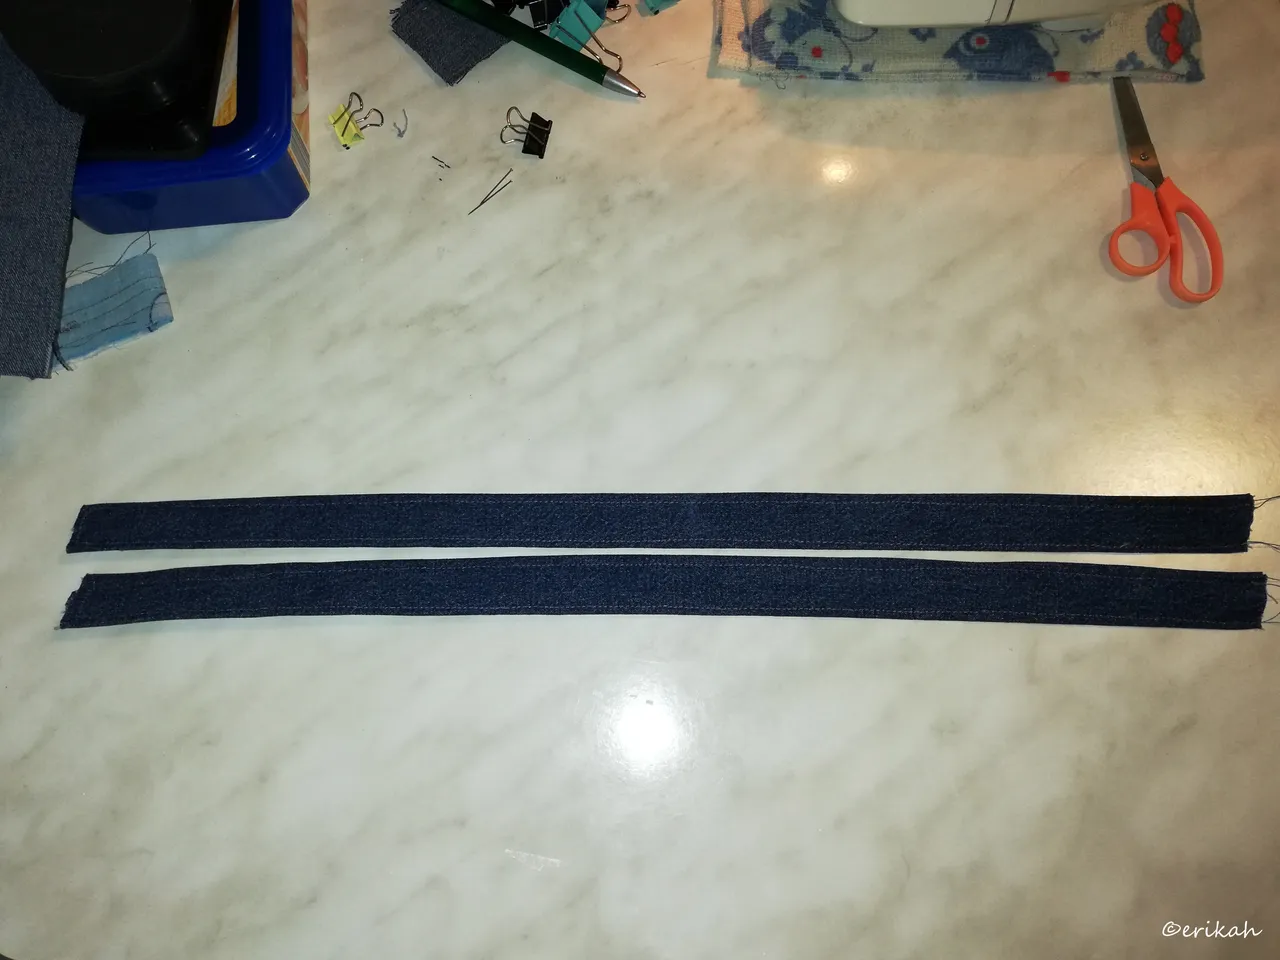
- Carry Straps - 2 x (53.5cm x 7.5cm) - (21" x 3"),
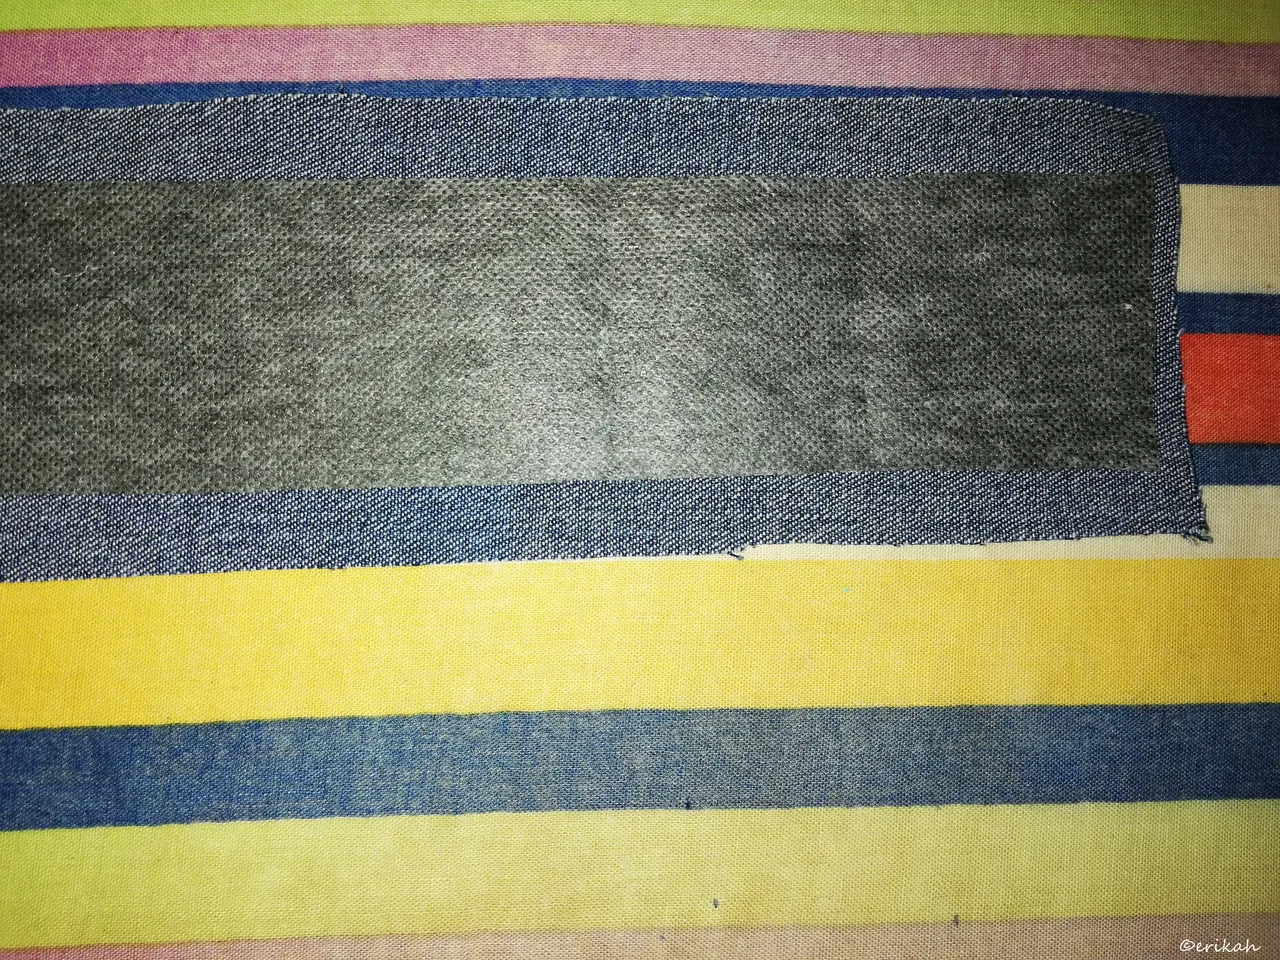
- Carry Straps Interfacing - 2 x (51cm x 5cm) - (20" x 2"),
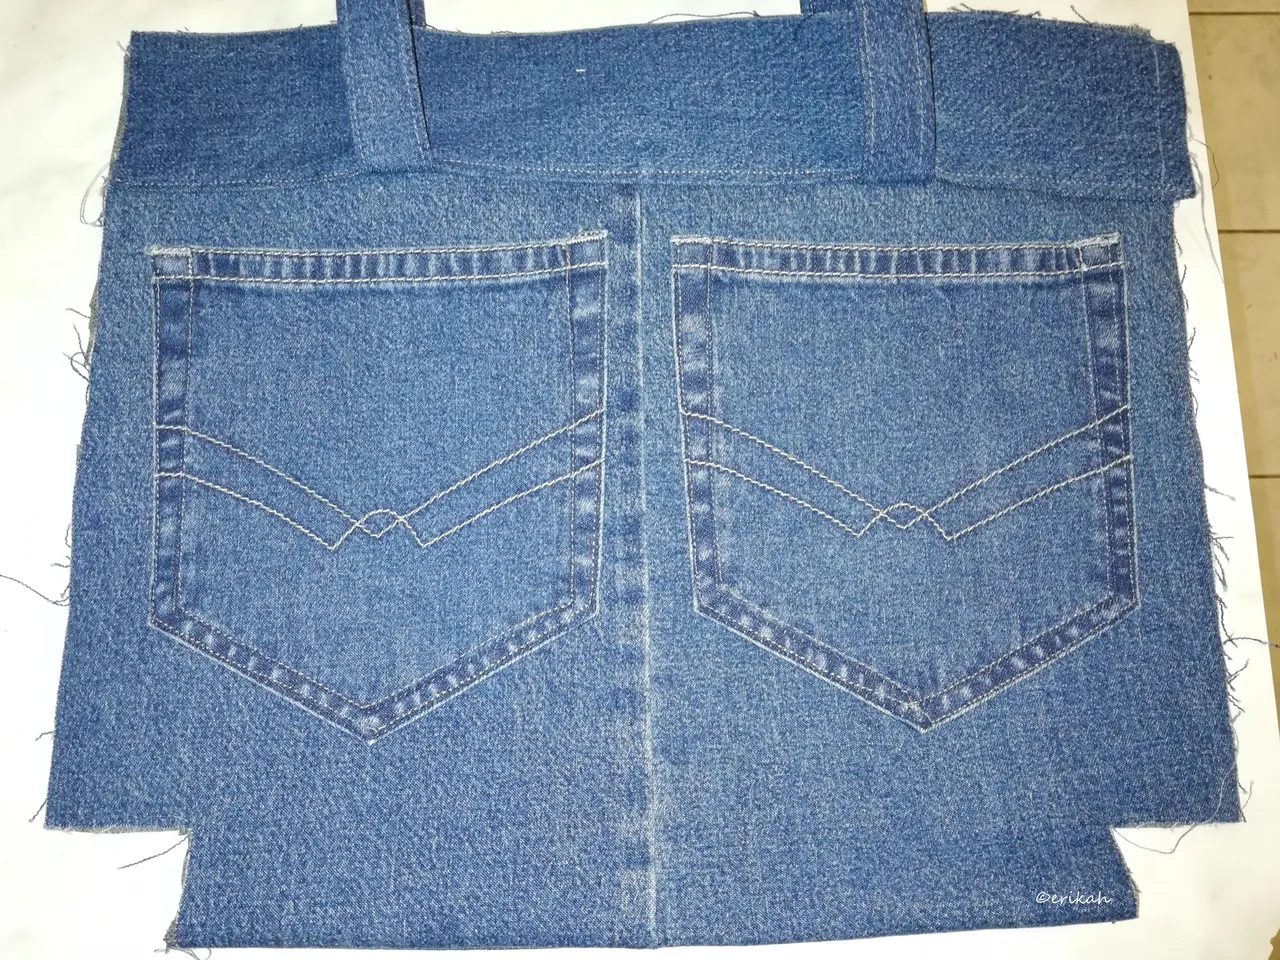
- Bag Body - 2 x (26cm x 37cm) - (10.5" x 14.5"),
- Bag Top Part - 2 x (7.5cm x 37cm) - (3" x 14.5"),
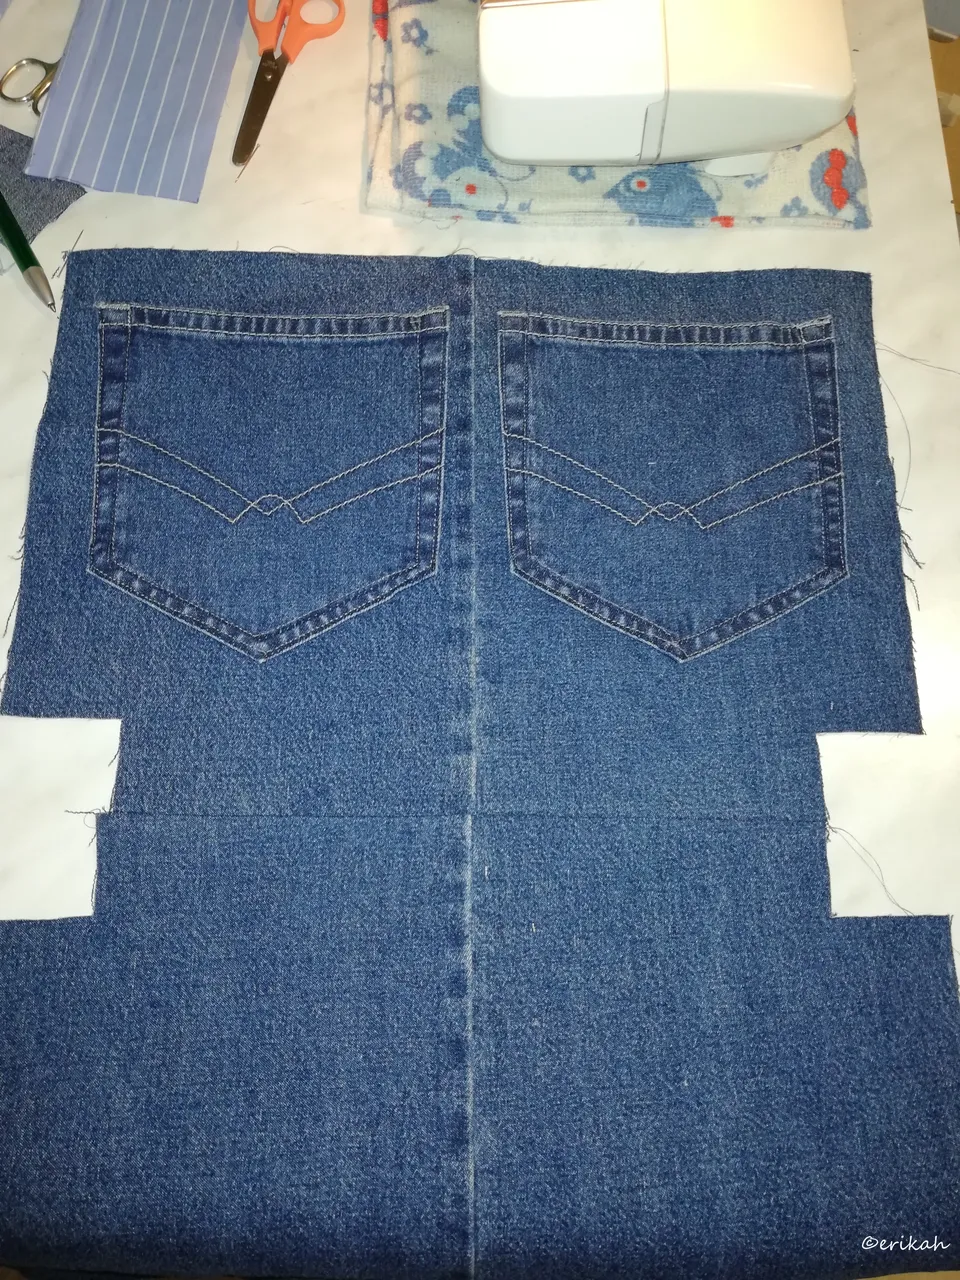
- 2 Pockets,
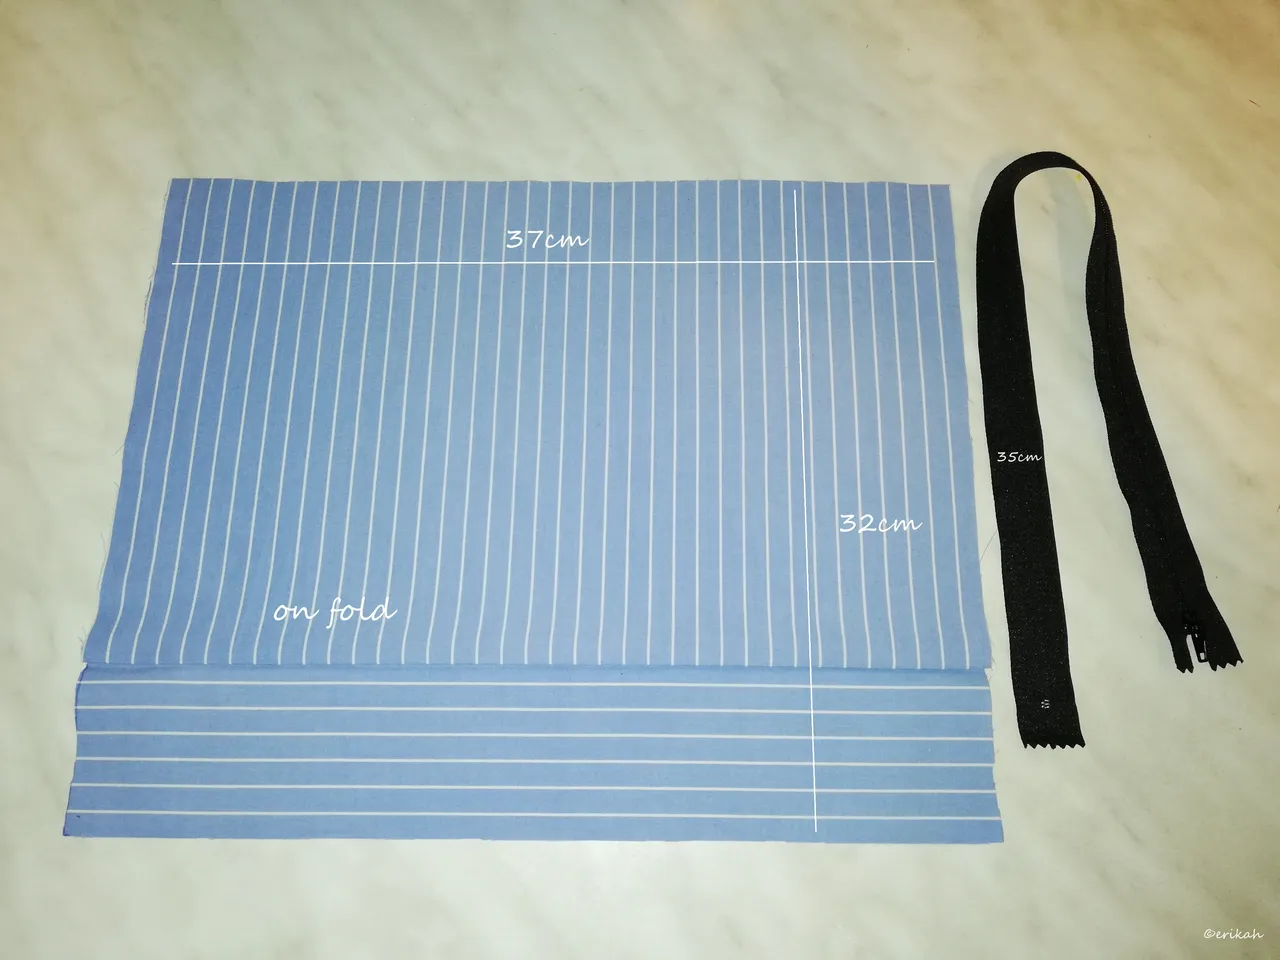
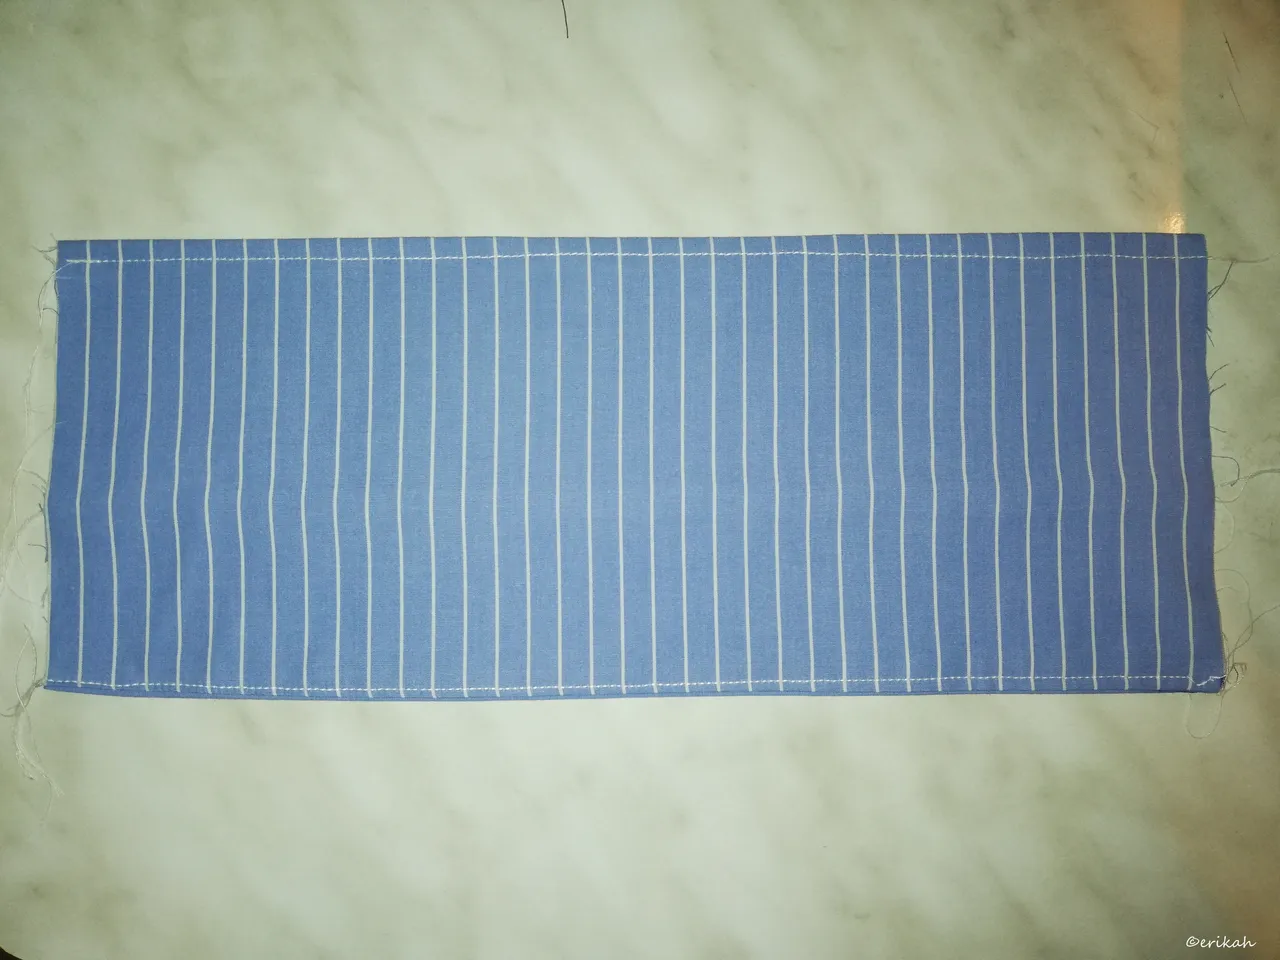
- Lining On Fold (37cm x 32cm) - (14.5" x 12 3/4"),
- Zipper 35 cm.
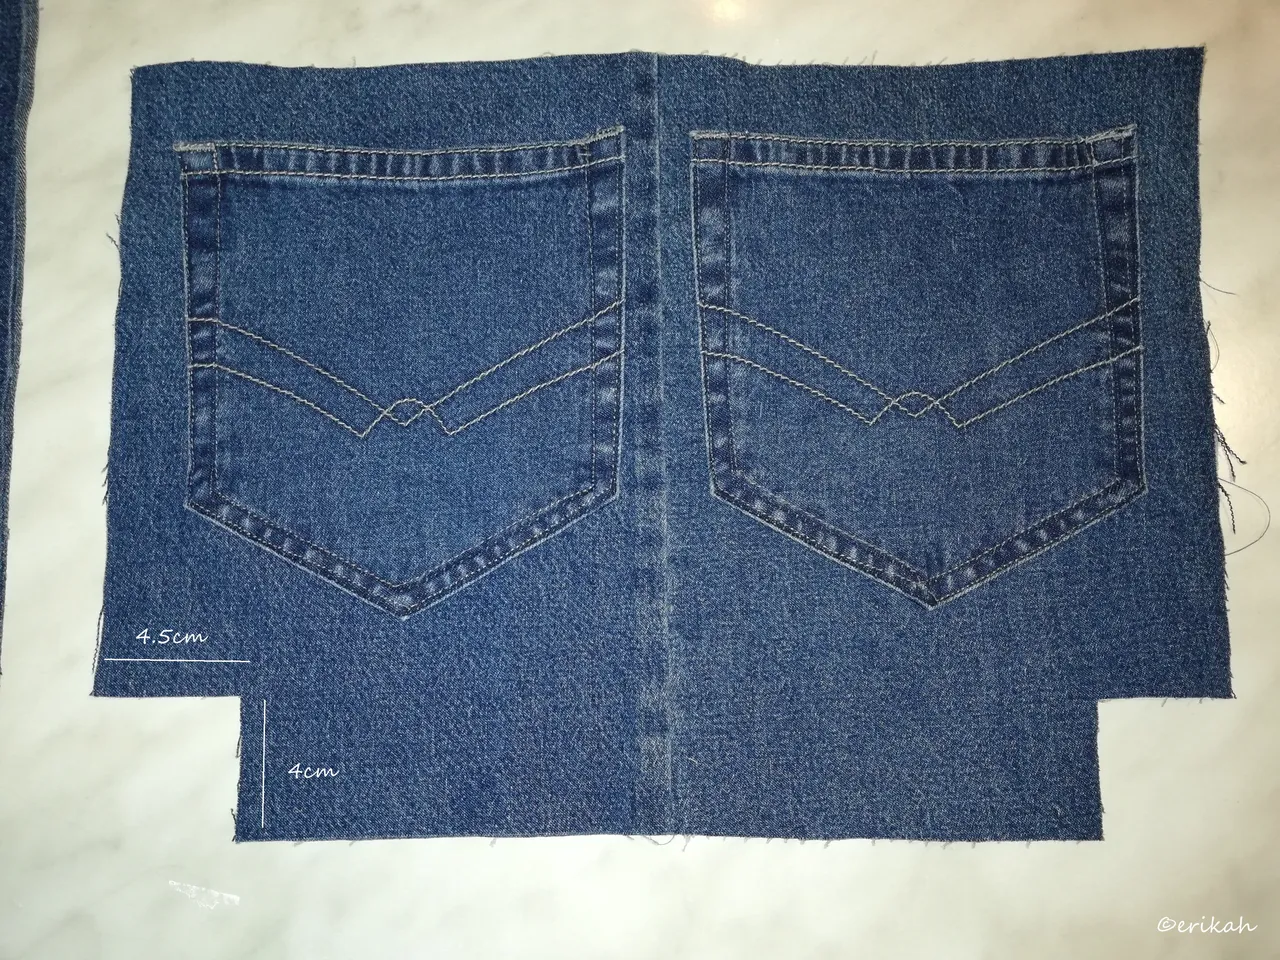
Cut the corners on both sides, then sewed the pockets. This was maybe the most stressful part as it needed to be (almost) perfect and as I'm a beginner, you can imagine ...
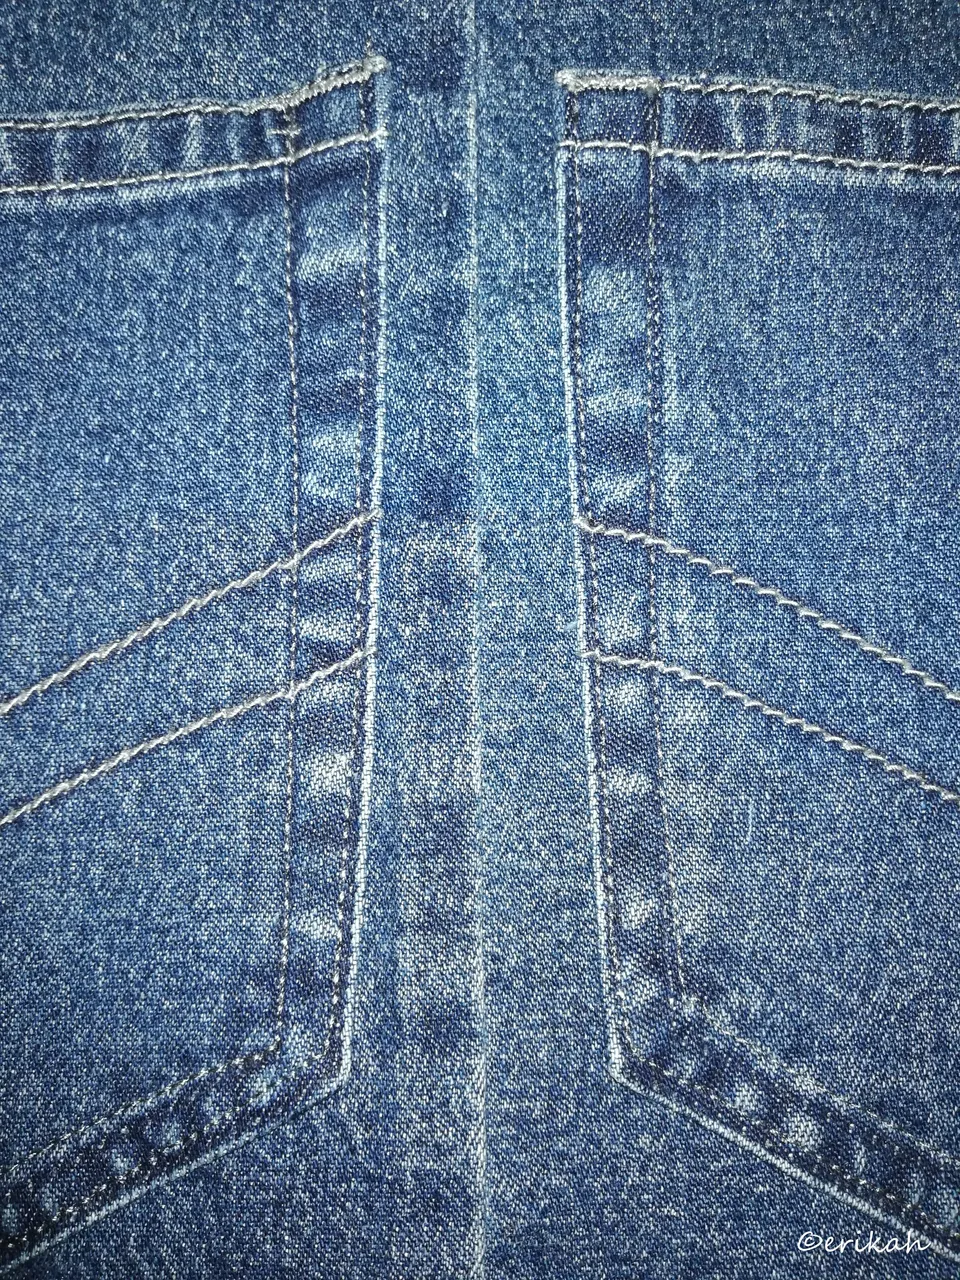
There is two sewing on these pockets. The design, the wavy line is the original, the rest is mine as when I cut the pockets off the jeans, the thread was destroyed. I was using a thinner thread as for 200m denim threads you must pay a fortune, so I said it's not so important and used regular thread.
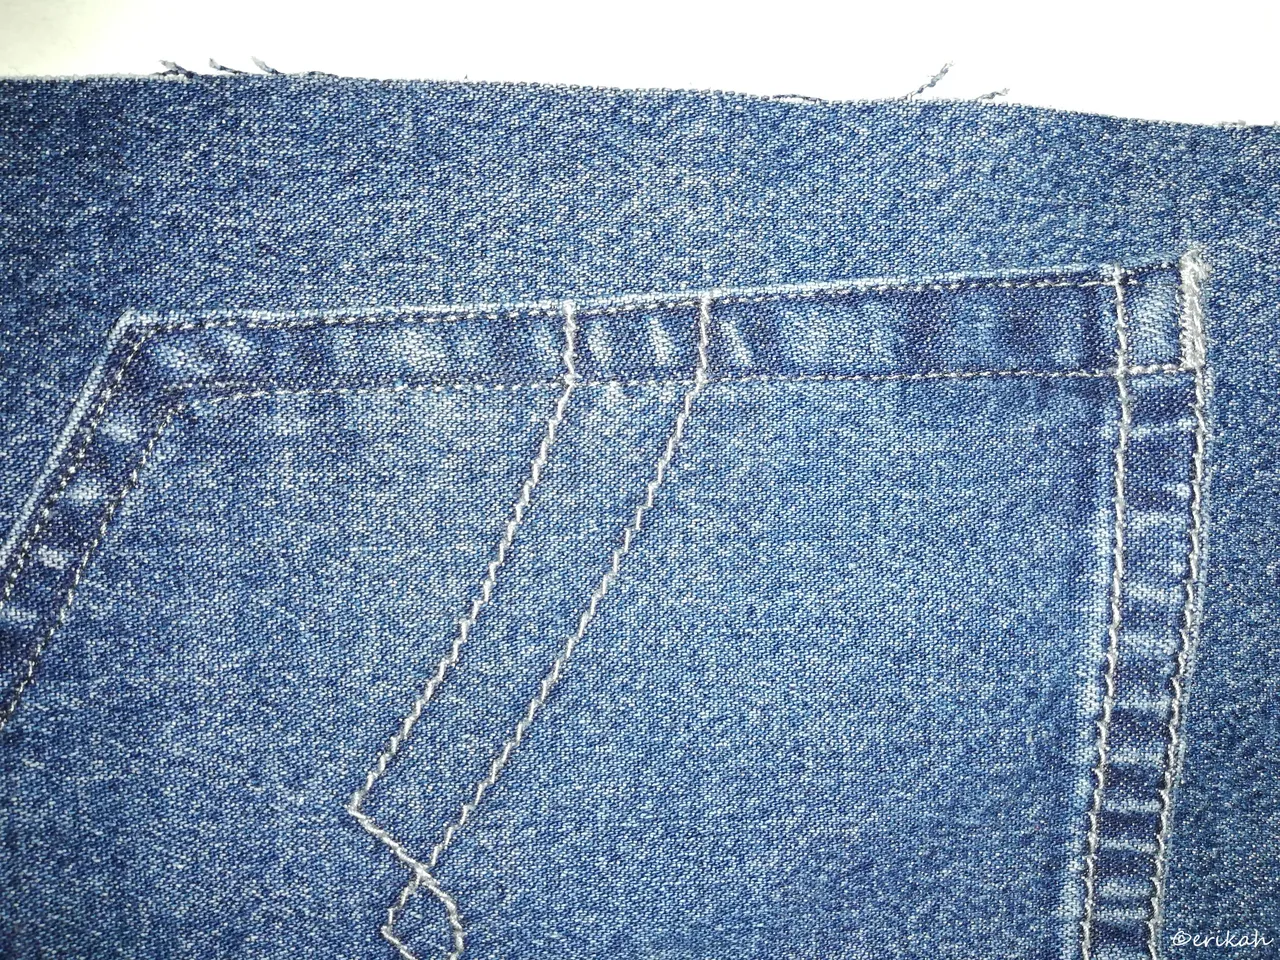
You can see on the photo how I did. It's far from perfect, but I'd say it's acceptable, I'm satisfied with it.
Carry straps are becoming my favorite part, although it must be done with much precision if you want them equal and nice.
Placing the interfacing is also very important and I had to learn the hard way that not leaving a space at the end will make my job harder. Now I know.
I was satisfied with them even though I made some mistakes.
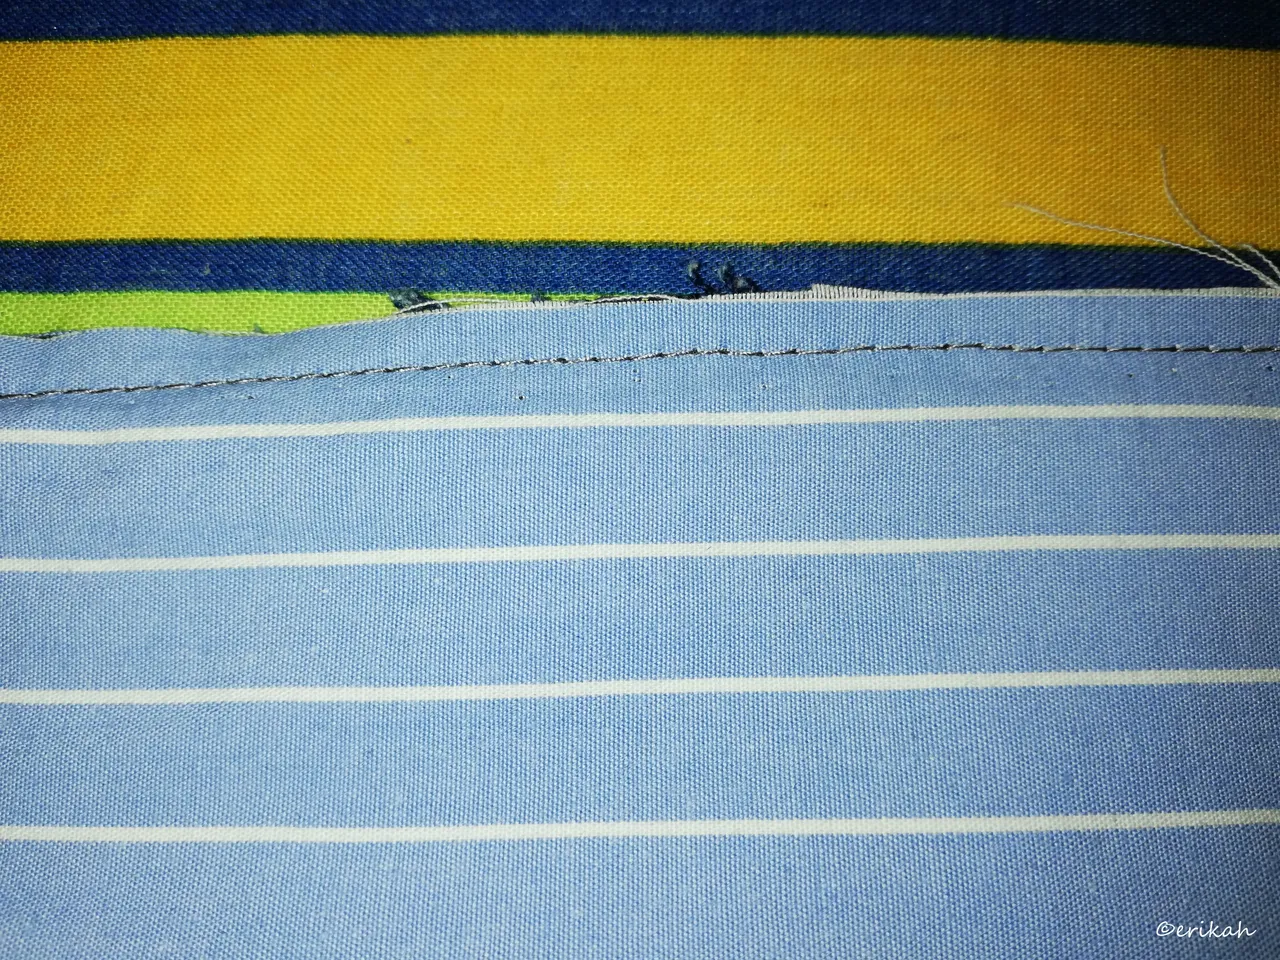
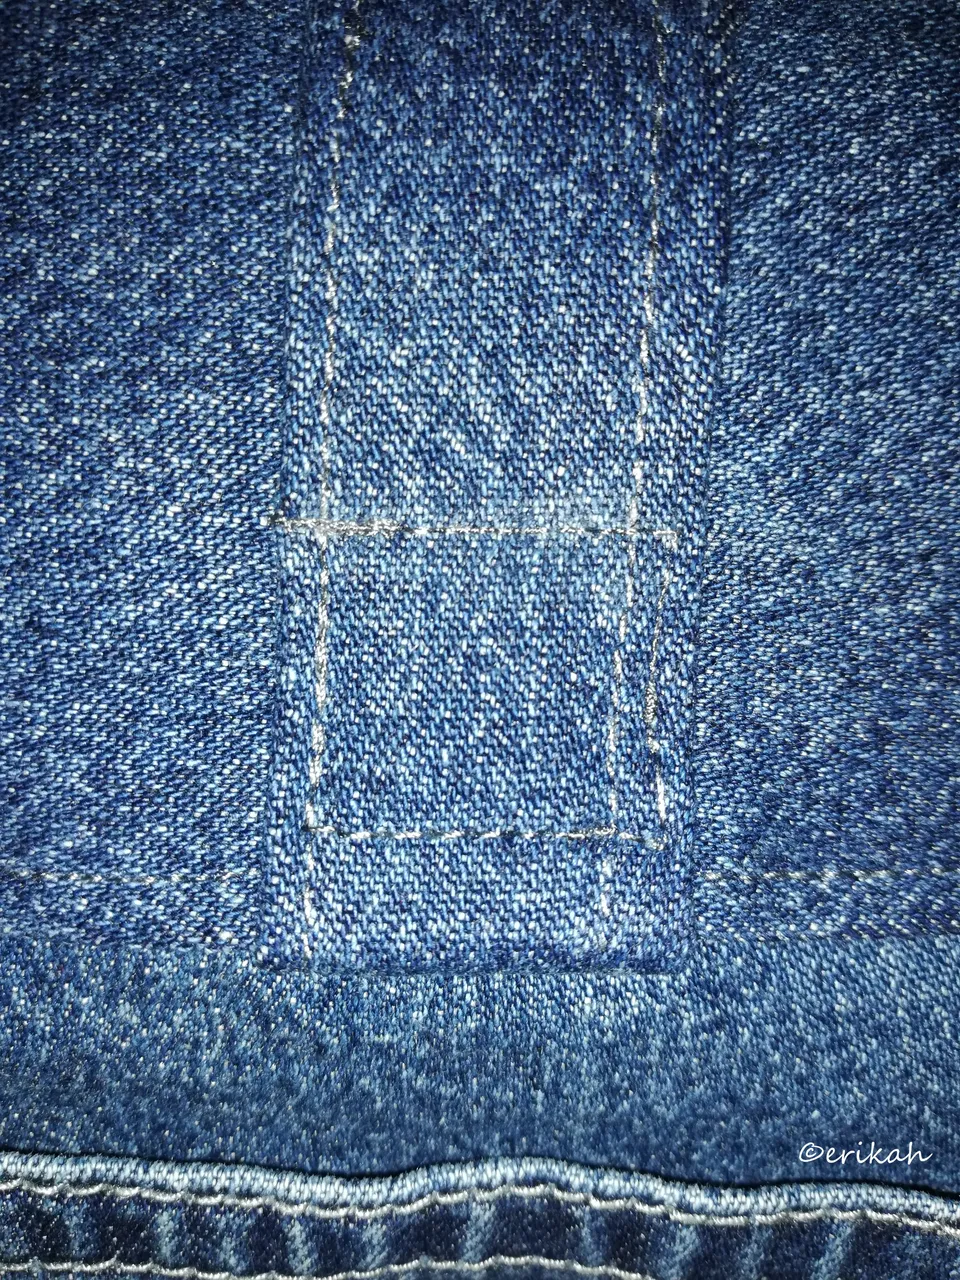
Next, sewing together the two pieces. This is also something to be done with care as the two line in the middle has to match, otherwise it would look awful.
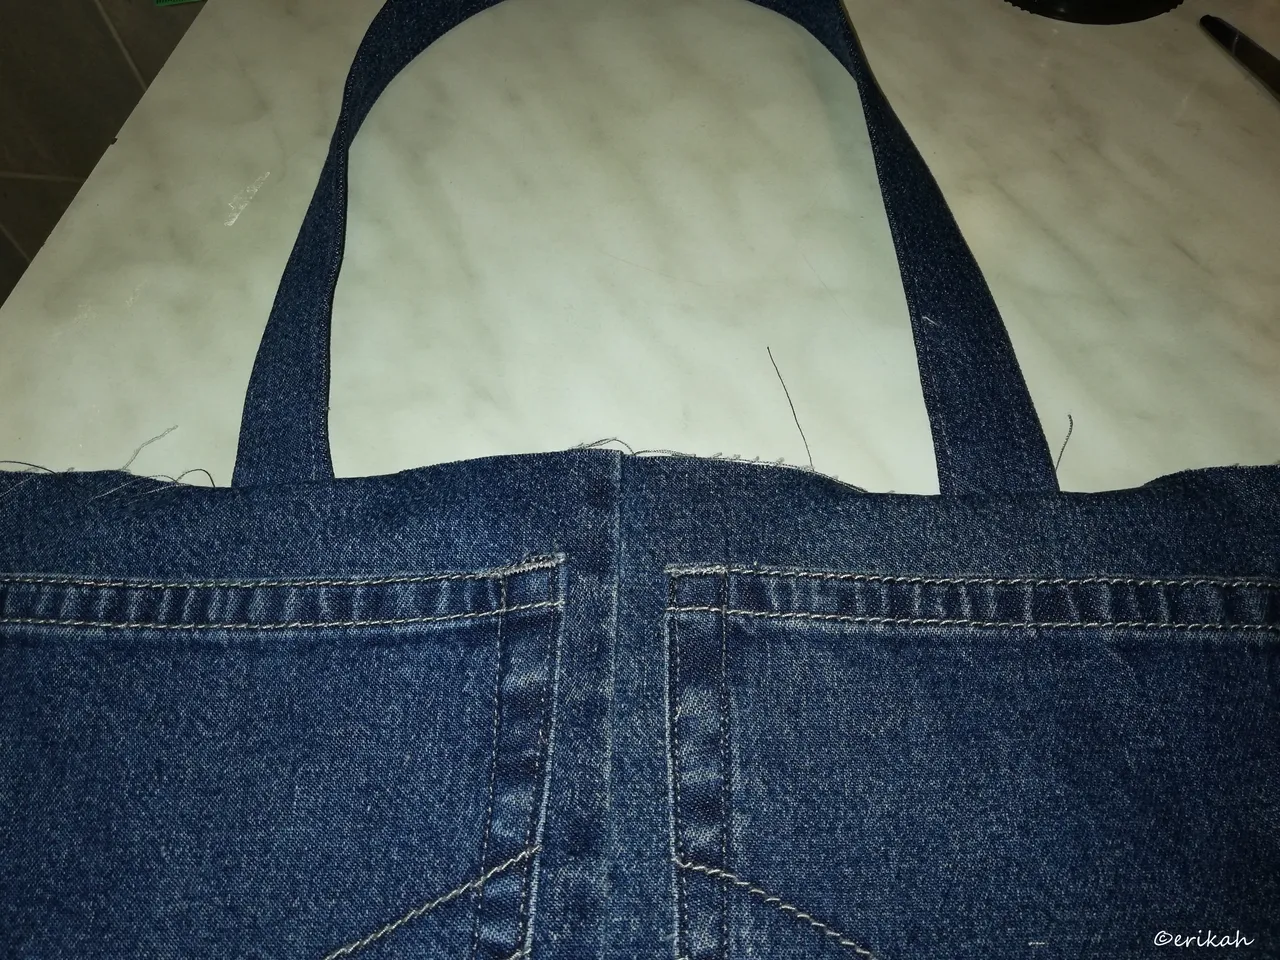
Sewing the straps was pretty difficult because the mistake I mentioned earlier. The interfacing made it more thicker and harder to work with.
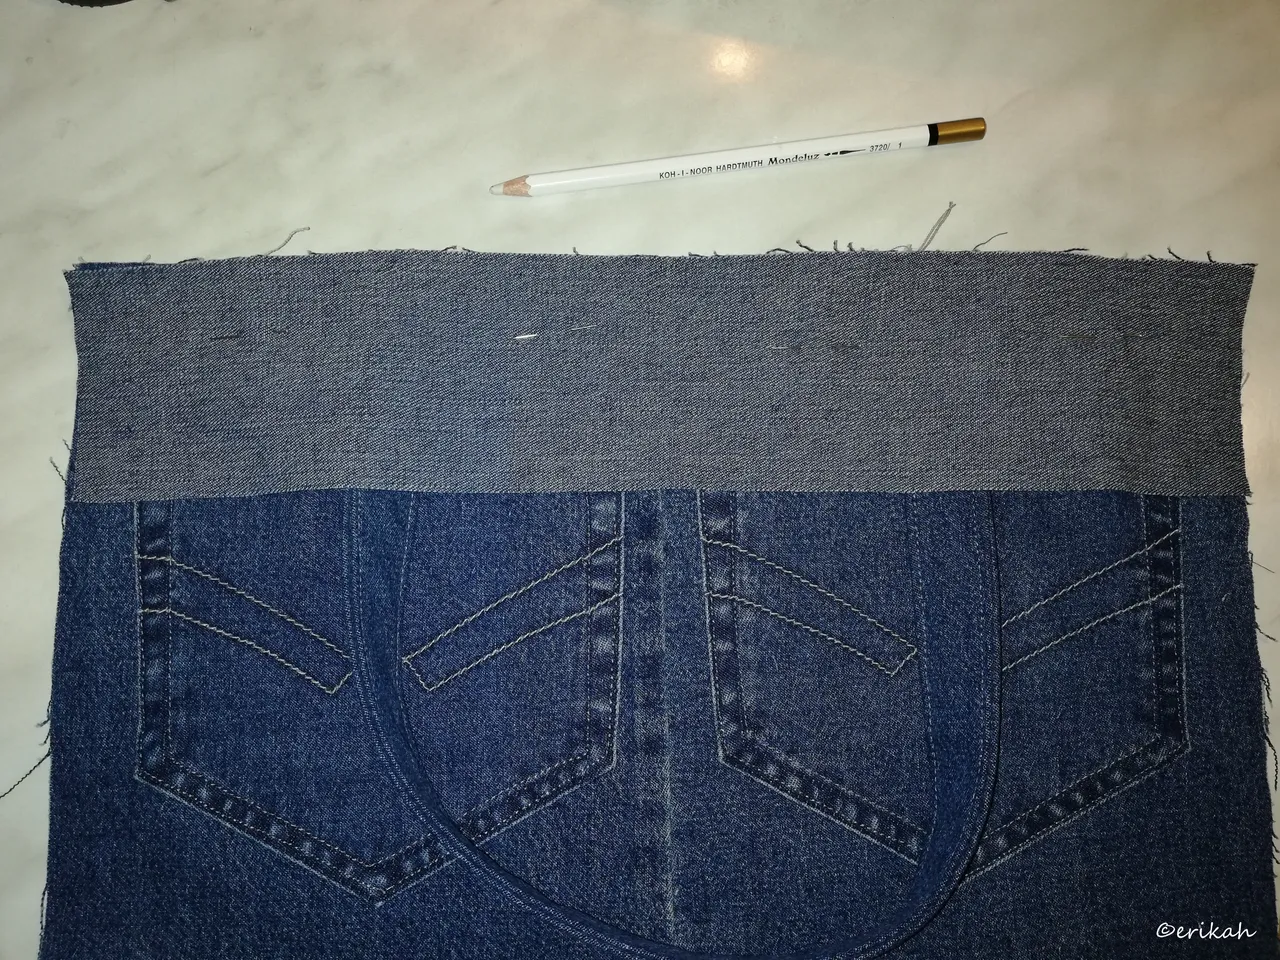
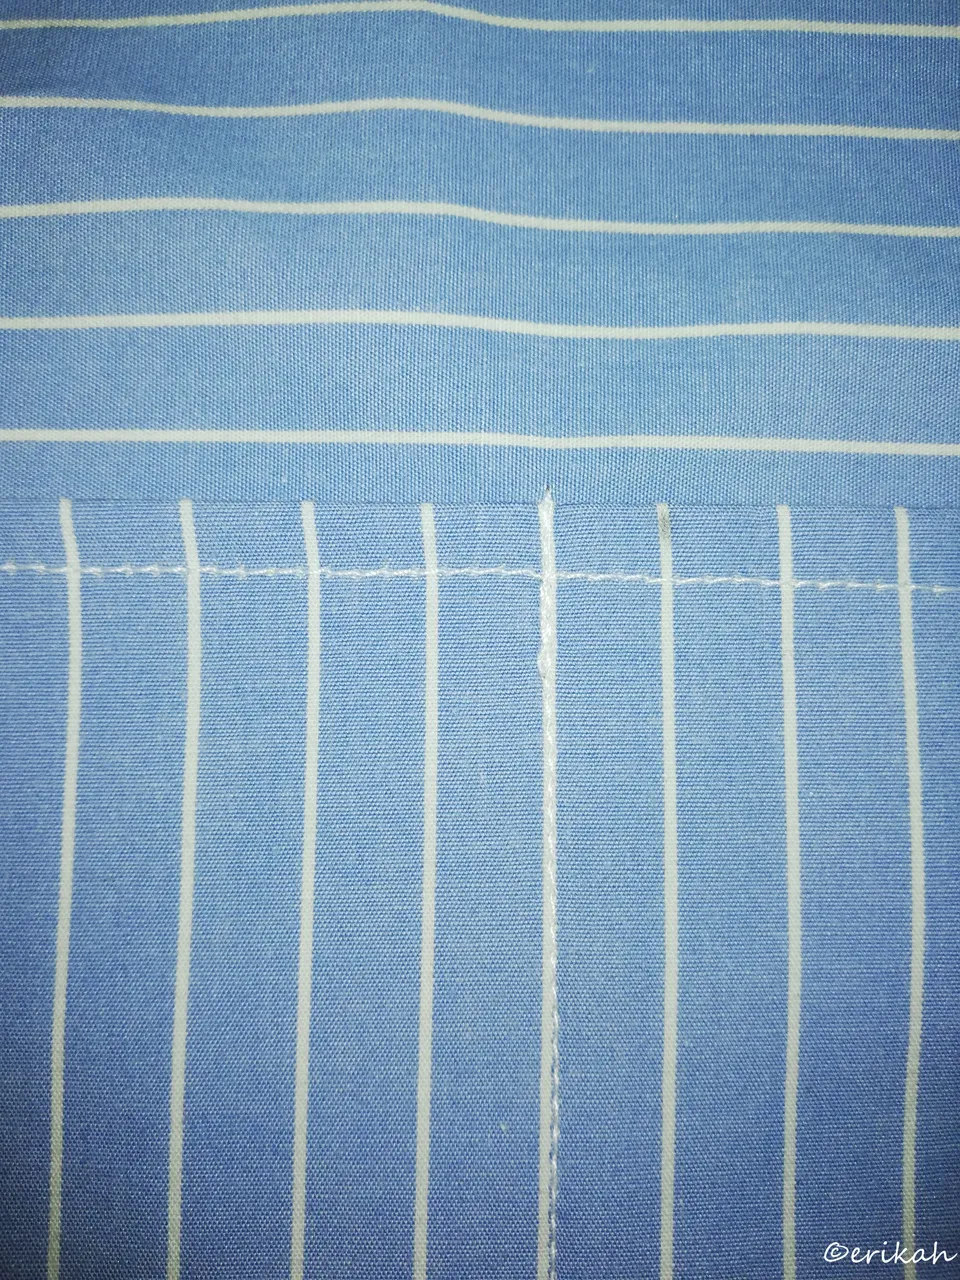
Sewing the upper part of the bag.
I'd say pretty good, no major problems here.
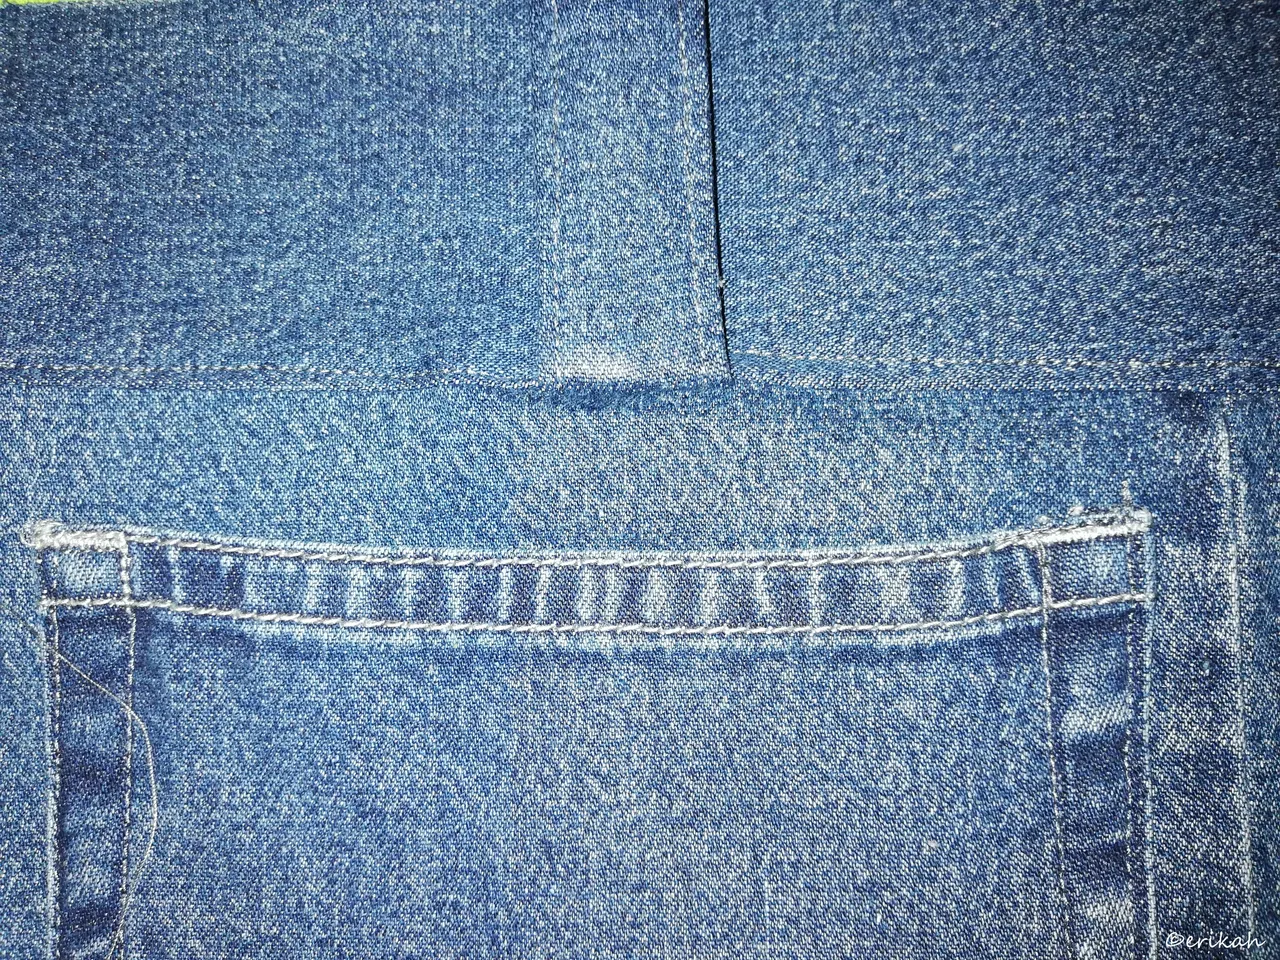
This is how it looked at that point.
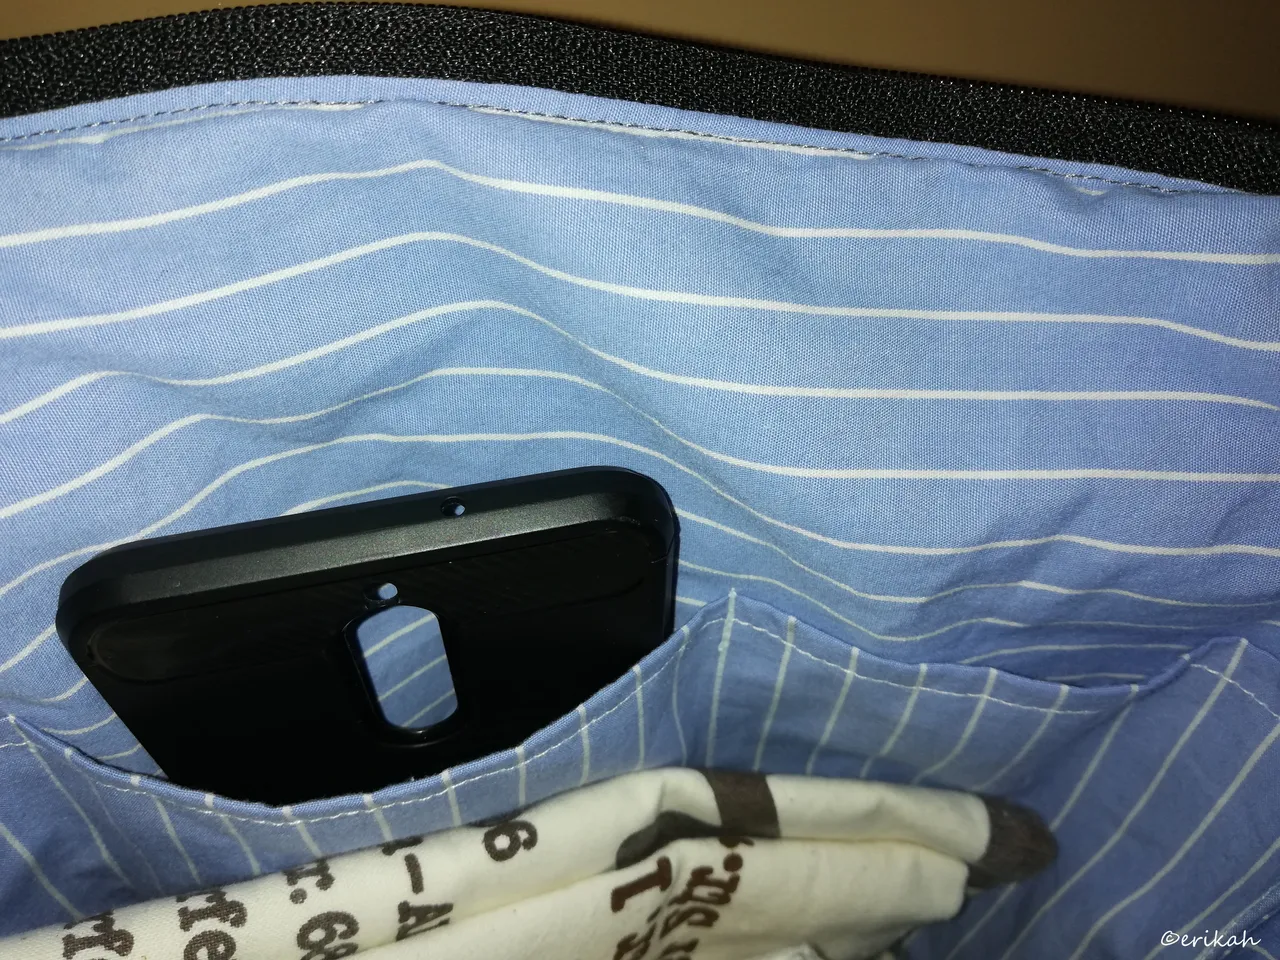
Here's where I was forced to improvise. The original project, see video had a zipper pocket but I don't like that as one pocket is never enough, plus zipper pocket is difficult for me as I don't have the foot for zippers and always have to improvise.
So instead of zipper pocket I chose to do a three compartment pocket, just as the other bag had.
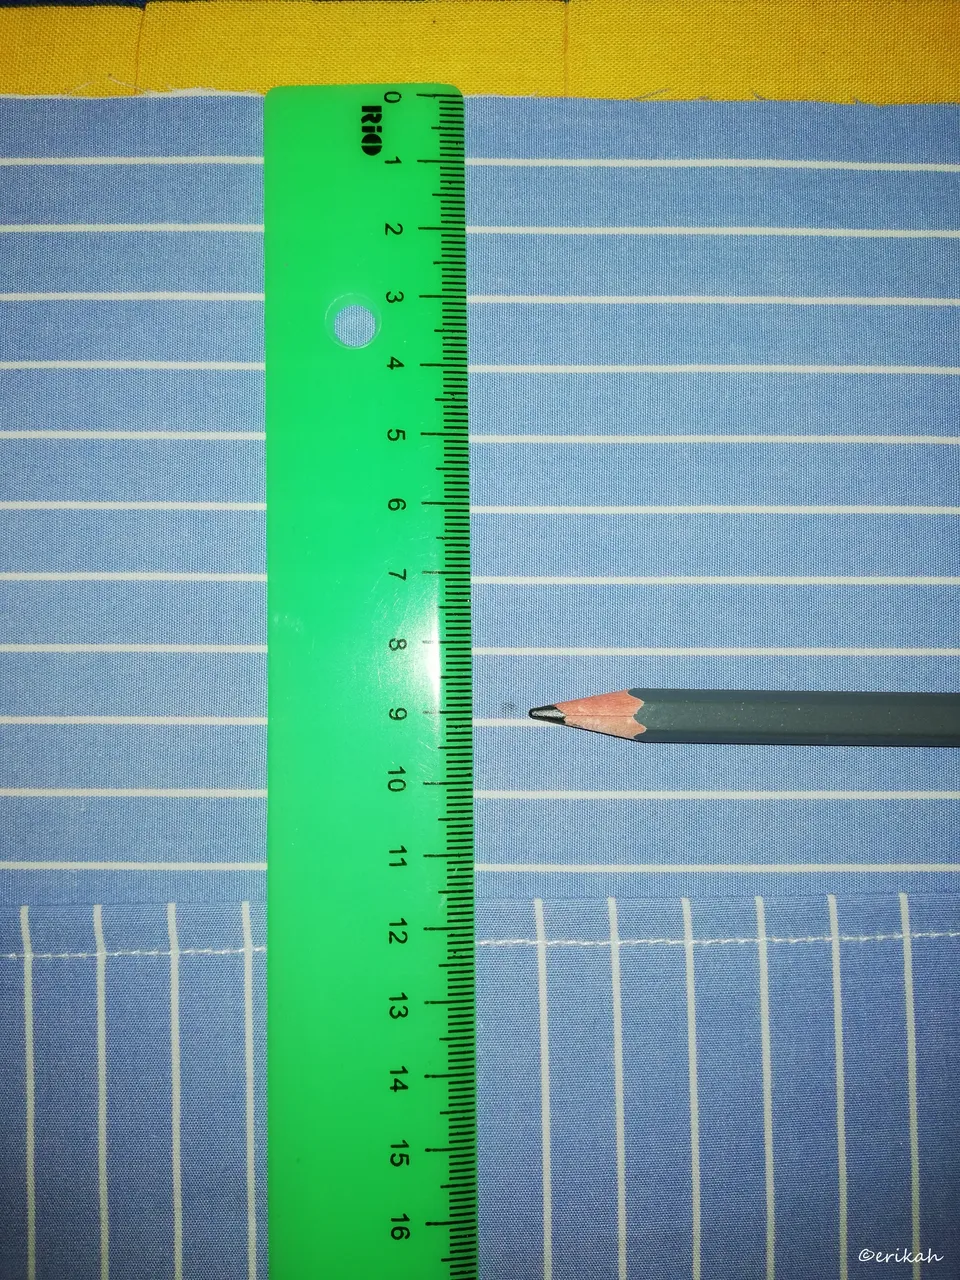
9cm from the top of the lining, that's the ideal place for the pocket.
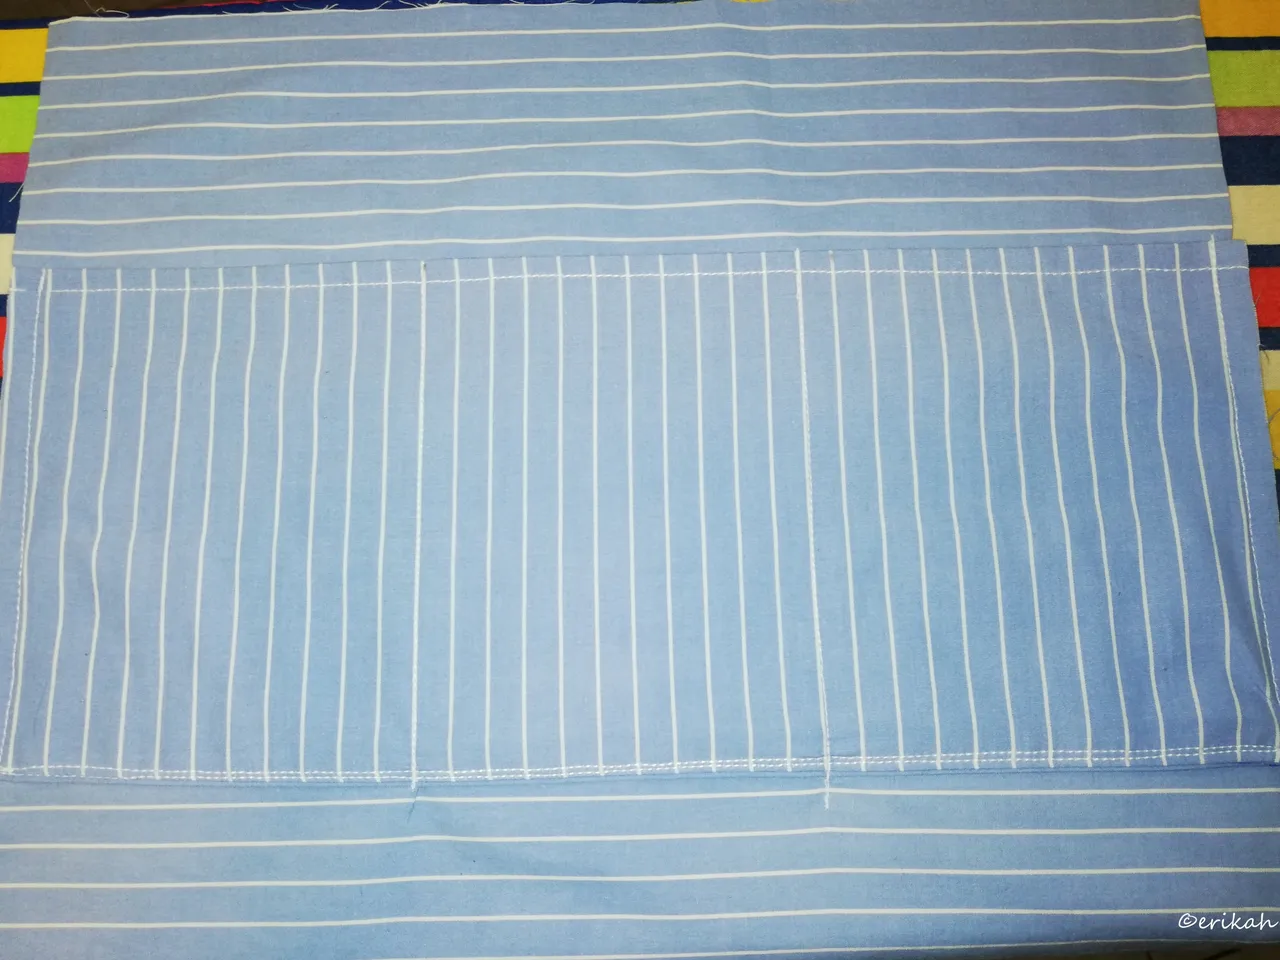
And voilà, the three compartment pocket sewed to the lining.
A close-up photo for you to see how I did it.
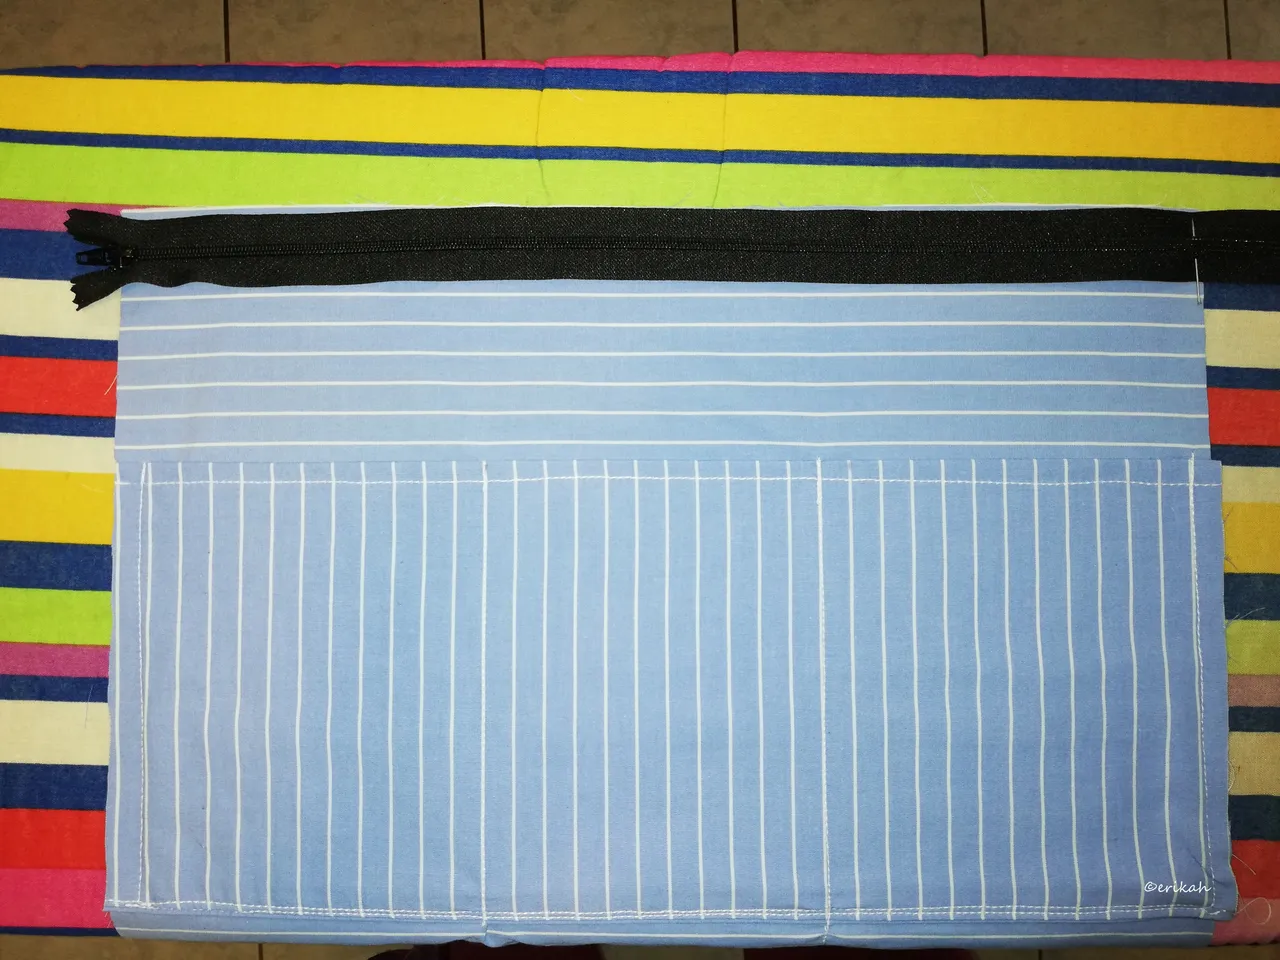
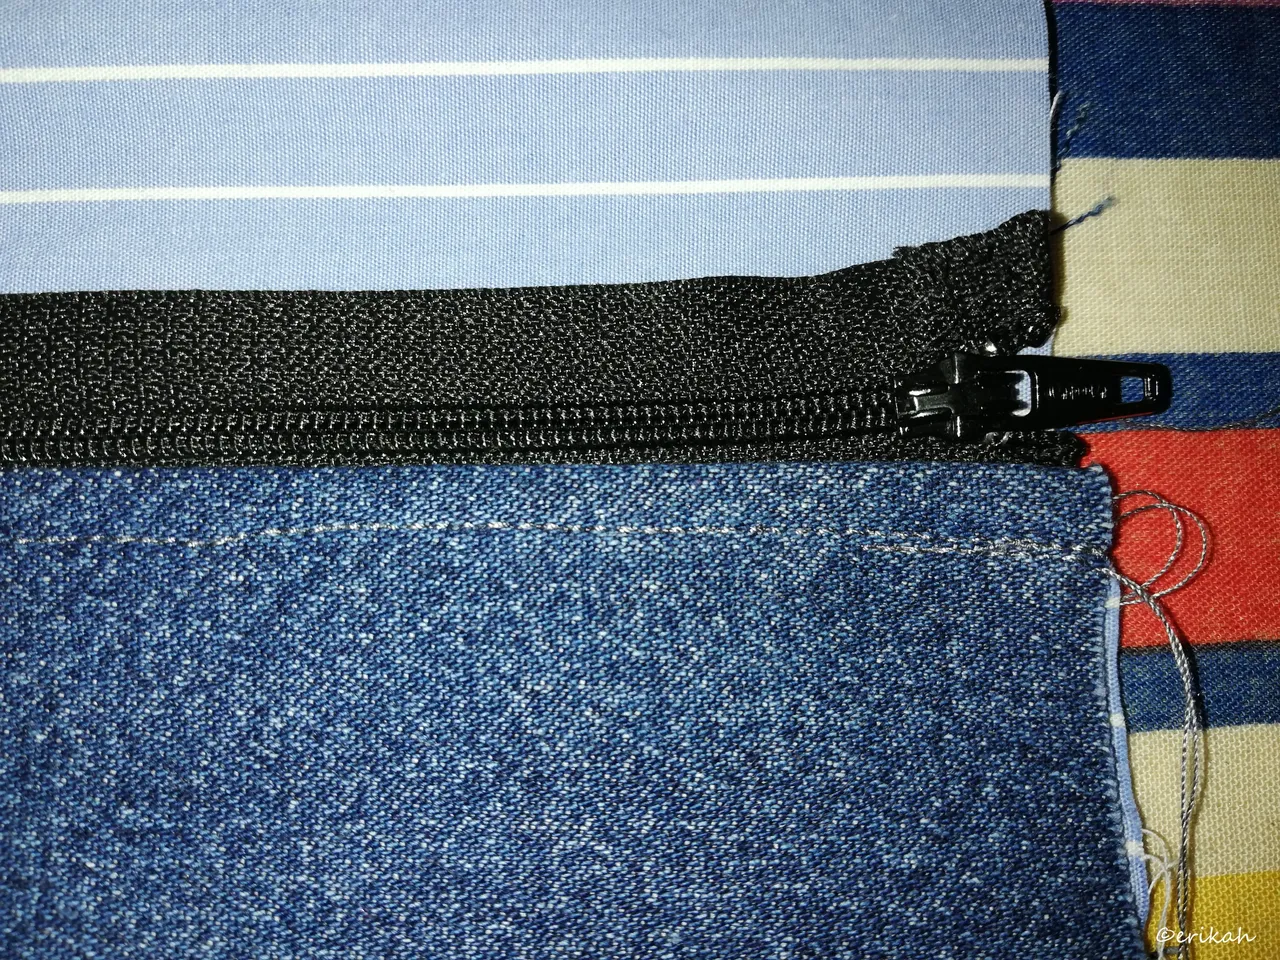
The zipper part, another risky part, where I had to improvise. I would have needed a 35cm zipper but that's non existent here, don't ask me why, so I had to use an 50cm long zipper.
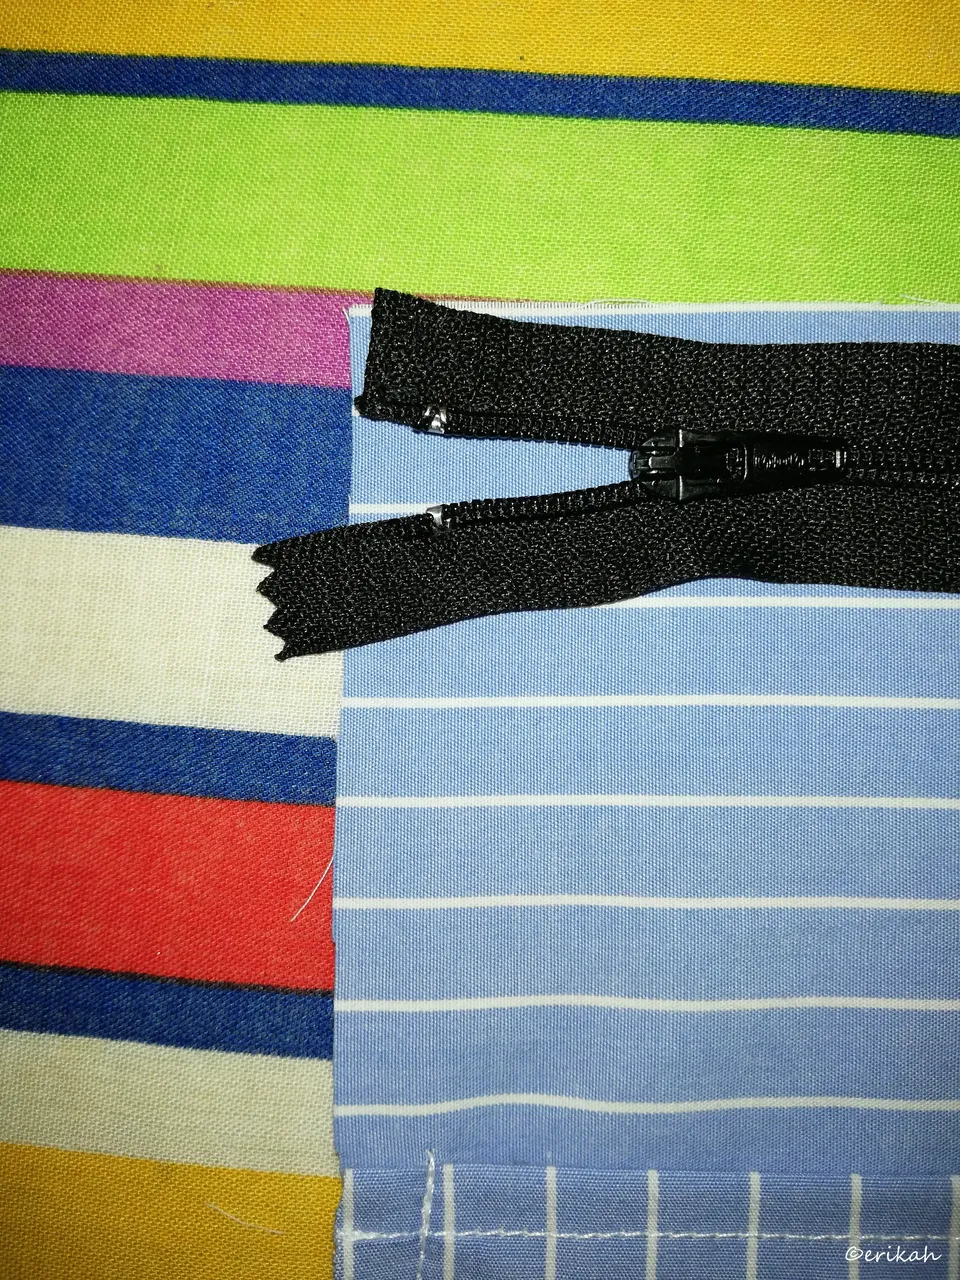
The end had to be sewed to hide it.
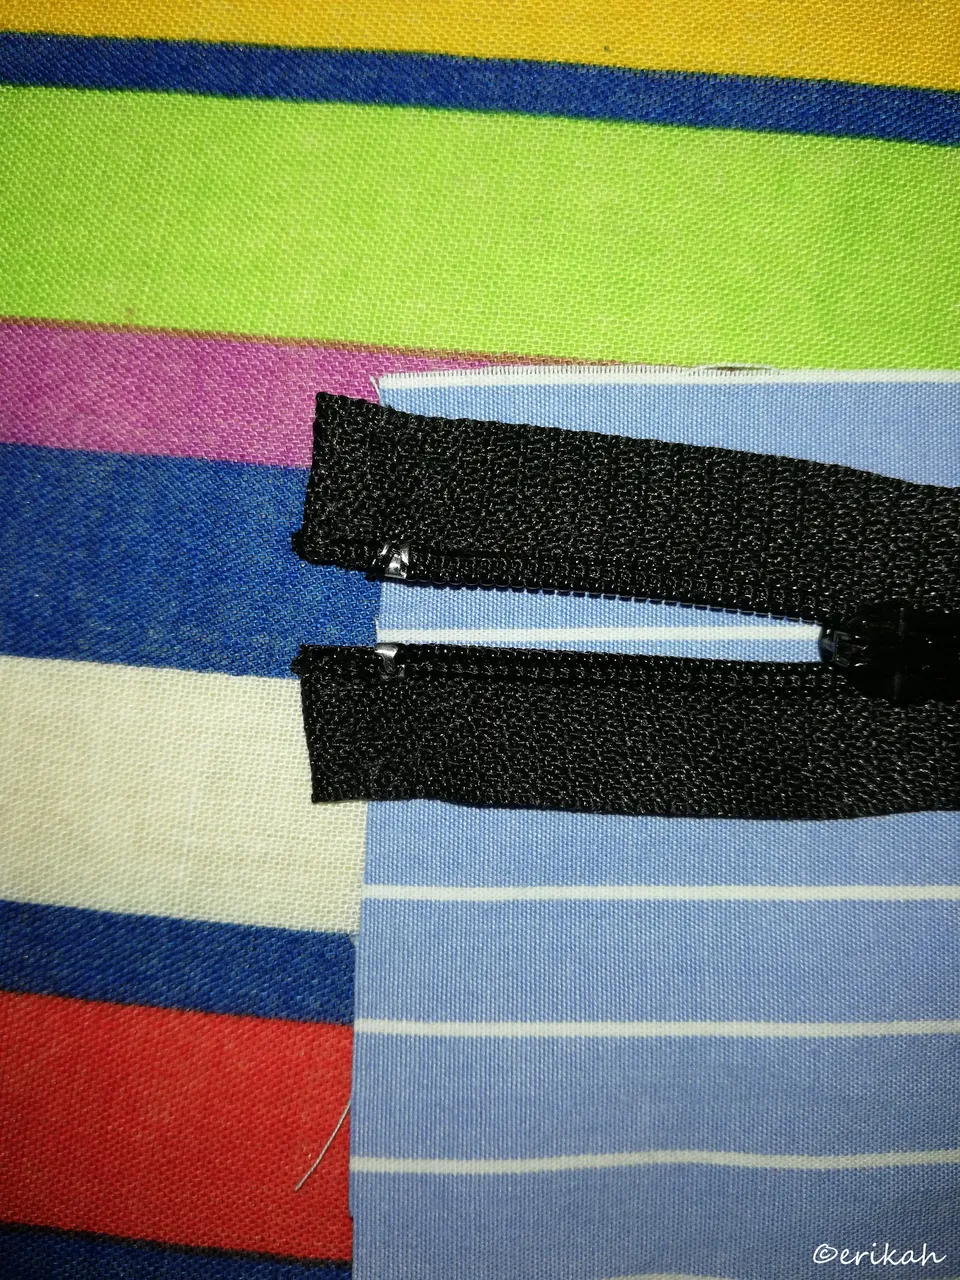
This was done manually.
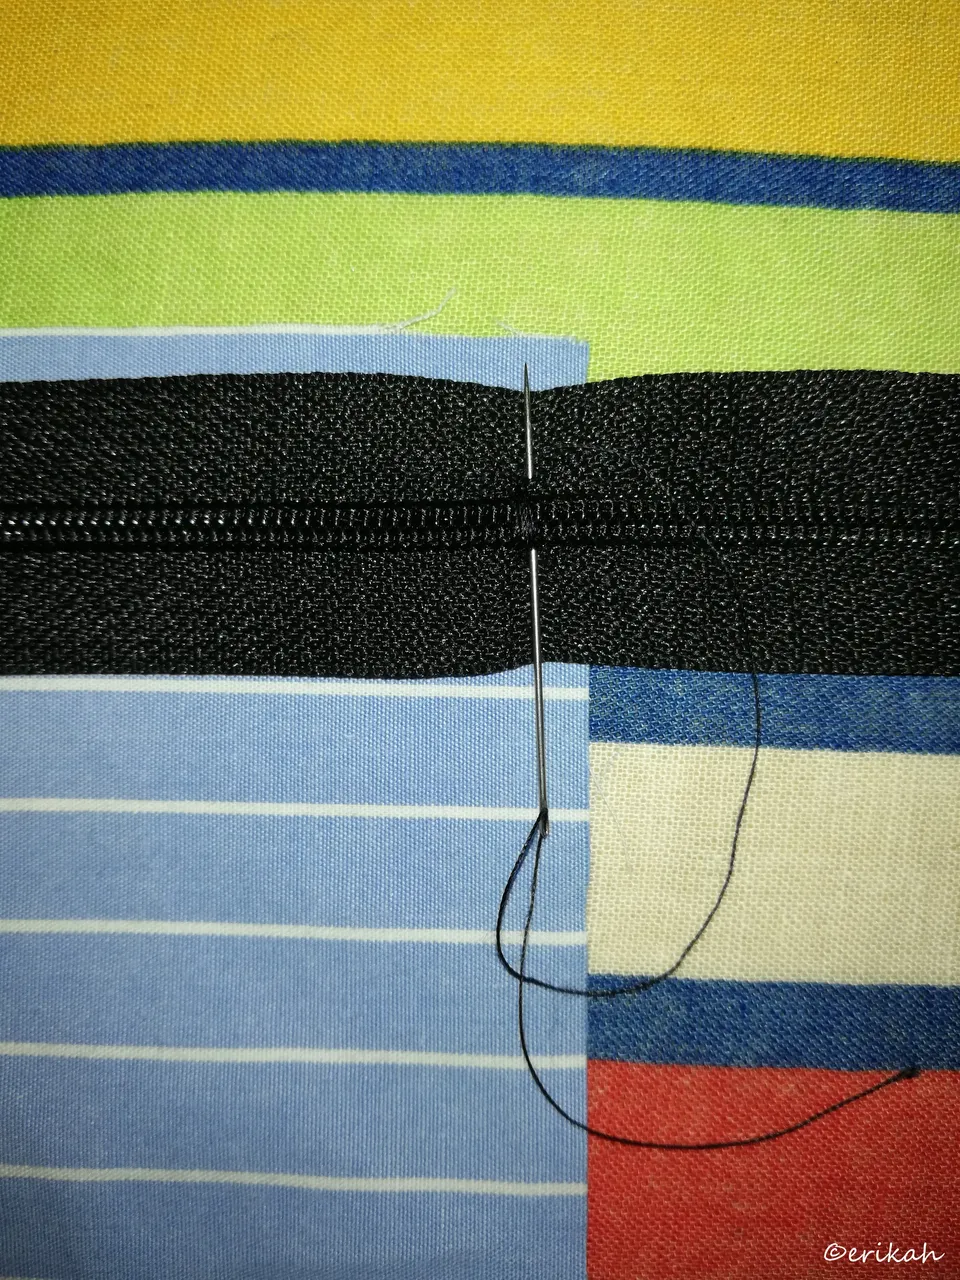
Zippers have a little metal part at the end but mine as it was too long, I had to improvise and sew that part together manually.

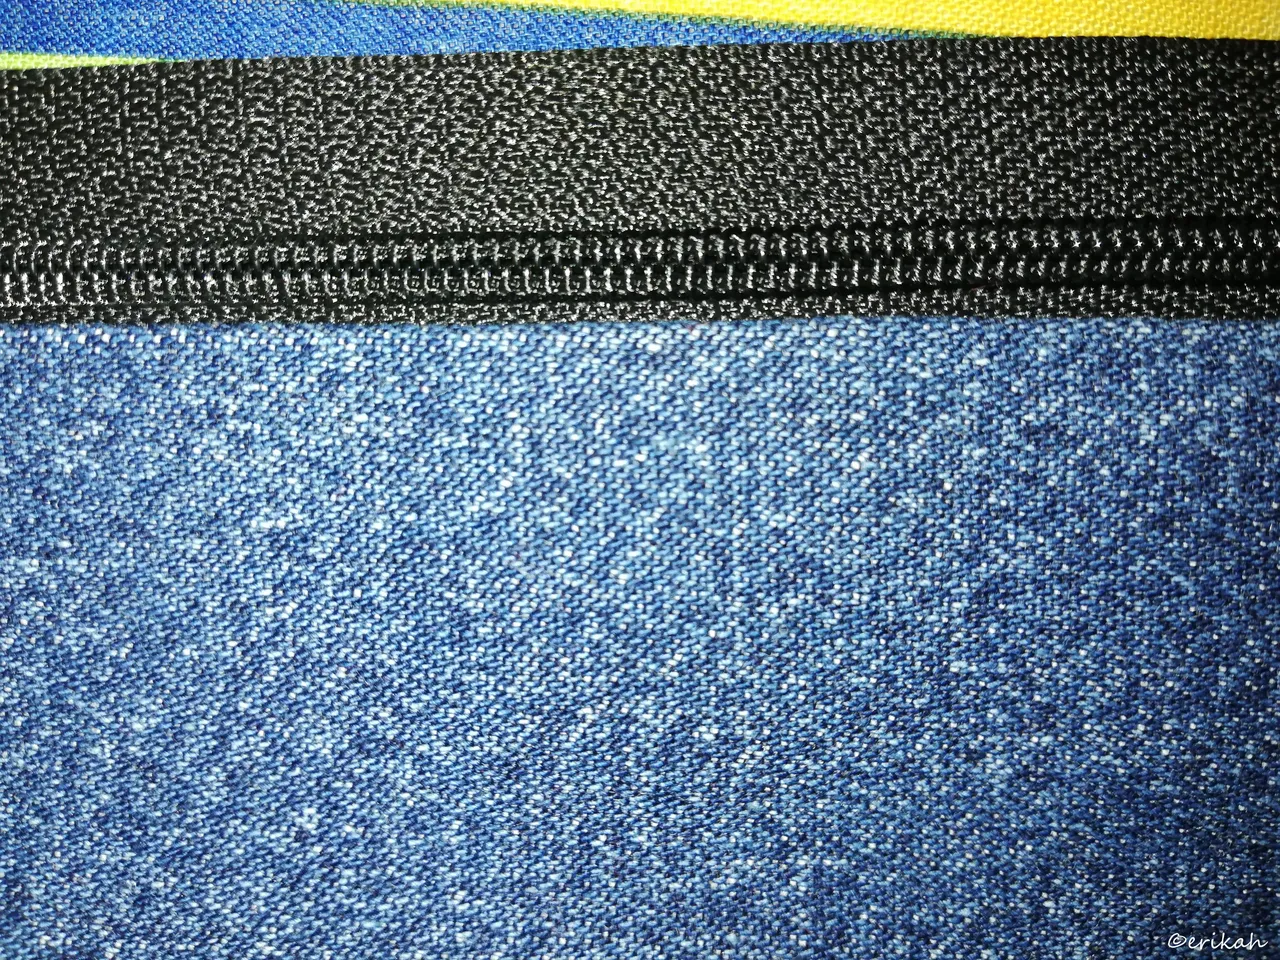
Sewing the zipper on the lining helps me do a more precise work as there's no room for mistakes here.
Even thought I'm working blind with the zipper most of the times, this came out great.
I'm ok with the result.
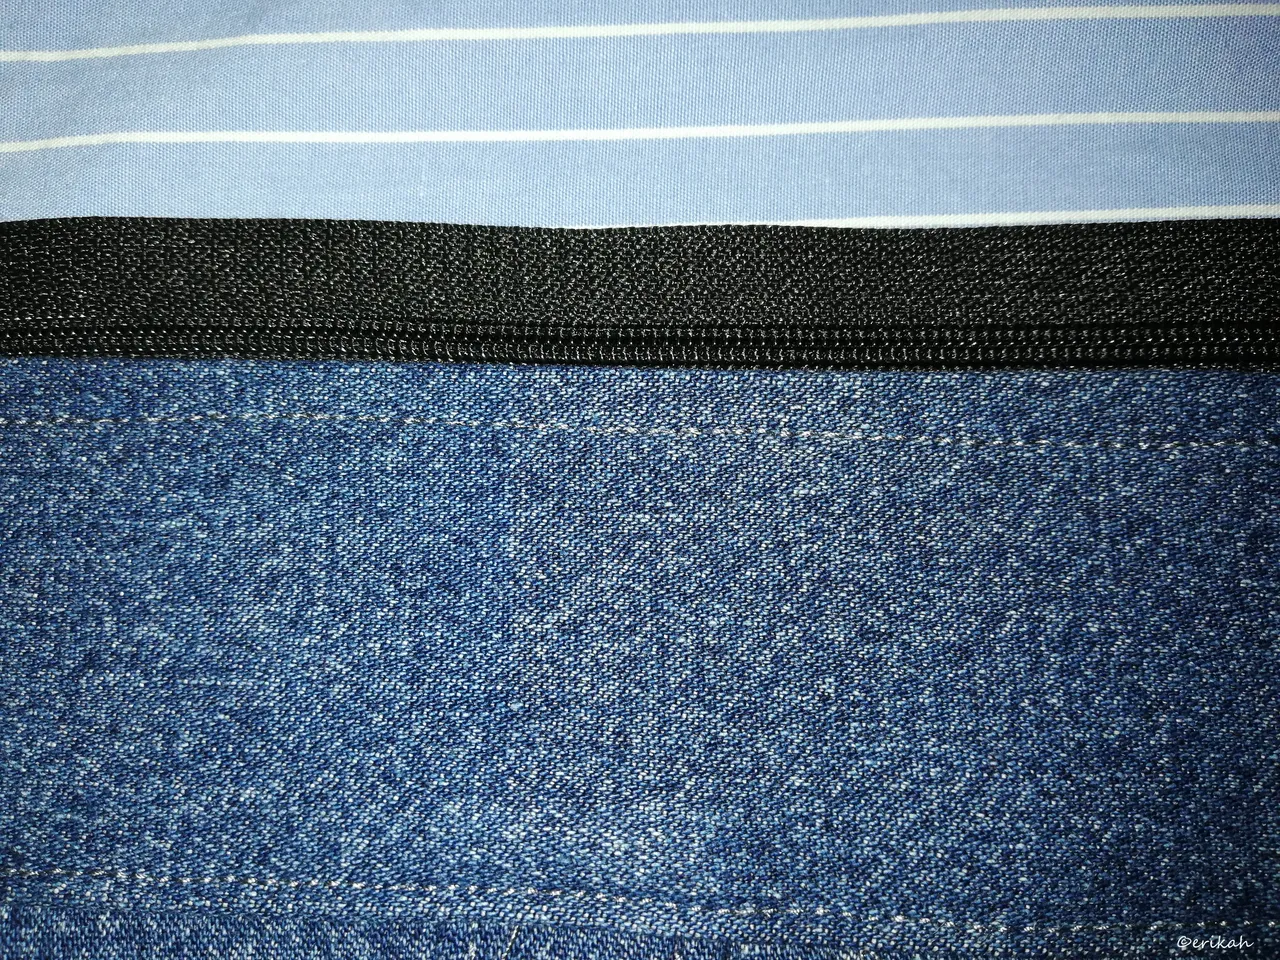
And here it is, the line next to the zipper, also good.
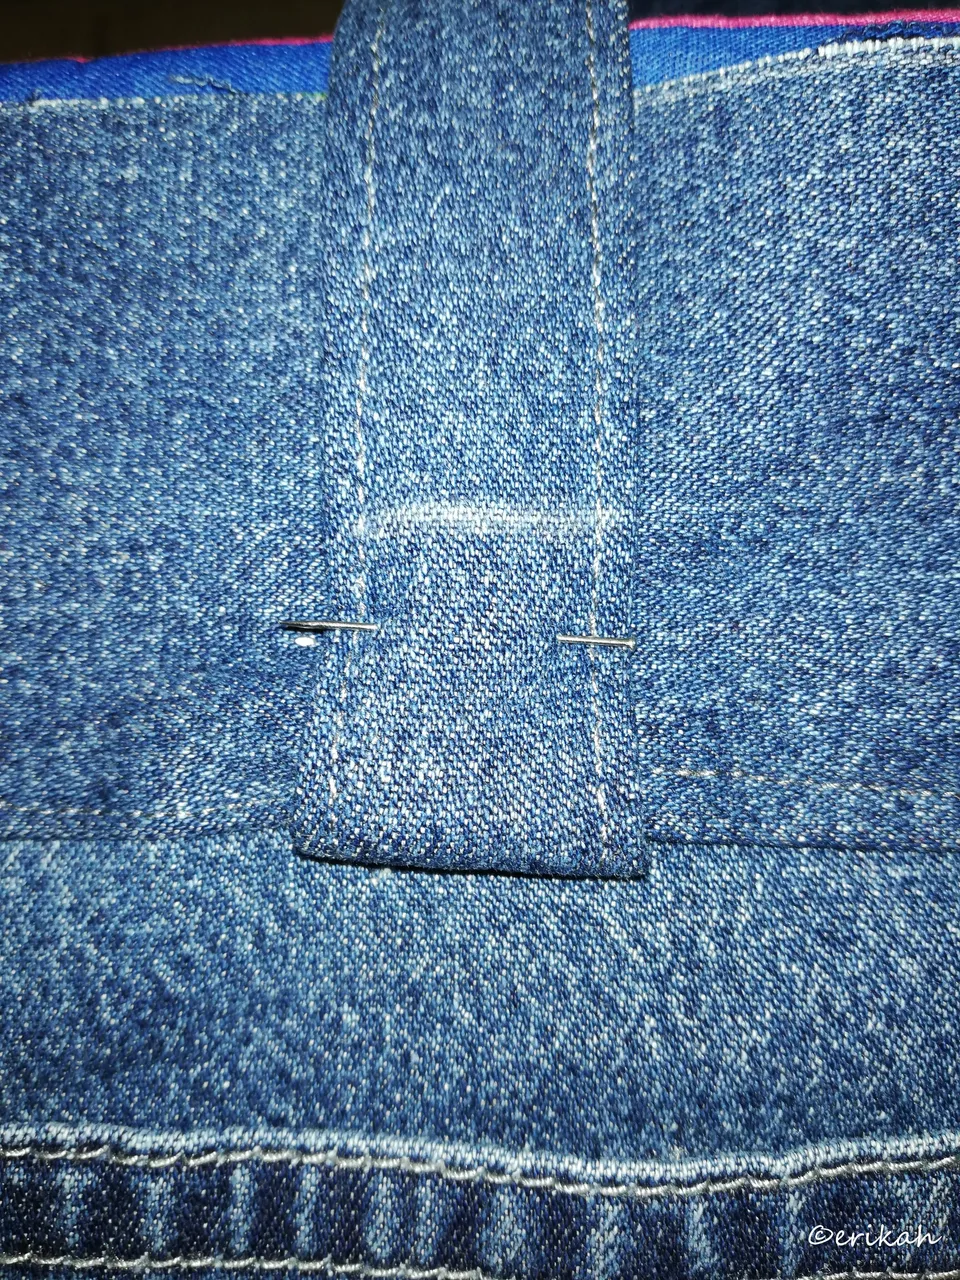
This is the part where I got into trouble. The straps were two thick and could hardly sew them to the other part.

Almost broke the needle and that would have been a first as I've never broken a needle.
Overall it was a nice experience. I'm satisfied with the bag, it looks pretty good and there has no major mistakes. I've learned a lot during the process and now I know how to avoid the mistakes I made here.

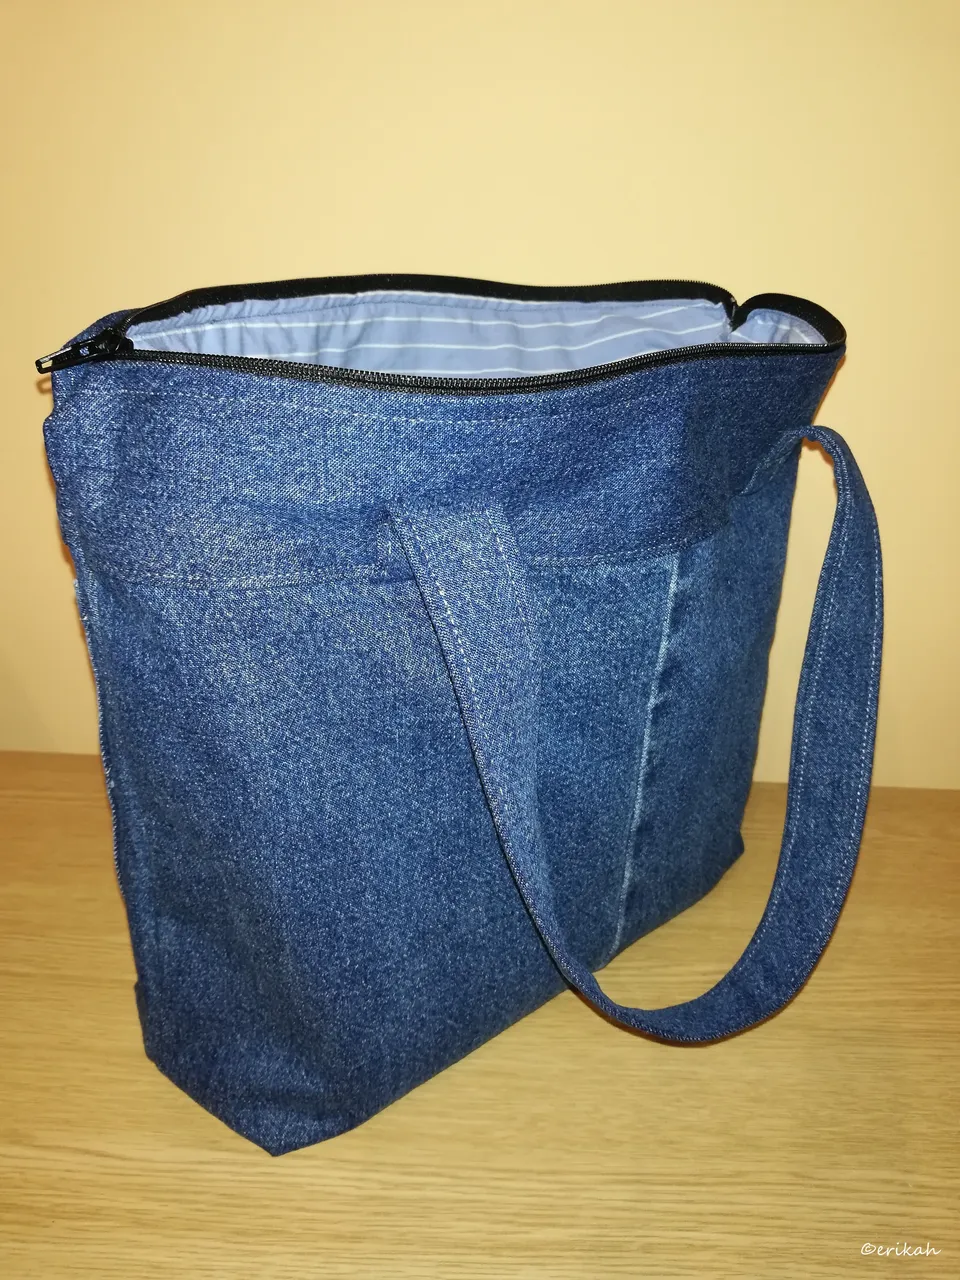
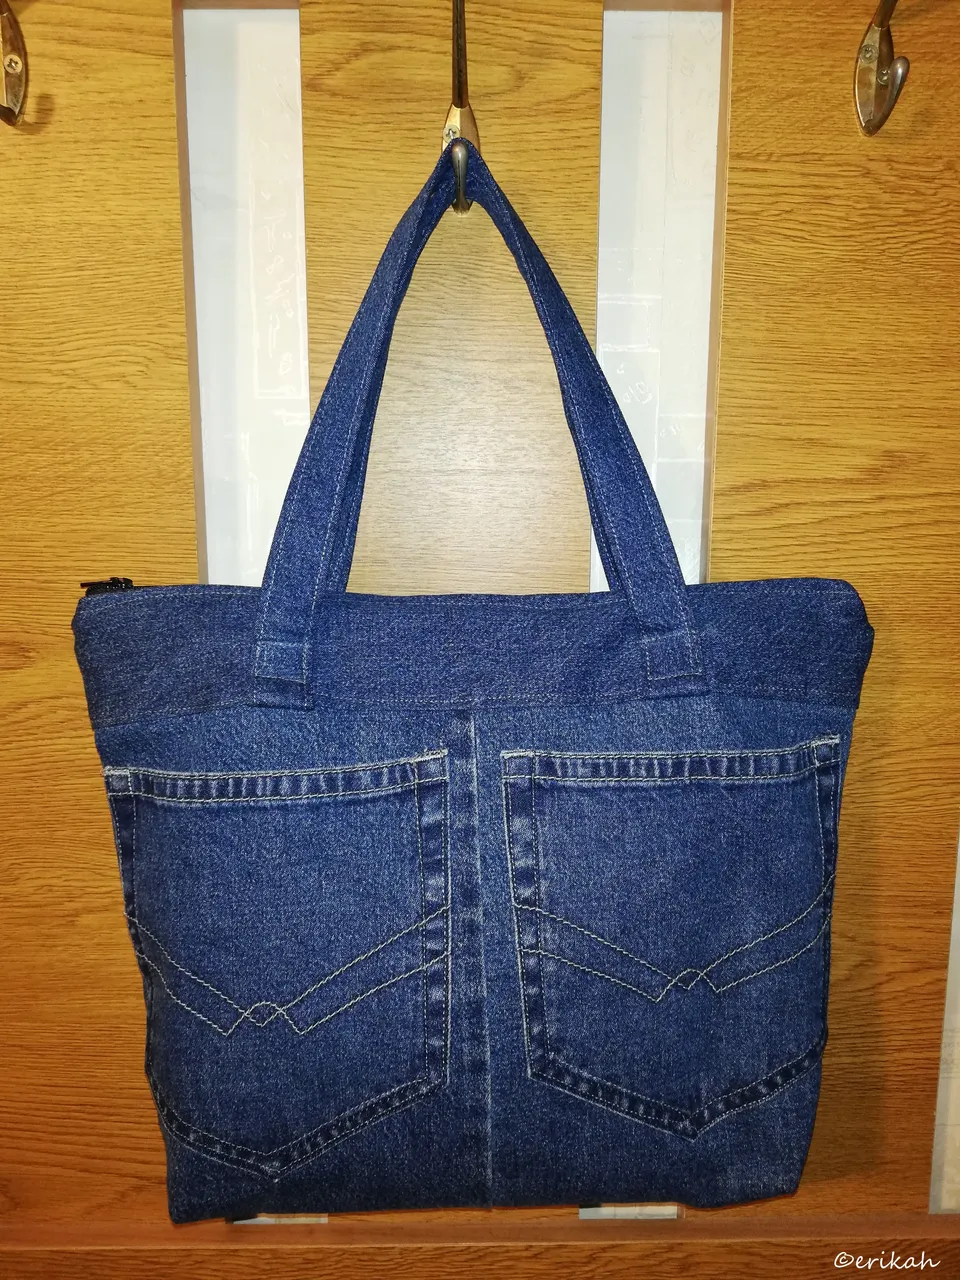

I love the pockets and I guess the next one is going to have triple pockets as well.
It's not perfect but still good as my second bag.
This is my contribution to #needleworkmonday.
Sooo, who wants a bag like this? 😀