Hello busy bees !
Today by browsing through my files of confined artist (but nonetheless still in the creative process 😁),
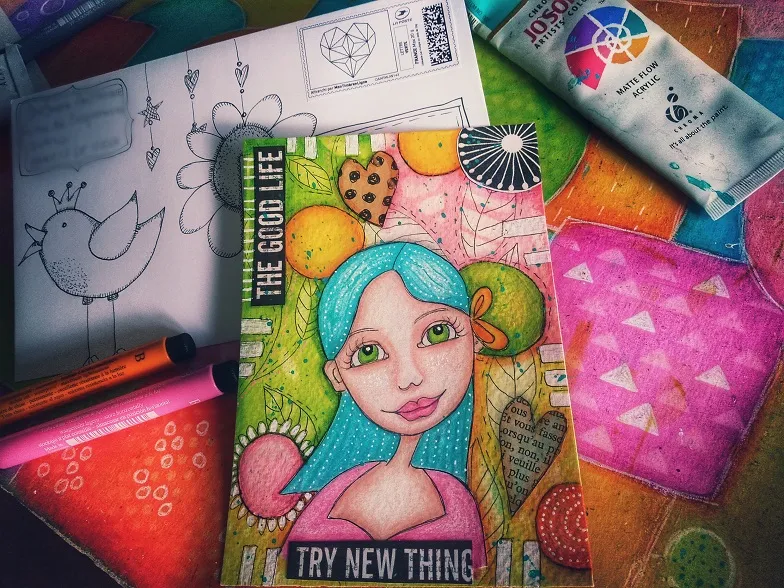
I found this postcard that I had made for my mom and sent her a few years ago in a nice envelope, also created by hand ...
Fortunately I always photograph the creation steps and I will show you the creation tutorial,
which I'm thrilled to share on our new Hive place ! 😁_

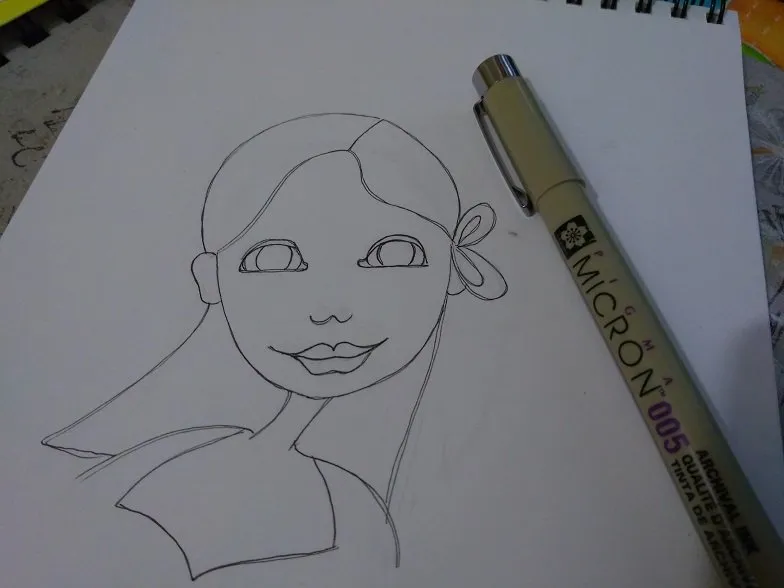
I started with a pencil sketch in my notebook

Then I draw the lines with a fineliner Pigma Micron (0.005)
and erase the pencil lines
I go on with now the colorization of my drawing
with my polychromos pencils from Faber-Castell, first using the color "light flesh" which will be my base for the skin, and with a line which remains light at first.
then I accentuate this same color to create shadows on the face
and after that, I continue with a slightly darker cinnamon tone,
the idea being to give relief to the face and create the volumes with the shades
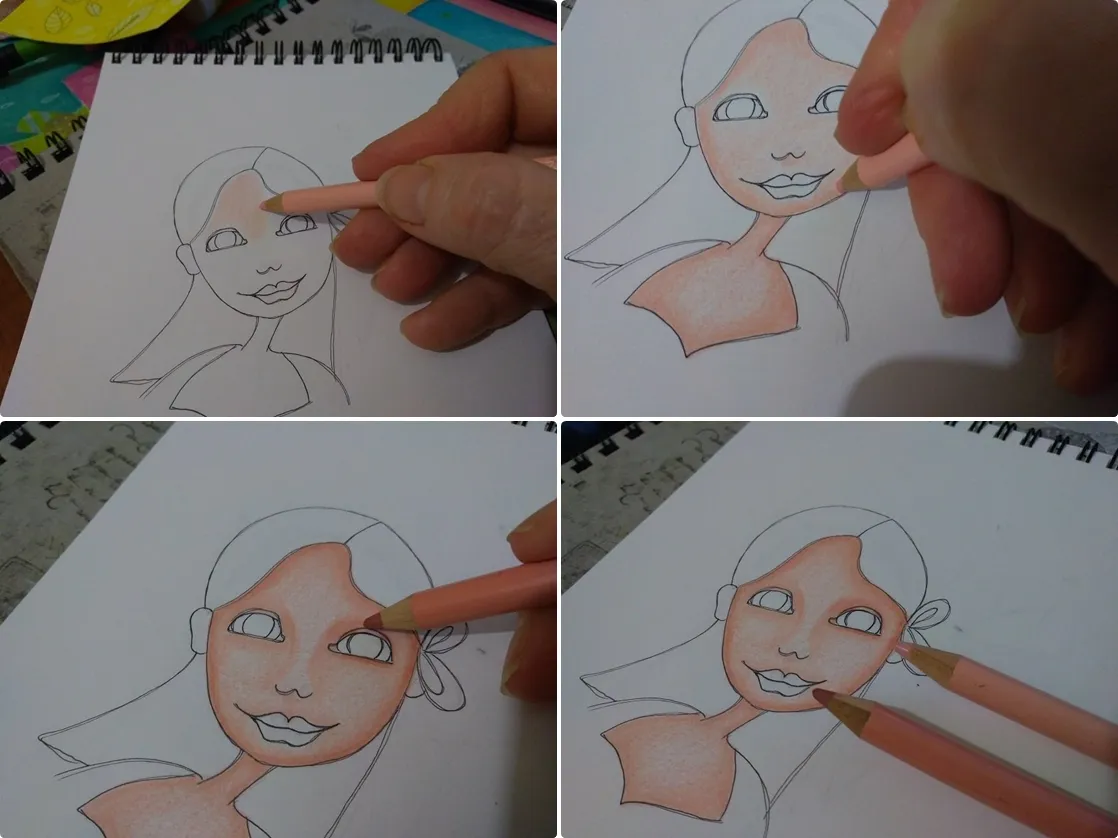
Each time the lightest shade is applied first, then a darker shade to give relief to a color that would otherwise be flat and uniform
in the same way, the hair receives two shades of blue,
and two of green for the eyes,
and the same thing in pink for the lips ...
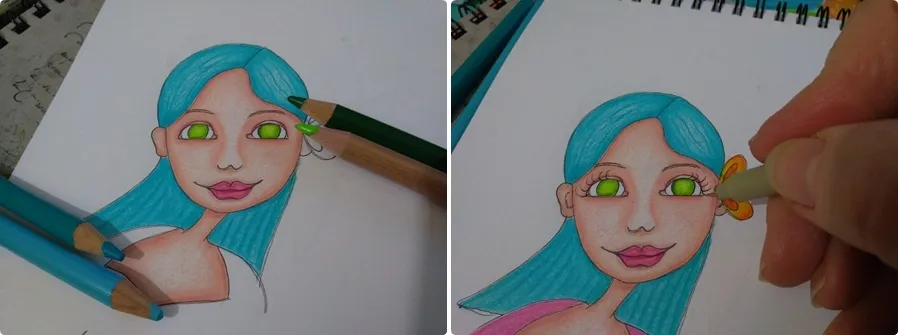
adding the eyelashes with the finefelt pen....
a girl need some long eyelashes...😊
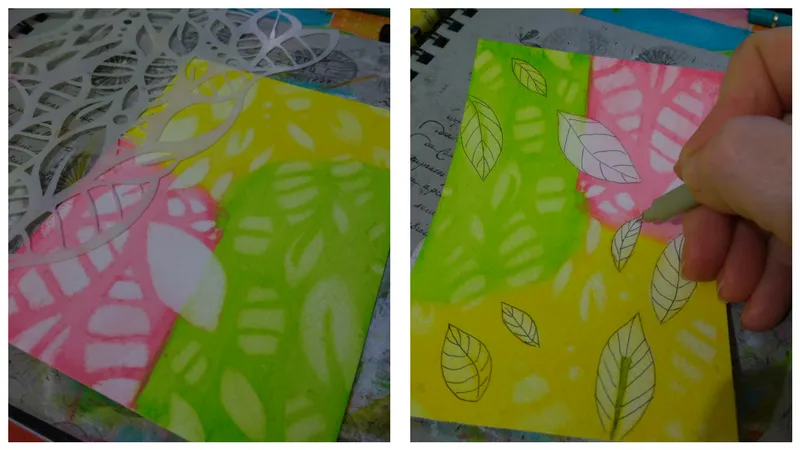
Now I want to create my background
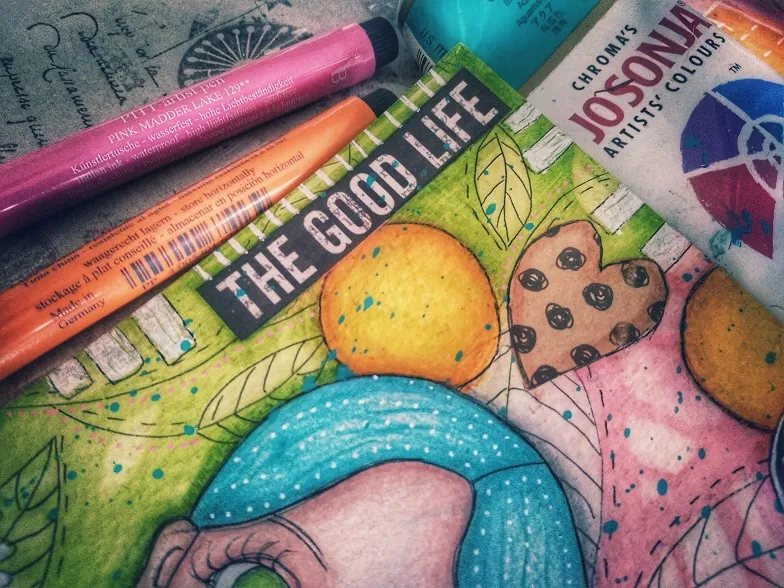
I take a blank postcard ready to paint that you can easily find in a creative hobby supplies,
- I make these three blocks of colour using my water soluble waxs pencils Neocolor II from Caran d'Ache, and I unfortunately didn't make shots of that step, but next,
- using a stencil, I wipe the color before it is completely dry,
in order to let appear the white background under the patterns ... here plant motifs which I emphasize contours with an ultra -fine liner (0.005)
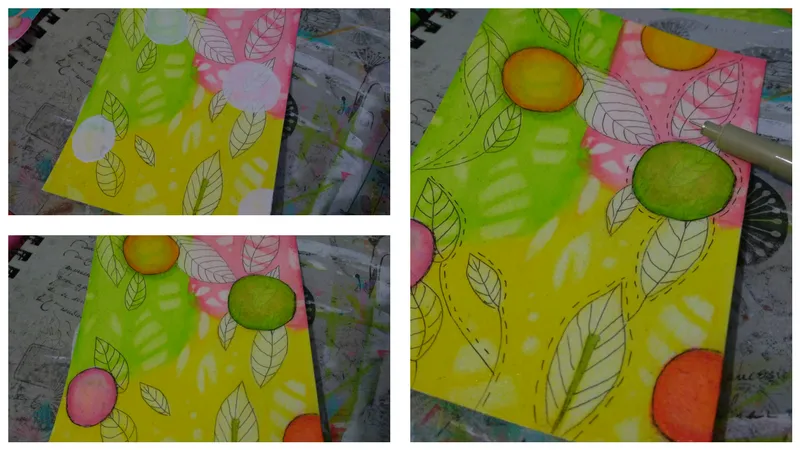
- I add round shapes with my Gesso that I paint with Neocolor II and emphasize with my liner
- I draw lines and strokes wherever fantasy takes me to add details...
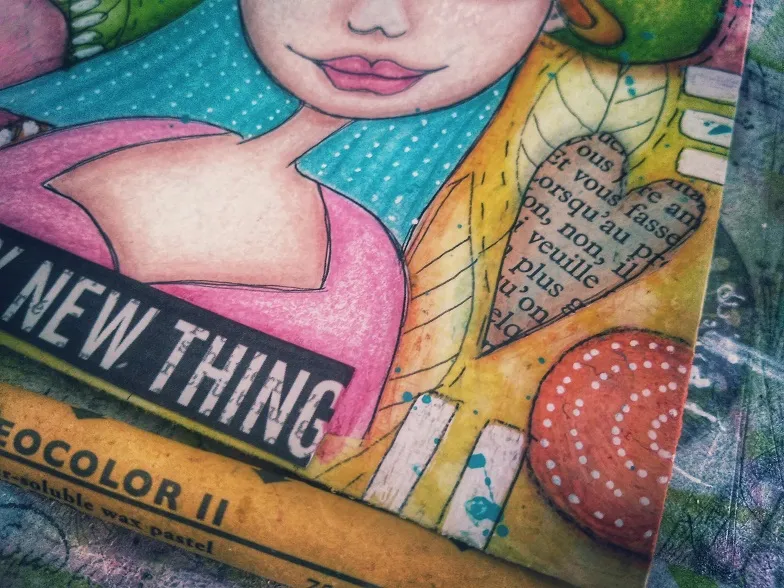
It's now time to cut out the drawing of my girl portrait and glue it on my background,
adding small dots in her hair ...😊
I create the shadow around her, that makes also the cut portrait blending perfectly with the background

I glue paper elements, heart-shaped, or messages on my background...
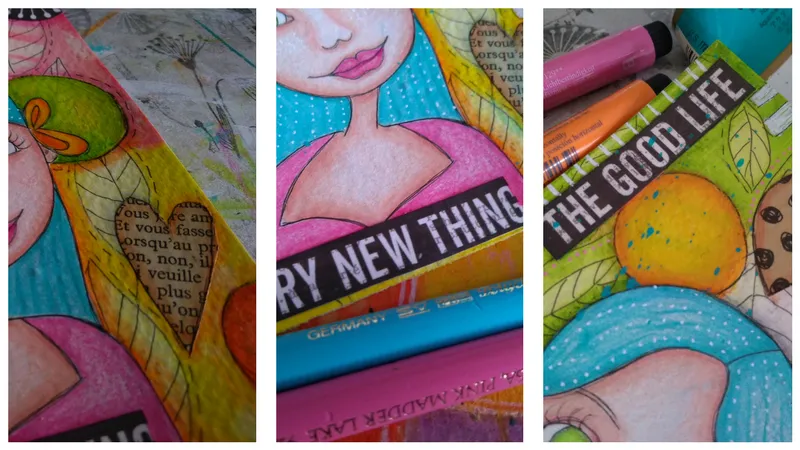
I scatter droplets of blue acrylic paint waving my brush at the top of the page
Finally, I create a personalized envelope by adding drawings on a white envelope, and by printing a postal stamp with a heart since this card was intended for my mom ❤️

Et voilà, I hope you have appreciated to see the stages of creation of this artistic card,
I'm happy to share my tutorials now on Hive
and if you like them, I will publish some others in the times to come 😉
Have a wonderful safe Sunday Lovelies !
My previous post on Hive
Created by @derangedvisions

And find also my paintings on my website !!
Amazing Nature community by @adalger
Feathered Friends community by @melinda010100