Neotradi Ladybug Tattoo [ENG|SPA]

Hello beautiful hive people ✨.

Happy Thursday, hope you are having a good week and with the best vibes.


Hola gente hermosa de hive ✨

Feliz jueves, espero que estén teniendo una buena semana y con las mejores vibras.


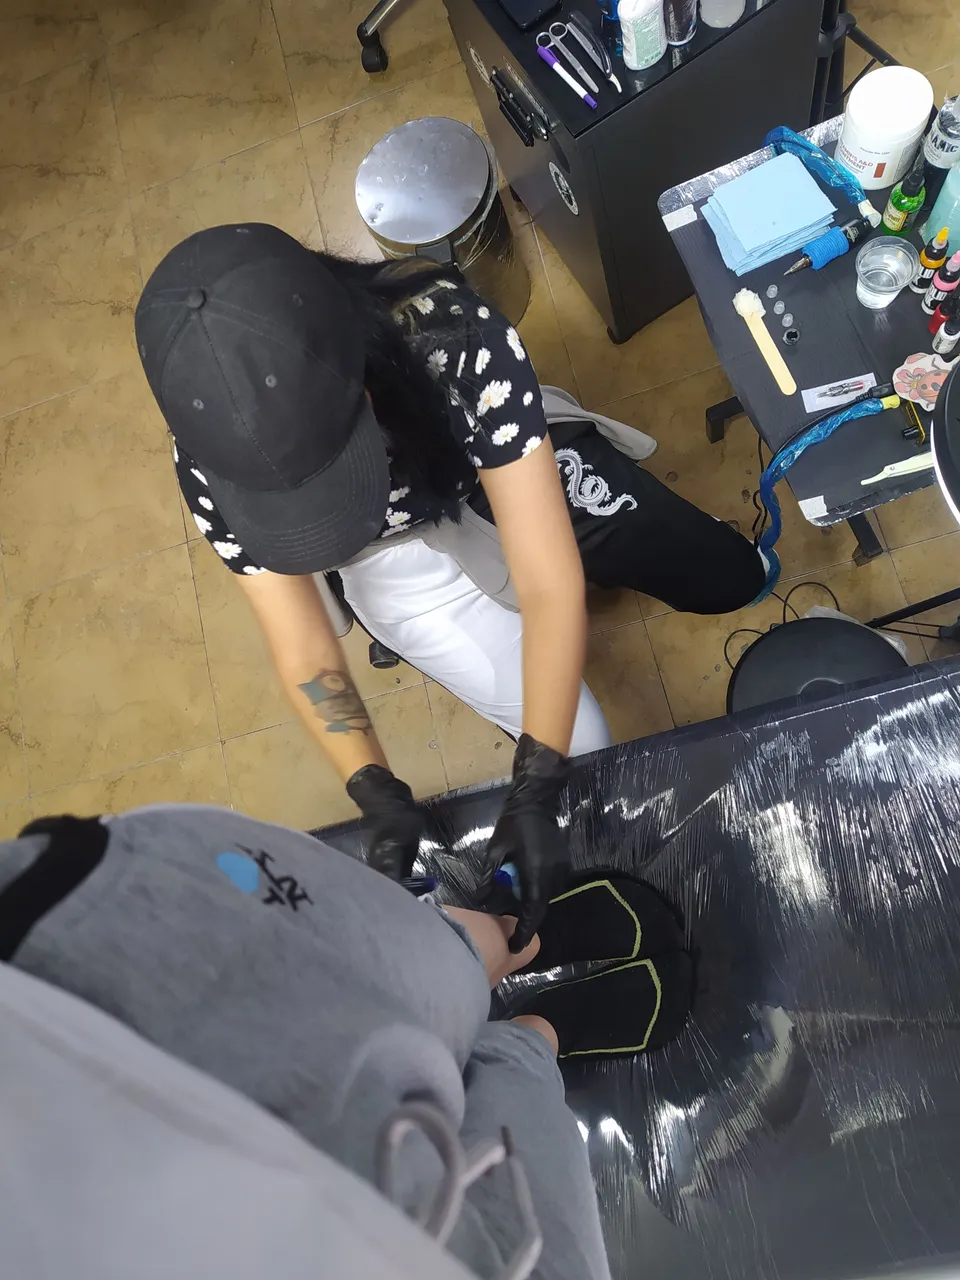
Yesterday at the tattoo studio where I work there was a small activity, where a photo shoot would be done to all the tattooers of the site in the process of making a tattoo, this was for the image of the studio, so I asked my friend @apple.black02 to be my canvas. For this, we both agreed to select a design, which was a ladybug with flowers, in neotradi style.

I liked the idea of bringing this process to the hive, so I also asked him to help me take some pictures with my cell phone so I wouldn't contaminate the tattoo area and could share it with you.
Without further ado, let's get started!

Ayer en el estudio de tatuajes donde trabajo había una pequeña actividad, donde se haría una sesión de fotos a todos los tatuadores del sitio en proceso de hacer un tatuaje, esto era para la imagen del estudio, así que le pedí a mi amiga @apple.black02 que fuera mi lienzo. Para esto, ambas acordamos seleccionar un diseño, el cual era una mariquita con flores, en estilo neotradi.

Me gustó la idea de traer este proceso a hive, así que también le pedí que me ayudara a tomar algunas fotos con mi celular para no contaminar la zona del tatuaje y poder compartirlo con ustedes.
Sin más preámbulos, ¡comencemos!
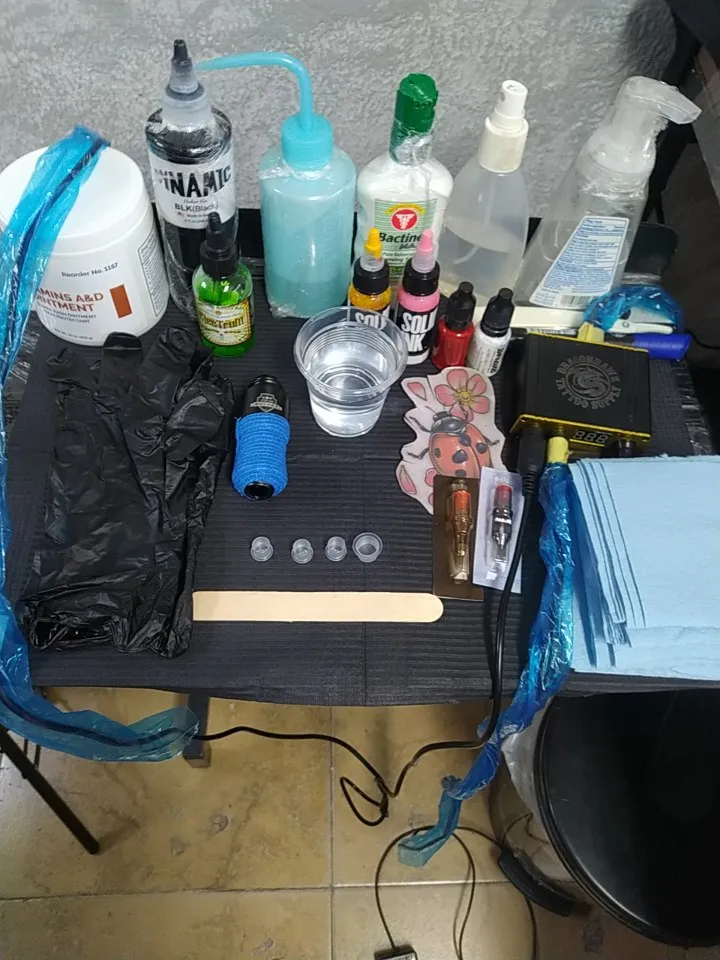
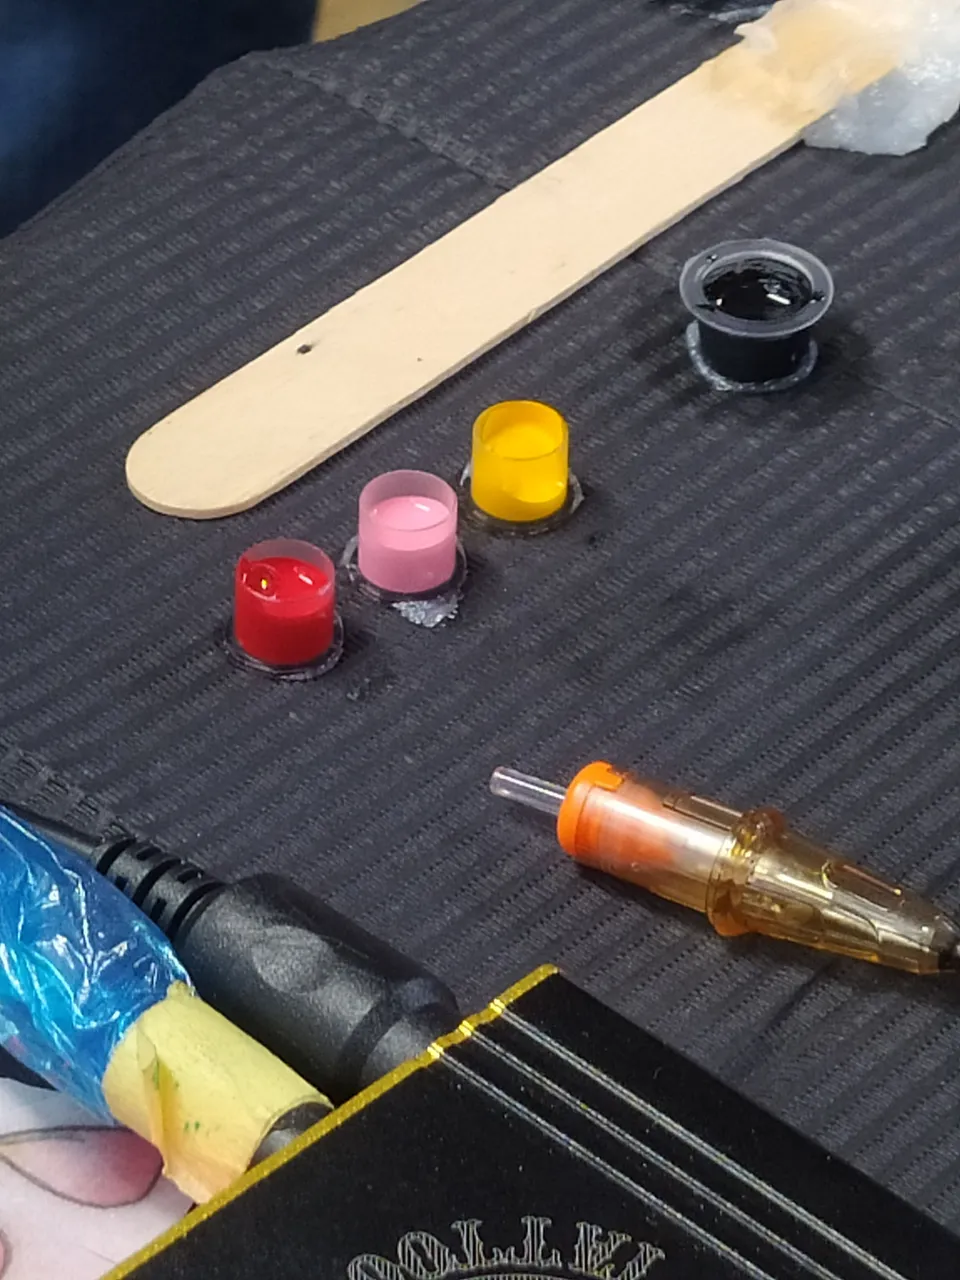

IMG_20220323_115547.jpg


Process | Proceso


I used my Pen Rocket machine, in needles I used 1005rs for line and shadows and 1009m1 for color. In the inks:
  • Dynamic Black
  • Red Scarlet (Radiant Colors)
  • Super White (Radiant Colors)
  • Dark red (Intenze)
  • El dorado (Solid ink)
  • Pink (Solid ink)

Utilicé mi maquina Pen Rocket, en las agujas usé 1005rs para línea y sombras y 1009m1 para color.
En las tintas:

  • Dynamic Black
  • Red Scarlet (Radiant Colors)
  • Super White (Radiant Colors)
  • Dark red (Intenze)
  • El dorado (Solid ink)
  • Pink (Solid ink).

IMG_20220323_091015.jpg


To begin the tattoo, I asked Fabi (@apple.black02) to please get on the stretcher so I could clean the area where the tattoo would go, I put on my gloves, assembled my work equipment and began to disinfect the area with alcohol, then I put some foam on the area and proceeded to shave. My next step was to mark the center of her outer lateral calf, place gel to transfer the template to the skin. I let this dry a bit and removed it.
Para comenzar el tatuaje, le pedí a Fabi (@apple.black02) que por favor se subiera a la camilla para poder limpiar la zona donde iría el tatuaje, me puse los guantes, armé mi equipo de trabajo y comencé a desinfectar la zona con alcohol, luego puse un poco de espuma en la zona y procedí a rasurar. Mi siguiente paso fue marcar el centro de su pantorrilla lateral externa, colocar gel para transferir la plantilla a la piel. Dejé que esto se secara un poco y lo retiré.

IMG_20220323_092228.jpg


20220323_225302 (1).gif


Then I started to make my lines with black ink (from bottom to top, from right to left). When working with several colors of inks in tattooing, you should always start from the darkest to the lightest, to avoid smudging the tones. So first I did all my strokes and shadows in black.

20220323_230741.gif

Luego empecé a hacer mis líneas con tinta negra (de abajo a arriba, de derecha a izquierda). Cuando se trabaja con varios colores de tintas en el tatuaje, hay que empezar siempre del más oscuro al más claro, para evitar que se manche los tonos. Así que primero hice todos mis trazos y sombras en negro.

20220324_001724.gif


IMG_20220323_102801.jpg


Once this was finished, I poured the remaining colors (the two shades of red, pink and yellow) into the other cups. For the whole body of the ladybug I used the scarlet red color, and then with the dark red I gave some shadows in some areas. Then I took the scarlet red color again with some distilled water and gave some shadows to the flowers, and then I took the pink color and saturated it over them.
Una vez terminado esto, vertí los colores restantes (los dos tonos de rojo, rosa y amarillo) en los otros cups. Para todo el cuerpo de la mariquita utilicé el color rojo escarlata, y luego con el rojo oscuro di algunas sombras en algunas zonas. Luego tomé el color rojo escarlata de nuevo con un poco de agua destilada y di algunas sombras a las flores, y luego tomé el color rosa y lo saturé sobre ellas.

PicsArt_03-24-12.42.40.jpg


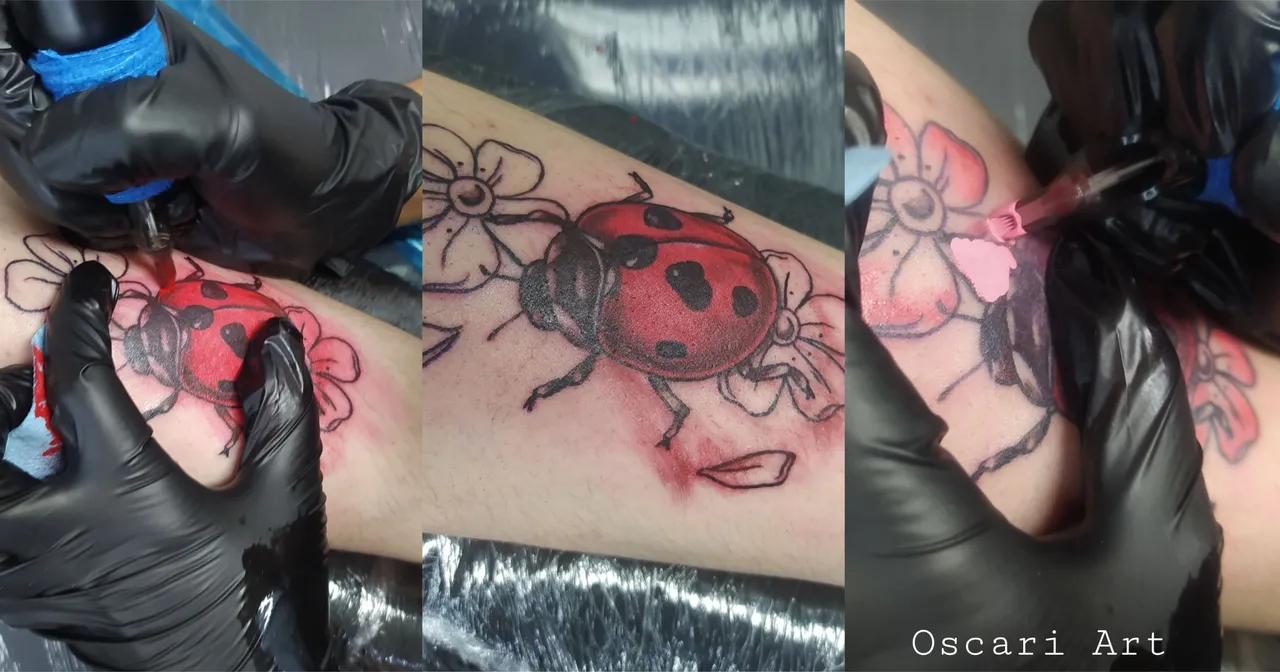
What I do to saturate the color, is to remove the needle to its minimum, since this magnum tends to hurt the skin a little more, and I make small circles against the hair growth so that the needle injects the ink better.

Lo que hago para saturar el color, es sacar la aguja a su mínima expresión, ya que esta magnum tiende a lastimar un poco más la piel, y hago pequeños círculos contra el crecimiento del vello para que la aguja inyecte mejor la tinta.

20220323_230319.gif


Once this was finished I changed the color to yellow for the center of the flowers. Finally and very important I used the white ink hehe, to give illumination to the tattoo. To finish clean the tattoo well with foam and water. Then I put a little bit of bactine, this makes the tattoo swelling go down a little bit.
Una vez terminado esto cambié el color a amarillo para el centro de las flores. Por último y muy importante utilicé la tinta blanca jeje, para dar iluminación al tatuaje. Para terminar limpie bien el tatuaje con espuma y agua. Luego puse un poco de bactine, esto hace que la hinchazón del tatuaje baje un poco.

Finished Tattoo | Tatuaje terminado

20220323_231046.gif


IMG_20220323_115619.jpg

Photo taken with polarized lens | Foto tomada con lente polarizada


IMG_20220323_115213.jpg

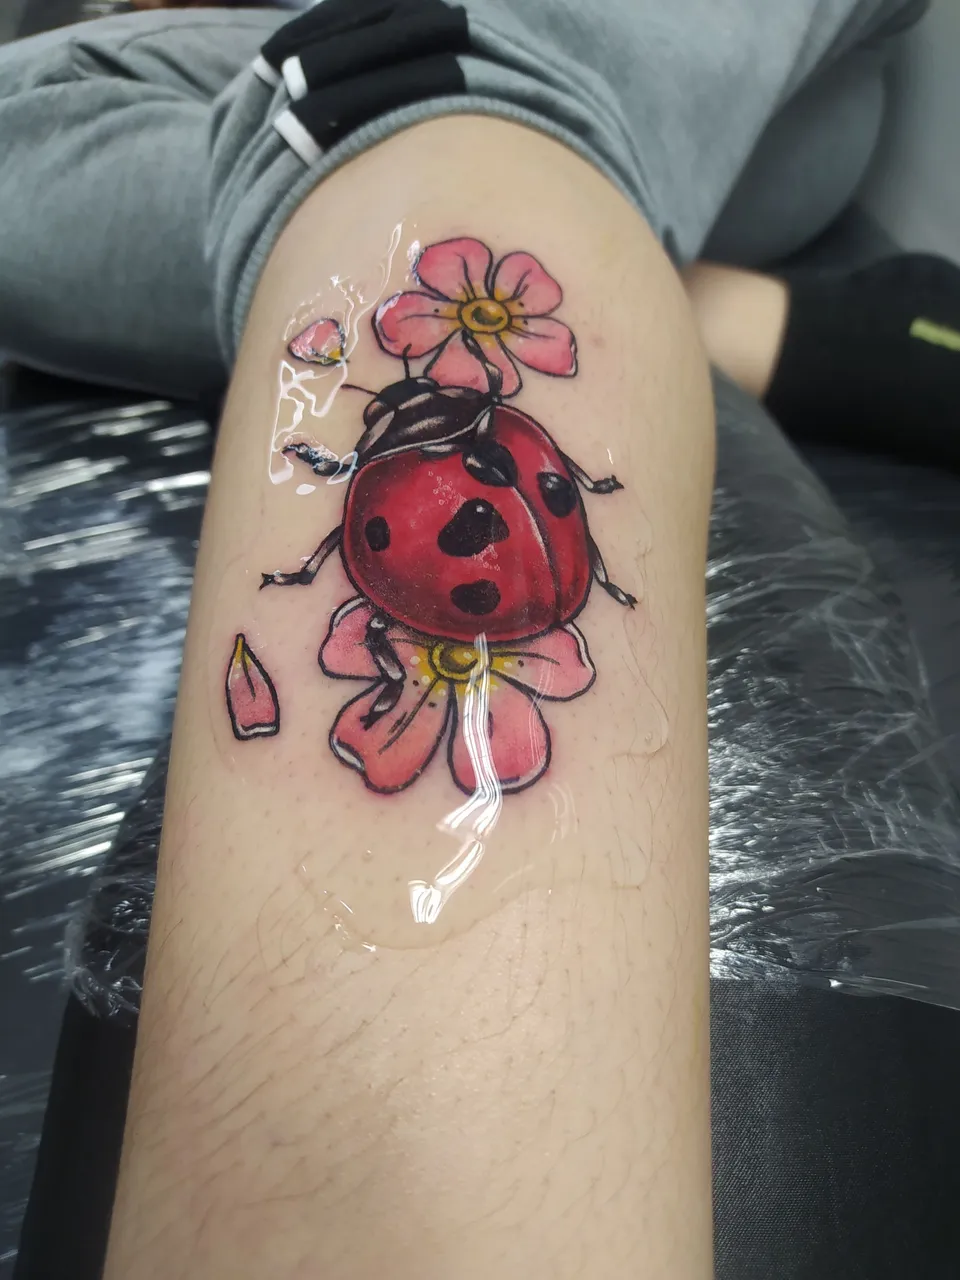
Photo taken with colorless gel | Foto tomada con gel incoloro


This is the final result, I am 70% satisfied with the result, since I am a person who demands too much in this area, and I always keep in mind that it can be better hehe.
For some photos I used the polarized lens and for others I used only colorless gel, without filters, I hope you like it. Thanks for reading me again. Good vibes!

Este es el resultado final, estoy satisfecha en un 70% con el resultado, ya que soy una persona que se exige demasiado en este ámbito, y siempre tengo presente que puede ser mejor jeje.
Para algunas fotos utilicé la lente polarizada y para otras utilicé sólo gel incoloro, sin filtros, espero que les guste. Gracias por leerme de nuevo. Good vibes!


20220323_231326.gif


Translated in Deelp
Twitter @OscariArt
Instagram:
Tattoo Art @OscariArt
Illustration @oscari.artdigital

App Gif
Collages made in Picsart

Most of the pictures were taken courtesy of @apple.black02 | La mayoría de las fotos fueron tomadas por cortesía de @apple.black02

H2
H3
H4
3 columns
2 columns
1 column
11 Comments
Ecency