Retrato de escultura / Sculpture portrait

Hola amigos / Hello friends
La relación entre la escultura y el dibujo se remonta a siglos atrás. El dibujo académico se enseña normalmente realizando copias de modelos escultóricos antiguos, los que tienen como característica la representación ideal de la anatomía, la proporción y la forma. Es un excelente ejercicio hacer dibujos a partir de una escultura. En la publicación anterior efectué un dibujo utilizando 3 lápices para dar valor a la figura, hoy les comparto otro ejercicio, esta vez un retrato de una escultura utilizando los mismos materiales y pasos. Espero les guste el resultado final.
The relationship between sculpture and drawing goes back centuries.
Academic drawing is usually taught by making copies of ancient sculptural models, which are characterized by the ideal representation of anatomy, proportion and form.
It is an excellent exercise to make drawings from a sculpture. In the previous publication I made a drawing using 3 pencils to give value to the figure, today I share with you another exercise, this time a portrait of a sculpture using the same materials and steps. I hope you like the final result.
Here I show you the drawing process:
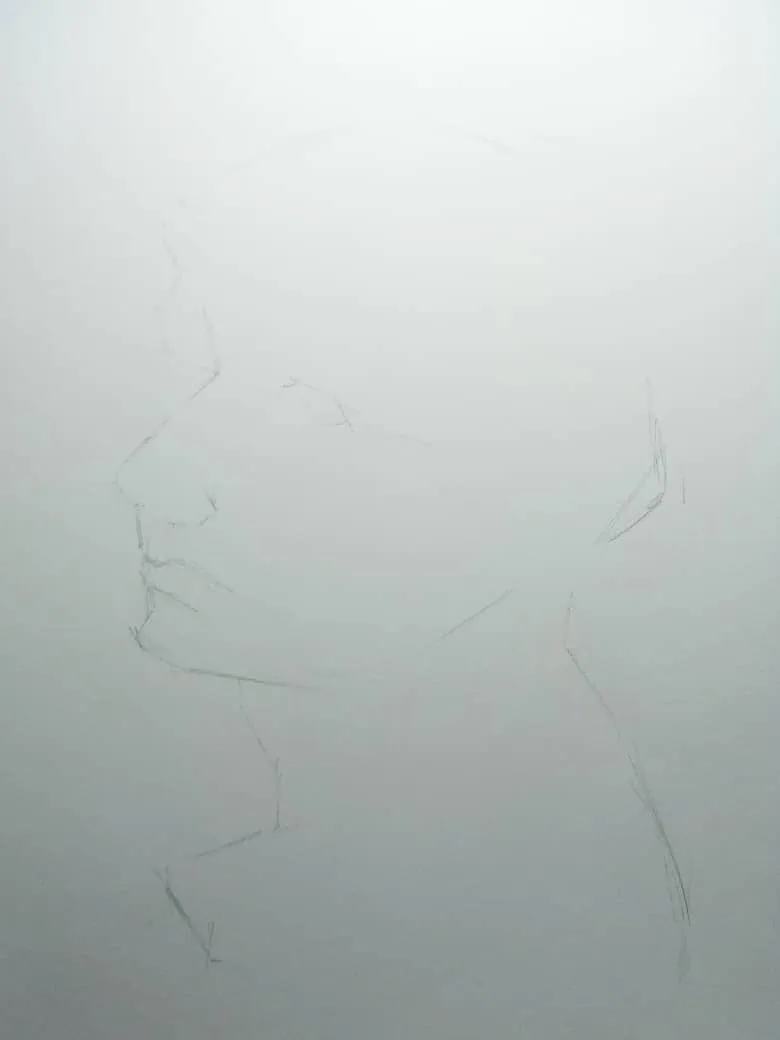
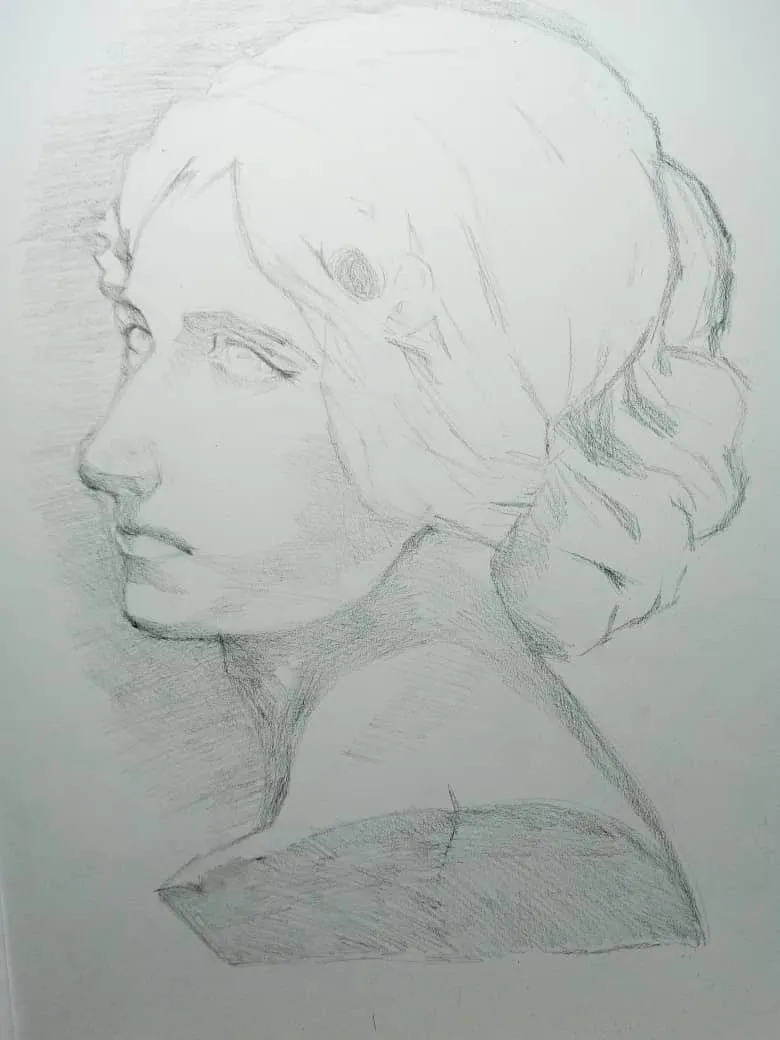
Initially, the fitting is performed. The width and height of the portrait must be determined. The lace is basically a linear representation of the figure. Try not to use shading in this step, the important thing is to observe the figure well, to find the basic lines that define the outline. The HB pencil is used, making very soft strokes, since this step must be corrected several times until the desired proportions are reached.
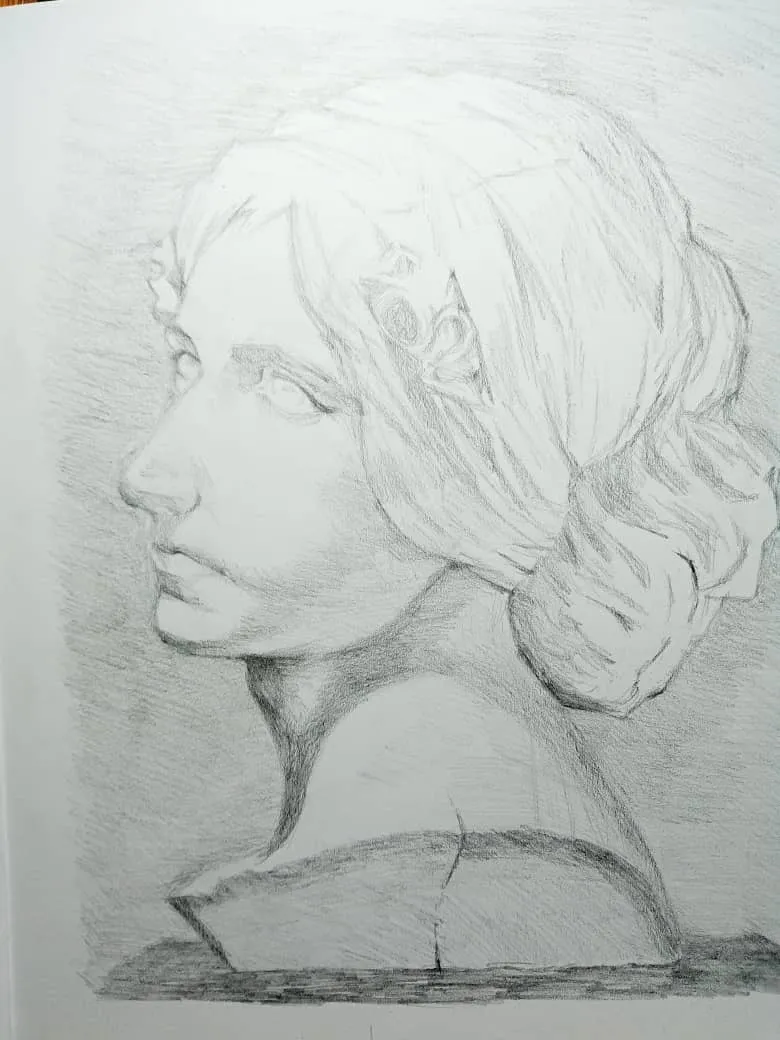
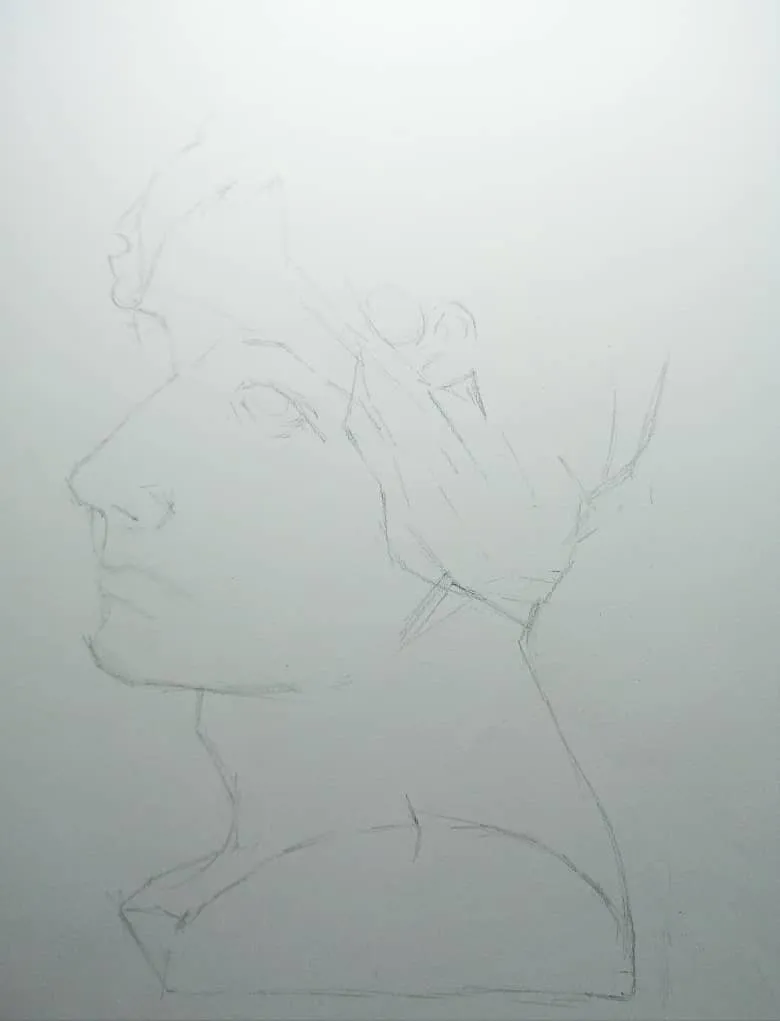
Basic shading with HB pencil. The most valuable areas are defined without darkening too much. This step serves as the first layer of grays.
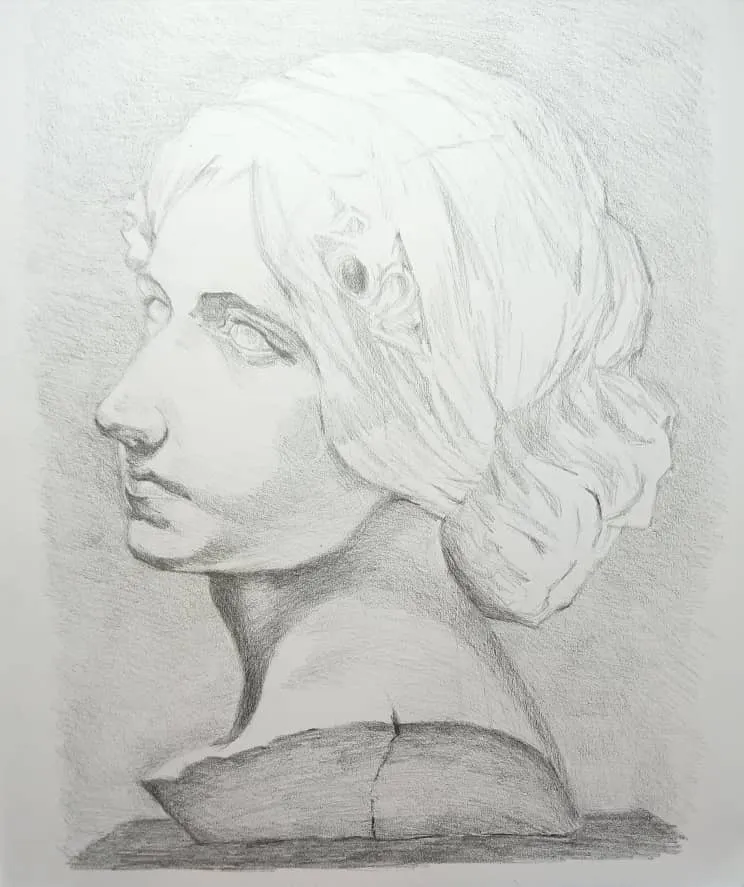
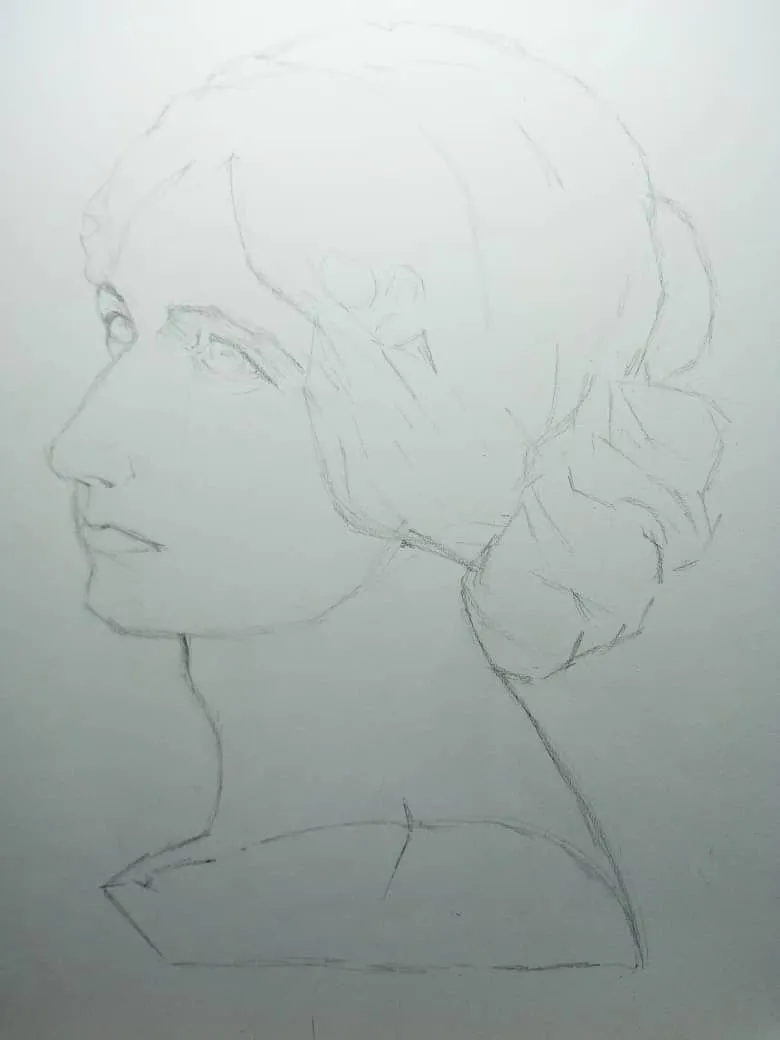
Shading with 2B pencil. Start to give value to the shaded areas and go over the light areas made with HB.
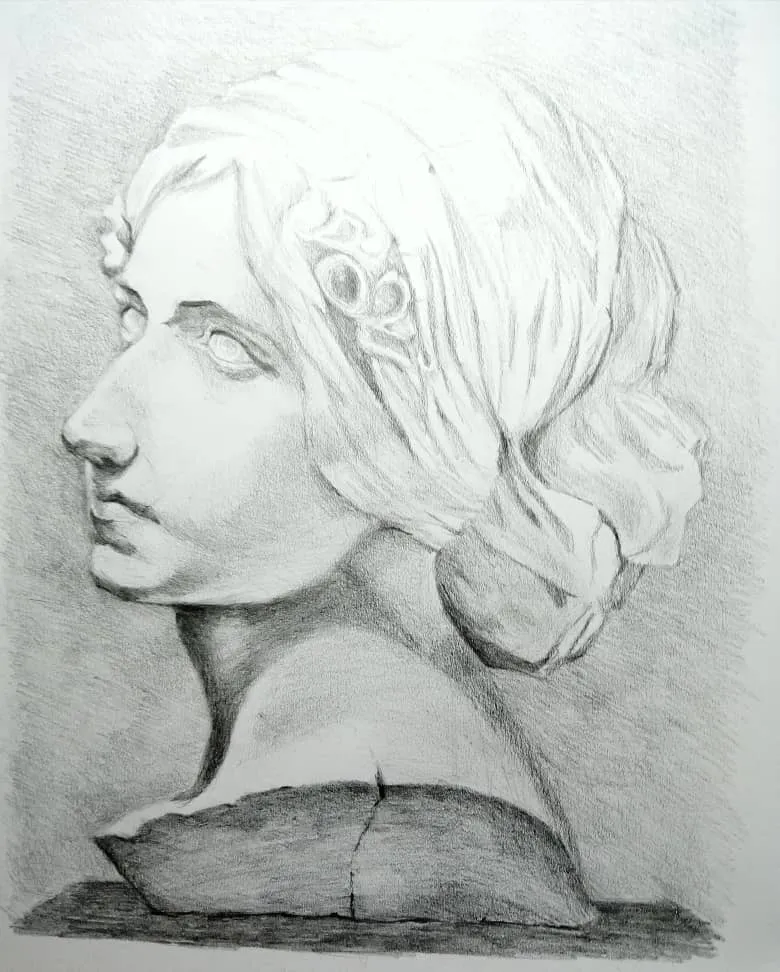
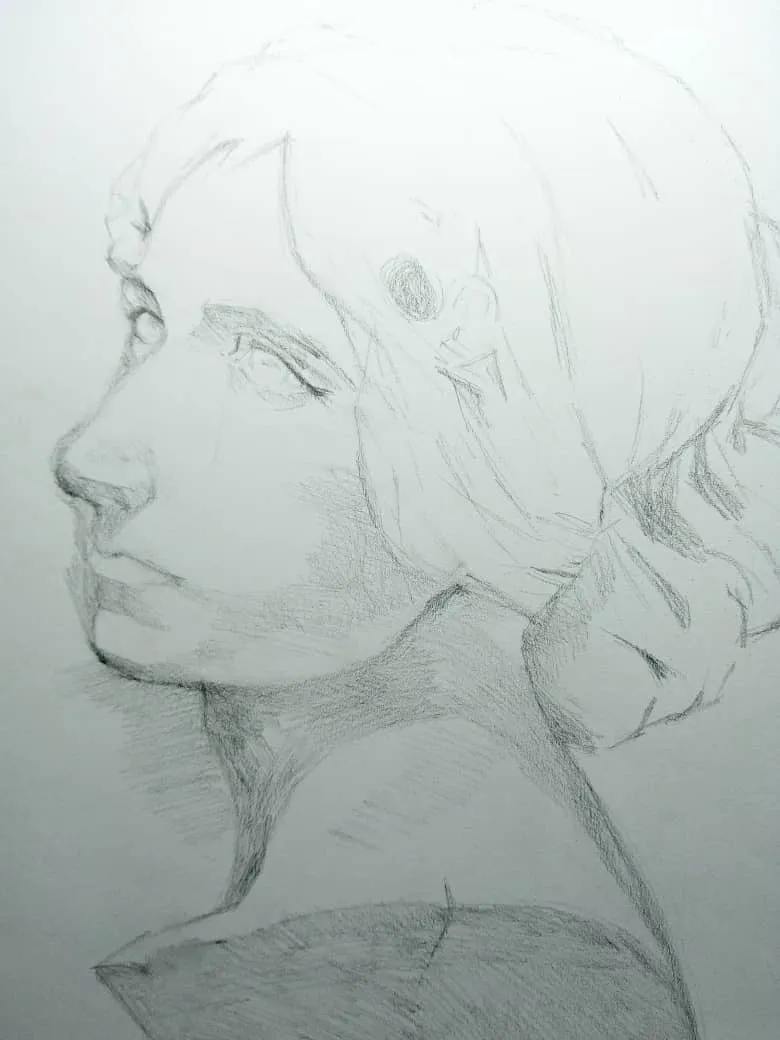
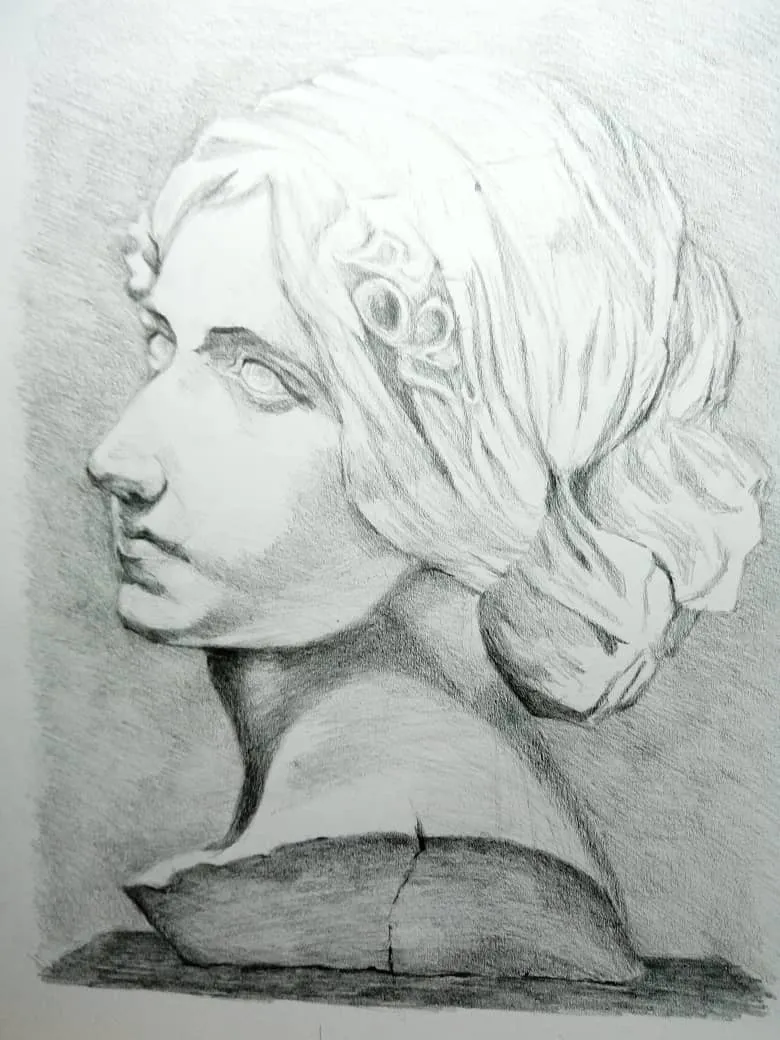
Shading with 6B pencil. Used to accentuate the darker areas and create the final sensation of volume.
Hoja blanca tamaño 34 x 28 cm
Lápices HB, 2B, 6B
Borrador
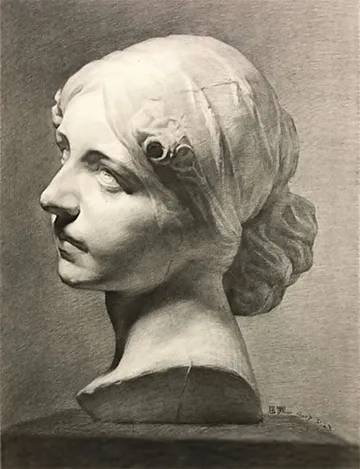
Foto de referencia
Materials used:
White sheet size 34 x 28 cm
Pencils HB, 2B, 6B
Eraser
Reference photo
imagen de referencia
Gracias por ver mi publicación
Thank you for viewing my publication