English
I have already shared in my blog a series of drawings of cities or sceneries, as well as objects. All these drawings have been made digitally, drawing with mouse in Medibang Paint Pro and using Photoshop to create some textures after the work is finished.
You can see the publications where I shared those drawings by following this link:
@gaboamc2393/digital-drawing-different-worlds-engspa
@gaboamc2393/digital-art-drawing-objects-engspa
Today I'm going to share with you another work I did. This one is a little different because it's not just an object or a scenery, here I directly drew a character, which is the main actor of the illustration.
Español
Ya he compartido en mi blog una serie de dibujos tanto de ciudades o escenarios, como objetos. Todos estos dibujos los he hecho de manera digital, dibujando con mouse en Medibang Paint Pro y usando Photoshop para crear algunas texturas luego de que está terminado el trabajo.
Pueden ver las publicaciones donde compartí esos dibujos siguiendo este enlace:
@gaboamc2393/digital-drawing-different-worlds-engspa
@gaboamc2393/digital-art-drawing-objects-engspa
Hoy voy a compartirles otro trabajo que hice. Este es un poco diferente porque no es solo un objeto o un escenario, aquí directamente dibujé a un personaje, el cual es el actor principal de la ilustración.

What was my inspiration?
Well actually this illustration will have a purpose for later, but I'll just say that I was inspired by designs of robotic characters from fiction, such as Ultron (Marvel) or General Grievous (Star Wars).
Step by step
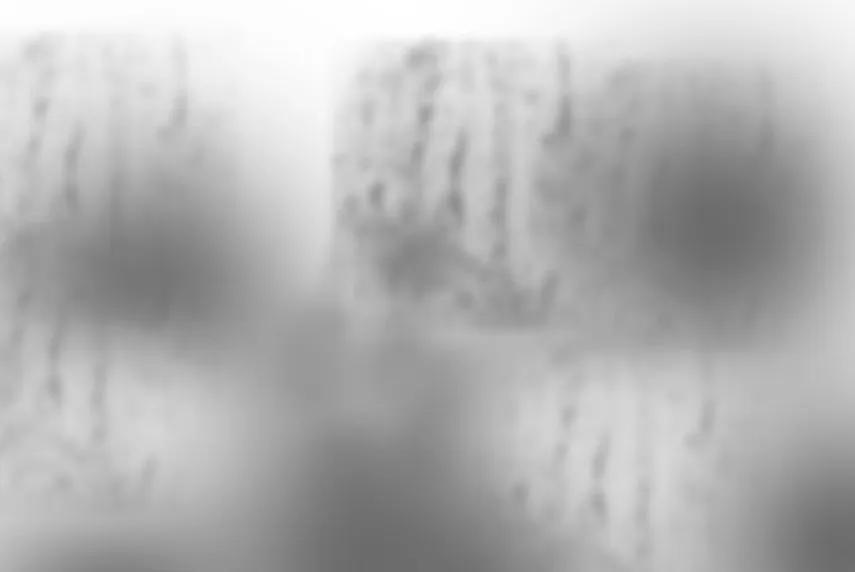
In the first image you can see the white background I chose for the drawing. The first thing I did was to give it some gray and blurred spots in various parts.
It is a drawing almost entirely made with grayscale, so those are the predominant colors throughout the work.
¿En qué me inspiré?
Pues en realidad esta ilustración tendrá un propósito para más adelante, pero solo diré que me inspiré en diseños de personajes robóticos de la ficción, como Ultron (Marvel) o el general Grievous (Star Wars).
Paso a paso
En la primera imagen pueden observar el fondo blanco que escogí para el dibujo. Lo primero que hice fue darle unas manchas grises y difuminadas en diversas partes.
Es un dibujo casi en su totalidad hecho con escala de grises, por lo tanto esos son los colores predominantes en todo la obra.
 |  |
|---|
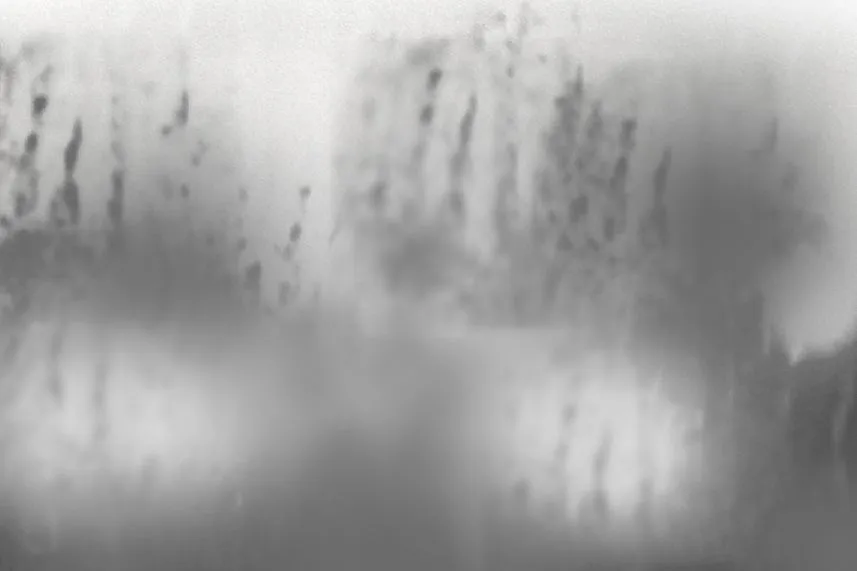
To continue giving more details to the background, I drew with a brush some patterns that I repeated along the workspace. I made a duplicate of several layers, blurred some and sharpened others, to create this effect that you can see in the second of the two images below:
Para continuar dando más detalles al fondo, dibujé con un pincel unos patrones que repetí a lo largo del espacio de trabajo. Hice un duplicado de varias capas, algunas las desenfoqué y otras les di enfoque, para que se creara este efecto que se ve en la segunda imagen de las dos que presento a continuación:
 |  |
|---|
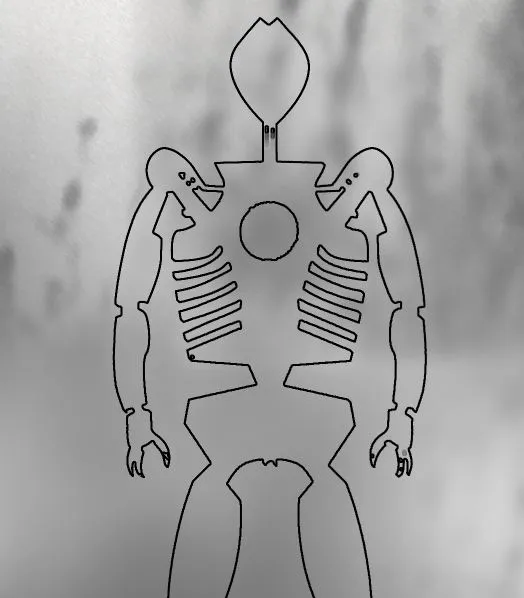
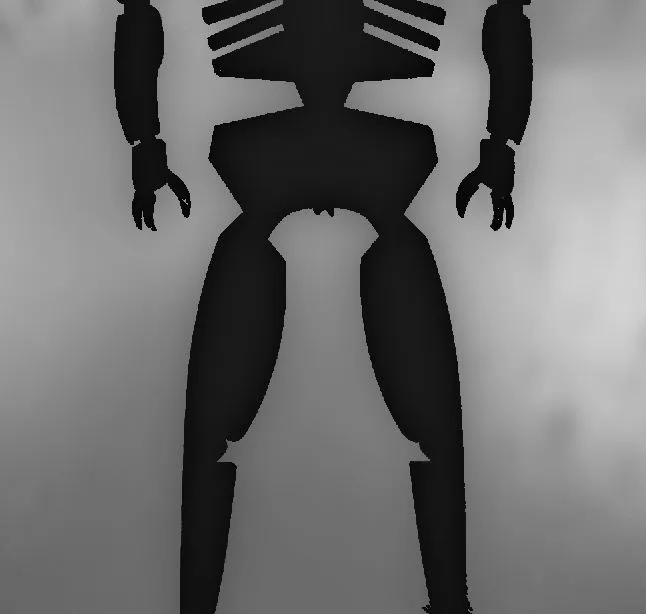
After having the background of the drawing ready, I made the outline of the figure. I only did one side, for the other I simply duplicated the layer where I had that side and turned it to the opposite side, as if it were a mirror of the other side.
It is logical that it has symmetry, because it is a robot what I drew.
Después de tener listo el fondo del dibujo, hice el delineado de la figura. Solo hice un lado, para el otro simplemente dupliqué la capa donde tenía ese lado y lo giré al lado contrario, como si fuese un espejo del otro lado.
Es lógico que tenga simetría, pues es un robot lo que dibujé.
 |  |
|---|
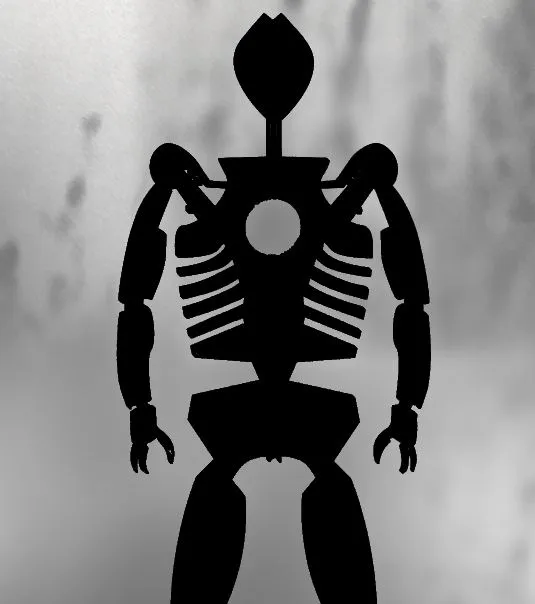
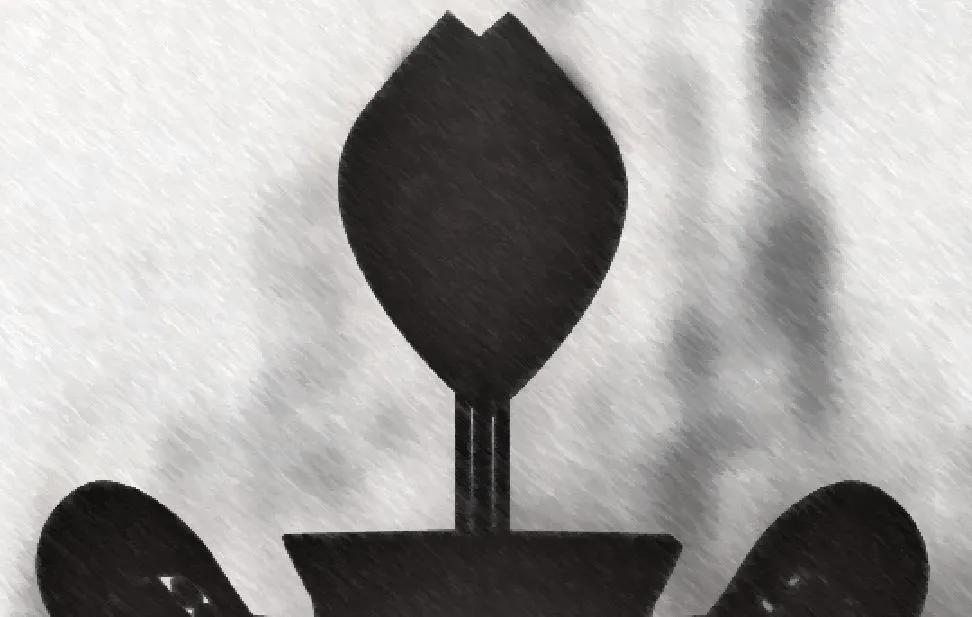
It was a little difficult to paint it so as not to get out of the line. Every now and then I had to use an eraser to remove what went out of the line, but in the end it stayed that way:
Costó un poco pintarlo para no salirme de la línea. A cada rato debía estar usando borrador para eliminar lo que se salía de la línea, pero al final quedó así:
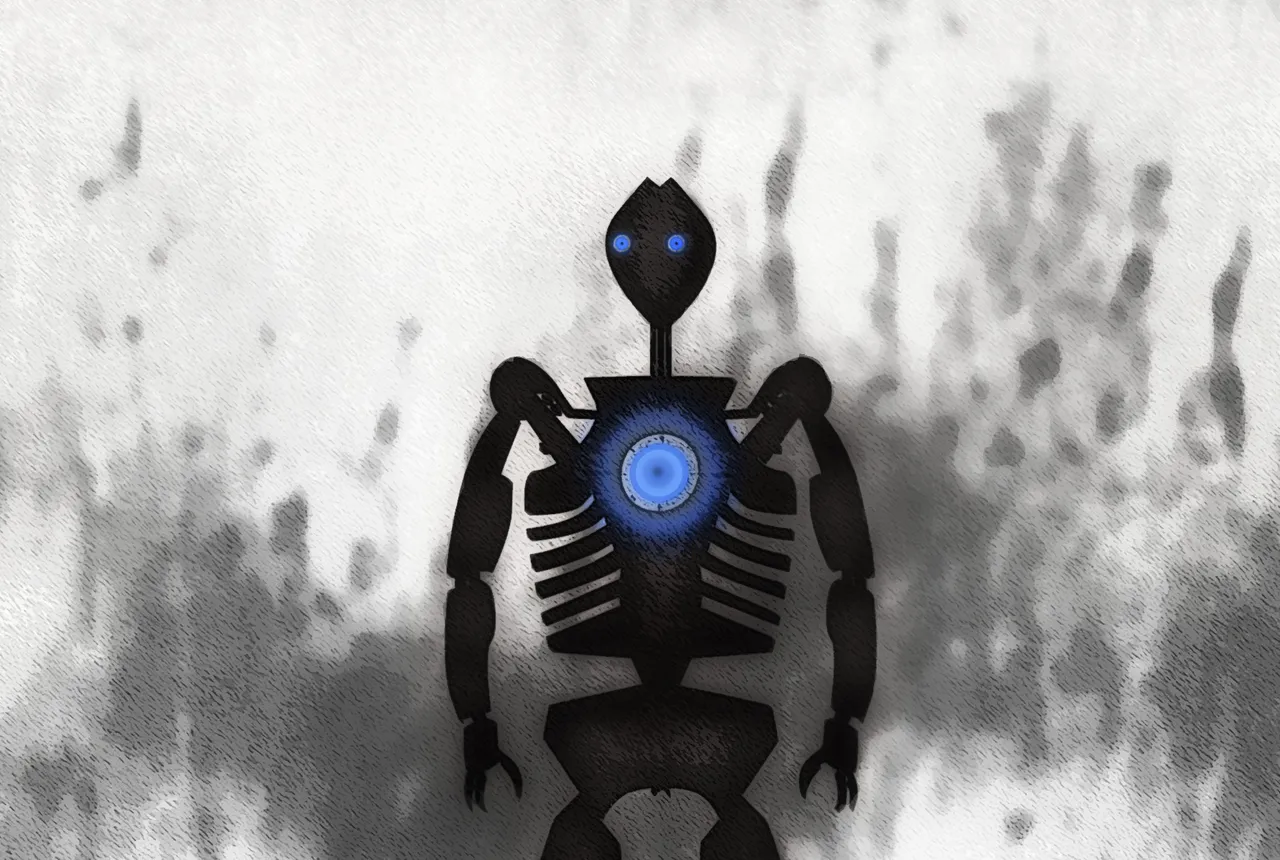
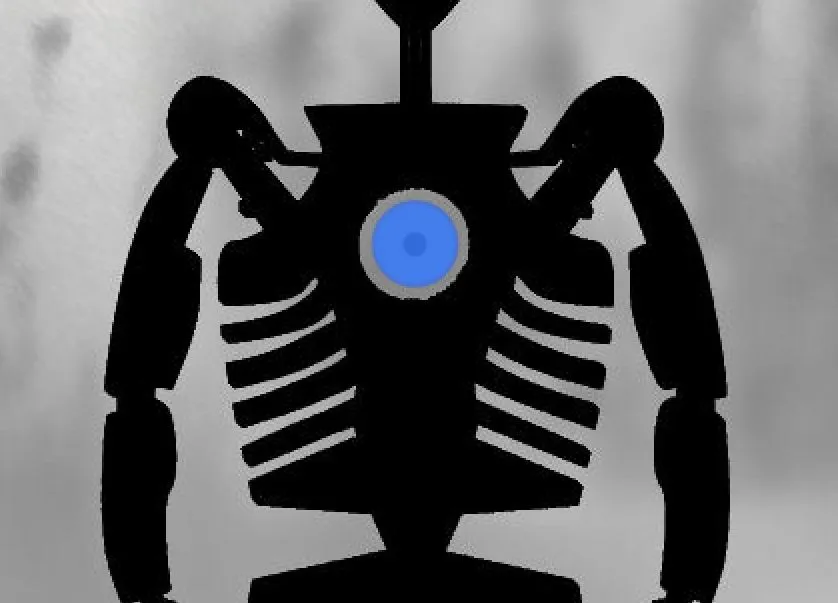
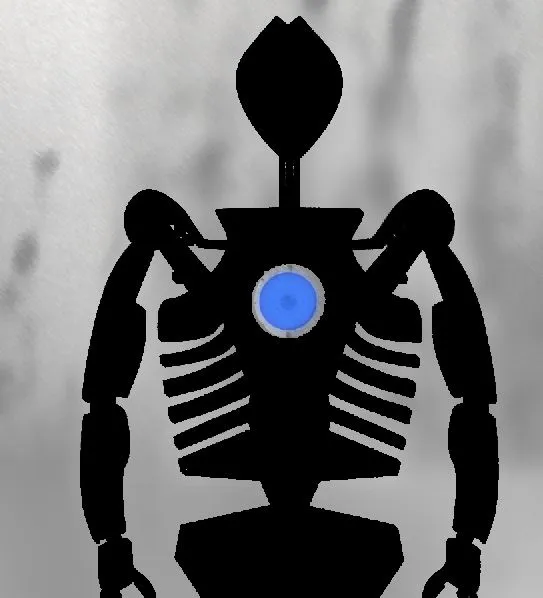
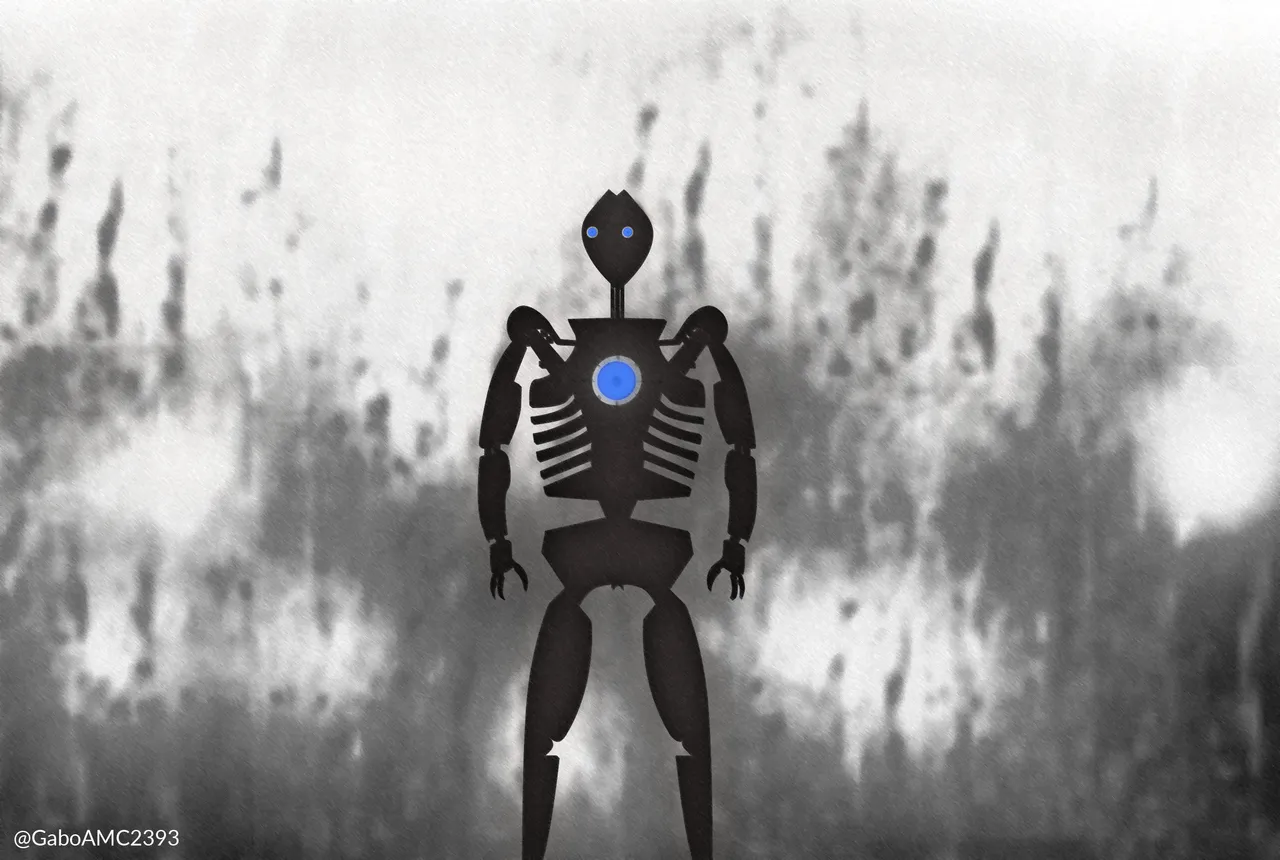
Finally I created the circle of energy that has the robot in the center, which would be like its heart. Below you can see a few pictures of the whole creative process.
Finalmente creé el círculo de energía que tiene el robot en el centro, que vendría a ser como su corazón. A continuación pueden ver unas cuántas fotos de todo el proceso creativo.
 |  |
|---|
 |  |
|---|
If you notice, the only thing that has color is this energy circle, to differentiate it from the rest of the drawing. It stands out, yes, but it still looks a bit flat, so I decided to create some shadows around the robot's body so it wouldn't look so flat.
Si se fijan, lo único que tiene color es este círculo de energía, para diferenciarlo del resto del dibujo. Resalta, sí, pero se sigue viendo un poco plano, así que decidí crear unas sombras alrededor del cuerpo del robot para que no quedase tan plano.
 |  |
|---|
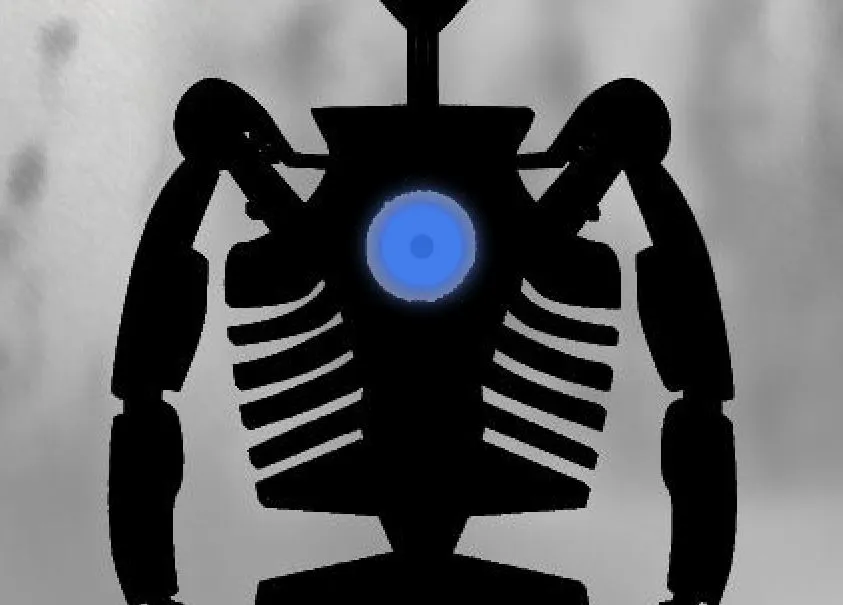
One of the last things I did was to create a blob effect with a design program filter, which creates this pretty cool effect that you can see below:
Una de las últimas cosas que hice fue crear un efecto de manchas con un filtro del programa de diseño, que crea este efecto bastante genial que pueden ver a continuación:
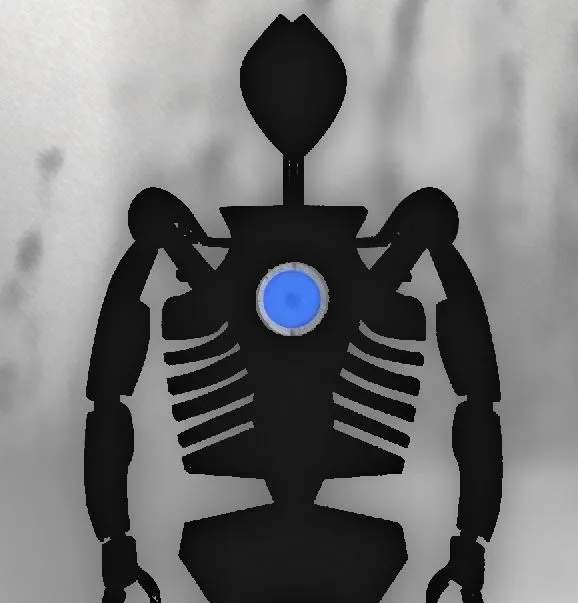
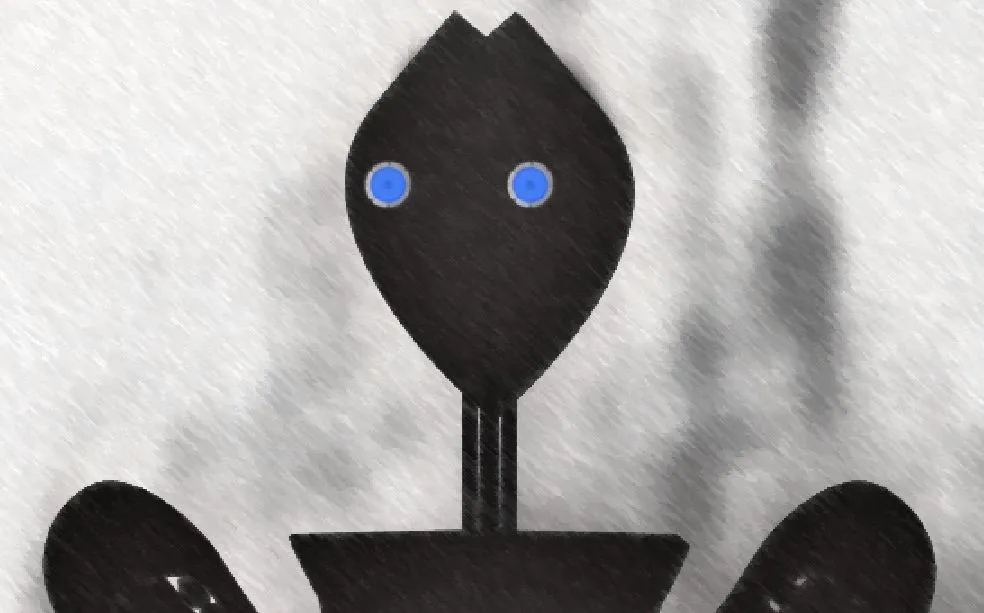
Finally, I placed the eyes. They say that the eyes are the window to the soul, so I gave him two so that he would not be so strange to look at. The eyes are quite similar to the energy center in his chest.
Ya para finalizar, le coloqué los ojos. Dicen que los ojos son la ventana hacia el alma, así que le coloqué dos para que no fuese algo tan extraño a la vista. Los ojos son bastante similares al centro de energía que tiene en el pecho.
Below is a photograph of the final result of the robot.
A continuación una fotografía del resultado final del robot.
What did you think? I would like to know your opinions about this work, so I invite you to leave them below in the comments, as always I will be happy to read them. I appreciate very much that you took the time to read me, without more to add, I'll say goodbye then...
See you next time!
¿Qué les pareció? Me gustaría saber sus opiniones acerca de este trabajo, así que los invito a dejarlas abajo en los comentarios, como siempre estaré encantado de leerlos. Agradezco mucho que se tomaran el tiempo de leerme, sin más que agregar, me despido entonces...
¡Hasta la próxima!