Details
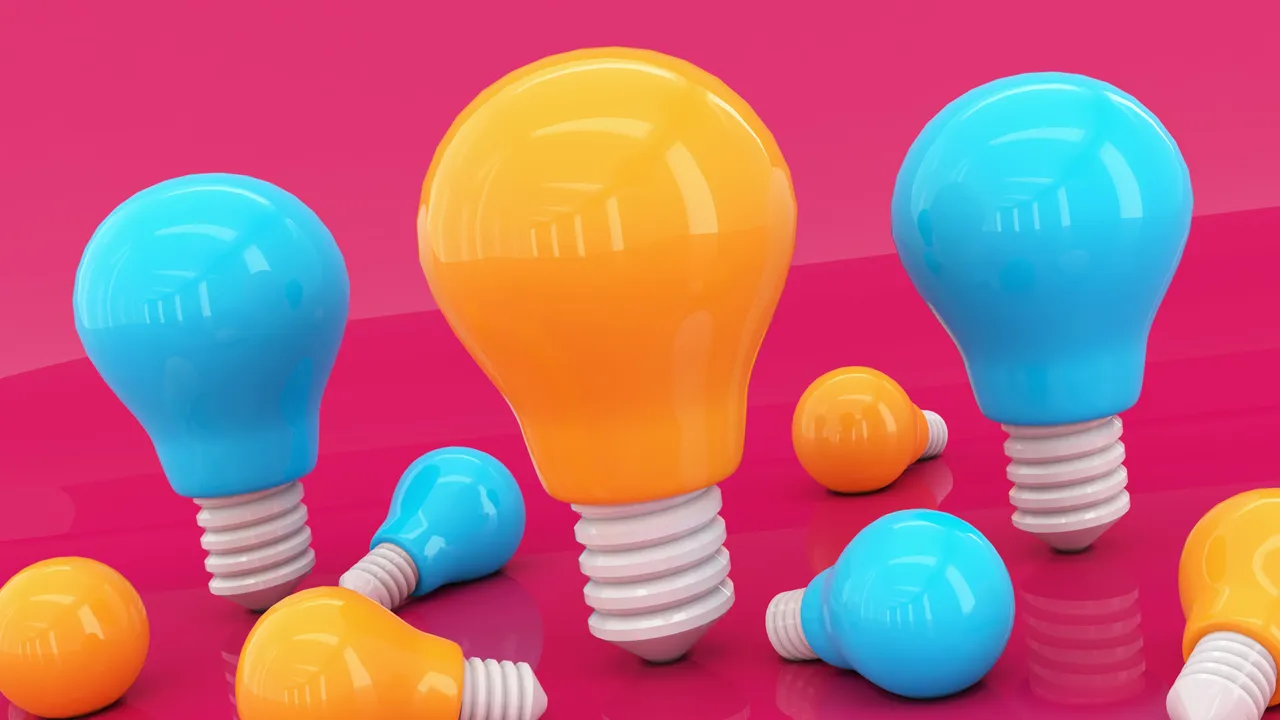
Hi awesome people, i'm here again with another exciting and fun new 3d model design content and walkthrough post on how i created this design i titled LightBulb Band Design. LightBulbs are awesome and are very common and i wanted to capture that awesomeness by creating a 3d model design using a light bulb as an inspiration.
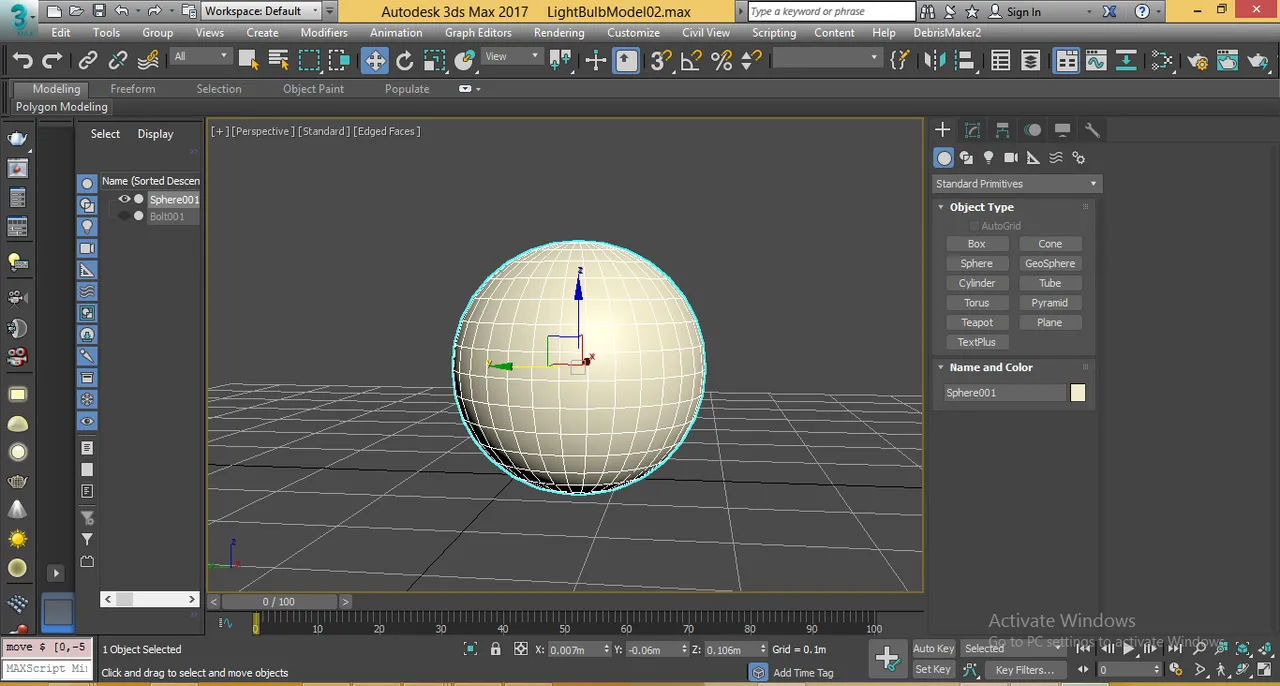
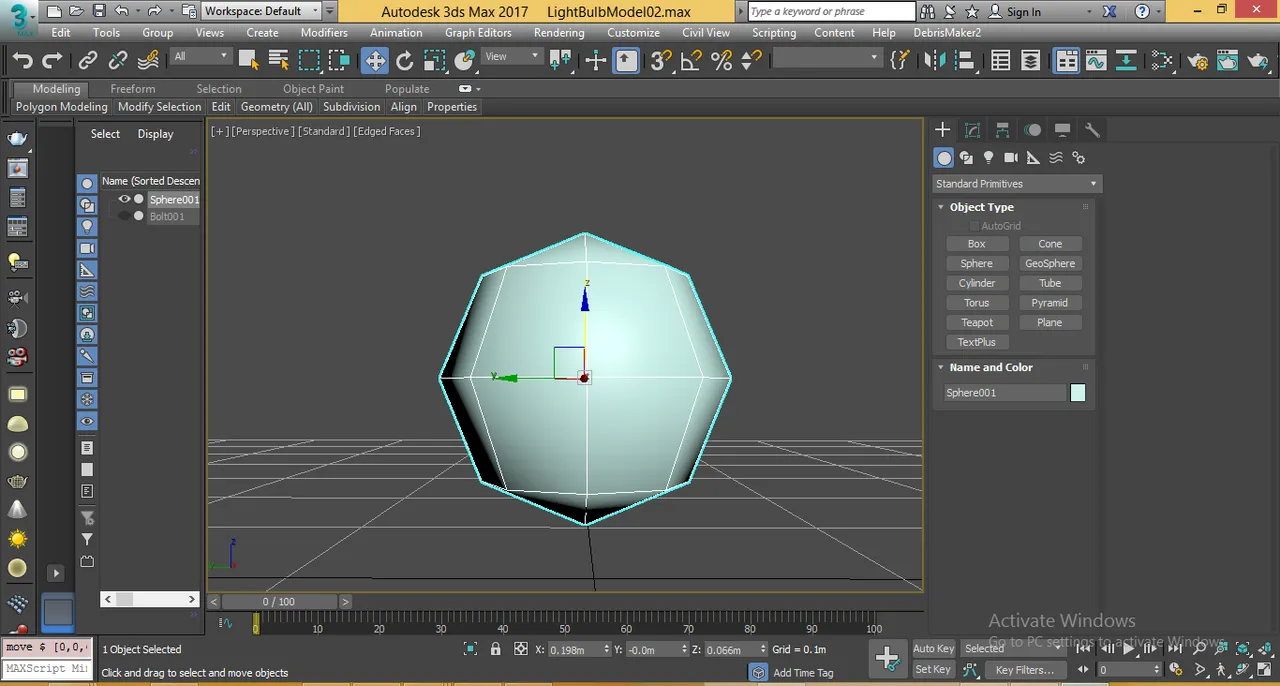
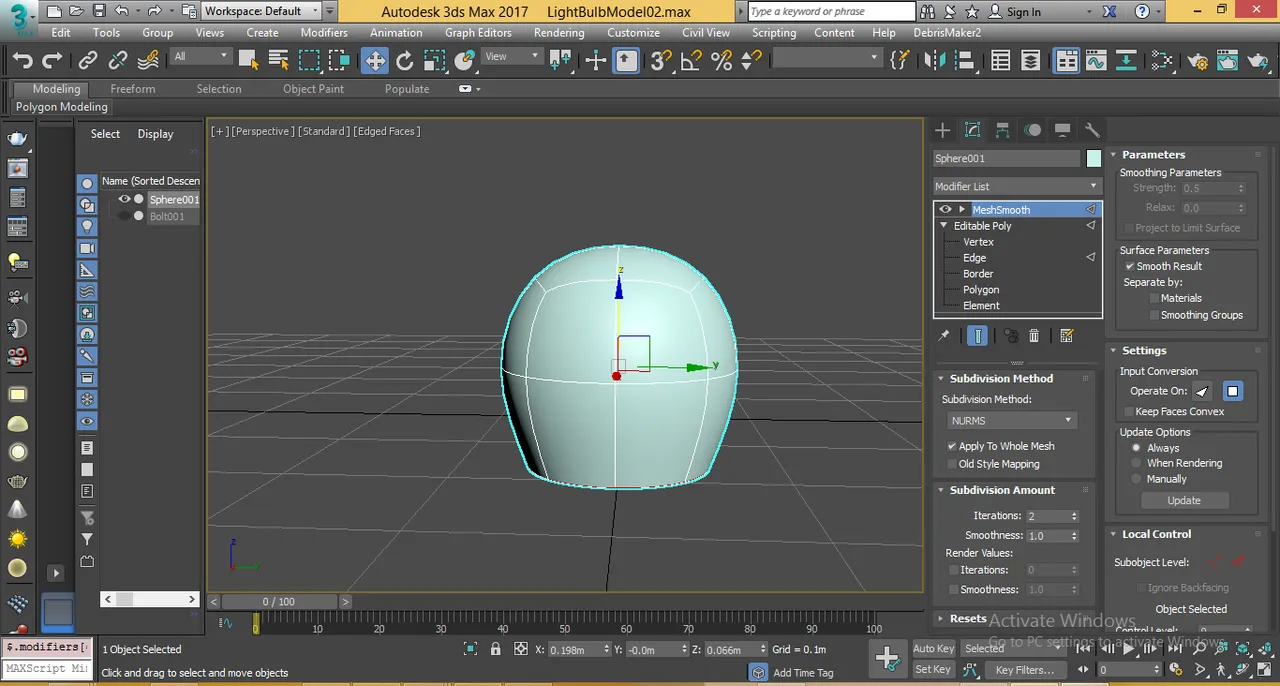
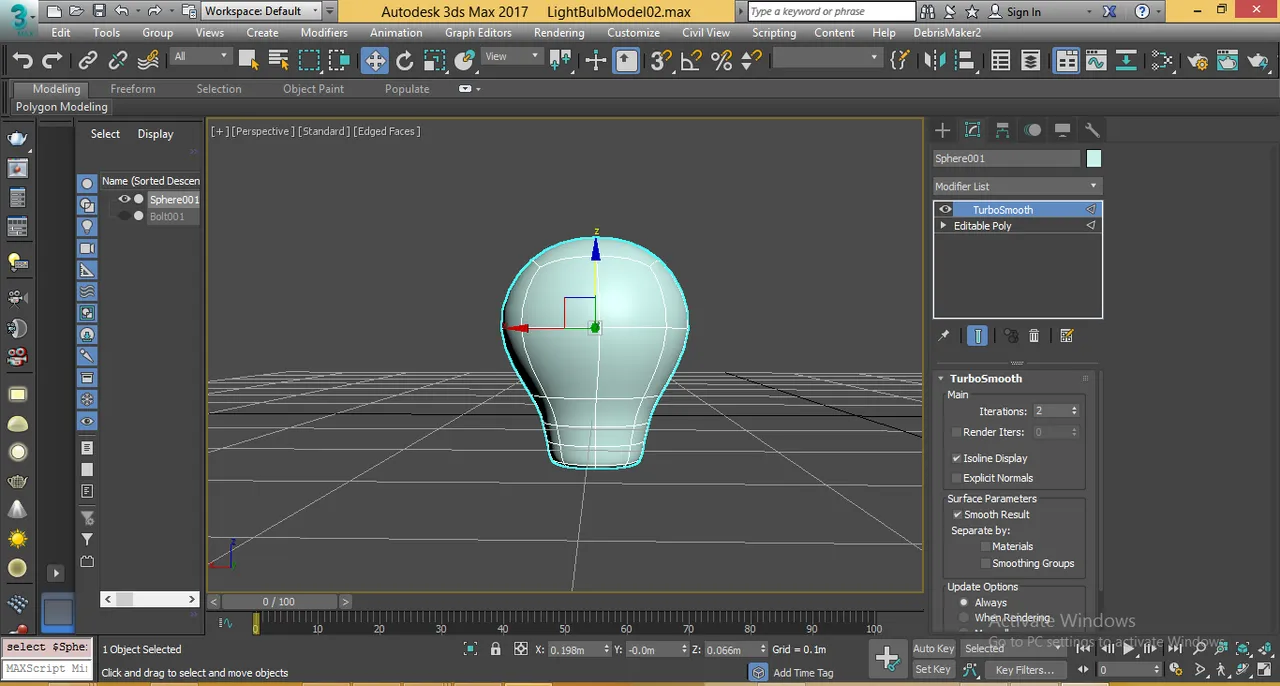
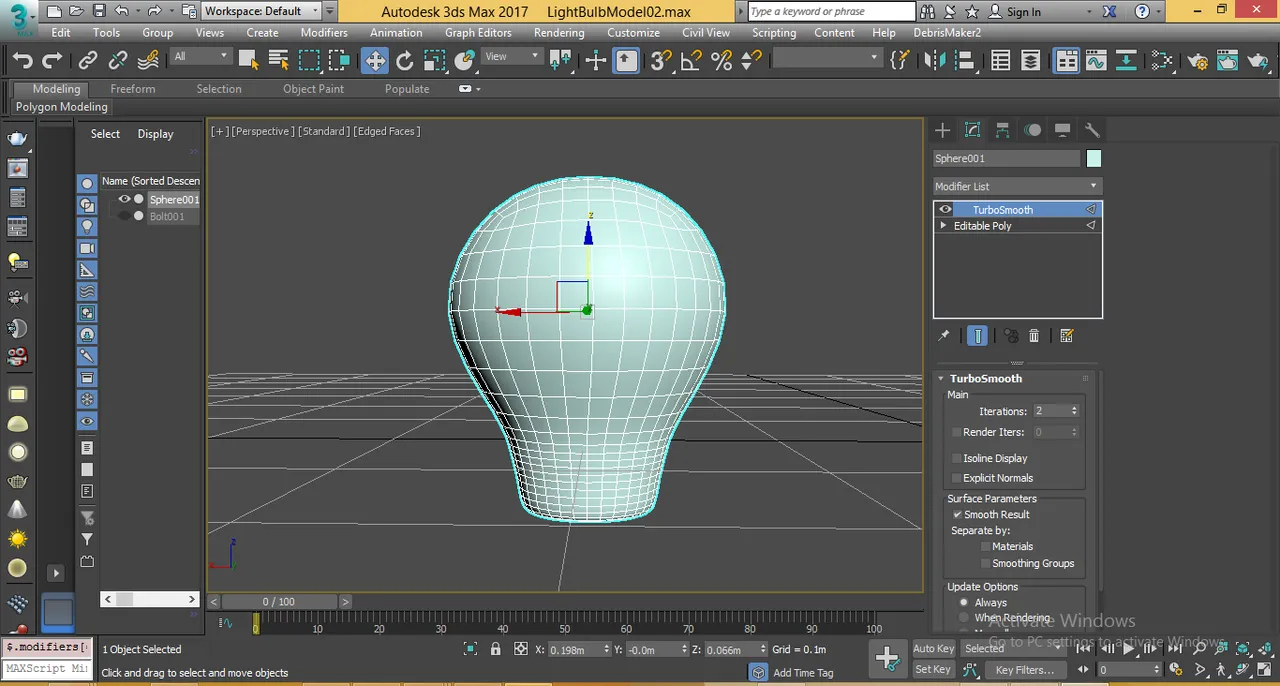
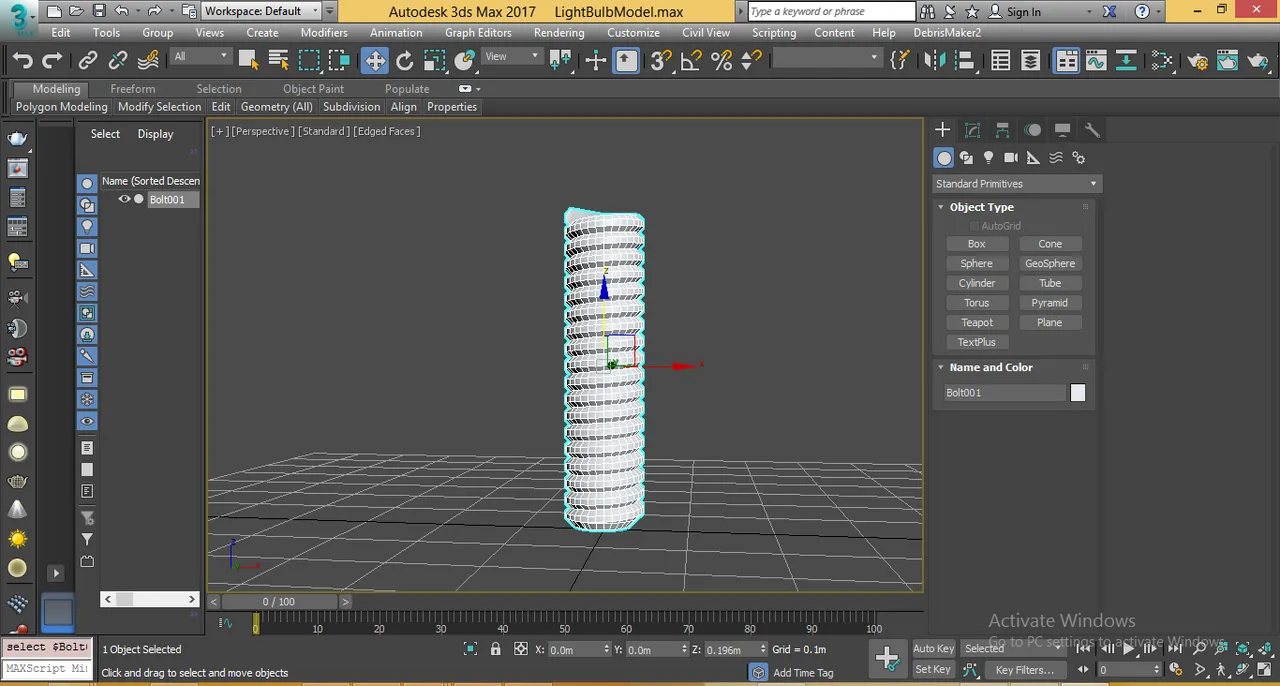
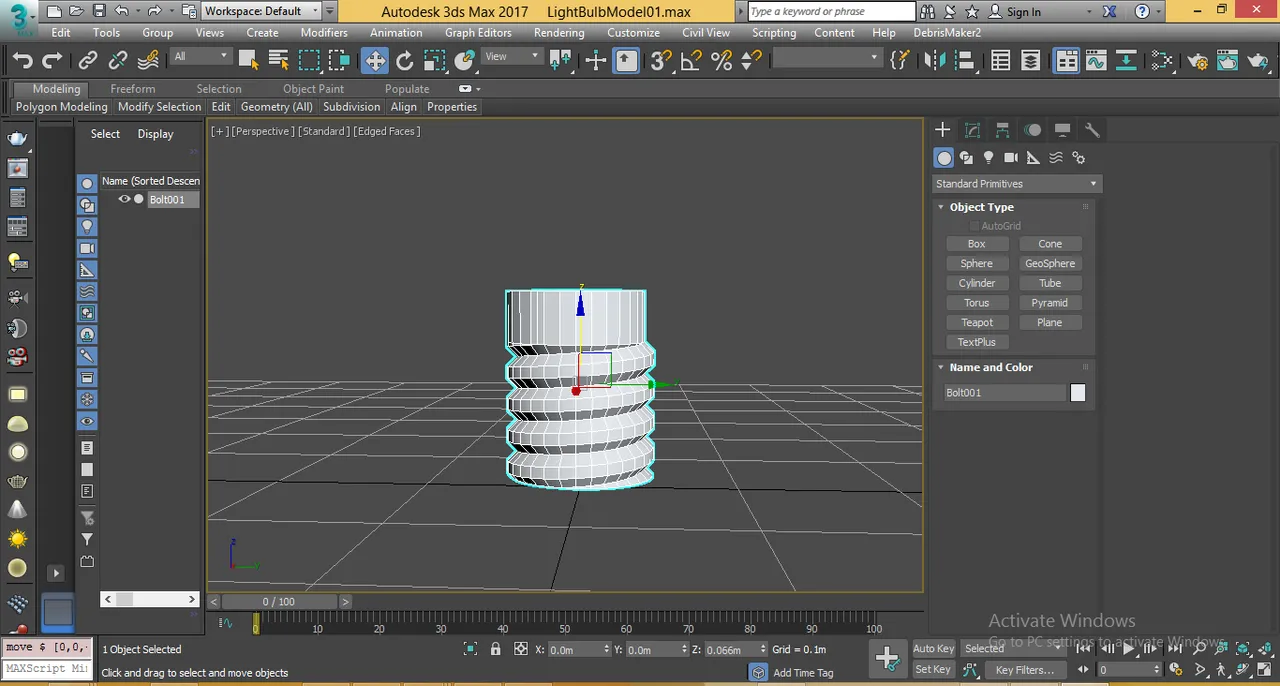
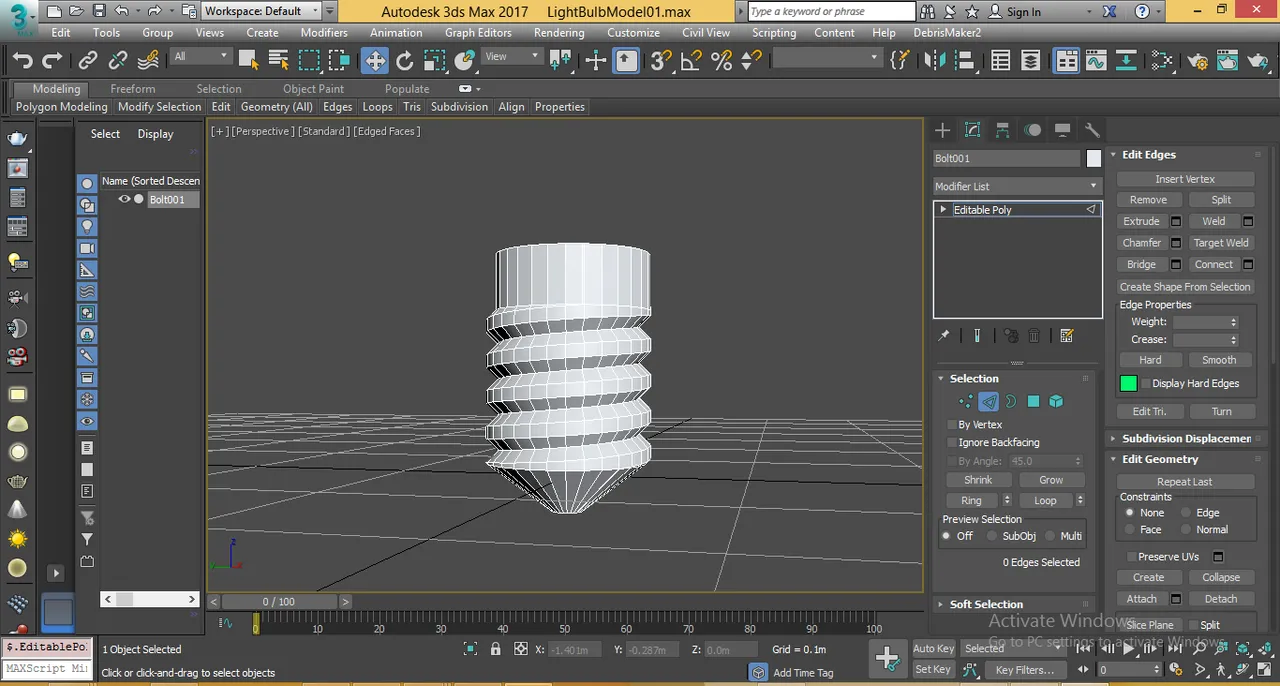
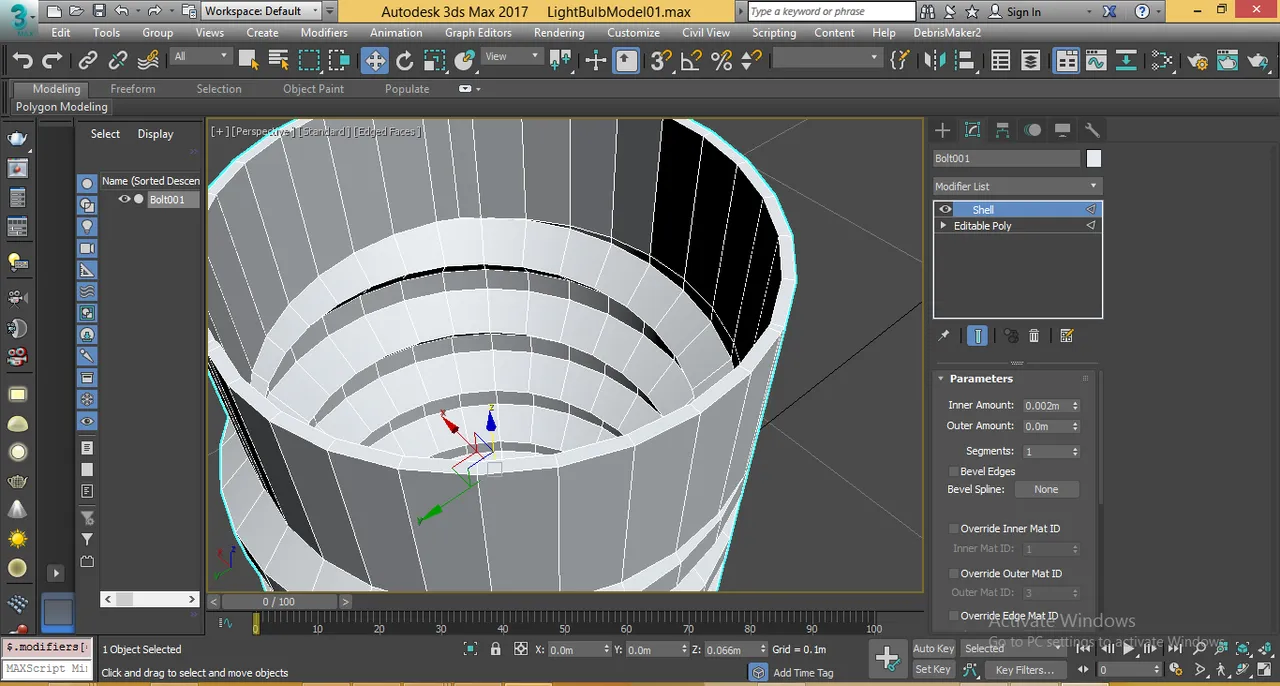
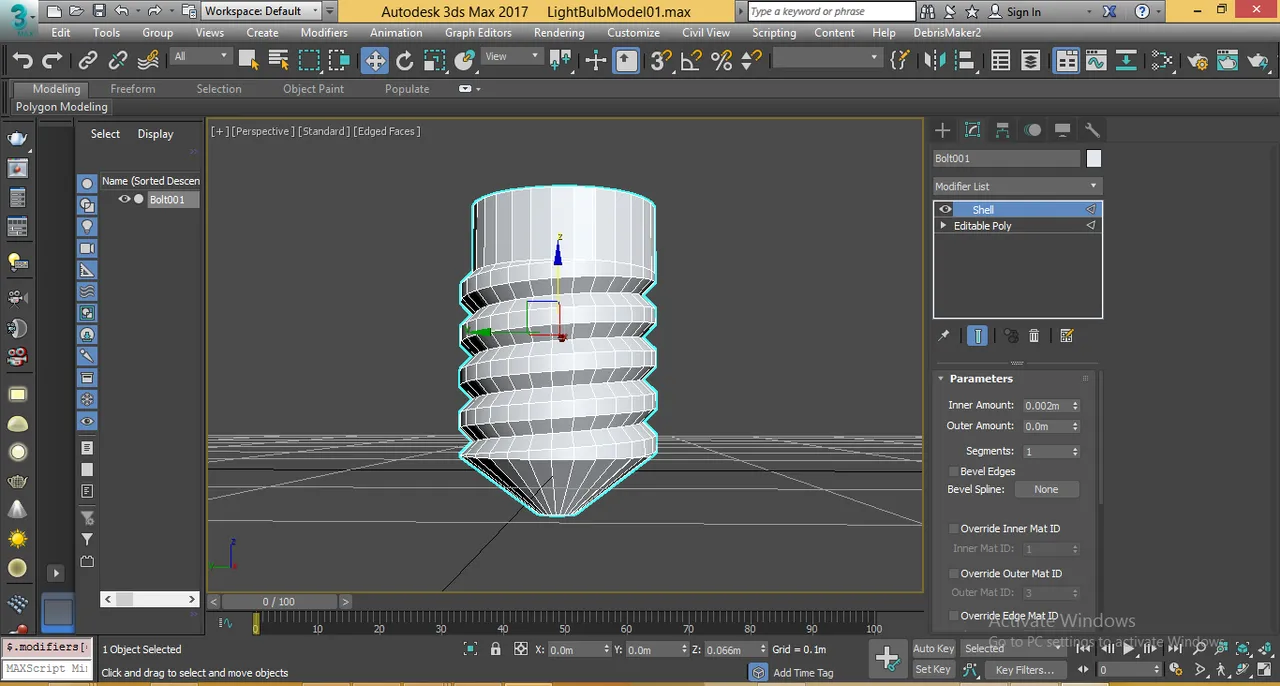
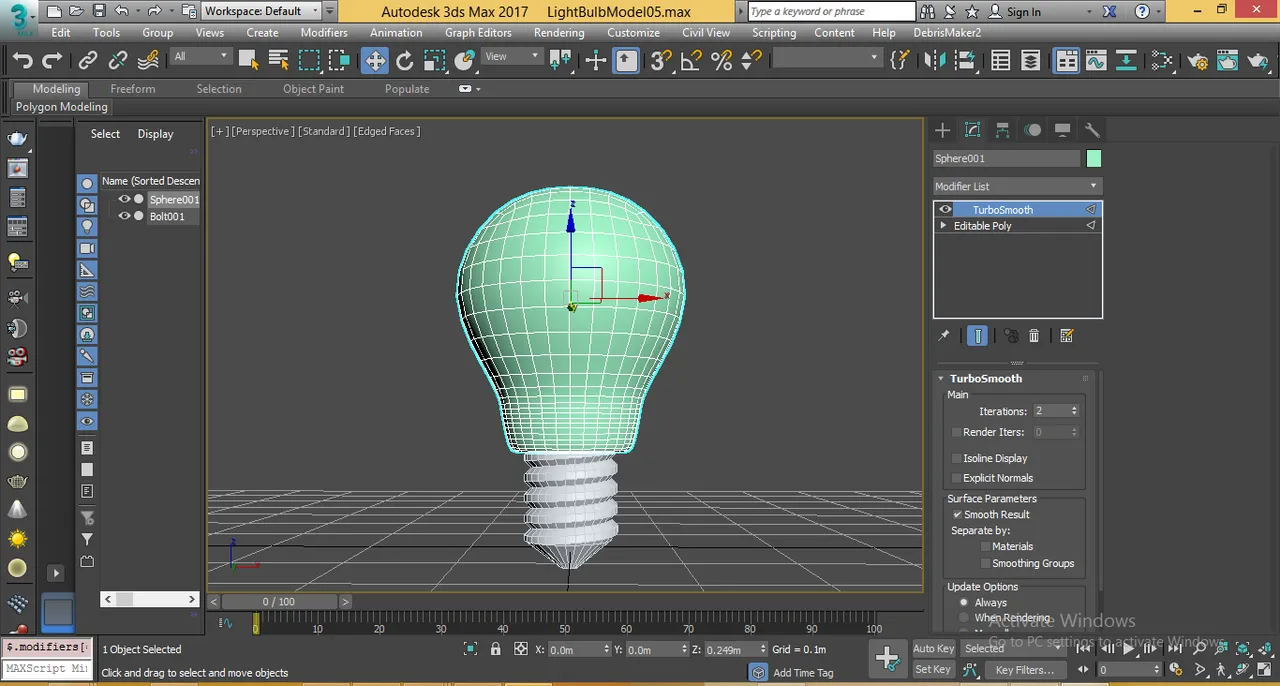
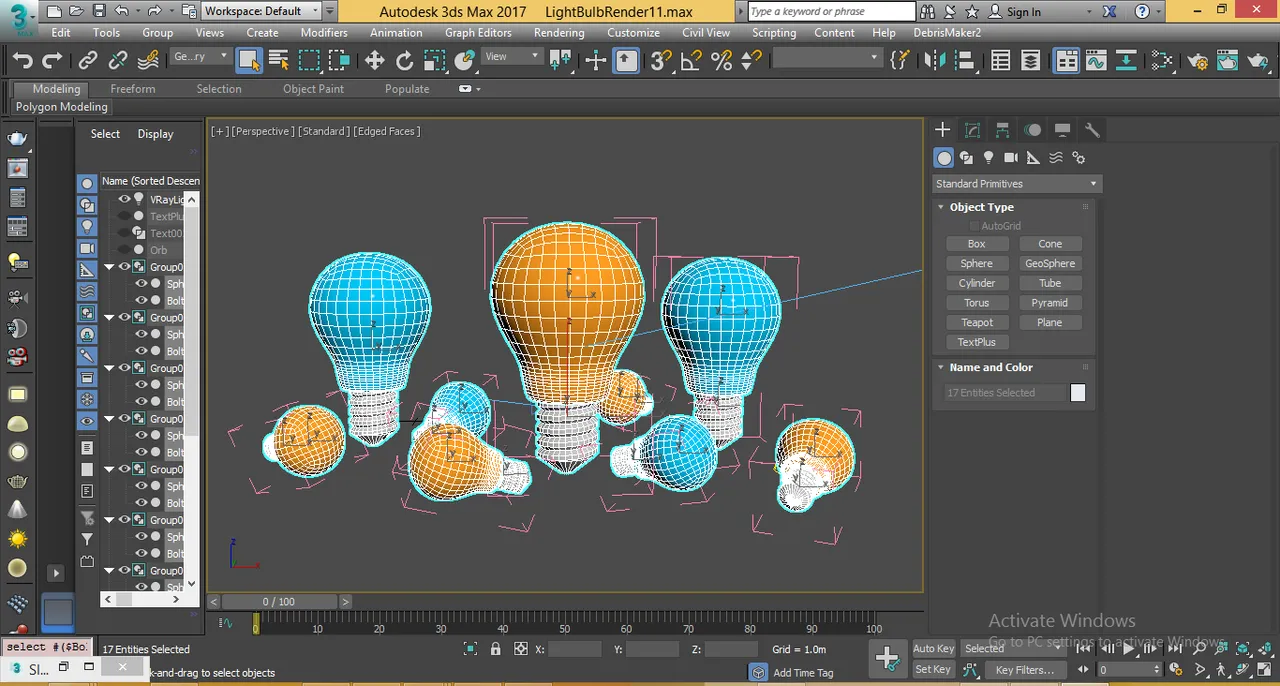
For the process, i started by creating a simple sphere shape in #3dsmax. I reduced the segments and removed some unwanted edges. As always when it comes to 3d modeling, i began to edit the edges by scaling, extruding, pushing and pulling edges to get the overall shape of a light bulb. Once i completed the bulb part of the model, I Began working on the screw part. For the screw, i used a fanstastic script that helps generate the threads for bolts. Once i got the base screw, i began to edit the model to get the major shape of a light bulb screw area. Once that was done, i added a smooth modifier and positioned both models to get the overall light bulb model shape. Next, it was time to add lights, background and materials to the scene. Once i was happy with the way the scene looked, I added camera and framed the shot for final render. Once the rendering was completed, i did a little colour adjustment in photoshop.
The Process
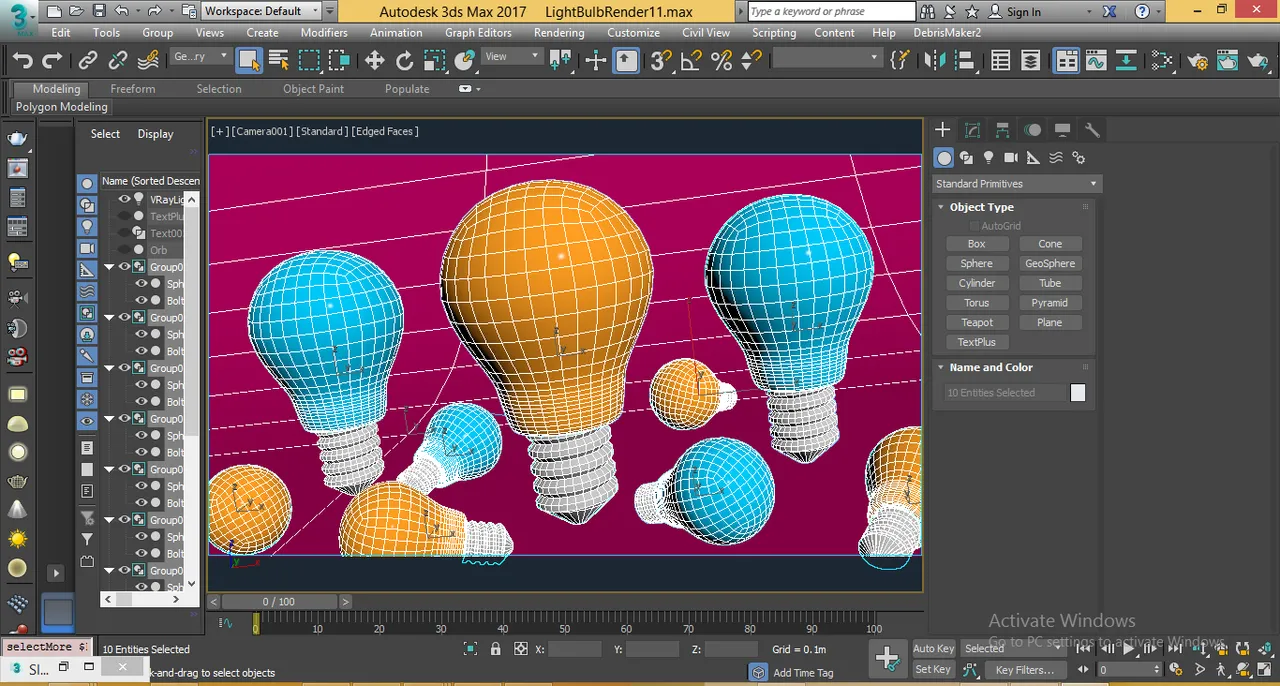
Framing and Composition
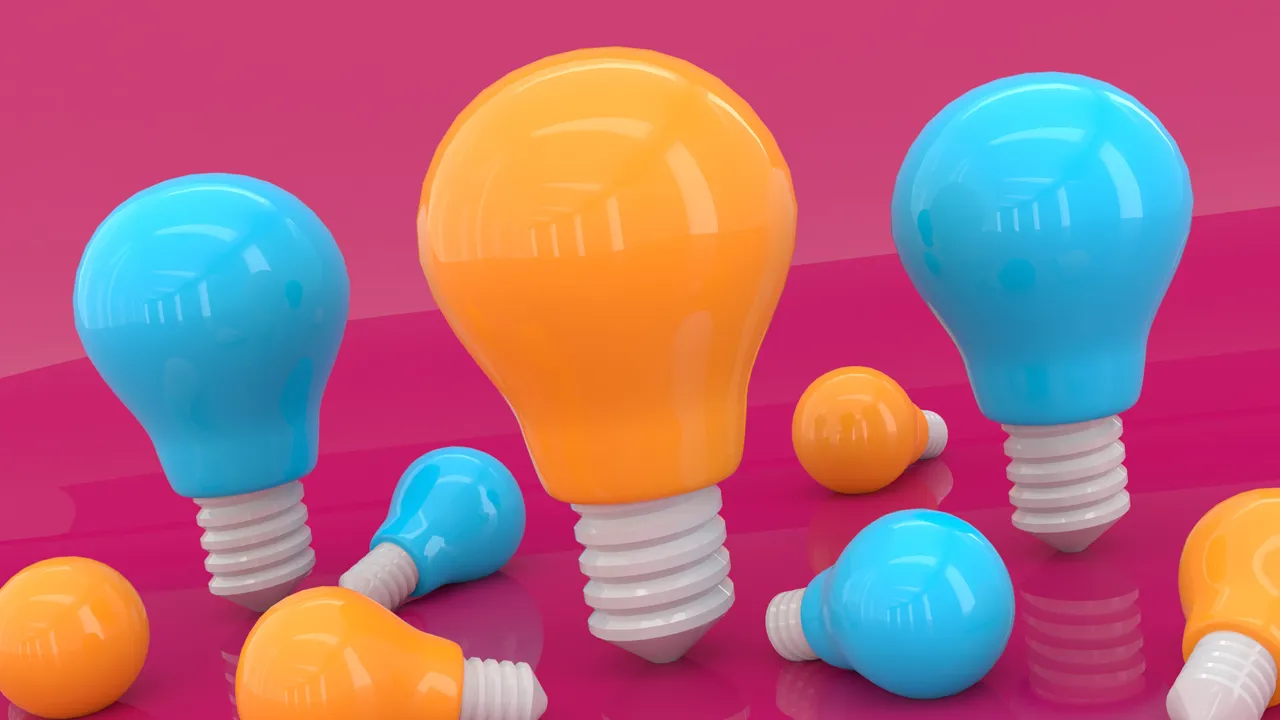
Final Render
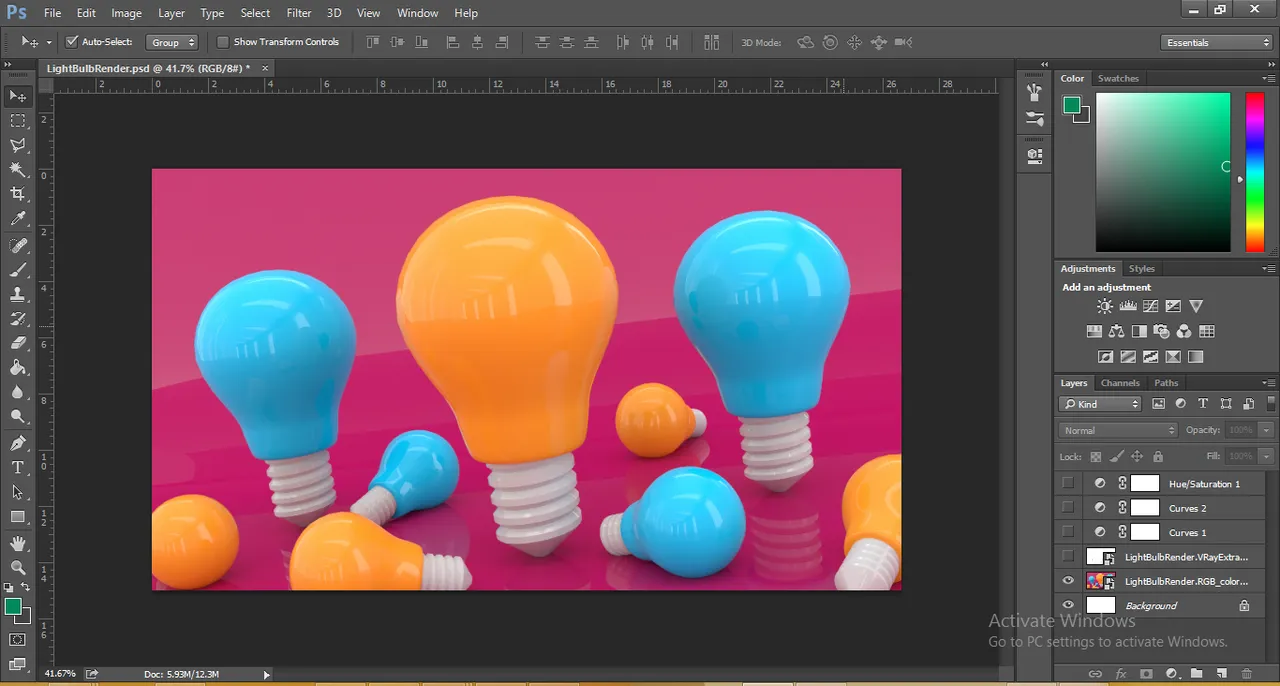
Colour Adjustment in Photoshop
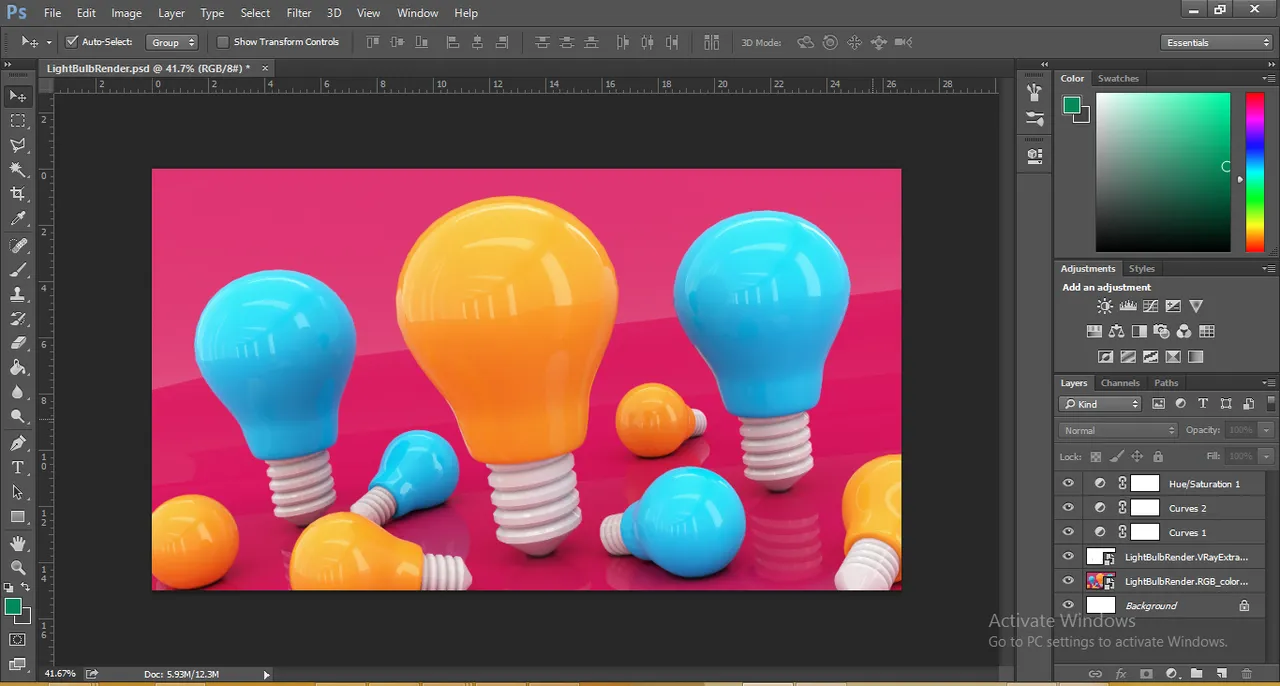
Final Output