Hi friends!
So... In the last tutorial on drawing a pumpkin in Inkscape, I stopped at this step.
On the creation of the stalk.
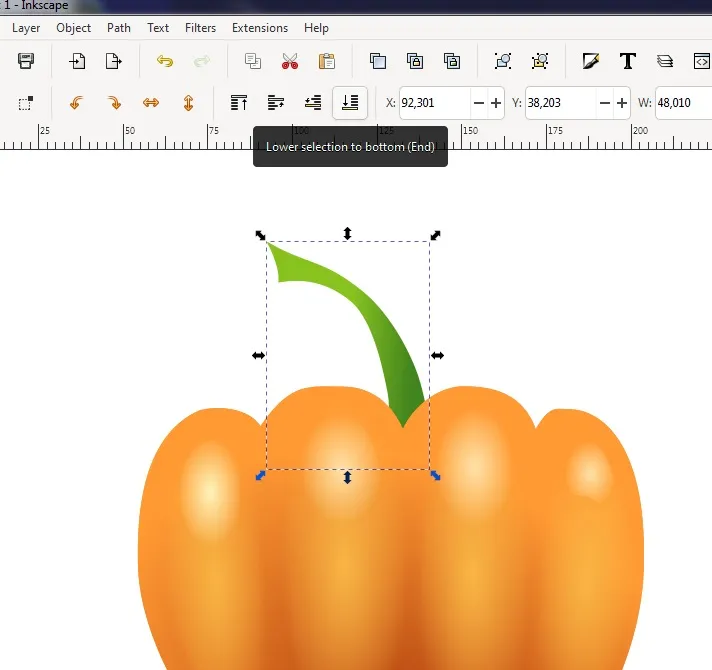
I add more greenery.
Using the same Draw Bezier curves and Straight Line tool, I create such a path - it will be a leaf branch
I make a stroke thicker and paint in the same color as the top of a stem
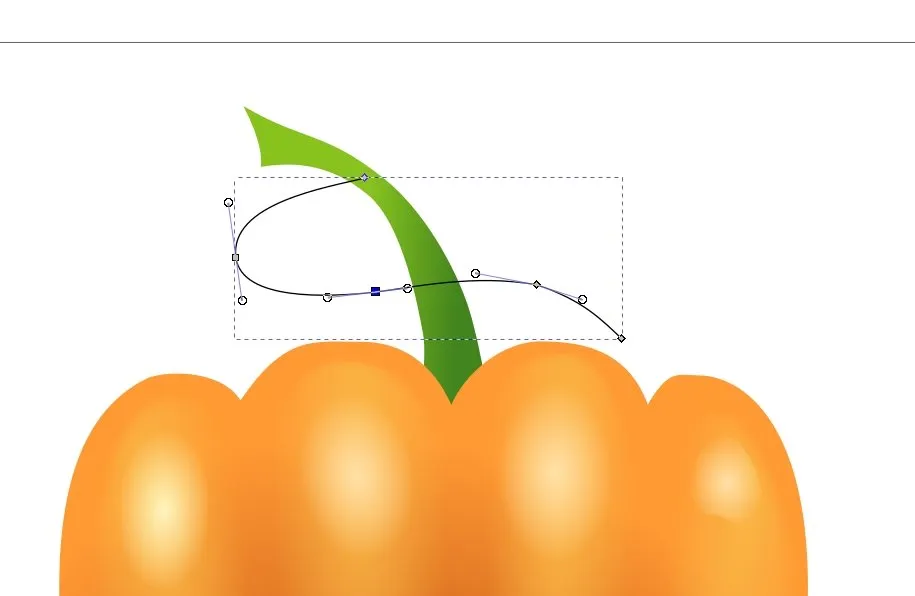
Now it's up to a leaf.
Its shape resembles a maple leaf, but smoother in places.
I choose Draw Bezier curves and Straight Line tool again and draw this shape.
I modify individual nodes with Edit path by nodes tool
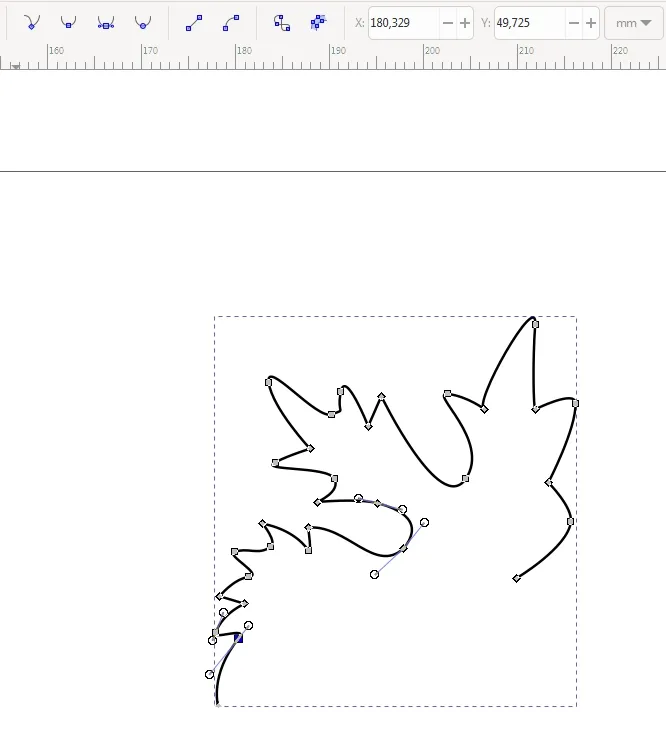
When half of the sheet is ready, I copy it and paste it in place (menu Edit - Paste in Place)
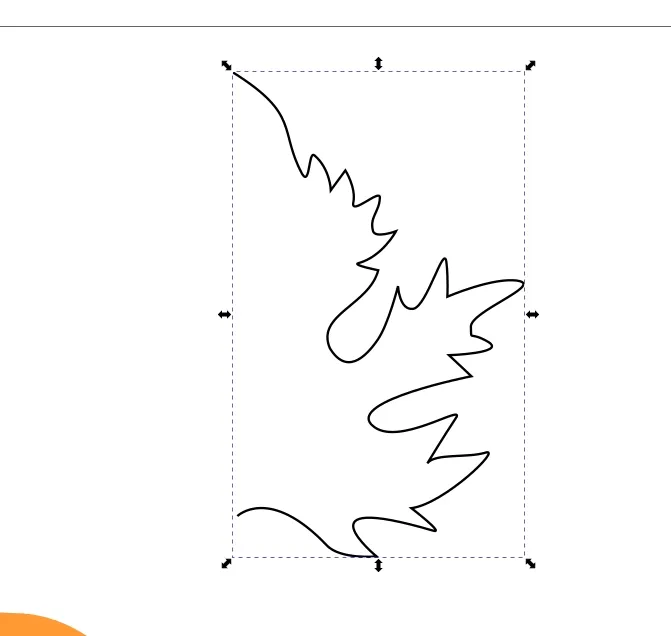
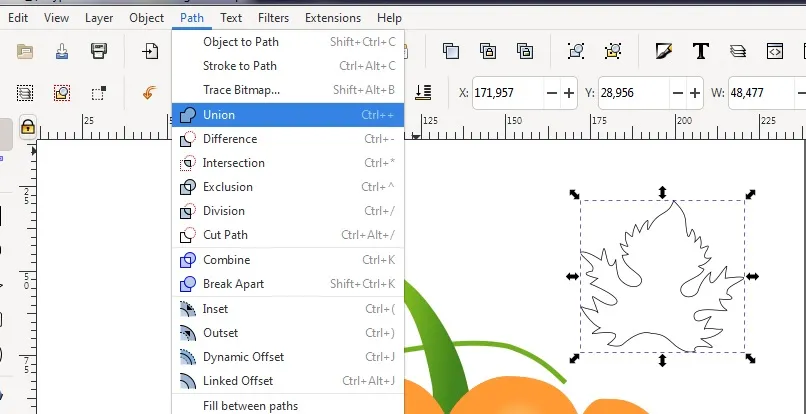
Then I go to Object - Flip Horisontal and combine the ends of the contours.
And Path - Union
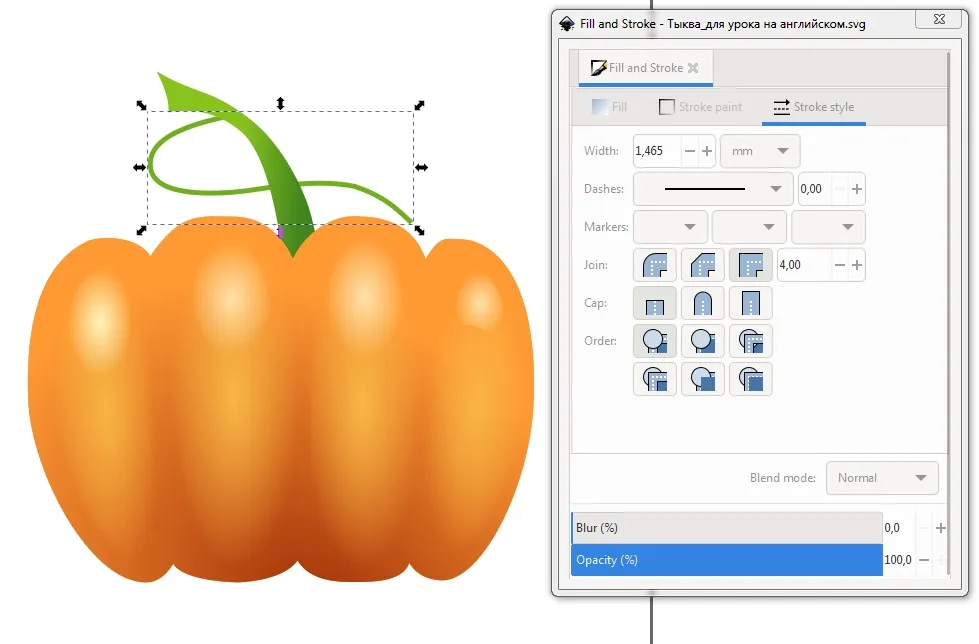
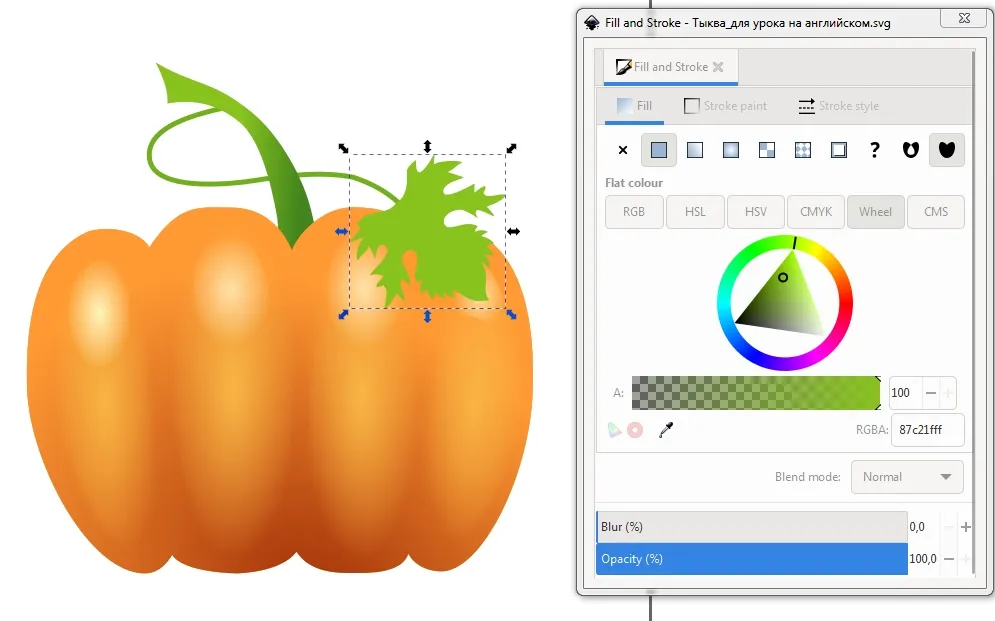
Then I move the finished leaf to a branch and fill it with a light green color.
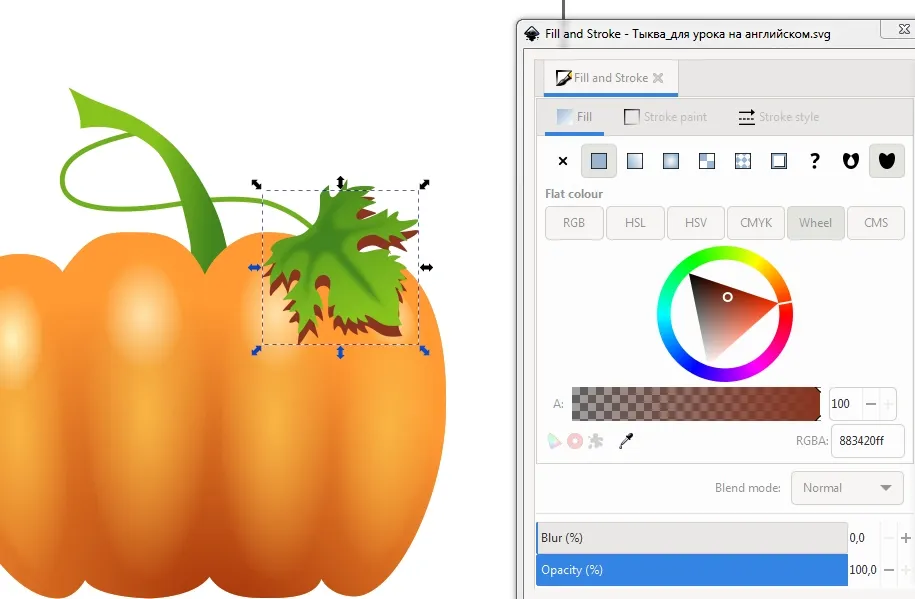
Next, I draw a core of the leaf and immediately modify it, as I did with the leaf.
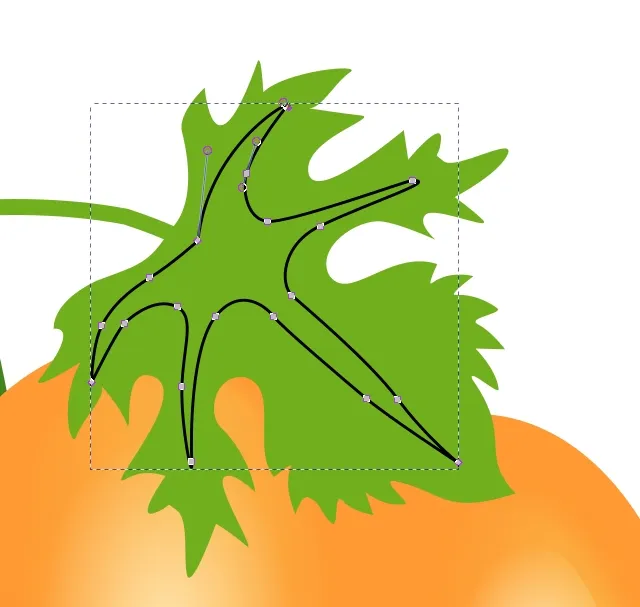
I choose for a core dark green color and blur it on 20%

This is how it will all look when finished.
I also fill a leaf with a gradient, as well as on a stalk.

Since the leaf is located above the pumpkin, and this is a material object, it means that it must cast a shadow.
I duplicate the main shape of the leaf, paste it in the same place, fill the bottom copy with a different color (approximately in red tones, in contrast to the leaf) and move it down a little so that it overlaps the pumpkin area.
Then I draw such a free contour, select it with the SHIFT key and the future shadow and go to Path - Difference
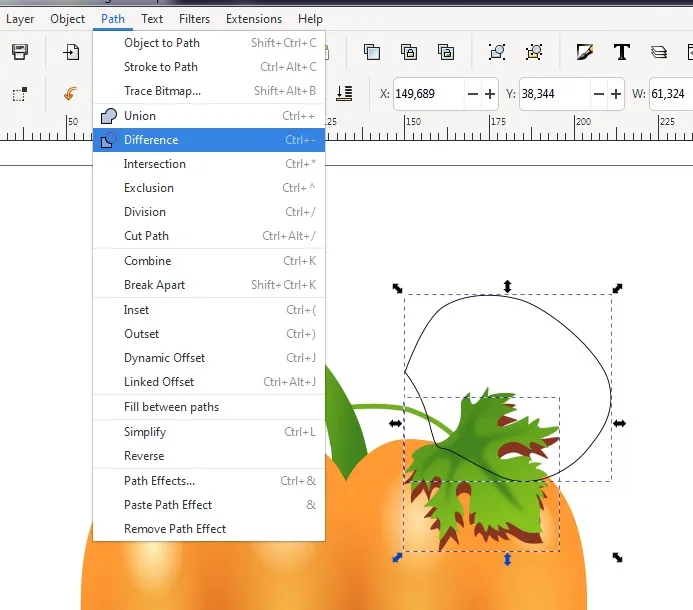
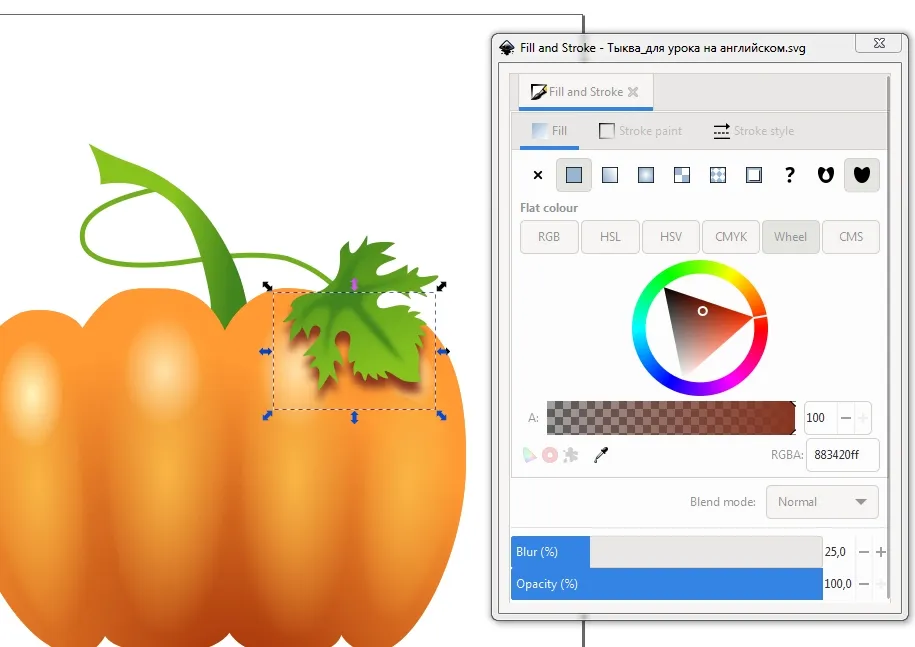
The upper part of the figure is cut off, only the one that "looks out" from under the sheet and covers the pumpkin remains.

I blur it to 25%
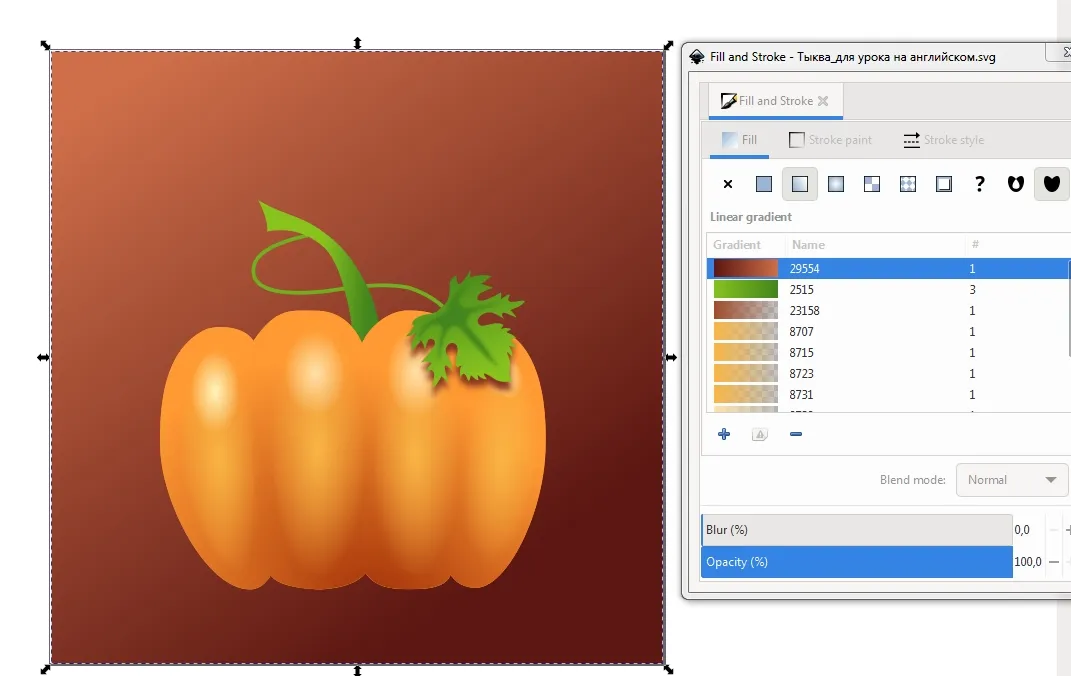
The result is an almost realistic pumpkin

I can finish this, but I want to place the pumpkin on a beautiful background.
I choose Create Restangles and squares tool and draw a restangle.
I want to draw gradient background for a pumpkin
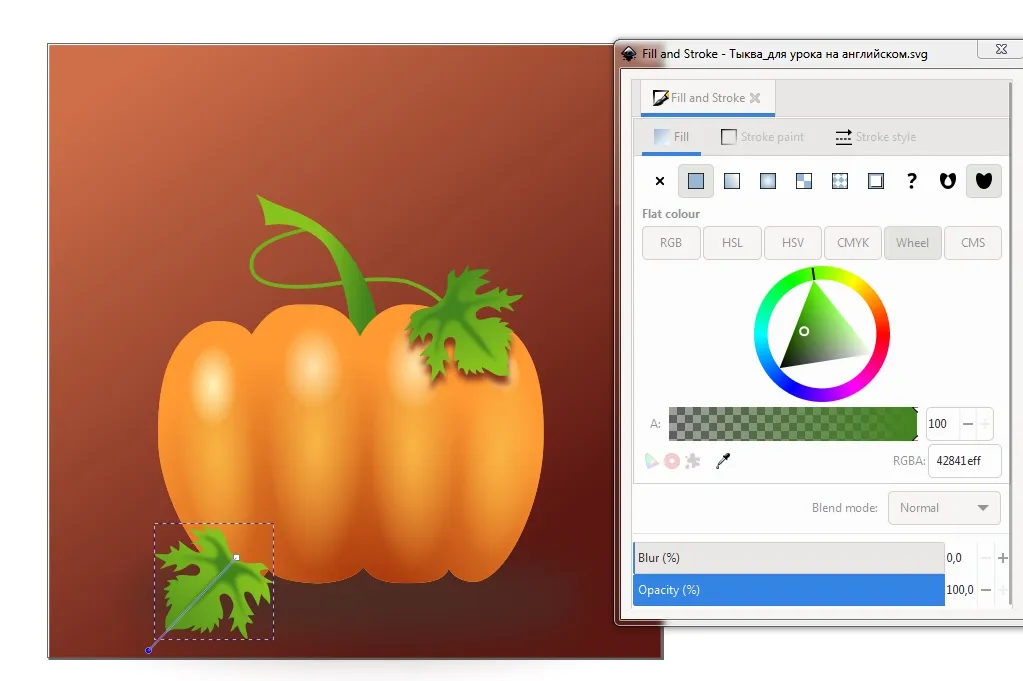
Then I want to add seconr leaf in my picture and make a copy of leaf and paste and replace to bottom.
So, I change a direction of gradient on the bottom sheet so that it is not an exact copy of the top one, and move the whole composition down.
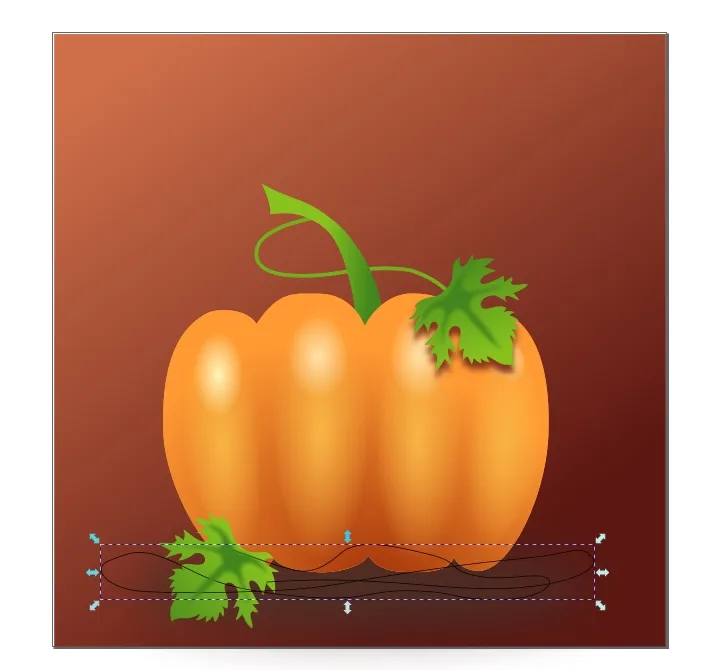
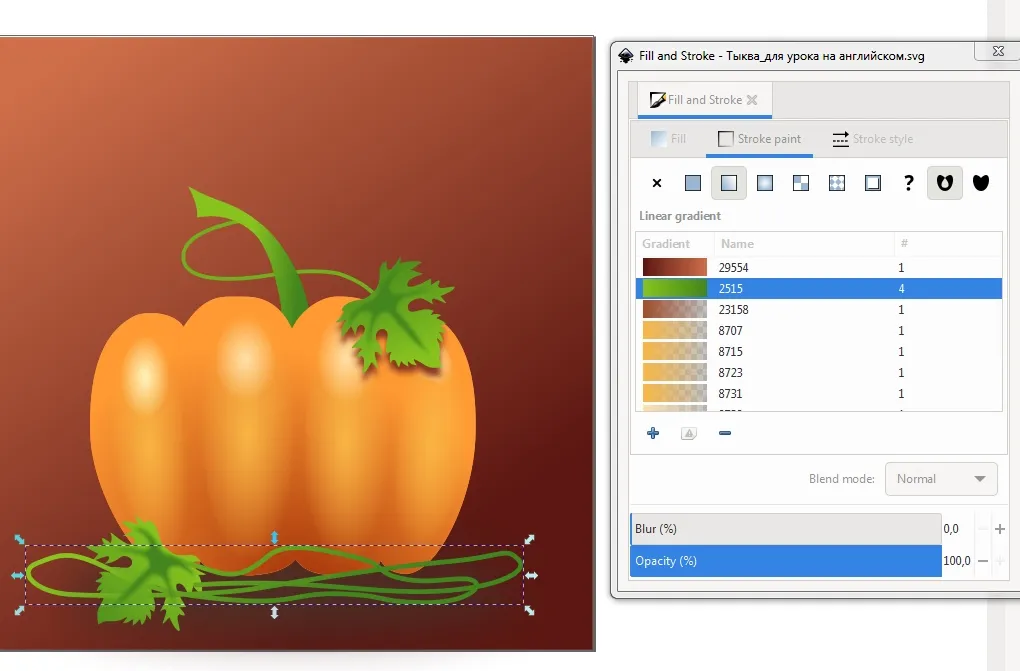
And I want to draw long green stem.
I take Draw Bezier curves and Straight Line tool again and draw something like this
Change a stroke weight and fill it with the same gradient as the leaves and stem
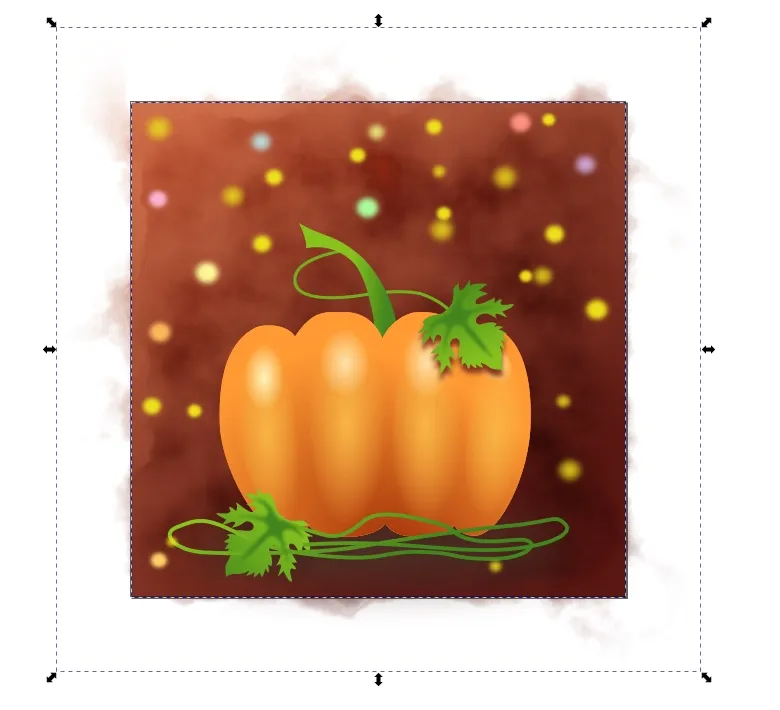
These are the results of the last steps

It's time to create a beautiful background effect!
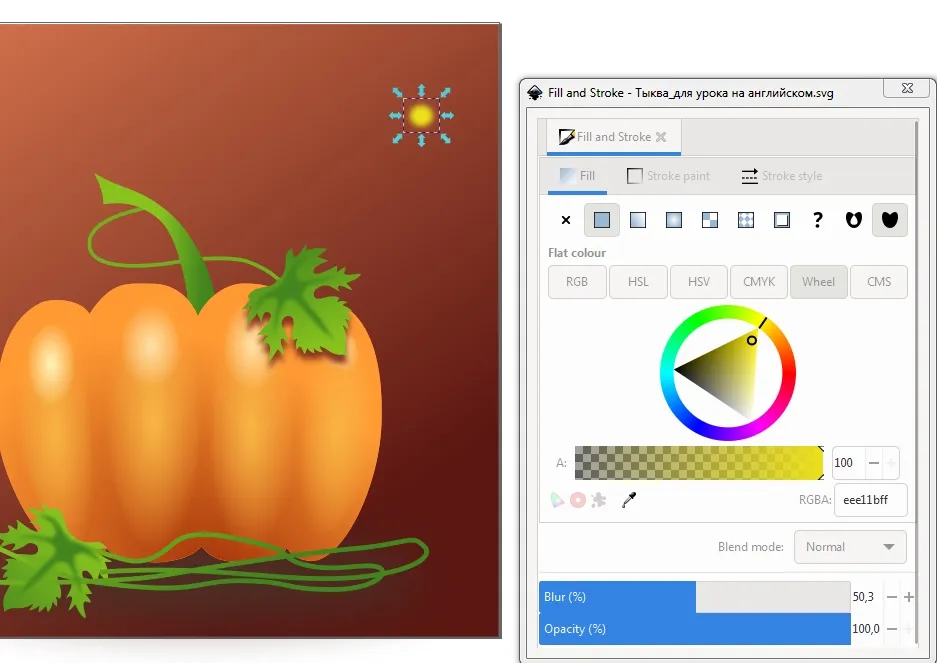
And i draw again with "Create circles, ellipsis and arcs" tool and draw this circle

Then I add a glow for it with blur 50%
And next step I choose a Spray objects by sculpting or painting tool and set this options
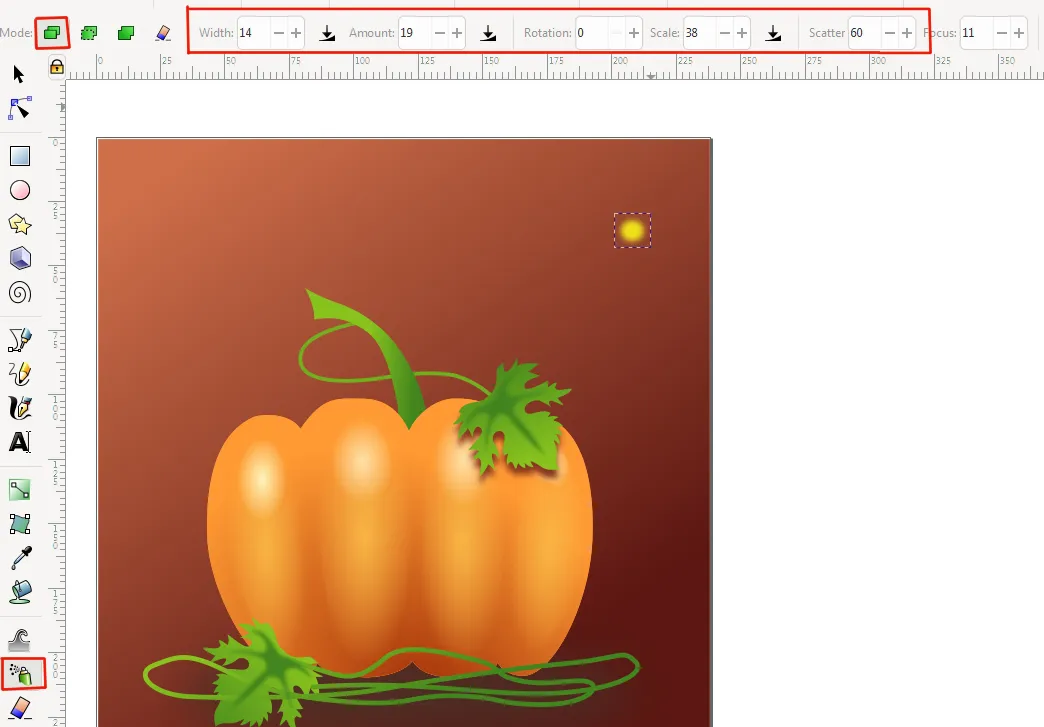
and create a "bokeh effect" on the background

Note: each of these sprayed circles is an independent object that can be edited individually - erase (the eraser icon on the property bar), move to another place, change the opacity
Which is what I do by changing the color of individual objects.
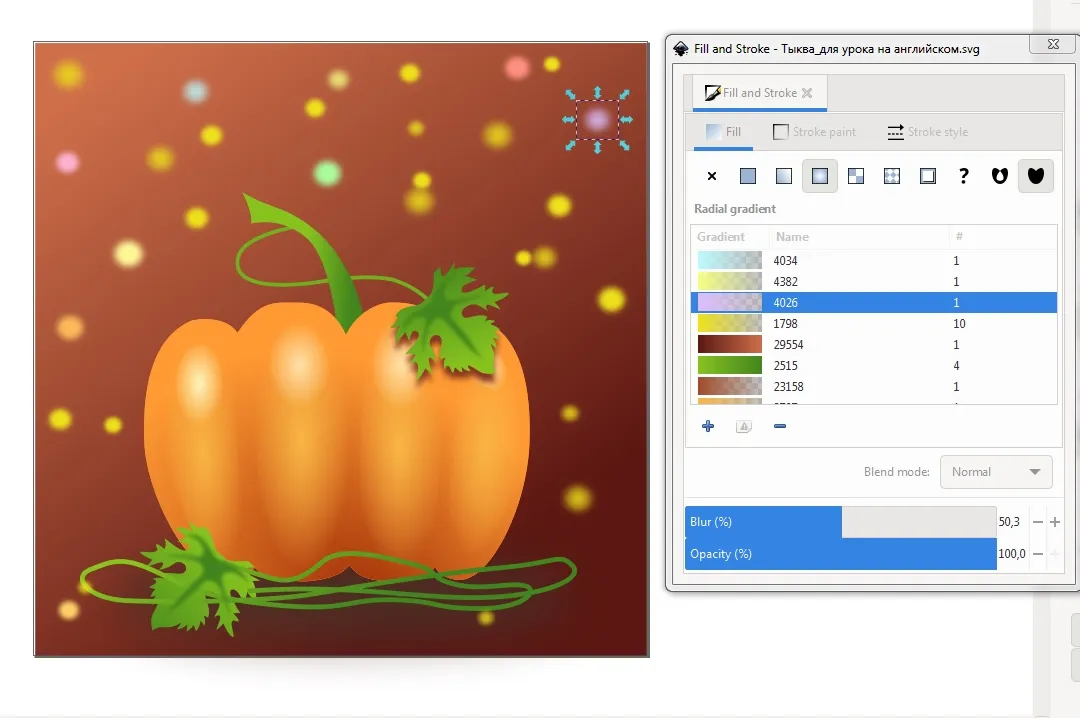
And one more thing: if a radial gradient is applied to a circle colored in a new way, then it is filled according to the principle from color (from a cent) to transparency, which goes to the edge.
It turns out real bokeh out of focus!

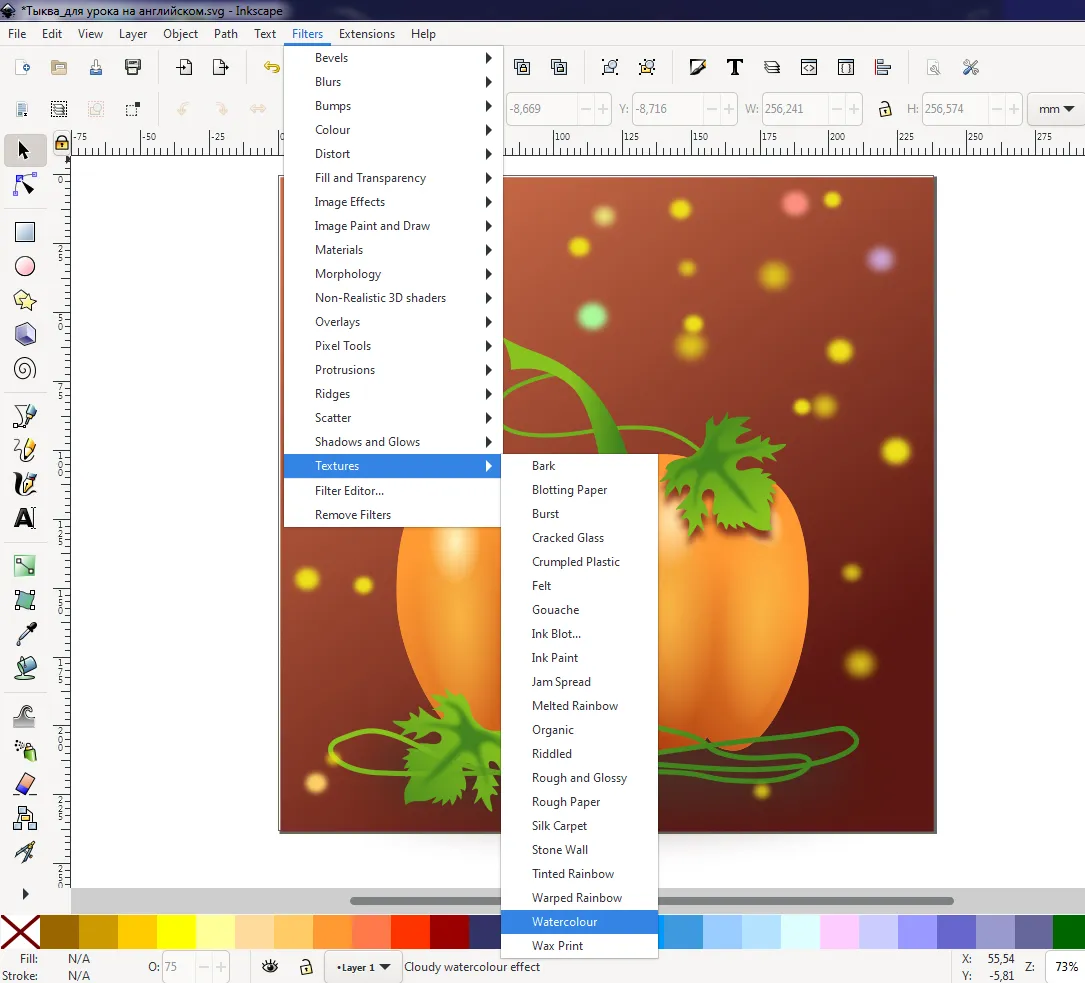
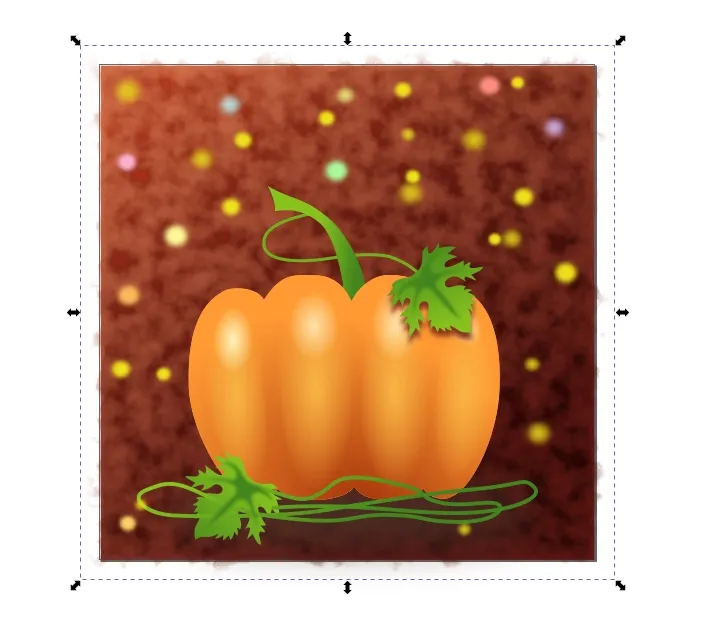
And I also want to add one effect using filters.
I copy a restangle background and paste on place
Then I go to the Filters menu, select Textures section.
I liked the Watercolor
Yes, I like it!
But I don't like streaks protruding from the edges of the background.
How can I fix it?

First, I resize a watercolor background, making it larger so it is easier to work with.
And then using Draw Bezier curves and Straight Line tool I draw a square along the outline of the background, select both objects with SHIFT and go to Path - Intersection
The result.
I change an opasity for it to and blend mode to Soft Light
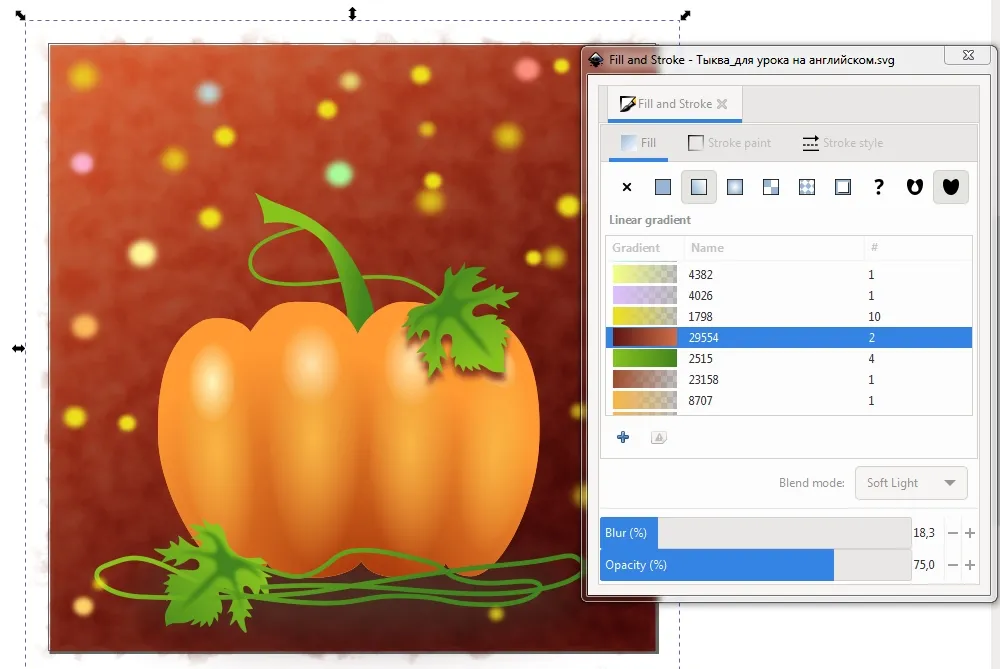
Yes, now I'm happy with what happened, he-he!))))

I hope you'll like my very long tutorial, and you didn’t fall asleep reading it ;)
Many thanks for you visits, commeyts and upvotes!
Have a nice and creative autumn day!
Regards