Greetings from @a-lass-wonders!! 🙏
Hello, my lovely, fellow hivers!
How are you? Hope you all are safe under this alarming situation around the globe😷. We are still in lockdown🚫 and that life made me to try new things I never did earlier like gardening, preparing different foods, adapting to new life, crafting and so on.
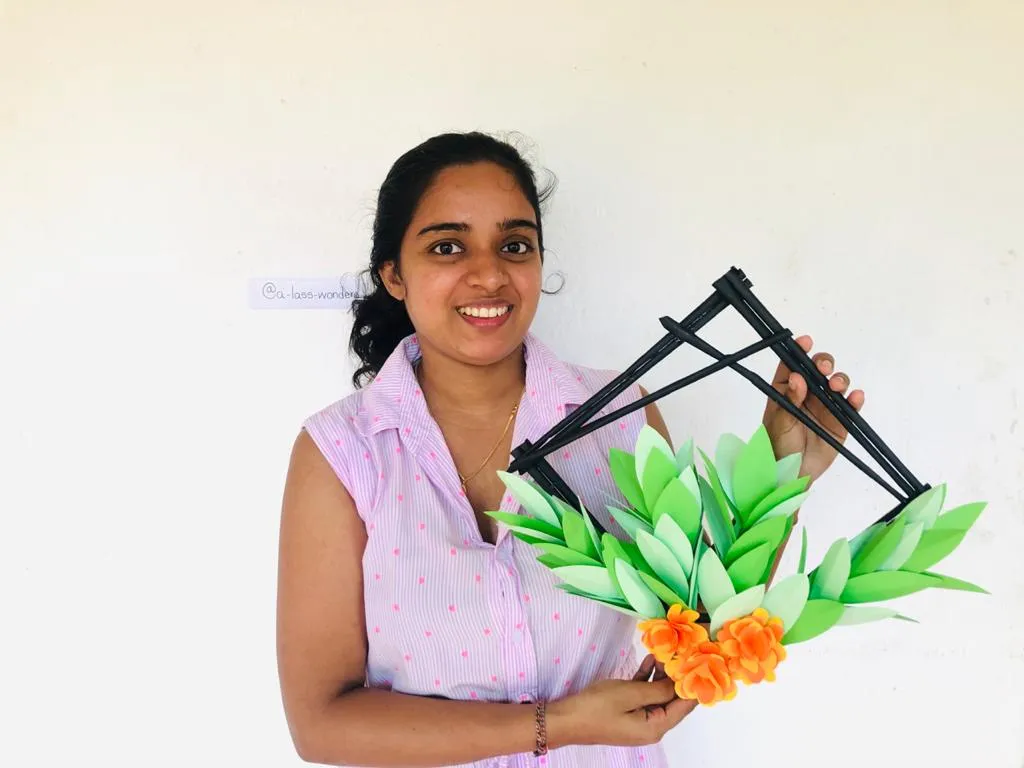
Crafting is a thing I just never tried earlier, coz of my less capability to do creative works😋. But, the lockdown has revealed my potential to do it. This is my first and lucky handcraft wall decoration and hope my alluring ladies will enjoy it🙋.
MATERIALS:
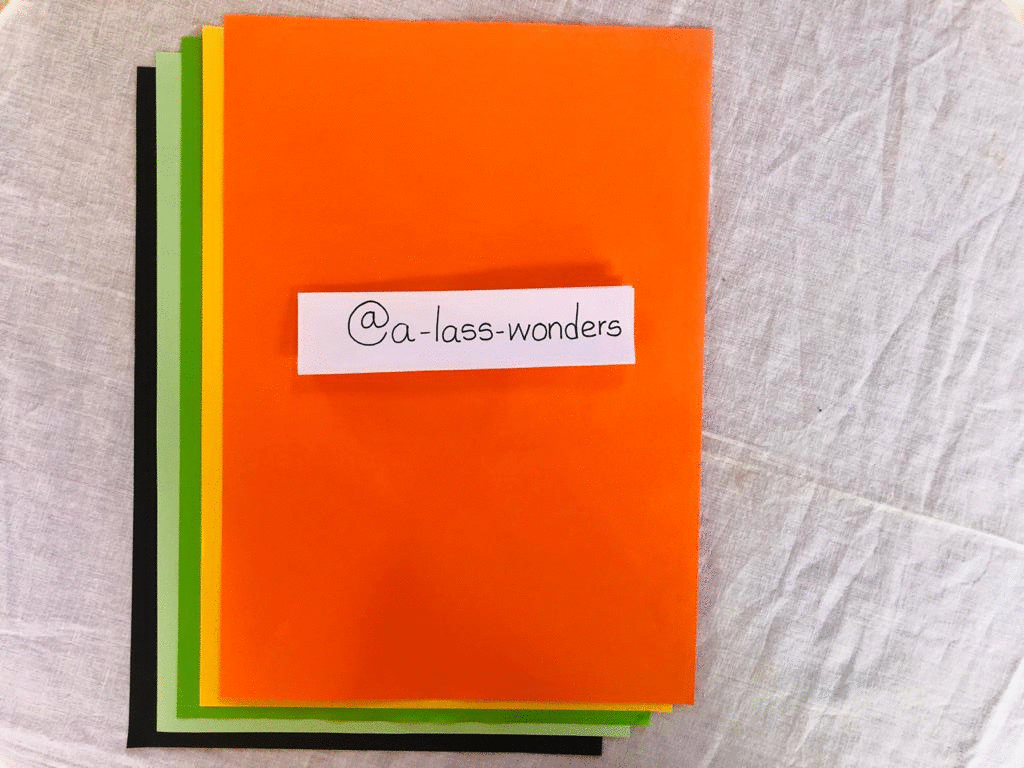
- Colored A4 papers
- Glue gun
- Binder gum
- Pair of scissors
- A ruler
- Pen or pencil
Initially need to make frame of this decoration🖼️, coz it needs to be dry to continue the rest. Hence let’s make the frame first.
PROCEDURE:👇
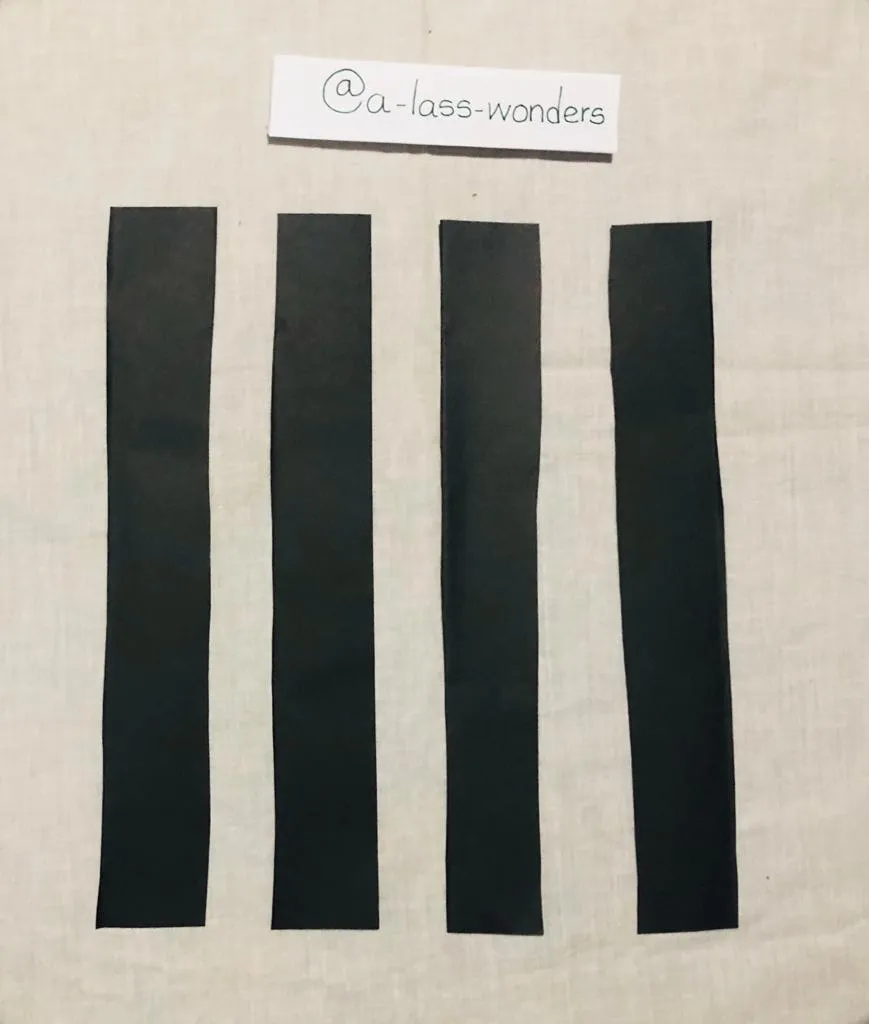
01) HOW TO MAKE PHOTO FRAME🖼️
Step 01
We need ten paper rolls to build this photo frame along with two small paper rolls. The width is 4cm and length is 15cm.

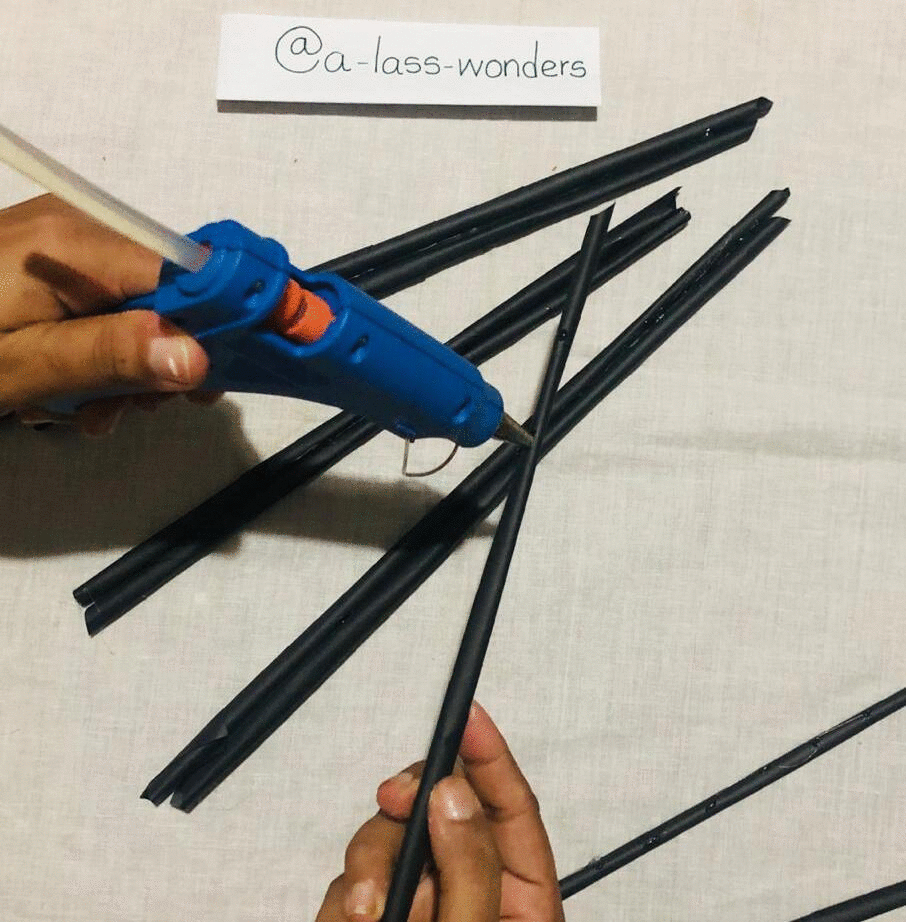
Step 02
We need to take two A4 strips once and combined them using glue. Then roll the paper as shown in below figure to make paper rolls.

Step 03
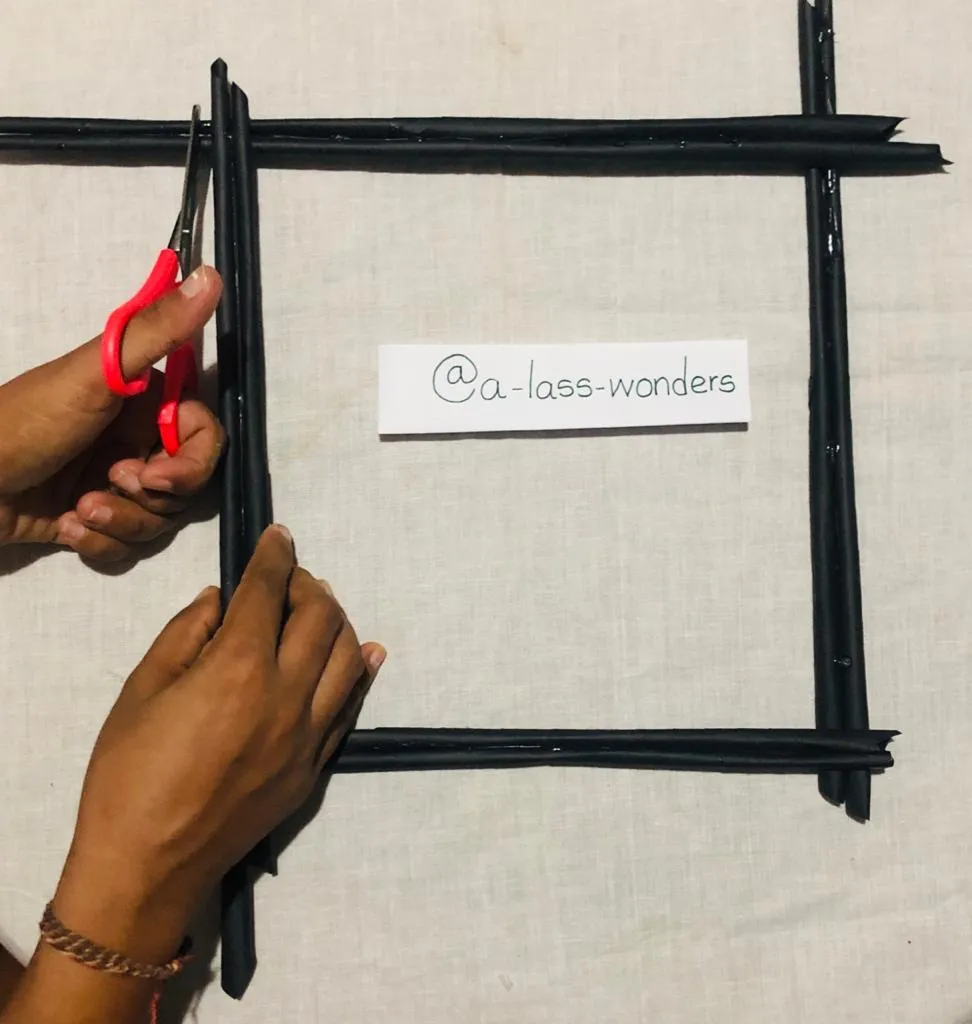
Join each other to square shape using glue gun.
Step 04
Cut the extra edges to get a fine square shape photo frame.
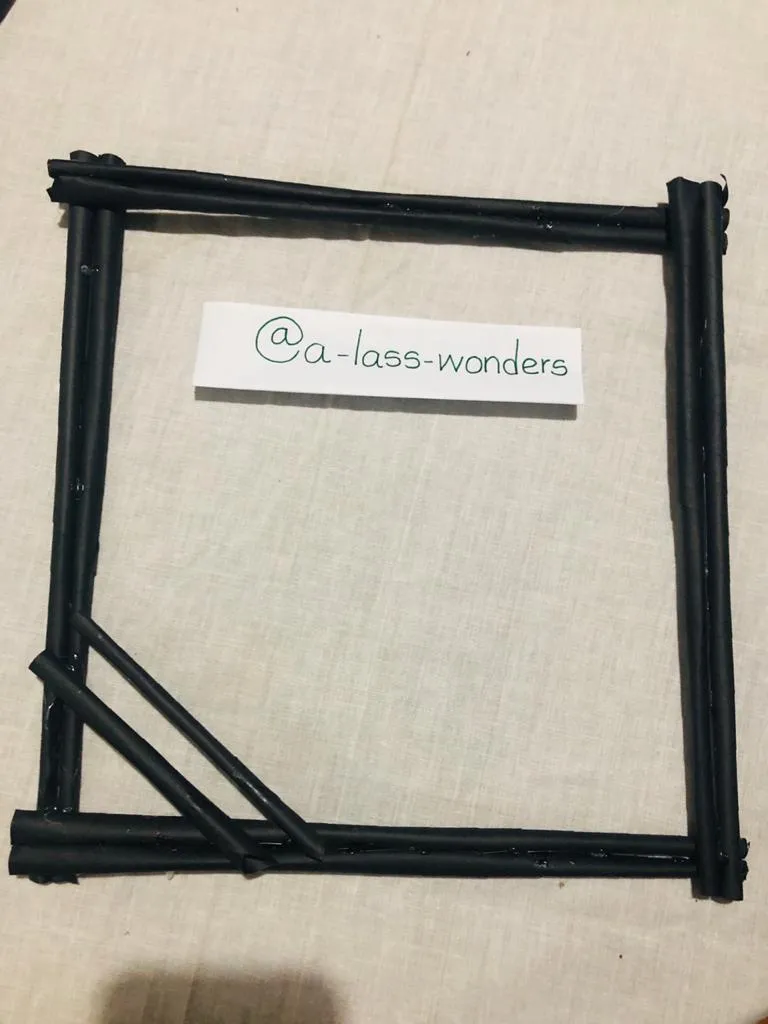
Step 05
Stick two small paper rolls onto photo frame using glue gun.
02) HOW TO MAKE LEAVES
Step 01
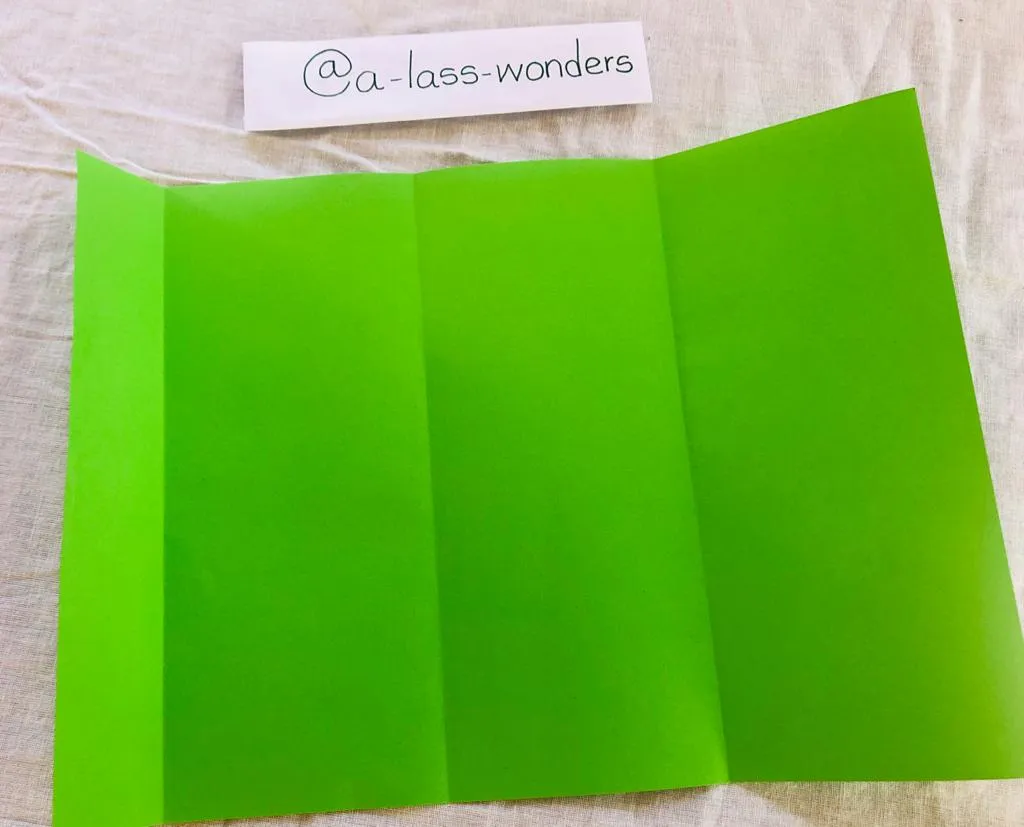
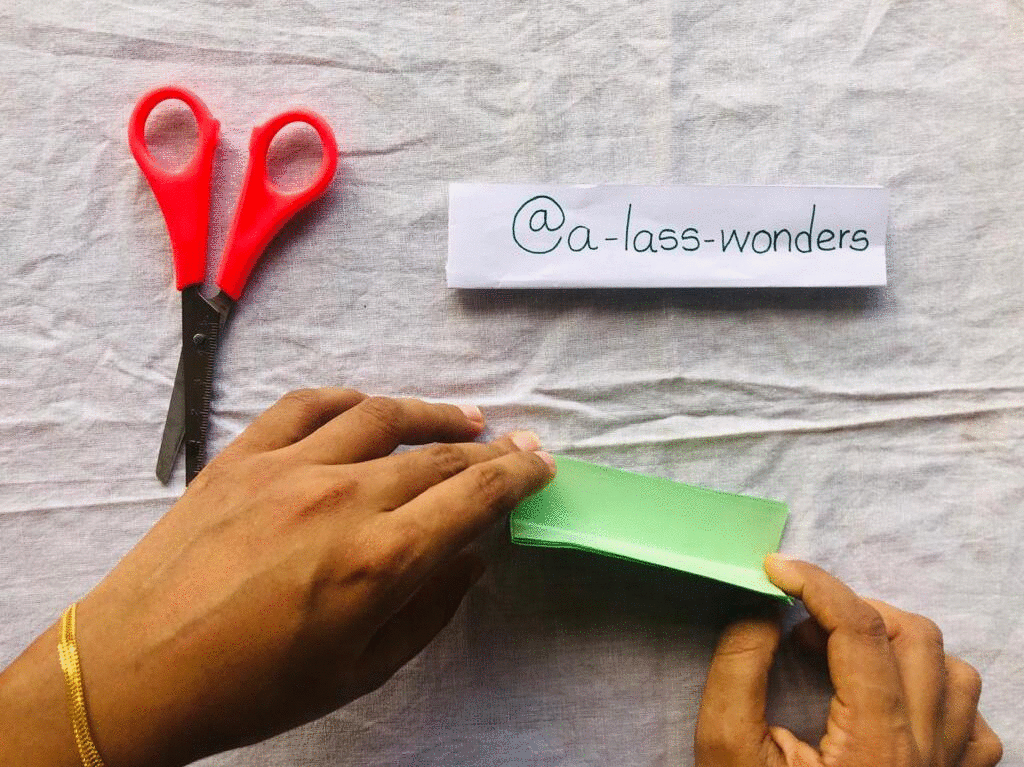
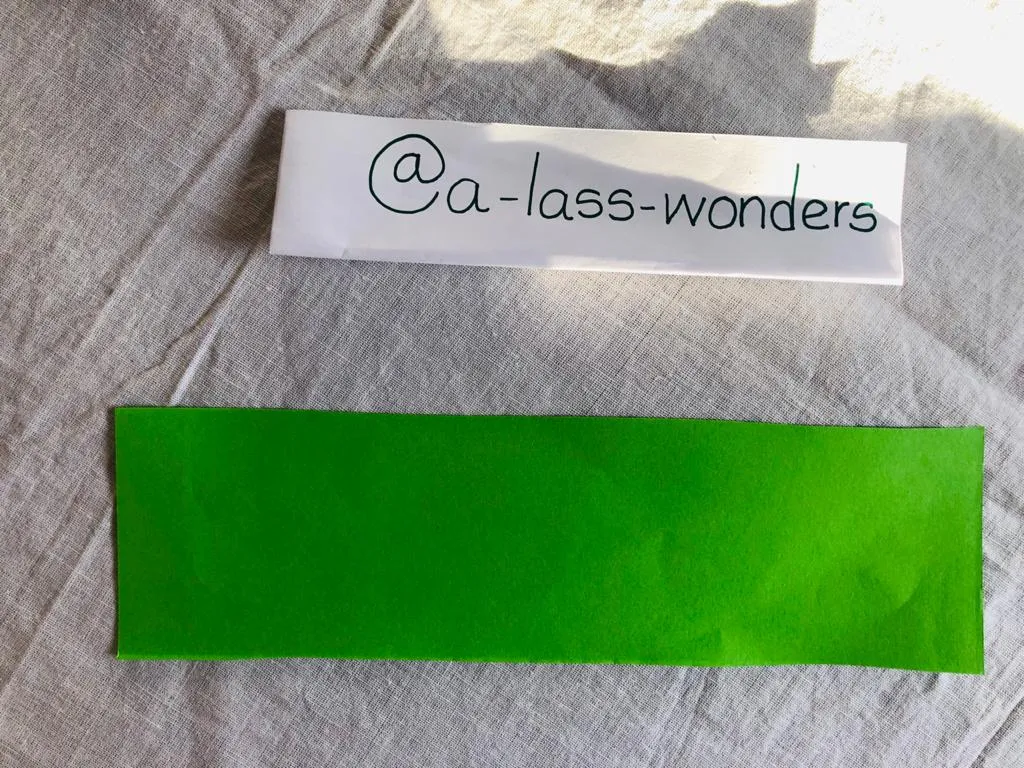
Take A4 papers from two colors of green and cut rectangles to the width of 3cm and length of 7cm.
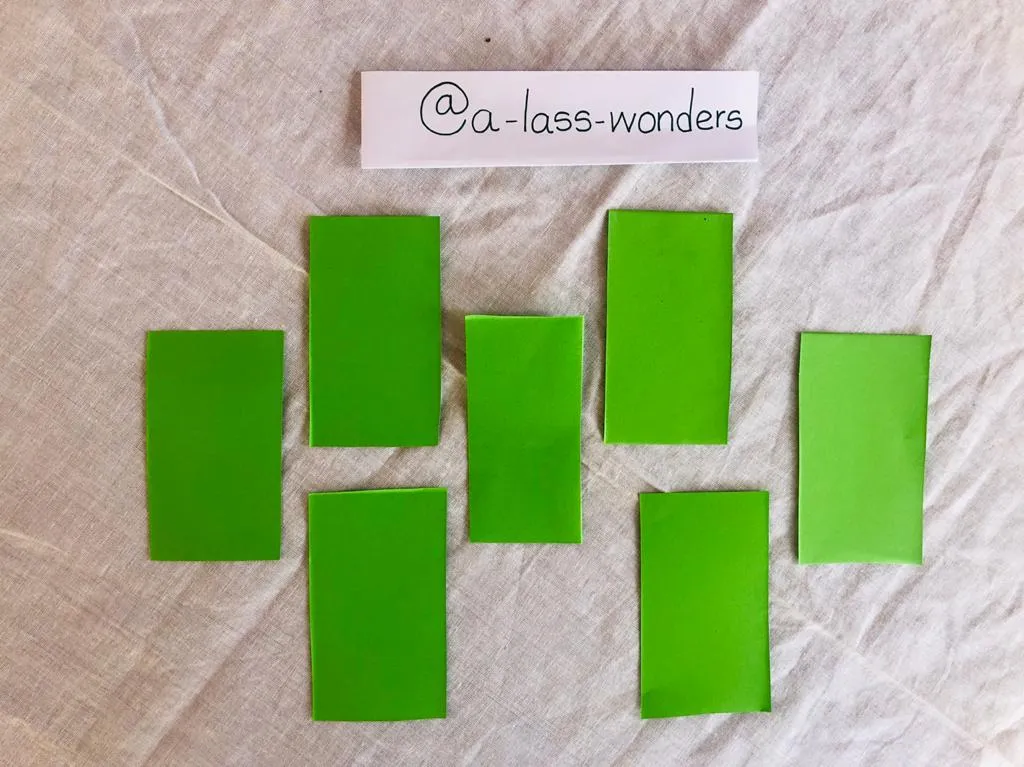
Step 02
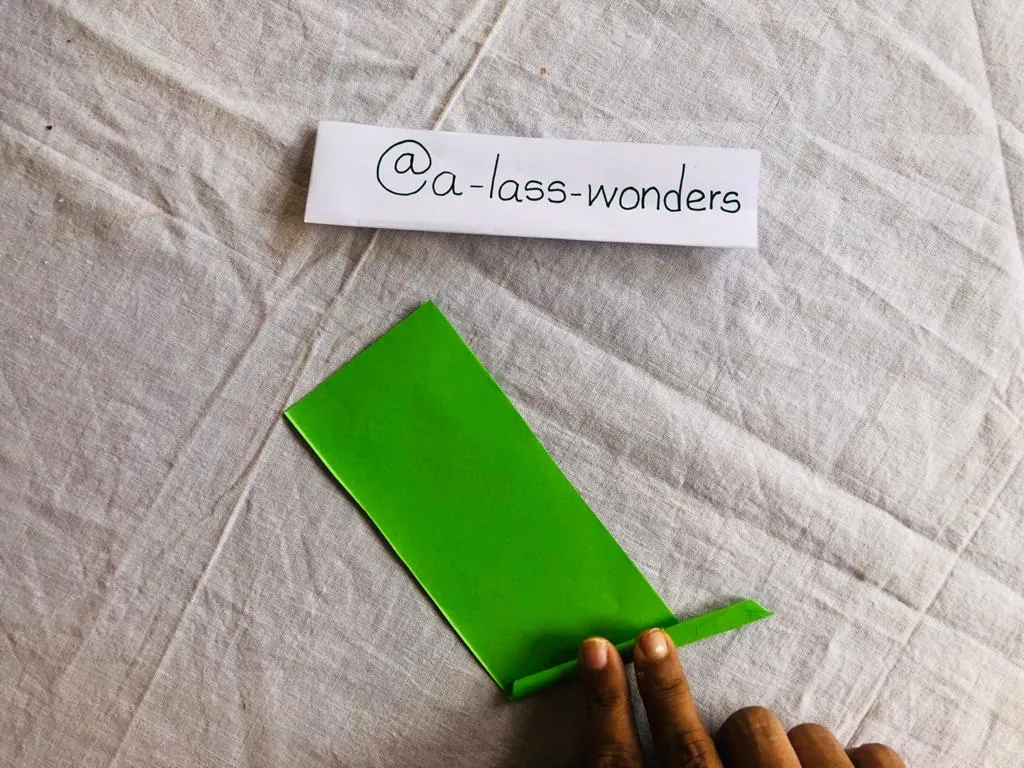
Fold the rectangles and cut leave shaped as shown in below figure.
03) HOW TO MAKE STEM
Step 01
Cut a rectangle to 3cm width and 10cm length as in figure.
Step 02
Roll it and stick the rolling end using binder glue.
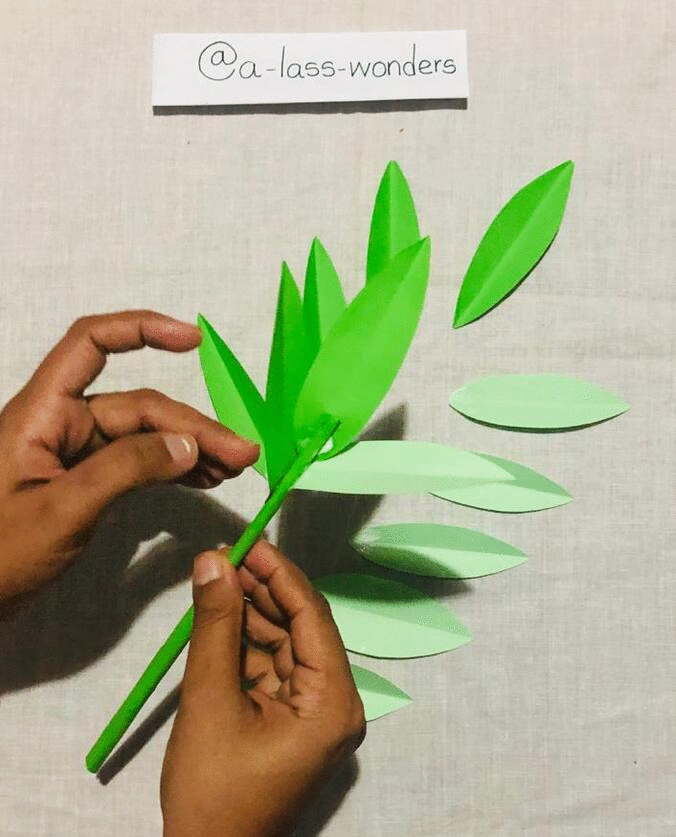
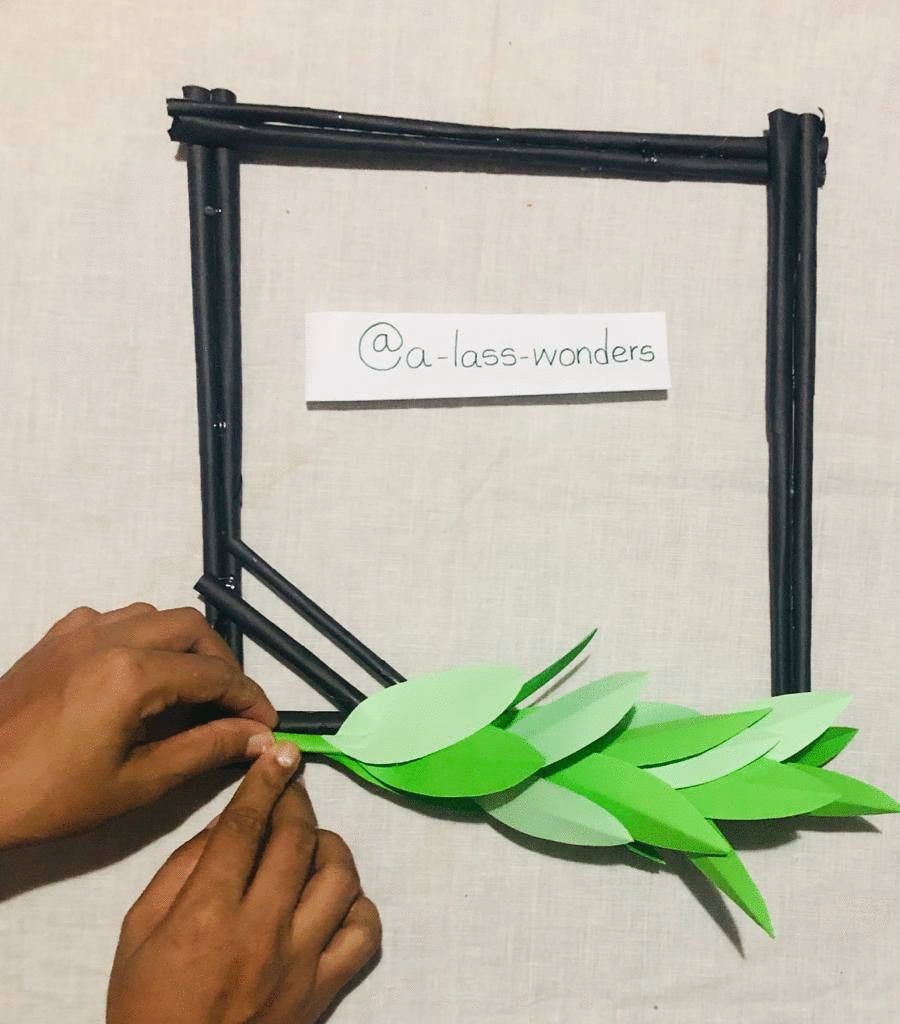
04) HOW TO MAKE BRANCHED WITH LEAVES
Step 01
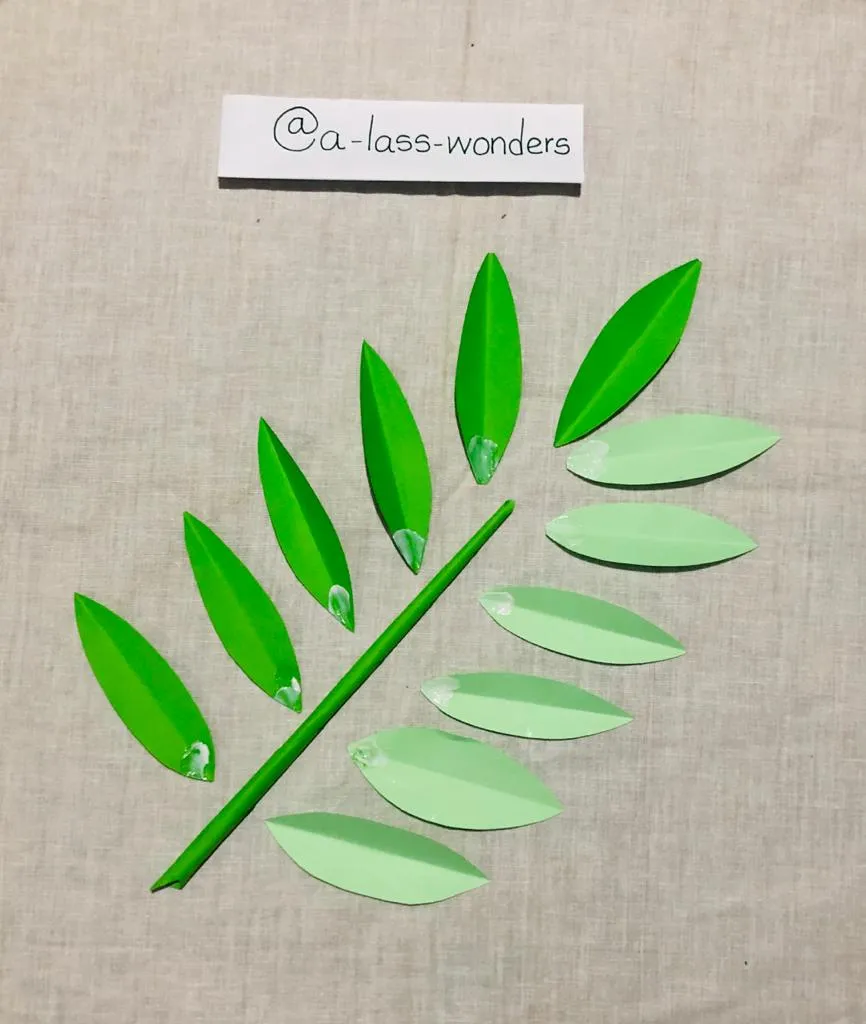
Add some glue to the end of leaves as shown in below image.
Step 02
Attach them to the branch one by one using two colors. Here you need to attach leaves around the branch, but not to the two sides of branch.
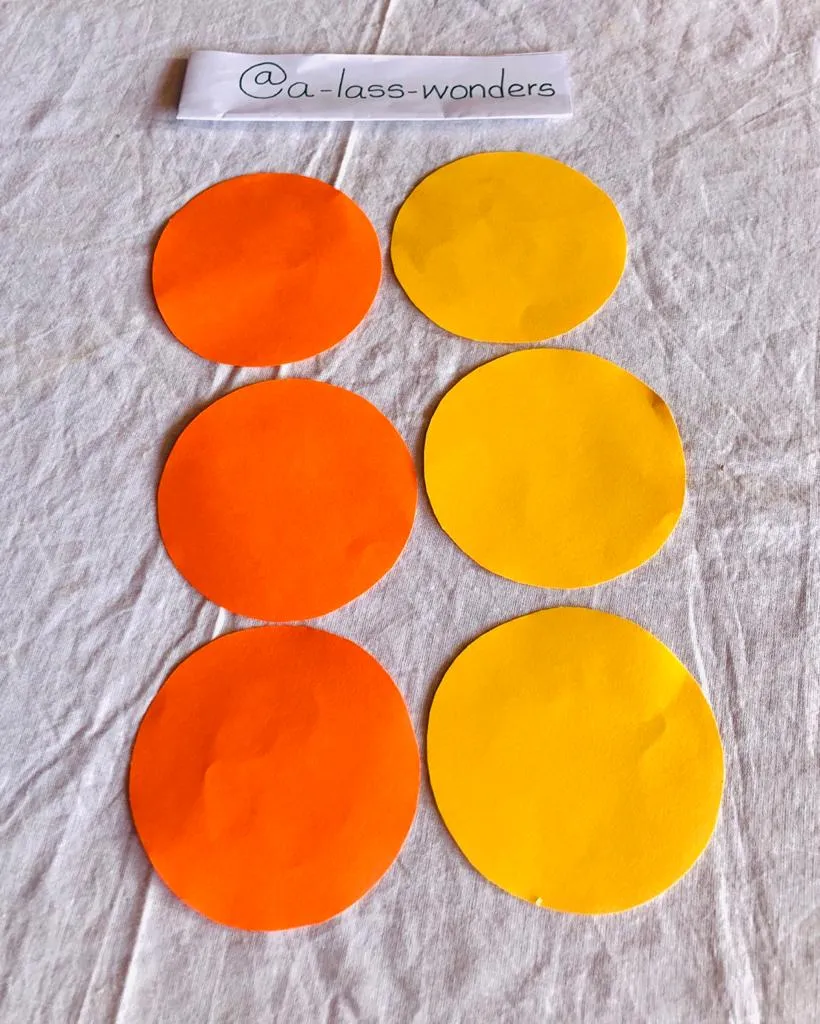
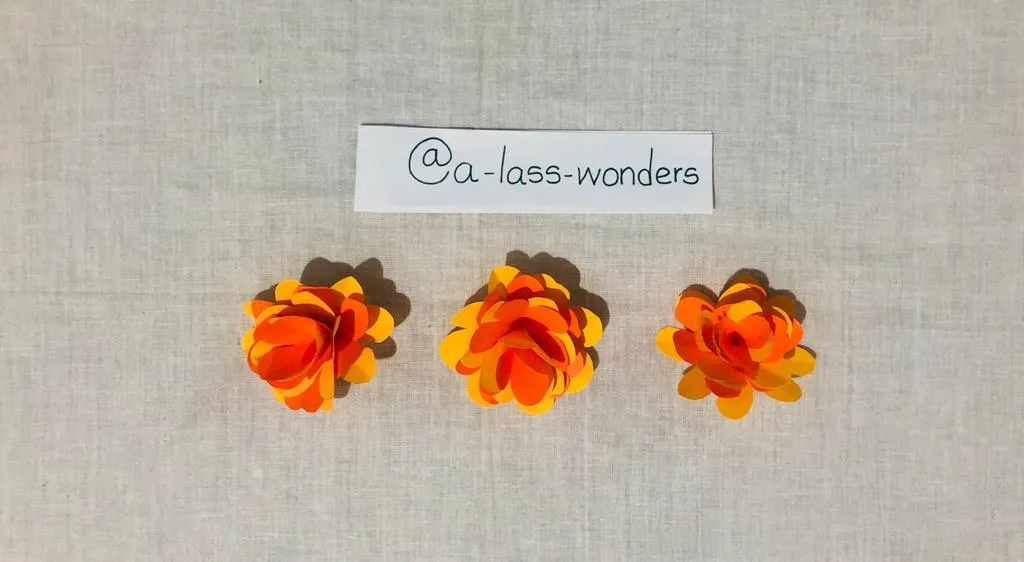
05) HOW TO MAKE FLOWERS
Step 01
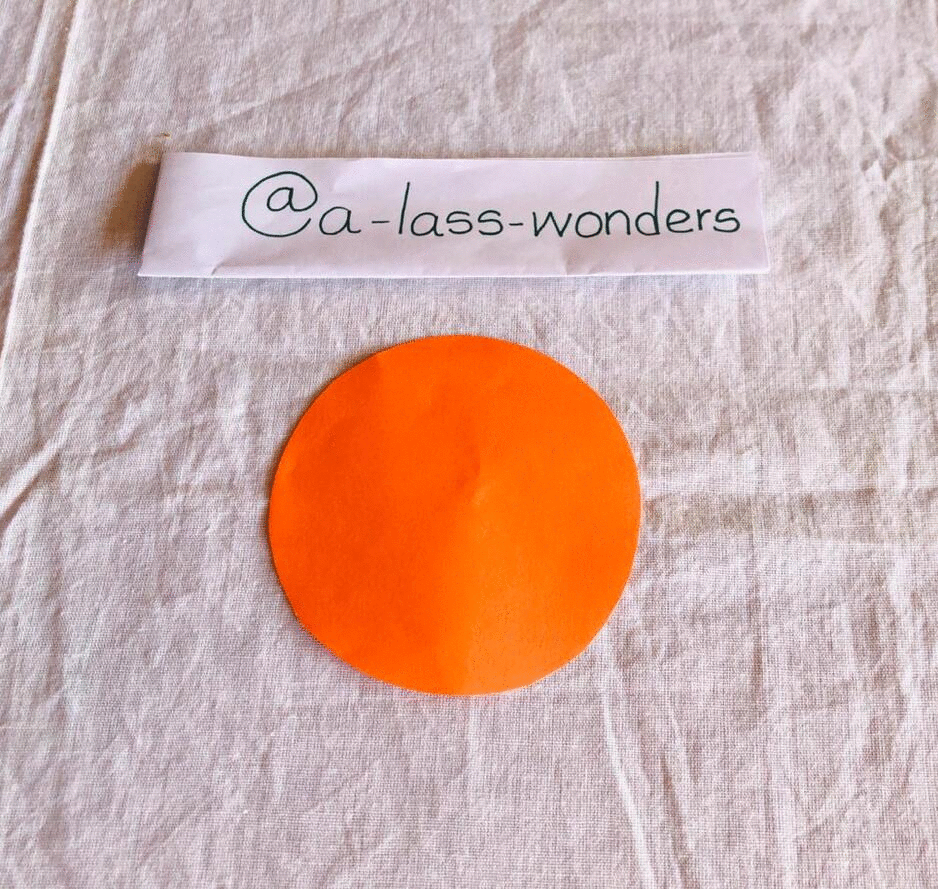
Here I’m describing how to make one flower. By following it, you can make other two flowers. Cut 3 circles from two colors of A4 each. Diameter of one circle is 7.5cm.
Step 02
Then fold the circle step by step as shown in figures.
Step 03
Cut the folded circle like below and then you will get a nice flower when you unfold it. Like that, you may need to have 3 circles from one color and 3 circles from other colors.
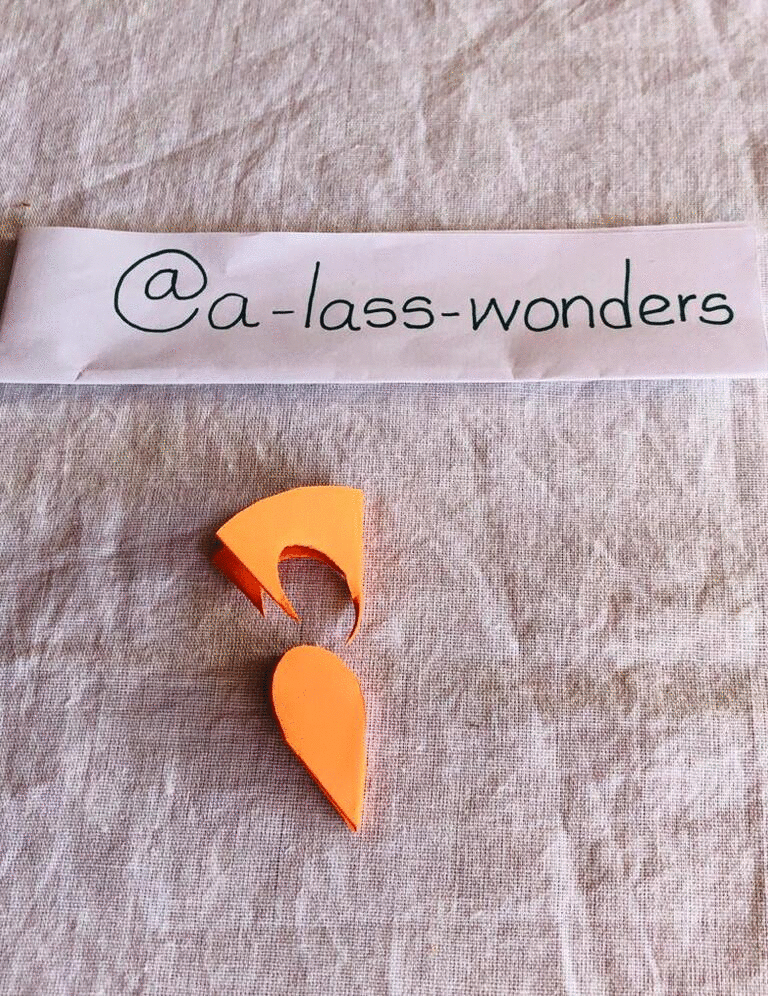
Step 04
Cut the petals of them as below to make one flower.
Step 05
Attach the flower using glue like below to make a complete flower.
06) HOW TO FIX BRANCHED WITH LEAVES AND FLOWERS TO PHOTO FRAME
As in the below image, attach branches with leaves one by one using a glue gun. Thereafter flowers need to be fixed separately.
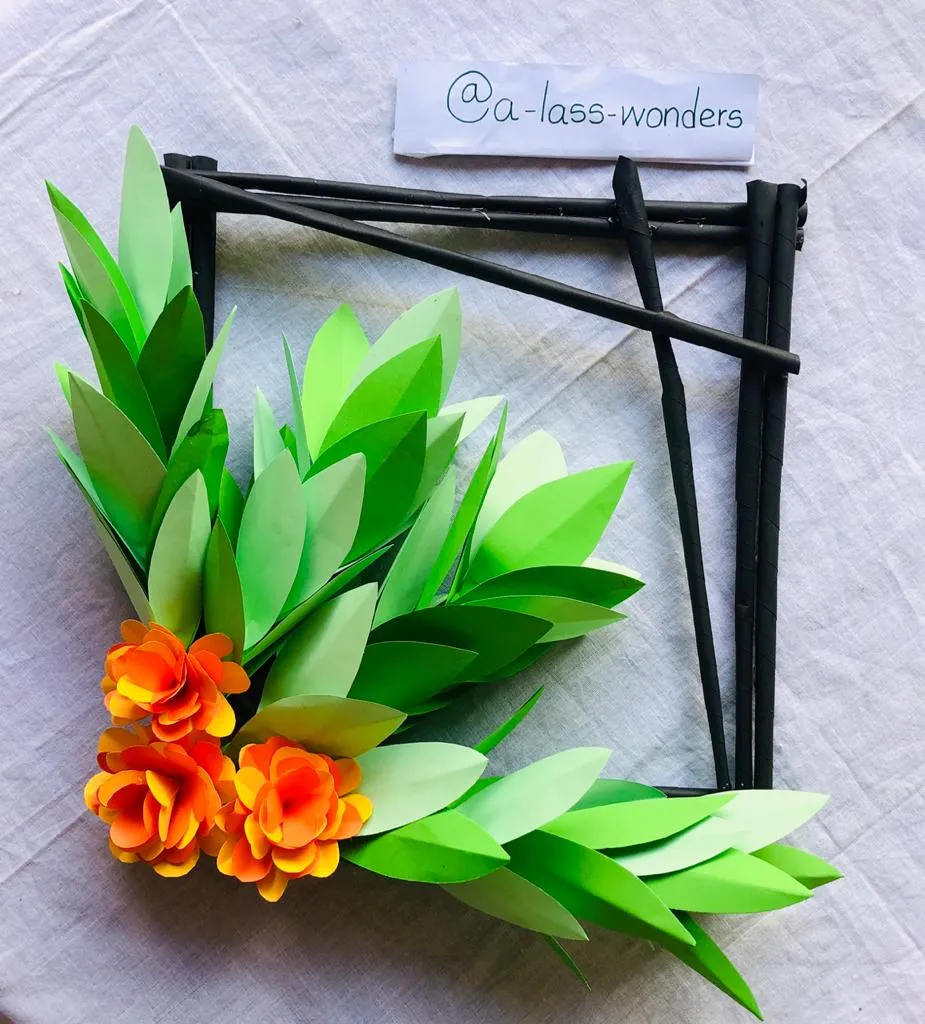
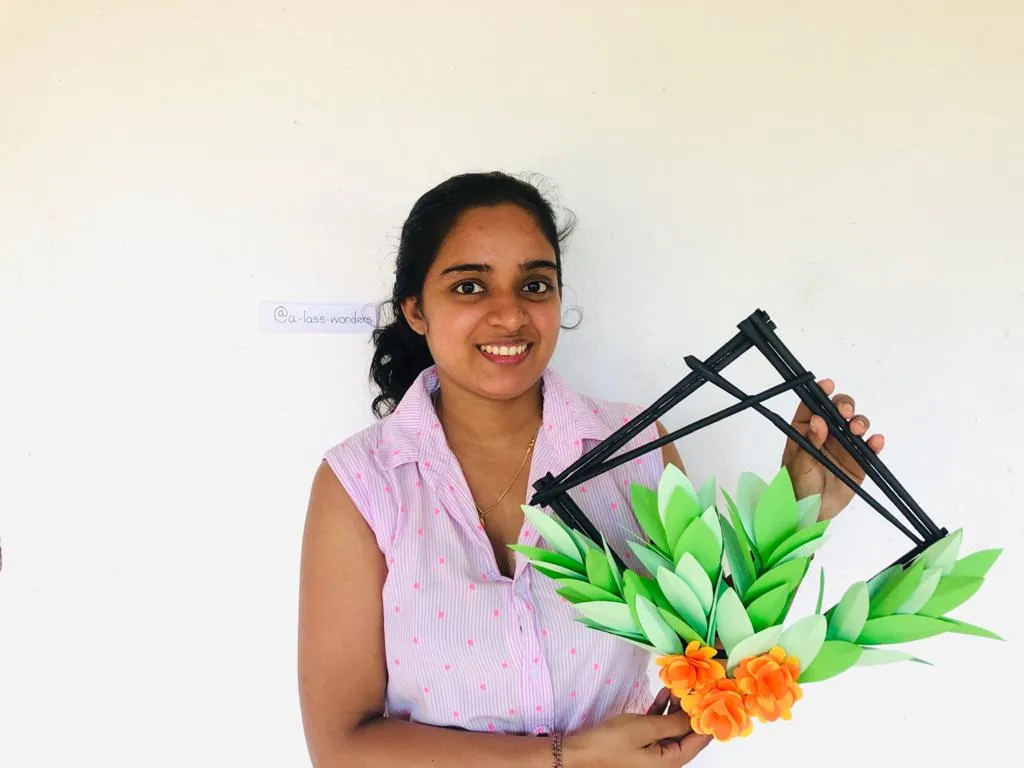
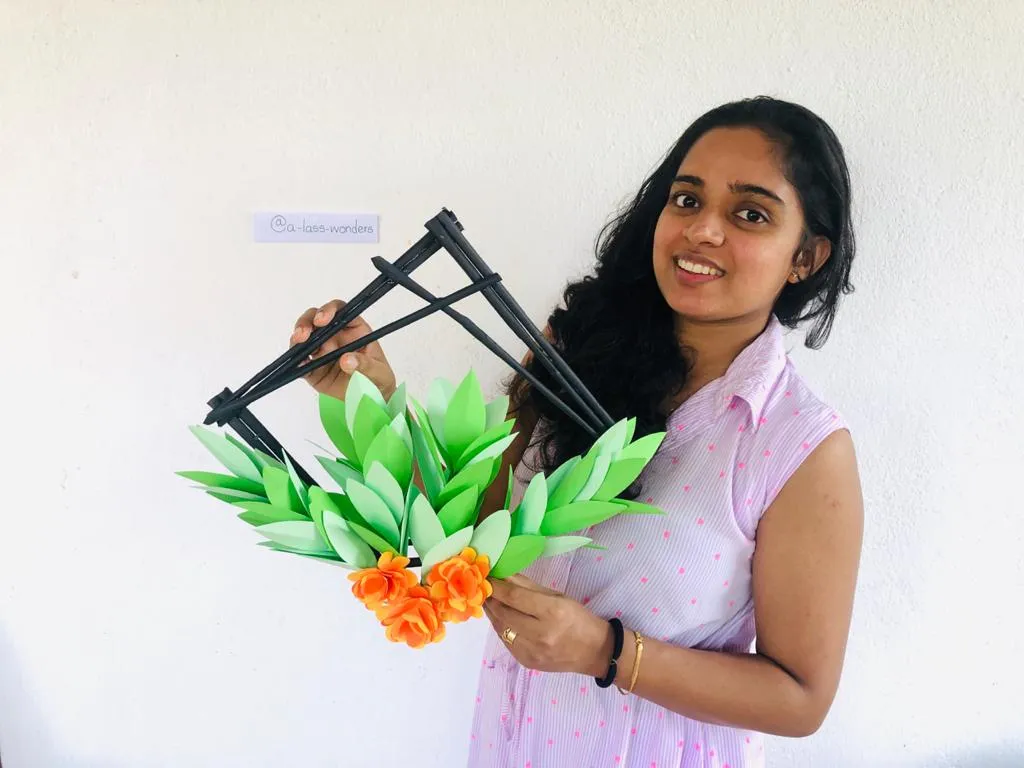
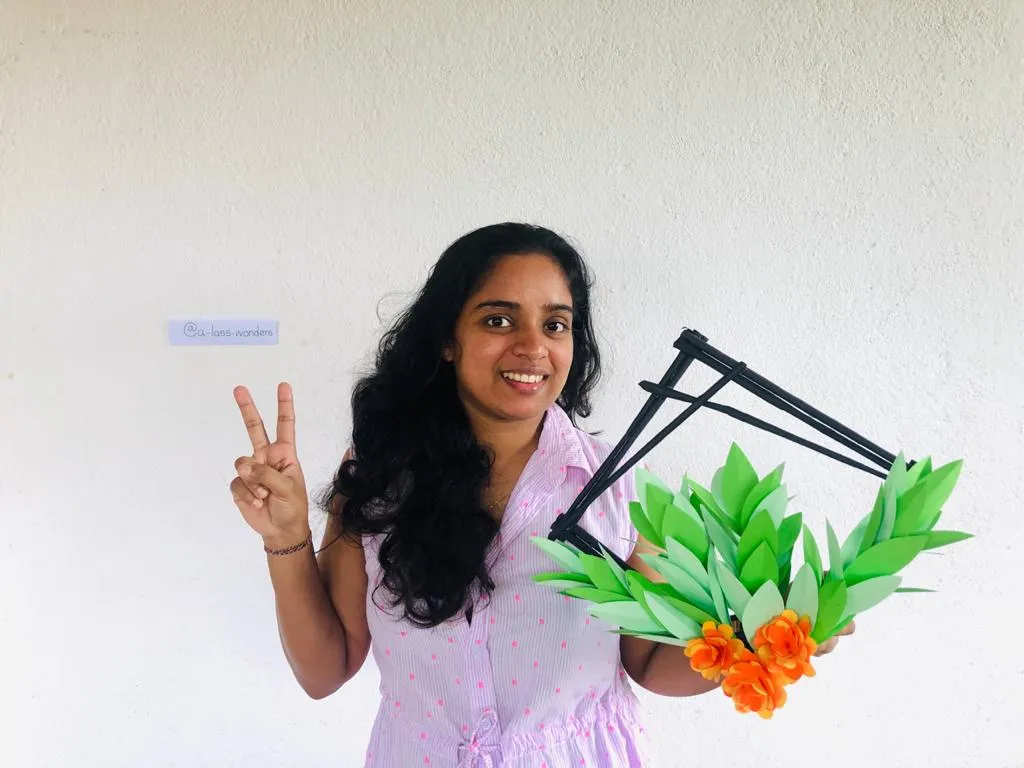
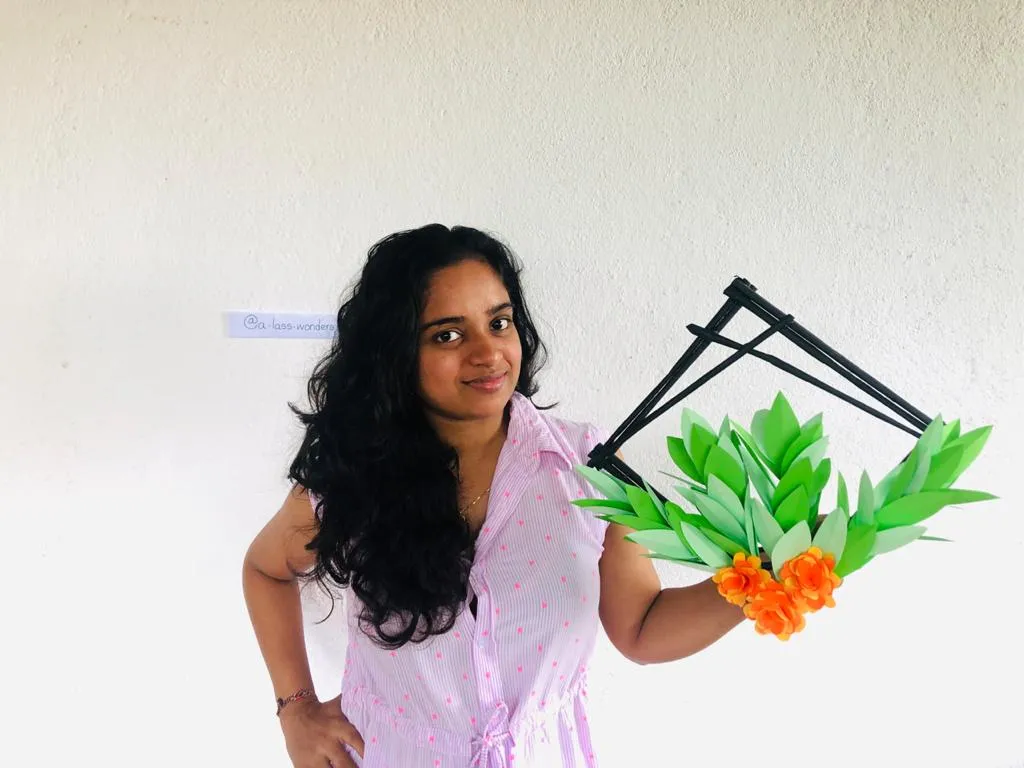
After all, this is the final look of handcraft wall design😎👇.
I would like to invite my fellow hivers to try this alluring wall decoration and if you have any concerns regarding it, I’m here to give my helping hand at any time🙋.
Hope to meet you all from another charming handcraft from my earliest possible. Until them stay safe and stay out of trouble🙏.
GOOD LUCK AND HAVE A NICE DAY!!