Hoy quiero compartir con ustedes mi primer post en esta comunidad que hace poco encontré. Quiero aprovechar para felicitarlos por tan genial iniciativa.
La fotografía es el proceso de proyectar imágenes, capturarlas y plasmarlas. Desde pequeña forma parte de mi vida; buscando, ensayando y tratando de recrear momentos es algo que me fascina. Uno de mis objetivos es generar sentimientos, preguntas y desde luego, transmitir un mensaje.
Es impresionante como existen muchas maneras de llevar el arte y una de ellas es a través de la fotografía, como se puede congelar el tiempo y como al verlas podemos retroceder en nuestras memorias hasta tal punto de hacernos erizar la piel o hacer brotar muchos sentimientos.
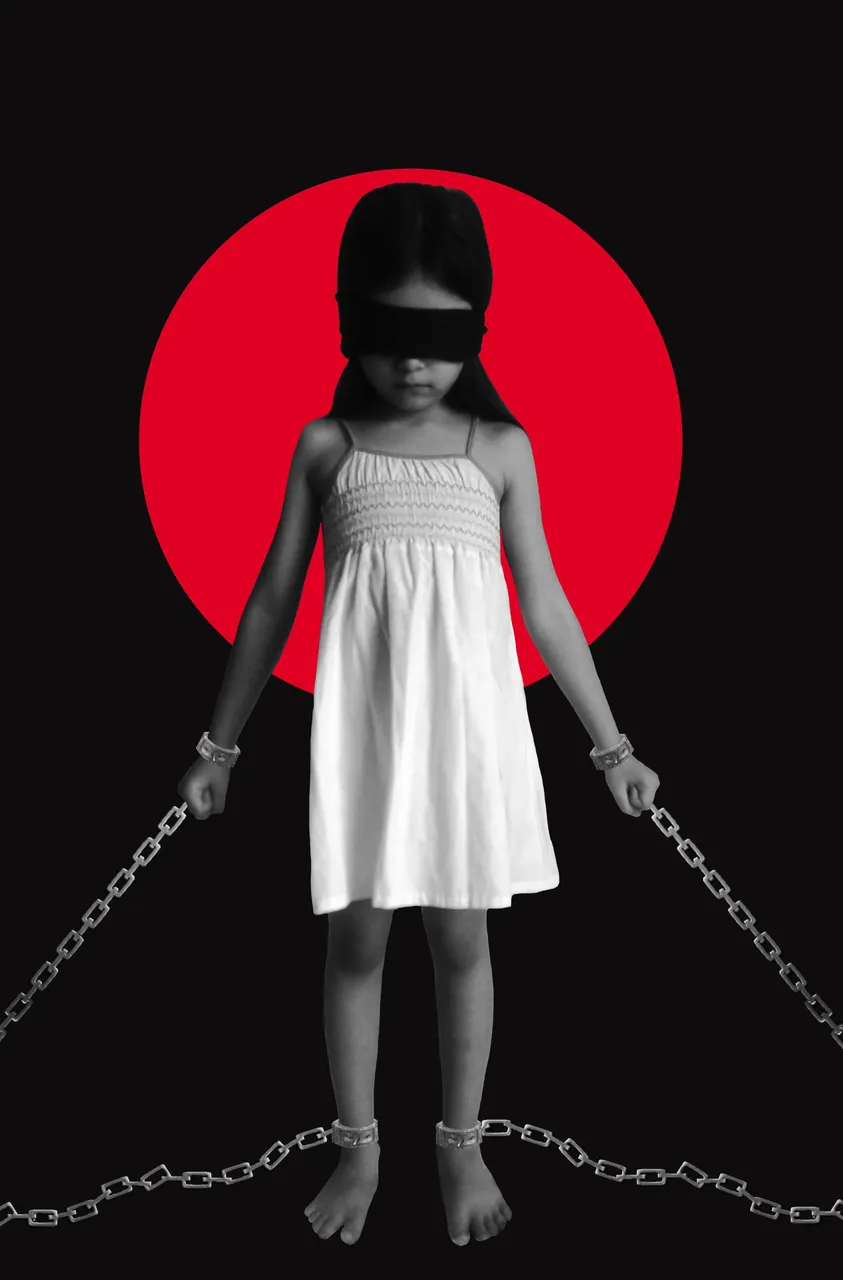
Con este fotomontaje participé en un concurso que se organizó en Mérida - Venezuela sobre los derechos humanos, en esa ocasión sobre los derechos de los niños, asi que era un tema muy interesante y delicado de abordar. Ya que es un problema que esta presente a nivel mundial.
Today I want to share with you my first post in this community that I recently found. I want to take this opportunity to congratulate you for such a great initiative.
Photography is the process of projecting images, capturing and capturing them. Since I was a child it has been part of my life; searching, rehearsing and trying to recreate moments is something that fascinates me. One of my objectives is to generate feelings, questions and of course, to transmit a message.
It is impressive how there are many ways to bring art and one of them is through photography, how you can freeze time and how when we see them we can go back in our memories to the point of making our skin crawl or bring out many feelings.
With this photomontage I participated in a contest that was organized in Merida - Venezuela on human rights, on that occasion on the rights of children, so it was a very interesting and sensitive issue to address. Since it is a problem that is present worldwide.

En esta oportunidad quiero explicar como realicé el montaje, paso a paso usando Photoshop CC 2016.
¡Aquí vamos!
1 - Escogí a mi hija como modelo. Preparé el set y los elementos que iba a usar. Le tomé una foto y seleccioné una de tantas.
In this opportunity I want to explain how I made the assembly, step by step using Photoshop CC 2016.
Here we go!
1 - I chose my daughter as the model. I prepared the set and the elements I was going to use. I took a picture of her and selected one of many.
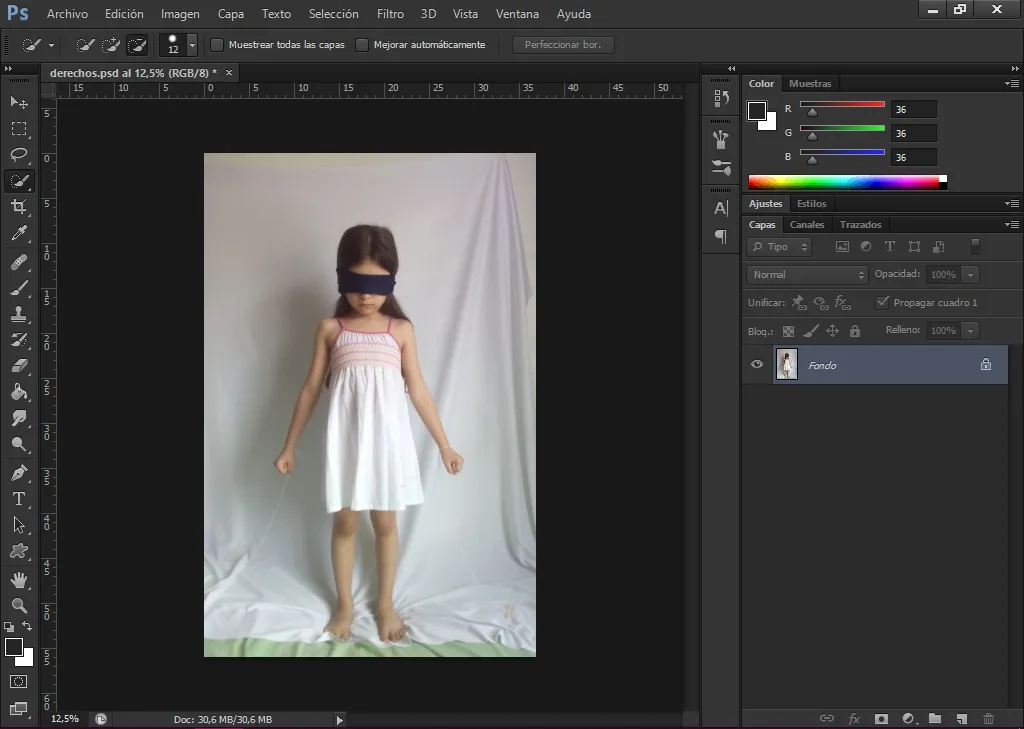
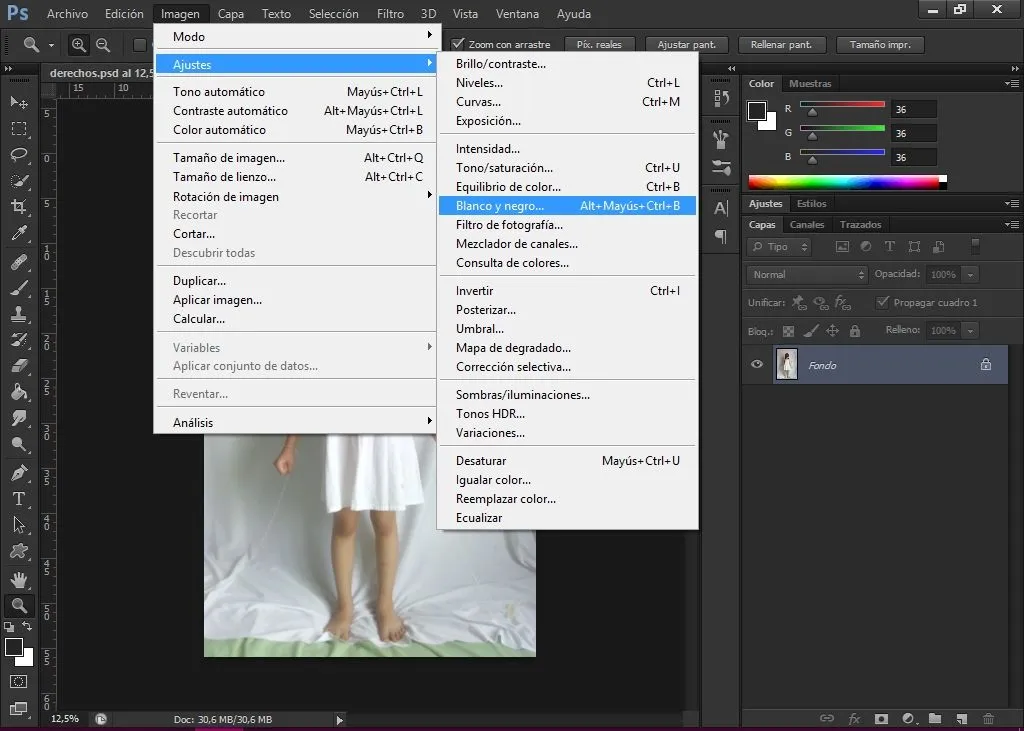
2 - Sobre la capa de fondo. Nos vamos a la opción imagen > blanco y negro.
2 - On the background layer. We go to the option image > black and white.
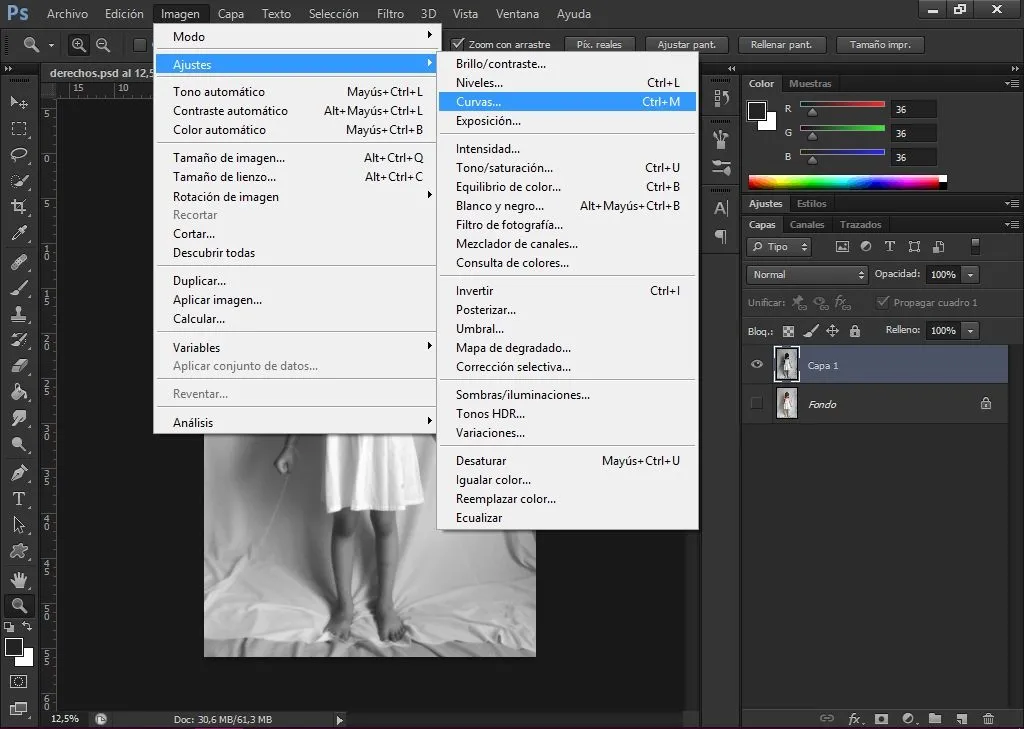
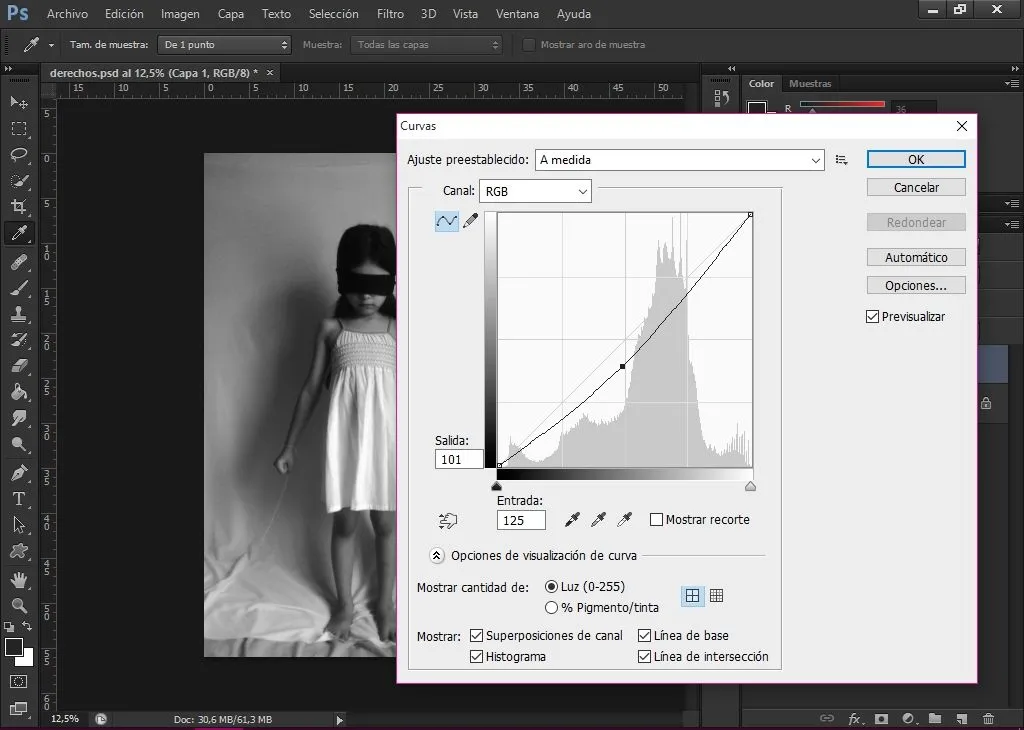
3 - Luego nos vamos a imagen > ajustes > curvas . Este último nos permite controlar el contraste y ajustar los tonos.
3 - Then we go to image > settings > curves . The latter allows us to control the contrast and adjust the tones.
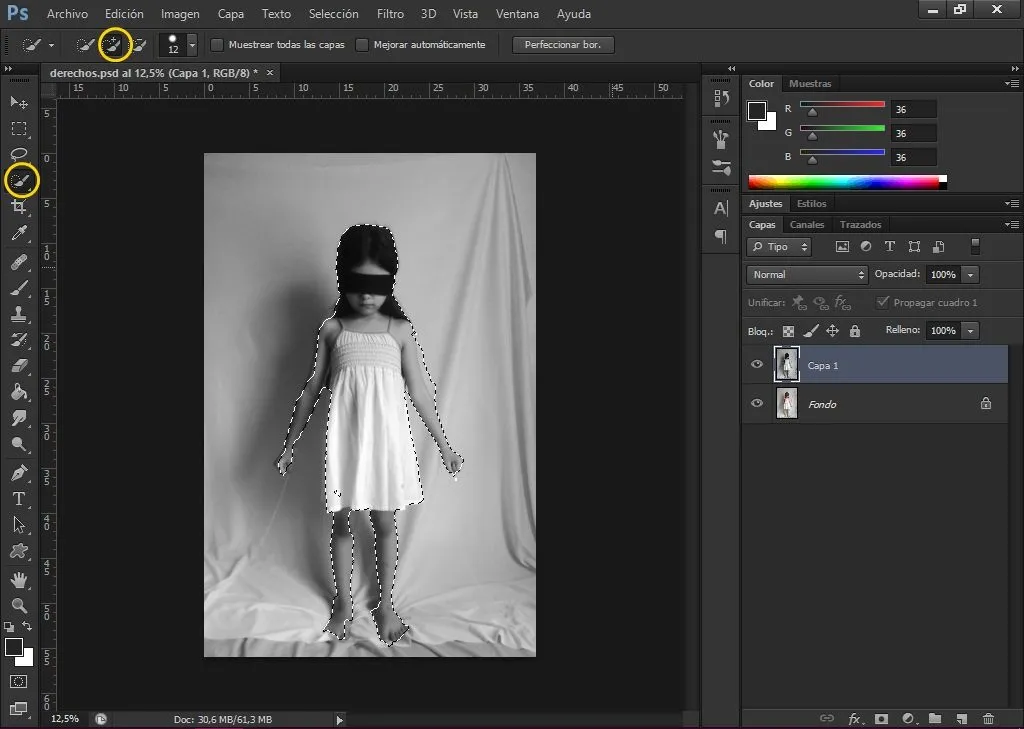
4 - Elegimos la Herramienta Selección rápida > añadir a selección. Y seleccionamos todo el cuerpo de la modelo cuidadosamente. Si nos equivocamos, presionamos las teclas Ctr+alt+Z para deshacer la selección.
4 - We choose the Quick Selection Tool, add to selection. And select the whole body of the model carefully. If we make a mistake, press Ctr+alt+Z to undo the selection.
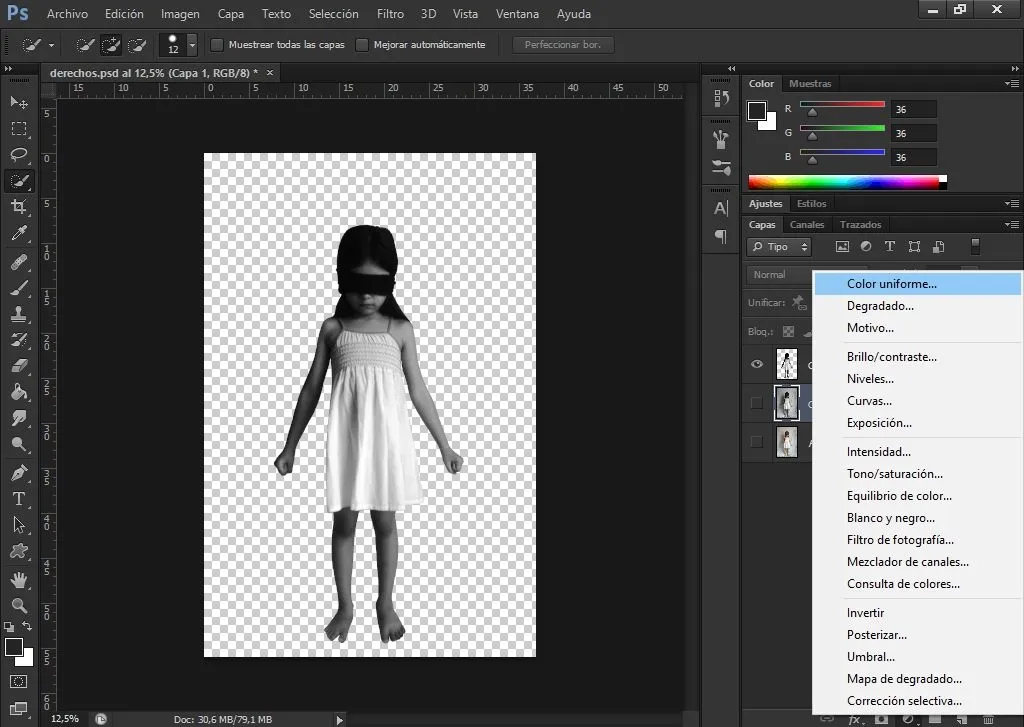
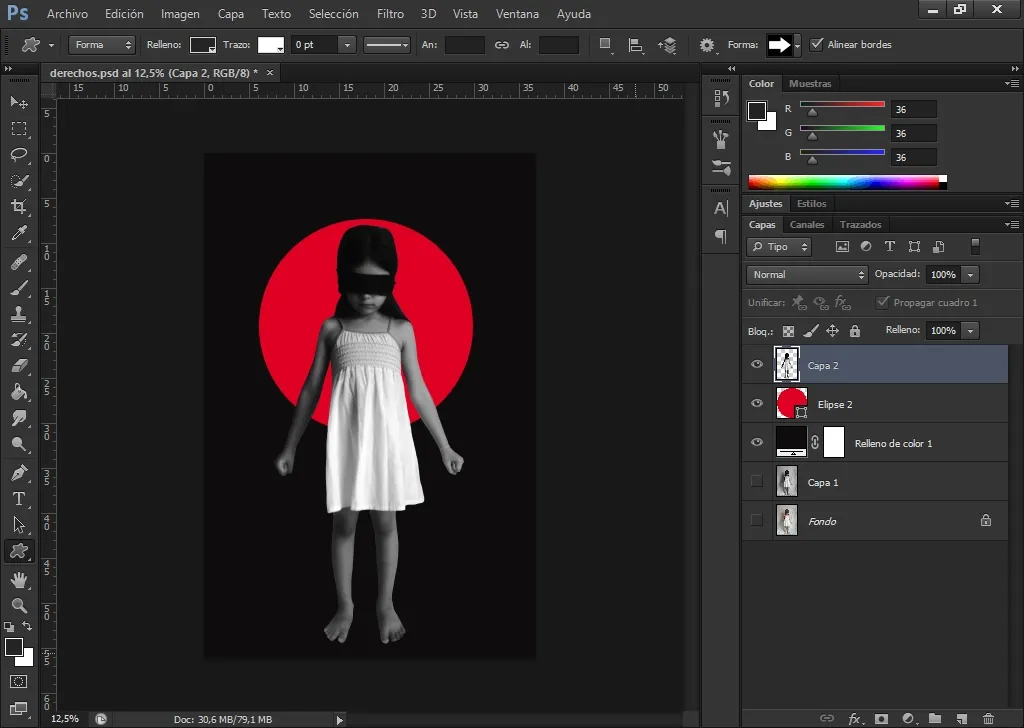
5 - Seleccionar Crear nueva capa de relleno o ajuste > color uniforme > color negro.
5 - Select Create new fill or adjustment layer > uniform color > black color.

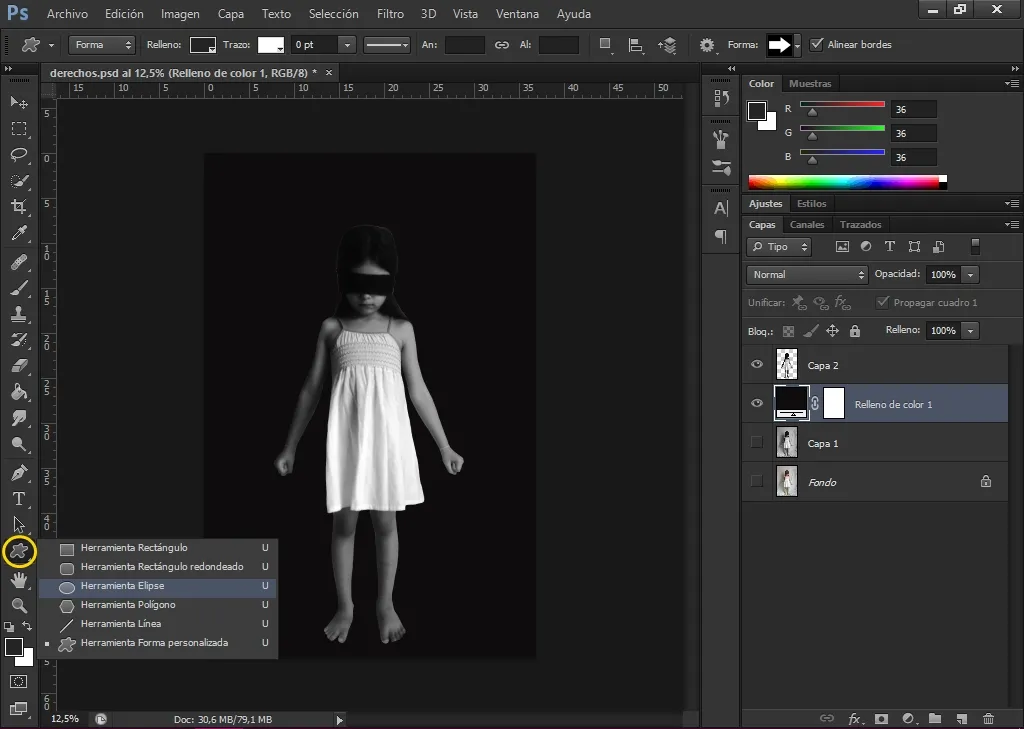
6 - Seleccionar Herramienta forma personalizada > herramienta elipse > relleno rojo.
6 - Select Custom Shape Tool > ellipse tool > red fill.
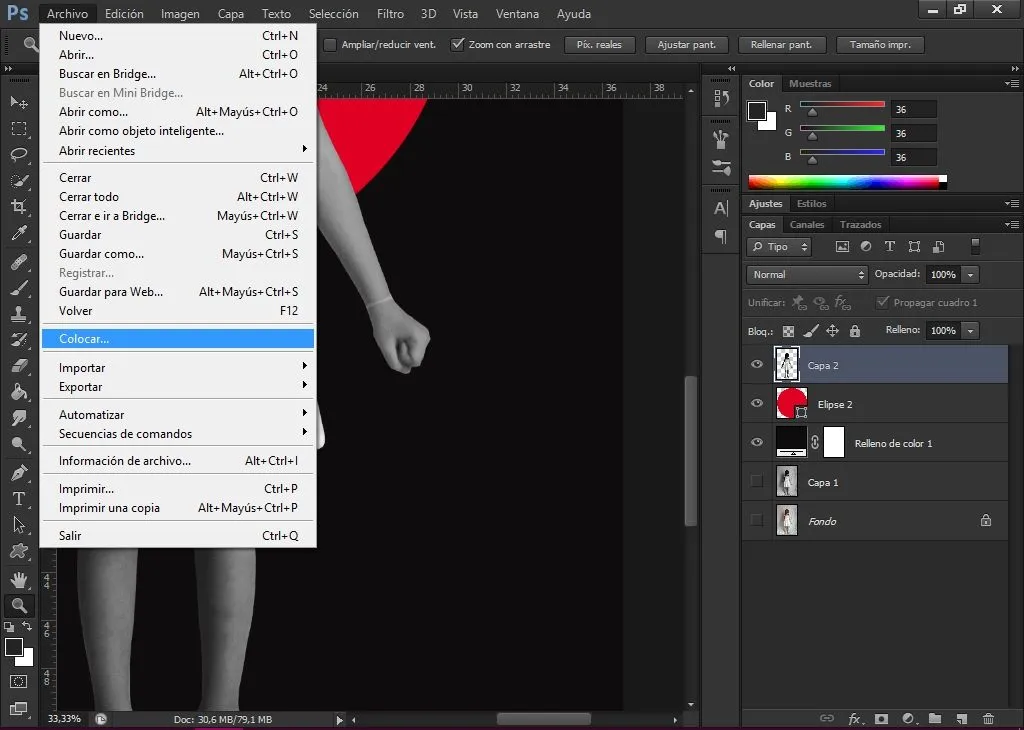
7 - Previamente busqué unas imágenes de cadenas en png. Seleccionar Archivo > colocar > seleccionar imagen.
7 - Previously I searched for some images of strings in png. Select File > place > select image.
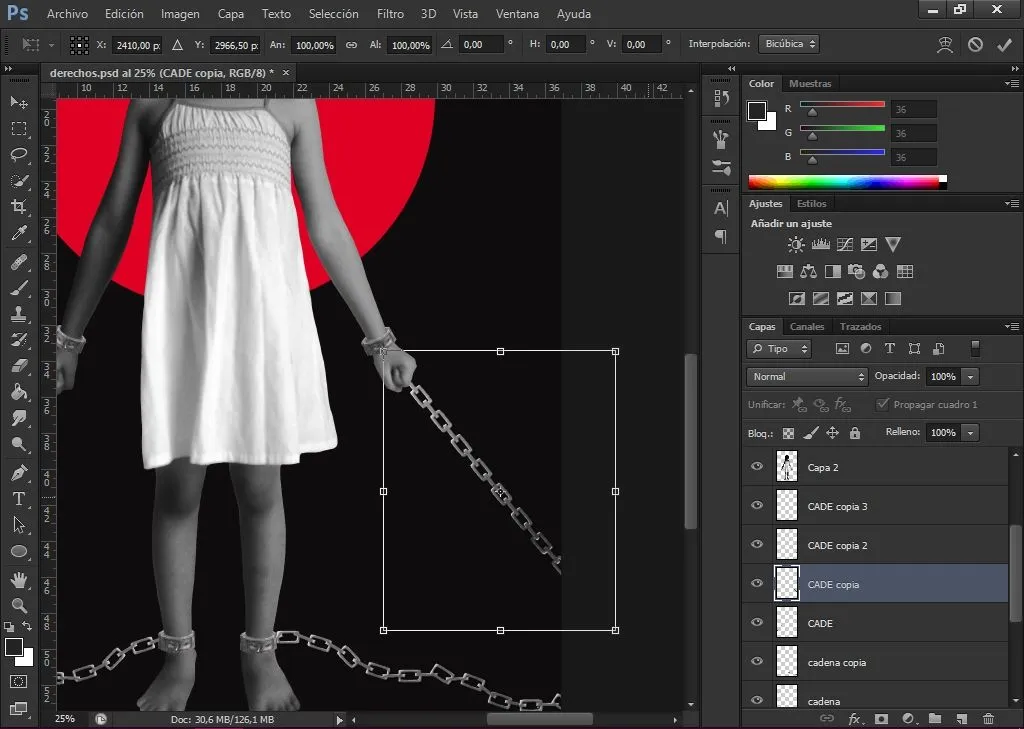
8 - Duplicamos las imágenes cuantas veces las necesitemos con ctr+J. Seleccionar la que se desea ajustar con ctr+T y mover hasta que quede en el lugar deseado. Borrar con la herramienta Borrador aquellas partes que no deberían verse.
8 - Duplicate the images as many times as you need with ctr+J. Select the one you want to adjust with ctr+T and move it to the desired place. Delete with the Eraser tool those parts that should not be seen.
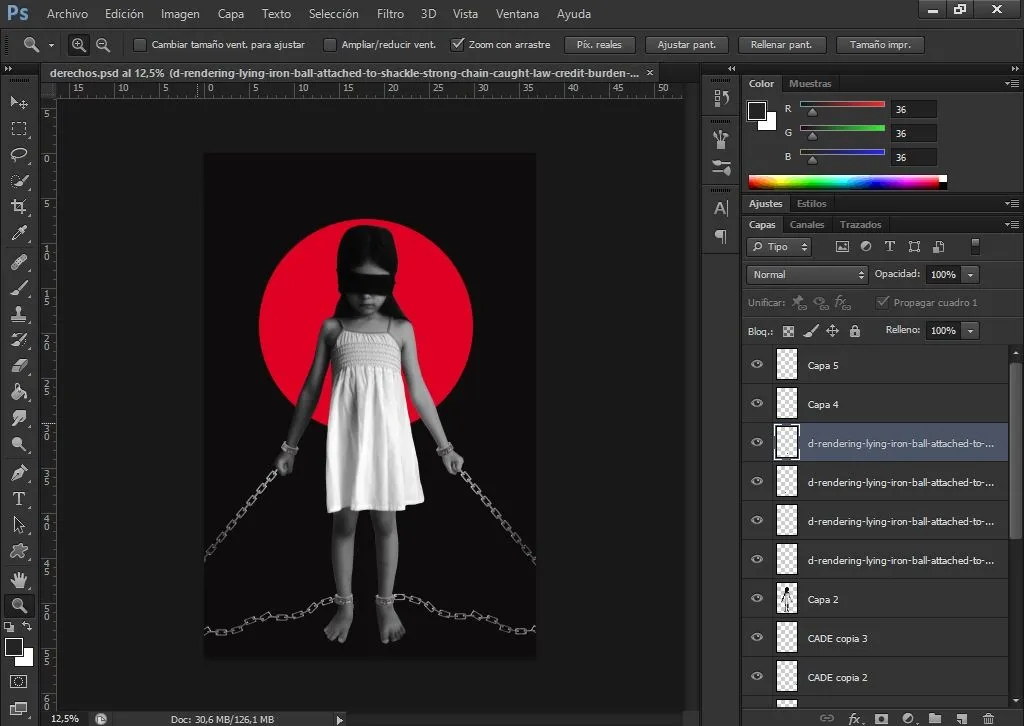
Y de esa manera terminé el montaje. Es importante recordar como debe estar el orden de las capas de acuerdo al montaje.
Muchas gracias por llegar a este punto del paso a paso. Espero les haya gustado. Les recuerdo seguir al proyecto @aliento que apoya a esta comunidad.
¡GRACIAS POR LEER!
THANKS FOR READING!
