Espero todos estén muy bien. Hoy comparto con ustedes un segundo tutorial de fotomontaje en esta genial comunidad, usando como herramienta PHOTOSHOP CC 2016.
Un fotomontaje es un composición fotográfica que resulta de una combinación de diversas imágenes o dibujos, que se realizan con alguna intención artística o publicitaria.
Poder mezclar distintos elementos que permiten recrear imágenes nuevas es magnifico, te da un sin fin de posibilidades y libertad de expresarte.
I hope everyone is doing great. Today I share with you a second photomontage tutorial in this great community, using PHOTOSHOP CC 2016 as a tool.
A photomontage is a photographic composition that results from a combination of different images or drawings, which are made with some artistic or advertising intention.
Being able to mix different elements that allow you to recreate new images is great, it gives you endless possibilities and freedom to express yourself.

¡Aquí vamos!
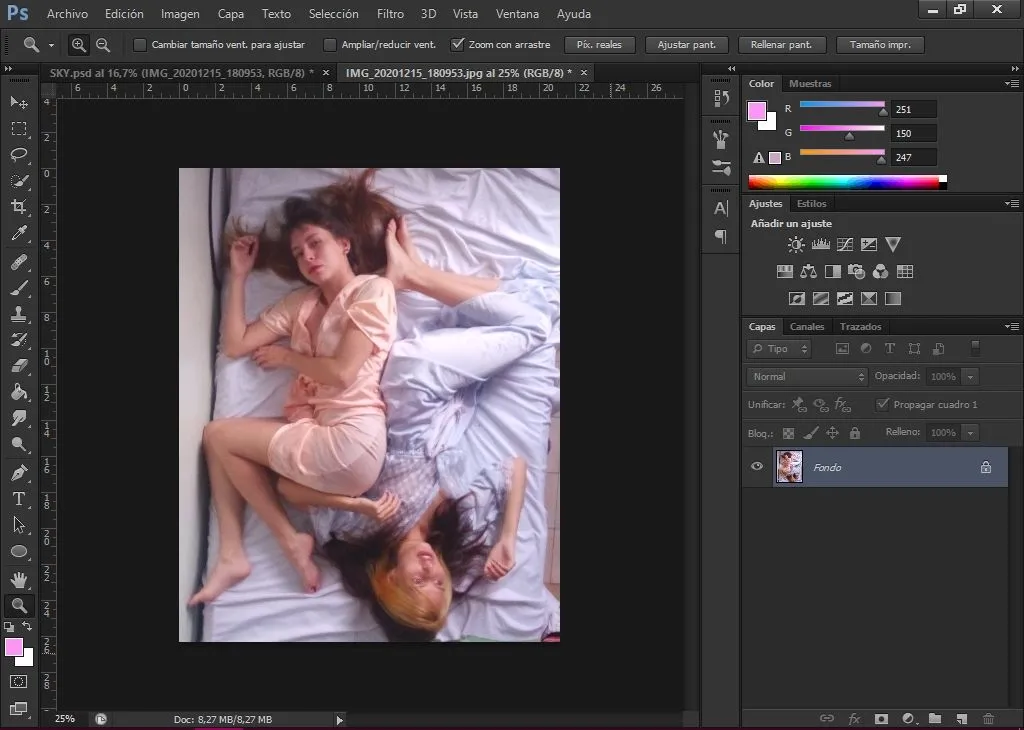
1 - Escoger una foto ideal para el montaje.
Here we go!
1 - Choose an ideal photo for the montage.
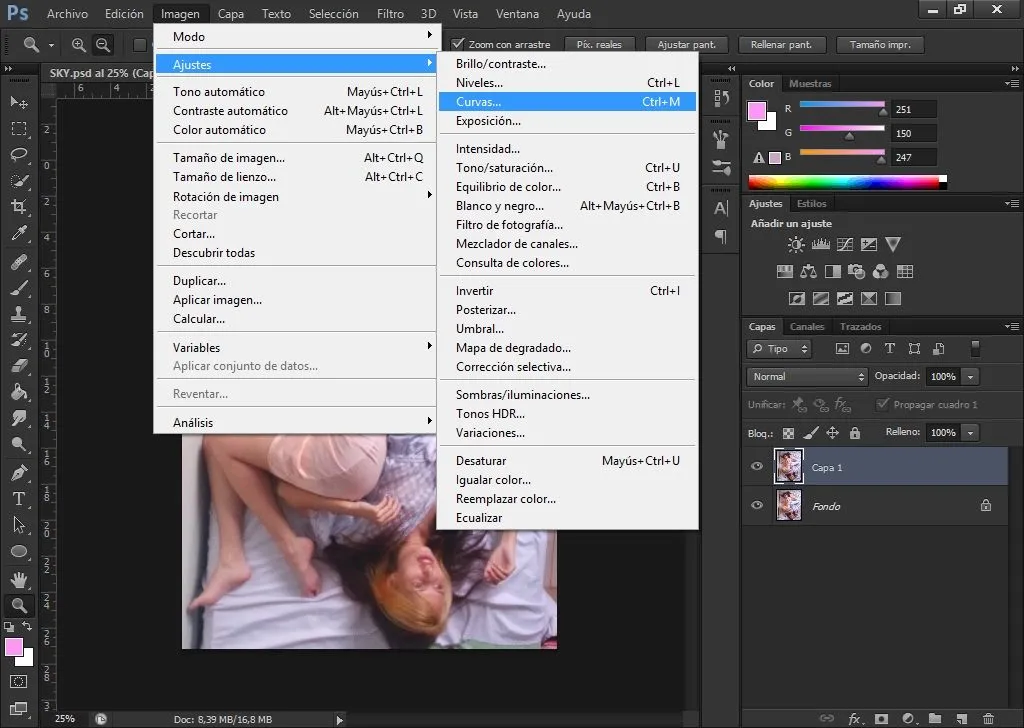
2 - Luego nos vamos a imagen > ajustes > curvas . Este último nos permite controlar el contraste y ajustar los tonos. Lo bajamos un poco.
2 - Then we go to image > settings > curves . The latter allows us to control the contrast and adjust the tones.We lowered it a little.

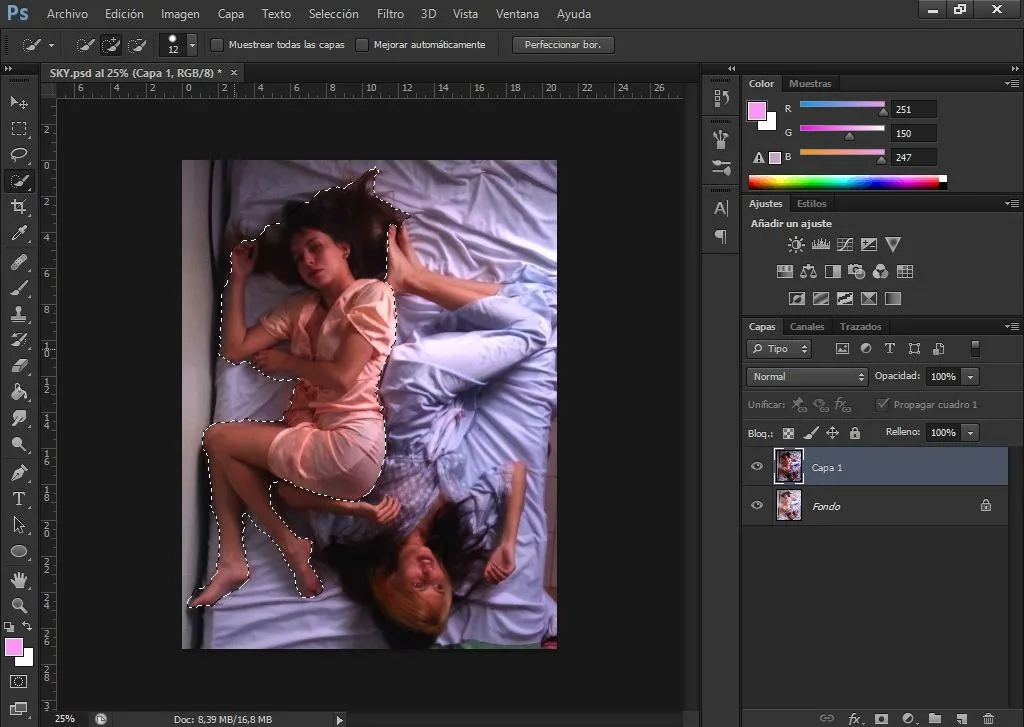
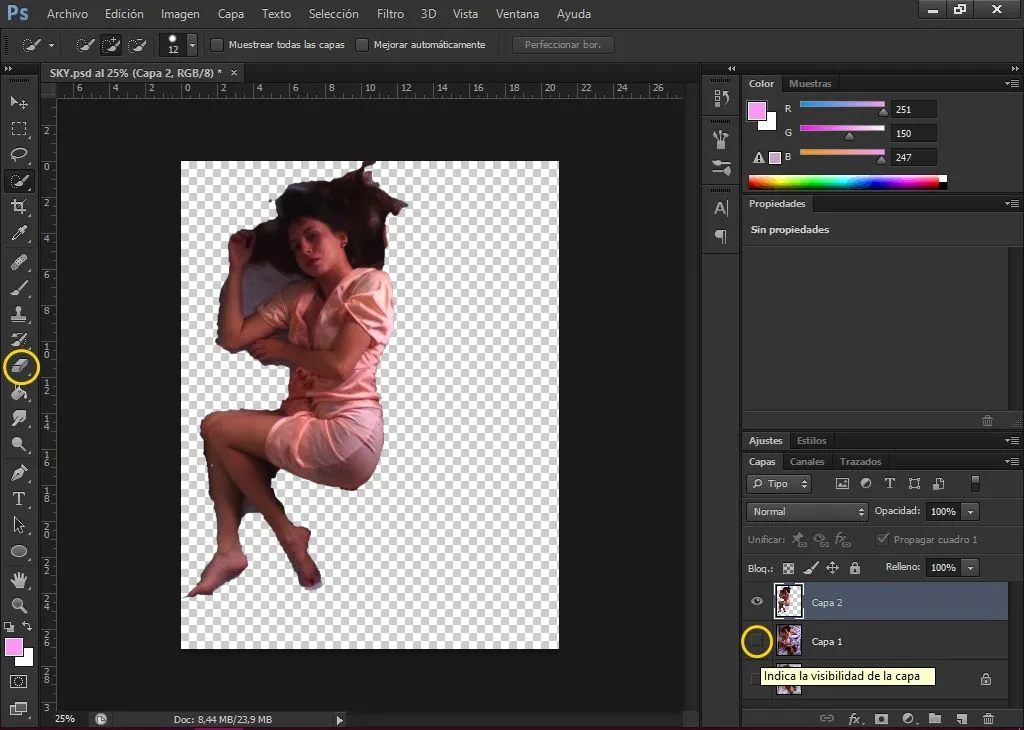
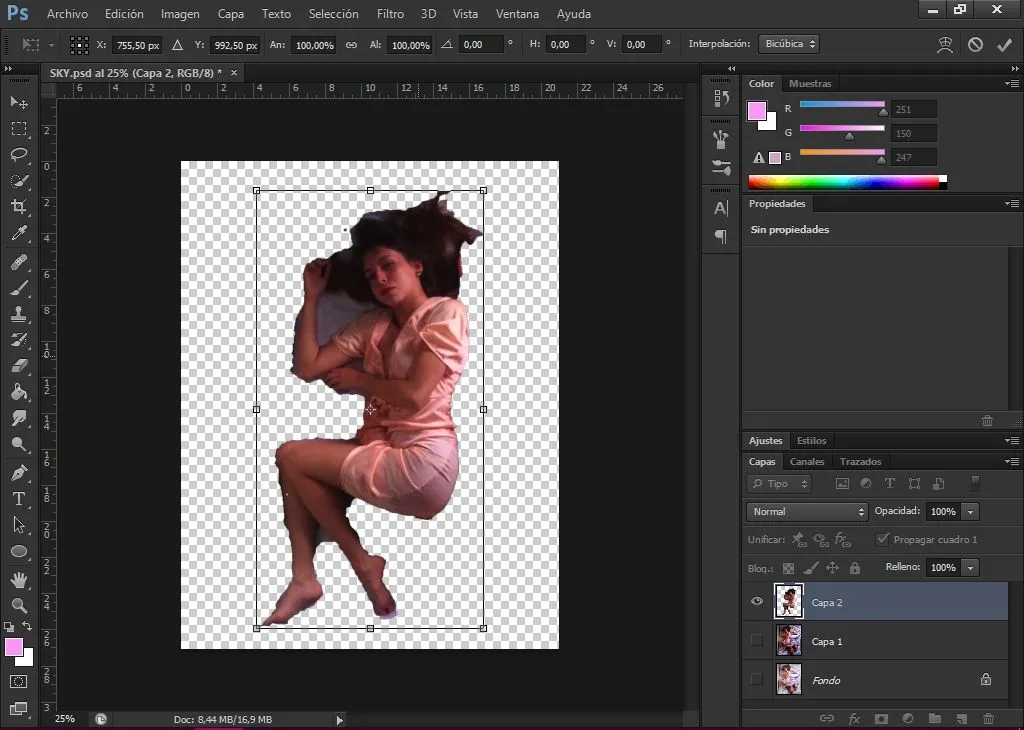
3 - Elegimos la Herramienta Selección rápida > añadir a selección. Y seleccionamos todo el cuerpo de la modelo cuidadosamente. Si nos equivocamos, presionamos las teclas Ctr+alt+Z para deshacer la selección. Luego cuando ya tengamos la parte seleccionada, presionamos Ctr+J. Aparecerá una nueva capa con la selección. Borramos aquellas partes que no nos sirven y se oculta la capa que está debajo.
3- We choose the Quick Selection Tool > add to selection. And select the whole body of the model carefully. If we make a mistake, press Ctr+alt+Z to undo the selection. Then when we have the selected part, press Ctr+J. A new layer with the selection will appear. We delete those parts that are of no use to us and the layer underneath is hidden.
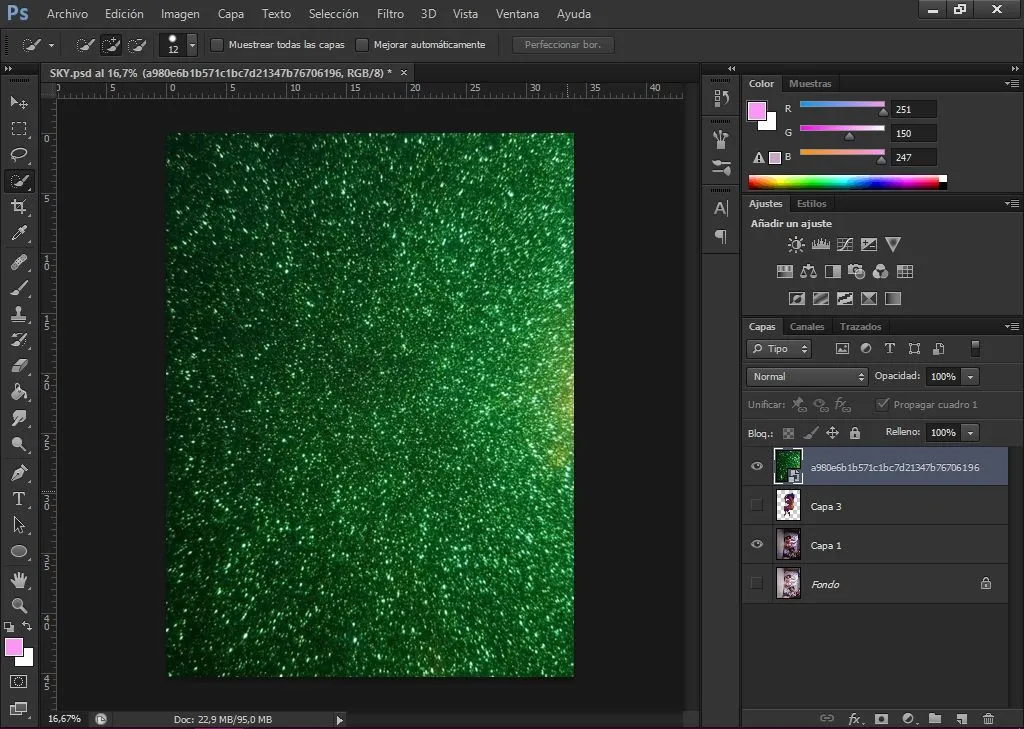
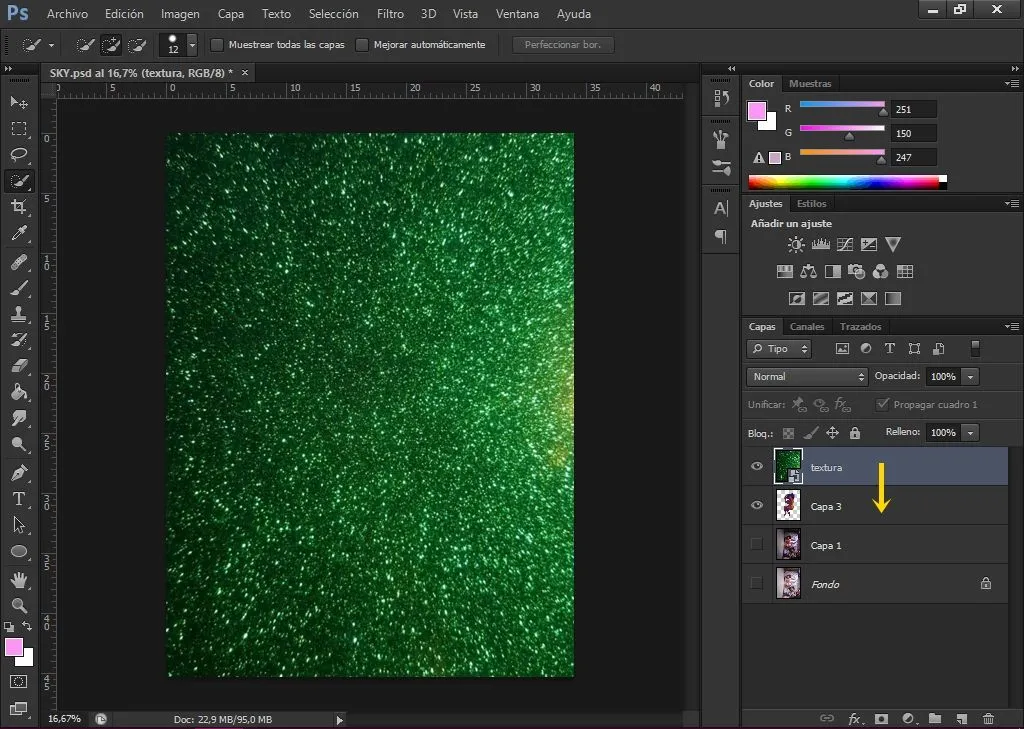
5 -Place a textured and glossy image. Select File > place > select image.
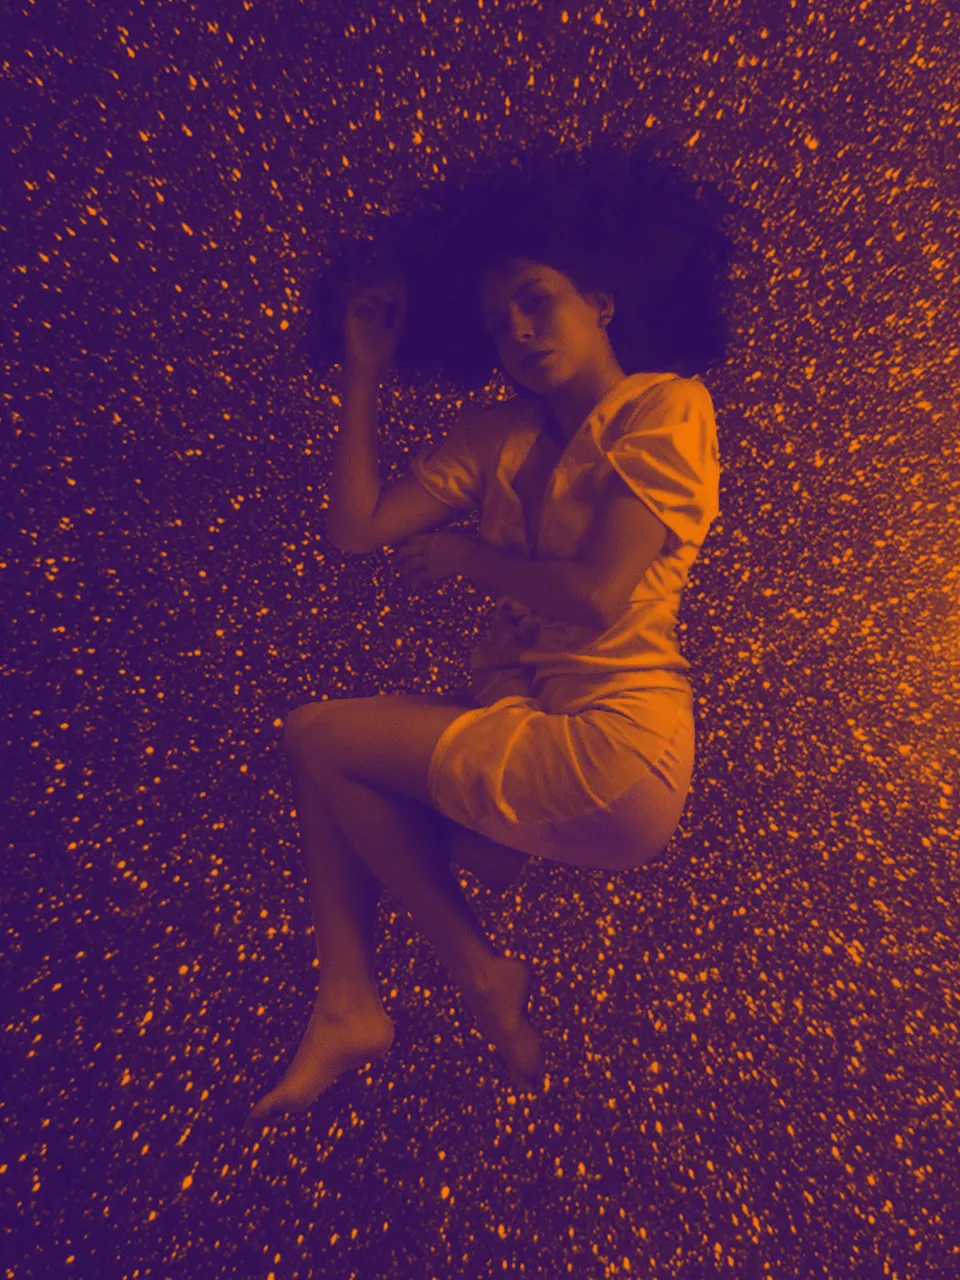
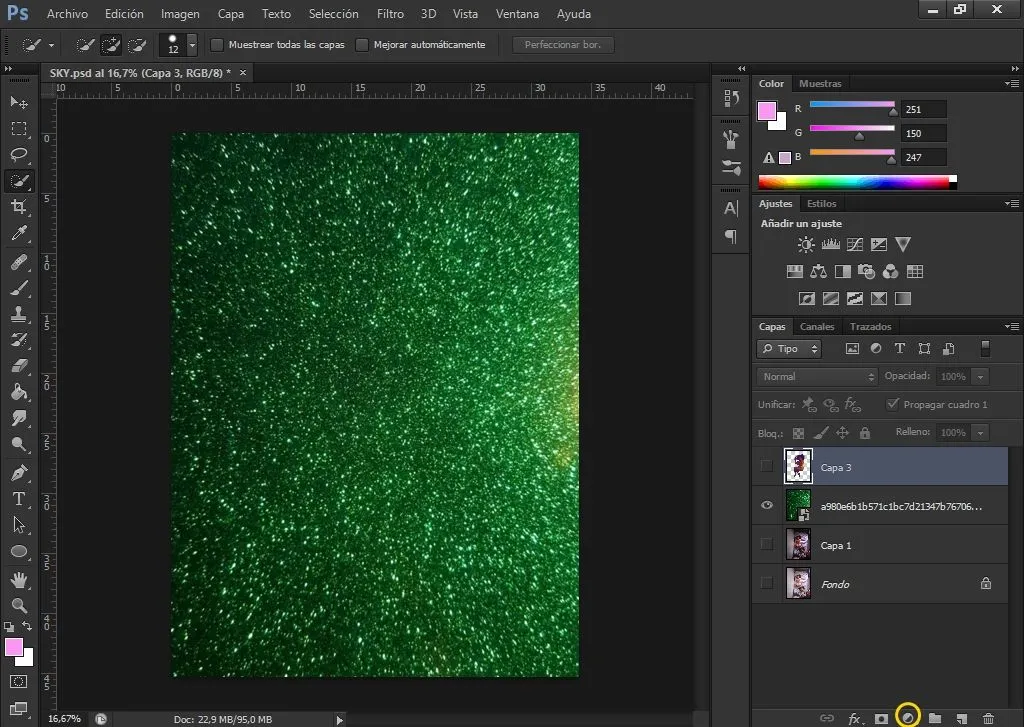
7 - Sobre la capa 3, seleccionar Crear nueva capa de relleno o ajuste > Mapa de degradado > click para abrir el selector de degradado > violeta- naranja. Debemos asegurarnos que la capa 3 esté visible.
7 - On layer 3, select Create new fill or adjustment layer > Gradient map > click to open the gradient selector > purple-orange. We must make sure that layer 3 is visible.


Y de esa manera terminé el montaje. Es importante recordar como debe estar el orden de las capas de acuerdo al montaje.
Muchas gracias por llegar a este punto del paso a paso. Espero les haya gustado. Les recuerdo seguir al proyecto @aliento que apoya a esta comunidad.
¡GRACIAS POR LEER!
And that's how I finished the assembly. It is important to remember how the order of the layers should be according to the assembly.
Thank you very much for getting to this point of the step by step. I hope you liked it. I remind you to follow the @aliento project that supports this community.
THANKS FOR READING!
