
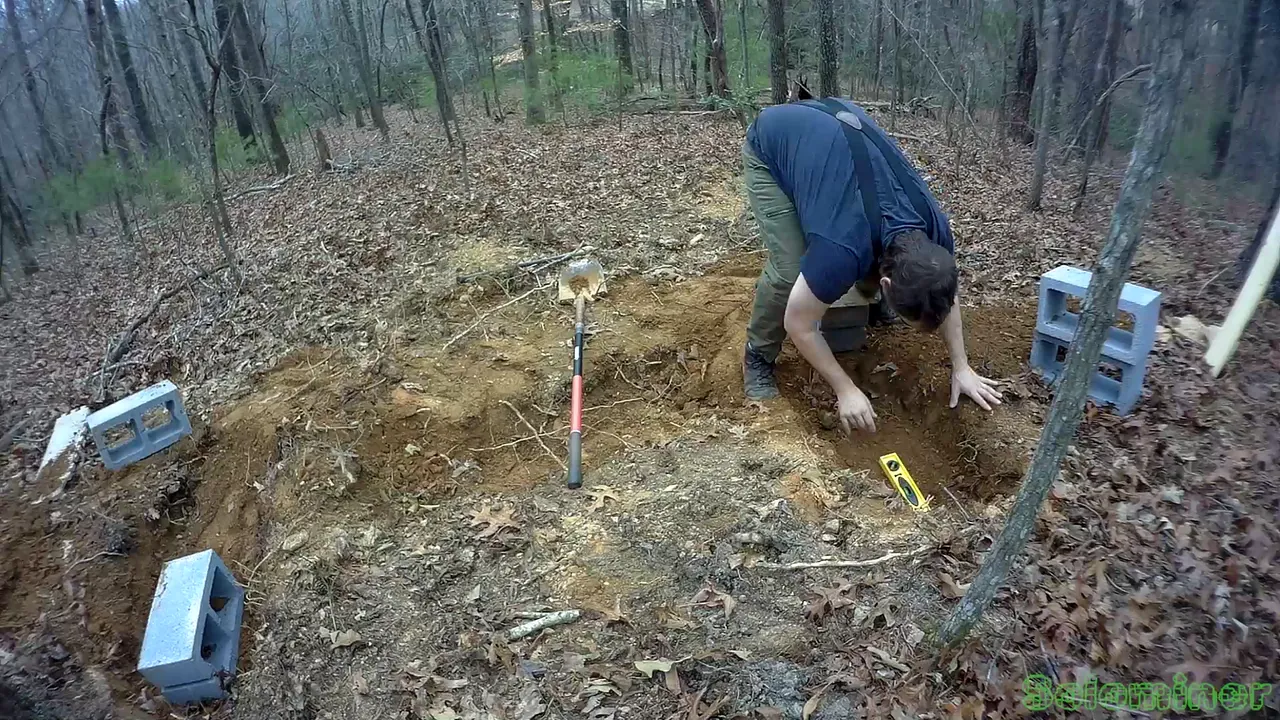
Over the last few months I have been building out a remote location for my honey bees, I started in the fall and have been working on it through the winter. During this time I recorded some video and broke it up into a two part series. I start off by digging to level ground and seeing how my cinder blocks will fit. Maybe I should have worn gloves more but handling and leveling the cinder blocks all day made my hands pretty achy.

I bought sixteen of them and was quite alot of work just moving them around. eight of them go to each of the two spots for the bees to lift their hardware off the ground. This will keep my combat ants and other crawling bugs that may attempt to get up on the bee houses.

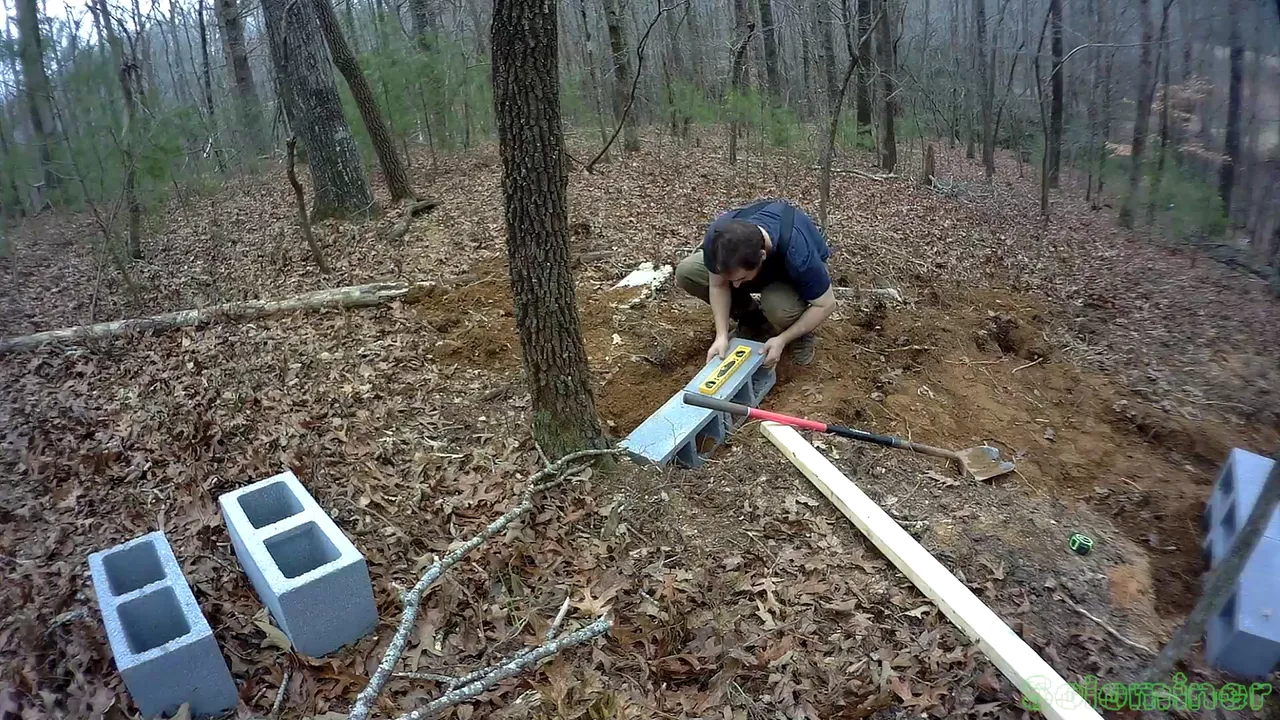
Using my level every few minutes to make sure its as level as possible. I built this location on a pretty steep hill so double checking my measurements was important to build something that is level.
Many times I just pulled the cinder blocks back out and dug the spot again. I need to make sure they are not only level, but are the same height across a six foot span.

This work proved to be the most time consuming, taking a few days just to level out my cinder blocks and to have a good design going.
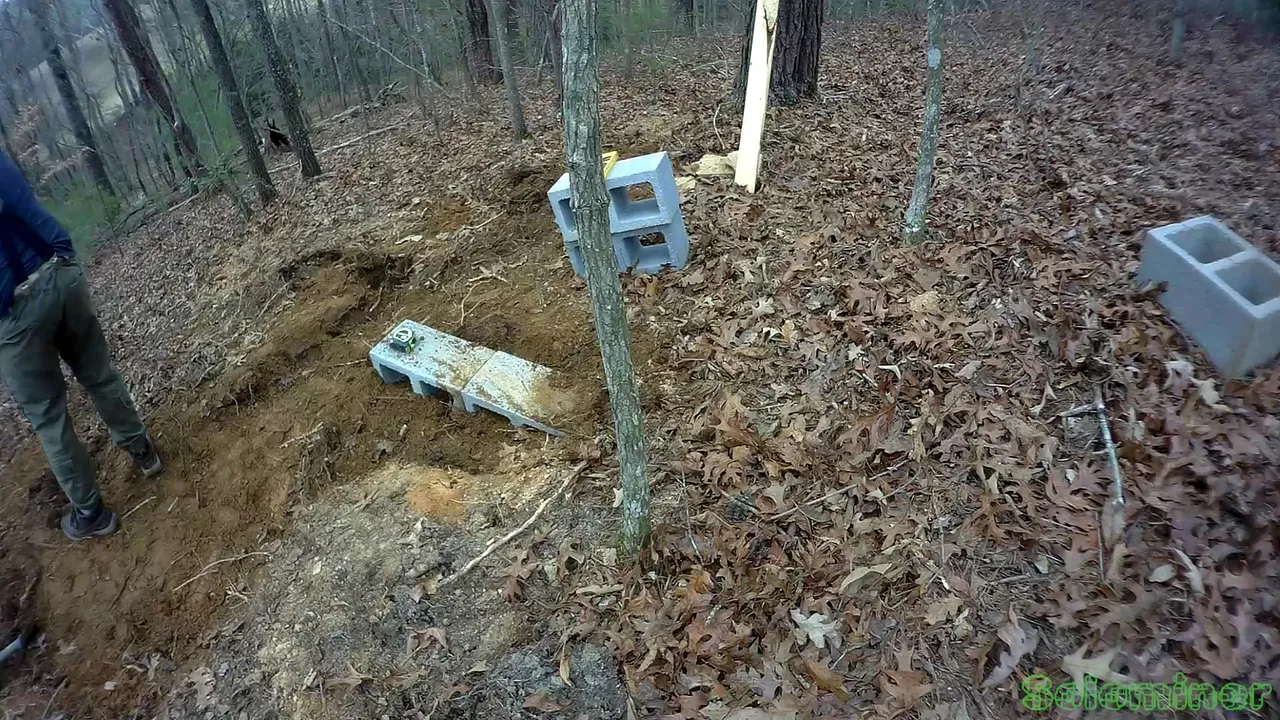
I buried about half of the first level of cinderblocks, so erosion is less likely to wash out the blocks over time. Not sure if it will help but thought it would at the time of doing this work.
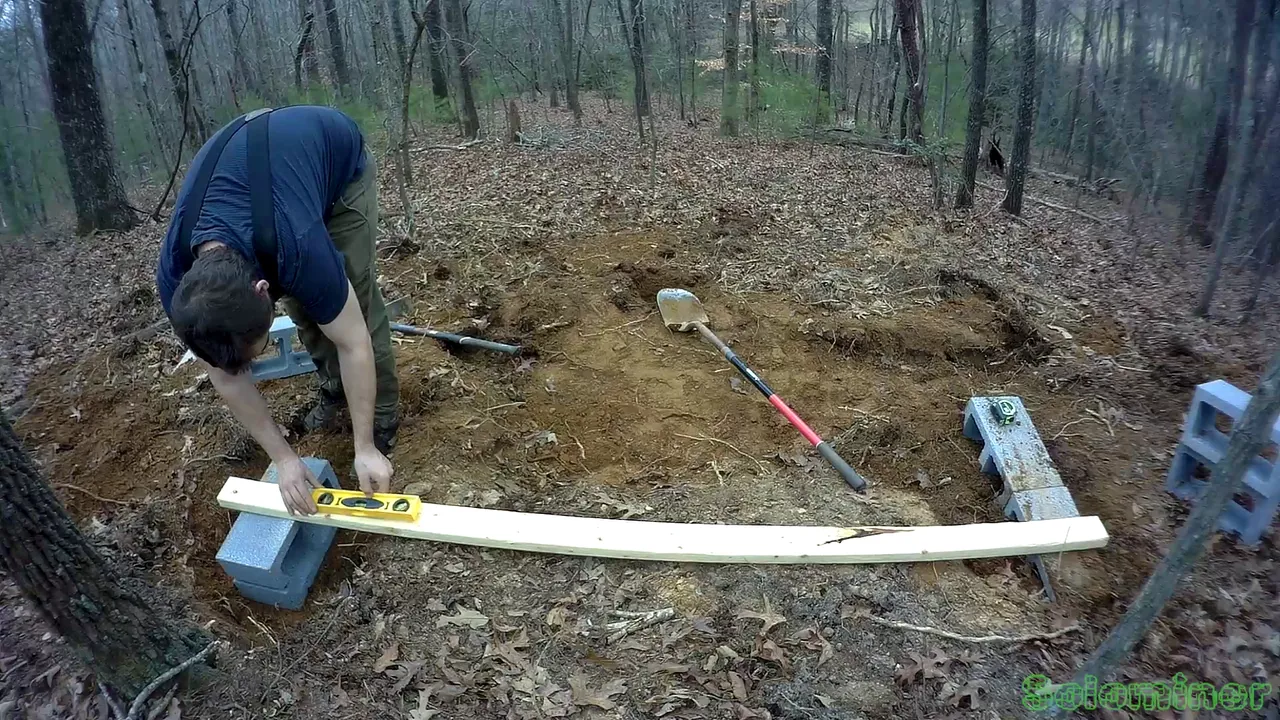
Taking my trusty 2x4 I check my level to see how well I placed them on both sides. This did require me to go back a couple times and make small adjustments.

Tried to switch up my work so I would not get too tired of doing one thing. So I moved onto digging my post hole for a table I plan on installing there. My hands were aching from handling the big cinder blocks so changing my work to digging helped a little.
Id go back to the cinder blocks every so often, and switching between tasks helped me to do it more carefully. As sometimes I felt like I was making little to no progress on leveling.. but in the end I did pull it off after taking a few breaks.
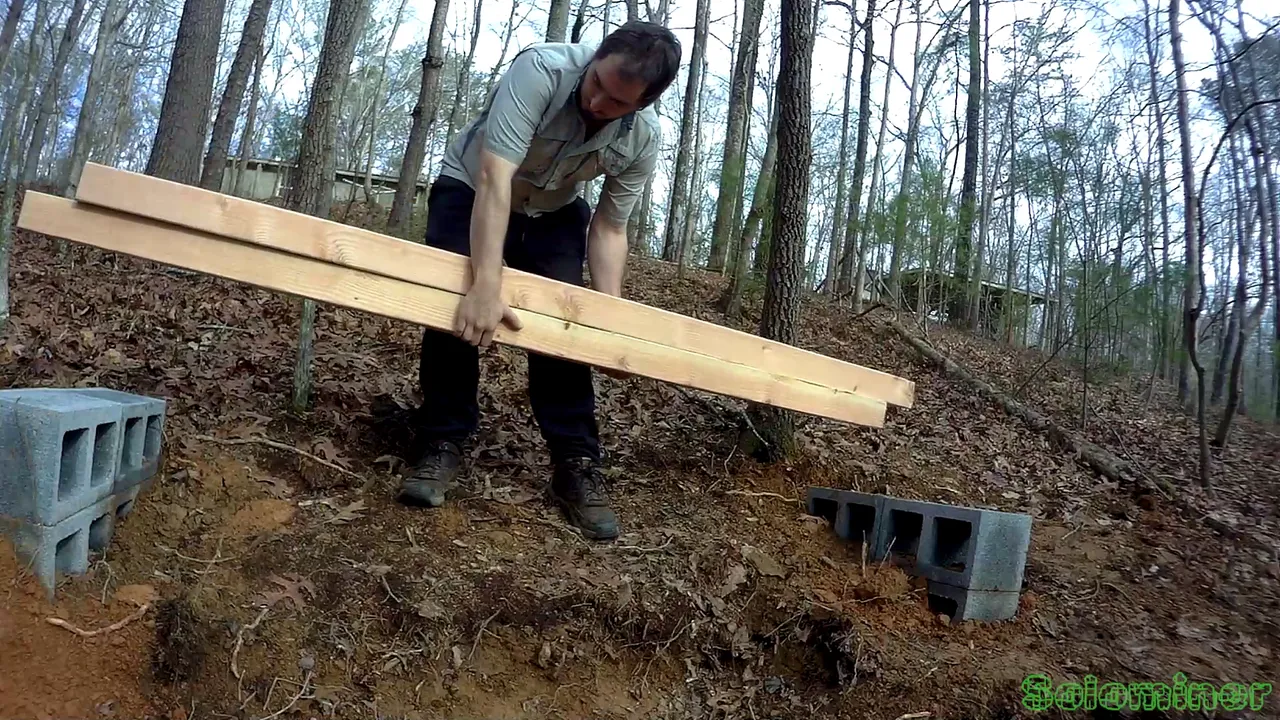
Once level I brought down some eight foot 4x4 posts, this is where the bee hives will rest on.

I set up my eight foot 4x4 posts by the sugar water feeders as well, I went with a different brick orientation here, hope they hold up as well in a vertical layout as they do in a horizonal one like my bee hives will rest on.
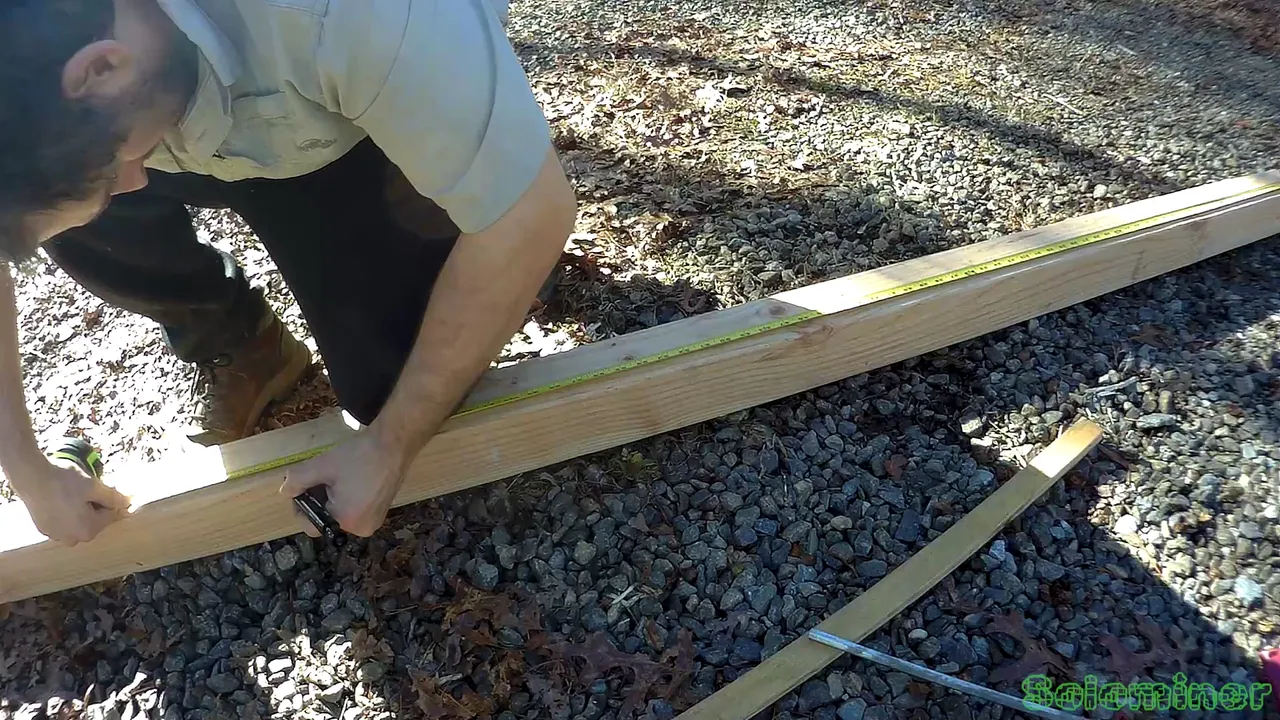
With the leveling done I move onto my table, taking one of the eight foot 4x4s and cutting it to table height, plus a few feet to go in the concrete.
Marked and double checked I go about cutting through it using my battery powered sawzall.

Next was to mix concrete, and things got pretty messy. My drill that spins the concrete mixer has really poor speed control. So I got splashed by my concrete mix numerous times.
After doing a few buckets I got the hang of it, though the drill was not smelling all that great. Maybe I need a special drill for mixing concrete.

Carrying down five gallon buckets full of concrete was alot harder than I was expecting. But glad it was all down hill carrying which made it a little easier.

With about four or five buckets of concrete the hole was filled and the post was sunk in. I poured the concrete first and then stuck the pole in, maybe it was a mistake as it seemed not to go in all that far. Though I bought a small mallet with me so I drove it in that way.
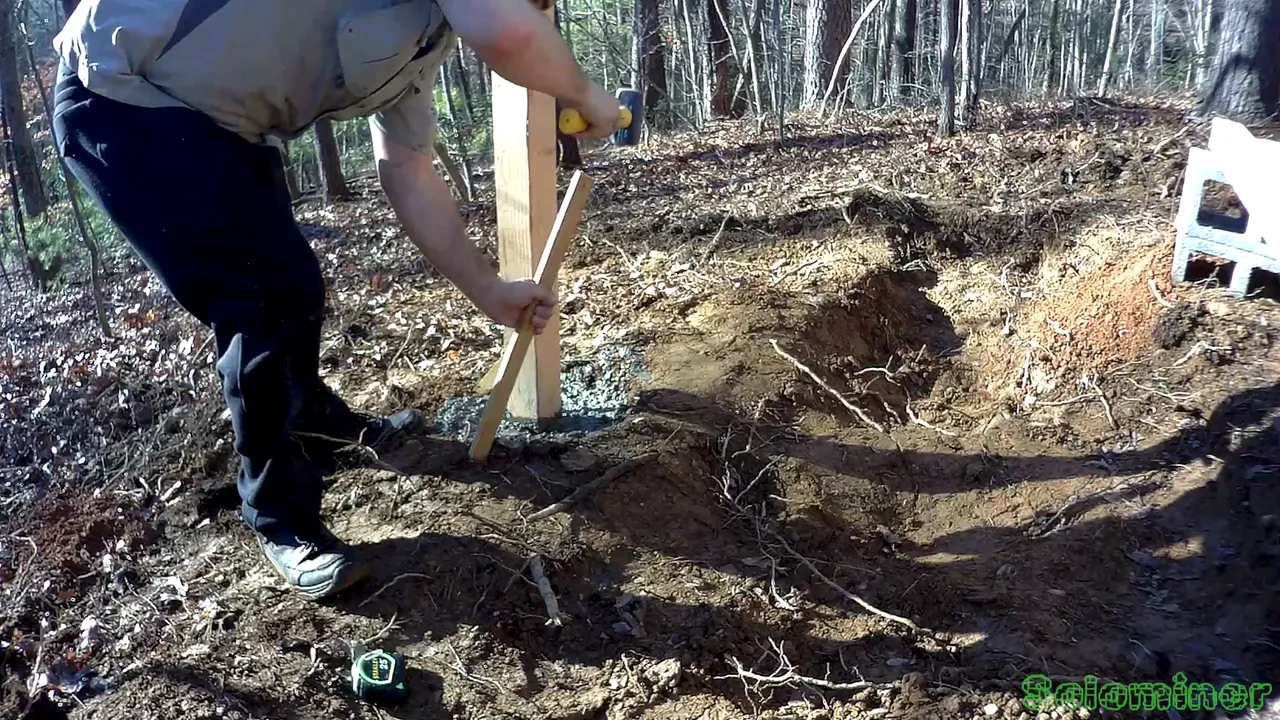
Using the mallet to also drive in support stakes to hold up the post level while it dries.
Drove in screws through the support stakes into the post to hold it for a few days while it all dried.
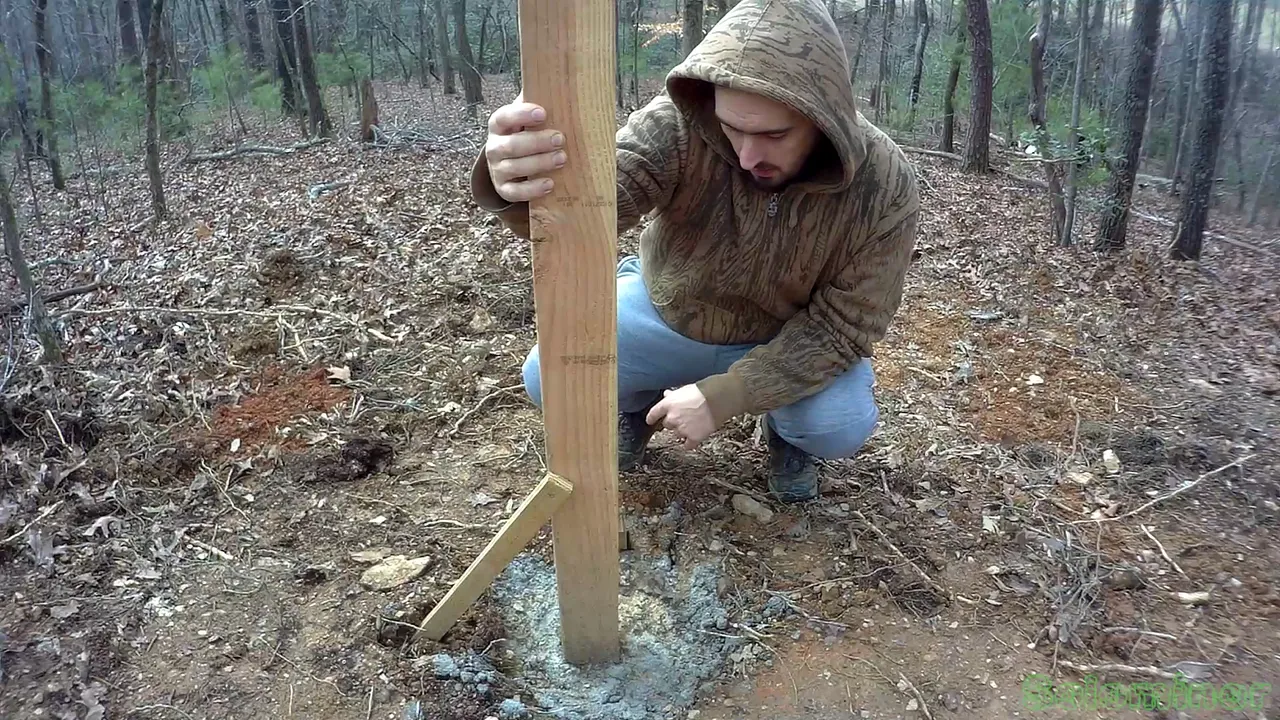
I came back a few days later to check on it and it dried up nicely. The post is firm and well held into the ground. I removed the support stakes and moved onto setting up my sugar water feeder buckets.
Links to my previous posts on this project:
@solominer/video-of-building-sugar-water-feeders
@solominer/building-sugar-water-feeders-for-my-honey-bees
@solominer/sugar-water-feeders-all-set-up-for-the-honey-bees
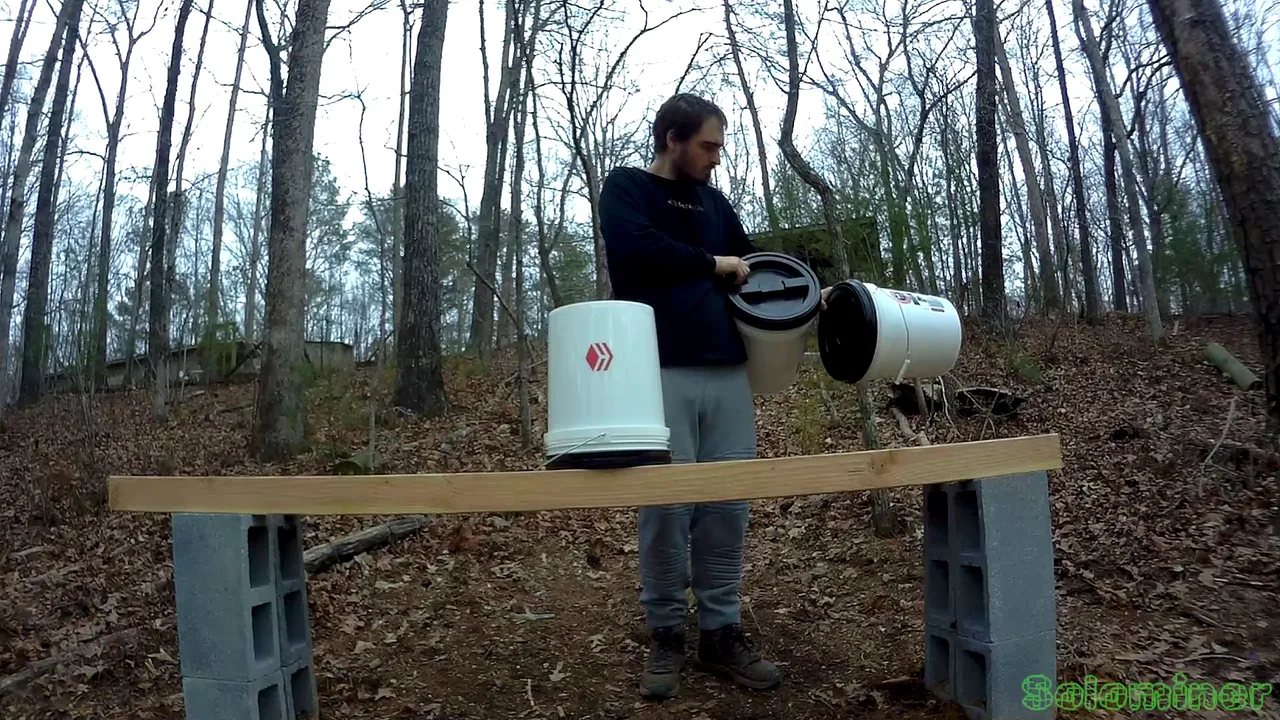
Putting the buckets out as they are all done and they can sit there empty. Though I realized after setting them up rain water will collect in their lids until its filled. So I turned them over on a later day.

Also placed rocks on top to keep them from blowing over when empty. Once filled with sugar water they will not need that, but while empty we could get strong winds sending those containers rolling down the hill otherwise.
Part 2 is coming up soon, placement of the bee hives, and I will show how I rebuilt the table, and put all the finishing touches on the homes. Then we will just need to wait for me to get my packages of bees, now we are in March and I could be getting them any day now. I do see some cold days up ahead which we will be back down into the 20s for a couple days, after that if the calendar is all clear from frosts I will contact my bee supplier and see when they expect the packages to be ready to pick up.
LBRY Video Link
Addresses below to help me buy better camera equipment and support me to travel to locations to do photo and video and overall great blogs in new places.
| Coin | Address |
|---|---|
 BTC: BTC: | bc1qhfmvd2gywg4fvrgy2kkkkyqta0g86whkt7j8r7 |
 LTC: LTC: | ltc1qdyzm5cwgt8e2373prx67yye6y9ewk0l8jf3ys9 |
 DASH: DASH: | XkSqR5DxQL3wy4kNbjqDbgbMYNih3a7ZcM |
 ETH: ETH: | 0x045f409dAe14338669730078201888636B047DC3 |
 DOGE: DOGE: | DSoekC21AKSZHAcV9vqR8yYefrh8XcX92Z |
 ZEN: ZEN: | znW9mh62WDSCeBXxnVLCETMx59Ho446HJgq |