*****English version*****
(Abajo está la versión en español)
This Saturday while I was visiting my grandmother's house I saw that my mother was preparing some sprouts and I was curious to document the whole process of preparing and finally harvesting them. I had seen those sprouts in the fridge for a few weeks now, but I never thought she was preparing them herself, so it seemed like something worth sharing. I made more things over the weekend, too many for my taste, but for now I'd like to share that interesting process of making sprouts.
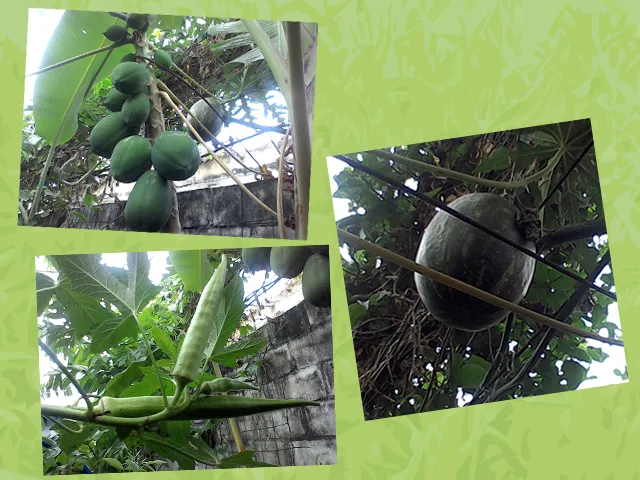
Here's a parenthesis. I took a couple of pictures of a few things I am already harvesting, like lechoza (or papaya), auyama (or pumpkin) and okra. I just wanted to share how my garden is doing. That said, back to the topic at hand....
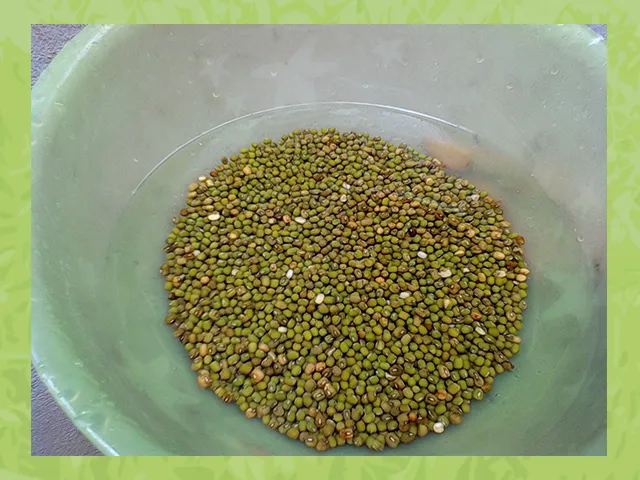
The first thing to do to prepare these sprouts is to soak the beans. In this case my mother used very small beans called frijol chino.

Before soaking, she placed them in a large container, washed them and then added enough water to cover all the beans.
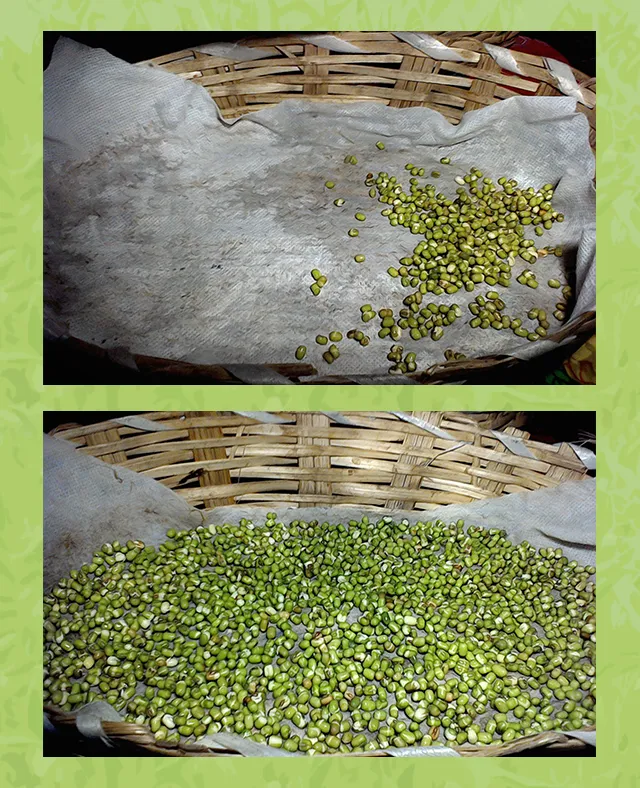
These must be soaked for at least 24 hours. These were placed on Saturday and on Sunday morning they were already like this:

If you compare it with the previous image, you can see how the grains have doubled in size the next day after soaking; this means that they have absorbed the necessary water to start the germination process.
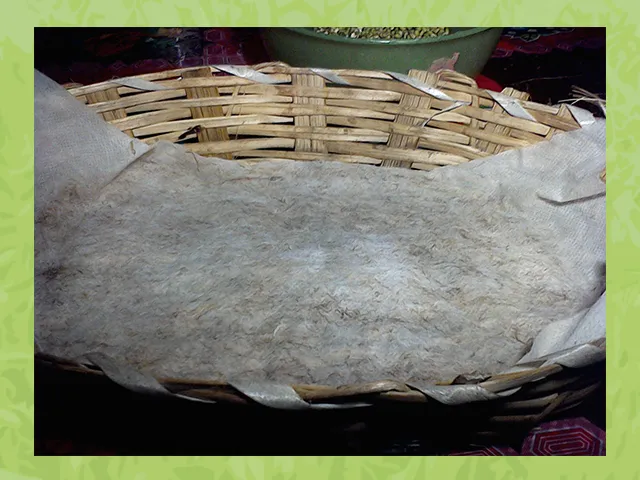
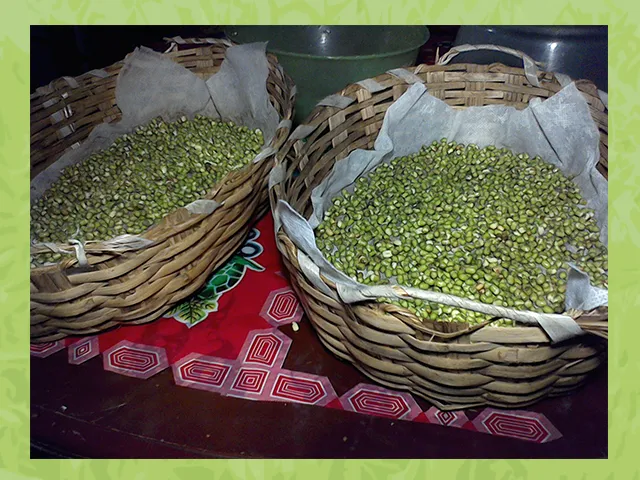
My mom uses a basket to prepare her sprouts. She covers it with a very thin cloth, a cloth through which air can circulate quietly but which also traps moisture.
The soaked grains should be spread along the entire length of the towel, taking care not to pile too many grains on top of each other, but rather that they are all well spread out.
As the intention is to keep the moisture in, she again covers the pimples with another piece of cloth.
The last part of the process is to stack the two baskets on top of each other and finally cover everything with a thick cloth.

They are stored in a place where they are not exposed to direct light. Then they are checked to make sure that there are no fungi present that could cause the sprouts to rot.
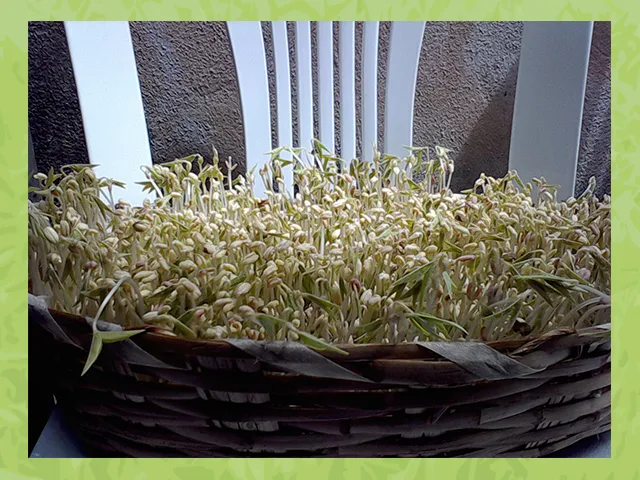
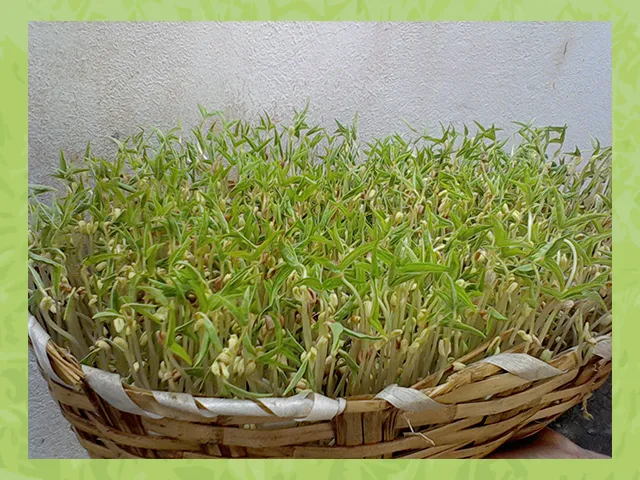
She had two more baskets that she had already prepared days before, so that same Sunday morning I helped her take them out of the baskets. Just look at the sprouts inside the baskets:

At first glance you can see the yellowish color of the leaves, this because they have not received sunlight at any time. It caught my attention that, when we took them out to the patio to receive morning light, the yellow color of the leaves soon adopted the usual green color of these sprouts.


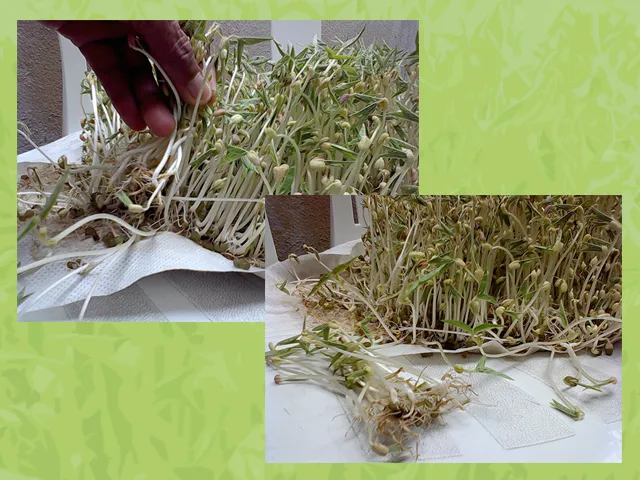
After removal from the baskets, the roots of the sprouts remain attached to the fabric on which they were initially spread. These can be removed by simply pulling on each sprout, leaving the sprout with its root intact.
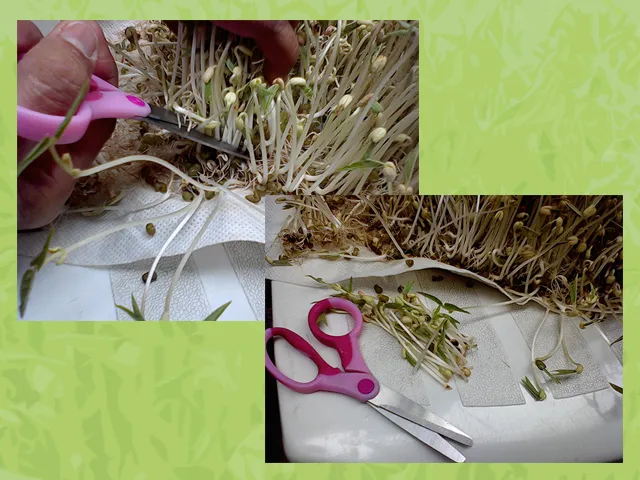
Another way to extract the sprouts is to simply cut them with a scissors or a knife, leaving the root in the cloth and then discard it. This depends on taste, some people like to eat them with the root and others do not.
The next step is to wash them well, to remove from the sprouts the green shell of the beans. In this case it is green because the bean is green, but the color may vary from bean to bean.
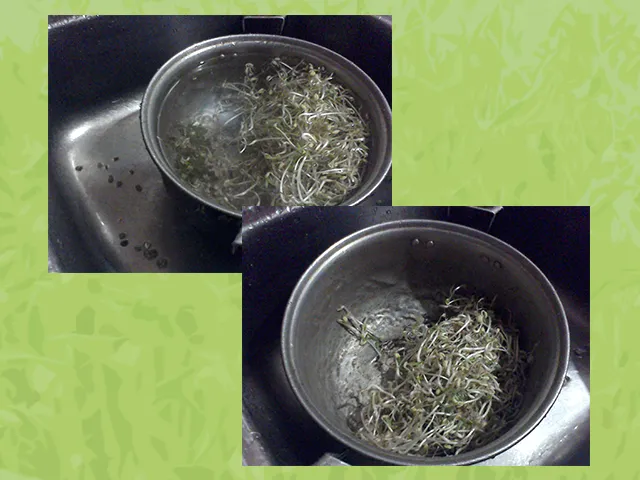
Finally, dry them with a towel and place them in a plastic container to keep them in the refrigerator...

Sprouts can be used to prepare a great number of recipes. They can be added to fried rice with vegetables and seasonings, or simply used as a filling for a sandwich.
In this case, my mom and I made the typical Venezuelan arepas. We filled them with meat, vegetables, cheese and sprouts. Below is a step by step animation of the construction of this delicious arepa.

Well friends, I sincerely hope you liked the publication and that you are encouraged to replicate this way of making sprouts at home, as they are very nutritious and good for your health.
I hope you found this activity with my mother interesting or at least it will serve to recharge your batteries for this week that has just begun. If you would like to leave your opinions, you can do so in the comments below. Without further ado, I will say goodbye then....
See you next time!
*****Versión en español*****
Este sábado mientras estaba de visita donde mi abuela vi que mi madre estaba preparando unos germinados y me pareció curioso documentar todo el proceso de prepararlos y finalmente cosecharlos. Desde hace unas cuantas semanas había visto esos germinados en el refrigerador, pero nunca pensé que ella misma los preparaba, así que me pareció algo digno de compartir. Hice más cosas durante el fin de semana, demasiadas para mi gusto, pero por ahora me gustaría compartir ese interesante proceso de hacer germinados.
Aquí un paréntesis. Tomé un par de fotografías a unas cuantas cosas que ya estoy cosechando, como lechoza (o papaya), auyama (o calabaza) y quimbombó. Solo quería compartir cómo va mi huerto. Dicho esto, volvamos al tema que nos ocupa...
Lo primero que hay que hacer para preparar estos germinados es poner en remojo los granos. En este caso mi madre usó unos frijoles muy chiquitos llamados frijol chino.
Antes de ponerlos en remojo, ella los colocó en un envase grande, los lavó y luego agregó suficiente agua para cubrir todos los granos.
Se deben remojar durante mínimo 24 horas. Estos se colocaron el sábado y el domingo por la mañana ya estaban así:
Si se compara con la imagen anterior, se ve cómo al siguiente día del remojo han doblado su tamaño los granos; esto significa que han absorvido el agua necesaria para comenzar con el proceso de germinación.
Mi mamá usa una cesta para preparar sus germinados. La cubre con una tela muy delgada, una tela por donde puede circular el aire tranquilamente pero que también atrapa la humedad.
Se deben extender los granos ya remojados a lo largo de toda la toalla, cuidando de no apilar demasiados granos encima de otros, sino que todos estén bien eXtendidos.
Como la intención es mantener la humedad, ella sobre nuevamente los granitos con otro trozo de tela.
La última parte del proceso es la de apilar las dos cestas una encima de otra y finalmente cubrir todo con una tela gruesa.
Así se dejan guardados en un lugar donde no les de luz directa. Luego se revisan para asegurarse de que no haya presencia de hongos que puedan hacer que se pudran los germinados.
Ella la tenía dos cestas más que ya había preparado días atrás, así que ese mismo domingo por la mañana le ayudé a sacarlos de las cestas. Vean no mas cómo se ven los germinados dentro de las cestas:
A simple vista se aprecia el color amarillento de las hojas, esto porque no han recibido luz del sol durante ningún momento. Me llamó la atención que, cuando los sacamos al patio para que recibieran luz de la mañana, el color amarillo de las hojas no tardó en adoptar el color verde habitual de estos germinados.
Tras sacarlos de las cestas, las raíces de los germinados continúan adheridas a la tela sobre la que se extendieron inicialmente. Estos se pueden retirar simplemente tirando de cada germinado, dejando intacto el germinado con su raíz.
Otra manera de extraer los germinados es simplemente cortándolos con una tijera o un cuchillo, dejando la raíz en la tela para luego desecharla. Esto depende de los gustos, a algunos les gusta comerlos con la raíz y a otros no.
El paso siguiente es lavarlos bien, para retirar de los germinados la cáscara verde de los frijoles. En este caso es verde porque el granito es verde, pero el color puede variar de un grano a otro.
Finalmente se secan con una toalla y se colocan en un envase de plástico para conservarlos dentro del refrigerador...
Con los germinados se pueden preparar gran cantidad de recetas. Se pueden agregar a arroz frito con vegetales y condimentos, o simplemente se pueden usar como relleno de algún sandwich.
En este caso, mi mamá y yo hicimos las típicas arepas venezolanas. Las rellenamos con carne, vegetales, queso y germinados. A continuación una animación del paso a paso de la contrucción de esta deliciosa arepa.
Bien amigos, de corazón espero que la publicación les haya gustado y se animen a replicar ustedes mismos esta manera de hacer germinados en casa, ya que son muy nutritivos y buenos para la salud.
Ojalá esta actividad con mi madre les haya parecido interesante o cuando menos sirva para recargar las baterías para esta semana que recién comienza. Si gustan dejar sus opiniones, abajo en los comentarios pueden hacerlo. Sin más que agregar, me despido entonces...
¡Hasta la próxima!

Imagenes editadas con Photoshop
Fotos tomadas con tablet HP stream 7
Traducido con DeepL
Photos edited with Photoshop
Photos taken with HP stream 7 tablet
Translated with DeepL
Últimos tres post/Last three posts:
Learn with Gabo #2 / Aprende con Gabo #2
My elusive visitor / Mi escurridizo visitante
Tutorial: Personaliza tus fuentes