Hello Stemgeeks,
A lot of things we use every day have LED technology. LED lamps have been slowly taking over for incandescent lamps in flashlights, car headlights, searchlights, and the bulbs we use at home. This is because they are more efficient and last longer. LED lights use less electricity and last longer than other types of lights.
I have 4 Watt ceiling LED bulb at home which I wanted to repair as it was not turning on since last few days.
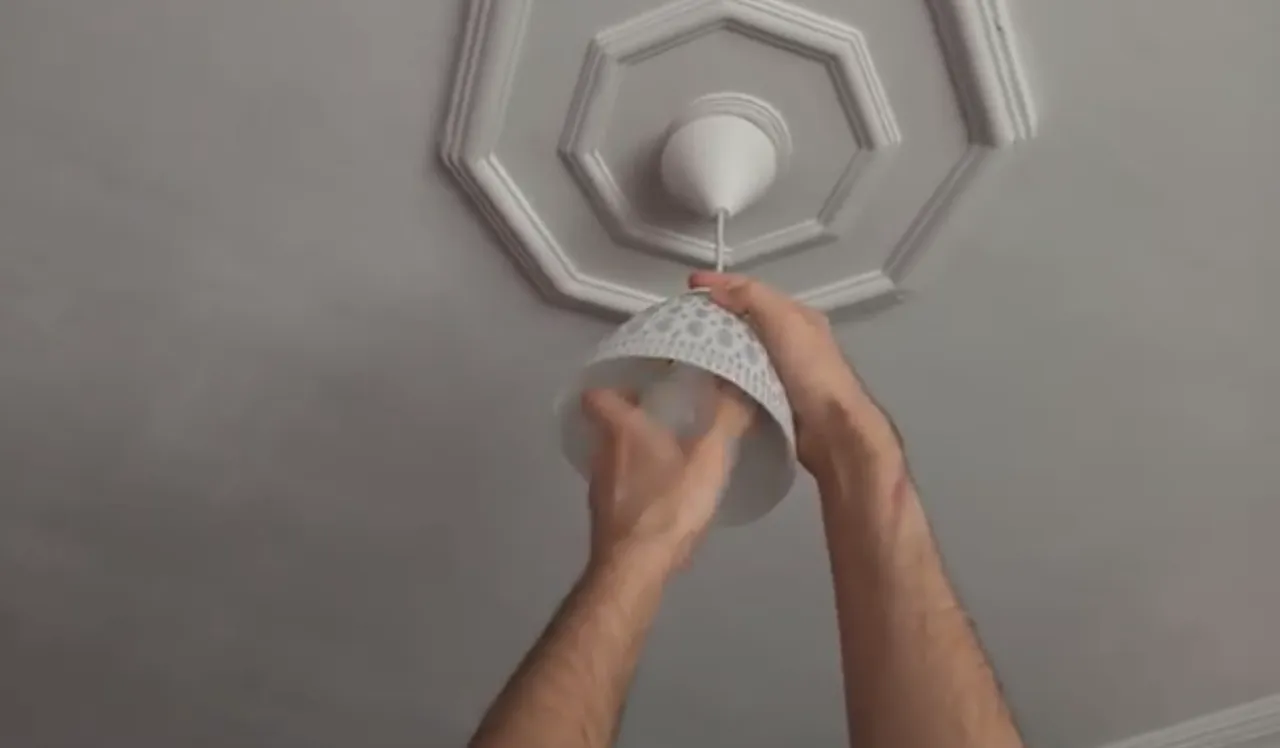
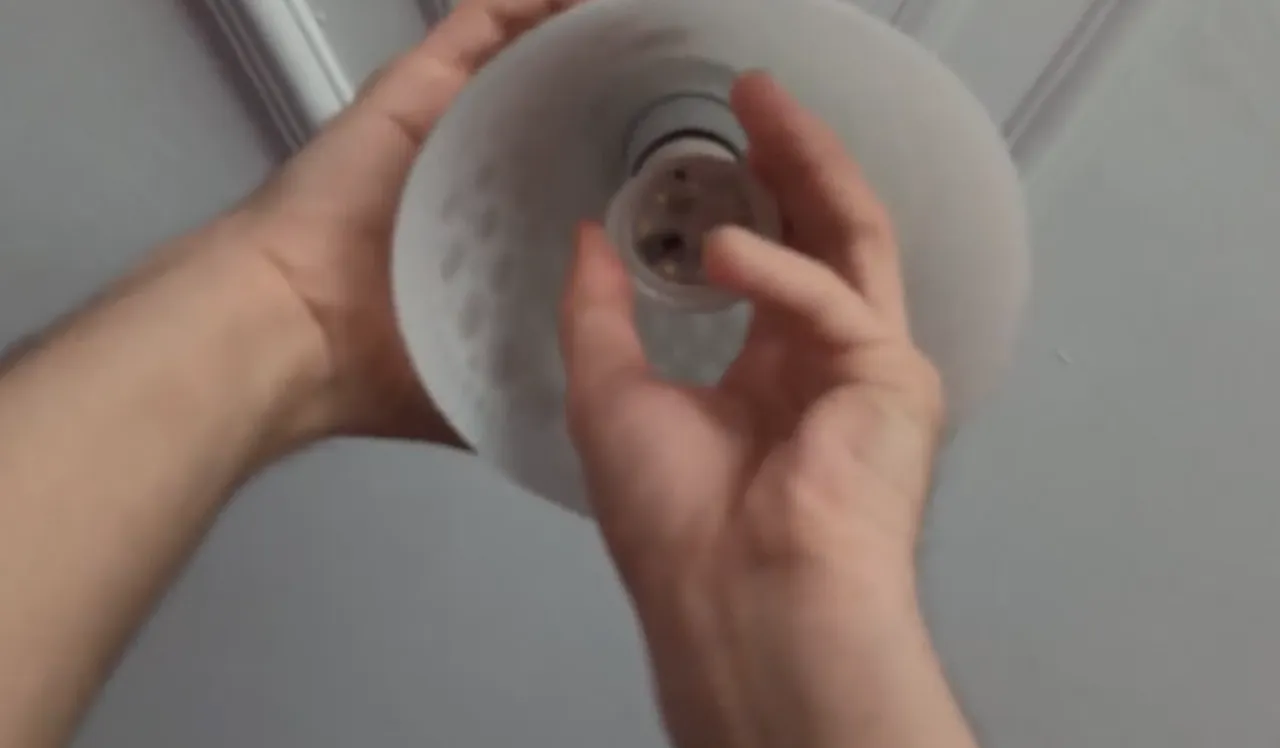
Let's start by looking at how the LED lamp is built. Let's be careful when we remove the light cover. They can be put on or made of glass to cover some LED lights. These can be hard to get rid of.
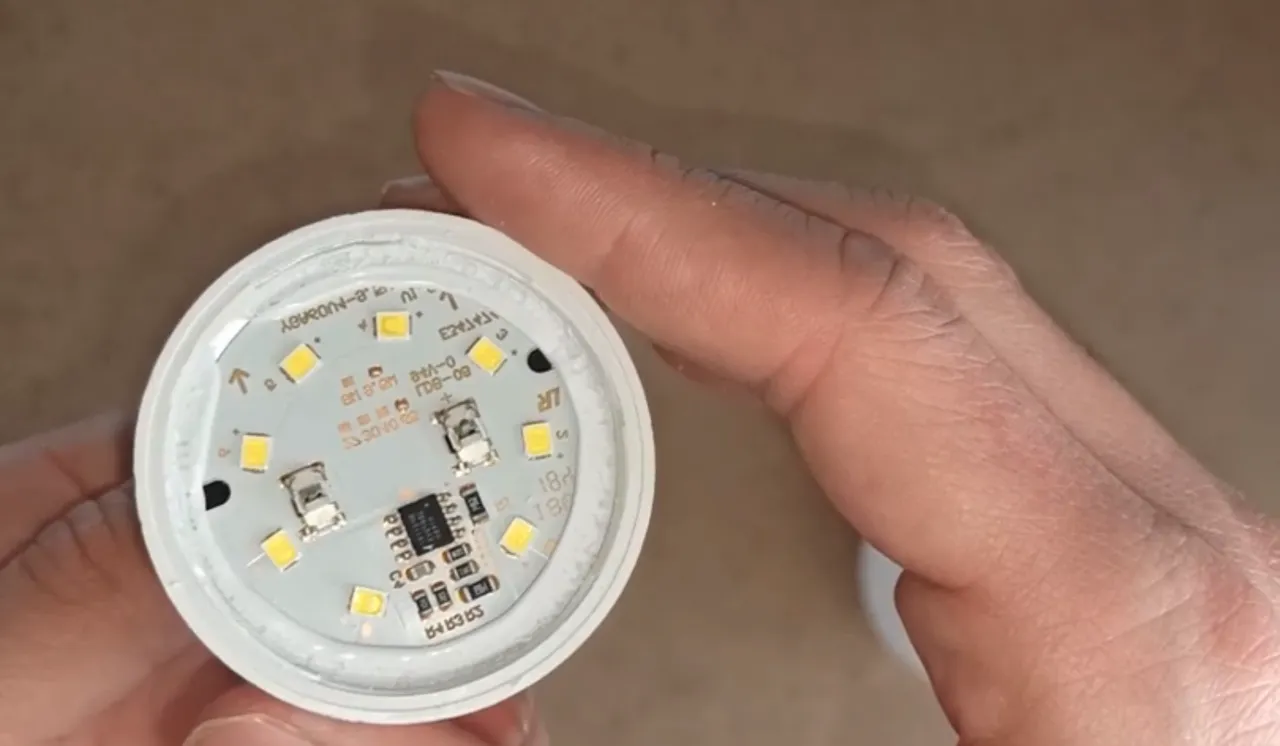
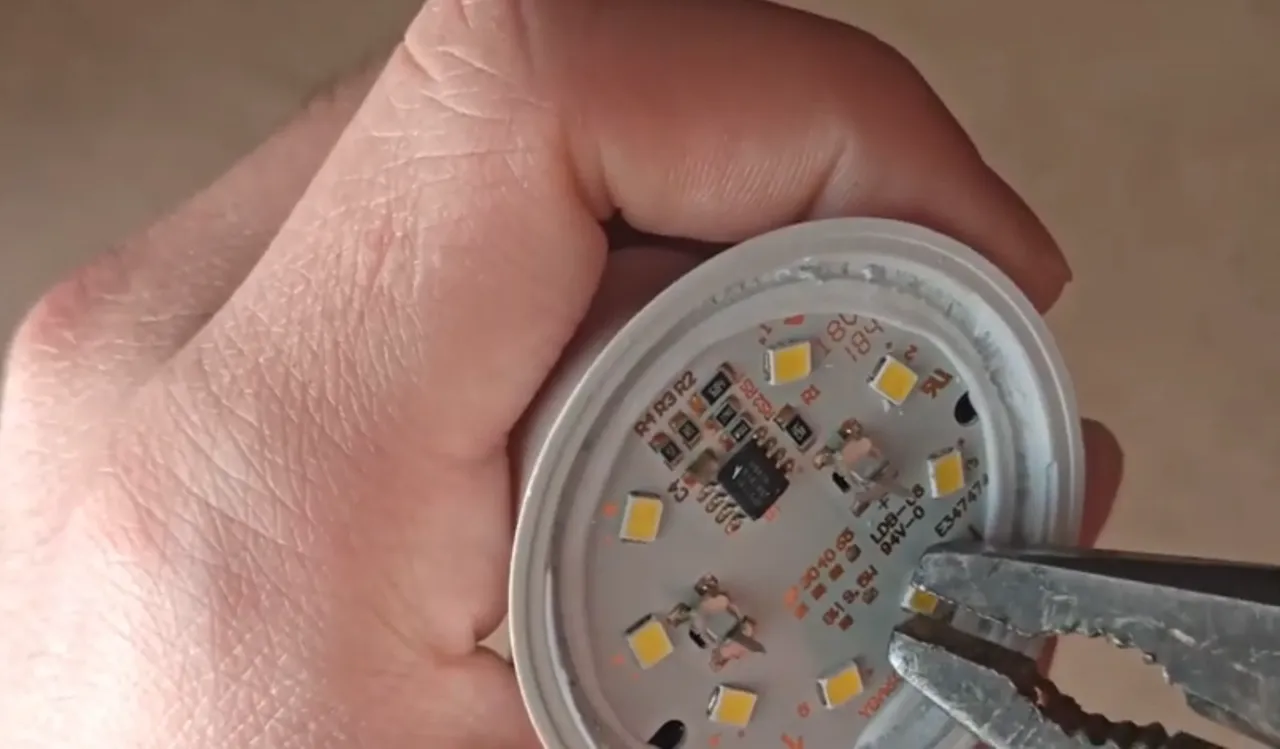
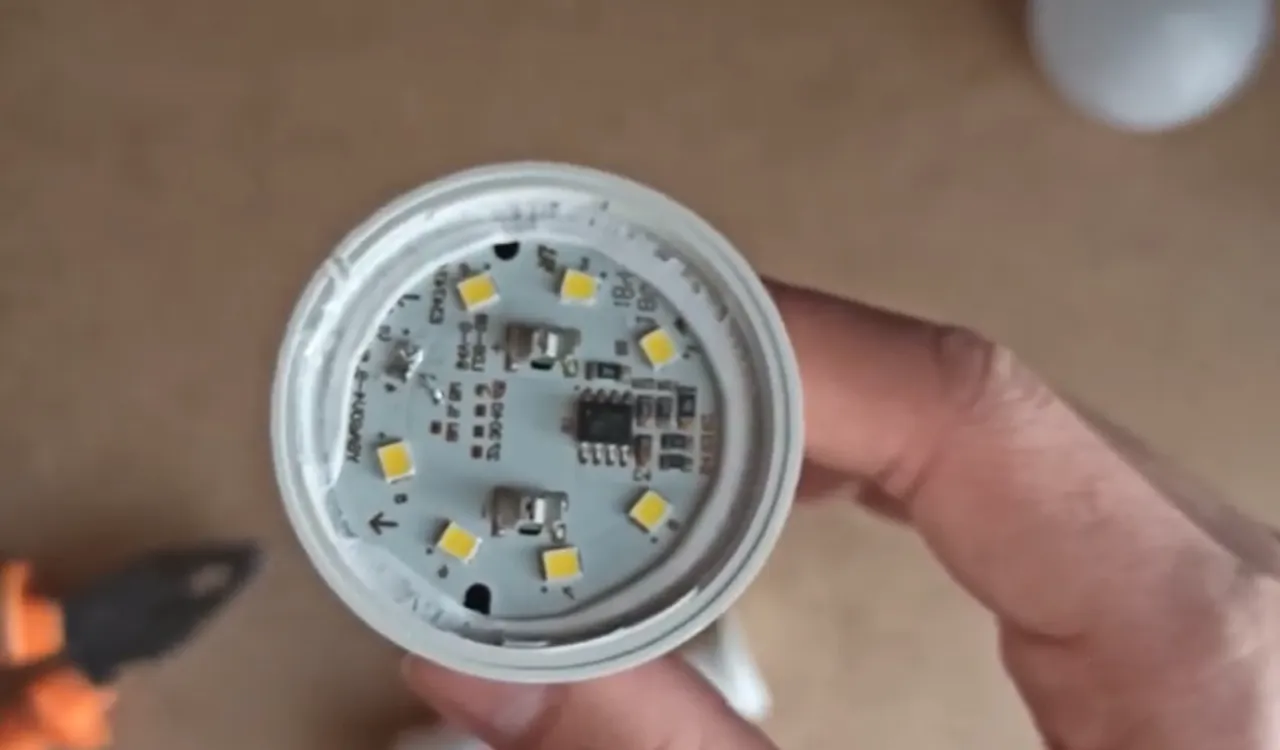
It has a small yellow LEDc SMD inside. To see the 8 tiny LEDs in this 4 Watt bulb, remove the lid.
It is becoming more common for LEDs to be used in high-wattage lamps in general. All 8 yellow LED bulb used are 0.5 watt SMD leds. The LEDs here are connected in series with each other. Failure of one of the LEDs prevents the other LEDs from working, even if they are intact.
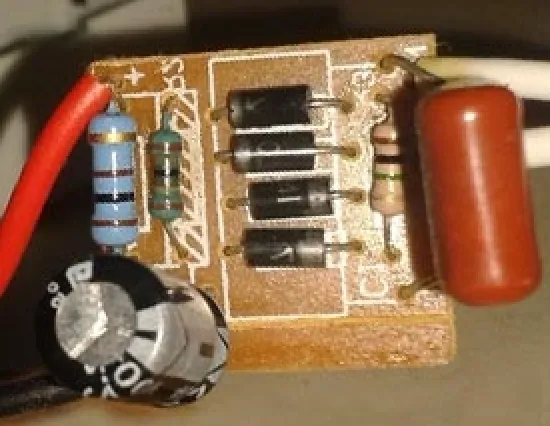
The LED Lamp's Inside

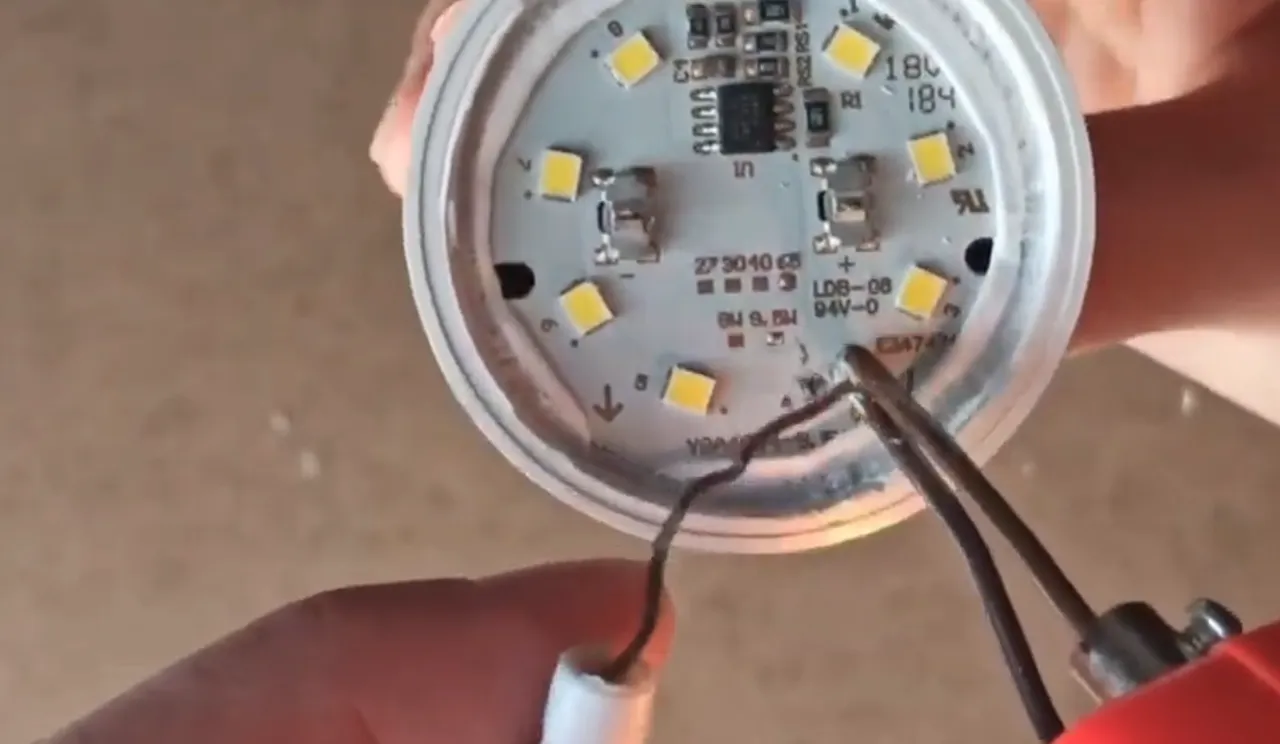
At the bottom of the LEDs, you can see a very simple circuit if you look close enough. Alternating current is changed into direct current and then LEDs that are used in the circuit are driven by it.
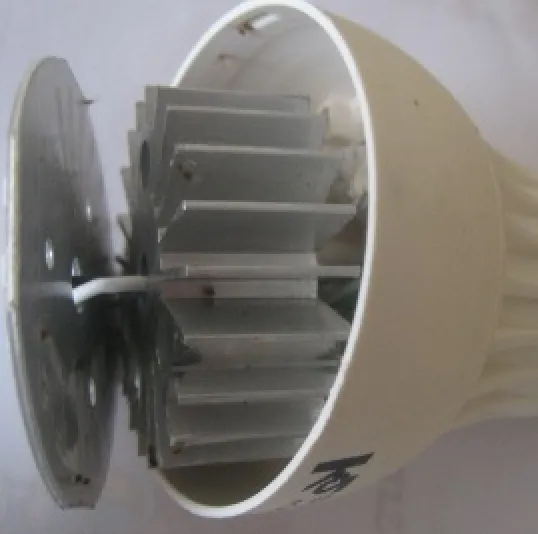
LEDs need a heatsink.
A high-quality LED bulb needs a good cooling system in order to work well. Heat is the main enemy of LED bulbs. LEDs that work in very hot places have a shorter service life. It is possible to use high-quality LED bulbs for a long time.
This is how I can fix the LED lamp in my home's ceiling.
Materials that you need to do the job
A set of soldering irons, like this one.
Pliers, screws, and chisels and few SMD LED 0.5 Watt
An inactive LED usually has a little black dot on top of it, but it doesn't work. But, just in case, I'll check all the LEDs again.
3 volts of direct current is what I use to power the little LEDs to see how it works. I need to power up in line with the + and - ends of LEDs.
It took me two pen batteries to do the control in this case.
I had to be careful because LEDs can't work if they get too much or too little electricity.
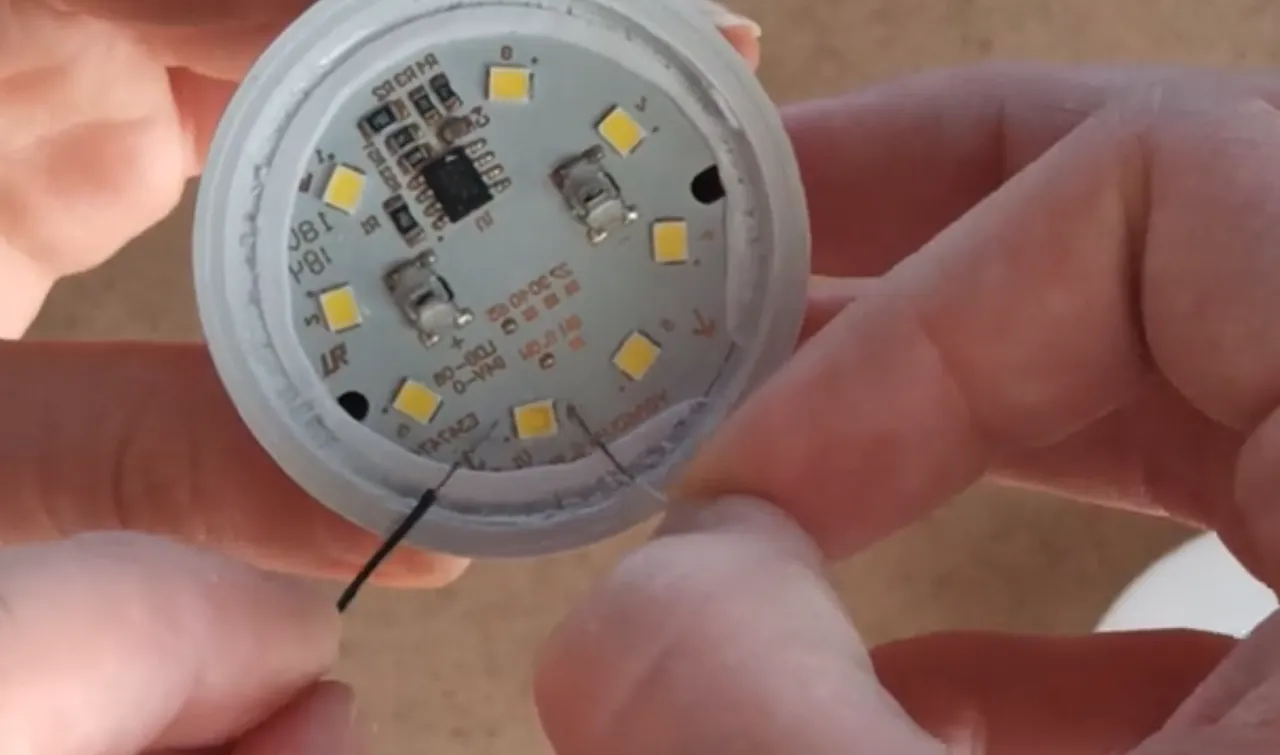
Chisels are used to remove the LEDs that burst after I removed them.
There were metal pieces under the area that had been cut out. This is where I soldered the SMD LED.
I pay attention to the + and - ends of the LED when I'm soldering because it won't work if I connect them in the wrong way.
I had a hard time soldering SMD LEDs, but I did it in the end.
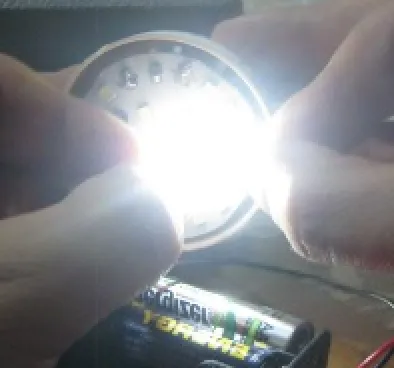
After soldering, of course, I checked to make sure it works.
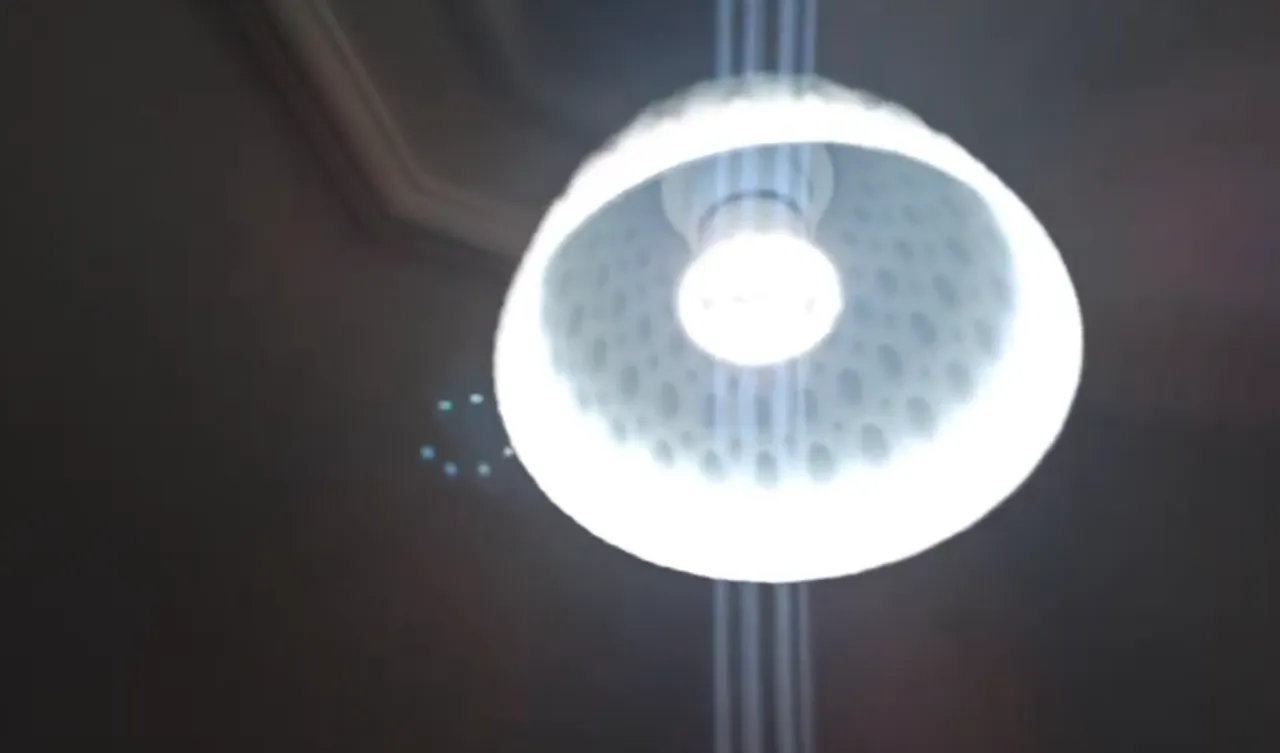
And the LED bulb was successfully switched on.