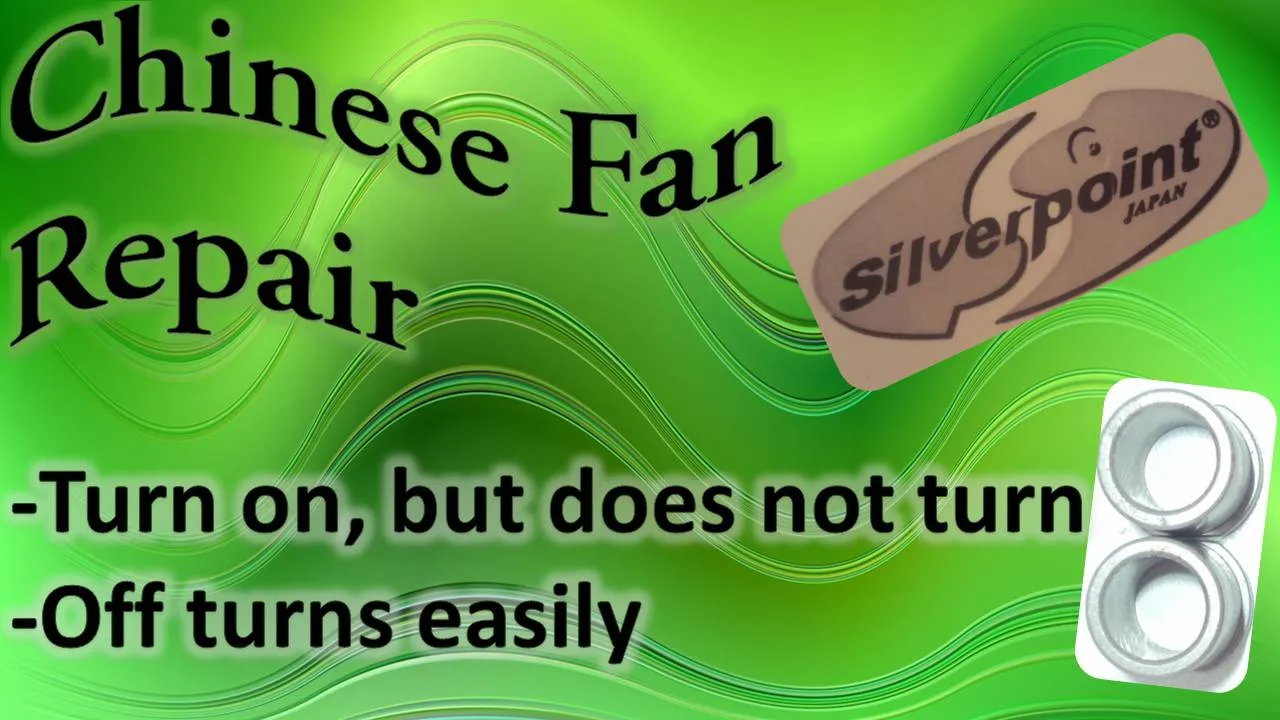

Earlier I made another article repairing a Chinese "SilverpointJapan" fan. It had a loose cable, for details you can see the post
Anteriormente realice otro artículo reparando un ventilador chino "SilverpointJapan". El mismo tenía un cable suelto, para los detalles puedes visitar la publicación.
For this new failure, here's what happened:
- The fan would turn on at all speeds, but it wouldn't turn or it would get stuck, maybe at times it would turn just a little bit and then it would get stuck.
- If it was off and turned by hand, it did so easily and didn't get stuck at any time. Meaning that the lubrication was fine and there was nothing mechanical to prevent the bearing.
Para esta nueva falla, pasaba lo siguiente:
• El ventilador encendía en todas las velocidades, pero no gira o se queda pegado, puede que en momentos gire solo un poco y luego se queda trabado.
• Si estaba apagado y giraba con la mano, este lo hacía con facilidad y no se quedaba trabado en ningún momento. Dando a entender que la lubricación estaba bien y no había nada mecánico que impida el rodamiento.
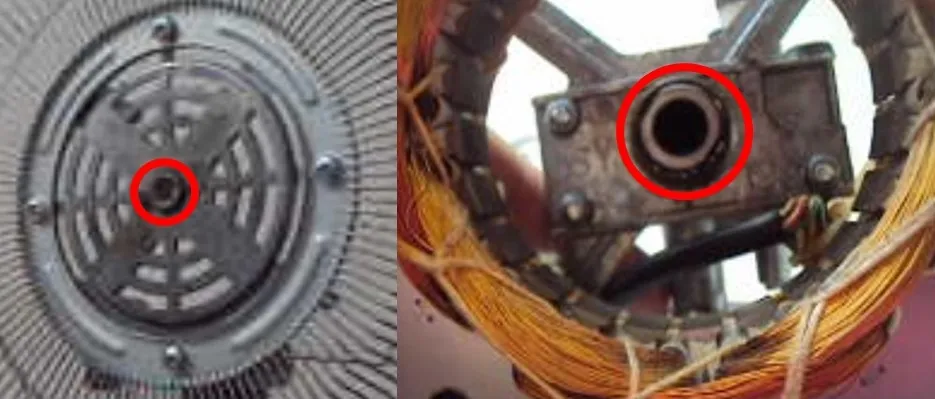
If you have this same fault, usually the one that wears out is the front horn, but I recommend changing both. In my case I got them for about 3$ a pair.
For this repair, we will only need a screwdriver, the spare horns, and a 3 in 1 oil or the one you have at hand to lubricate.
Sí presentas esta misma falla, por lo general la que se desgasta es la bocina delantera, pero te recomiendo cambiar ambas. En mi caso las conseguí por un precio aproximado a 3$ el par.
Para esta reparación, solo necesitaremos un destornillador, las bocinas de repuesto, y un aceite 3 en 1 o el que tengas a la mano para lubricar.


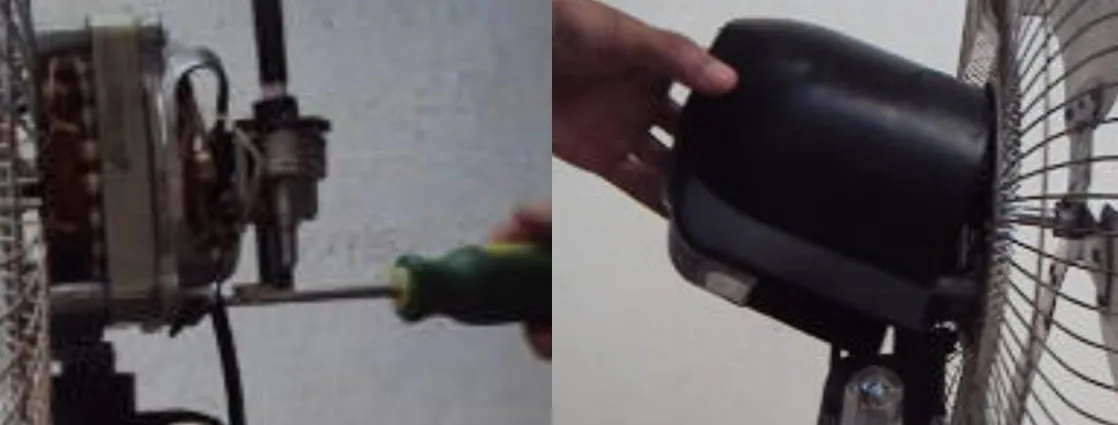
1st Step: Remove the horns. / Extraer las bocinas.
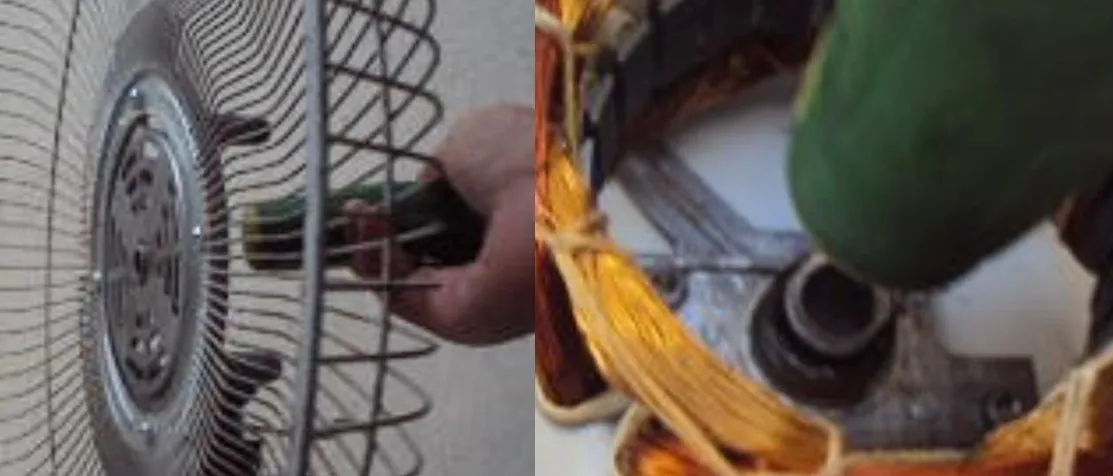
There are two in total to be extracted. One located in the front where it has the greatest weight of the blades, and the other near the winding.
Son dos en total que debemos extraer. Una ubicada en la parte frontal donde posa el mayor peso de las aspas, y la otra cerca del embobinado.
To extract the first one, we must give soft blows until it loosens, then with the help of pliers we extract it.
Para extraer la primera, debemos dar golpes suaveshasta que se afloje, luego con ayuda de un alicate la extraemos.
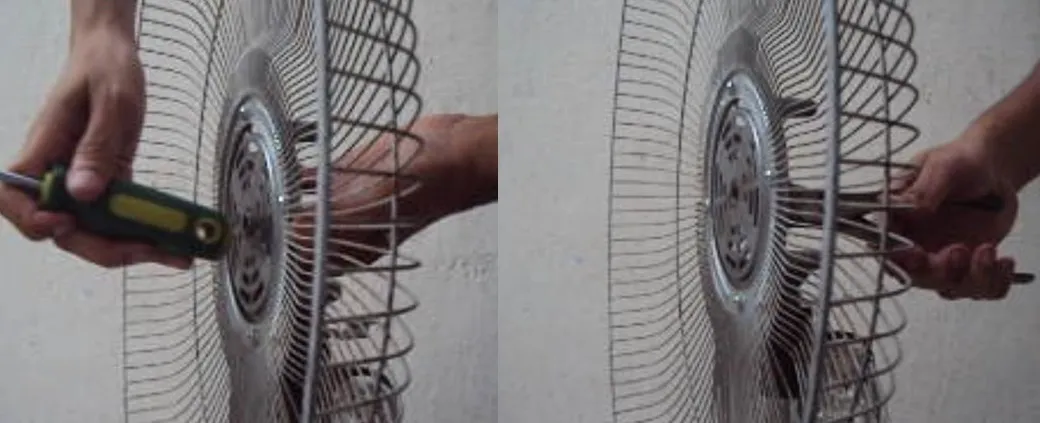
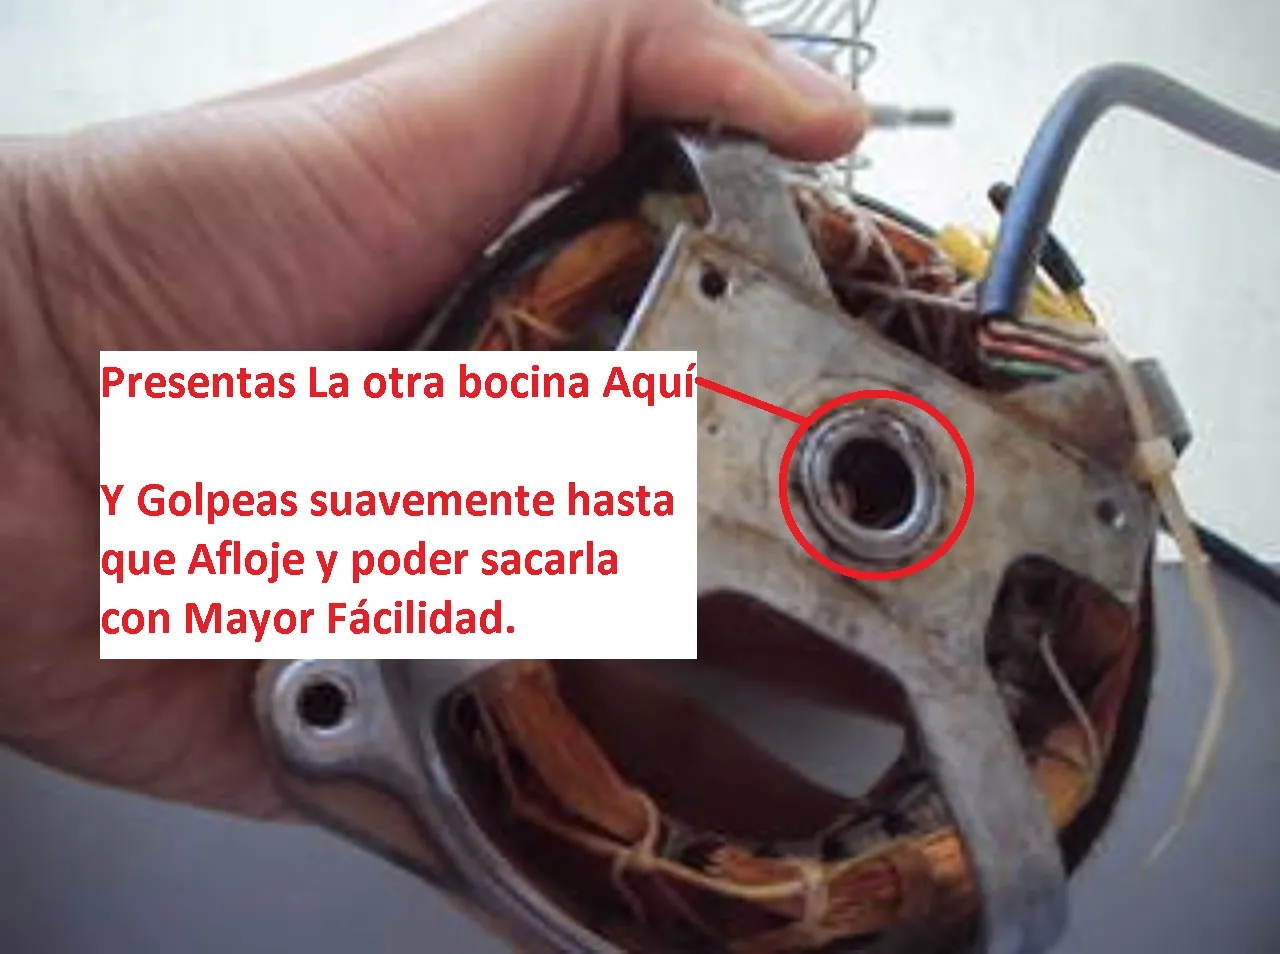
For the other horn, you can try to extract it using pliers. If by chance you find it difficult, remove the piece that rotates the fan, and then tap it gently until it loosens, now it will be easier to remove with pliers.
Para la otra bocina, Puedes intentar extraerlo usando un alicate. Sí por casualidad se te hace difícil, extrae la pieza que hace rotar el ventilador, y luego golpeas suavemente hasta que afloje, ahora sí, será más fácil de extraer con el alicate.
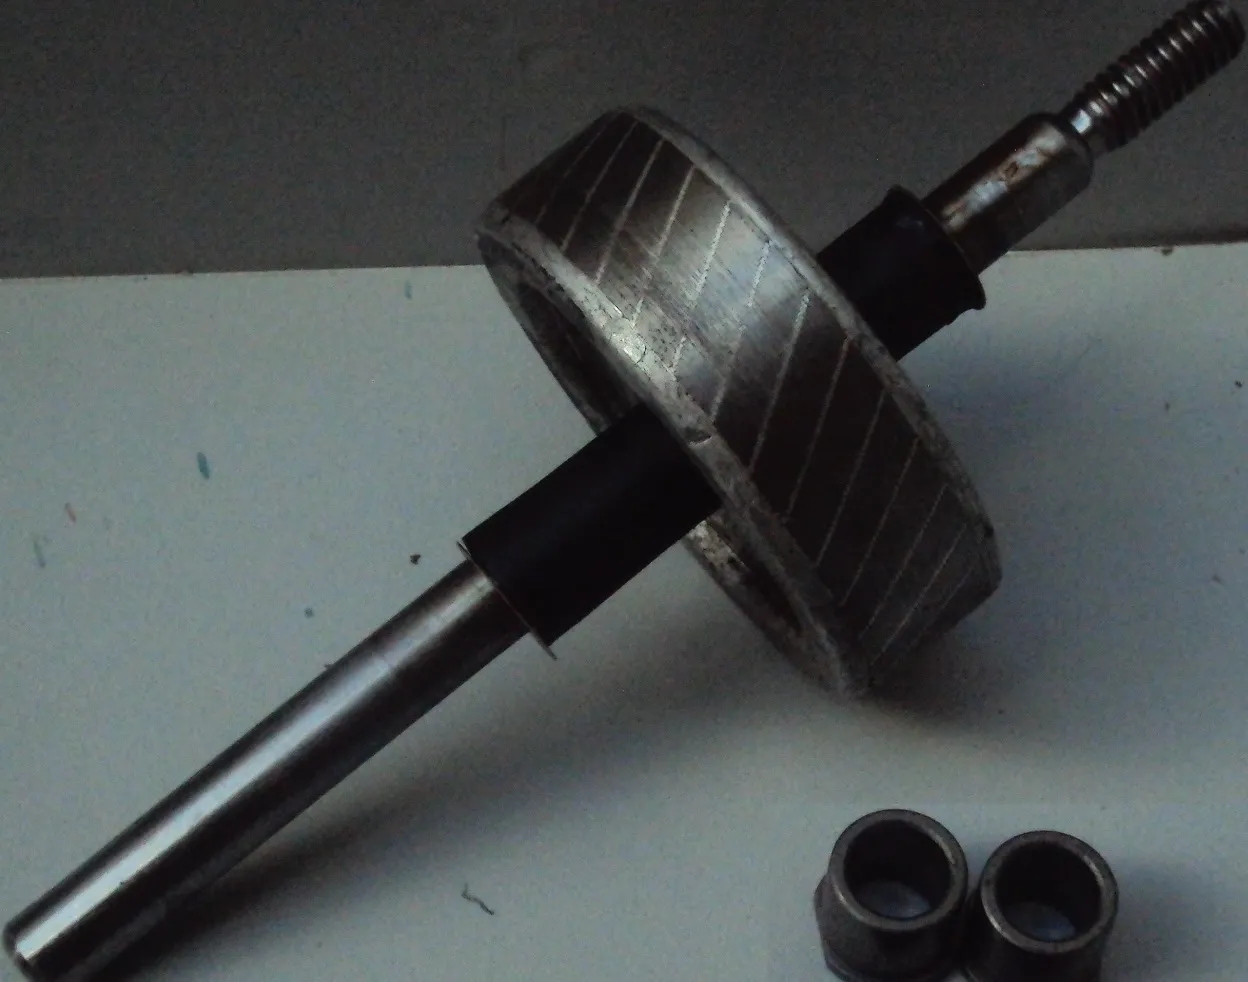
Since there is a variety of horns, even if they are generic, you should get one that fits your fan better. So I recommend you go with the sample in hand along with the armature to buy them indicated.
Try to have as little play as possible, this is very important for the fan to really work.
Ya que existevariedad de bocinas, aunque sean genéricas, debes conseguir unas que se adapten mejor a tu ventilador. Por eso te recomiendo que vayas con la muestra en mano junto con el inducido para poder comprarlas indicadas.
Prueba que tenga el mínimo juego posible, esto es muy importante para que realmente funcione el ventilador.

2nd Step: Place the speakers. / Colocar las bocinas.
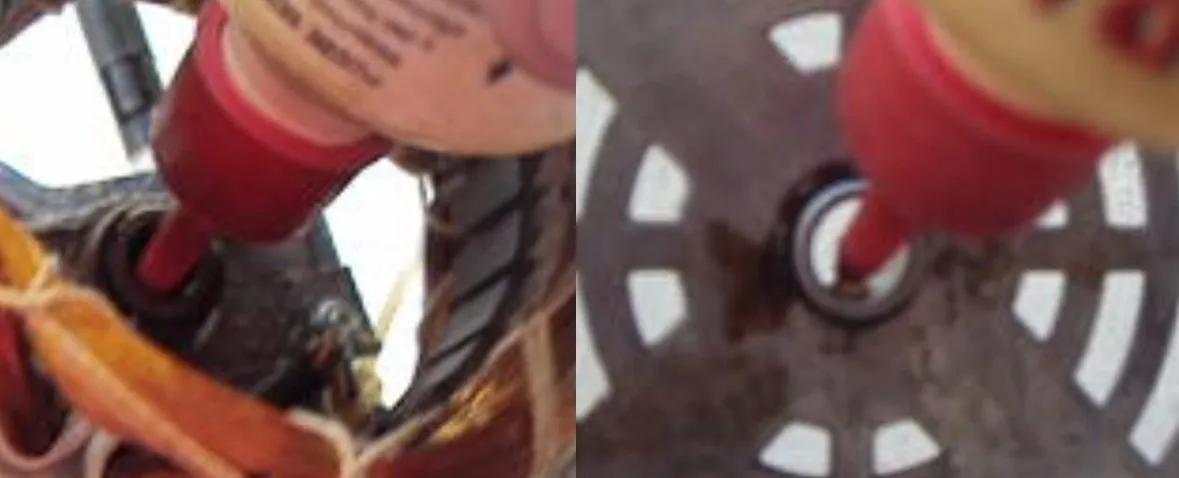
Now you must present the horns in the same position as they were removed. Provide gentle strokes until they fit in the appropriate position.
Ahora debes presentar las bocinas en la misma posición como se extrajeron. Proporciona golpes suaves hasta que calcen en la posición correspondiente.
Take advantage of lubricating the fan completely before assembly.
Aprovecha de lubricar antes de armar, por completo el ventilador.

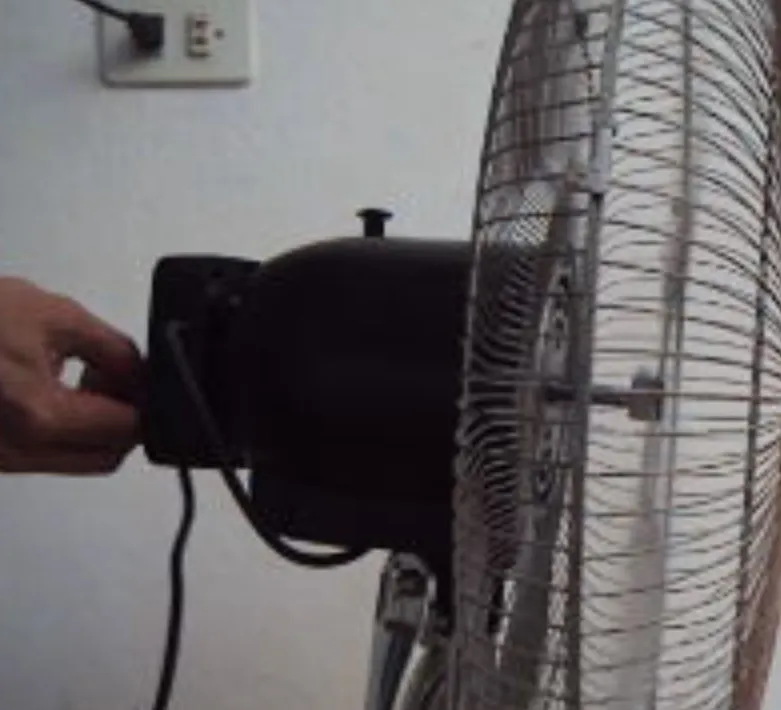
3rd Step: Assemble the fan. / Armar el ventilador.
Now you can proceed to completely assemble the fan.
Ahora sí puedes proceder por armar completamente el ventilador.

4th Step: Perform tests / Realiza pruebas
We're done, just turn it on. You will probably notice the difference, it should work almost as it was bought at the factory. In my case it worked much better than the first repair.
Ya hemos terminado, solo enciende. Posiblemente notaras la diferencia, debería de funcionar casi como se compró de fábrica. En mi caso funcionó mucho mejor que en la primera reparación.

Note: I took the photos and video with a sony cybershot Camera.