Hola mis amores
Hoy estoy feliz de volver a compartir con ustedes un post donde la creatividad la imaginación y un poco de las cosas que me gustan hacen que pueda crear cosas inimaginables uniendo el arte con el mundo digital.
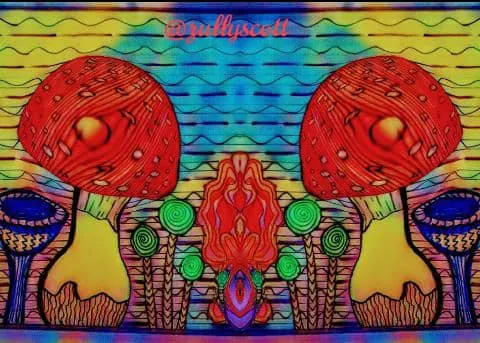
Esta vez vengo a mostrarle una pieza que realicé a partir de un dibujo hecho en marcadores con una técnica de líneas, la he titulado "Jardín de Hongos mágicos" Experimento No.1, en honor a una serie de televisión de streaming que estoy viendo en Netflix que gracias a la recomendación de una amiga muy querida.
Cuándo comencé a ver este programa la forma en que están editados los videos, la música, cómo va narrando paso a paso cada uno de los diferentes encuentros del protagonista con los hongos me pareció realmente mágico; da una sensación muy linda todo lo que tiene que ver con este reino en la naturaleza así que esto me inspiró a hacer una serie de dibujos con respecto a los hongos o setas y poco a poco irselas mostrando.
Les voy a contar ahora cómo fue el proceso para realizar el arte que vieron en la primera imagen.
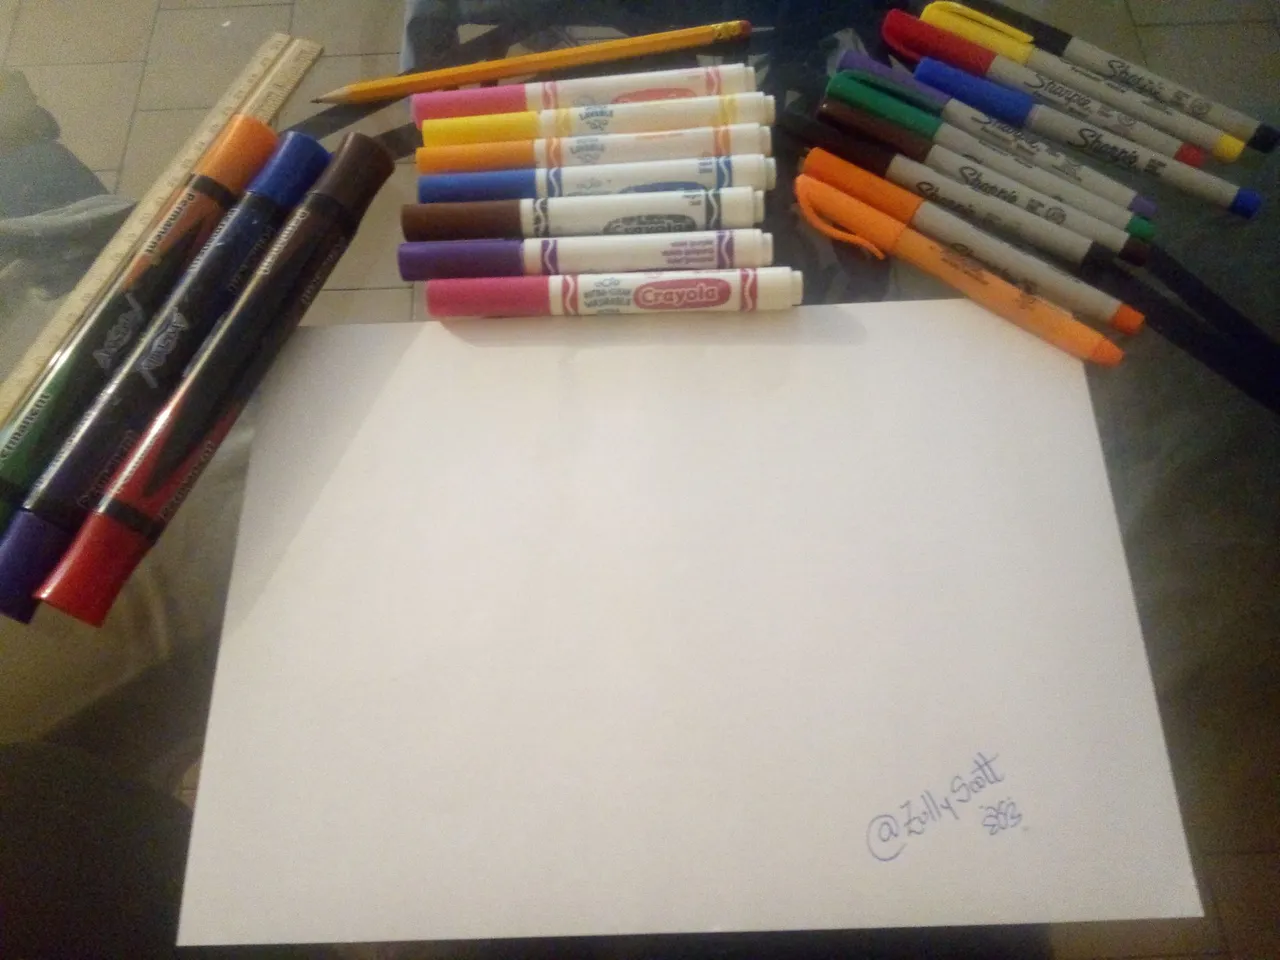
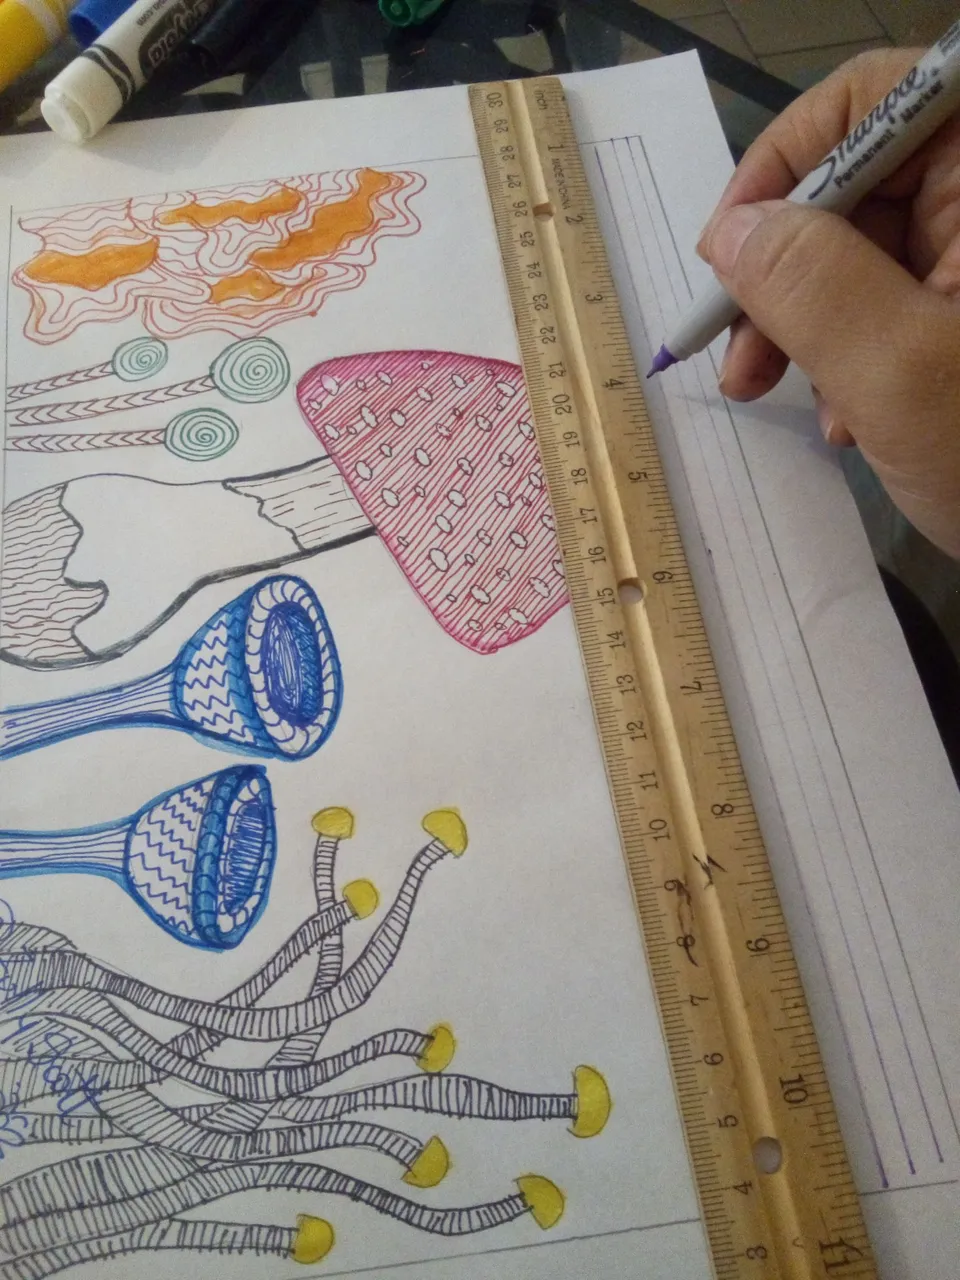
Lo primero que hice fue buscar mis materiales busqué marcadores punta gruesa, punta fina y marcadores medianos, un lápiz, una regla y una hoja de papel blanco.
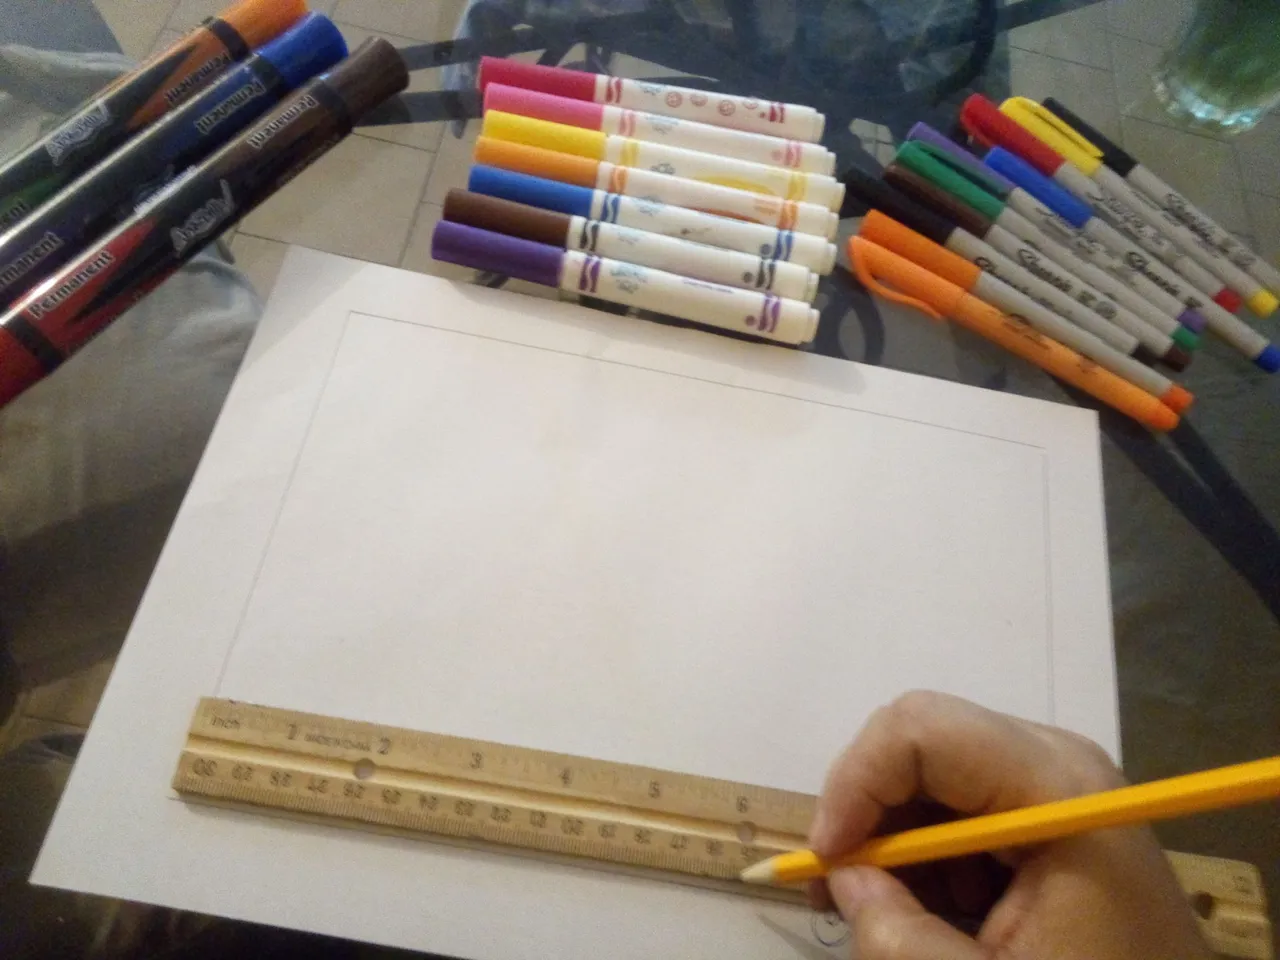
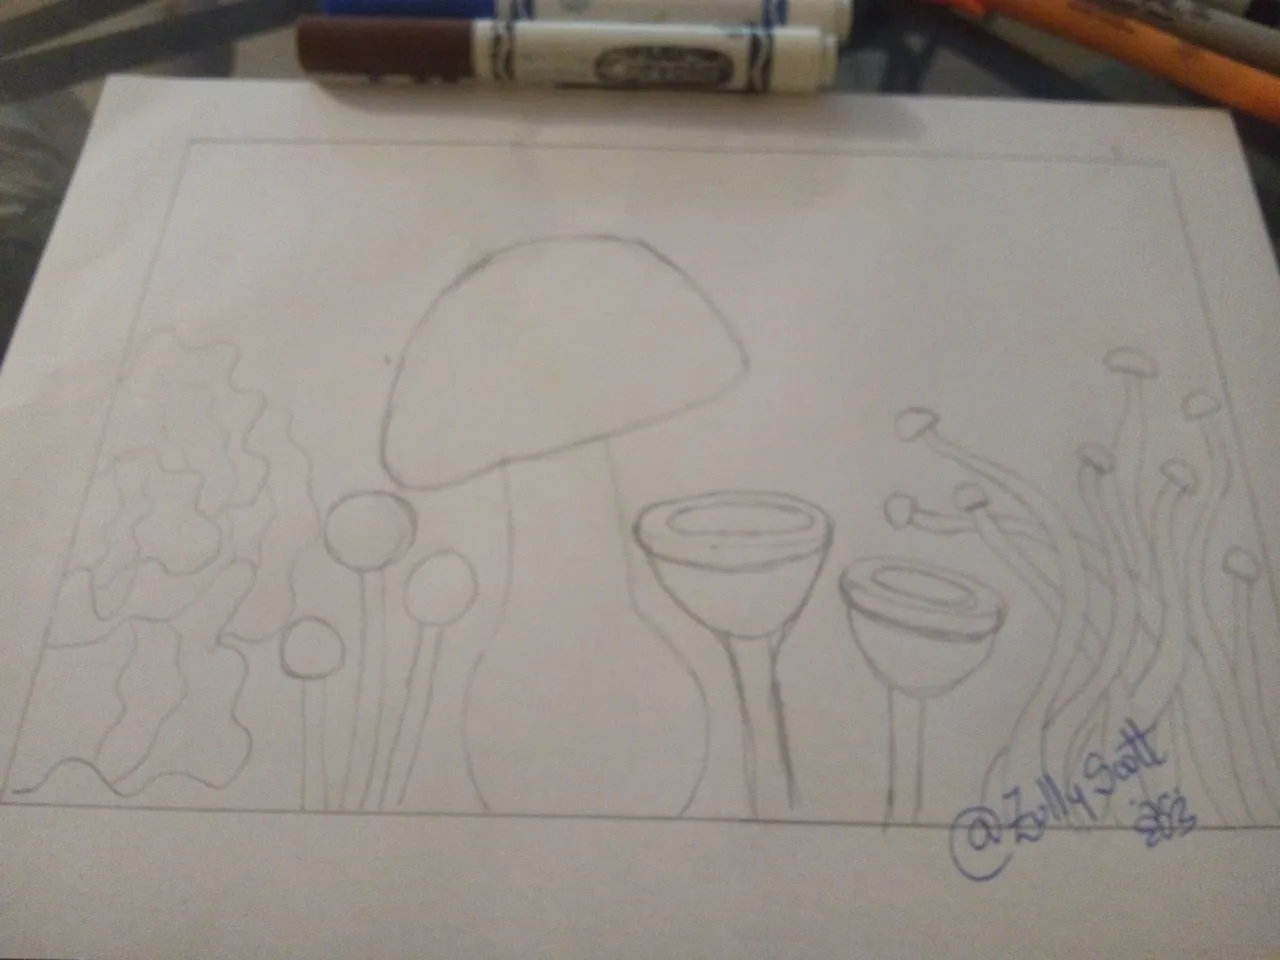
Luego realicé un margen alrededor de la hoja para tener un marco más específico para realizar mi dibujo.
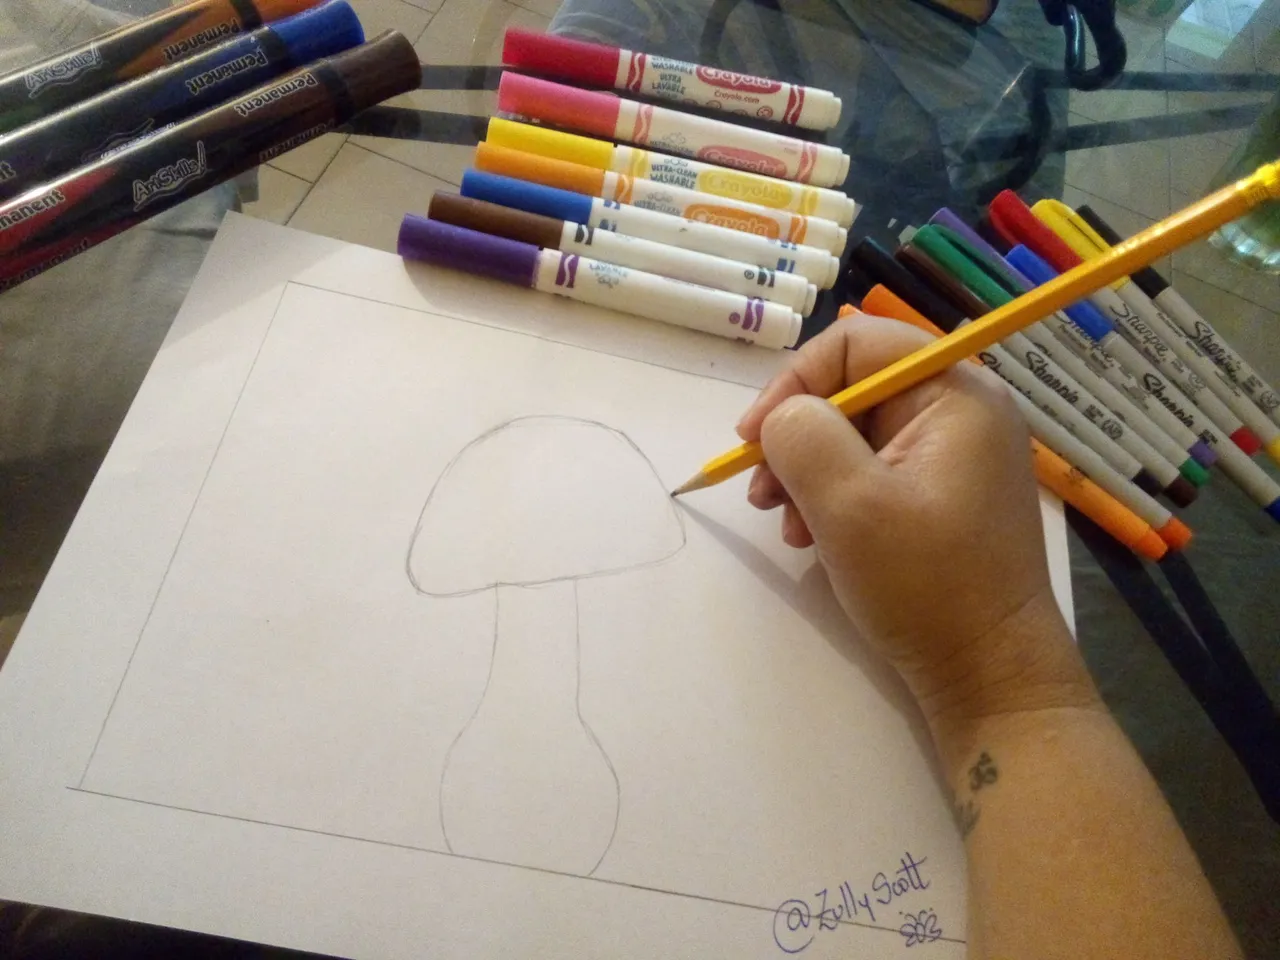
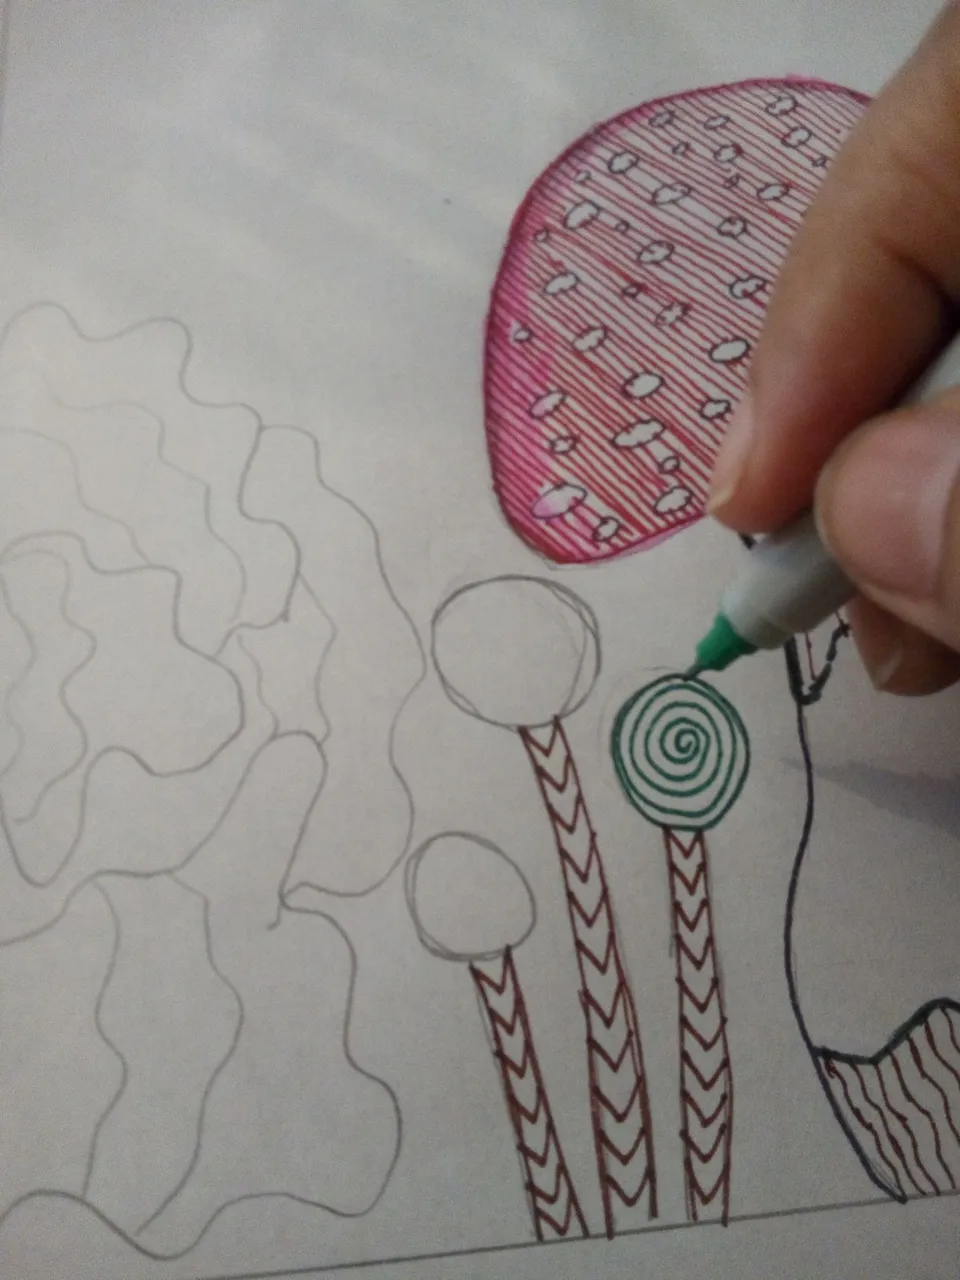
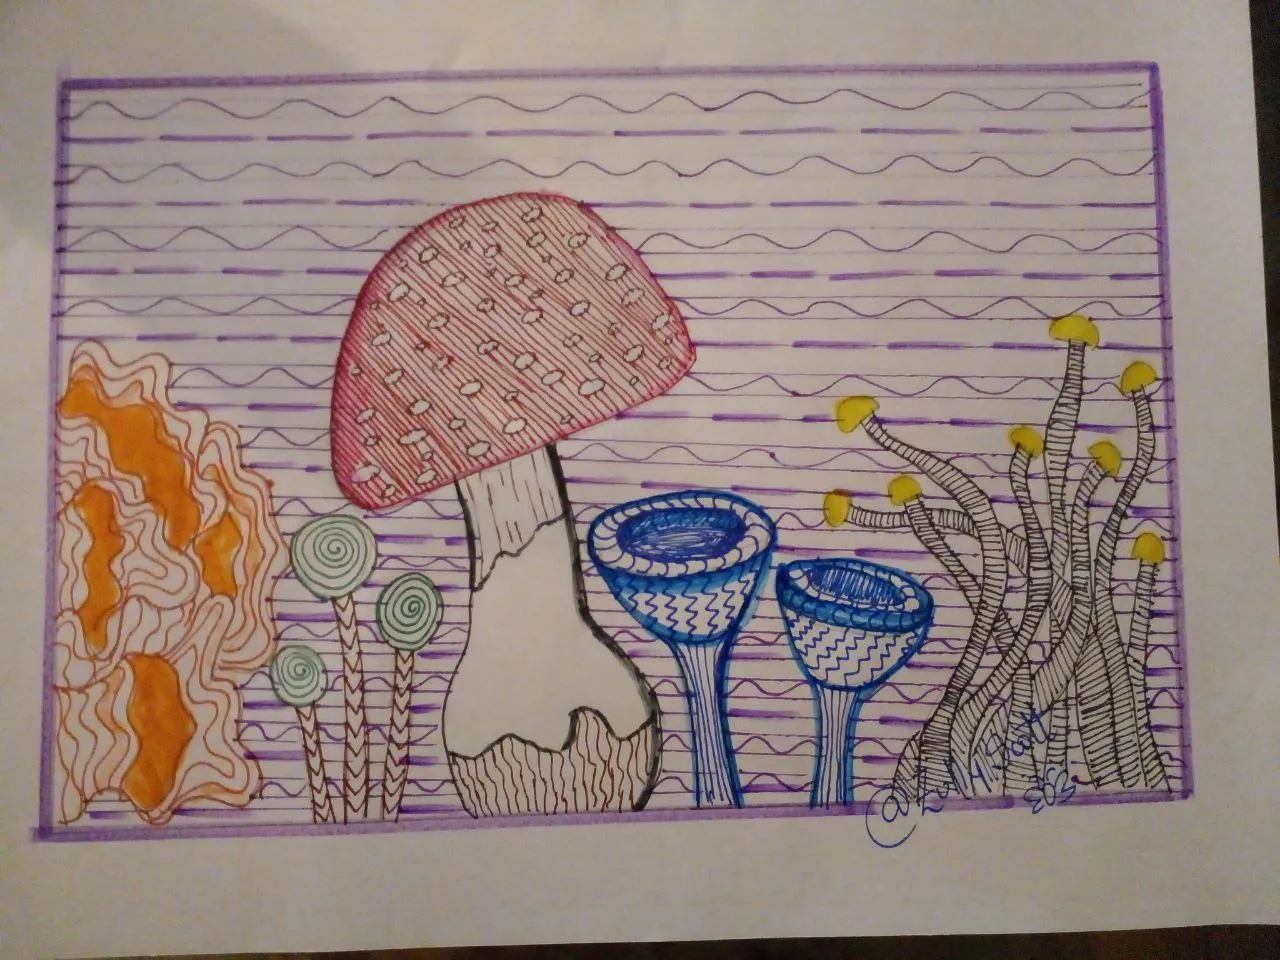
Comencé dibujando un hongo típico ese qué es rojo con puntitos blancos que aparecen muchos los cuentos infantiles de dónde salen duendes mágicos,realmente este uno de los hongos que más me gusta ya que de pequeña lo he visto mucho en las comiquitas o series animadas.
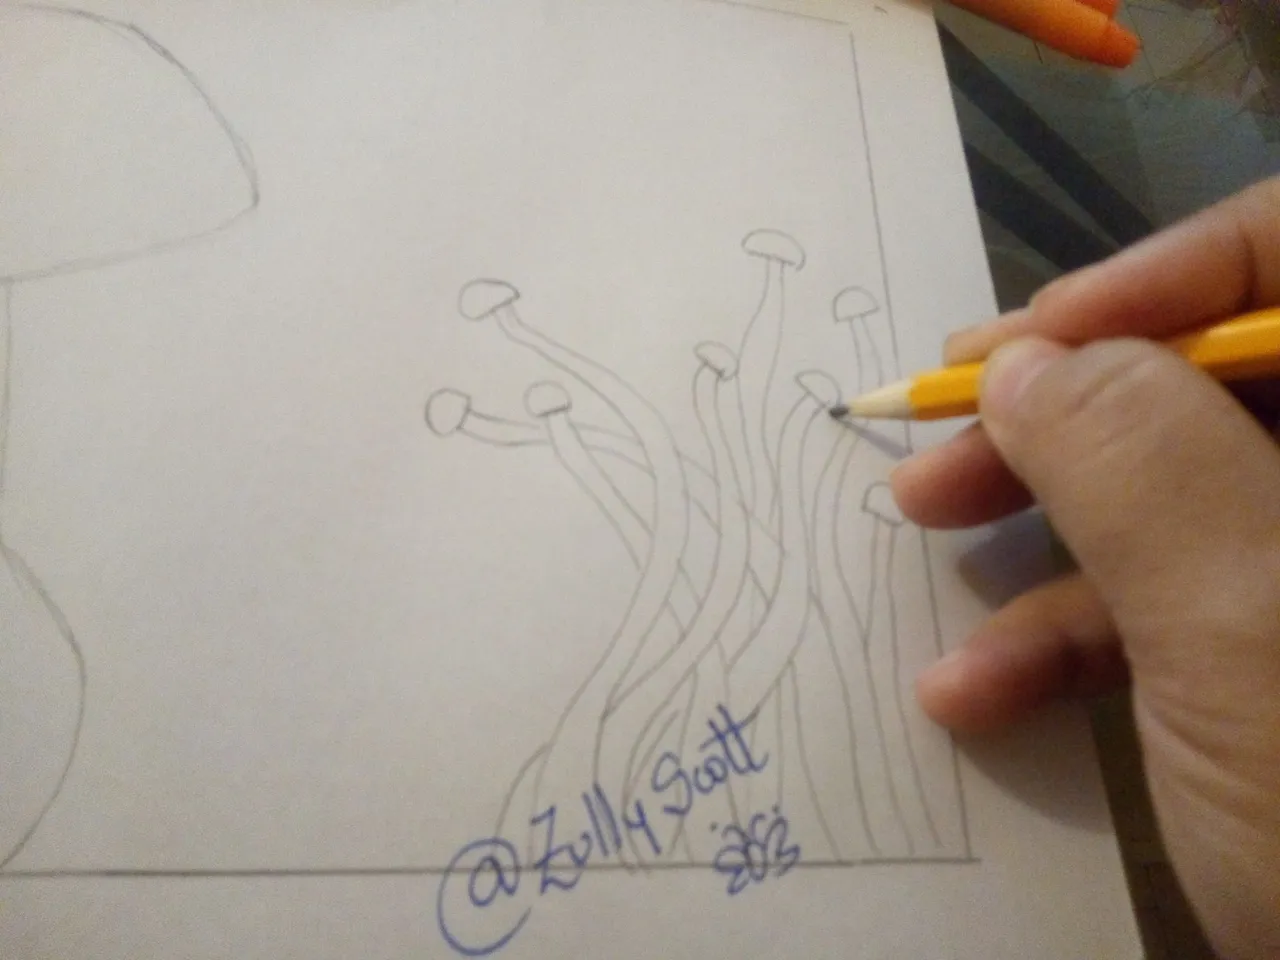
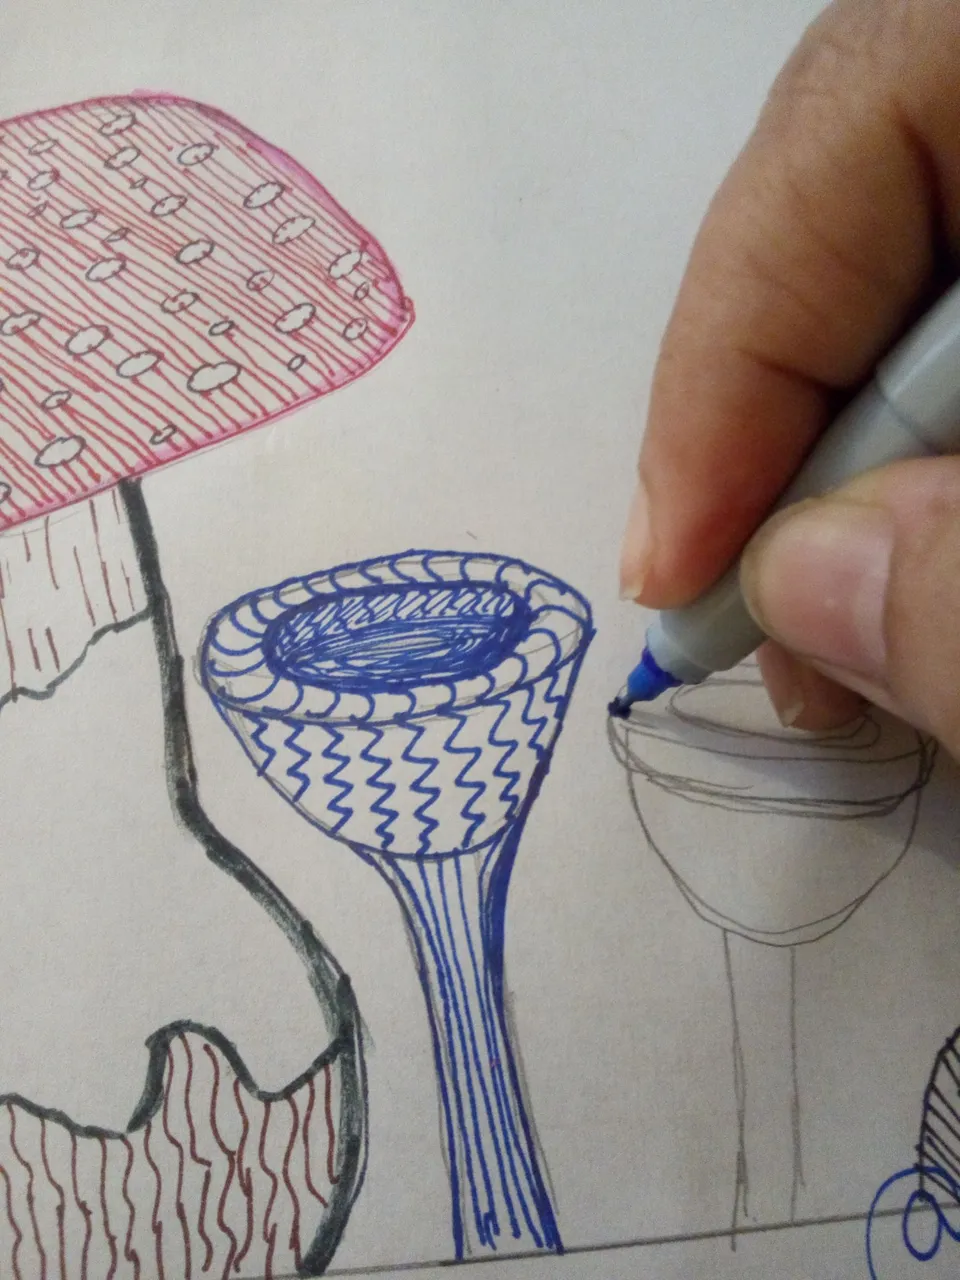
Luego dibujé un tipo de hongo distinto realmente no sé los nombres de estos hongos que dibujé, simplemente fueron hongos que estoy viendo durante el programa y que me gustaron muchísimo, estos decidí pintarlos de color azul más adelante.
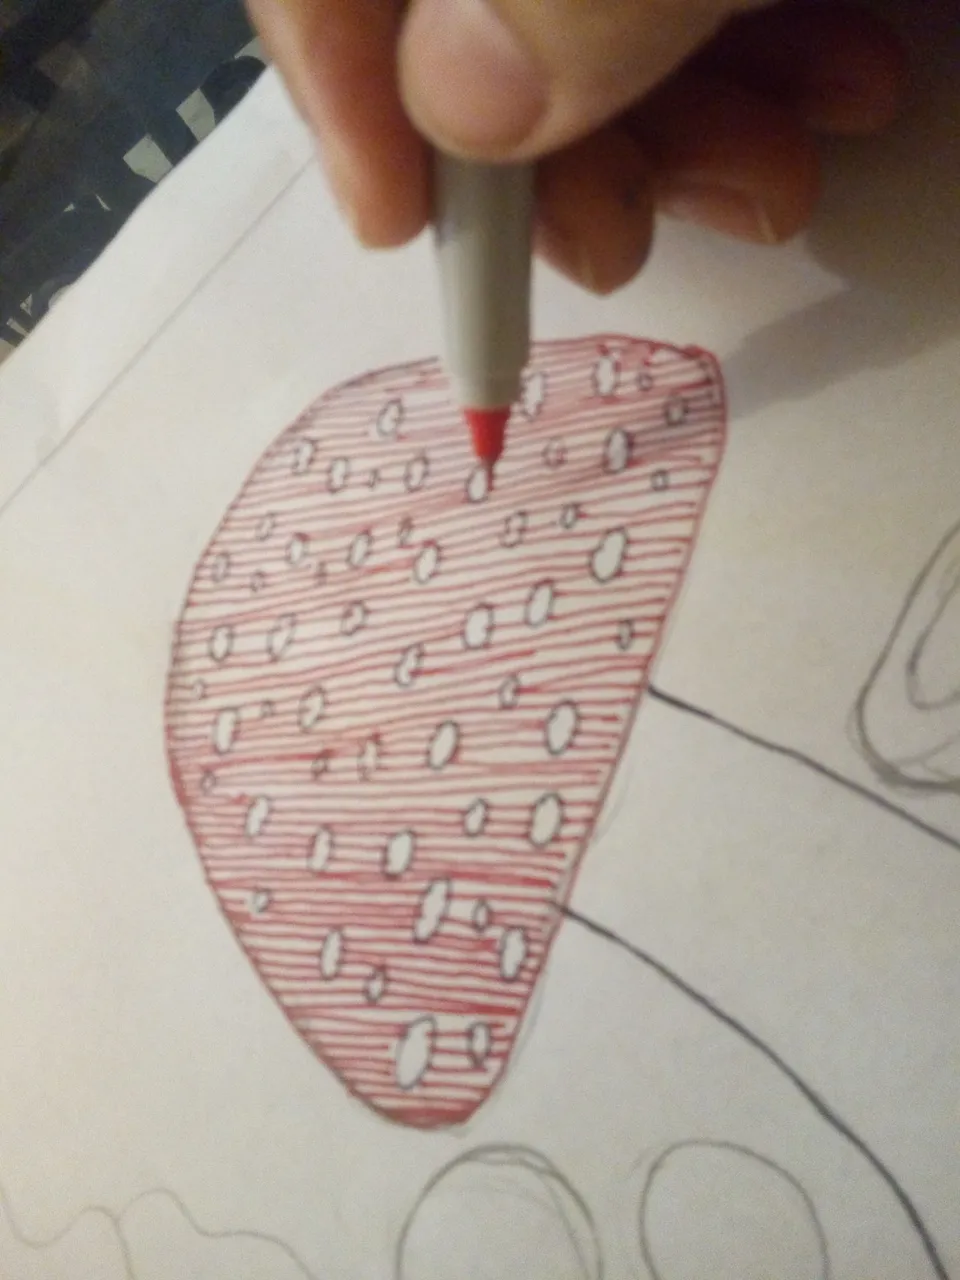
Ya cuando terminé de hacer el dibujo en lápiz comencé a rellenarlo con colores, lo primero que hice fue pintar de rojo la parte superior con puntos blancos. Utilicé una técnica de rayas, puntos y líneas quebradas para así pintar el resto de los hongos.
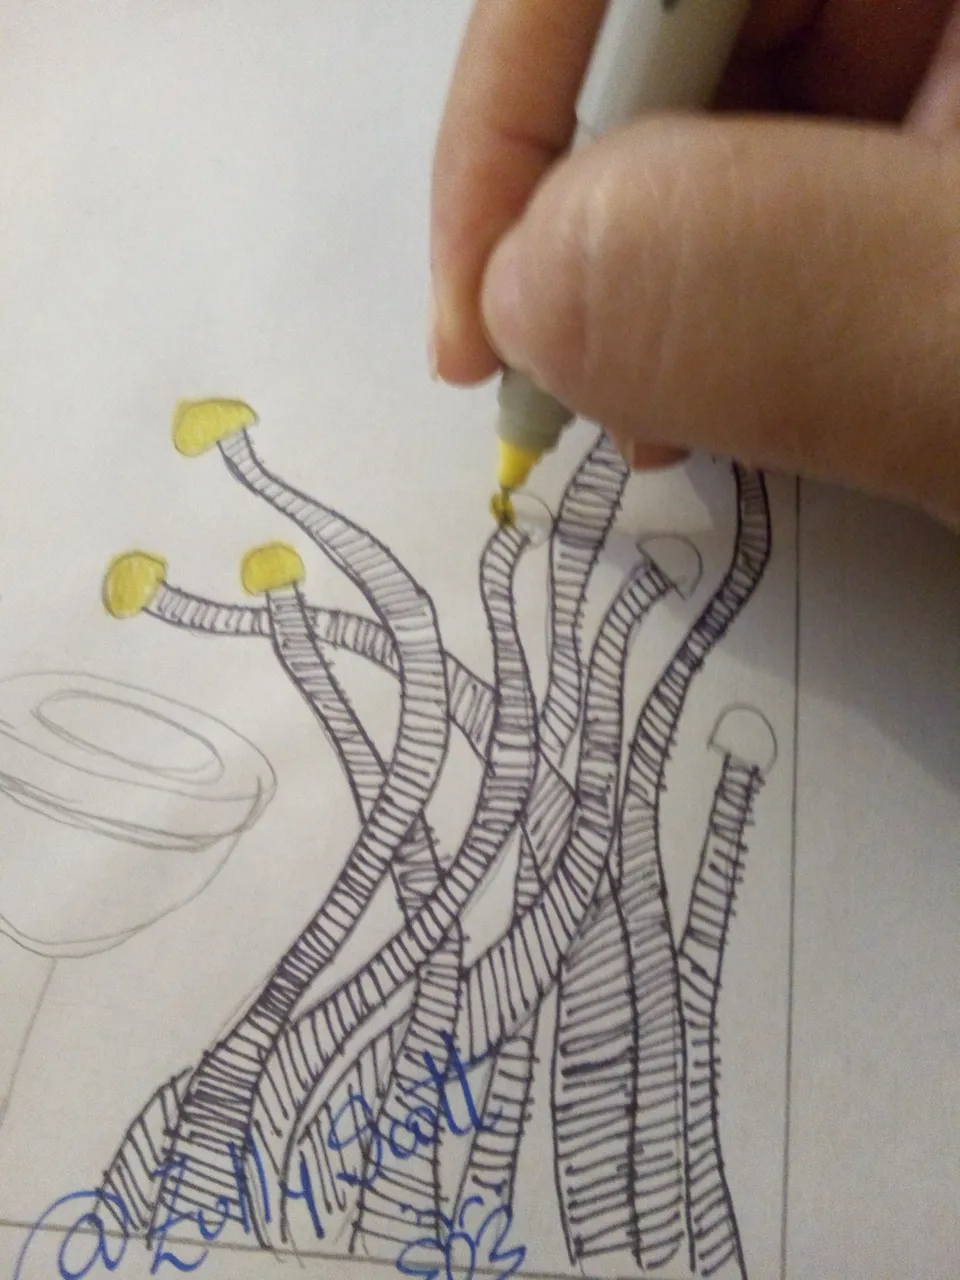
Luego con tonos negros y amarillos coloreé un grupo de hongos largos y finos.
Usando color azul pintê los hongos que tienen como una cavidad en su interior.
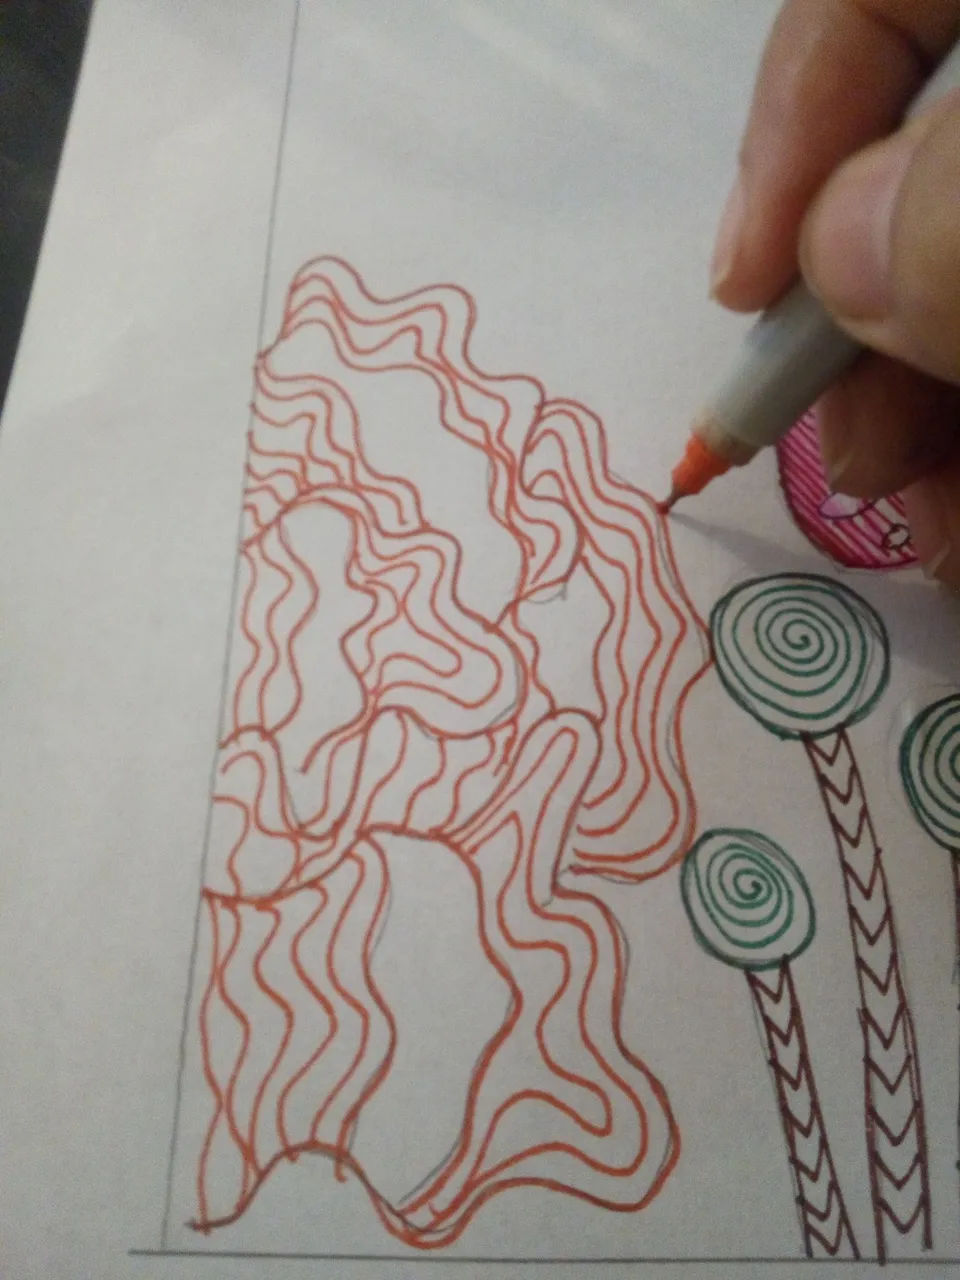
Luego pinté unos hongos de color verde y más adelante hice unos tipo likens de color anaranjado estos son muy normales que se vean en Los troncos caídos.
Para terminar realicê en la parte posterior del dibujo muchas líneas de color morado, esto era como para darle un fondo al dibujo para que tuviese de alguna manera profundidad, entre las líneas le coloqué líneas quebradas.
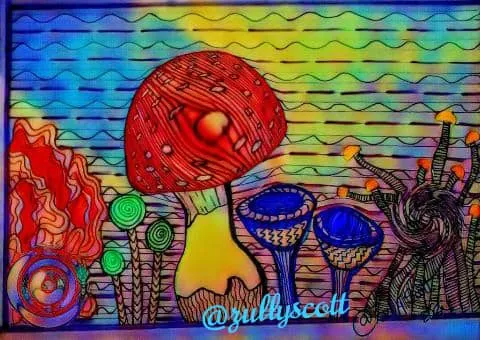
Y así de esta forma quedó mi dibujo en marcadores llamado "Jardín de Hongos mágicos" Experimento No.1, terminado. Pero como me gusta jugar a digitalizar mis obras ya sea que haga una de pintura de acrílico, acuarela, marcadores o colores esta también la pasé por una aplicación llamada picarts y obtuve varios resultados de los cuales muestro las dos que más me gustaron aparte de la que está al principio del post.
Esta primera digitalización me encantó, fue exactamente igual al dibujo que hice original simplemente le coloqué algunos efectos como marcas de agua o distorsiones y le coloqué un color más intenso.
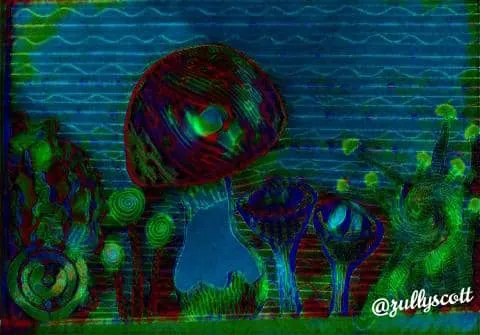
Y en esta segunda digitalización le coloqué un efecto psicodélico fluorescente, así es como verías el dibujo sí llegases a comer alguno de los hongos que están pintados.
Me encanta compartir con ustedes mis creaciones de arte y la forma en que van tomando cuando las digitalizo realmente para mí el arte tiene un toque sanador es un espacio donde puedo conectar conmigo misma es un espacio donde puedo buscar dentro de mi todo ese proceso creador que todos tenemos y sacarlo afuera espero les haya gustado lo que les traje hoy.
GRACIAS POR DEDICAR TIEMPO VALIOSO DE TU VIDA A LEERME.
CON AMOR
ZULLY SCOTT
ENG
Hello my loves
Today I am happy to share with you again a post where creativity, imagination and a little bit of the things I like make that I can create unimaginable things joining art with the digital world.
This time I come to show you a piece I made from a drawing made in markers with a line technique, I have titled it "Magic Mushroom Garden" Experiment No.1, in honor of a streaming TV series I'm watching on Netflix that thanks to the recommendation of a very dear friend.
When I started watching this program the way the videos are edited, the music, how it narrates step by step each of the different encounters of the protagonist with mushrooms seemed really magical to me; it gives a very nice feeling everything that has to do with this kingdom in nature so this inspired me to make a series of drawings about mushrooms and little by little I will show them to you.
I am going to tell you now how was the process to make the art you saw in the first image.
The first thing I did was to look for my materials I looked for markers thick tip, thin tip and medium markers, a pencil, a ruler and a sheet of white paper.
Then I made a margin around the sheet to have a more specific frame to make my drawing.
I began drawing a typical mushroom that is red with white dots that appear in many children's stories where magical elves come out, really this one of the mushrooms that I like the most since I have seen it a lot in the comics or animated series when I was little.
Then I drew a different kind of mushroom, I don't really know the names of these mushrooms that I drew, they were just mushrooms that I am seeing during the program and that I really liked, I decided to paint them blue later on.
Once I finished the pencil drawing I started to fill it with colors, the first thing I did was to paint the upper part in red with white dots. I used a technique of stripes, dots and broken lines to paint the rest of the mushrooms.
Then with black and yellow tones I colored a group of long, thin mushrooms.
Using blue color I painted the mushrooms that have like a cavity inside.
Then I painted some green mushrooms and later I made some orange likens, these are very normal to be seen in the fallen trunks.
To finish I made on the back of the drawing many lines of purple color, this was like to give a background to the drawing so that it had some depth, between the lines I placed broken lines.
And this is how my marker drawing called "Magic Mushroom Garden" Experiment No.1 was finished. But as I like to play to digitize my works whether I make one of acrylic paint, watercolor, markers or colors this one I also passed it through an application called picarts and I got several results of which I show the two that I liked the most apart from the one at the beginning of the post.
I loved this first digitizing, it was exactly the same as the original drawing I made, I just added some effects like watermarks or distortions and I added a more intense color.
And in this second digitalization I added a psychedelic fluorescent effect, this is how you would see the drawing if you ate some of the mushrooms that are painted.
I love to share with you my art creations and the way they take when I digitize them. For me art really has a healing touch, it is a space where I can connect with myself, it is a space where I can look inside myself for all that creative process that we all have and bring it out, I hope you liked what I brought you today.
THANK YOU FOR DEDICATING VALUABLE TIME OF YOUR LIFE TO READ ME.
WITH LOVE
ZULLY SCOTT
Translated with www.DeepL.com/Translator (free version)