I got a chance to work on the alien I created last week, and if you'd like to see and read about the process up until now, Creating Aliens From The Stories I Write - Part 1, there is the post to go back and see it.

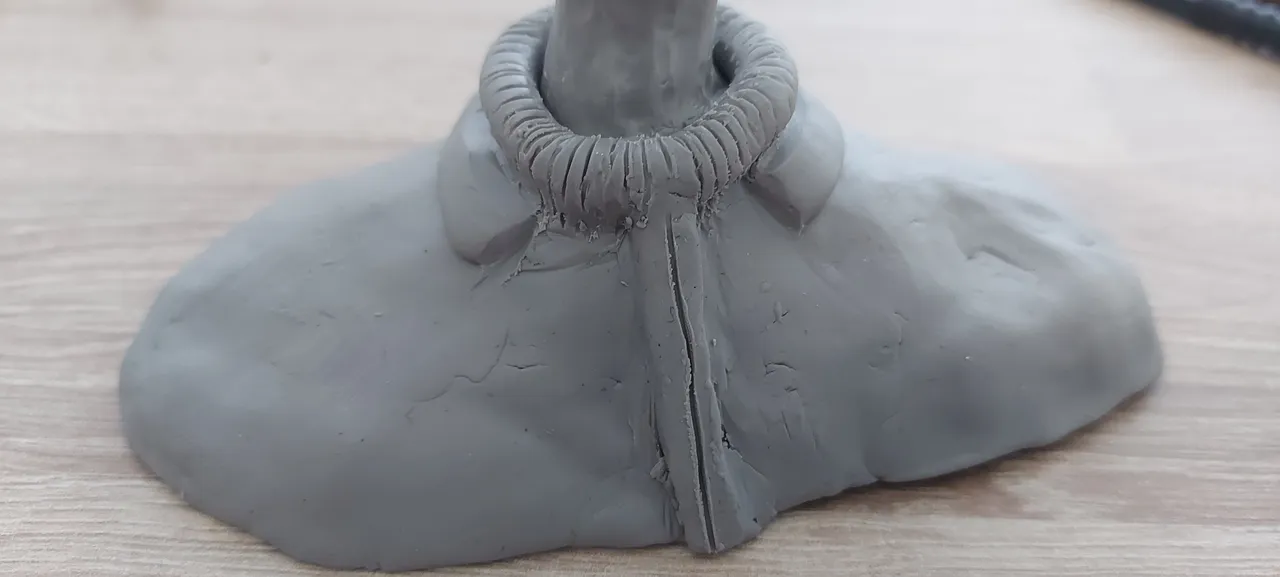
I had an idea for the suit of the alien, while creating this and decided to go for it. By rolling up clay I created a collar, which in my mind is padded fabric, to ease the wearer considering the outer shell of the armour is steel.

To show it as being fabric, I carved some lines into it around the rim of the collar. It looks a bit messy there, but as I continue I start flattening it. I also had this roll of clay going down the centre, which would be the opening of the suit.

I wanted some kind of collar to protrude out and around the inner collar, just to give it some style. With that idea in mind, I got out some wire.

Originally, I was going to go with a stiff, and tall regular collar, but decided to go with a different approach. Because the inspiration for the face of this creature was a turtle, I decided to make a collar that matched the lip on the back of a turtle's shell.
I was happy with how the collar looked with the wire and tinfoil over it, but before attaching it, I wanted to work on the shoulders a bit more. To differentiate it from the padded fabric, I decided to create a raised lip surrounding it. I also carved the opening of the suit.

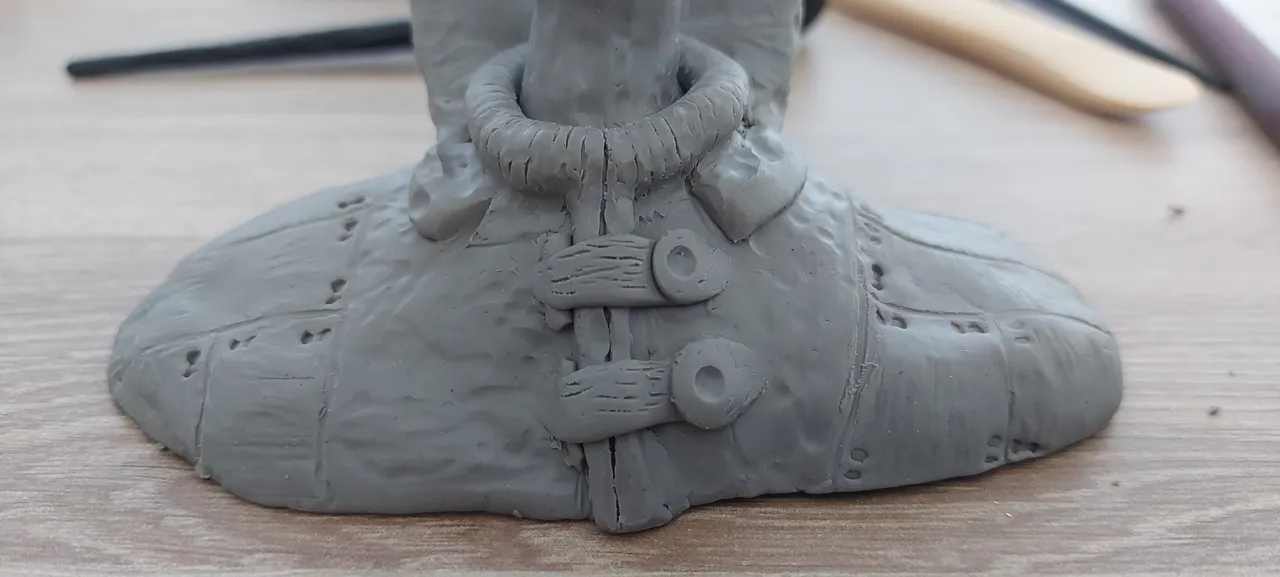
As I started to work on the opening, I had an idea to have buckles that close the suit and keep it sealed, so I put some hinges on one side, where the straps would attach.

In the background, you can see that the buckles are attached and I liked the look of them and the fact that more of the dead space on the body of this alien was filled; they're minor details, but every small detail adds to the entire piece. As I finished that, I started to cover the collar in clay, the same way I did with the actual model.

With the collar in place, I wanted to start focusing on the body. It was far too plain, but now with some details, it was starting to come together. I went for a plate design - dividing each section by carving lines in it. After that, I put small divot imprints in each corner.
With that detailing done on one side, I moved over to the other since I was happy with it. Then, I went over the whole thing with one of my tools, to give it some texture. I also wanted it a bit dinged and damaged, so used the ball tool to add some dents.

I did the same detailing to the shielding collar at the back. To be honest, I really liked that idea, and my reasoning behind that design - at this stage - was that being long-necked, they have a large vital area to protect, so from a character perspective, it makes sense that something like this would be built into their armour, especially behind them.

I was really happy with how it looked as a whole, and all of these details added to the entire piece.

Here it is from the profile.

With the armour finished, it was time to focus on the face - specifically the eyes. I usually dread doing eyes, because I'm not too go at them.

I rolled up clay and placed it where the eyelids would be and started to blend and flatten them into place.

Here's a face on view to get a good look at him.

With the eyes finished and in place, I was just about finished. Some last-minute things I did here was to go around clearing off any loose clay flakes, a final detail, and I also put small notches in the shield.

Here is another picture where you can get a good view of his lower jaw, and neck detailing.
It's nearly complete
I want to do something with the ears of this creature, nothing too major, but the idea of having holes for ears isn't great, so that'll be another thing I work on and I want to also see if there are any other little additions I would like to add.
Once I sign off on it, I'll be hardening it in the oven and at that point, it'll be ready to paint. While I do have ideas for how I'd like it to look, I think I need an airbrush, I'll try and do it by brush, but think and airbrush would be better.
I don't own one yet, but I did get some suggestions for ones to look up, so once it's hardened that's what I'll be doing.