Hola, de vuelta a la acción, hoy les traigo un lindo trabajo de pintura al aire libre, pero primero hablemos un poco sobre la técnica de la pintura alla prima o al directo como también la conocen. Veamos en qué consiste.
Breve recuento de la pintura alla prima
Si eres pintor seguramente ya has empleado esta técnica y de seguro no lo sabías, pero hoy les voy a comentar algunas características de ella para que si te animas las pongas en práctica con plena conciencia.
Se preguntaran por qué el término de alla prima, les diré que proviene directamente del italiano y significa “a la vez” y hace referencia a la pintura que se termina de una aplicación y sin retoques posteriores.
Así que si deseas pintar alla prima solo tienes que asegurarte de terminar tu obra antes de que la pintura se seque.
Los antecedentes de esta modalidad se remontaran al siglo XVI con el artista Flamenco Frans Hals.
Los impresionistas fueron realmente los que popularizaron la técnica tanto que en la actualidad muchos artistas siguen prefiriendo esta modalidad como forma principal de expresión artística.
Algunas características fundamentales que no puedes olvidar y que te ayudarán a obtener un verdadero resultado de una sola vez
Trabajar sobre un lienzo o soporte con un tono previo.
Se recomienda un tono medio o natural, evitar el lienzo en blanco ayuda a mejorar el proceso, de lo contrario se debe aplicar una base de color diluido para ir conformando la composición y rellenar las partes blancas en su totalidad.Seleccionar bien los colores.
El uso de una paleta de colores restringida . Puedes ubicar la composición de las grandes masas con tu pincel, un lápiz de luz o un carboncillo de madera.
Siempre tienes que tener en cuenta que el objetivo de esto es pintar en una capa. Aunque esta modalidad tiene un alto grado de instintiva, es difícil lograr un buen resultado sin una buena planificación de lo que se quiere hacer.Trabaja de lo oscuro a la luz.
Tengo que decirles que es una variante muy personal de cada cual, pero la teoría de la pintura al óleo dice que si usas los colores claros antes luego te será difícil agregar una sombra saturada encima.
Otra cosa, tratar de dejar las luces más intensas para el final.La confianza durante el proceso creativo.
Es importante tener confianza en lo que se está haciendo. Emplear el pincel más grande para empezar y luego ir bajando los números
hasta terminar. No escatimar en las cantidades de pintura, carga tú pincel con abundante color.
Economizar trazos, y tener la confianza justa evita el exceso de retoques, recuerden que la pintura allá prima cada pincelada cuenta.Por último y muy importante consultar a los grandes maestros de esta técnica.
Les voy a compartir a tres de ellos por su connotación en el arte, pero sepan que no son los únicos ni tampoco se pueden ubicar en un orden numérico o de preferencia. Frans Hals, Édouard Manet, y Tom Thompson.
Espero que este breve recuento de la técnica les aya ayudado a comprender su significado. Solo nos queda ponerla en práctica. 😅😅😅😅
Les estuve comentando sobre la pintura alla prima porque quiero que sepan que el “Plein Air painting” también se considera una actividad de este tipo, debido a la naturaleza cambiante, los artistas tratan por lo general de terminar la pintura de una sola vez.
Para adentrarnos ya en el proceso creativo de hoy solo les cuento una última cosa.
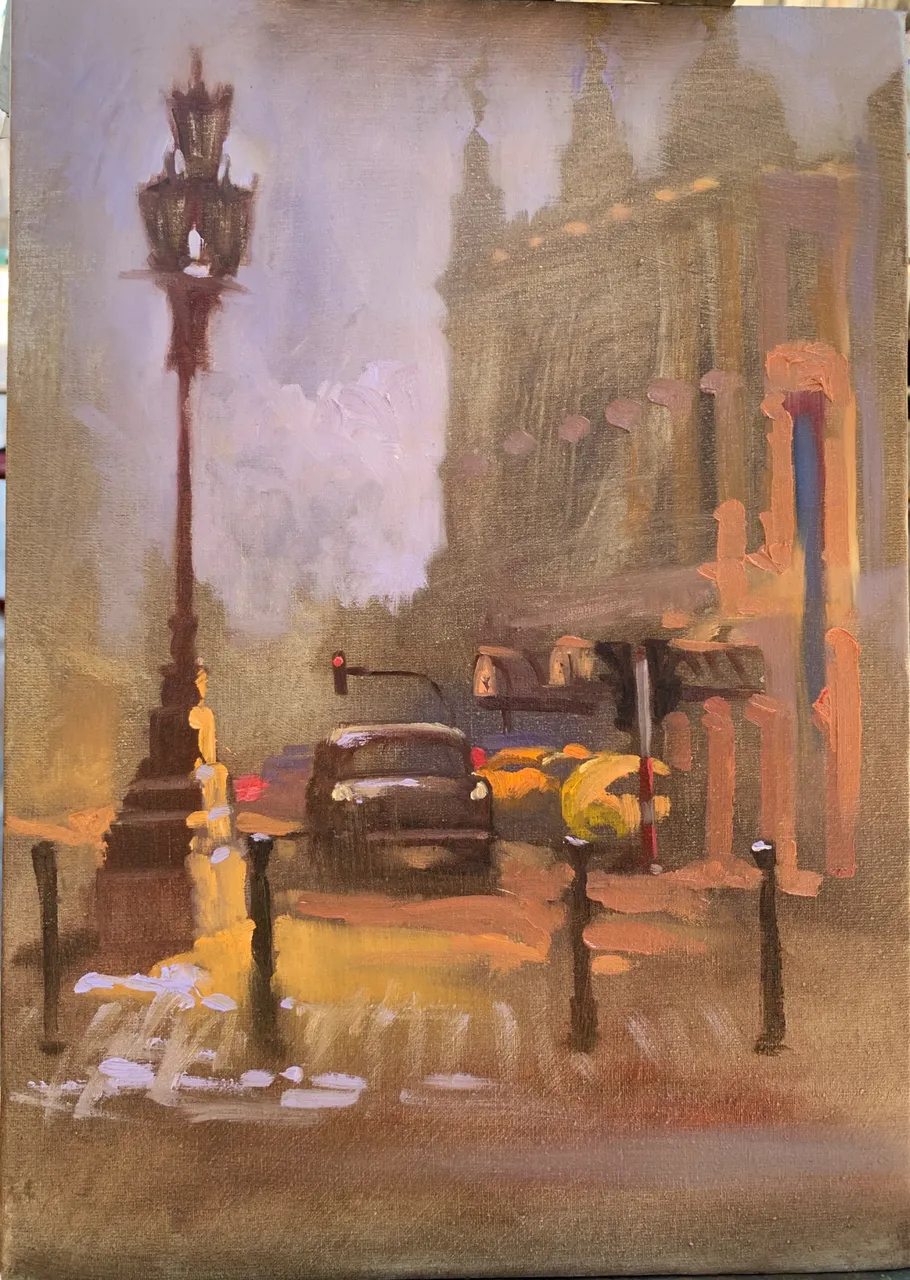
La pintura que vamos a ver a continuación fue realizada durante una jornada de trabajo, y ese día me alcanzó el tiempo para finalizar dos, hoy solo pretendo mostrar una de ellas, y escogí para ustedes la segunda pintura del día, por sus cualidades pictóricas.
Proceso creativo desde el principio hasta el final
Empezamos el trabajo con una mancha de color bien diluido como es de costumbre, con el objetivo de marcar los elementos y corregir fácilmente el diseño de la composición.
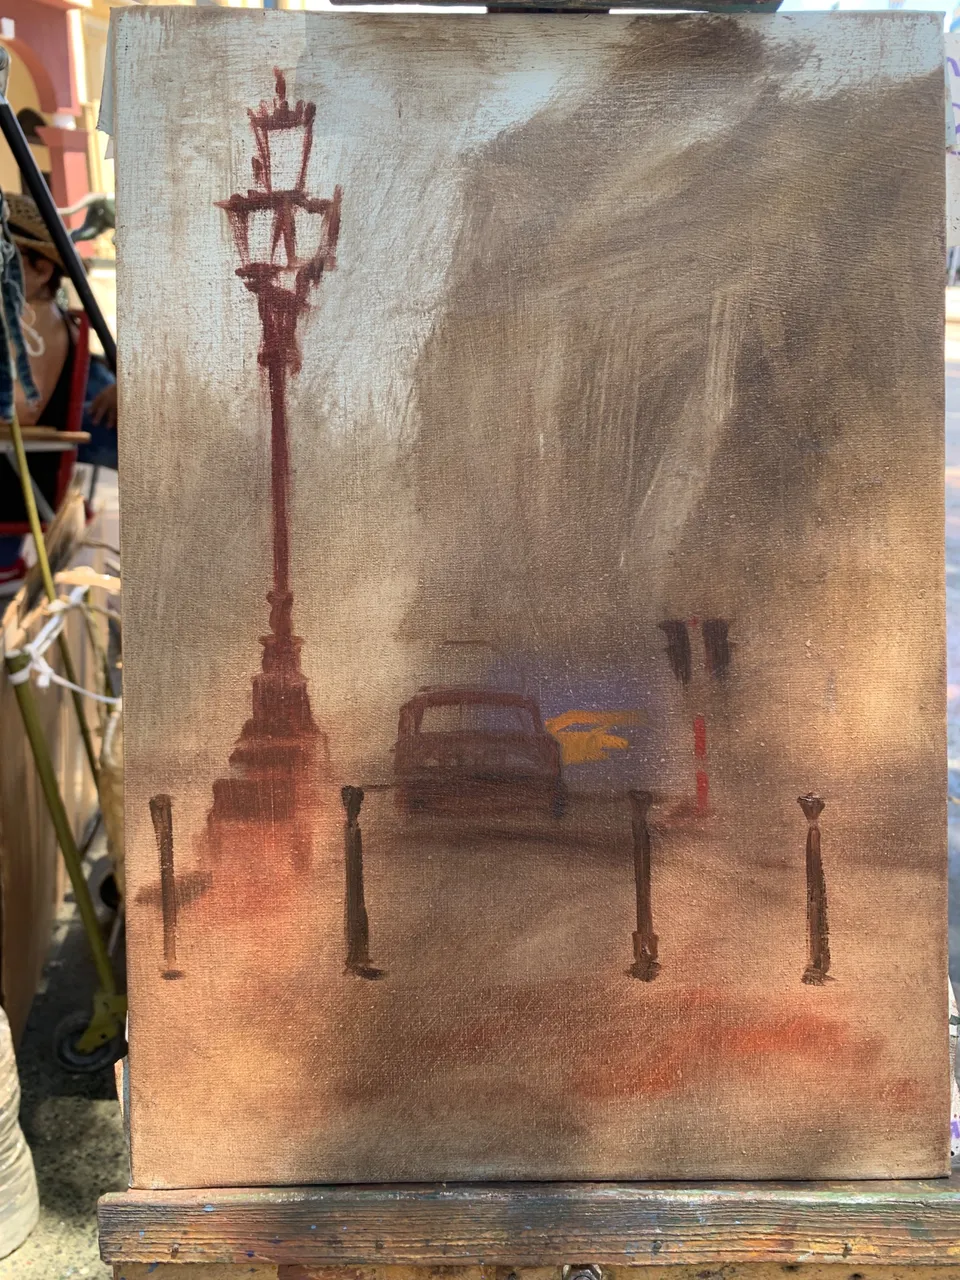
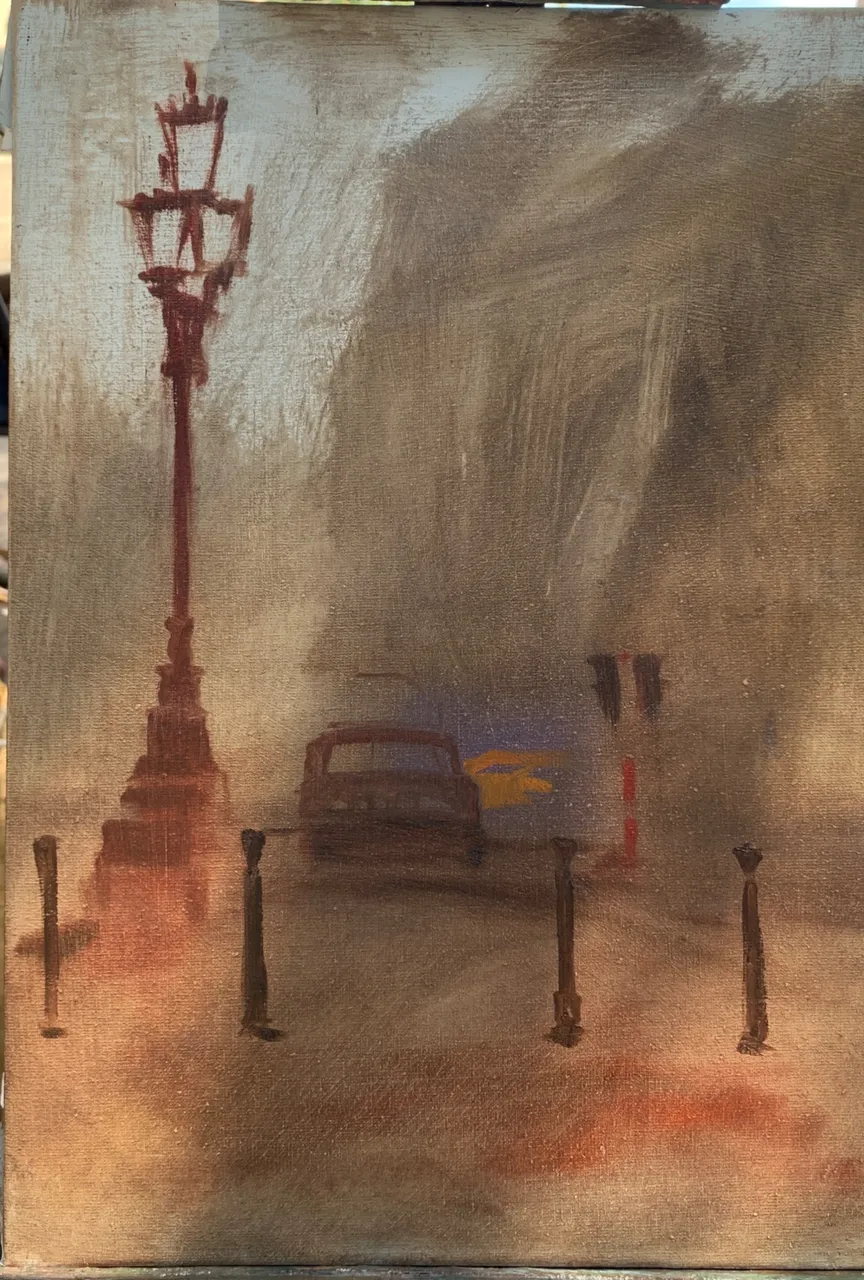

Si se dan cuenta estoy tratando de economizar pinceladas y estoy tratando de llegar a una simpleza y una fuerza en la pintura con menos cantidad de detalles.
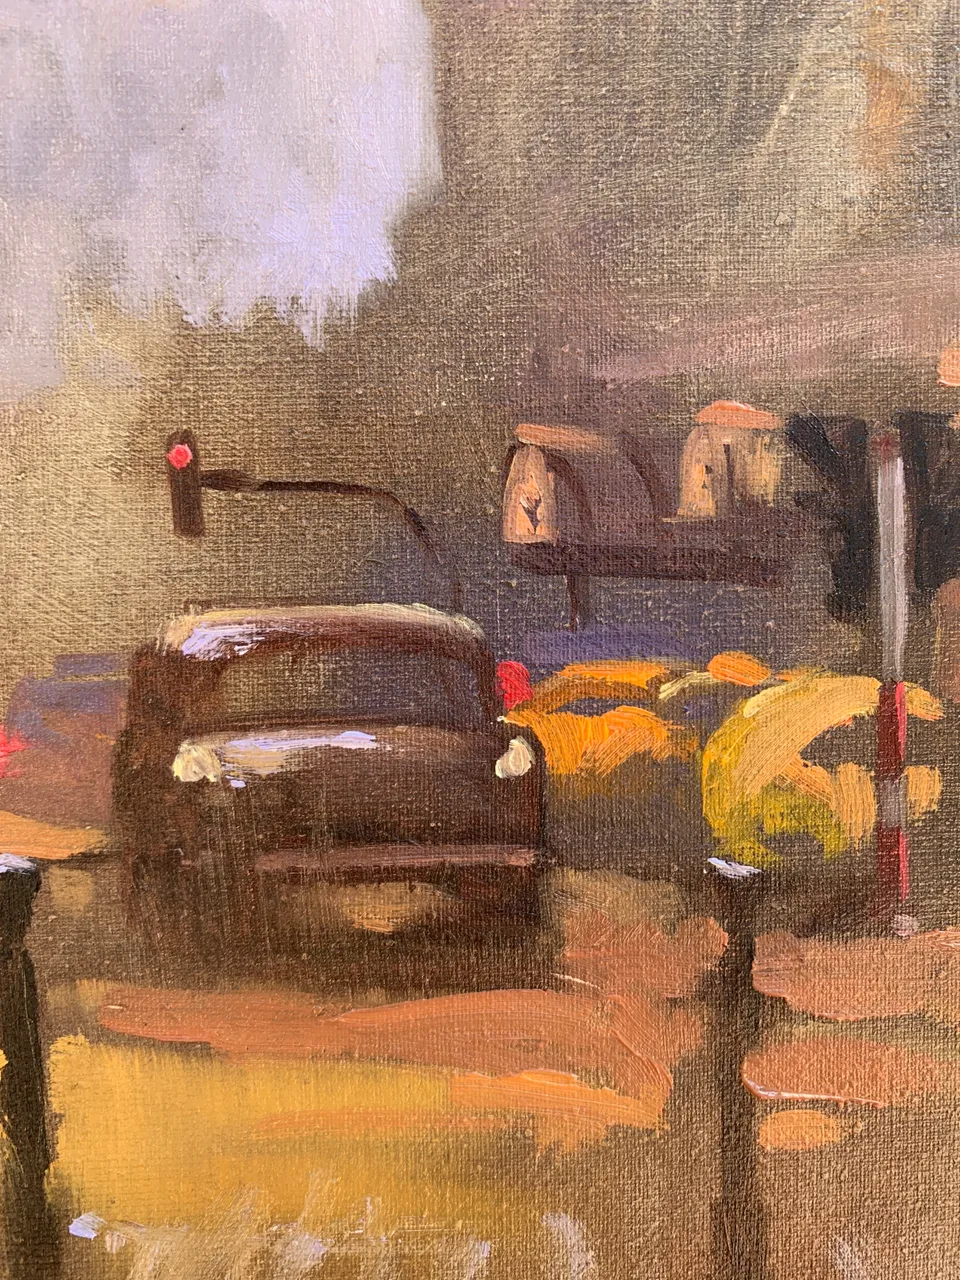
Pensaran ustedes que me estoy inclinando por un camino fácil, pero lo cierto es que es el doble de difícil, ya que la única pincelada que vas a utilizar la debes poner exactamente en el lugar correcto y con el color adecuado.
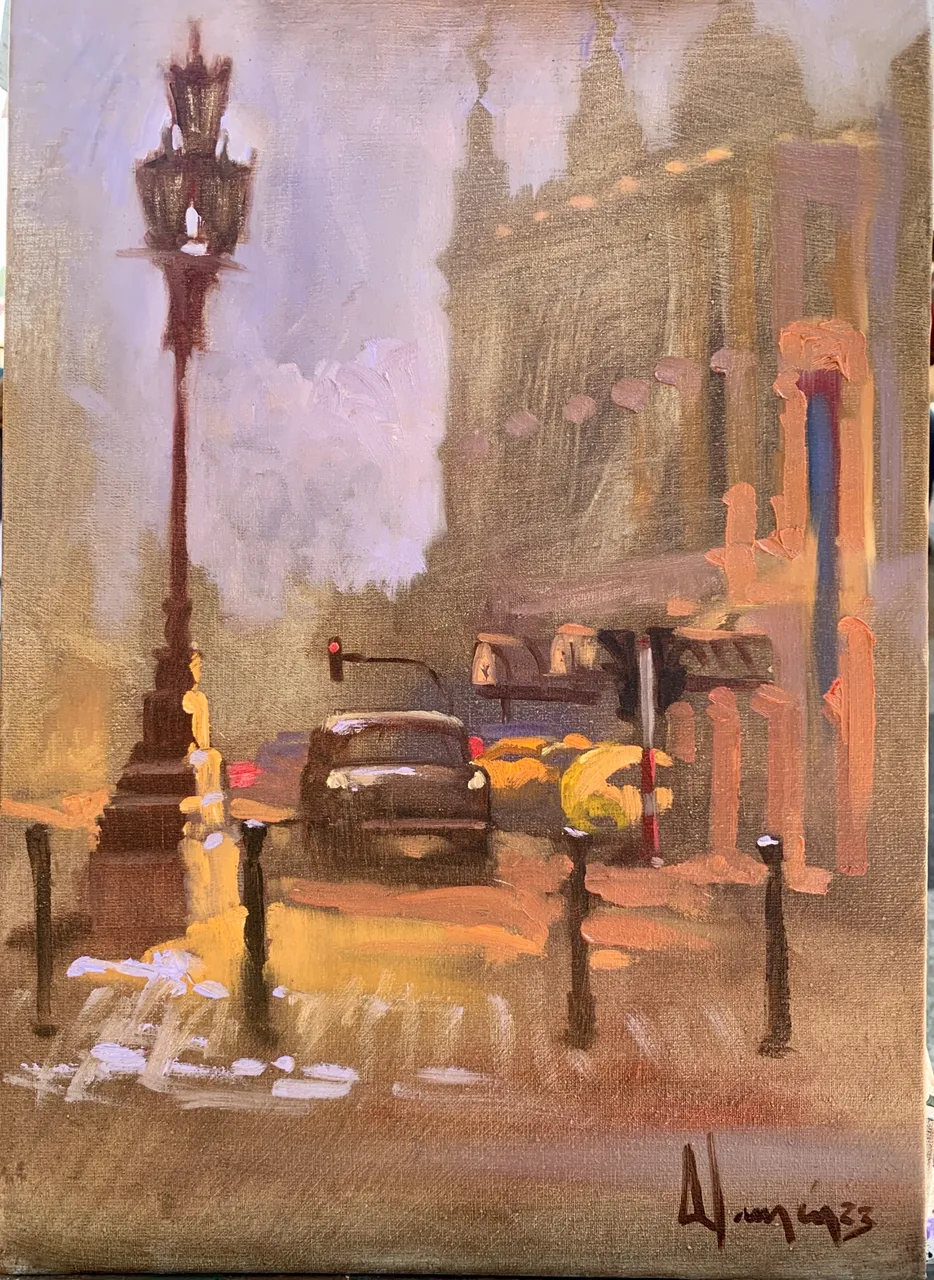
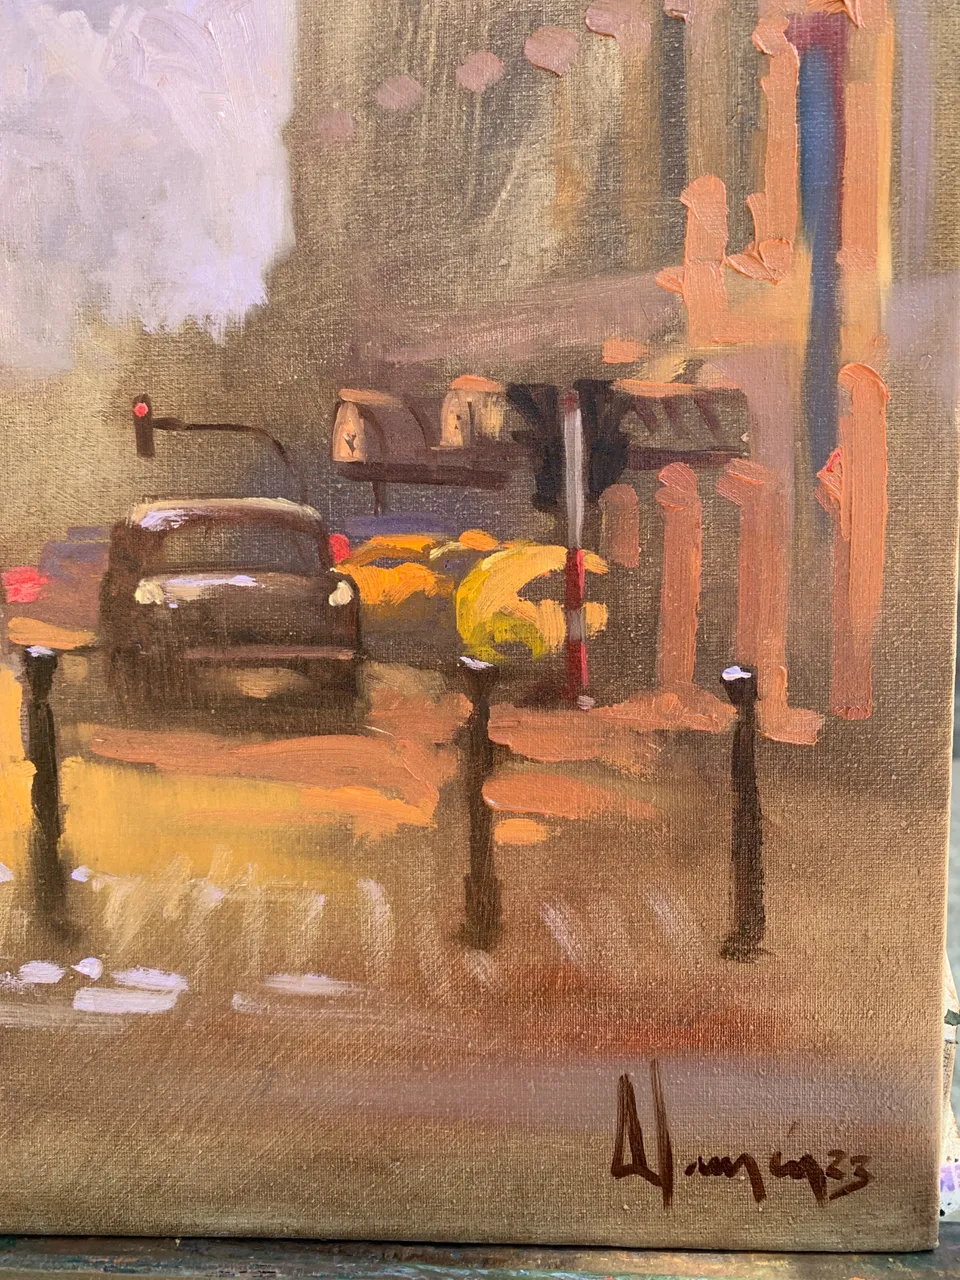
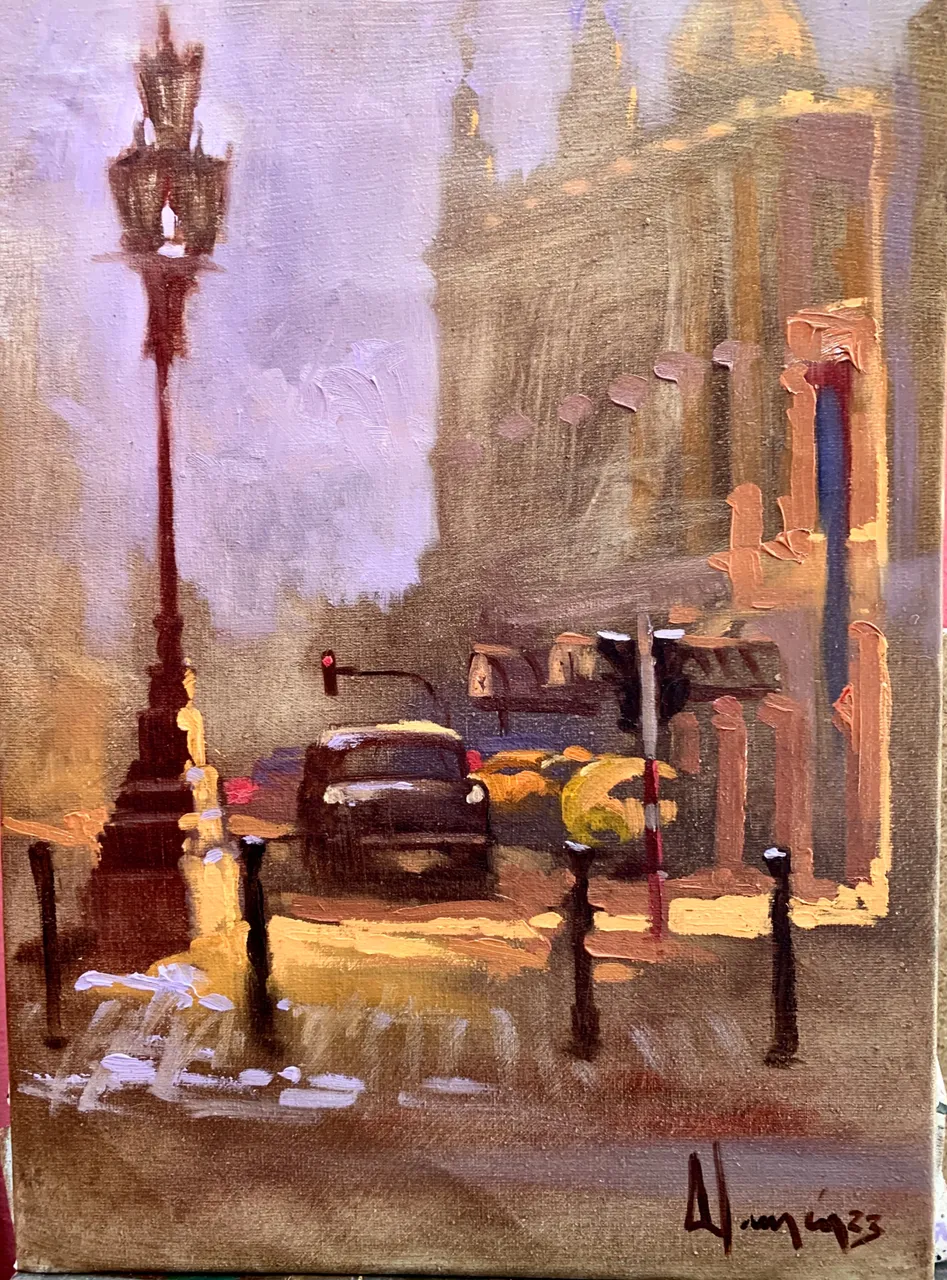
Finalizado
Espero que el resultado obtenido le haya sido de su agrado, yo estoy muy conforme con este trabajo en específico. Esperen nuevos ejercicios de pintura al aire libre ya estoy de regreso a la acción. Un abrazo grande para todos ustedes y hasta la próxima.

[EN]
Hello, back to the action, today I bring you a nice job of outdoor painting, but first let's talk a little about the technique of painting alla prima or live as you also know it. Let's see what it consists of.
Brief recount of the painting alla prima
If you are a painter, surely you have already used this technique and surely you did not know it, but today I am going to tell you some characteristics of it so that if you dare, you can put them into practice with full awareness.
You will wonder why the term of alla prima, I will tell you that it comes directly from Italian and means "at the same time" and refers to the painting that is finished from an application and without subsequent retouching.
So if you want to paint “allá prima”, you just have to make sure you to finish your work before the painting will completely dry.
The antecedents of this modality go back to the 16th century with the Flamenco artist Frans Hals.
The Impressionists were really the ones who popularized the technique so much that today many artists still prefer this modality as the main form of artistic expression.
Some fundamental characteristics that you can't forget and that will help you get a real result at once
- Work on a canvas or support with a previous tone.
A medium or natural tone is recommended, avoiding the blank canvas helps to improve the process, otherwise a diluted color base must be applied to shape the composition and fill the white parts in their entirety.
- **Select the colors well. **
The use of a restricted color palette. You can locate the composition of the large masses with your brush, a light pencil or a charcoal.
You always have to keep in mind that the goal of this is to paint on a layer. Although this modality has a high degree of instinctiveness, it is difficult to achieve a good result without good planning of what you want to do.
- **Work from the dark to the light. **
I have to tell you that it is a very personal variant of each one, but the theory of oil painting says that if you use light colors before then it will be difficult for you to add a saturated shadow on top.
Another thing, try to leave the lights more intense for the end.
- **Confidence during the creative process. **
It is important to have confidence in what is being done. Use the largest brush to start and then lower the numbers
Until the end. Don't skimp on the amounts of paint, load your brush with plenty of color.
Economizing strokes, and having the right confidence avoids the excess of retouching, remember that the paint there prevails every brushstroke counts.
- **Finally, it is very important to consult the great masters of this technique. **
I am going to share three of them for their connotation in art, but know that they are not the only ones nor can they be located in a numerical order or preferably. Frans Hals, Édouard Manet, y Tom Thompson.
I hope that this brief account of the technique has helped you understand its meaning. We just have to put it into practice. 😅😅😅😅
I was telling you about the first painting because I want you to know that the "Plein Air painting" is also considered an activity of this type, due to the changing nature, the artists usually try to finish the painting at once.
To get into today's creative process, I'll just tell you one last thing.
The painting that we are going to see next was made during a day of work, and that day I had enough time to finish two, today I only intend to show one of them, and I chose for you the second painting of the day, for its pictorial qualities.
Creative process from the beginning to the end
We started the work with a well-diluted color stain as usual, with the aim of marking the elements and easily correcting the design of the composition.
If you realize I'm trying to economize brushstrokes and I'm trying to arrive at a simplicity and a strength in the painting with less detail.
You will think that I am leaning towards an easy path, but the truth is that it is twice as difficult, since the only brushstroke you are going to use you must put it exactly in the right place and with the right color..
Finished
I hope you liked the result, I am very satisfied with this specific work. Wait for new outdoor painting exercises and I'm back on the action. A big hug for all of you and until next time.
My social network


🔝Contact me and follow my work here🔝
All imagen are my own